How to Install cPanel on AlmaLinux

 7m
7m
 0 comments
cPanel is a widely used web hosting control panel with a user-friendly interface and numerous tools to manage websites and servers. AlmaLinux, a community-driven Linux distribution, provides a secure and stable platform for web hosting. This comprehensive guide will walk you through the step-by-step process and you can install cPanel on AlmaLinux, ensuring a seamless setup for your hosting needs.
Requirements
To install cPanel on AlmaLinux, you need to ensure that your system meets the following requirements:
– A Linux VPS with AlmaLinux Operating System.
– Minimum hardware requirements: At least 1GB RAM and 20GB free disk space (SSD recommended).
– Static IP address: Ensure that your server has a static IP address assigned to it.
– Fully qualified domain name (FQDN): You must have a valid FQDN registered and pointing to your server’s IP address.
– Root access: You must have root access to your server to install cPanel.
– License: Purchase a cPanel license from the official cPanel website before proceeding with the installation.
Step.1: Update your System
Before starting any other work, it is necessary to easily update and upgrade the system by executing the following commands:
sudo yum update
sudo yum upgrade
Step.2: Install Dependencies before installing cPanel
Now, in this step, you should install the required dependencies:
sudo yum install perl bind openssl pam python3 firewalld glibc util-linux iptables iproute net-tools systemd wget curl
Note: You may be prompted to confirm the installation. Enter ”y” and press enter to proceed.
Step.3: Downloading WHM/cPanel installation Script
Go to the home directory by running the following command:
cd /home
Then, it is time to download the cPanel installation script using the below command:
curl -o latest -L https://securedownloads.cpanel.net/latest
Step.4: Install cPanel on AlmaLinux
After the download is completed successfully, you can start the execution process using the following command:
sh latest
Note that you may get a hostname error after running the above command. In this condition, you should run the below command to fix that. Replace “your-hostname.example.com” with “cpanel.neuronvm.com” for the actual hostname you want to use.
hostname your-hostname.example.com
Step.5: Enable Firewall
Start and then enable the firewall service using the following commands:
sudo systemctl start firewalld
sudo systemctl enable firewalld
Step.6: Login and Access to cPanel
To log in and access cPanel on AlmaLinux, you can follow these steps:
Open your preferred web browser and enter the following address in the address bar:
https://your_domain_name_or_server_ip_address:2083
Note: Replace “your_domain_name_or_server_ip_address” with your server’s actual domain name or IP address.
You will be presented with a security warning as the connection is not yet trusted. Click on the “Advanced” or “Proceed Anyway” option (depending on your browser) to continue.
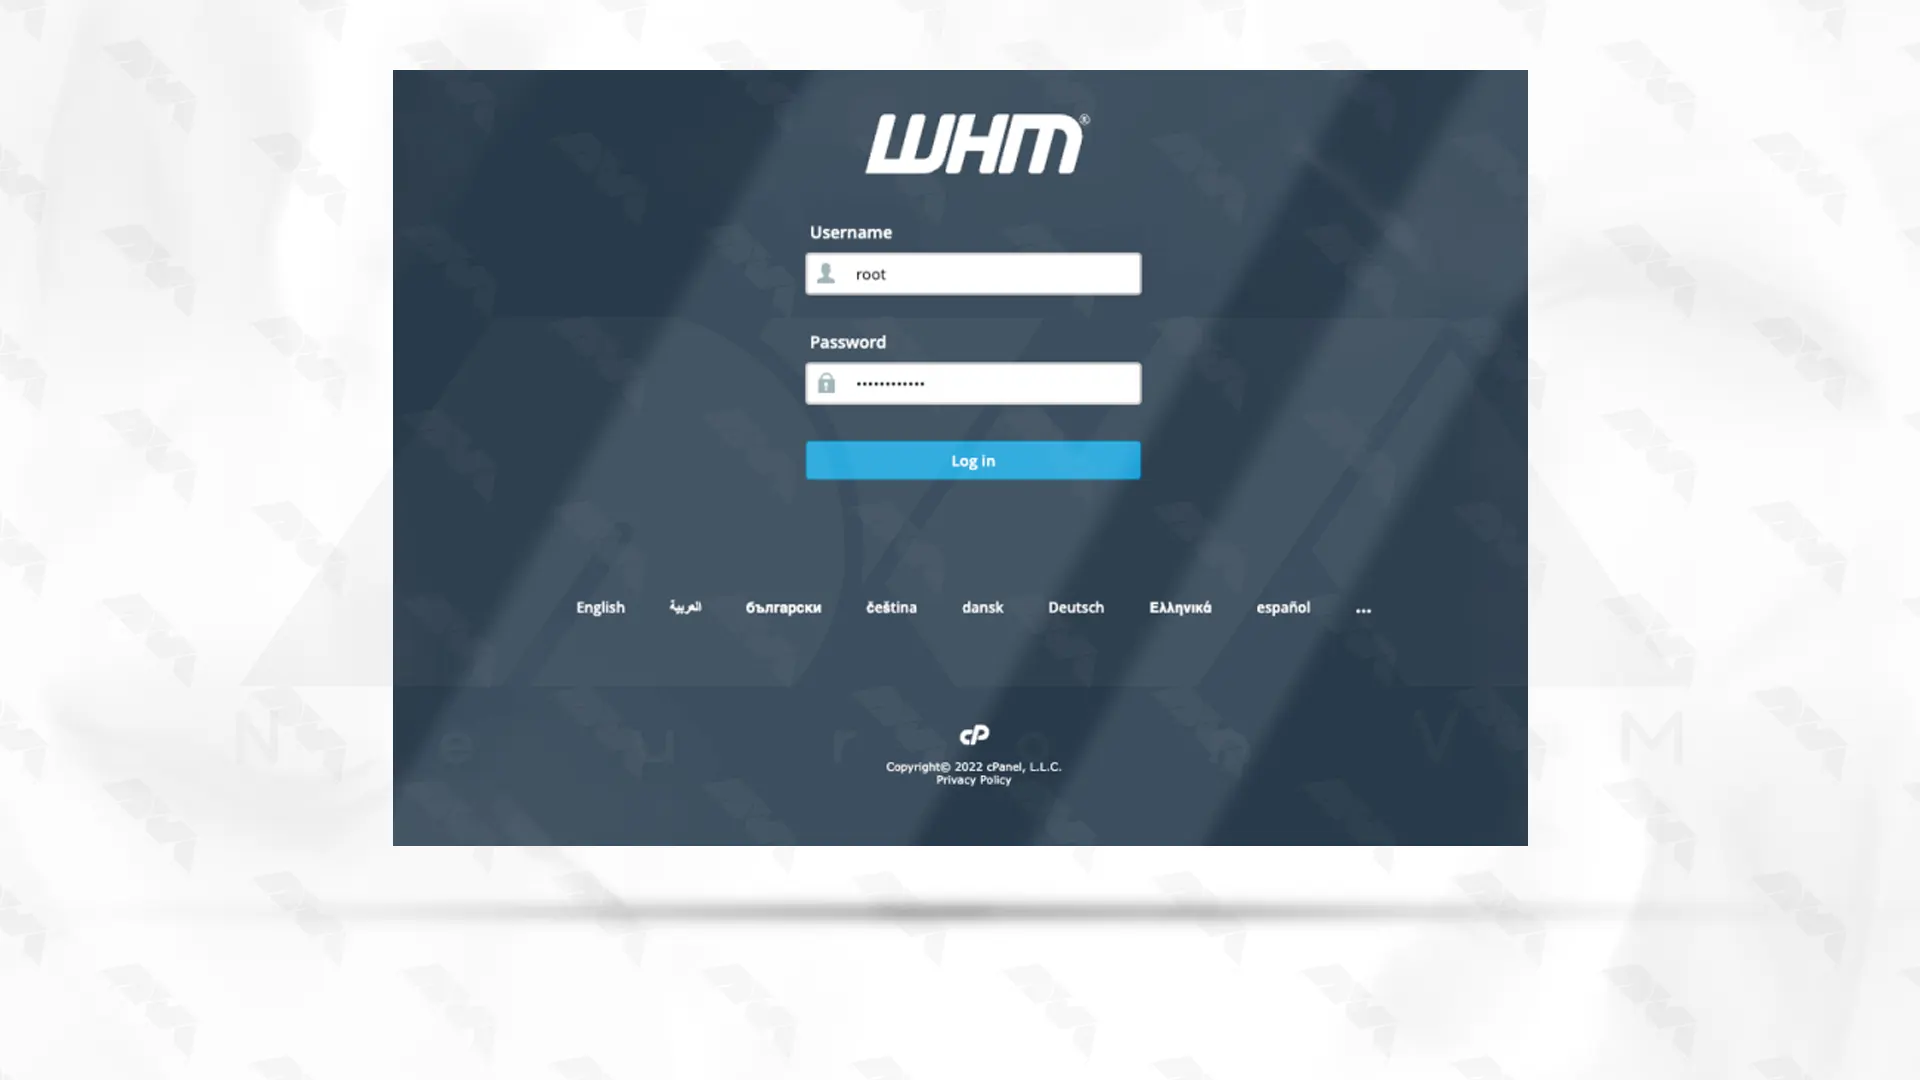
You will be directed to the cPanel login page. Enter your cPanel username and password in the provided fields.
Username: root
Password: Your Almalinux Server password
Once you enter the correct login details, click on the “Log In” button to proceed.
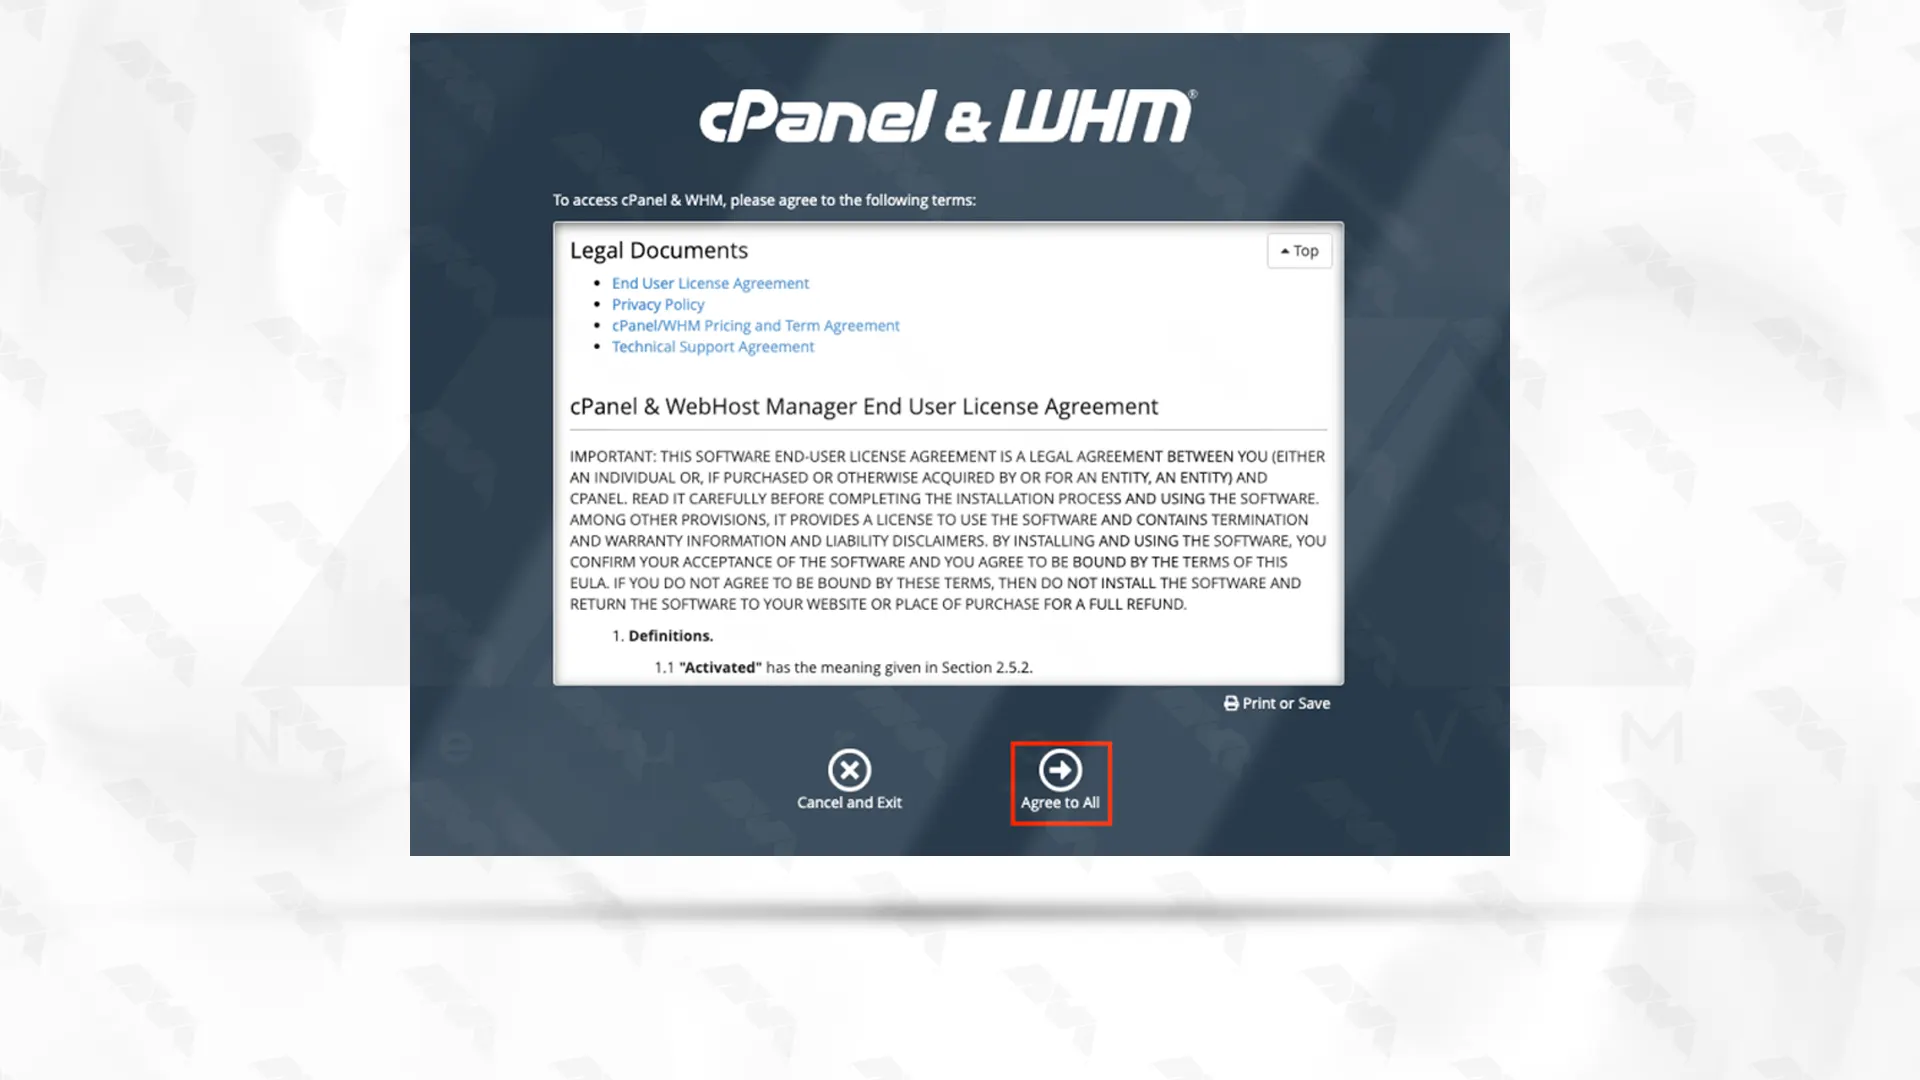
Accept the Terms and conditions by clicking on Agree to All.
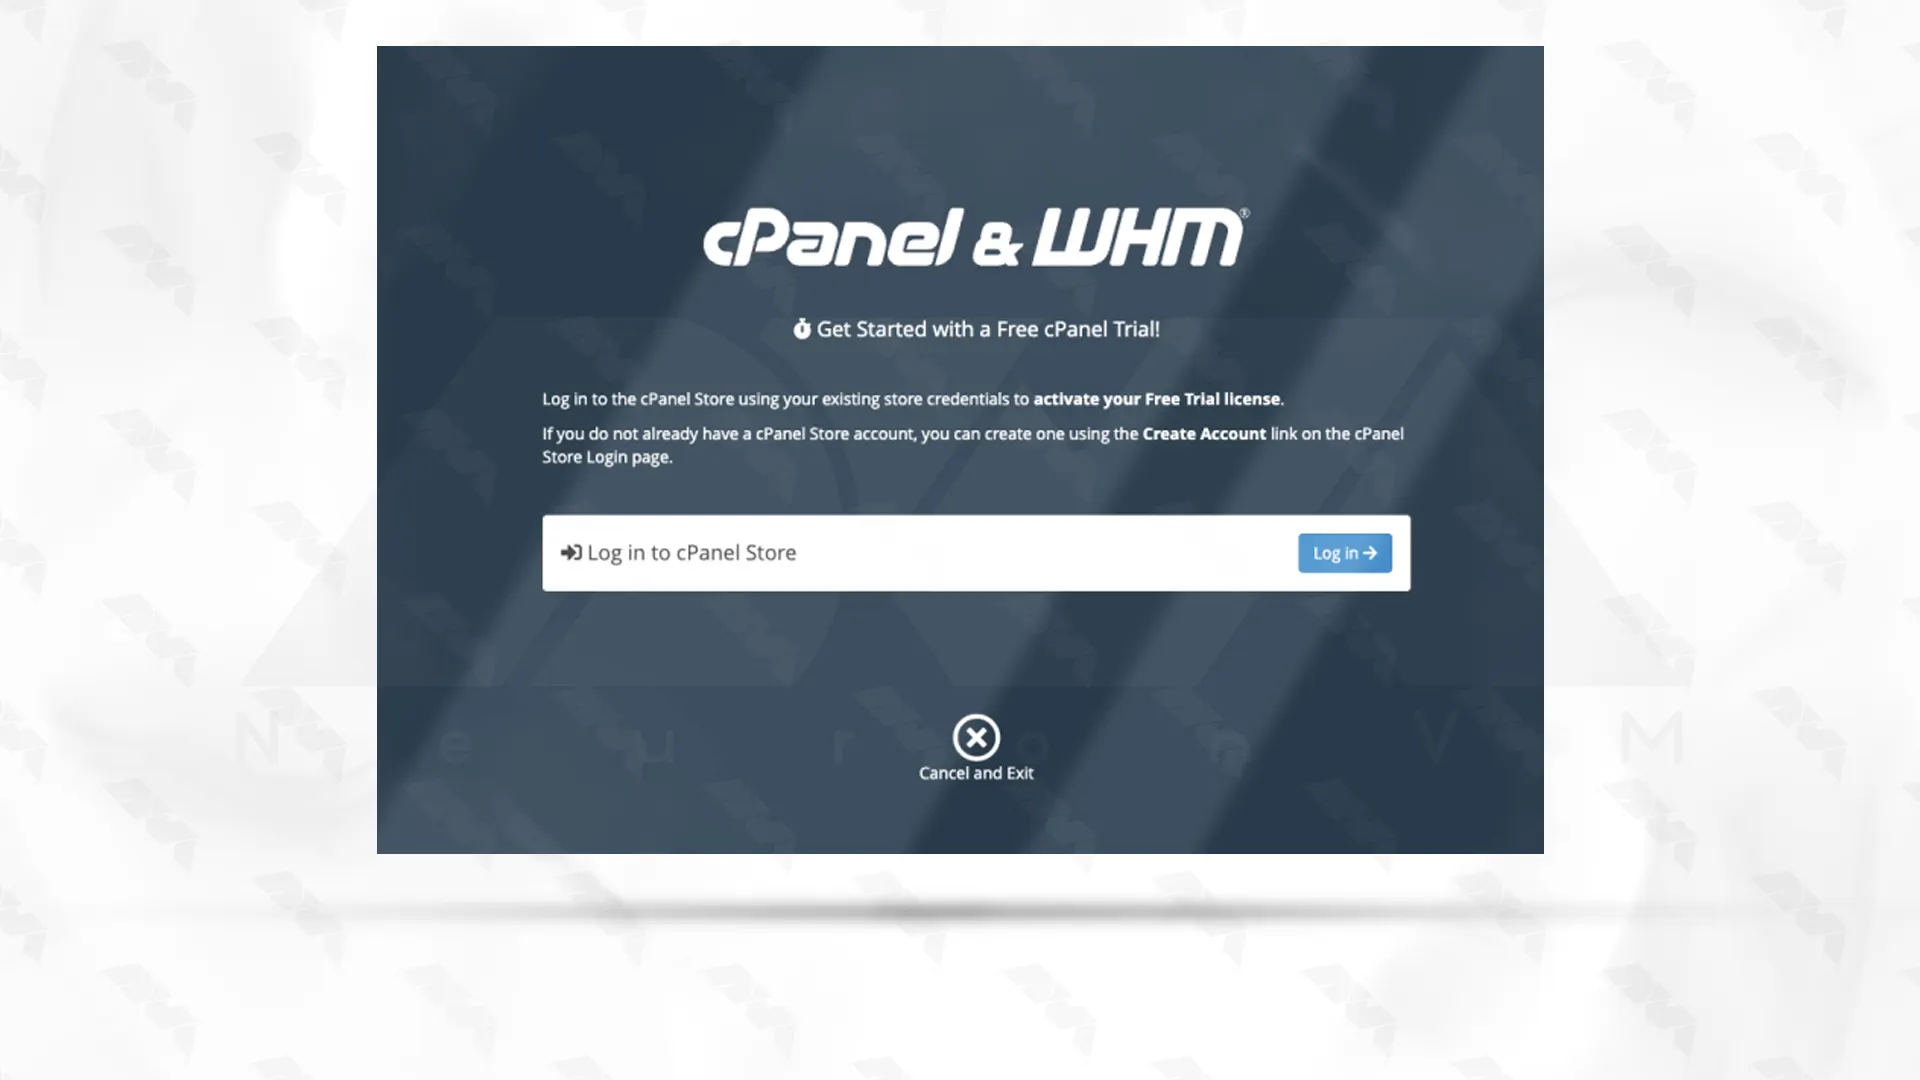
Click the designated button to access the cPanel store and proceed with account creation for WHM service. In case you do not possess an account, this step is crucial. Following successful login, you will receive a complimentary 15-day trial license.
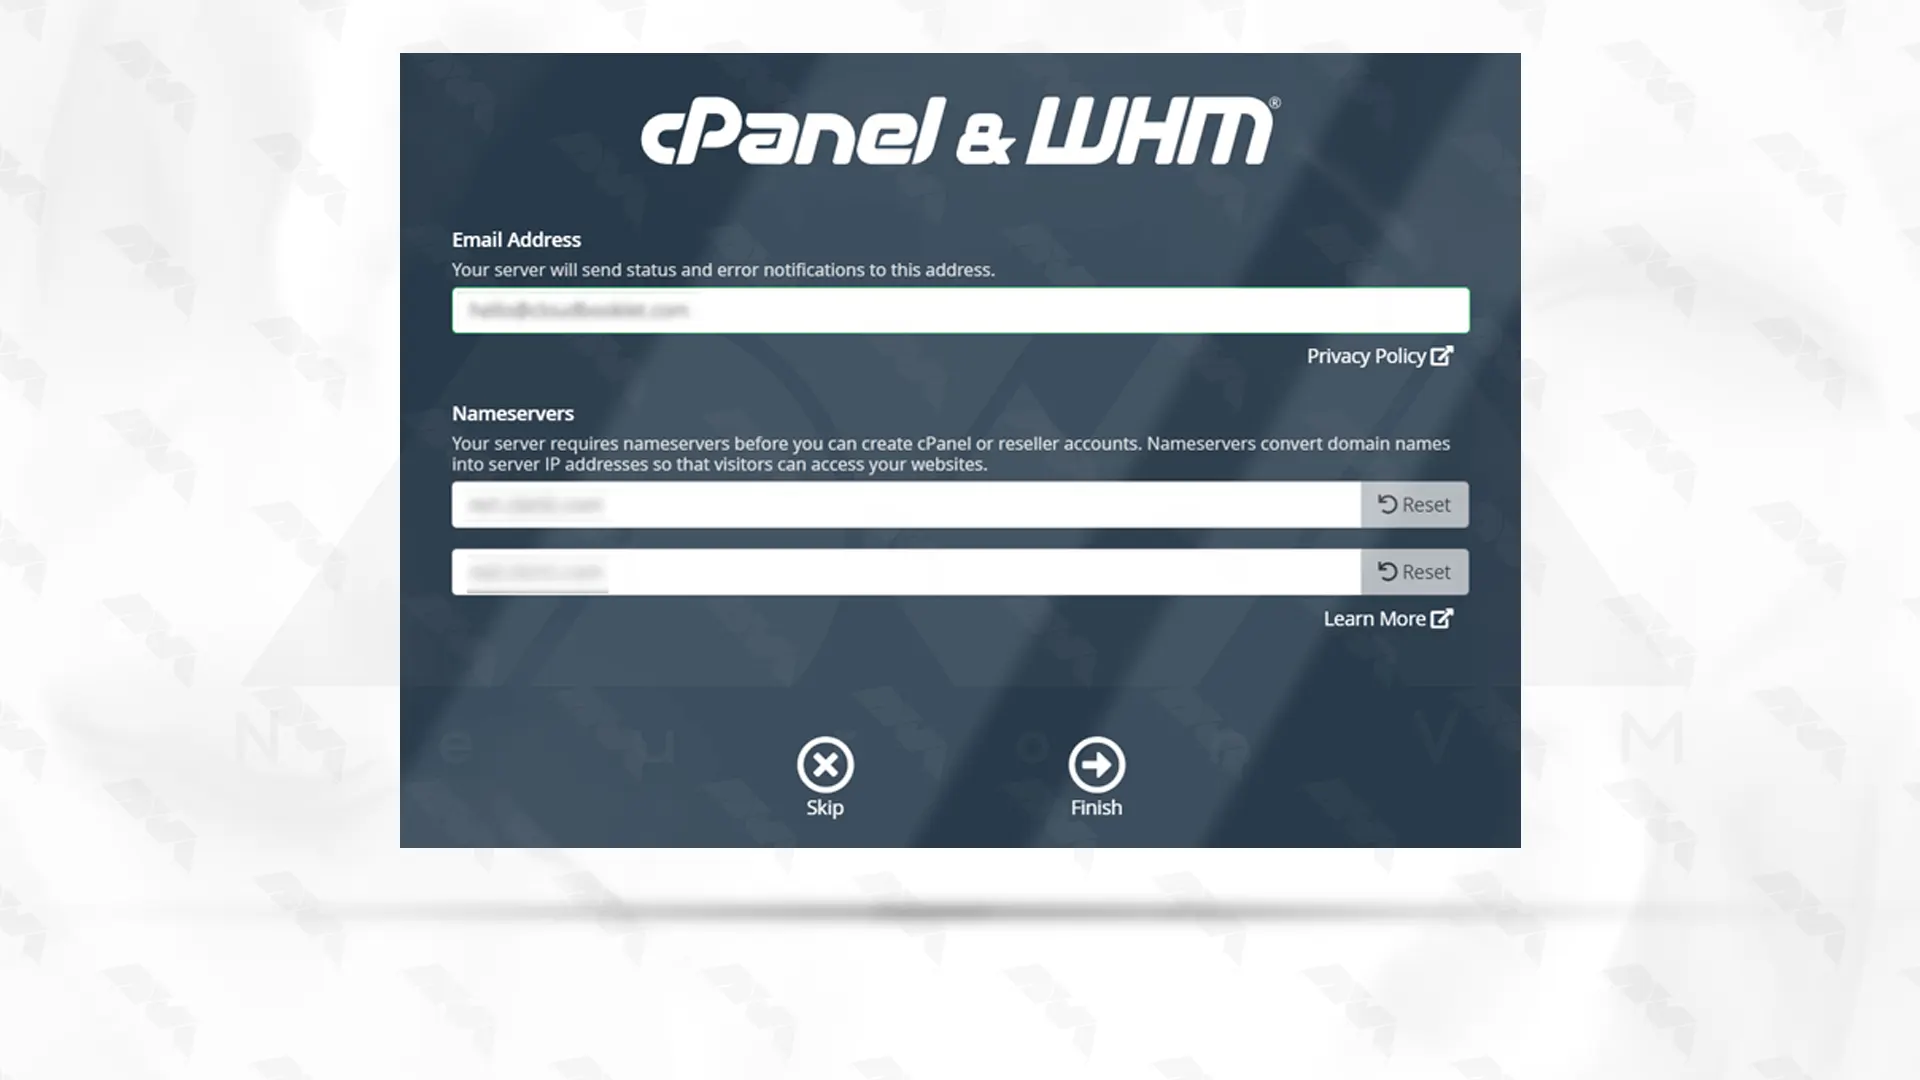
Provide the email address and the corresponding server details for your hosting service. If you are unfamiliar with this information, you can easily find it by conducting an online search:
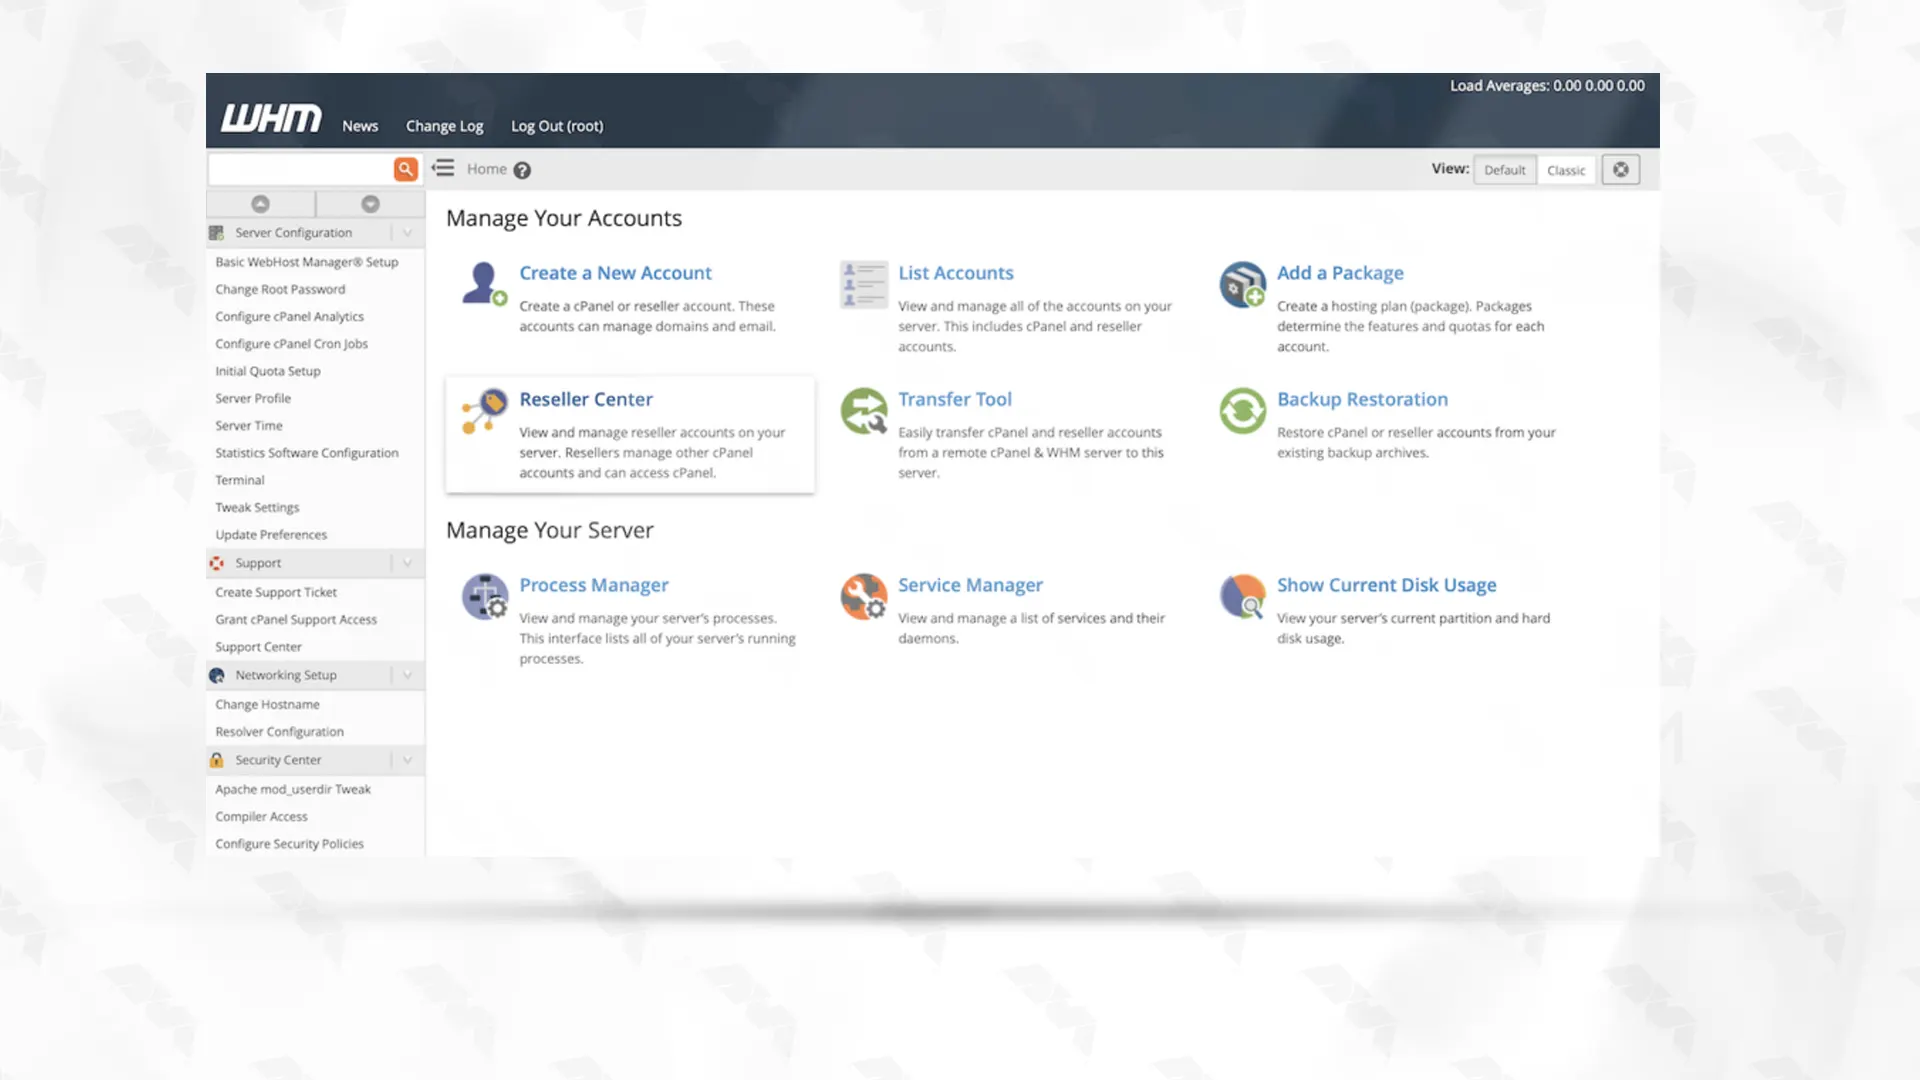
This is it! The installation of cPanel on AlmaLinux has been completed successfully and you are viewing the cPanel dashboard:
Conclusion
Congratulations! You have successfully installed cPanel on AlmaLinux. You can now enjoy the benefits of this powerful web hosting control panel, allowing you to effortlessly manage your websites and server settings. Remember to keep your system up to date and properly maintain your cPanel environment to ensure optimal performance and security.
You might like it


