How to Install Java on Windows Server 2016

 5m
5m
 0 comments
Java is a popular programming language that supports object-oriented features. This technology, which is available to everyone for free, has a high position in the world of technology and has become an all-encompassing language. Developers and organizations also pay close attention to this language. Many applications and websites are Java-based. In this article, we want to teach you How to Install Java on Windows Server 2016.
Requirements
Minimum system requirements for Windows Server 2016 should be considered. These requirements are:
– Processor: 1.4 GHz 64-bit processor
– RAM: Minimum of 2 GB or more recommended
– Available disk space: Minimum of 32 GB
We suggest you to use the various and practical Windows VPS plans provided on our website.
Configure & Install Java on Windows Server 2016
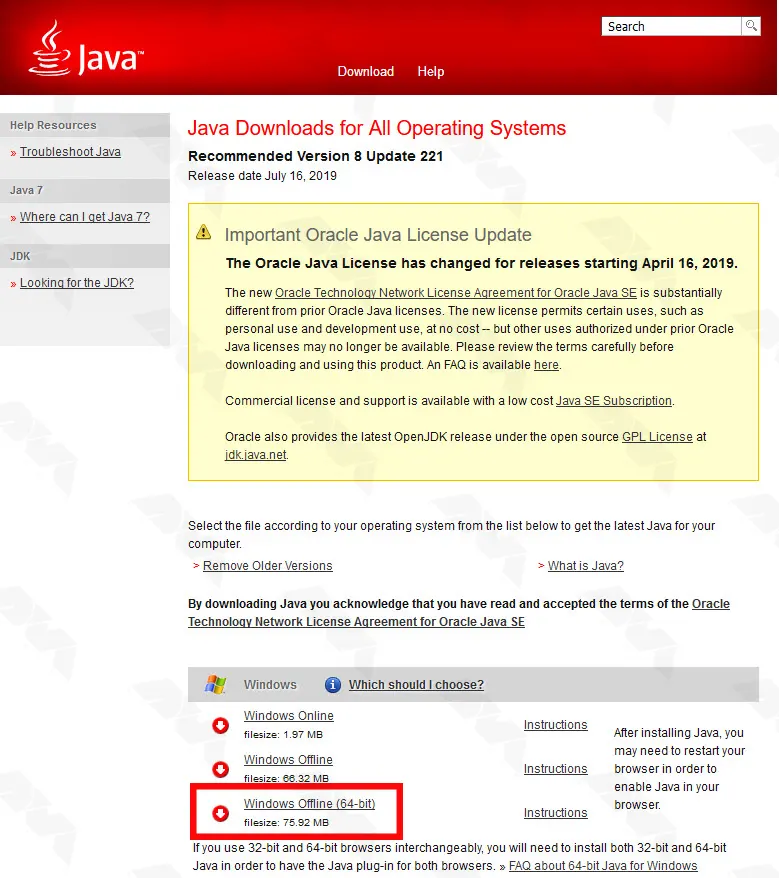
In this section, we want to teach you How to Install Java on Windows Server 2016. Follow the steps below. You must first open one of your desired internet browsers and download the Java application for Windows Server 2016. To do this, just click on Windows x64 in the relevant source to download Java.
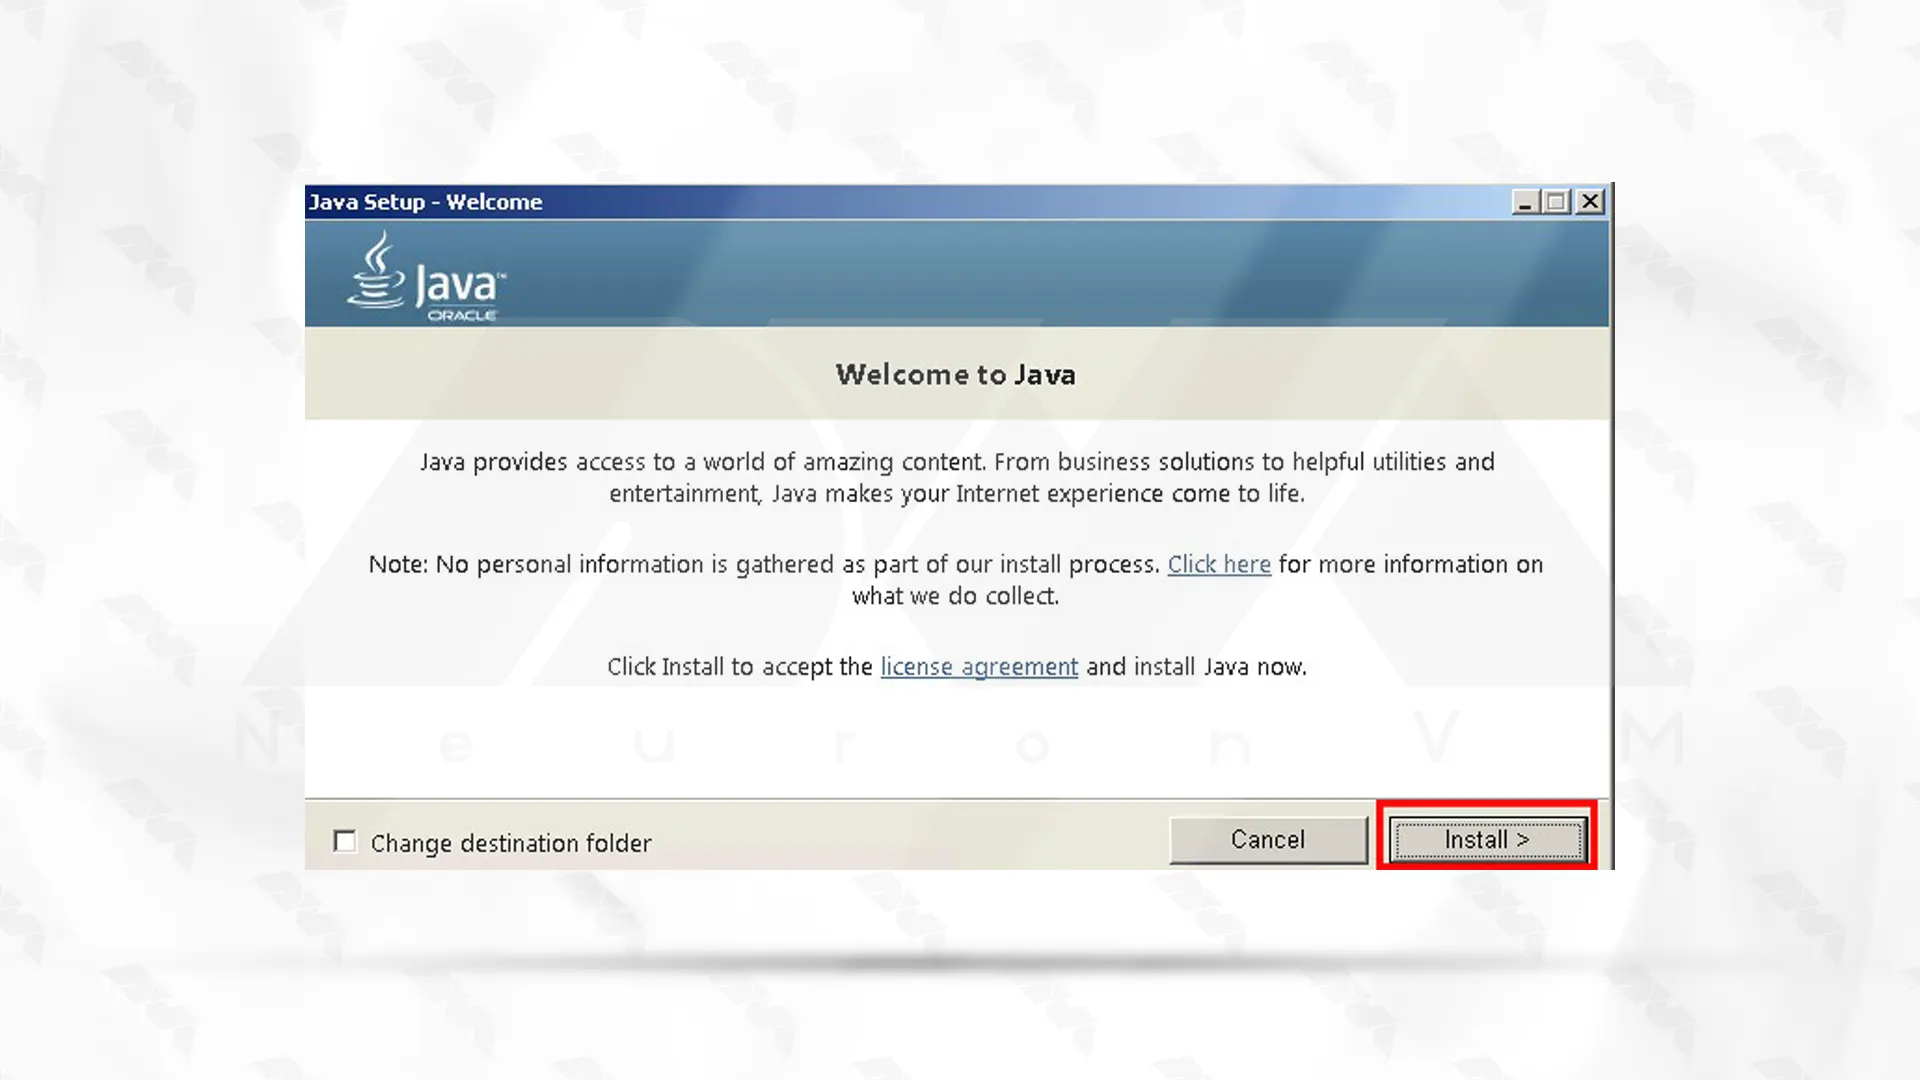
In this step, you must go to the folder where the program was downloaded and double-click on the relevant file.
Then click Install on the page that opens.
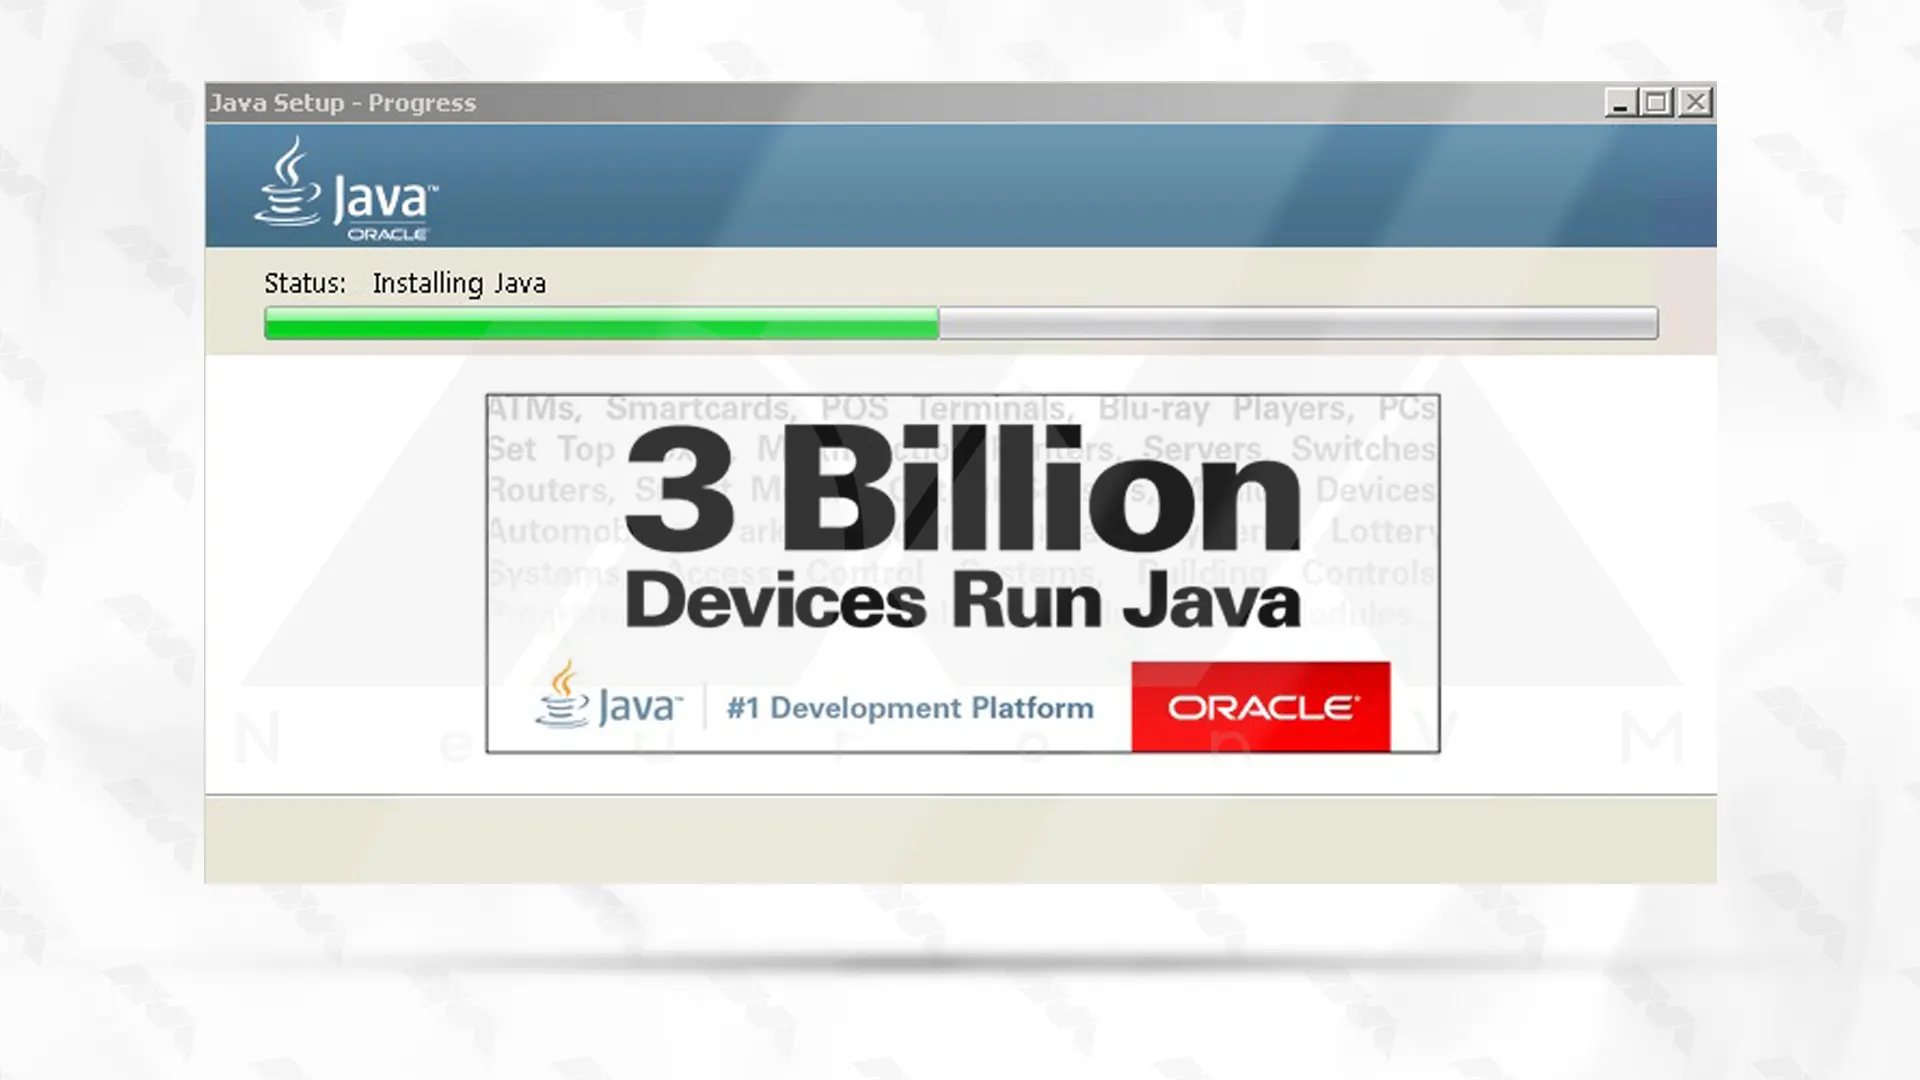
In this step, you have to click Next and wait for a while until the installation is complete.
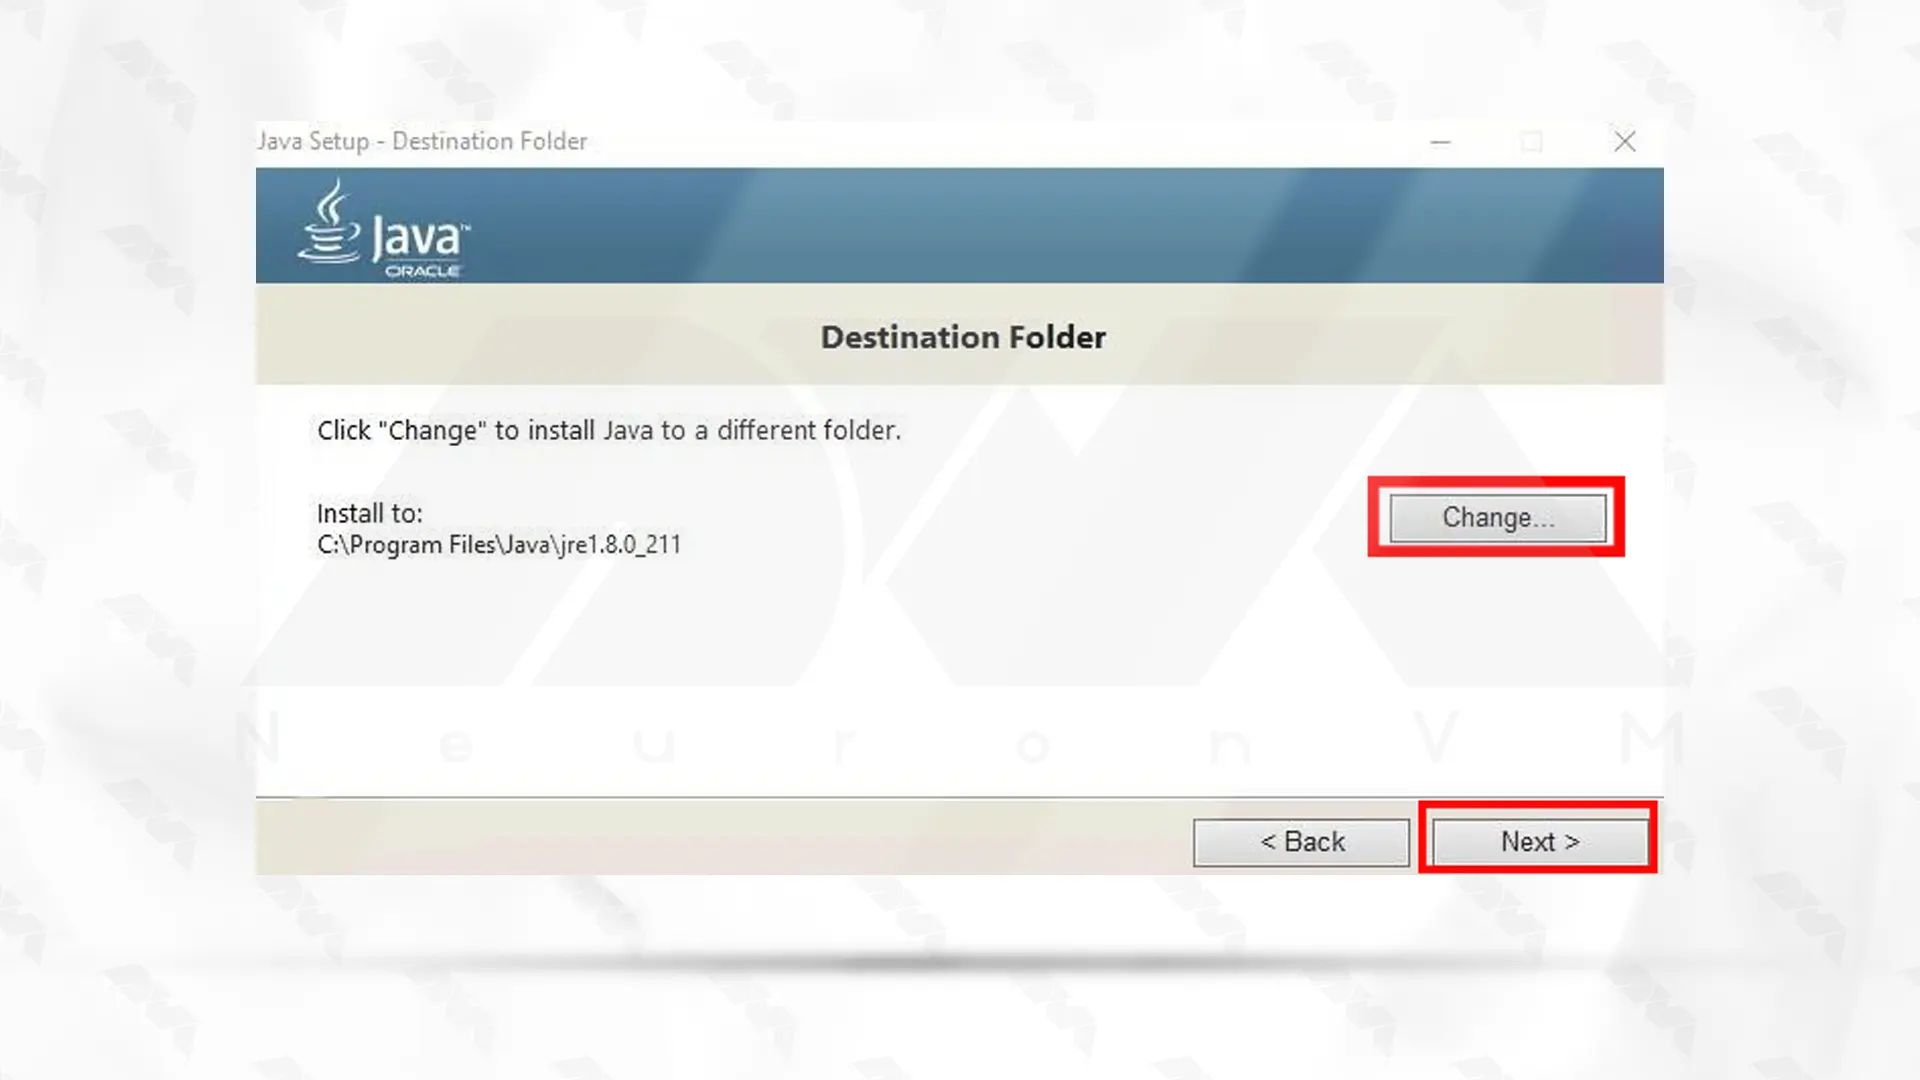
Now you need to select the destination of your desired folder from the Change section and then click Next.
On this page, you can access tutorials by clicking the “Next steps“. Then click Close.
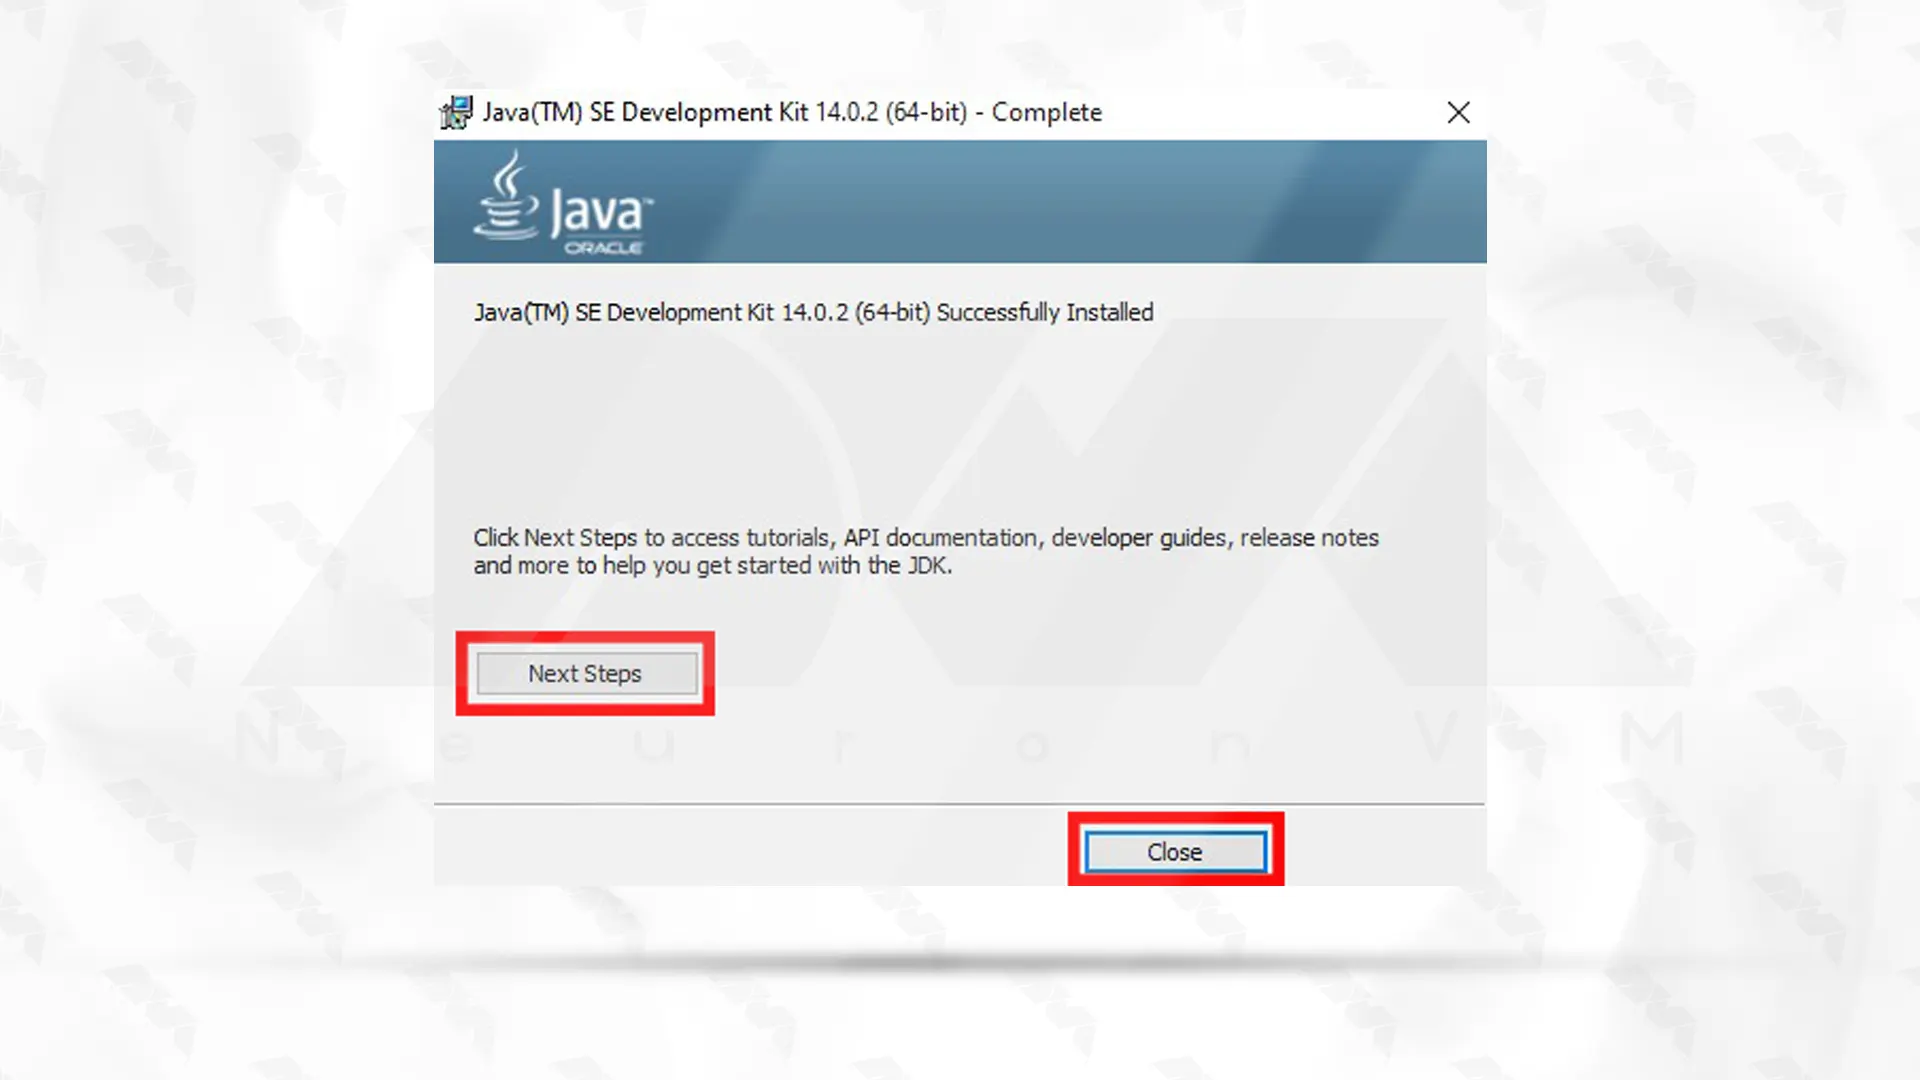
To run the Java application you should double-click on the file and then press Run.
How to Setup Environment Variables
After you have installed Java, you now need to learn How to setup Environment Variables.
You must first open the control panel. Then follow the steps below:
System and Security >> System >> Advanced System Settings.
In the window that opens, click on Environment Variables.
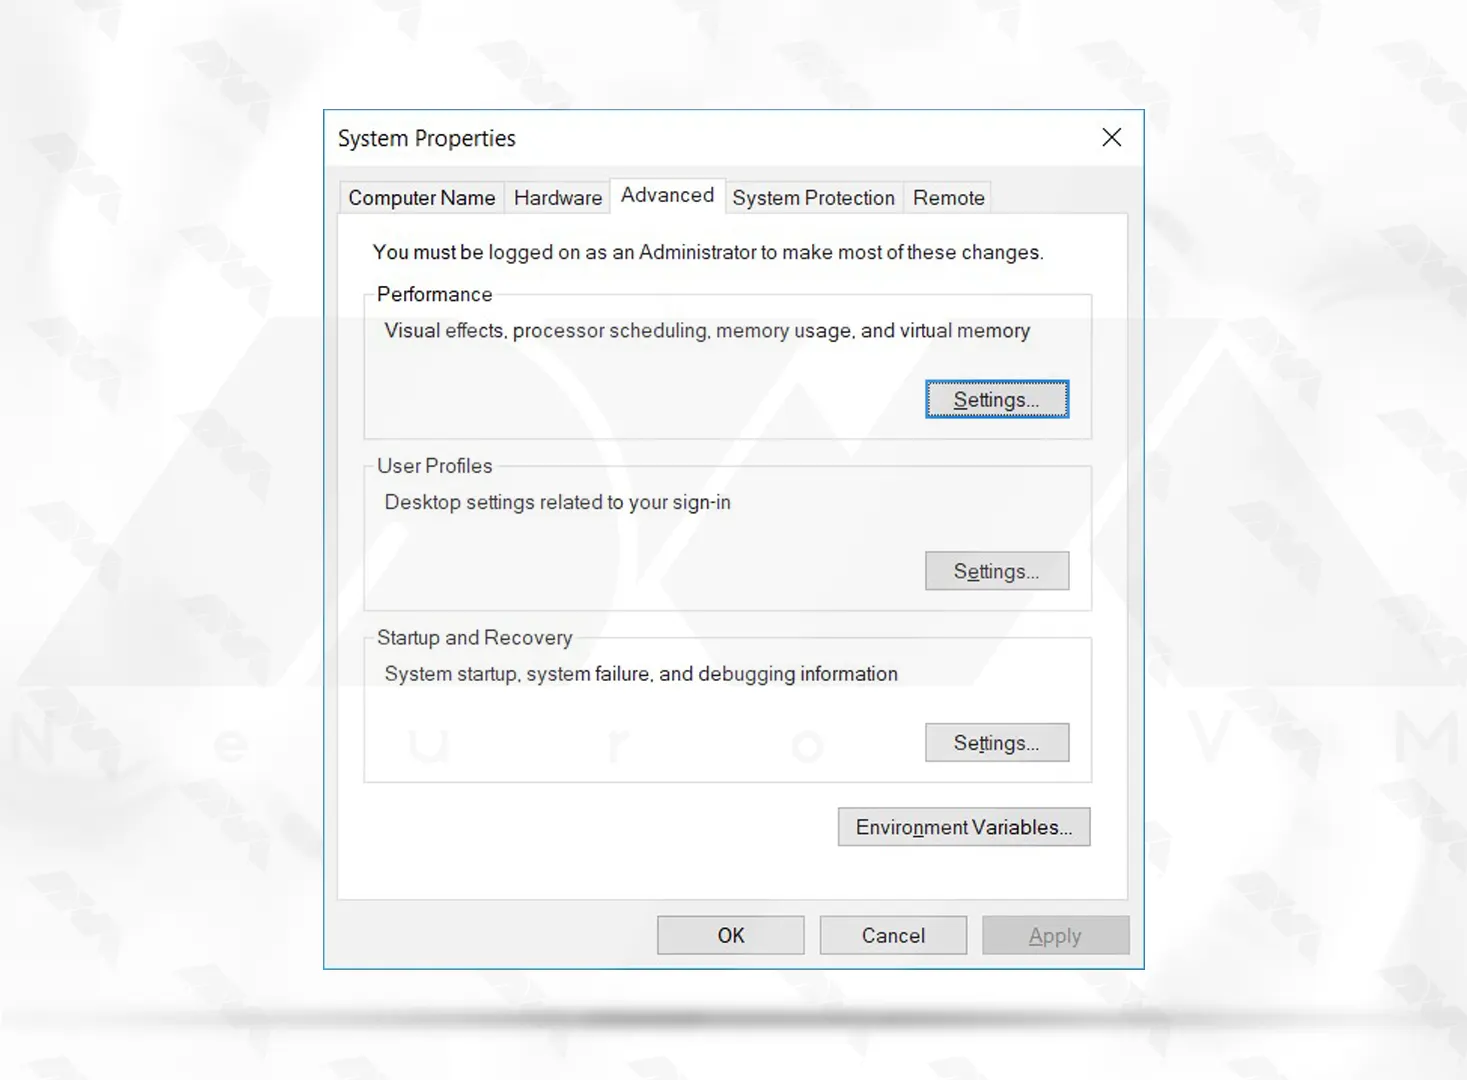
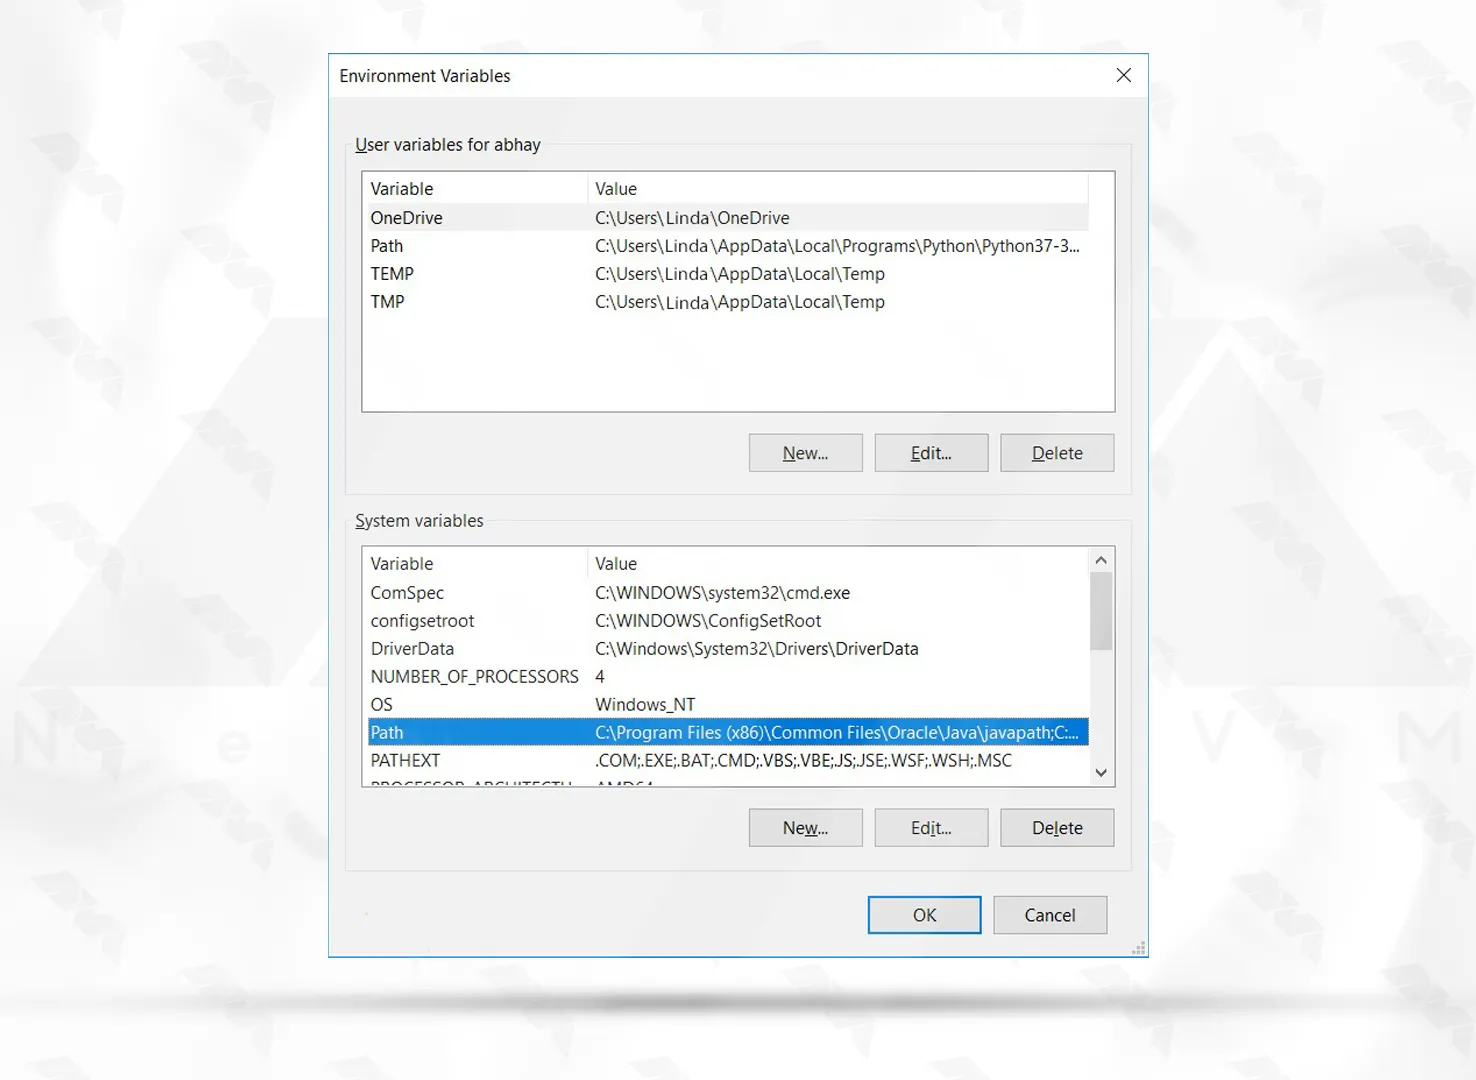
Then, you should go to system variables and double-click on Path.
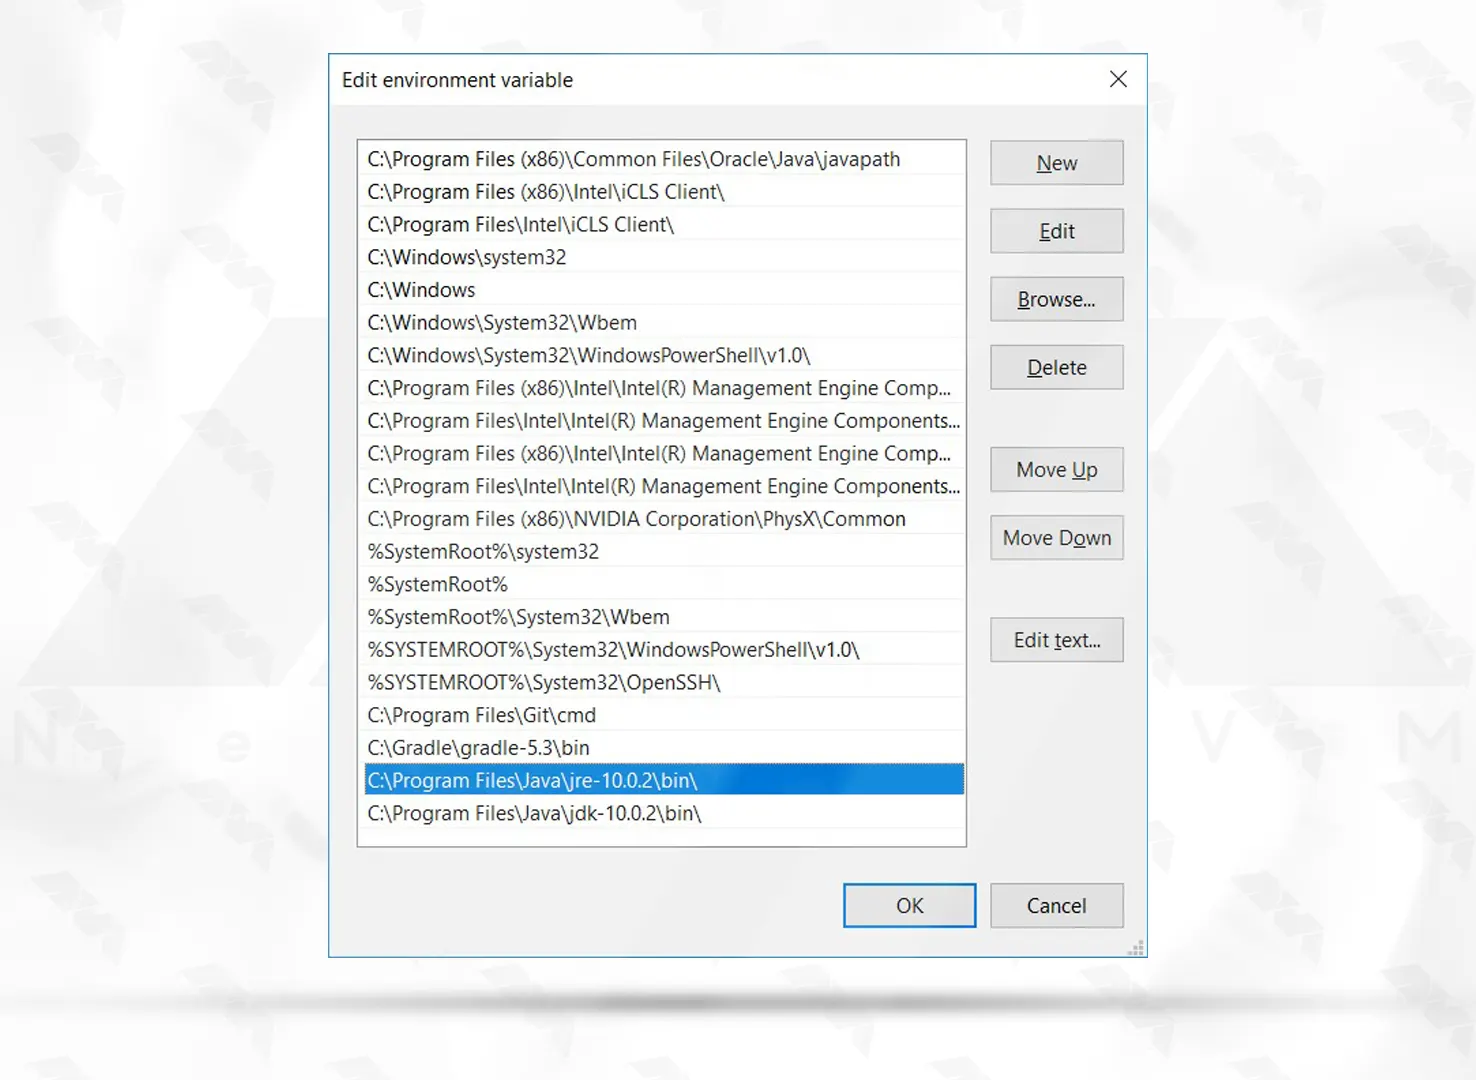
In this step, you can add the path of the bin file present in the JRE folder and the JDK folder to the Path variable.
Note: The JRE and JDK are by default, present in the Java folder of Program Files.
Conclusion
Installing Java on a Windows Server 2016 is a crucial step in enabling your server to run Java-based applications. By downloading and installing the Java Development Kit (JDK), setting the JAVA_HOME environment variable, updating the PATH variable, and verifying the installation, you can ensure that your server is Java-ready. Following the step-by-step instructions provided in this comprehensive guide, you can successfully install Java on Windows Server 2016 and unlock the full potential of Java-powered applications.
You might like it


