


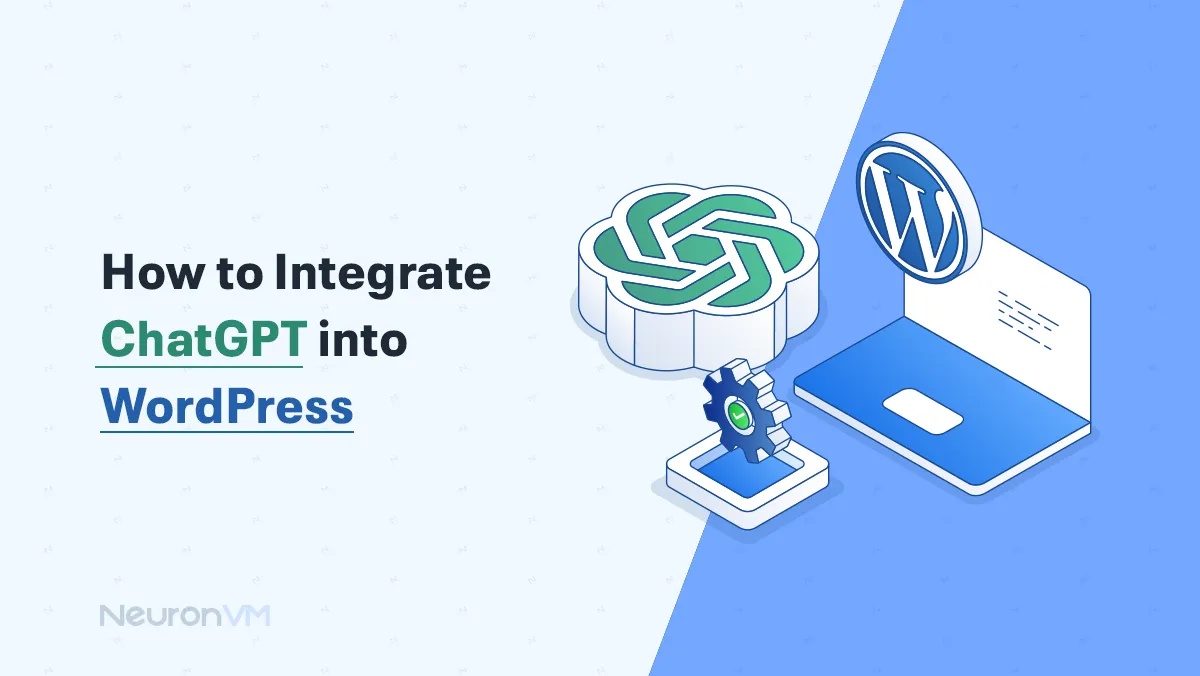
How to Integrate ChatGPT into WordPress

 7m
7m
 0 comments
 Print
Print
If you want to add the power of AI to your WordPress site, you have come across the right tutorial, follow till the end to learn How to Integrate ChatGPT into WordPress.
It might seem not very easy at first sight, but it is easier than you think, This guide will guide you through the process, making AI accessible to your website visitors, to explore more about WordPress features, check out their main website.
A Guide to Integrate ChatGPT into WordPress
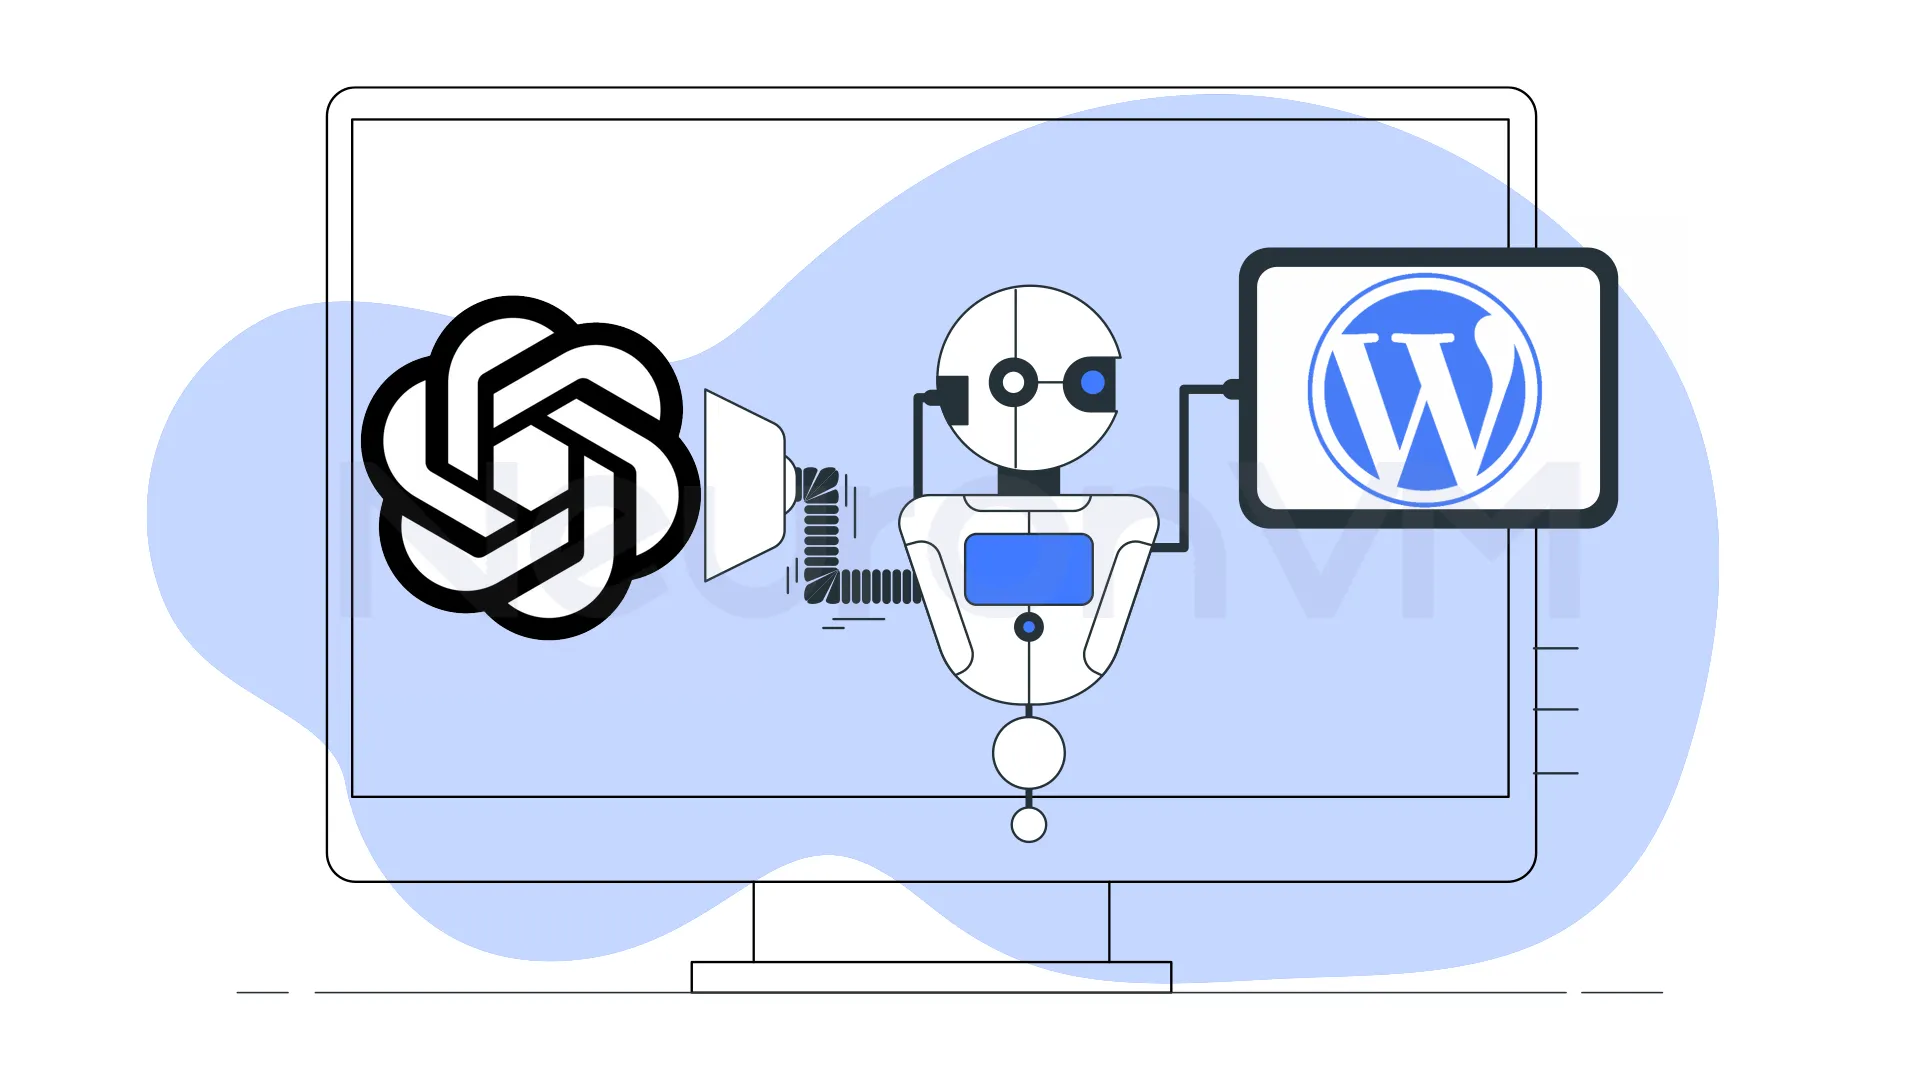
Transform your WordPress site with the power of ChatGPT and its advanced features by following the guide on NeuronVM’s main website, while ChatGPT can be used in many different ways for websites, but our focus today will be on WordPress.
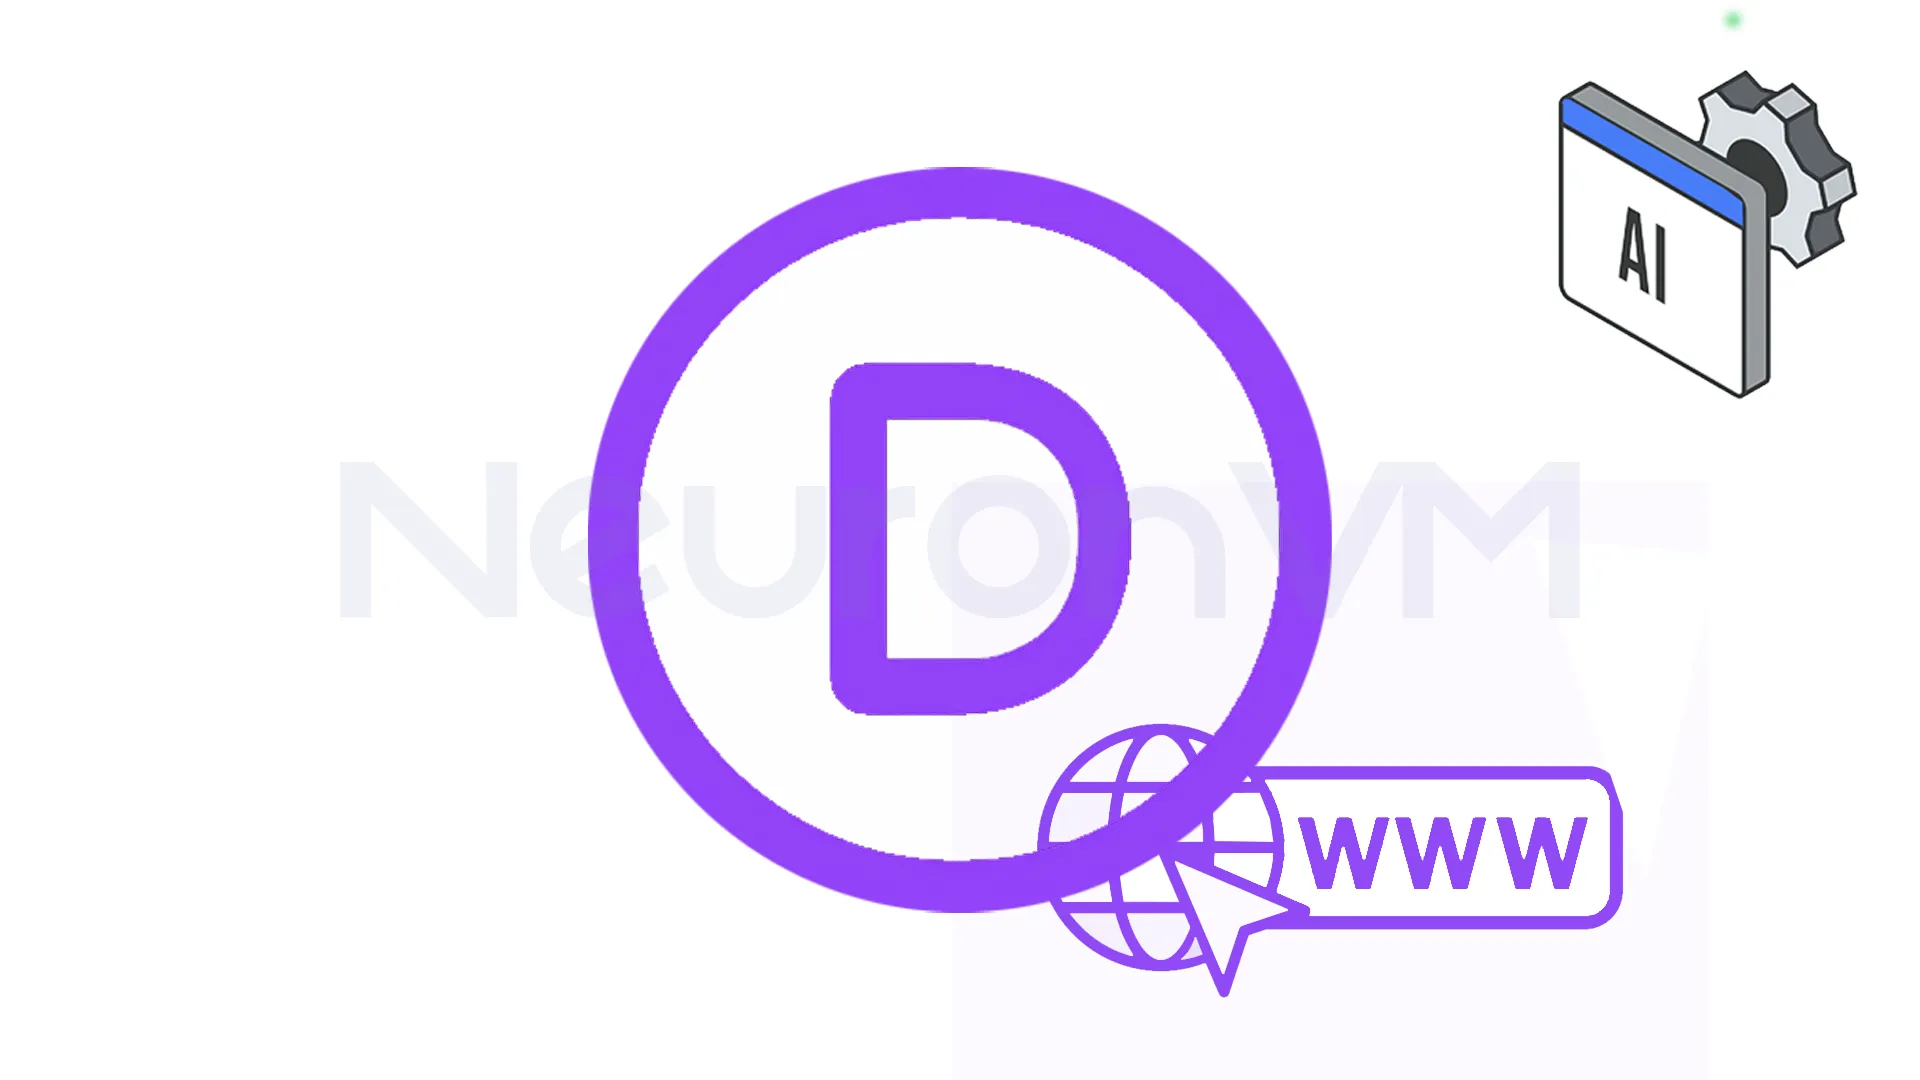
Divi AI
If you are using Divi AI or planning to use Divi AI for your WordPress website, it is better to know that it offers a seamless way to integrate with ChatGPT, this tool puts ChatGPT right to your Divi website builder, it means you can put text as fast as you design your page, you can use it to built websites faster, wite blog posts or making your writing better, it is like an assistant when it comes to creating contents.
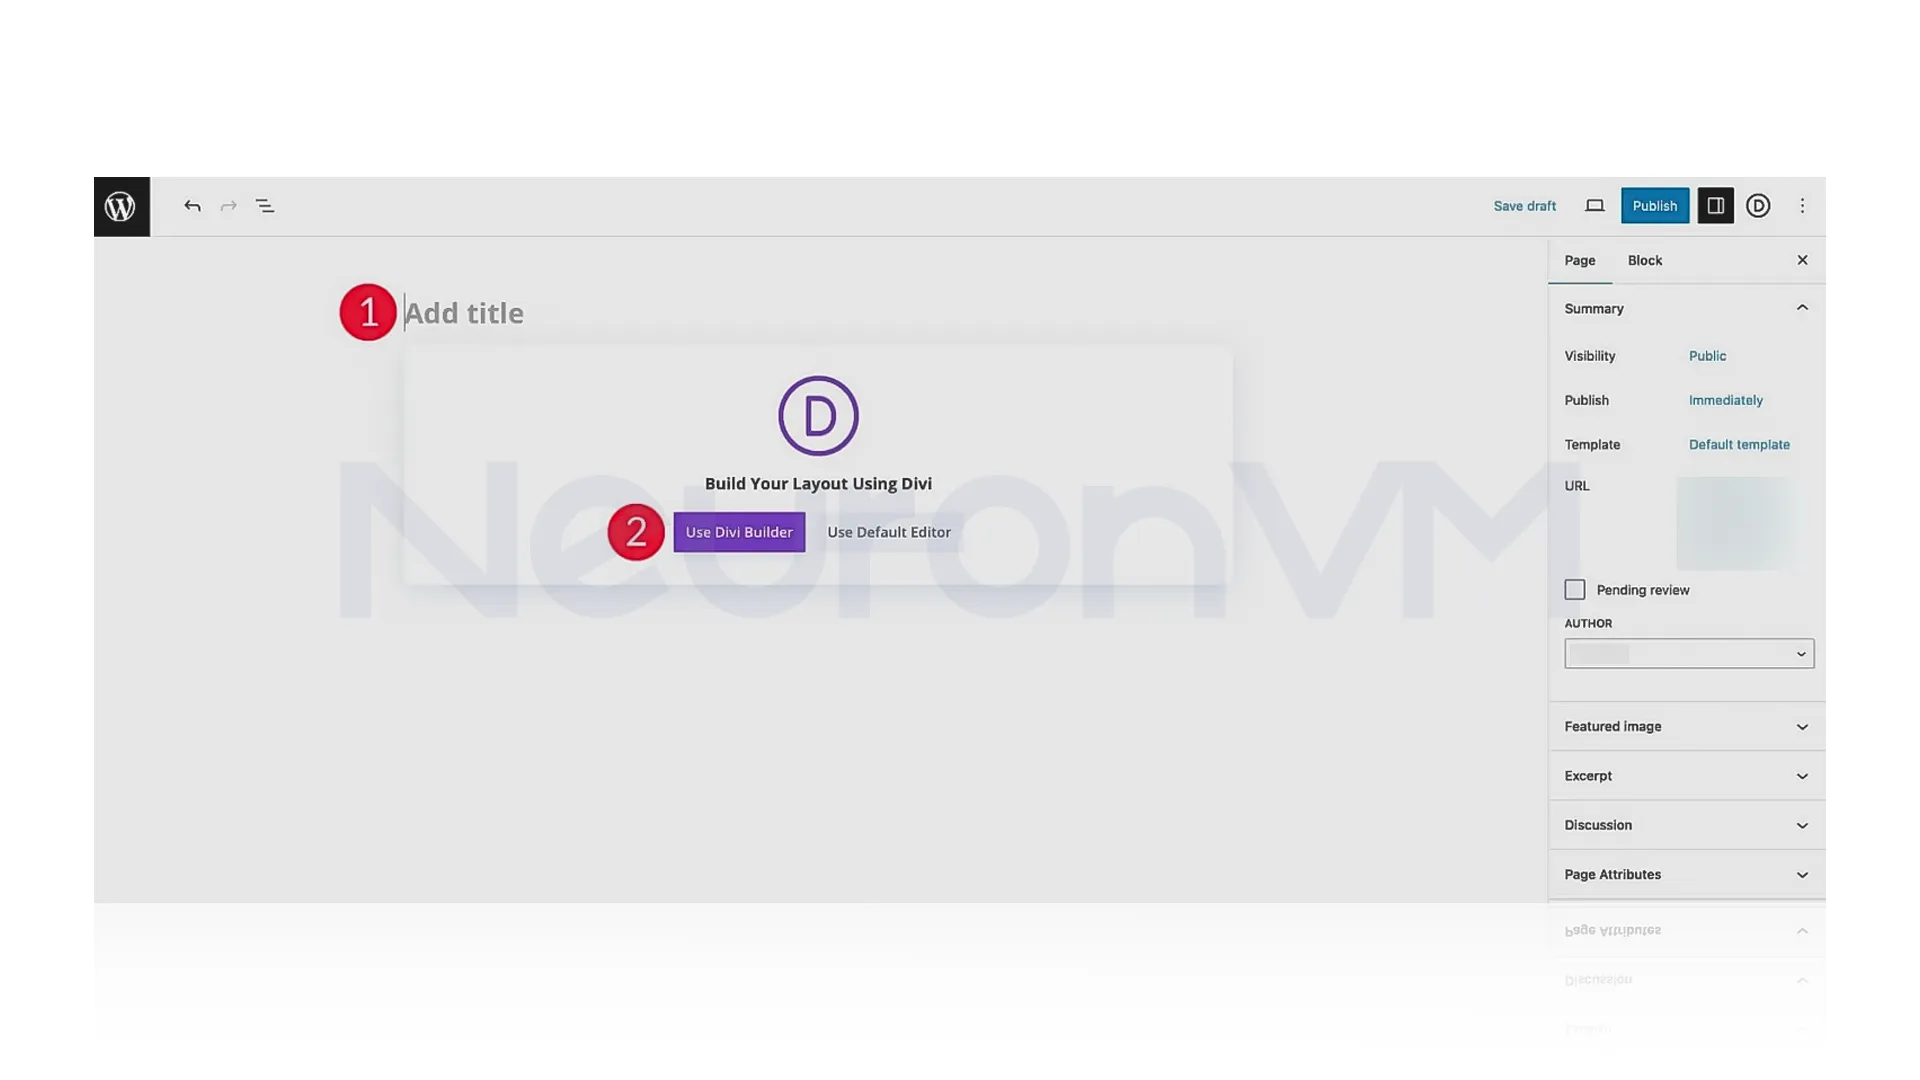
To get started with Divi AI and ChatGPT, you will need to log in to your WordPress admin dashboard, after logging in, navigate to the “Pages” and then create a new page.
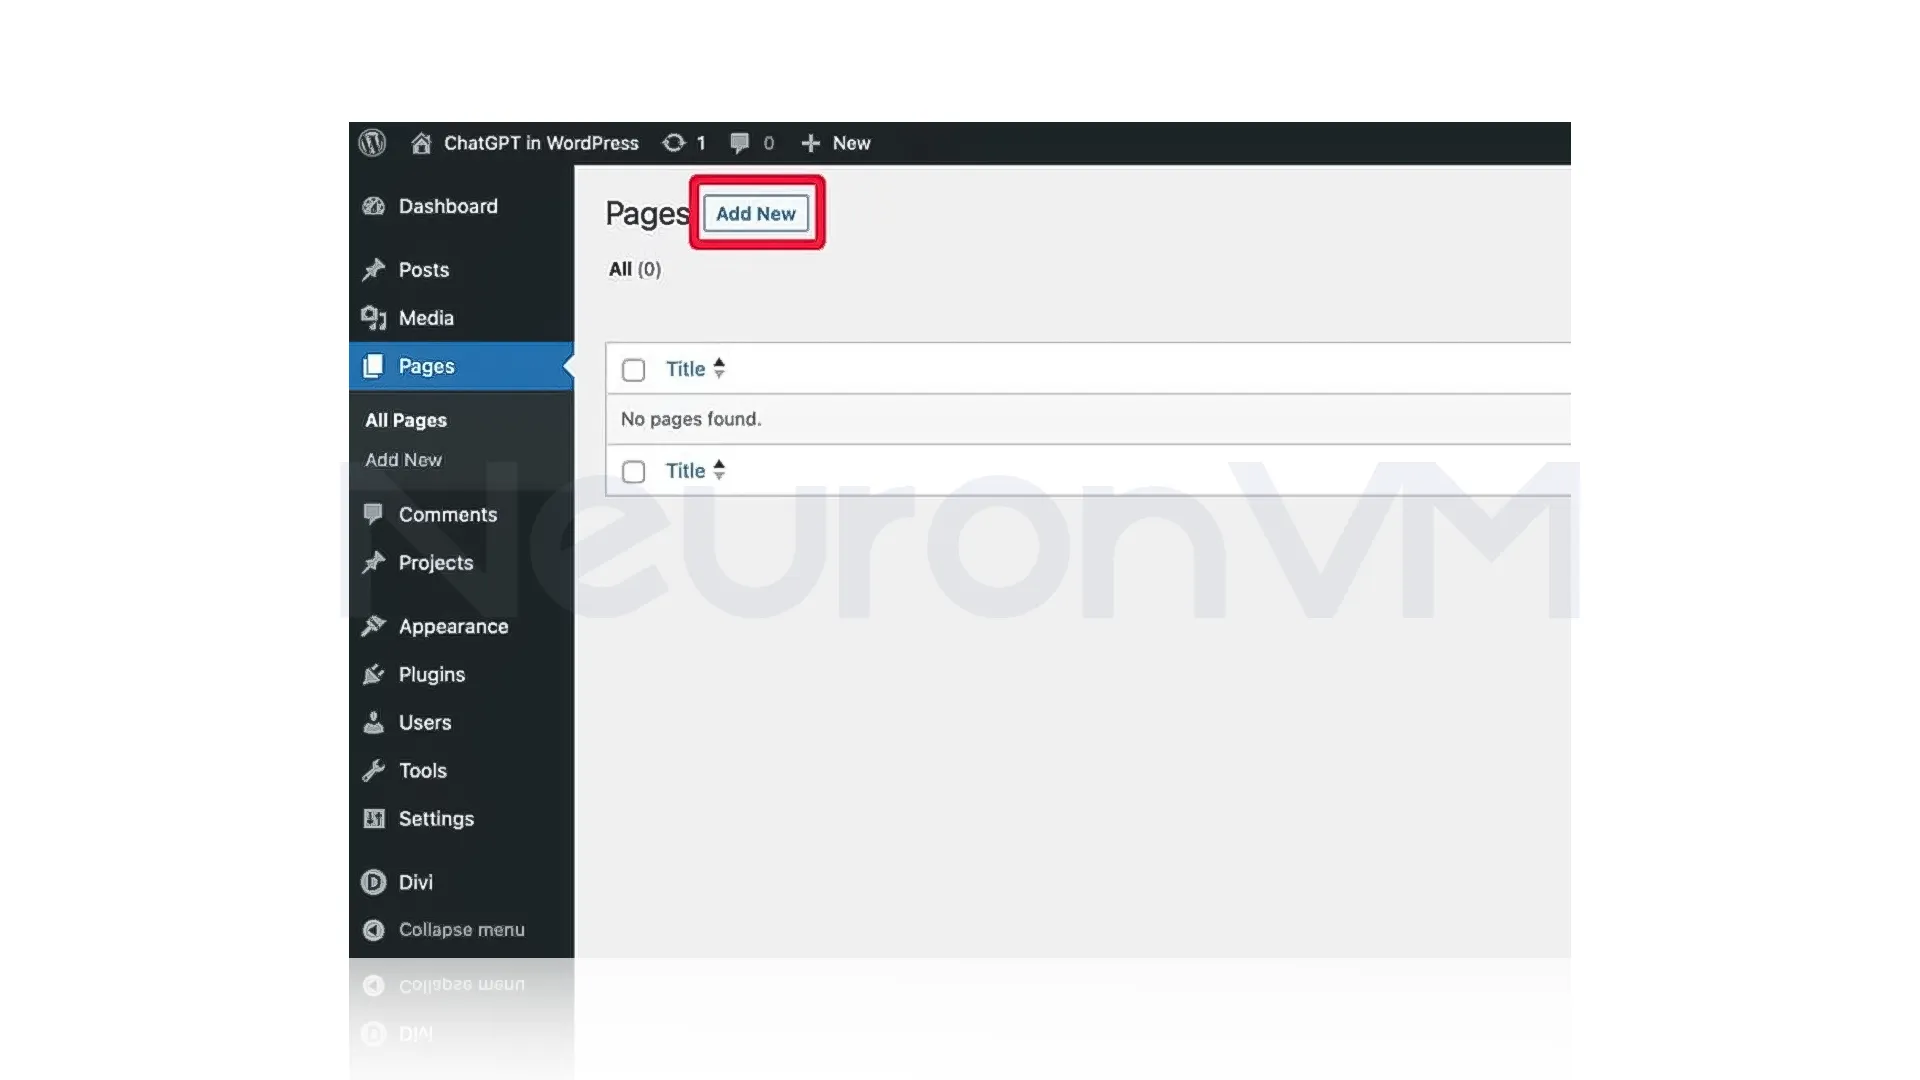
First, give your new page a title, then click on the “Use Divi Builder” to activate Divi AI’s features.
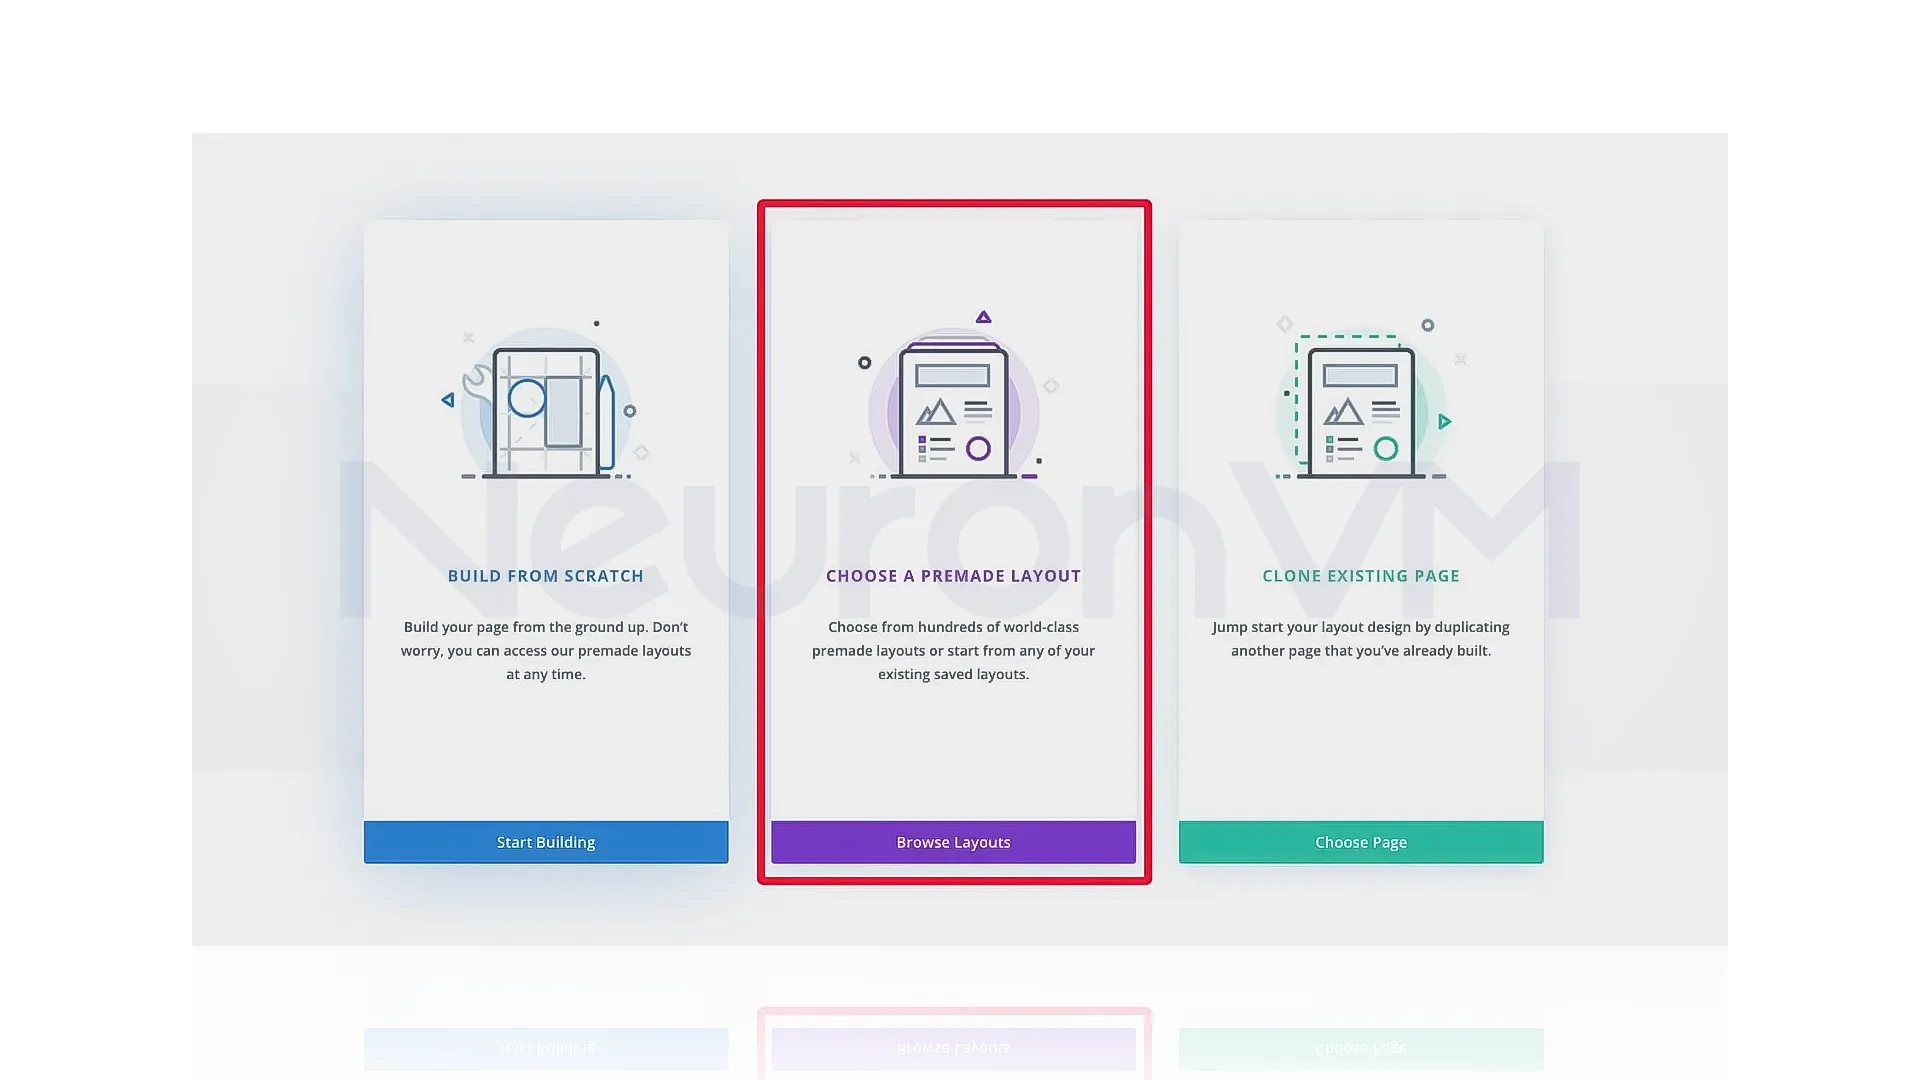
At this point, you can either start with a blank page or you can use a pre-designed layout, in this tutorial we will use a pre-designed layout.
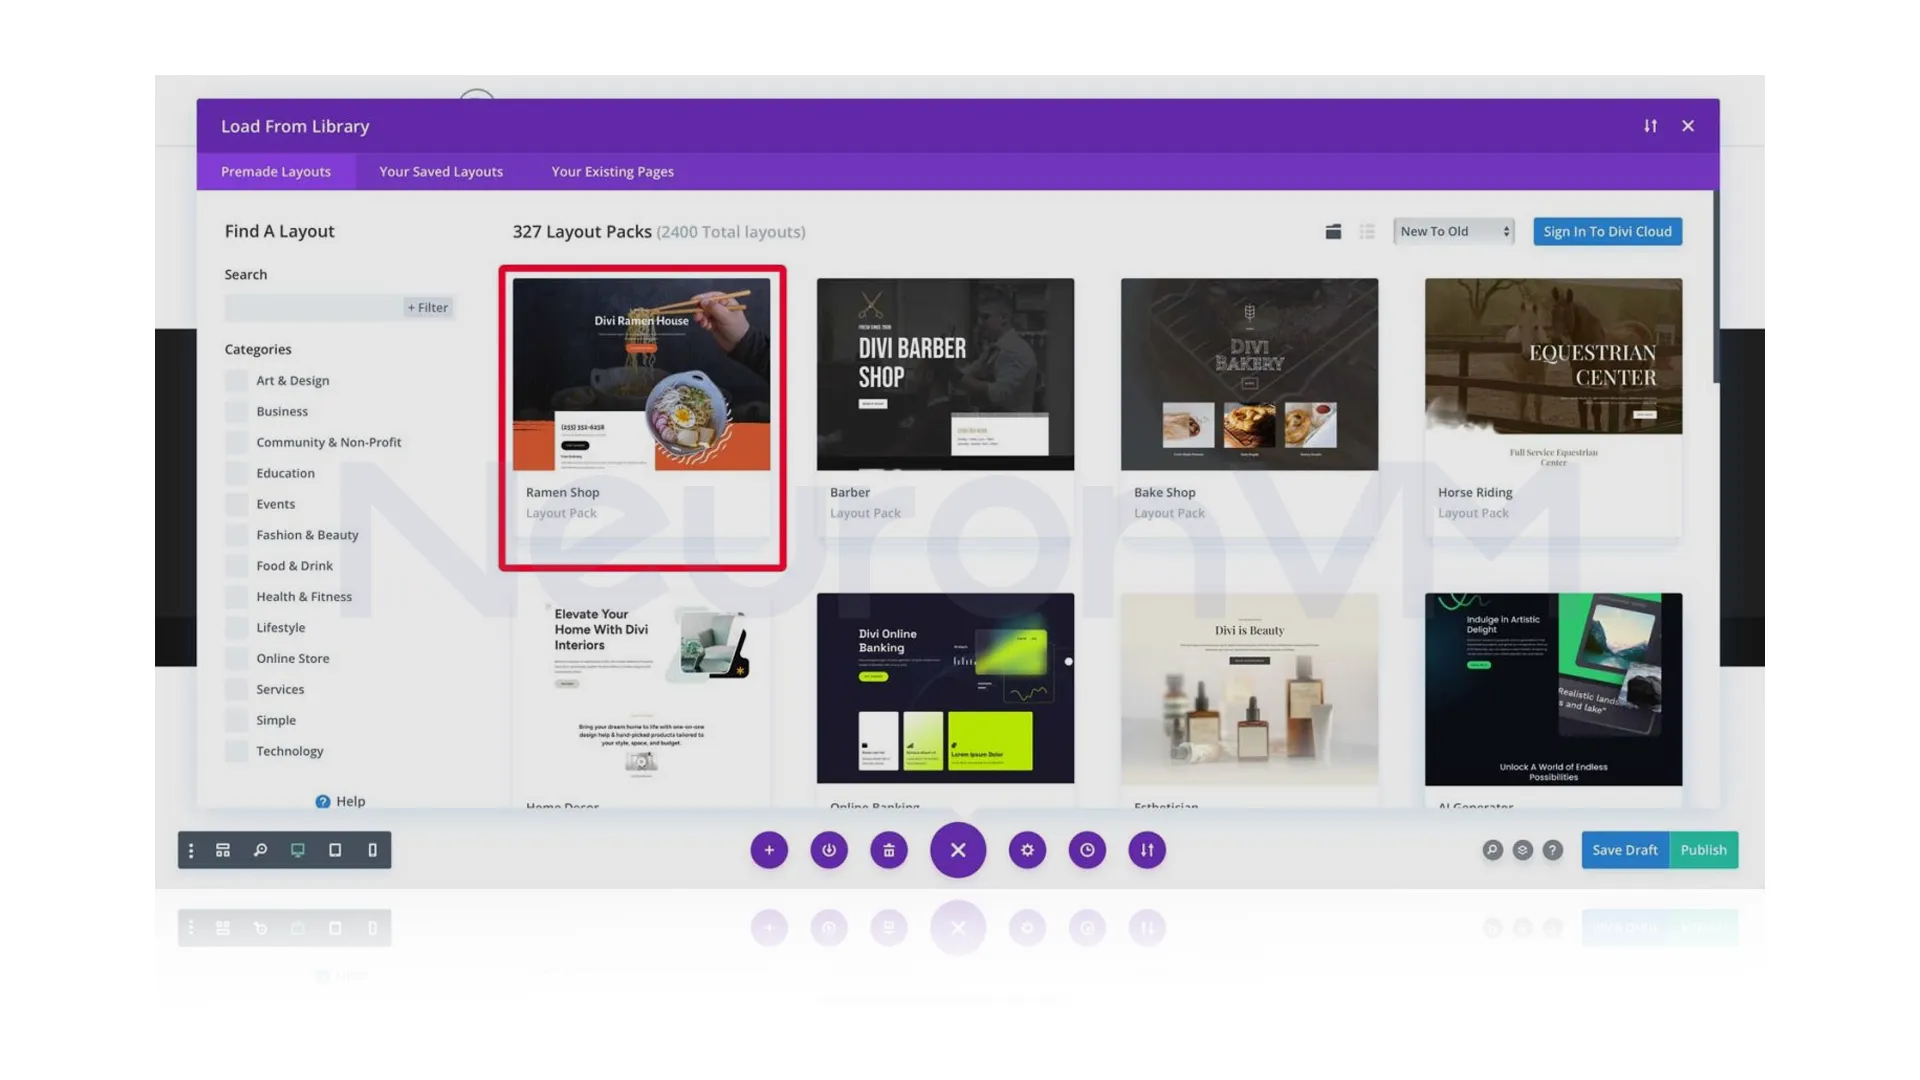
In this tutorial, we will choose the “Ramen Shop” layout pack from the layout selection.
Within the “Ramen shop” layout pack, choose the “Landing Page” layout, then click on the “Use this Layout” button.
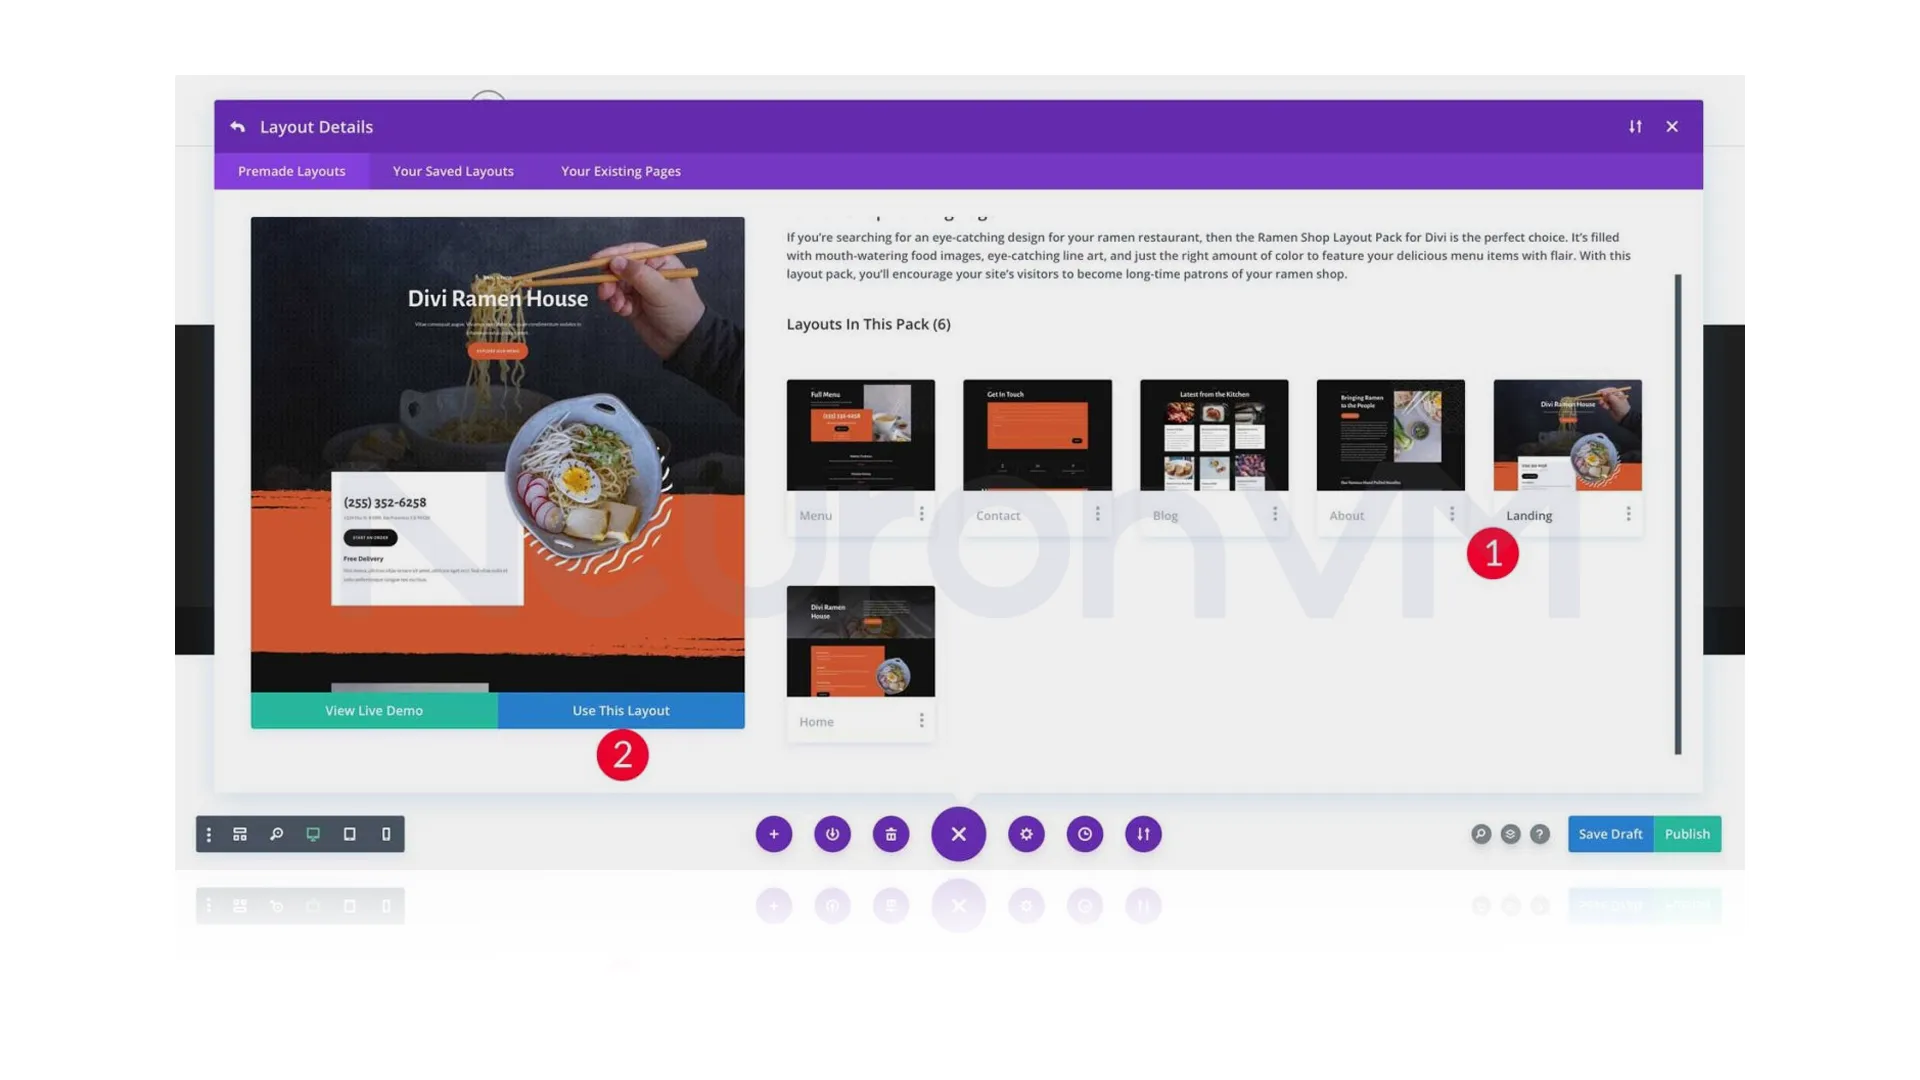
After following the previous steps, you have successfully loaded the layout to WordPress and you can start leveraging Divi AI.
Uncanny Automator
Uncanny Automator is an effective tool for automating common tasks, which you can use to create powerful workflows by combining it with ChatGPT.
Install and Activate the Uncanny Automator
Go to the Admin Dashboard and select the plugins, then click on Add New, search for the Uncanny Automator and activate the plugin.
Connecting Uncanny Automator to Open AI
After following the previous steps, installing and activating the Uncanny, you will need to connect your OpenAI account to enable ChatGPT.
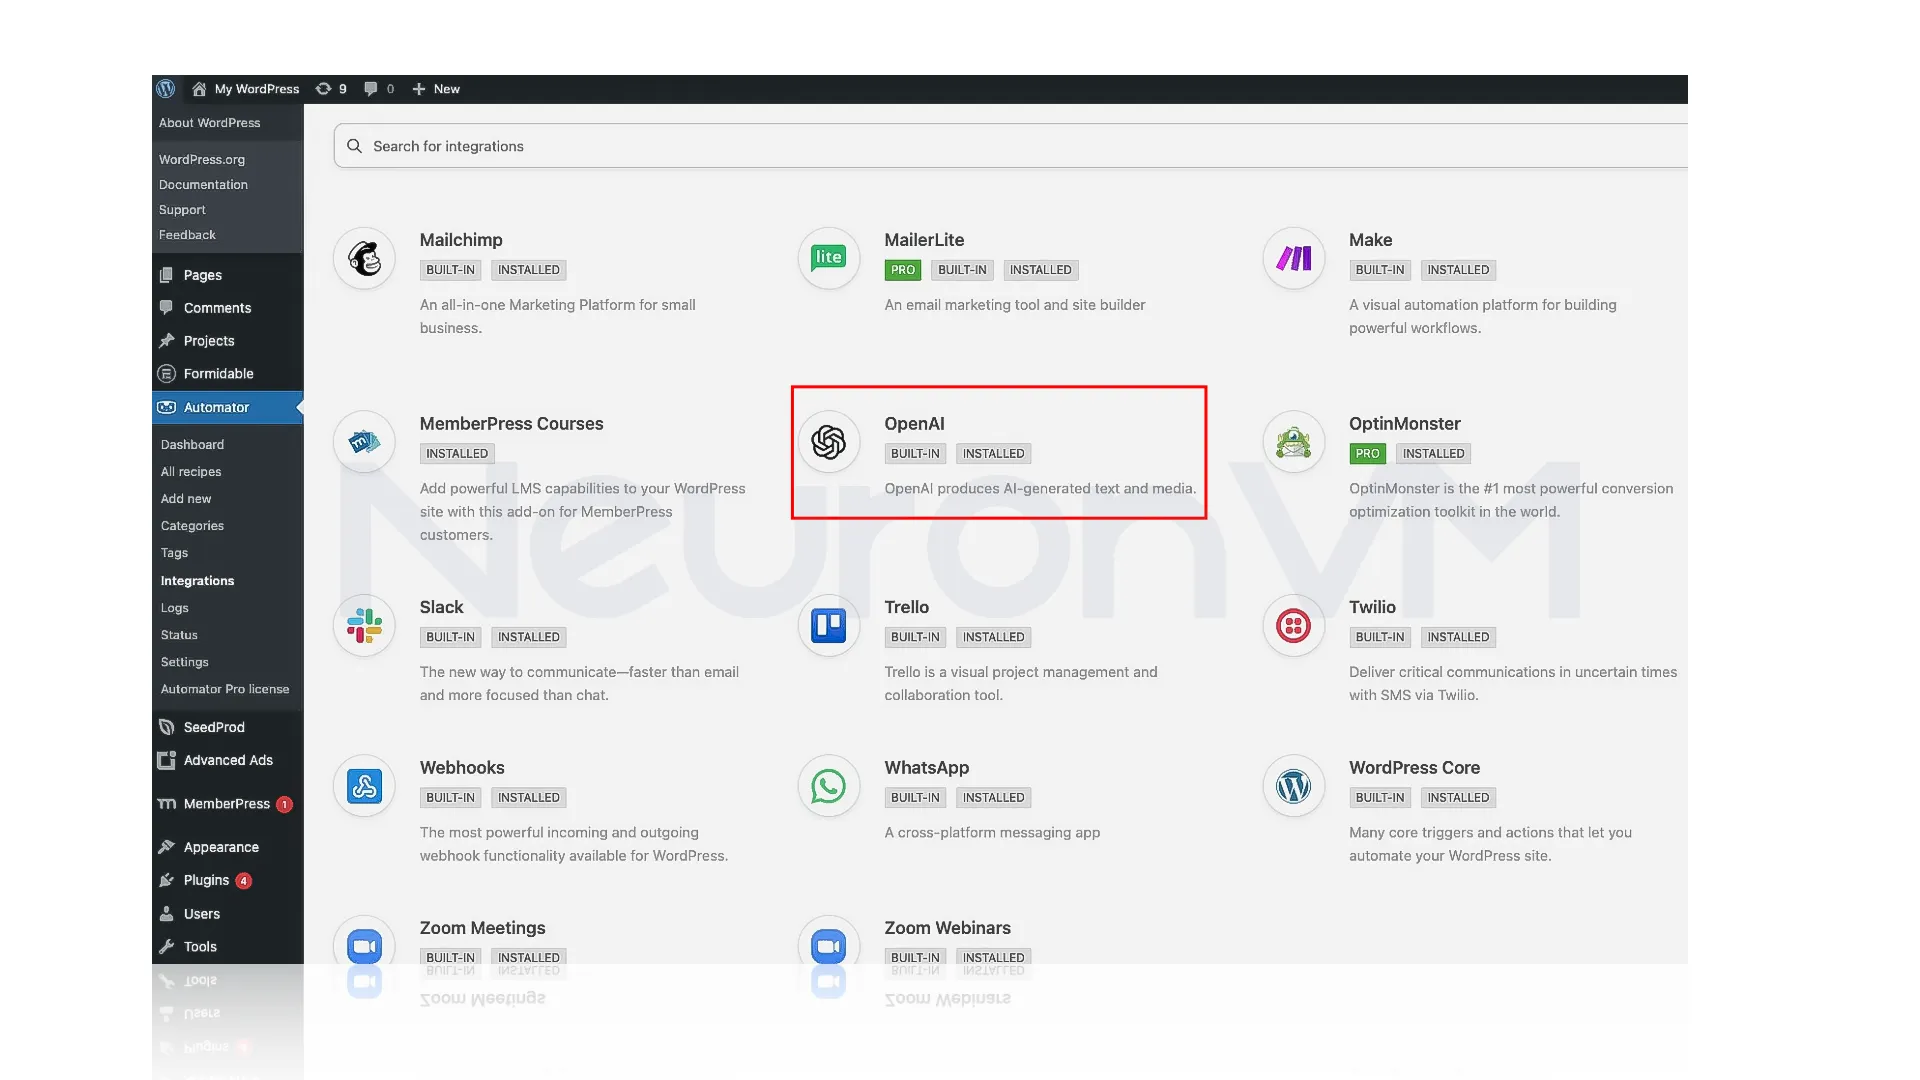
In the available plugins section, search for the OpenAI icon and select it, you need to log in to your OpenAI account, and navigate to the API key section, enter it, and the OpenAI icon should be active.
Discover Important Use Cases of ChatGPT in WordPress
There are many benefits for using ChatGPT in WordPress, we will list the important ones for you, use ChatGPT to get fresh topics, and structure your posts, you can also write or fix your written codes. Create custom tools with ChatGPT, get inspiration for your content, generate website copy and more. Did you know you can also use ChatGPT for optimizing your WordPress website, such as optimizing titles and descriptions.
Conclusion
Adding ChatGPT to your WordPress site is easier than you think, you can use Divi AI to write text quickly, or you can use Uncanny Automator to automate some of your texts, ChatGPT can make your work so much easier by writing, SEO, and much more, if you have a WordPress Website, you can make a big change in your work, check out our website for more intresting tutorials.
You might like it
Windows Tutorials
How to add details to Sub Folders in Windows 10

Windows Tutorials
How to Hide File Extensions in Windows (Why You Shouldn't)
Windows Tutorials
How to Find Eclipse Files in File Explorer on Windows 10