How to Install WAMPServer on Windows 10 (Step-by-Step)
 10m
10m
 0 comments
If you are a web developer, testing PHP and MySQL projects locally before going live is necessary, WAMPServer is an excellent solution that combines Apache, MySQL, and PHP into a single, easy-to-use package for Windows, while many guides simply show installation steps, in this tutorial we go further, offering practical tips, expert tips, and also common issues to help you create a reliable local development environment for yourself.
What Is WAMPServer and Why Should You Use It?
WAMPServer stands for many OS like Windows, Apache, MySQL, and PHP, and it also lets you run a full web server on your Windows PC, Unlike traditional Linux setups you see, you don’t need to manage separate components because you get an all-in-one solution, here is why developers choose WAMPServer:
1- Your web apps run directly on your PC, avoiding delays from uploading files to a remote server.
2- Although Apache, PHP, and MySQL were originally built for Linux, WAMPServer makes them work perfectly on Windows.
3- You can configure all Apache, PHP, and MySQL settings to match your own production environment.
4- Try new code or test updates without risking your live website.
Tip: If you are a macOS user, we recommend that you check out MAMP if you want a similar local server experience.
Step-by-Step: Downloading WAMPServer On Windows 10
Step 1: Download the Right Version of WAMPServer
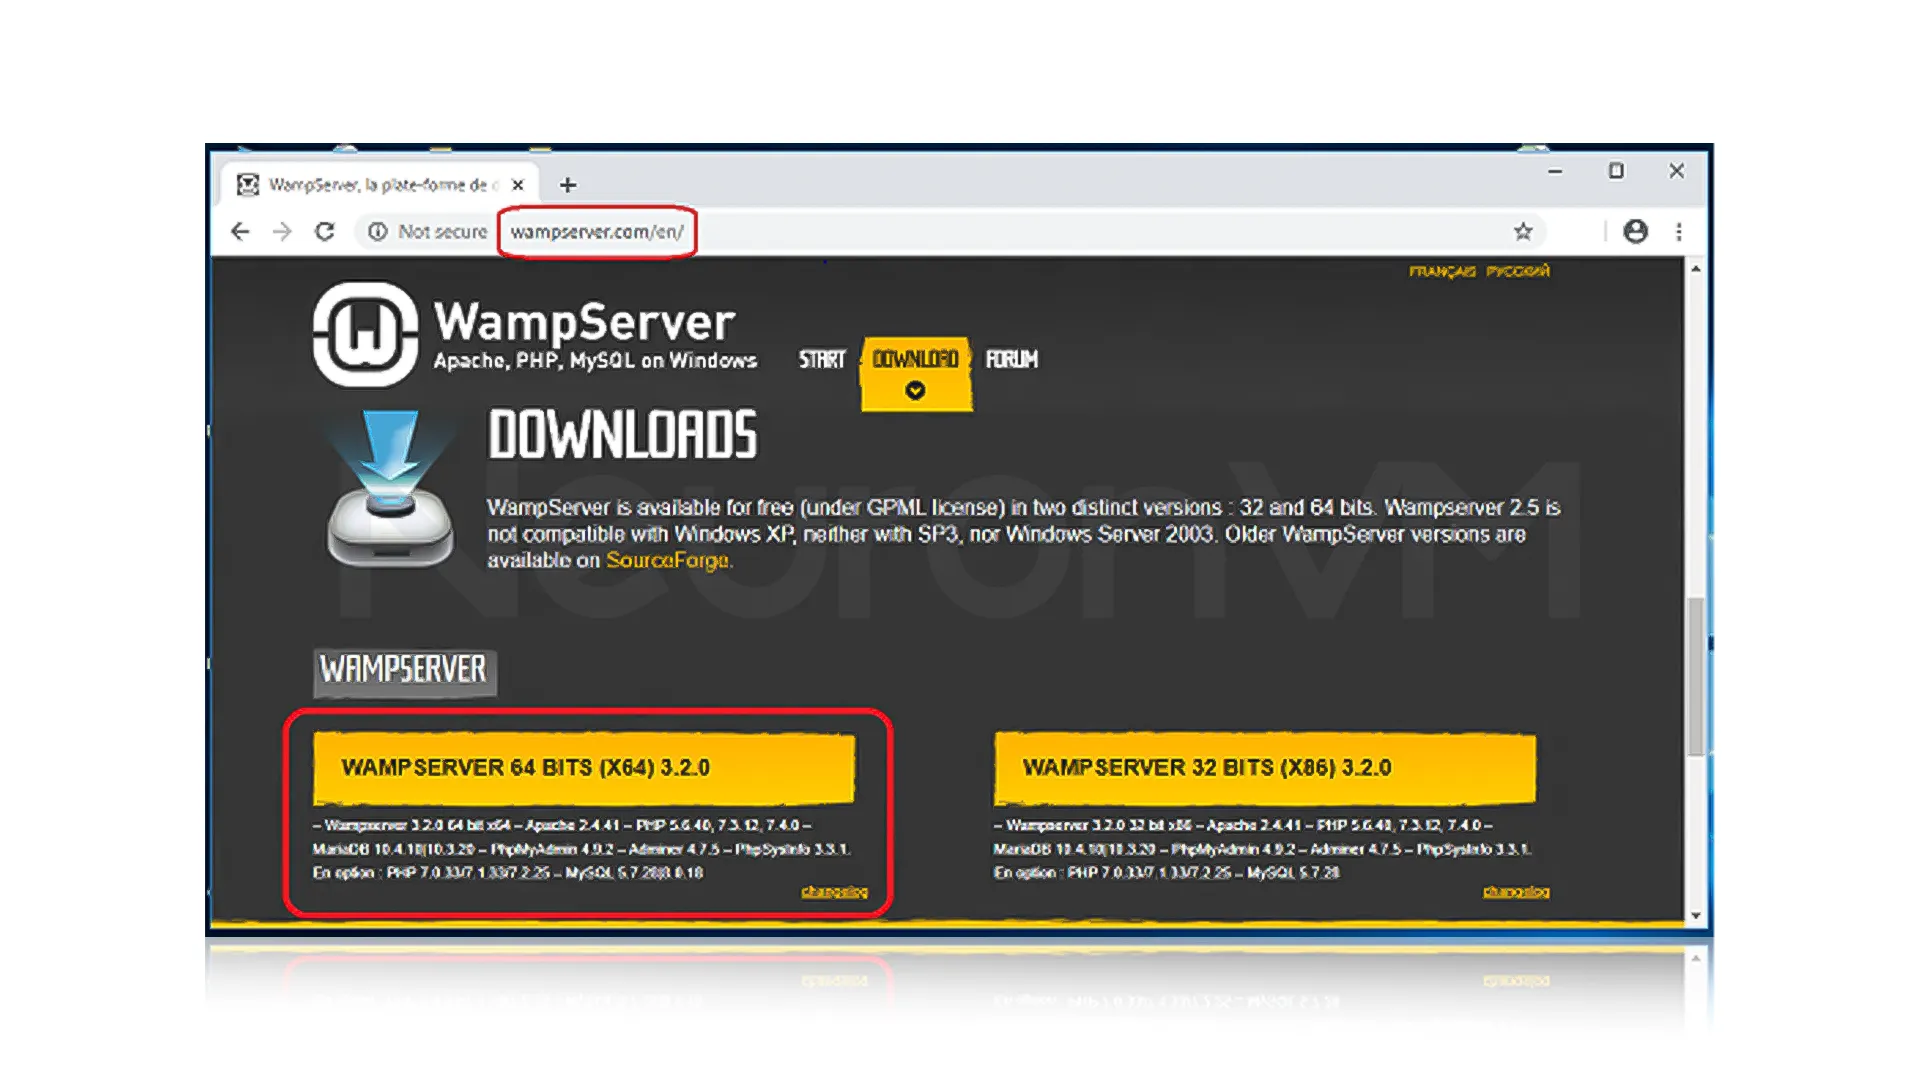
Head over to the official WAMPServer website, where you’ll find two download options:
- 64-bit (x64) version
- 32-bit (x86) version
Easy Tip: To check which one your system supports, right-click This PC > Properties, then look for System Type, once you’ve confirmed your system type, Click on the matching download link.
Save the setup file to a location you can easily find; you can save it in your Downloads folder or Desktop.
Step 2: Install WAMPServer
Run the Installer:
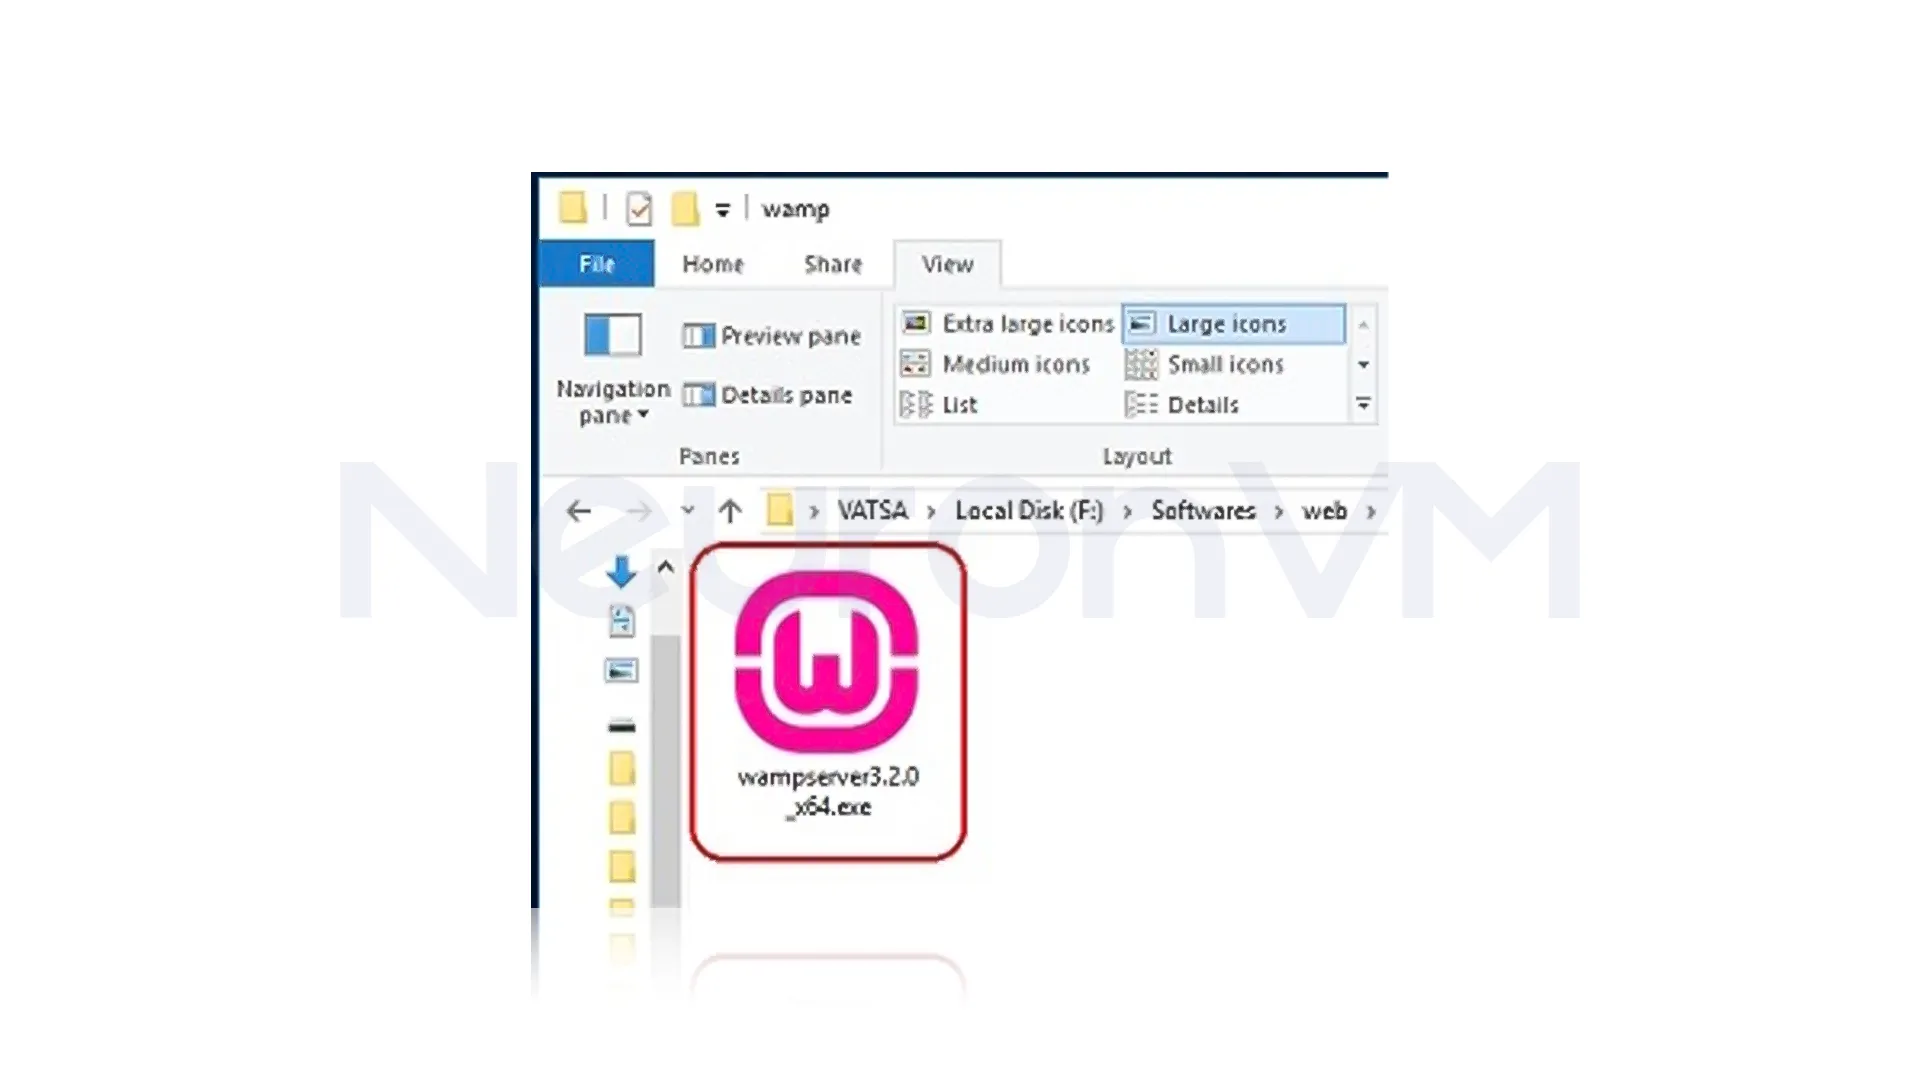
Double-click the setup file you downloaded, If prompted by Windows, confirm that you want to allow changes.
Tip: If you want to avoid permission issues with Apache or MySQL, try to run WAMPServer as an administrator.
Choose a Language:
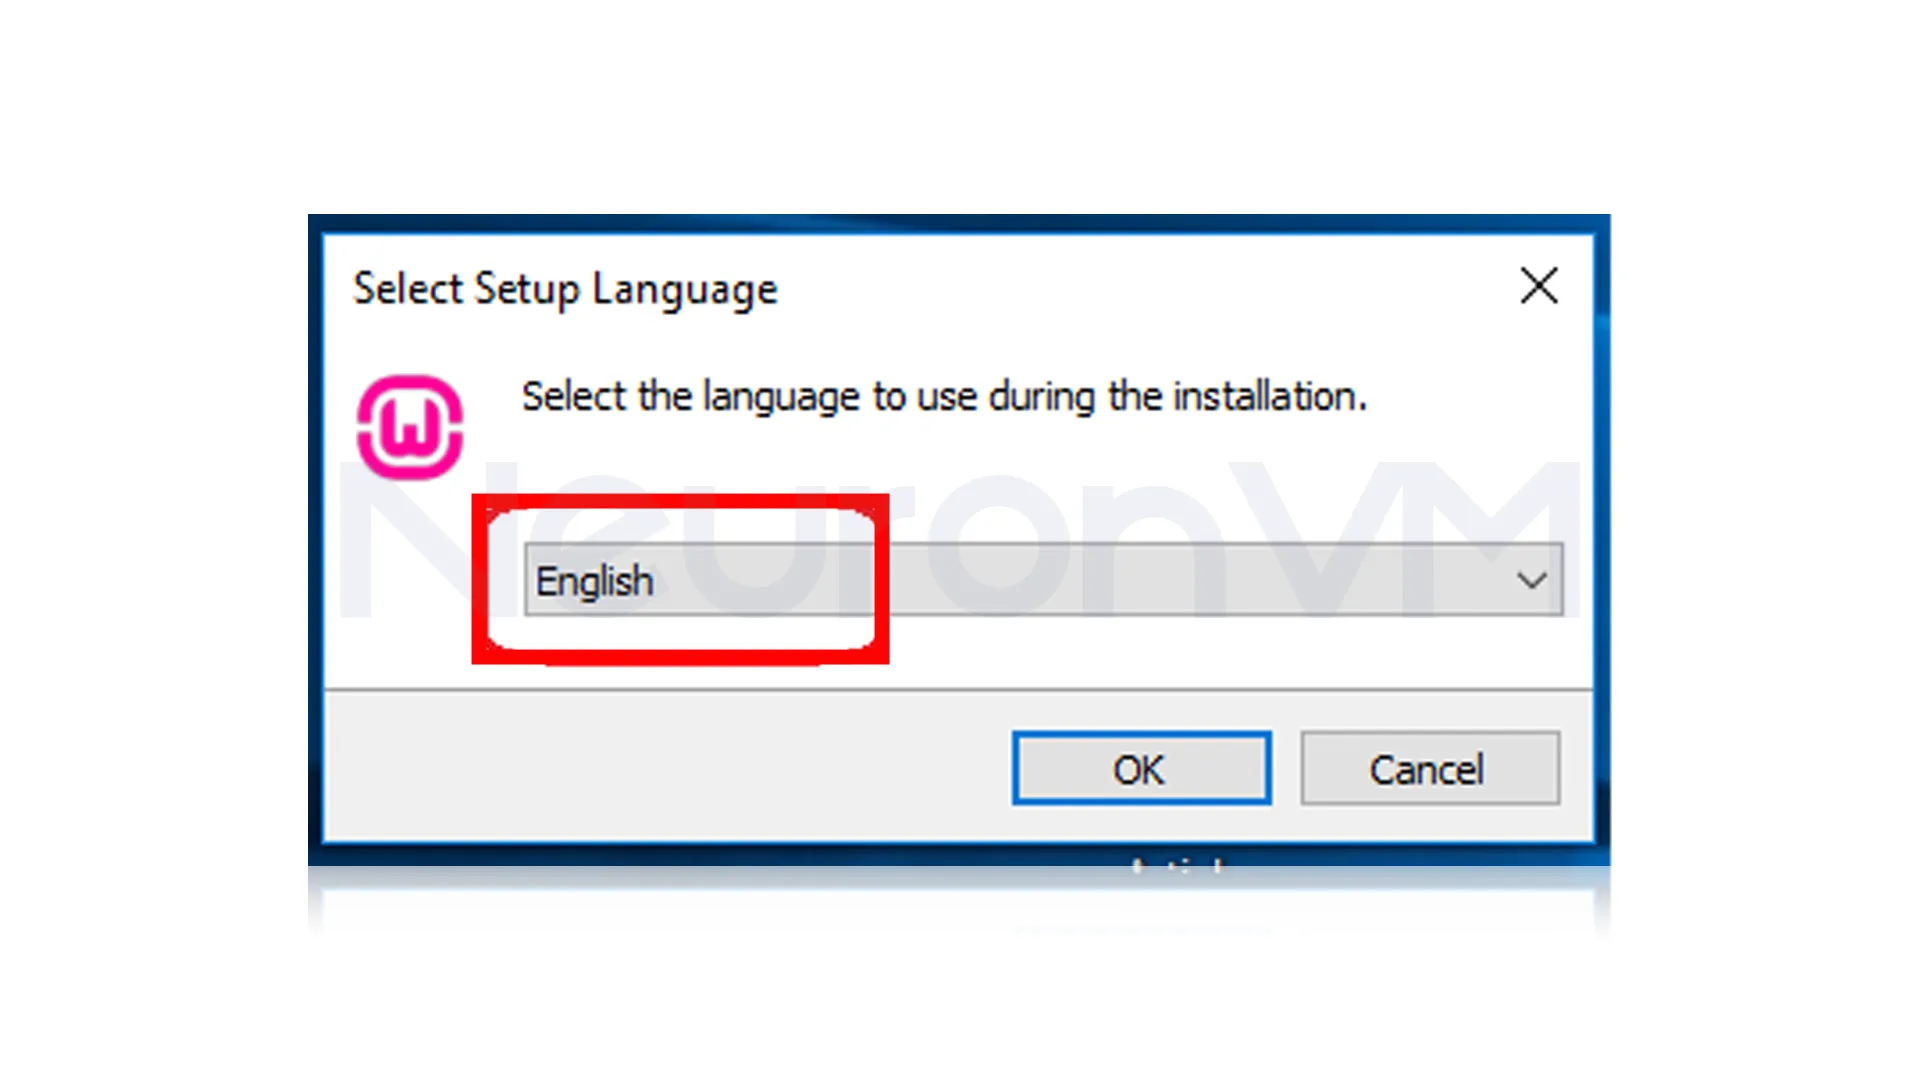
Pick the language you want for the installation process (English is selected by default).
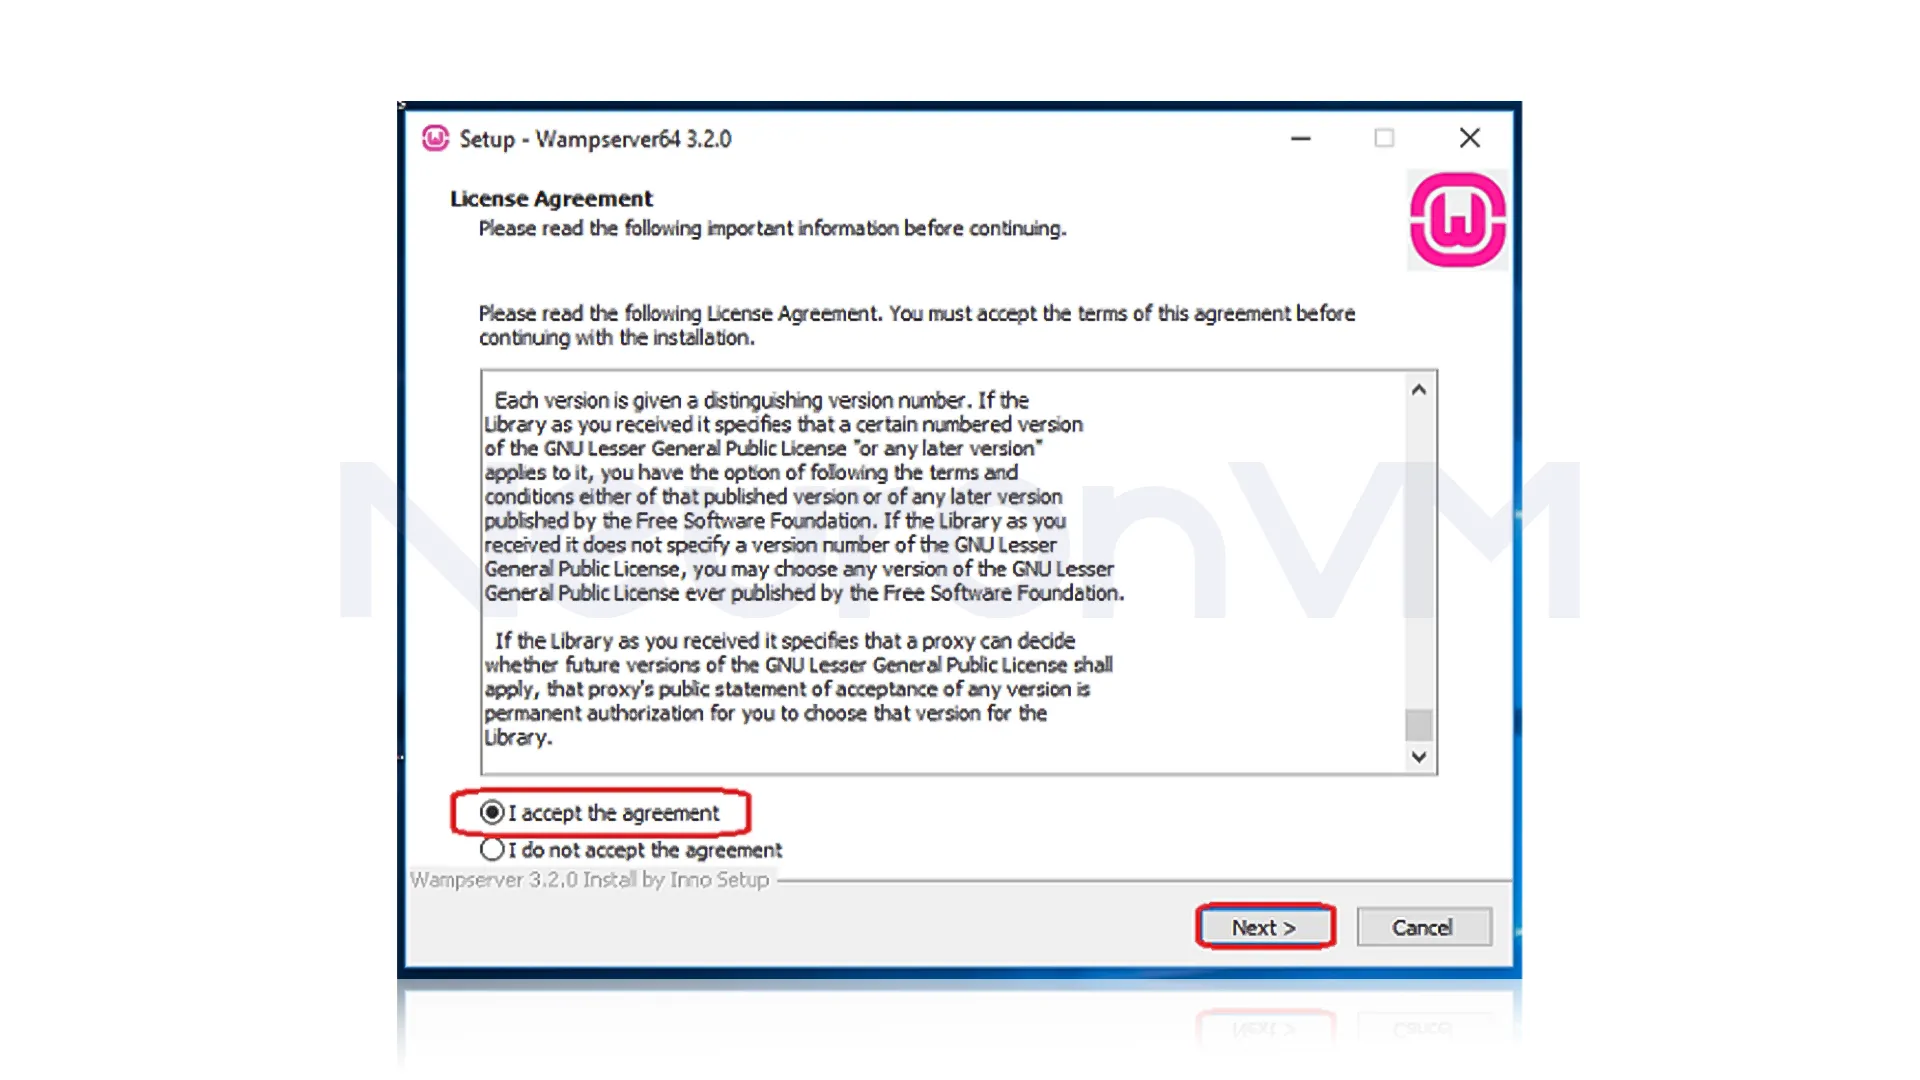
Accept the License Agreement:
Check the box to accept the terms and click Next to continue.
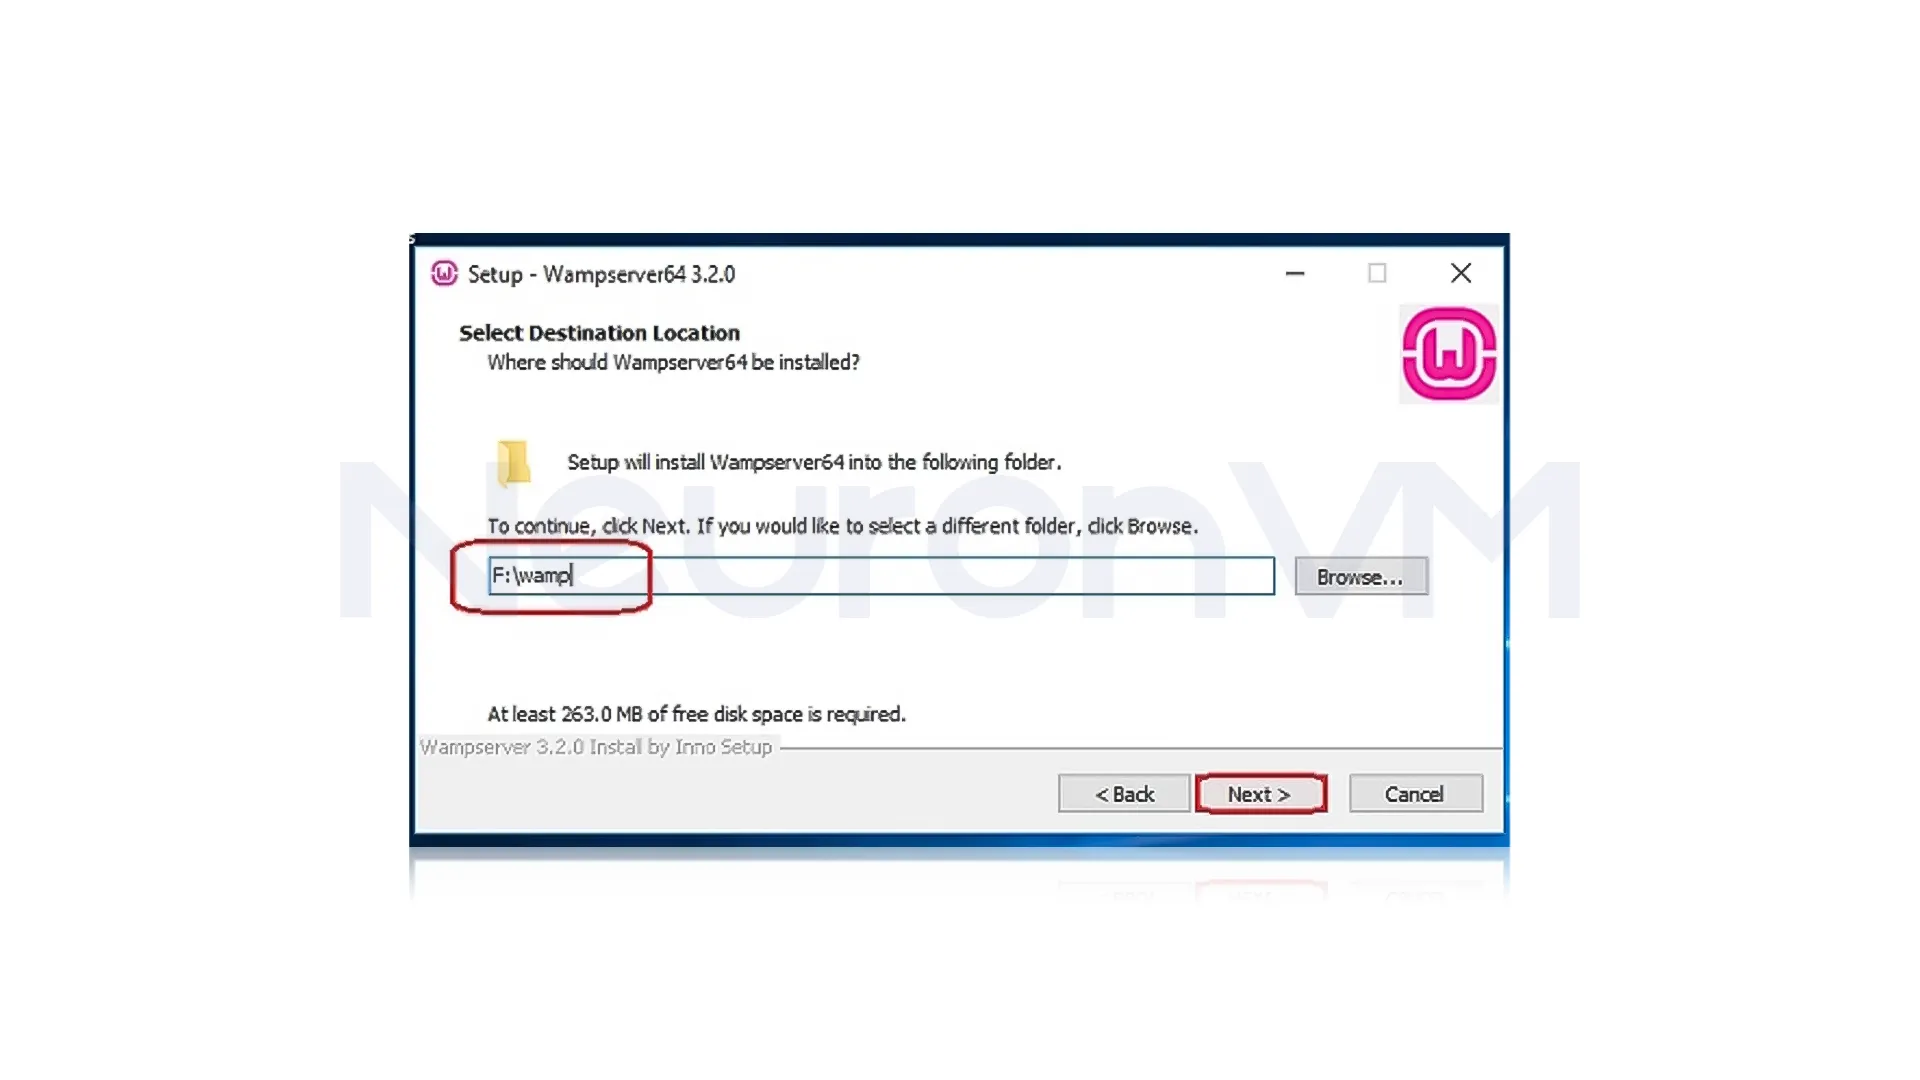
On this window, you should choose a destination folder for your file and click on the Next button:
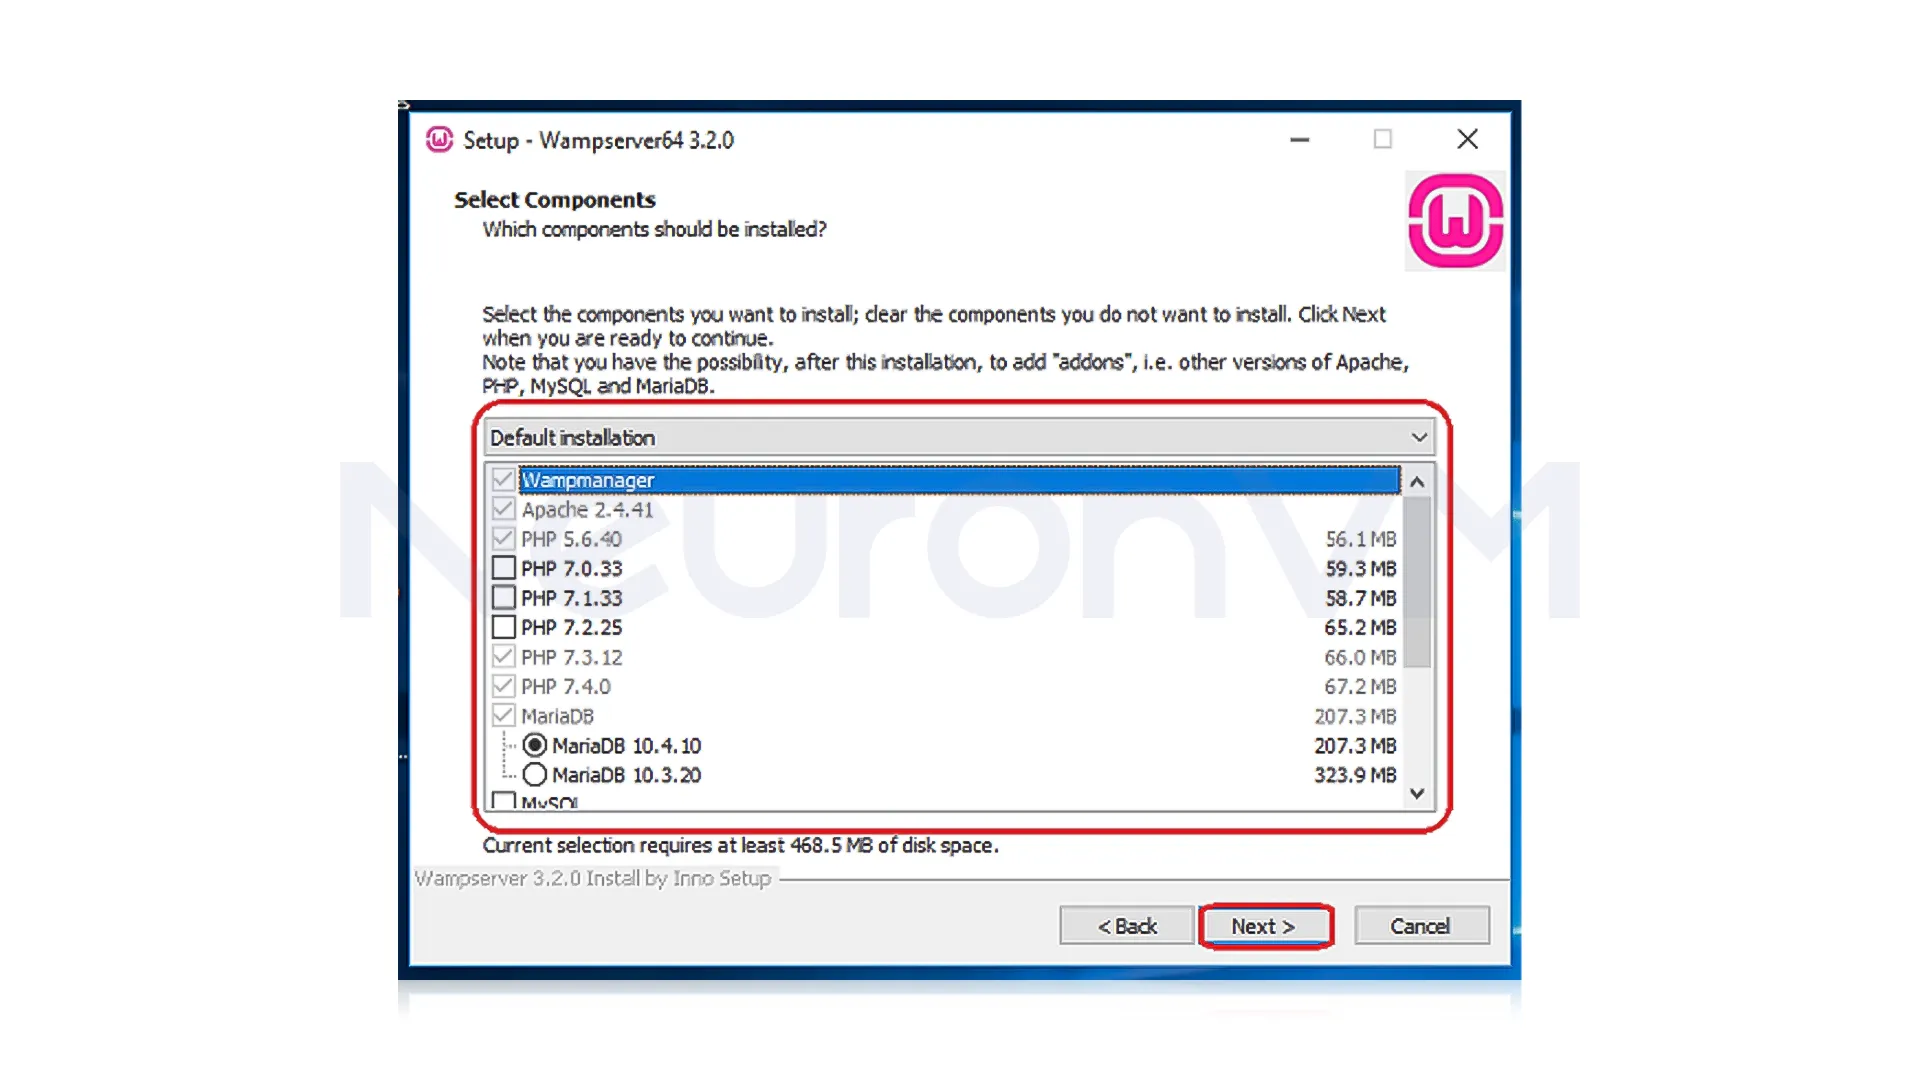
Verify Required Components:
It’s time to select the components that you need in your WAMPServer so, mark your preferred ones and click Next:
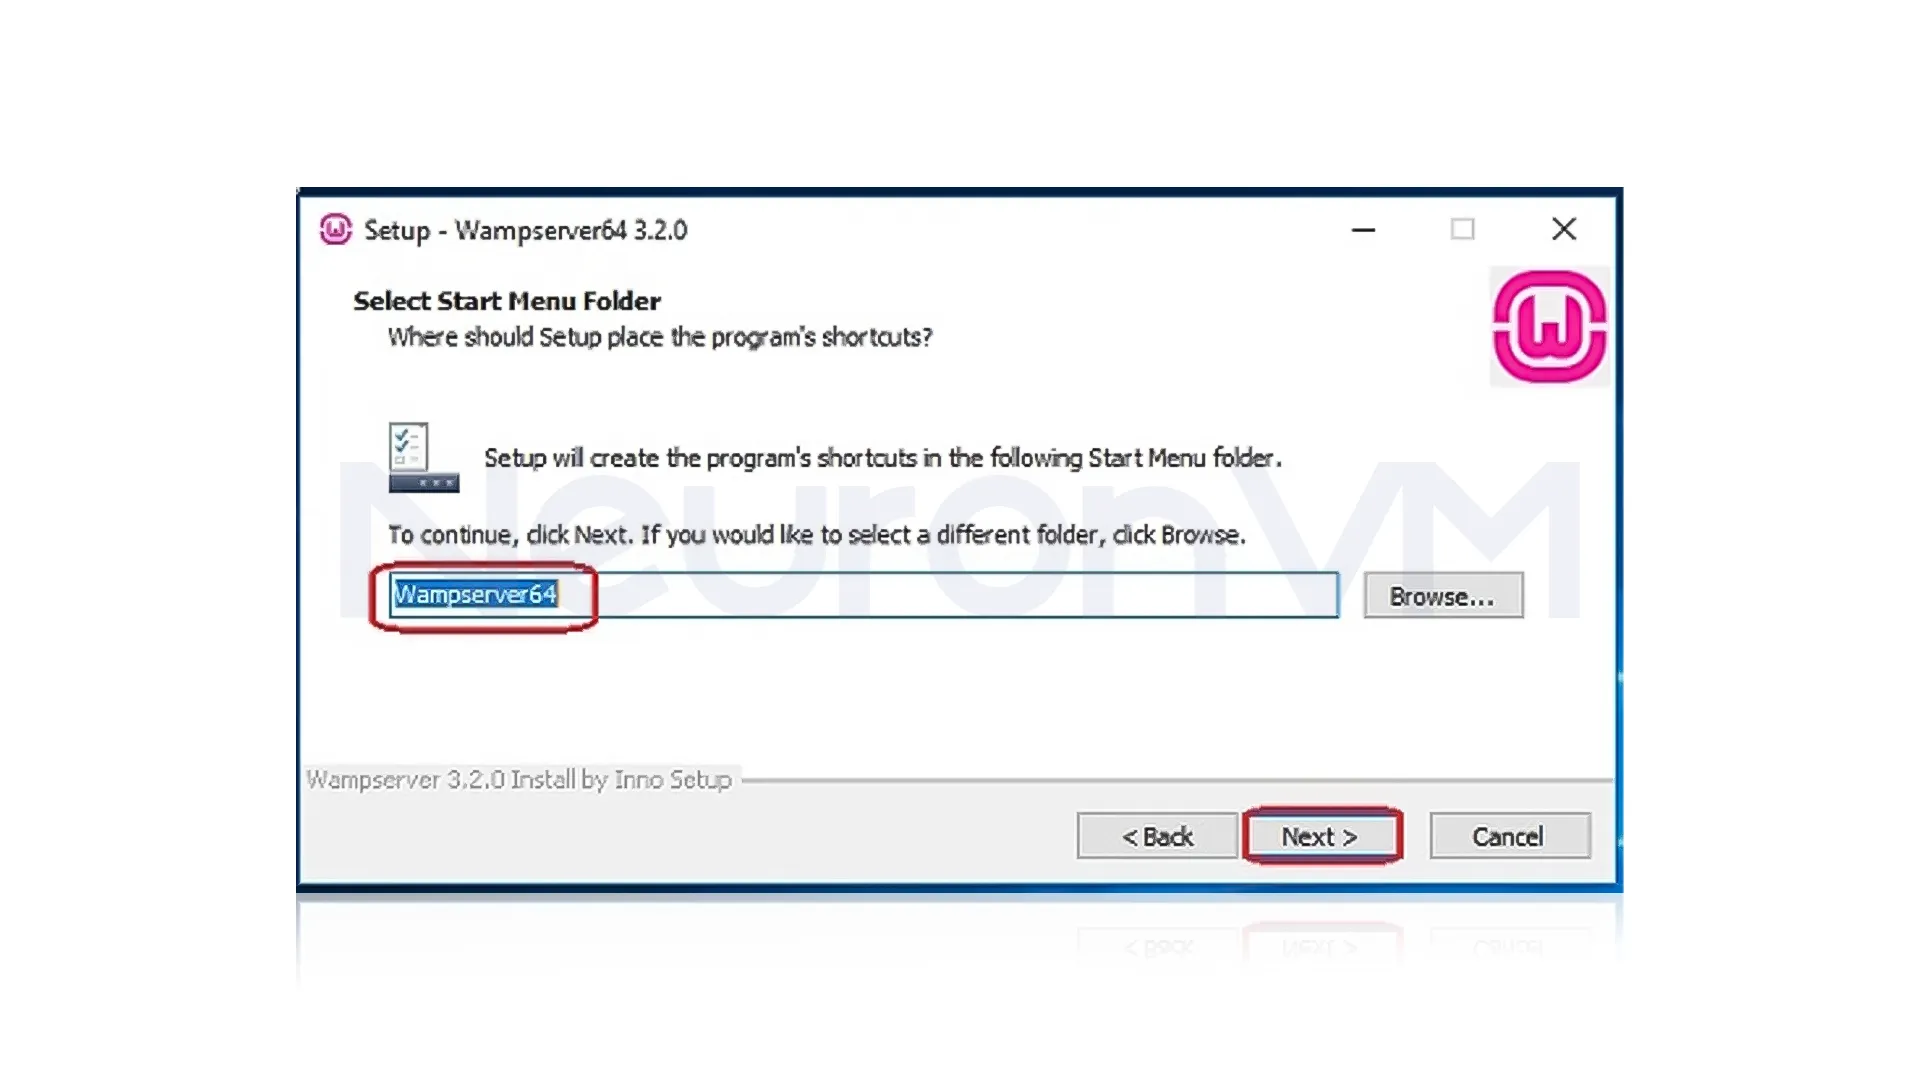
Now you should select the Start menu folder:
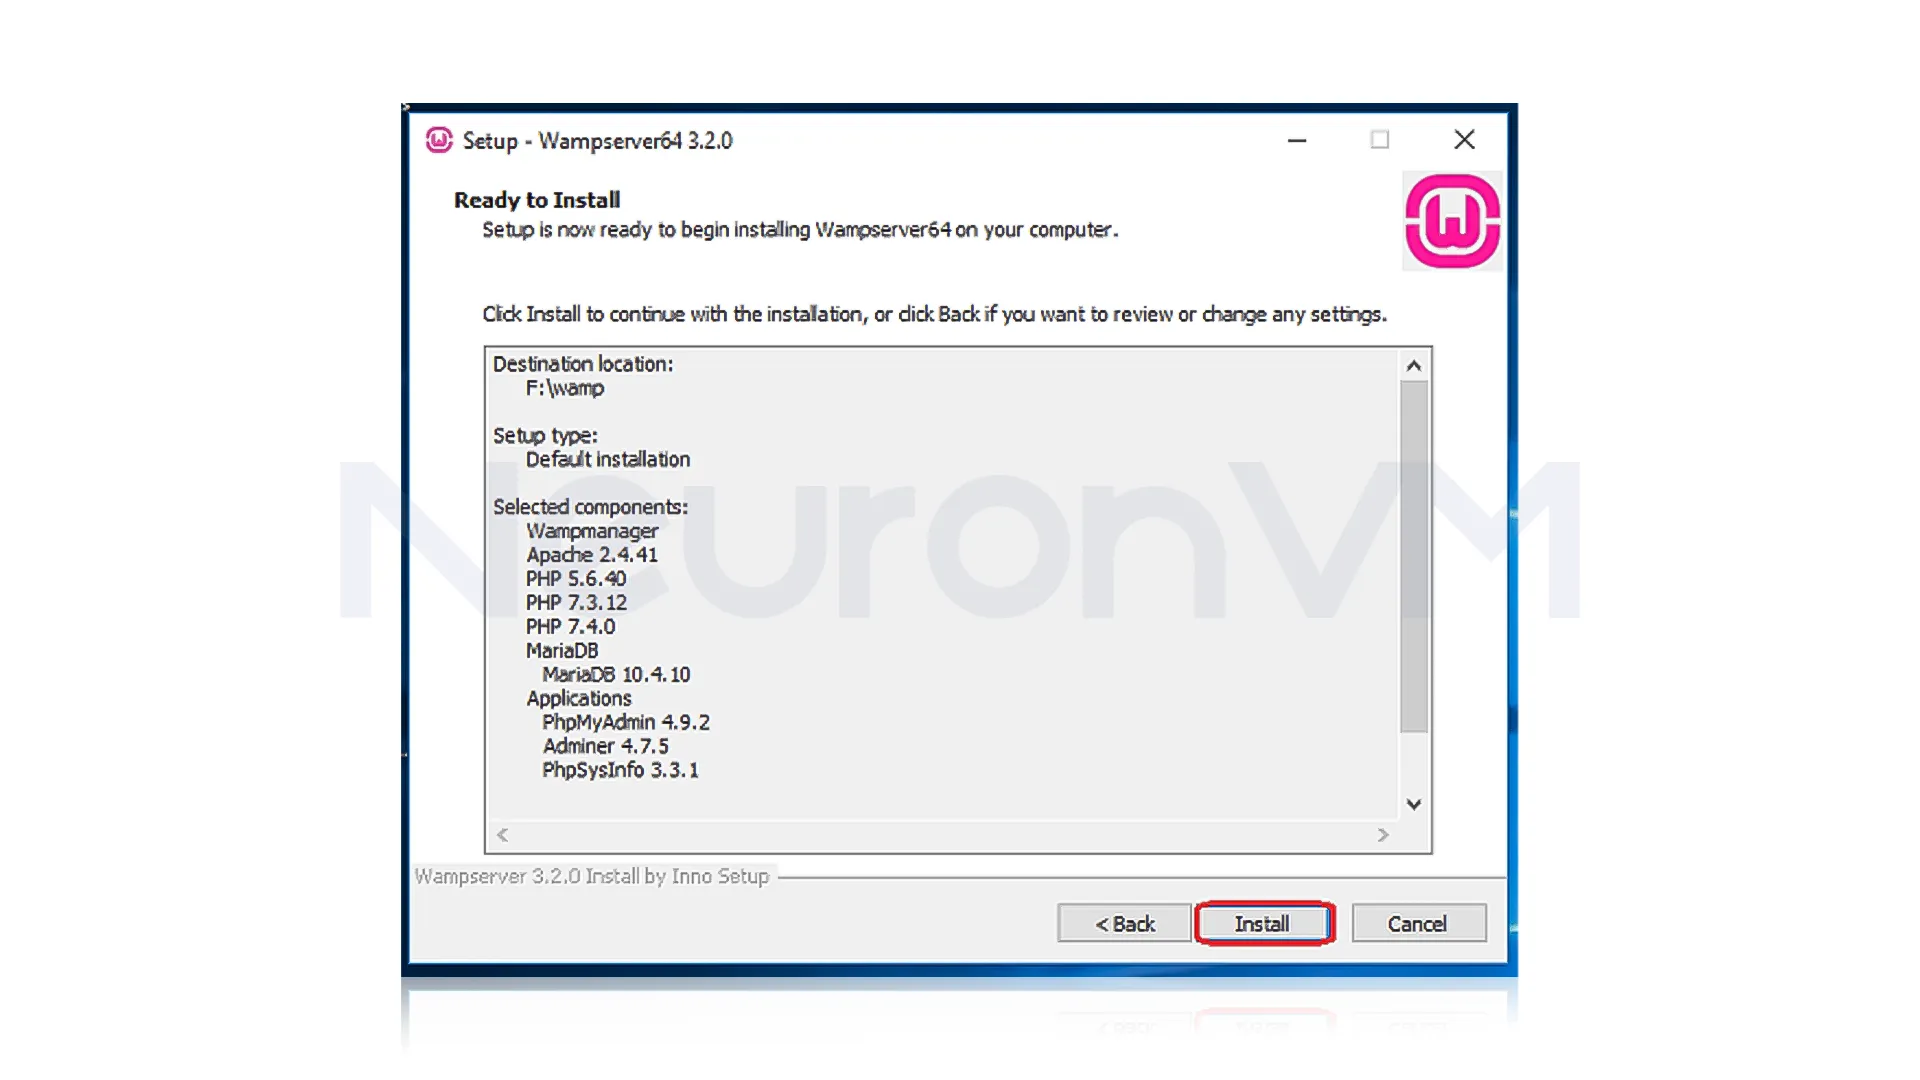
Here, you will see the installation window. So, press the button to install the WAMPServer file on your system:
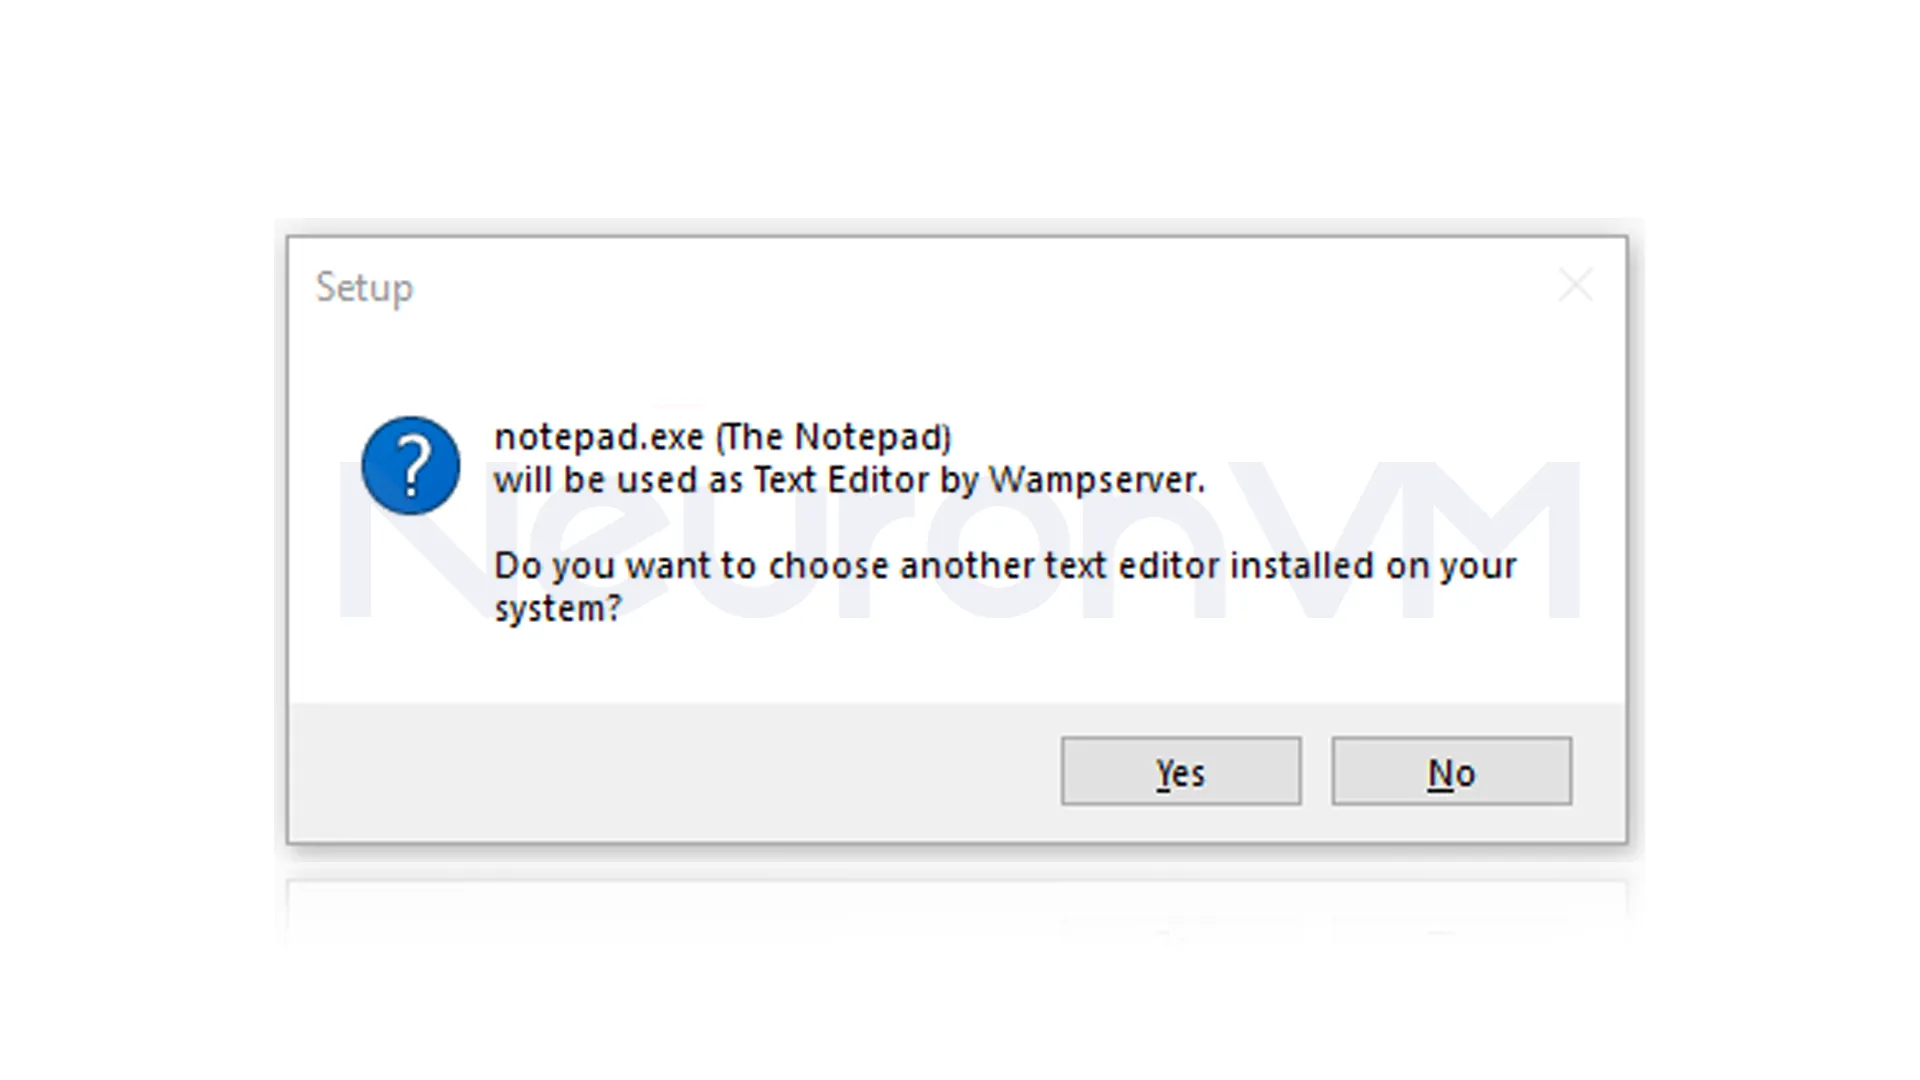
Set Default Browser and Editor:
WAMP will ask what browser and code editor you want it to use by default, You can select your preferred apps, or stick with the default options (these can be changed later too).
Complete Installation:Click Install and let the setup run, When it’s done, click Finish.
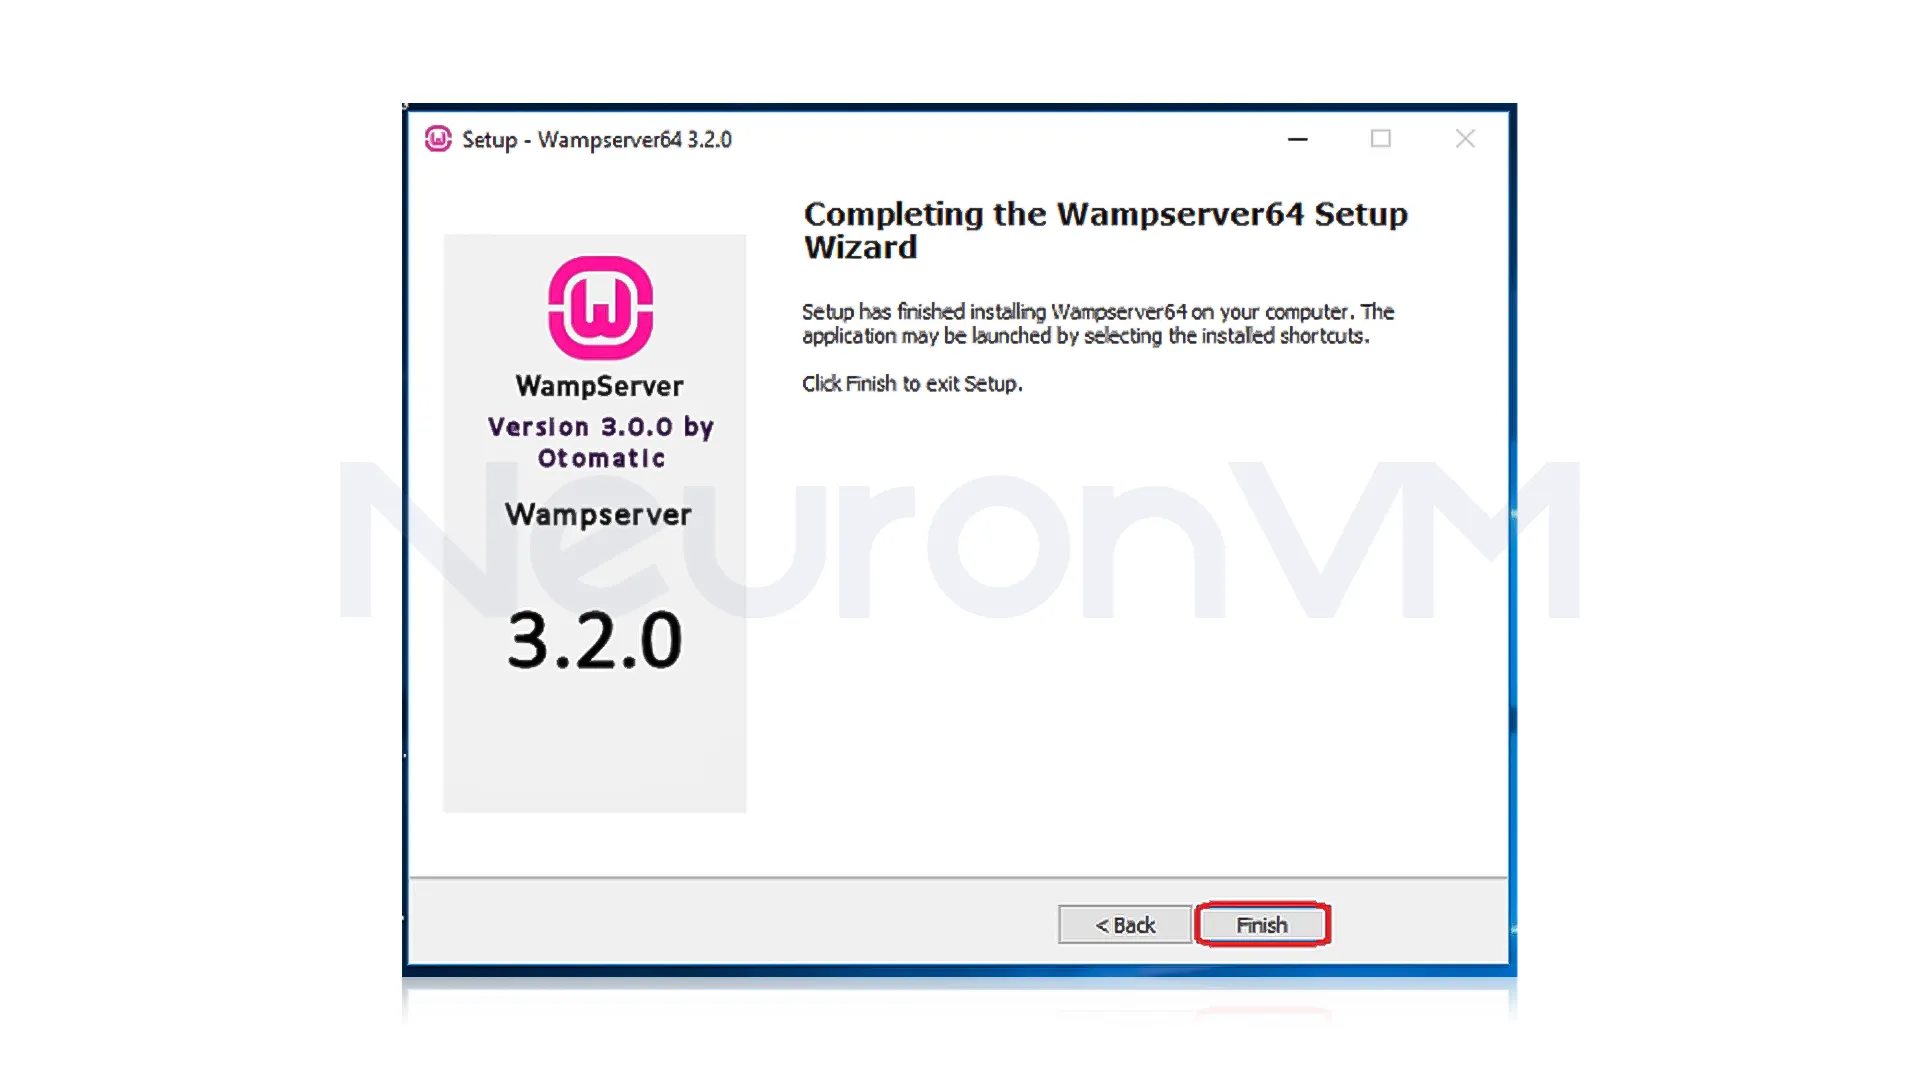
Done! Now you have a WAMPServer on your system.
WAMP vs Laragon vs XAMPP: Pros, Cons, and Which One You Should Use
The three popular local PHP environments are XAMPP, WAMPServer, and Laragon, based on people’s choices, XAMPP works on Windows, macOS, and Linux, so it’s a great option if you use different systems, WAMPServer is made only for Windows and is very simple to install and use for PHP and MySQL projects, Laragon is more advanced and comes with extra tools like Git and Composer, it’s especially good for Laravel developers because it’s fast and has built-in features that save time.
Common Issues and How to Fix Them
Even experienced developers can run into trouble, but there is no need for worry because here’s what to watch out for:
1- Skype or other apps might use port 80 to fix the problem, close any apps that might be using the same port as Apache, or change Apache’s port to a different number.
2- Make sure Windows Firewall allows WAMPServer to work properly.
3- Some apps need a certain PHP version; you can use the WAMPServer’s version manager to switch to the right one.
4- If you don’t run WAMPServer as an admin, Apache might not start.
Tip: Always check your local server by visiting http://localhost/ before using it for real projects.
Bonus Tips for Developers
WAMPServer simplifies switching between different PHP versions for you, and because of that you can easily test if your application works with each one, to keep your projects well-organized, you can set up custom domain names like “myproject.local” for easier access, also, make sure to back up your database using phpMyAdmin to keep your data safe while testing.
Real-World Example: How WAMPServer Helps Developers
Picture a freelance web developer working on several client projects at once, Without a local server, they would have to upload files to a live website for every test they run, which takes so much time and comes along with many risks and errors, with WAMPServer on their Windows laptop, they can quickly set up a local environment with Apache, MySQL, and also PHP in just a few clicks, one time i was working on a online store and it had a complicated database but by working with WAMPServer, i was able to test everything locally, and i just fixed everything without even touching the live site.
Conclusion
WAMPServer is more than just an installation, because it’s a more robust local development environment that will save you time and allow you to test projects safely, by following this guide and applying the expert tips that we mentiond earlier, you’ll have a setup that mirrors a live server and lets you focus on writing code rather than troubleshooting your environment, Whether you’re learning PHP, testing web apps, or running multiple projects, WAMPServer provides everything you need to work safely on Windows.
You might like it
Windows Tutorials
How to Reset Windows 10 Password Without Logging In
Windows Tutorials
How to Access Virtual Memory Settings in Windows 11
Windows Tutorials
How to See All Dropbox Files on Windows 11 (Step-by-Step)


