How to Install VPN on VPS Script - Openvpn on VPS

 10m
10m
 0 comments
In this title, we will accompany you with the complete steps to install VPN on VPS Script. As you know, privacy is very important and without observing security tips, you cannot consider a connected and healthy communication in today’s technology era. For this reason, many users have become accustomed to using VPNs to access the Internet, bypass geographic restrictions, and protect online activities. In this chapter of NeuronVM, we will also explain the installation of Open VPN on VPS Script step by step for you to experience a quick setup process.

How to Install VPN on VPS Script – Openvpn on VPS
The installation process of install VPN on VPS Script that we have considered in this tutorial is very easy and will be done in only 5 steps below:
1- Connect to the server
First, when you place your VPS order to install VPN on VPS Script, you will receive an email notification. This email should include information such as the IP address of the server, login and password of the server administrator (root), server control panel (URL), as well as login and password, etc. so that you can connect to the server using this information. Also, do not forget that the selection of the operating system must be done at this stage. On the other hand, you should use an SSH client and for PuTTY, Xshell use the following command:
ssh root@ХХ.ХХХ.ХХХ.ХХ
You must repeat the security measures related to creating an unauthorized user on a virtual server at all stages. So, to log in as an unauthorized user, type the following command:
ssh -l user ХХ.ХХХ.ХХХ.ХХ
2- Update the operating system
In the second step of install VPN on VPS Script, while you are sure that Ubuntu is freshly installed, you should use the following command to update the following operating system for a root user:
apt-get update
apt-get upgrade -y
But otherwise, if you have an unauthorized user, the following command will work for you:
sudo apt-get update
sudo apt-get upgrade -y
3- Download and run the VPN server installation script
In the third step of install VPN on VPS Script, type the following command to install and then start the VPN server installation script for you:
wget https://git.io/vpn -O openvpn-install.sh && bash openvpn-install.sh
Or instead, you can use the following link to reach the goal:
sudo wget //git.io/vpn -O openvpn-install.sh & bash openvpn-install. sh
Now a welcome page will be shown to you, in which case you can proceed to the next step of VPN installation on VPS Script:
Welcome to this OpenVPN road warrior installer!
Which protocol should OpenVPN use?
1) UDP (recommended)
2) TCP
Protocol [1]:
What port should OpenVPN listen to?
Port [1194]:
Select a DNS server for the clients:
1) Current system resolvers
2) Google
3) 1.1.1.1
4) OpenDNS
5) Quad9
6) AdGuard
DNS server [1]:
Enter a name for the first client:
Name [client]:
OpenVPN installation is ready to begin.
Press any key to continue…
4- Copy the client configuration file
The client configuration file created by the script in this step of install VPN on VPS Script should be transferred to a PC or another device. Note that you can easily do this with WinSCP software or the PSCP tool from Putty. So, to use the PSP tool, you must execute the following command in the Windows command line with administrator rights, the path of the software, server, and client configuration directory, and proceed to the next steps:
C:\Program Files\PuTTY\pscp.exe root@ХХ.ХХХ.ХХХ.ХХ:/root/client.ovpn "C:\Program Files\OpenVPN\config"
To complete the installation you have done, you must accept the fingerprint of the server and enter the password of the main user. Then, if you have OpenSSH on your system, you must enter the following command to complete the step:
scp root@ХХ.ХХХ.ХХХ.ХХ:/root/client.ovpn.
5- VPN server review
Now in the last step of install VPN on VPS Script, it’s time to do some performance checks on the system:
systemctl status openvpn-server@server -l
[email protected] - OpenVPN service for server
Loaded: loaded (/usr/lib/systemd/system/[email protected]; enabled; vendor preset: disabled)
...
To check the current status of the socket, you can use the following command to see the final result:
ss -4nlup | grep 1194
UNCONN 24960 0 XX.XXX.XX.XX:1194 *:*
users:(("openvpn",pid=481,fd=8))
The network filter will also be checked with the following command:
iptables -nL | grep 1194
ACCEPT udp -- 0.0.0.0/0 0.0.0.0/0 udp dpt:1194

Connecting to OpenVPN server after Install VPN on VPS
To connect to the OpenVPN server after install VPN on VPS Script, the following steps must be taken:
1- Install the OpenVPN GUI
First, you need to install a client for your VPN, and after the installation is complete, check the quality of the connection it provides:. So, for this, you need to install the OpenVPN GUI in Windows 10, which by default will be the installed software as follows:
C:\Program Files\OpenVPN\.
2- Communicate with the server
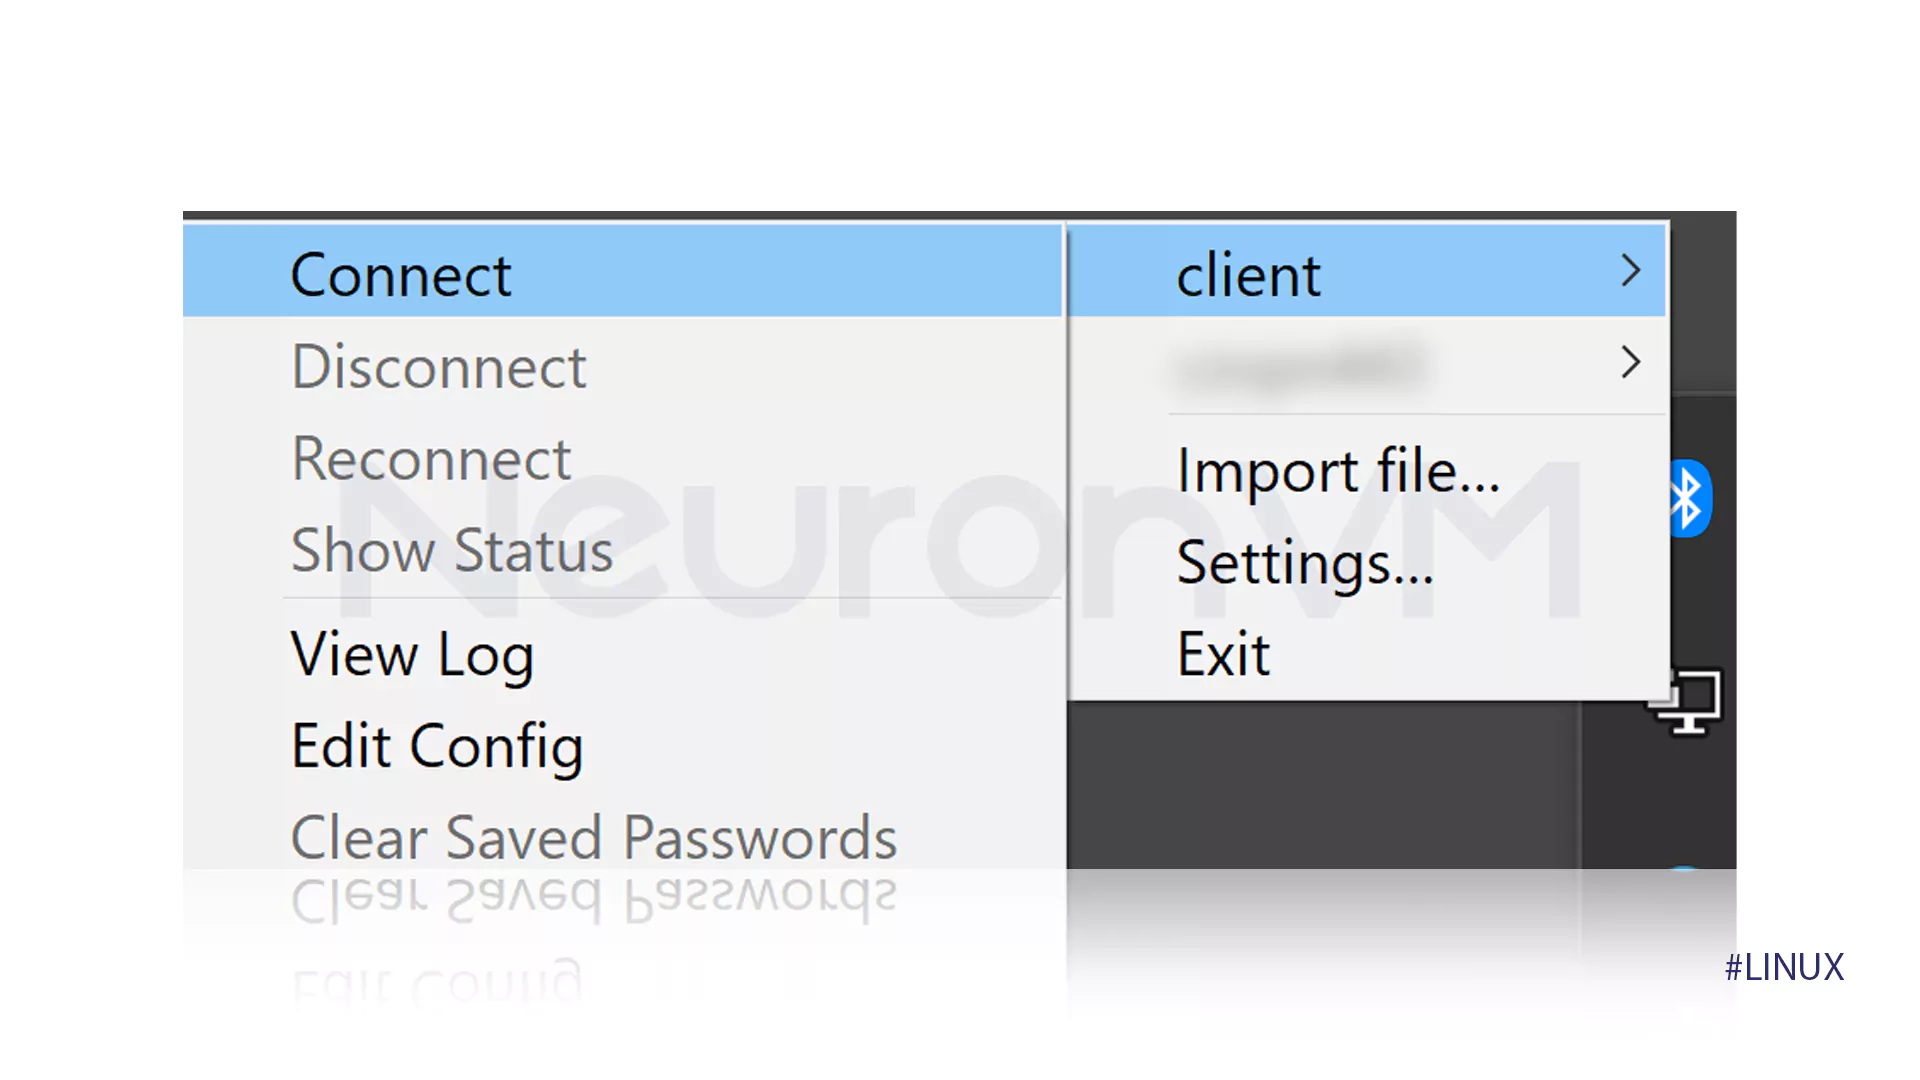
If the client is started from scratch, the corresponding connection will be established. So, if you have already installed the OpenVPN GUI software, select the latest file and click the connection option:

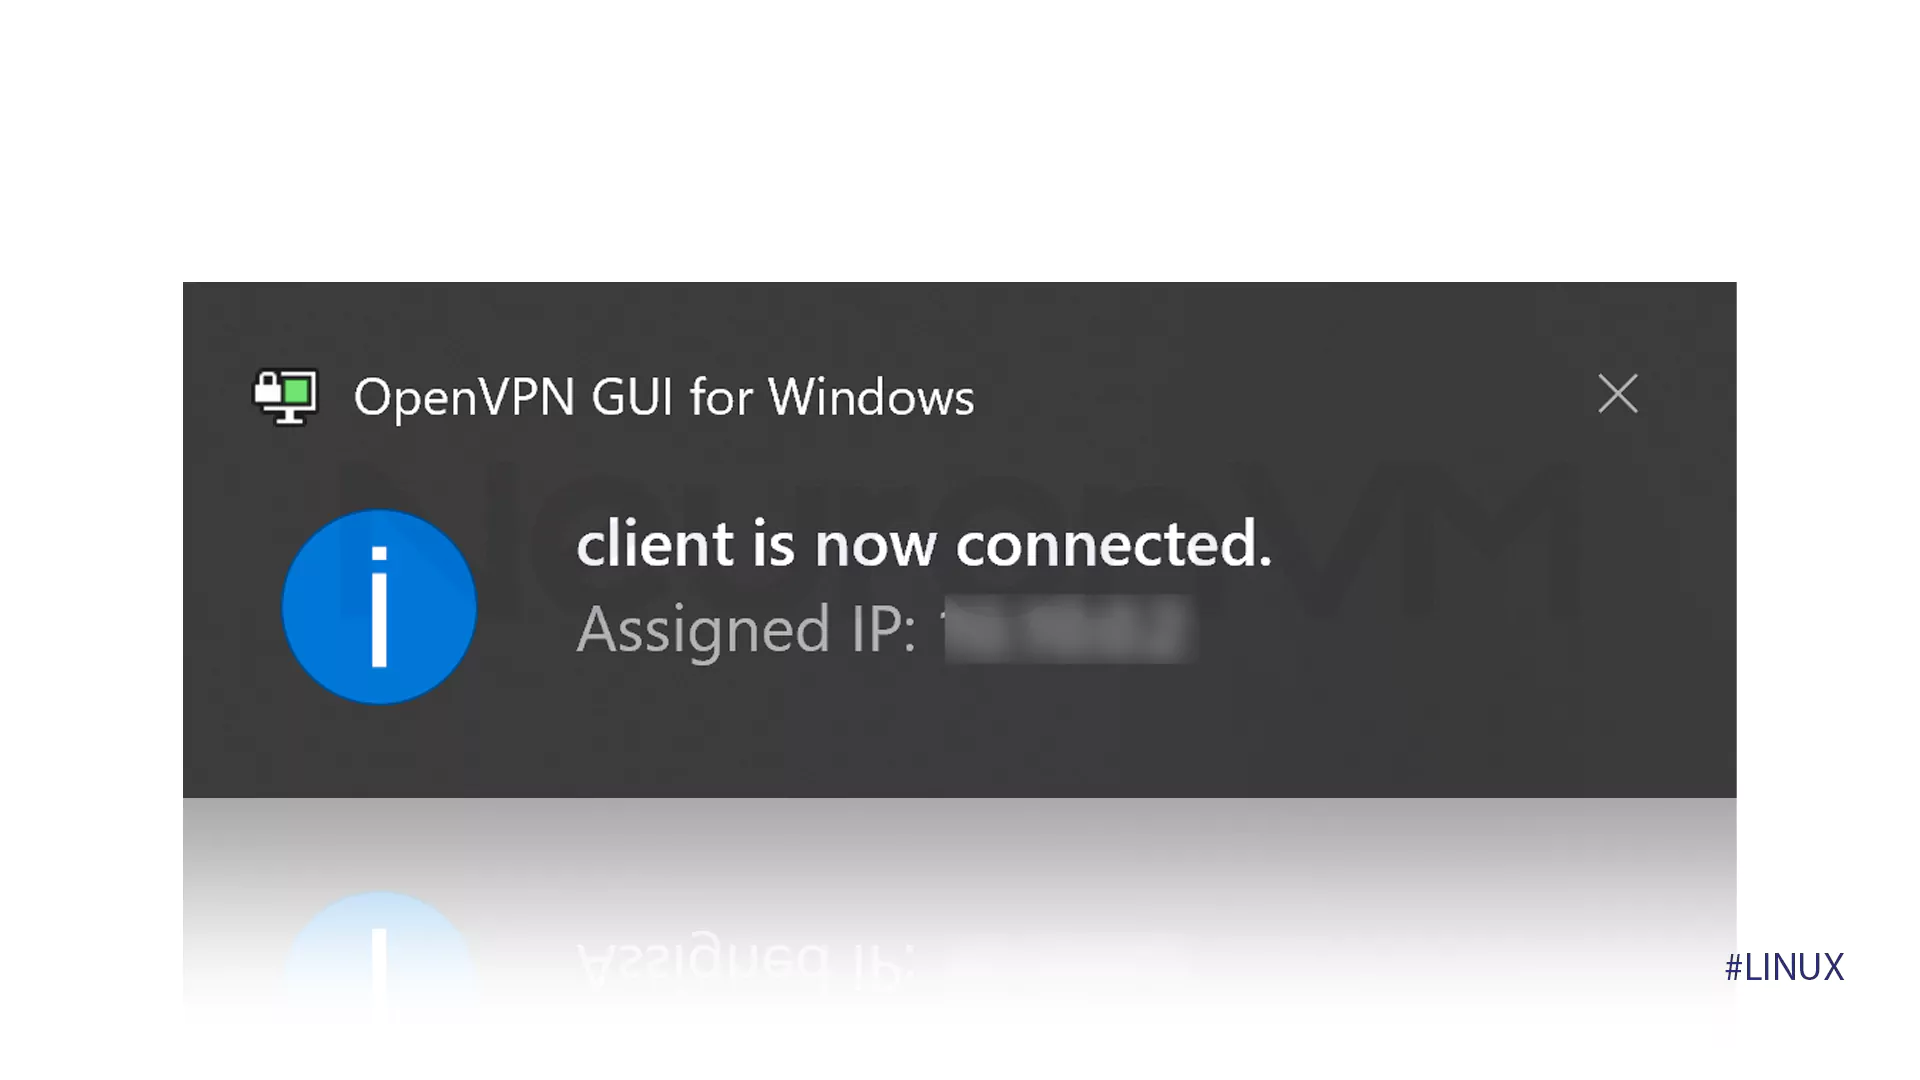
A green icon will be shown to you, which will tell you that the communication is in the most correct mode:

Conclusion
Thank you for staying with us until the end of the VPN installation tutorial on VPS Script and we hope you have experienced safe installation and setup. It should be remembered that to ensure whether the connection is correct or not? You can check one of the two signs of whatismyipaddress.com or www.whatismyip.com if you want to see if the VPN is still working or if is it down?!


