


How to Install Ubuntu 22.04 on Windows 10: Dual Boot or Replace

 10m
10m
 0 comments
 Print
Print
Installing Ubuntu 22.04 on Windows 10 is one of the best ways to get into the world of Linux, whether for programming or just for everyday use, as a long-term, stable release, Ubuntu 22.04 LTS is a solid choice for both novice and advanced users, in this tutorial, we’ll walk you through the steps to install Ubuntu on a Windows system without any confusion, for more Ubuntu tutorials, check out our website.
Minimum System Requirements for Installing Ubuntu
Before you begin, it’s a good idea to make sure your system meets the following minimum requirements:
- At least 25 GB of free disk space
- 4 GB of RAM (recommended: 8 GB)
- 2GHz dual-core processor
- Internet access
- One of the following:
- 8 to 12 GB USB flash drive (FAT32 format)
- Or a DVD and a DVD Drive to burn the ISO file
Ubuntu runs on most laptops and desktop systems, but it performs best on Ubuntu Certified hardware.
Step 1: Back Up Your Data
If you’re installing Ubuntu on a system that’s been used before, be sure to back up your data before you do anything, this applies to both your system’s hard drive and the flash drive you’re using to copy the ISO file. This step is simple, but it can be a pain to skip.
Step 2: Download the Ubuntu ISO File
To begin the installation, you’ll need to download the Ubuntu ISO file. The ISO file is essentially a full copy of the operating system’s installation disc, On the Ubuntu download page, you’ll see two versions:
- Ubuntu LTS with 5 years of support
- Regular version with 9 months of support
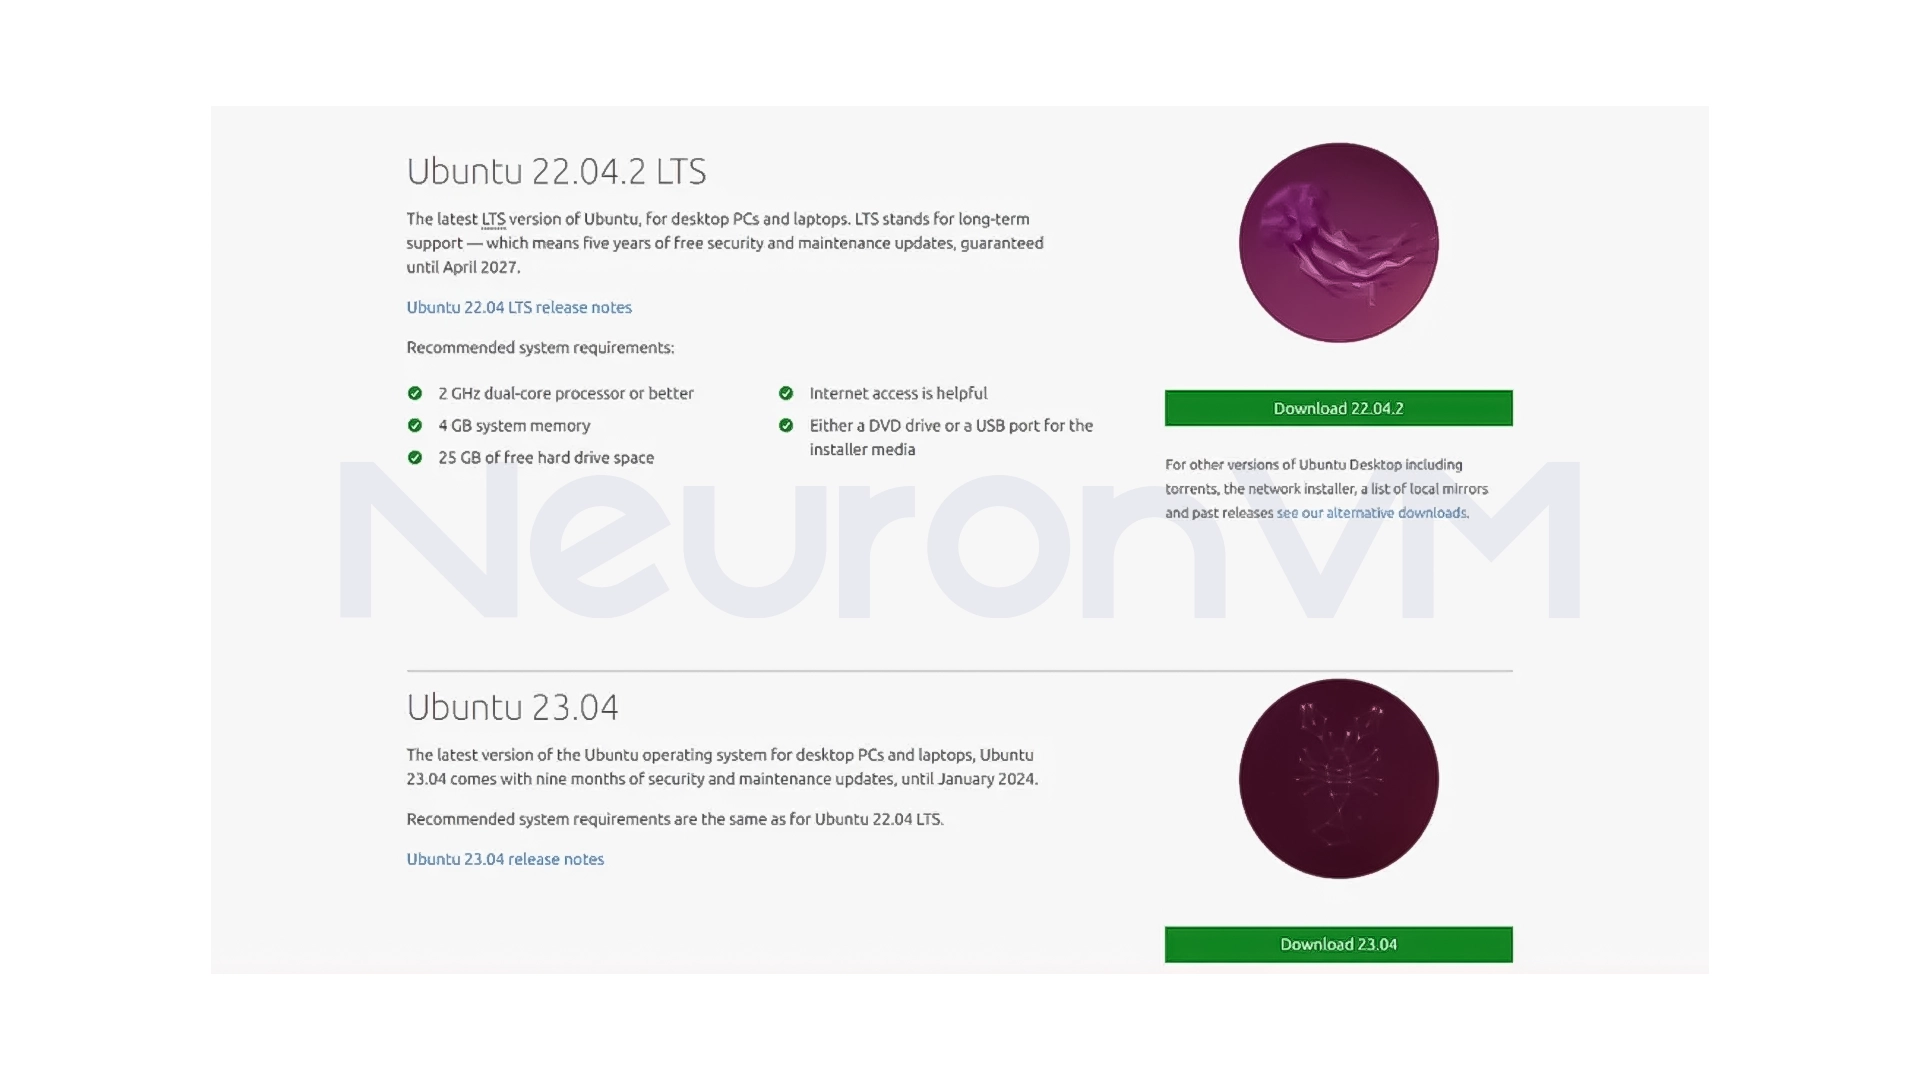
In this tutorial, we’ll be using Ubuntu 22.04 LTS, after selecting the version, start the download and wait for the file to download completely.
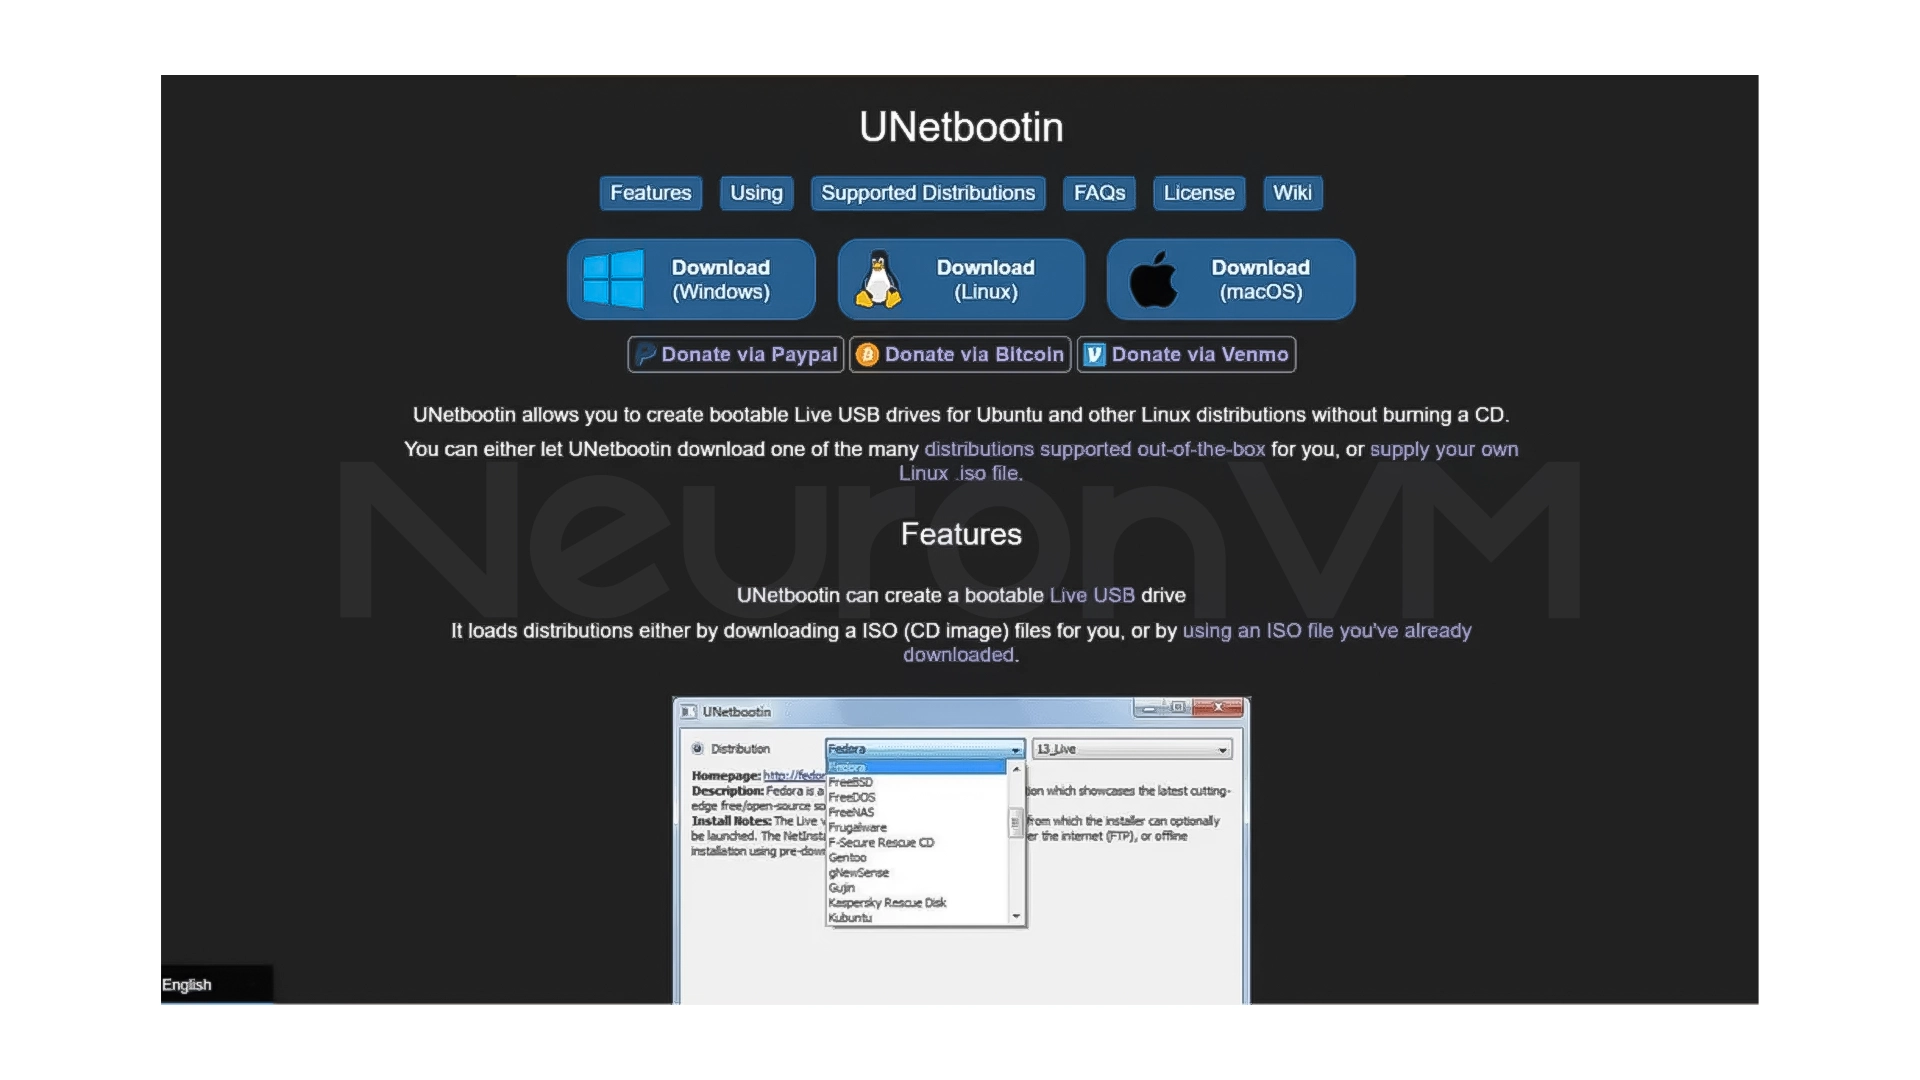
Step 3: Download UNetbootin
To install Ubuntu from a flash drive, you’ll need a bootable flash drive creation tool. In this guide, we’ll use UNetbootin, which is simple and cross-platform, tools like Rufus or Etcher are also good options. While the ISO file is downloading, download and install UNetbootin, If you’re using a DVD, you can use the built-in Windows burning tool or third-party software.
Step 4: Create a bootable Ubuntu flash drive
Connect the USB flash drive to your system and run UNetbootin.
- Select the Distribution option and select Ubuntu from the list
- Enable the Diskimage option and select the downloaded ISO file
- Click OK to begin the bootable flash drive creation process

This step will take a few minutes. When it’s done, click Exit, and make sure the flash drive is formatted as FAT32.
Step 5: Boot from USB Flash Drive or DVD
Restart your system and when it boots up, enter the BIOS or Boot Menu (usually by pressing F12, F2, Del or Esc), in the Boot Order section:
- Select USB Flash Drive or DVD as the first boot option
- Save and exit
If your system is UEFI and you don’t see the flash drive, enabling Legacy Option ROMs can fix the problem.
Step 6: Start Ubuntu Installation
After booting, the Ubuntu installation screen will be displayed. You have two options here:
Try Ubuntu
This option will run Ubuntu without installing it and will not make any changes to the system. It is very suitable for initial testing.
Install Ubuntu
Selecting this option will start the installation process. Note that, depending on the partition selection, previous information may be erased.
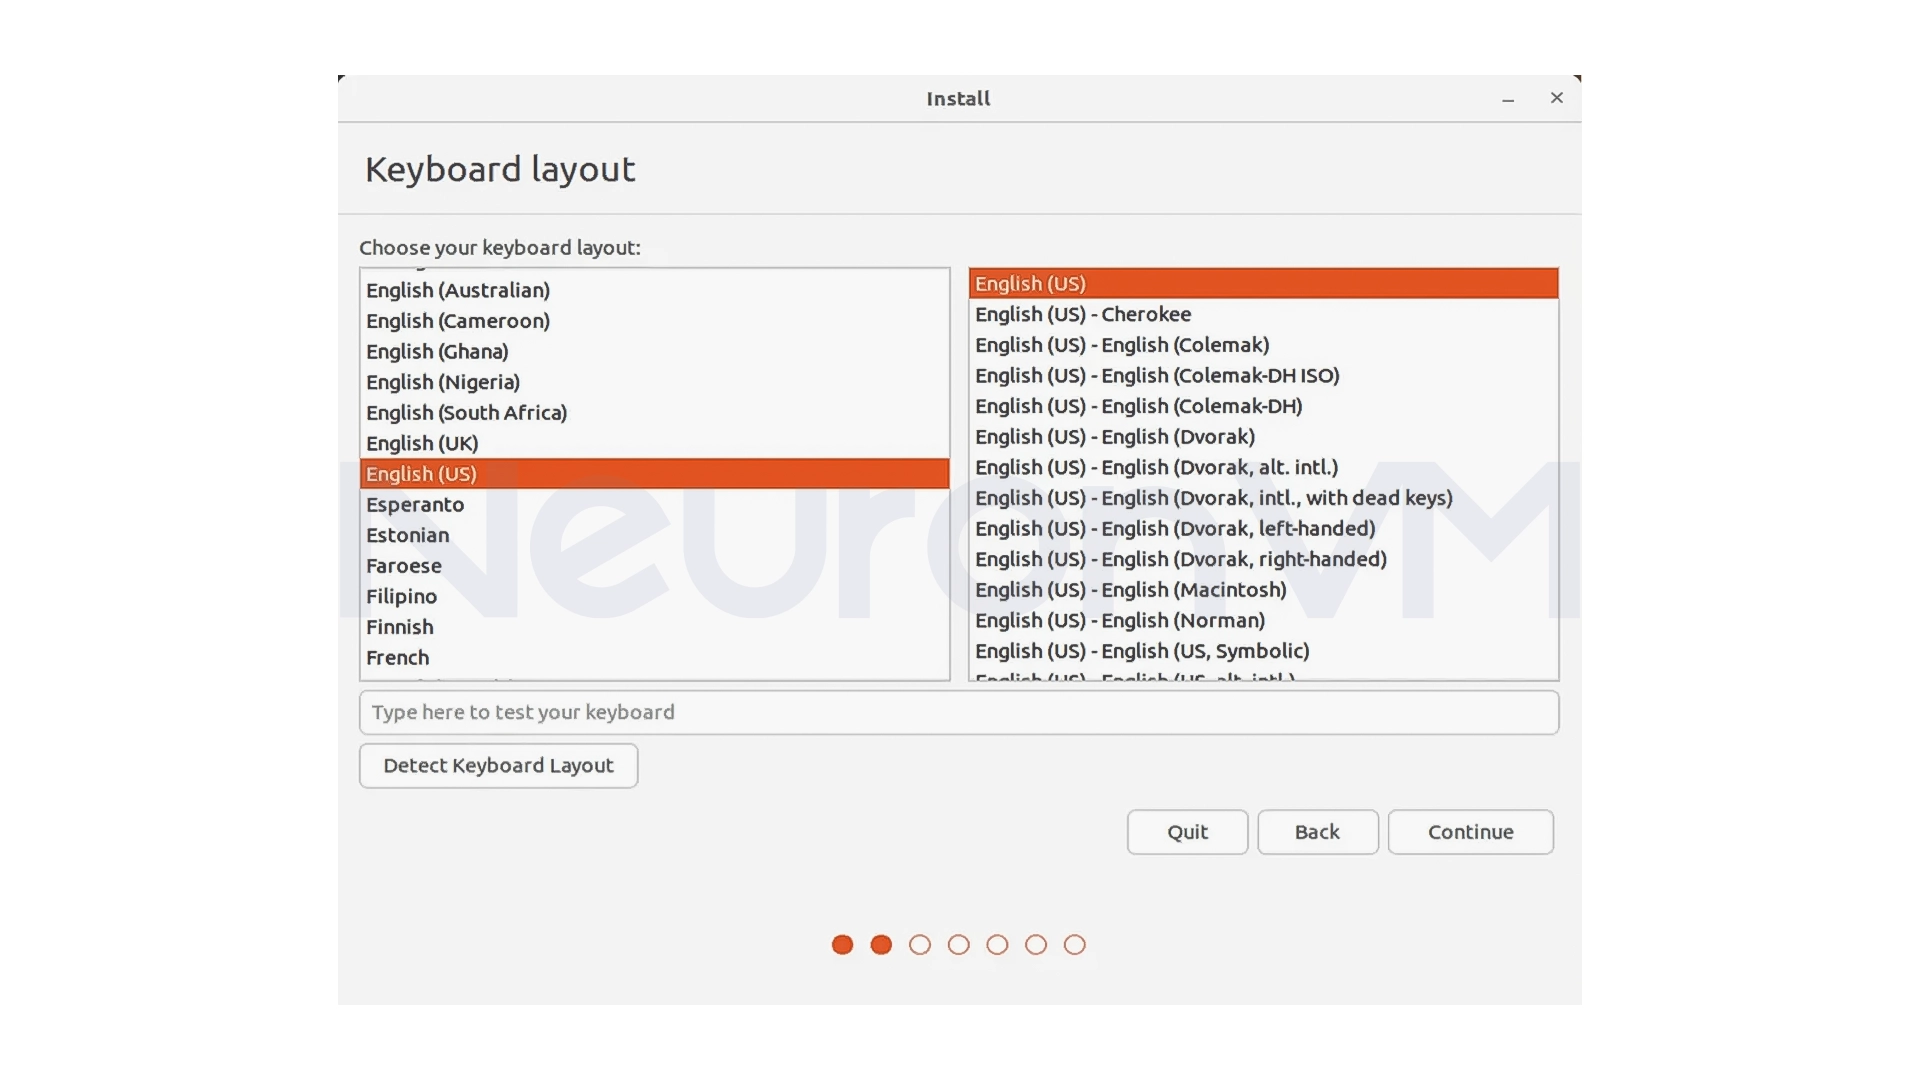
After selecting the language and keyboard layout, click Continue.
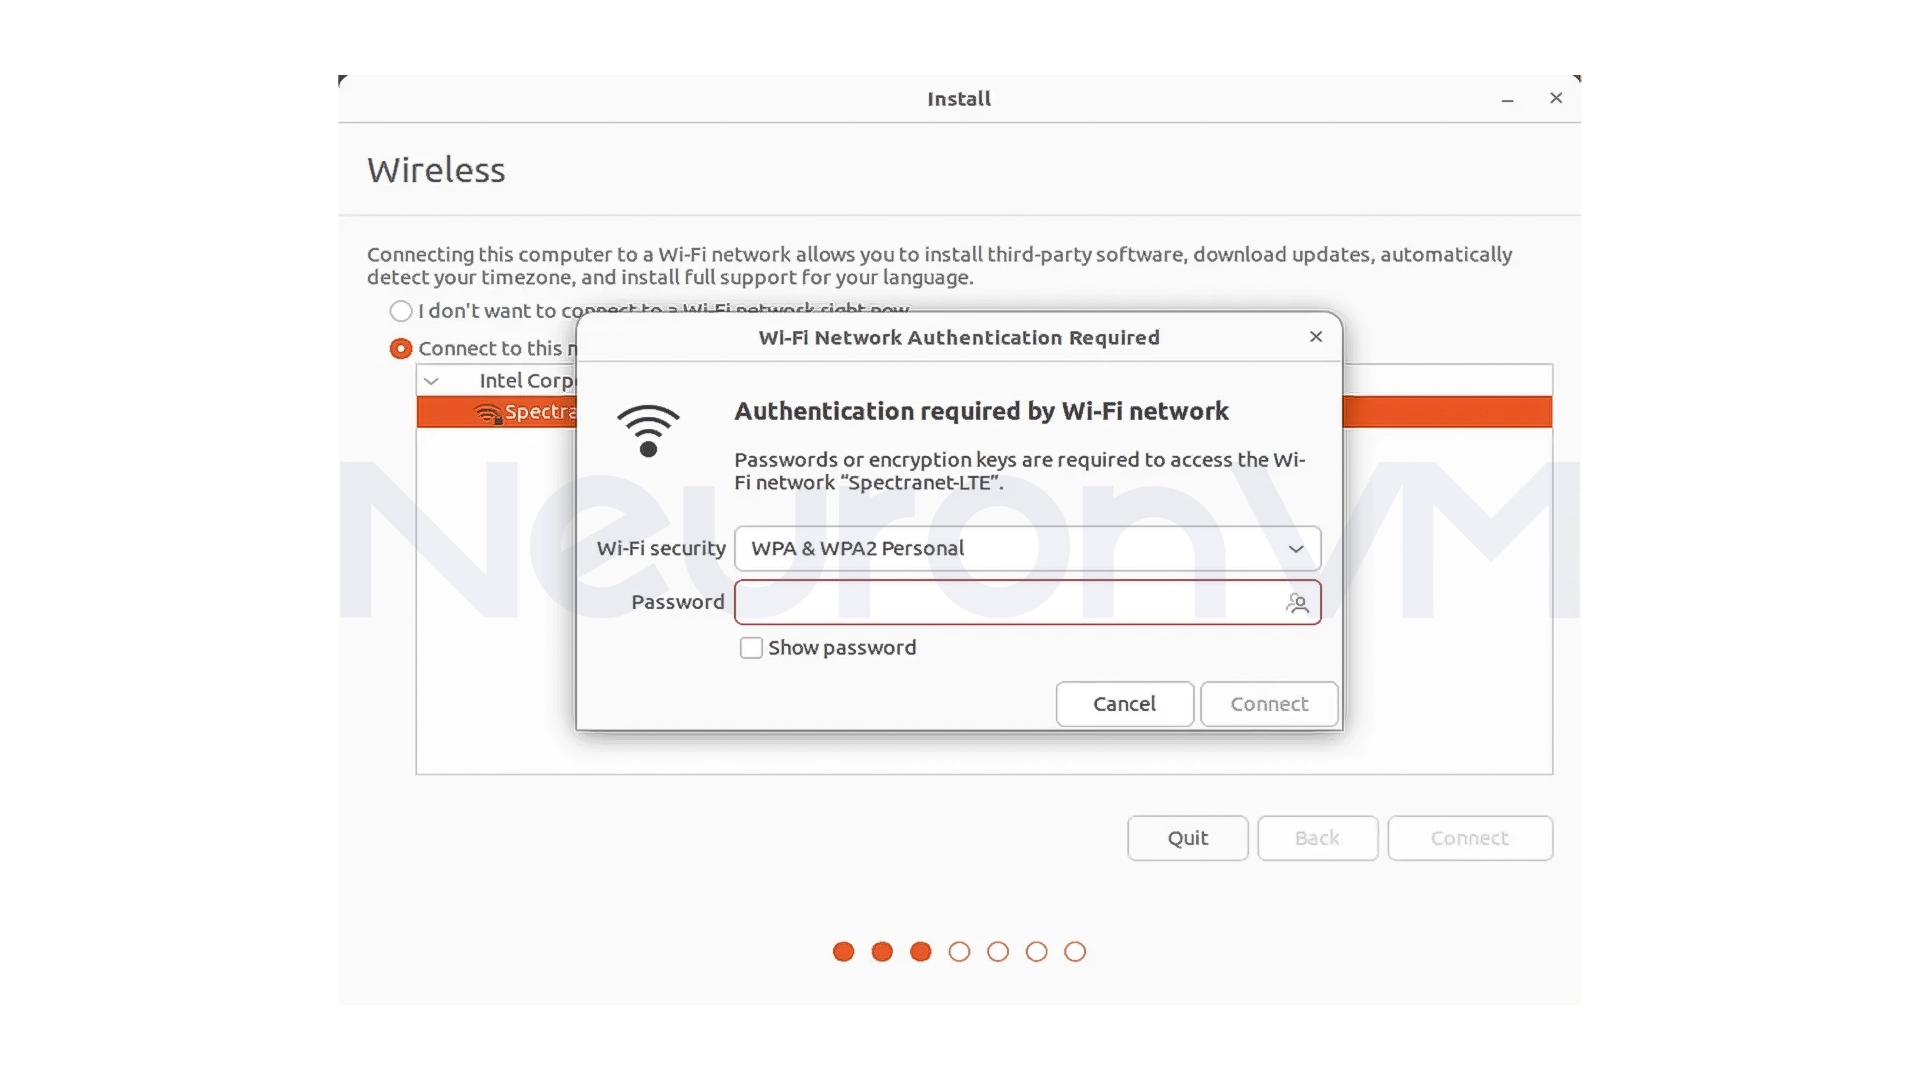
Step 7: Connect to the Internet
At this stage, it is recommended to connect the system to the Internet, an Internet connection allows:
- Updates to be performed during installation
- Drivers and languages to be installed correctly
You can use Wi-Fi or a network cable.
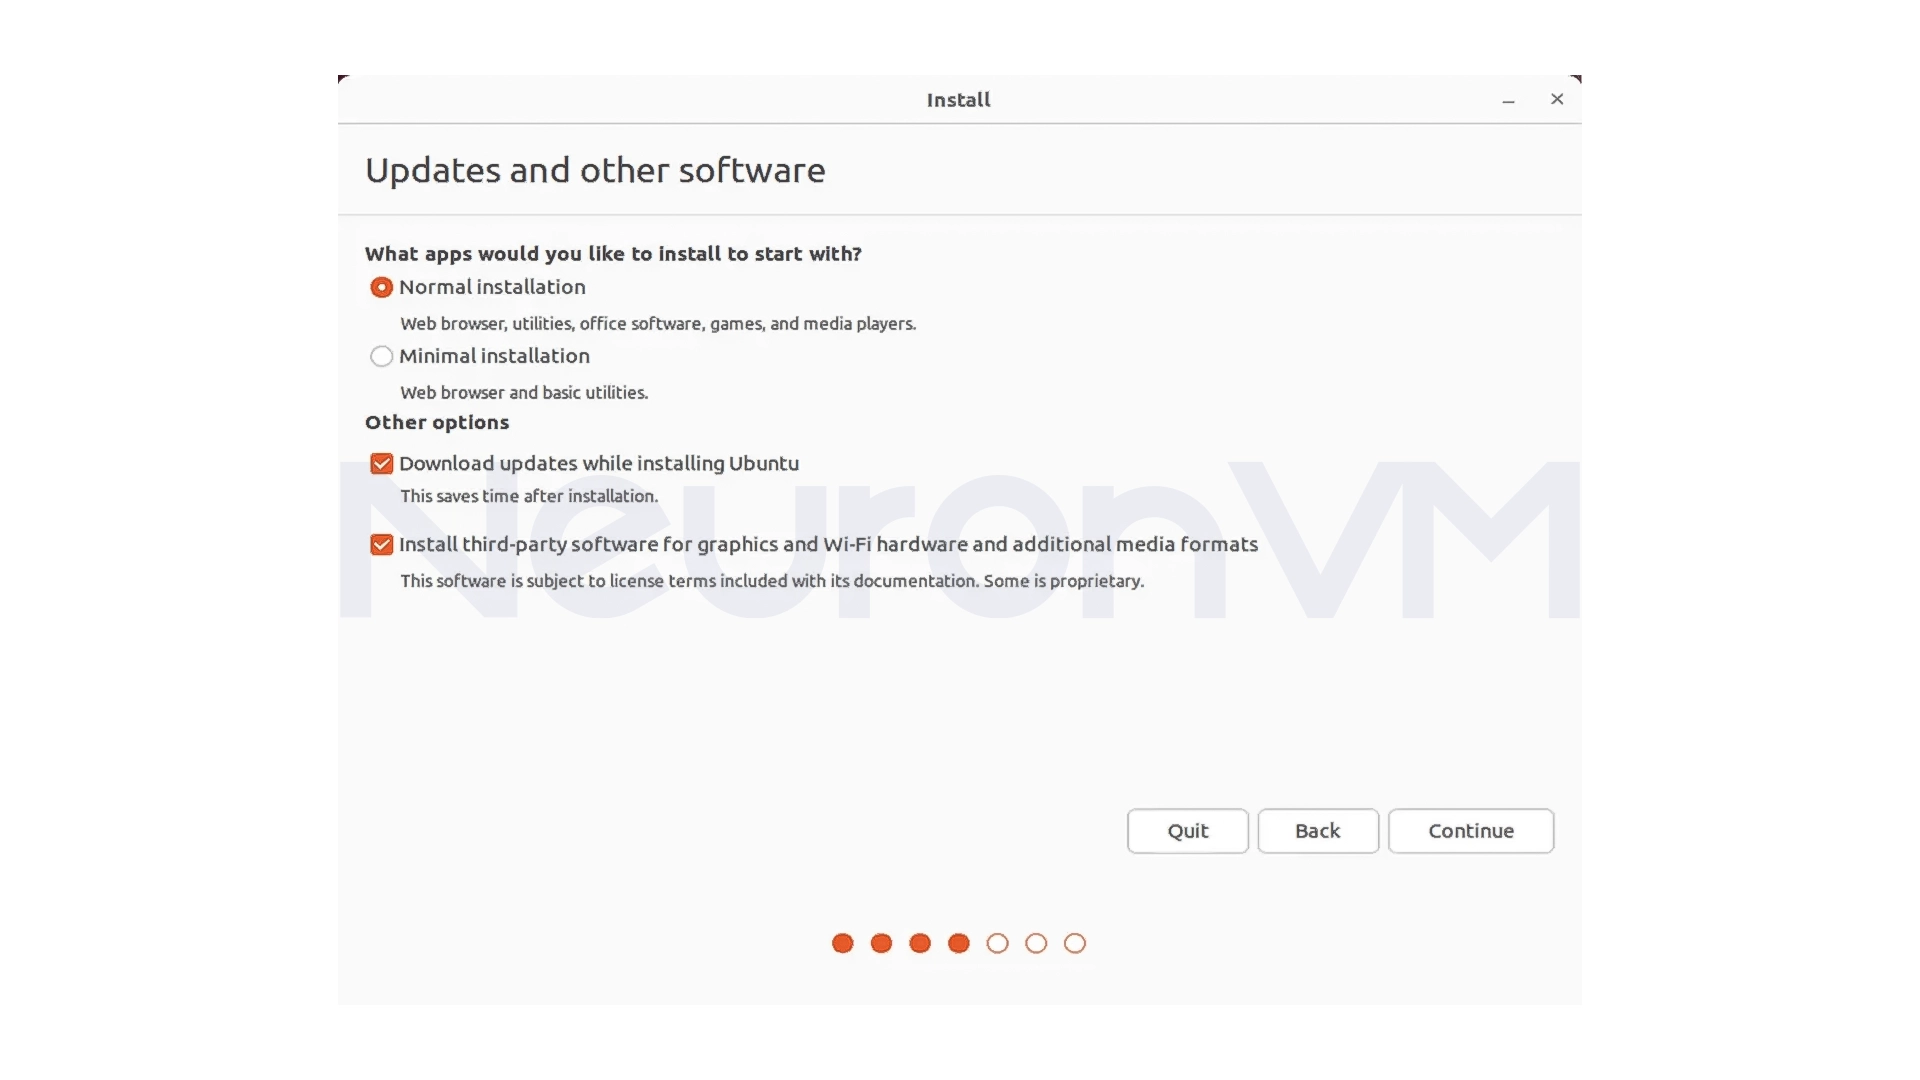
Step 8: Installation and partitioning settings
In this section, you select the installation type:
- Normal Installation: Includes browser, office, tools, and media
- Minimal Installation: Only essential tools
It is recommended to leave the option to install updates and peripheral software enabled.
Disk installation type
Erase disk and install Ubuntu: Completely erase the disk
Something else: Install alongside Windows and manually manage partitions
After selecting, enter the location settings, time zone, and user information (name, system name, password).
My Personal Experience Installing Ubuntu on Windows
In my personal experience, the most important thing in installing Ubuntu is to be calm and careful during the partitioning stage. Most of the problems that users encounter are due to rushing during this stage. Also, having an internet connection during the installation really makes the job easier, and after the system boots up, everything is ready to use, if this is your first time installing Linux, I recommend that you use the Try Ubuntu option once to get familiar with its environment.
Conclusion
Installing Ubuntu 22.04 LTS on Windows 10 is not just a technical process but also a valuable learning experience, by following these steps, you will easily enter a world where you have more control over your operating system and tools. As a stable and secure operating system, Ubuntu is a reliable choice for both novice users and professionals, If you follow the installation steps carefully and without rushing, especially in the partitioning and initial settings, the result will be a fast, lightweight, and ready-to-use system, this installation can be a really good starting point for learning Linux, software development, server administration, or even everyday use, Ubuntu allows you to have a different and more professional experience working with the operating system alongside or instead of Windows.
It depends on what you choose during the installation process. If you choose to install alongside Windows, Windows will not be removed.
It is not required, but an internet connection will allow updates and drivers to be installed right away.
Yes, the simple user interface and extensive documentation make it easy to get started.
You might like it
Almalinux Tutorials
How to Install SQLite on AlmaLinux 8

How to Install and Secure PhpMyAdmin on Fedora Step by Step

Ubuntu Tutorials
How to Install Vim Text Editor on Ubuntu 20.04 (Step-by-Step...