How to Install Spigot on Ubuntu 24.04


 9m
9m
 0 comments
 Print
Print
Spigot is one of the most popular and powerful Minecraft server software developed on the basis of CraftBukkit, and its main focus is on optimizing performance and full support for plugins, if you are planning to set up a stable and multiplayer Minecraft server, Spigot is a logical choice, here in this tutorial, you will learn step by step how to install, run, and manage Spigot Server on Ubuntu 24.04, run it as a service in the background and finally install plugins on the server, all the steps are written in a practical, clear, and based on real experience.
Prerequisites
Before you begin, make sure you have the following:
- A server running Ubuntu 24.04
- At least 4GB of RAM and 2 CPU cores
- A non-root user with sudo access
- Updated system
Updating the system:
sudo apt update && sudo apt upgrade
Installing the required tools:
sudo apt install wget apt-transport-https gnupg nano screen
Step 1– Configure Firewall
Ubuntu uses UFW as its firewall by default. First, we need to open the required ports.
Allow SSH access:
sudo ufw allow OpenSSH
Open the default Minecraft port (25565):
sudo ufw allow 25565
Enable the firewall:
sudo ufw enable
Step 2– Install Java and Git
Spigot requires Java and Git to run and build. On Ubuntu 24.04, OpenJDK 17 (LTS) is the best option.
Install Java:
sudo apt install openjdk-17-jre-headless
Install Git:
sudo apt install git
Step 3– Create a Minecraft User
For added security, it is best to run the Minecraft server as a separate user.
Create a Minecraft user:
sudo adduser minecraft
Switch to the new user:
sudo su - minecraft
Step 4– Download and Install Spigot
Spigot is not downloaded directly and must be built with BuildTools.
Create the BuildTools folder:
mkdir buildtools && cd buildtools
Download BuildTools:
wget -O BuildTools.jar https://hub.spigotmc.org/jenkins/job/BuildTools/lastSuccessfulBuild/artifact/target/BuildTools.jar
Build the latest stable version of Spigot:
java -jar BuildTools.jar --rev latest
Create the server folder and move the Spigot file:
cd ~
mkdir server && cd server
mv ~/buildtools/spigot-*.jar ~/server/spigot.jar
Step 5– Start Spigot Server
To get the server up and running, we’ll create a startup script.
Create startup file:
nano spigotstart.sh
File content:
#!/bin/sh
java -Xms3G -Xmx3G -XX:+UseG1GC -XX:+ParallelRefProcEnabled -XX:MaxGCPauseMillis=200 \
-XX:+UnlockExperimentalVMOptions -XX:+DisableExplicitGC -XX:+AlwaysPreTouch \
-XX:G1NewSizePercent=30 -XX:G1MaxNewSizePercent=40 -XX:G1HeapRegionSize=8M \
-XX:G1ReservePercent=20 -XX:G1HeapWastePercent=5 -XX:G1MixedGCCountTarget=4 \
-XX:InitiatingHeapOccupancyPercent=15 -XX:G1MixedGCLiveThresholdPercent=90 \
-XX:G1RSetUpdatingPauseTimePercent=5 -XX:SurvivorRatio=32 \
-XX:+PerfDisableSharedMem -XX:MaxTenuringThreshold=1 \
-Dusing.aikars.flags=https://mcflags.emc.gs -Daikars.new.flags=true \
-jar spigot.jar nogui
Run the script:
chmod +x spigotstart.sh
Start the server:
./spigotstart.sh
Edit the EULA file:
nano eula.txt
and change the value:
eula=true
Step 6– Configure Spigot as a Service
To make the server always run in the background and after a reboot, we will configure it as a systemd service.
Exit the Minecraft user:
exit
Create the service file:
sudo nano /etc/systemd/system/spigot.service
Contents:
[Unit]
Description=SpigotMC
After=network.target

[Service]
Type=forking
User=minecraft
Group=minecraft
ExecStart=/usr/bin/screen -d -m -S minecraft /home/minecraft/server/spigotstart.sh
ExecStop=/usr/bin/screen -S minecraft -p 0 -X stuff "stop$(printf \\r)"
WorkingDirectory=/home/minecraft/server

[Install]
WantedBy=multi-user.target
Enable the service:
sudo systemctl daemon-reload
sudo systemctl enable spigot
sudo systemctl start spigot
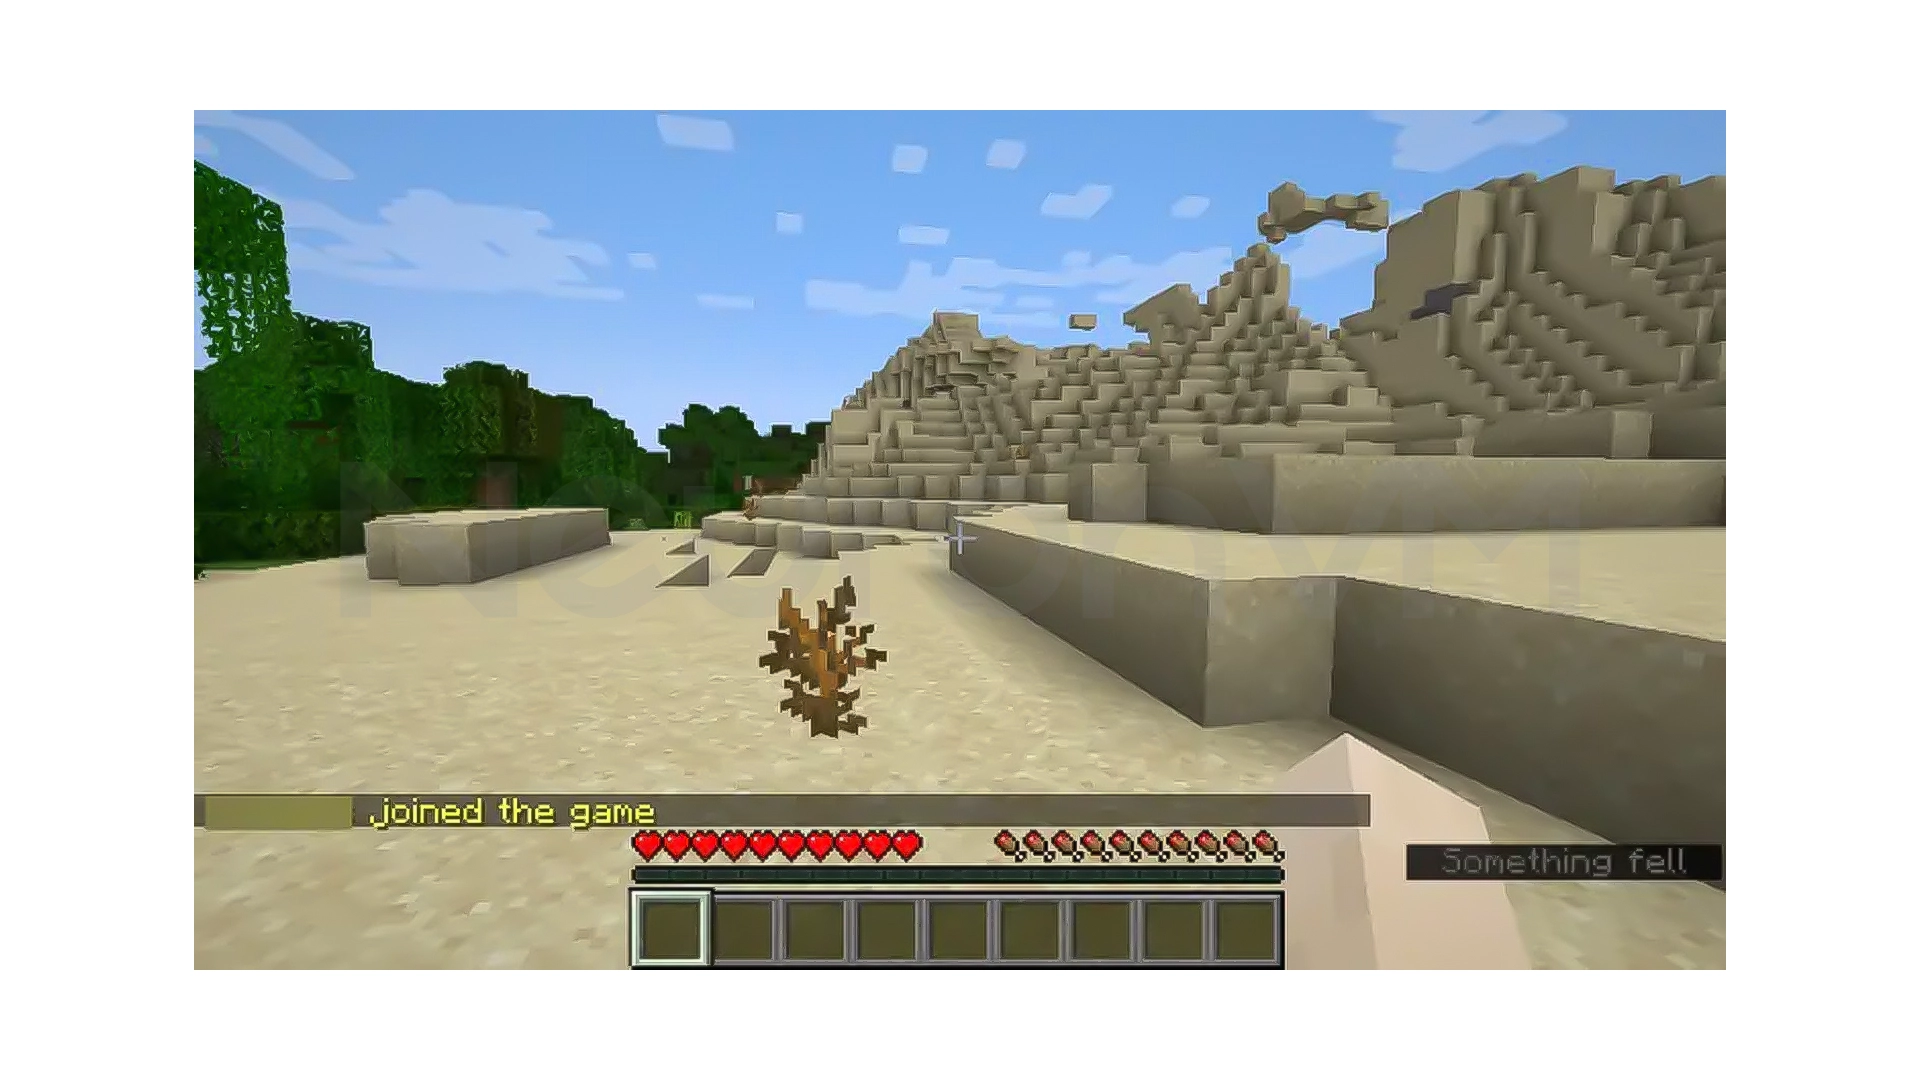
Step 7– Connect to Minecraft
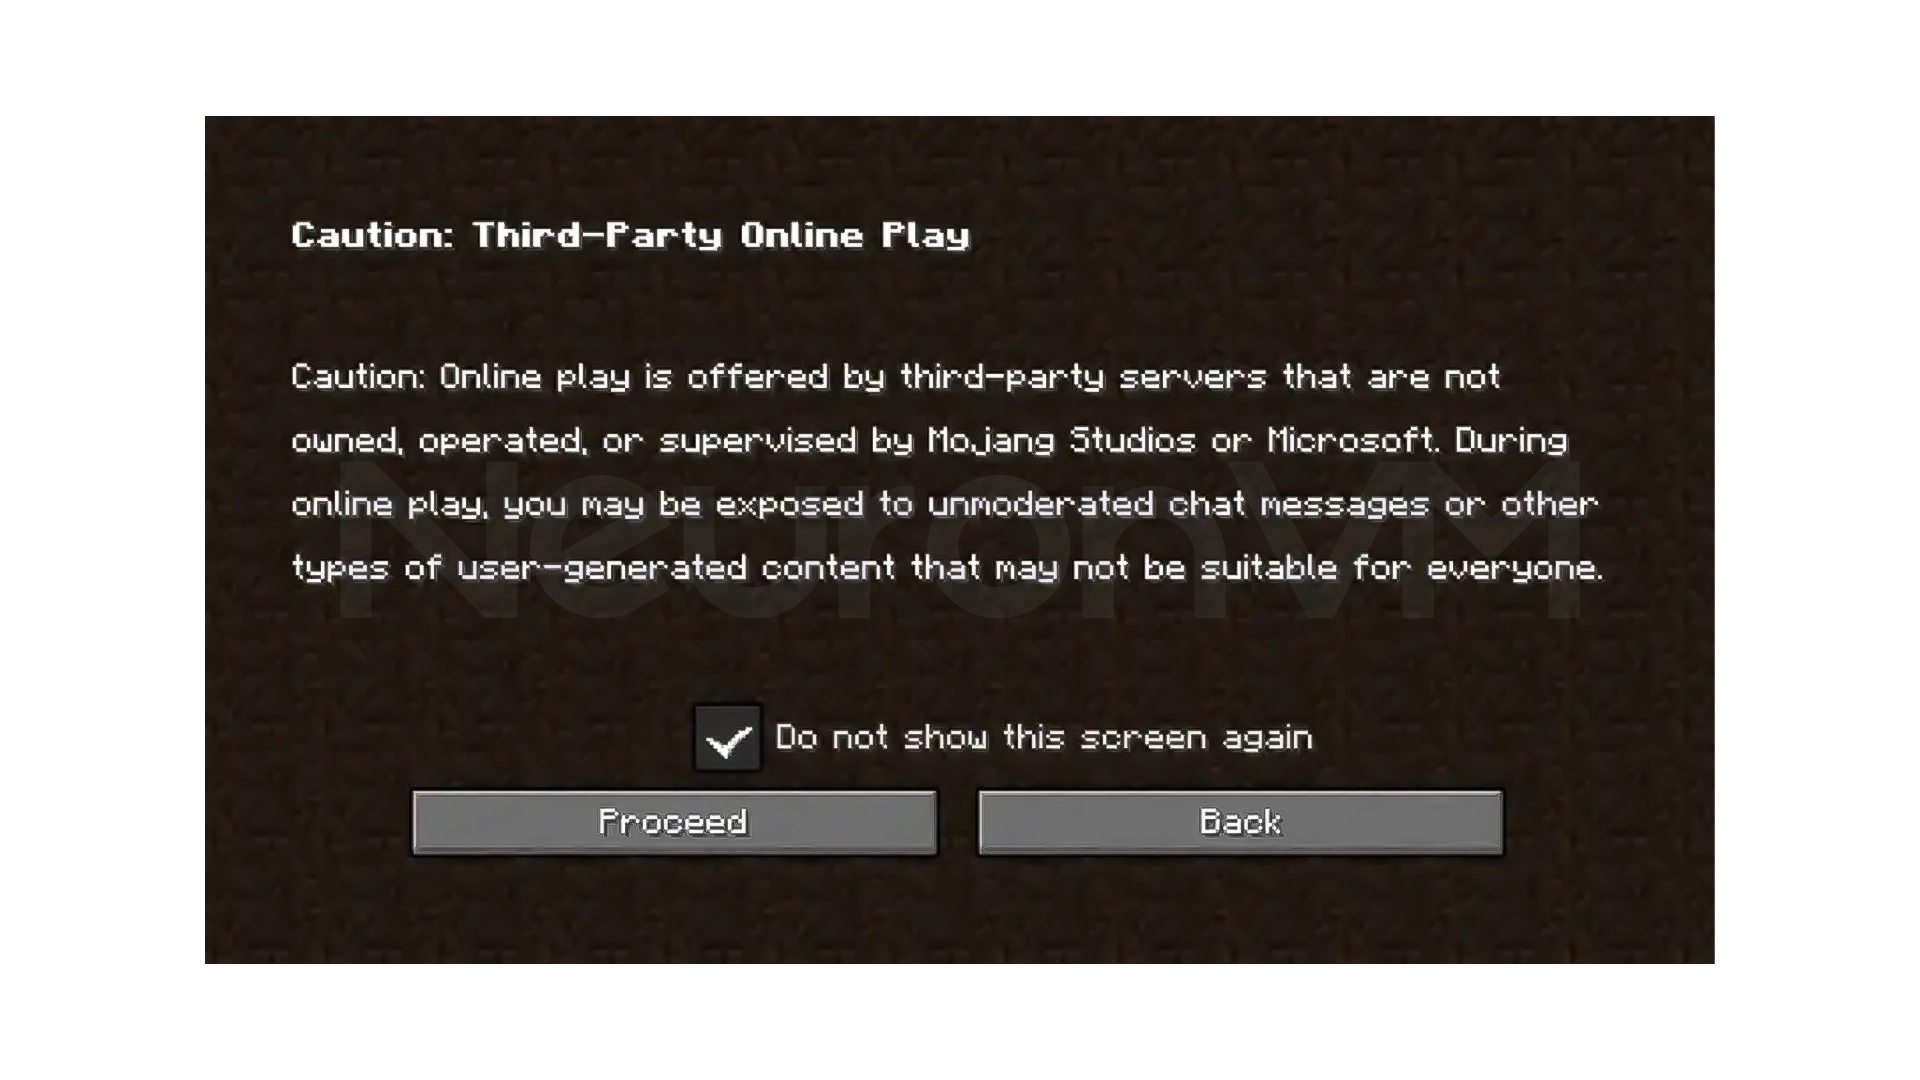
Now that your Spigot server is up and running, it’s time to connect to it from within Minecraft, first, launch the Minecraft Launcher and log in to the game.
From the main menu, click on Multiplayer and confirm the warning message if it appears.
On the next page, click on Add Server.
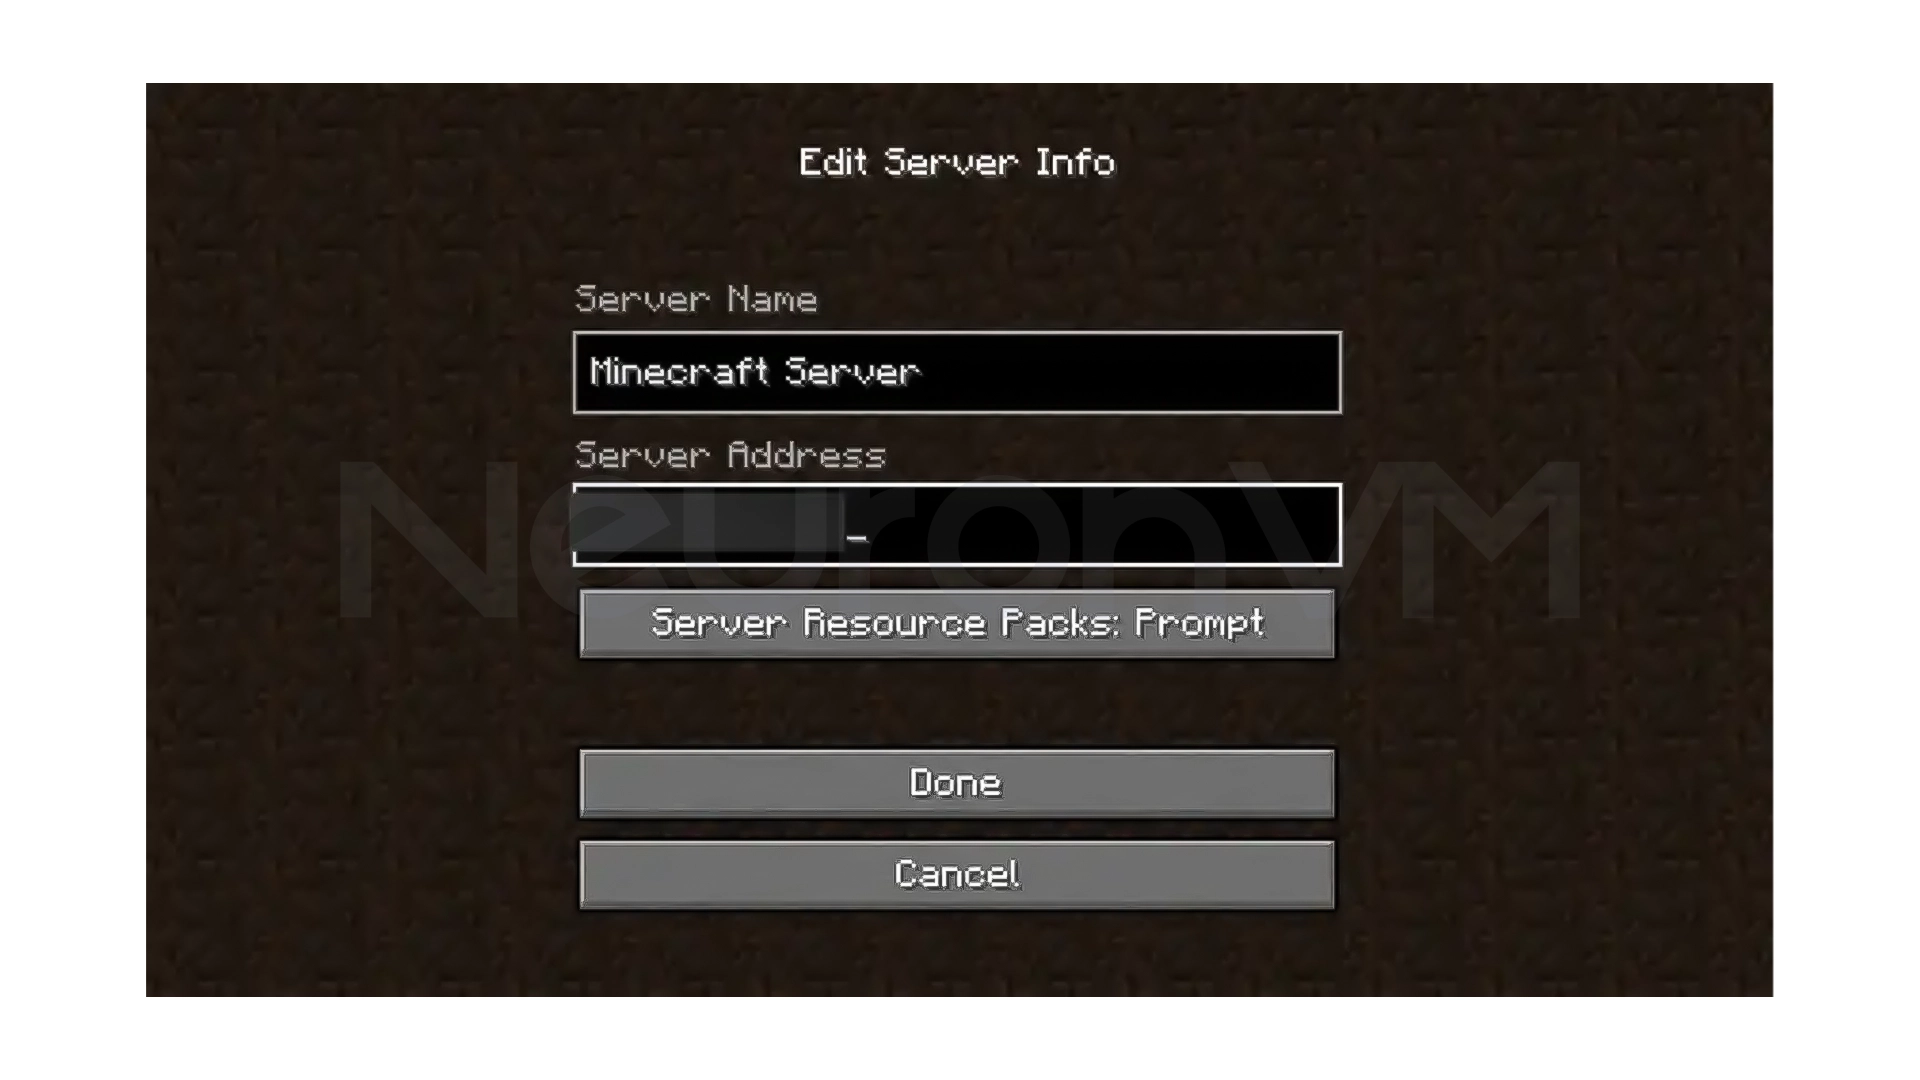
Enter a name for your server, and in the Server Address section, enter the public IP of your server, click Done. Your server will now appear in the list of servers.
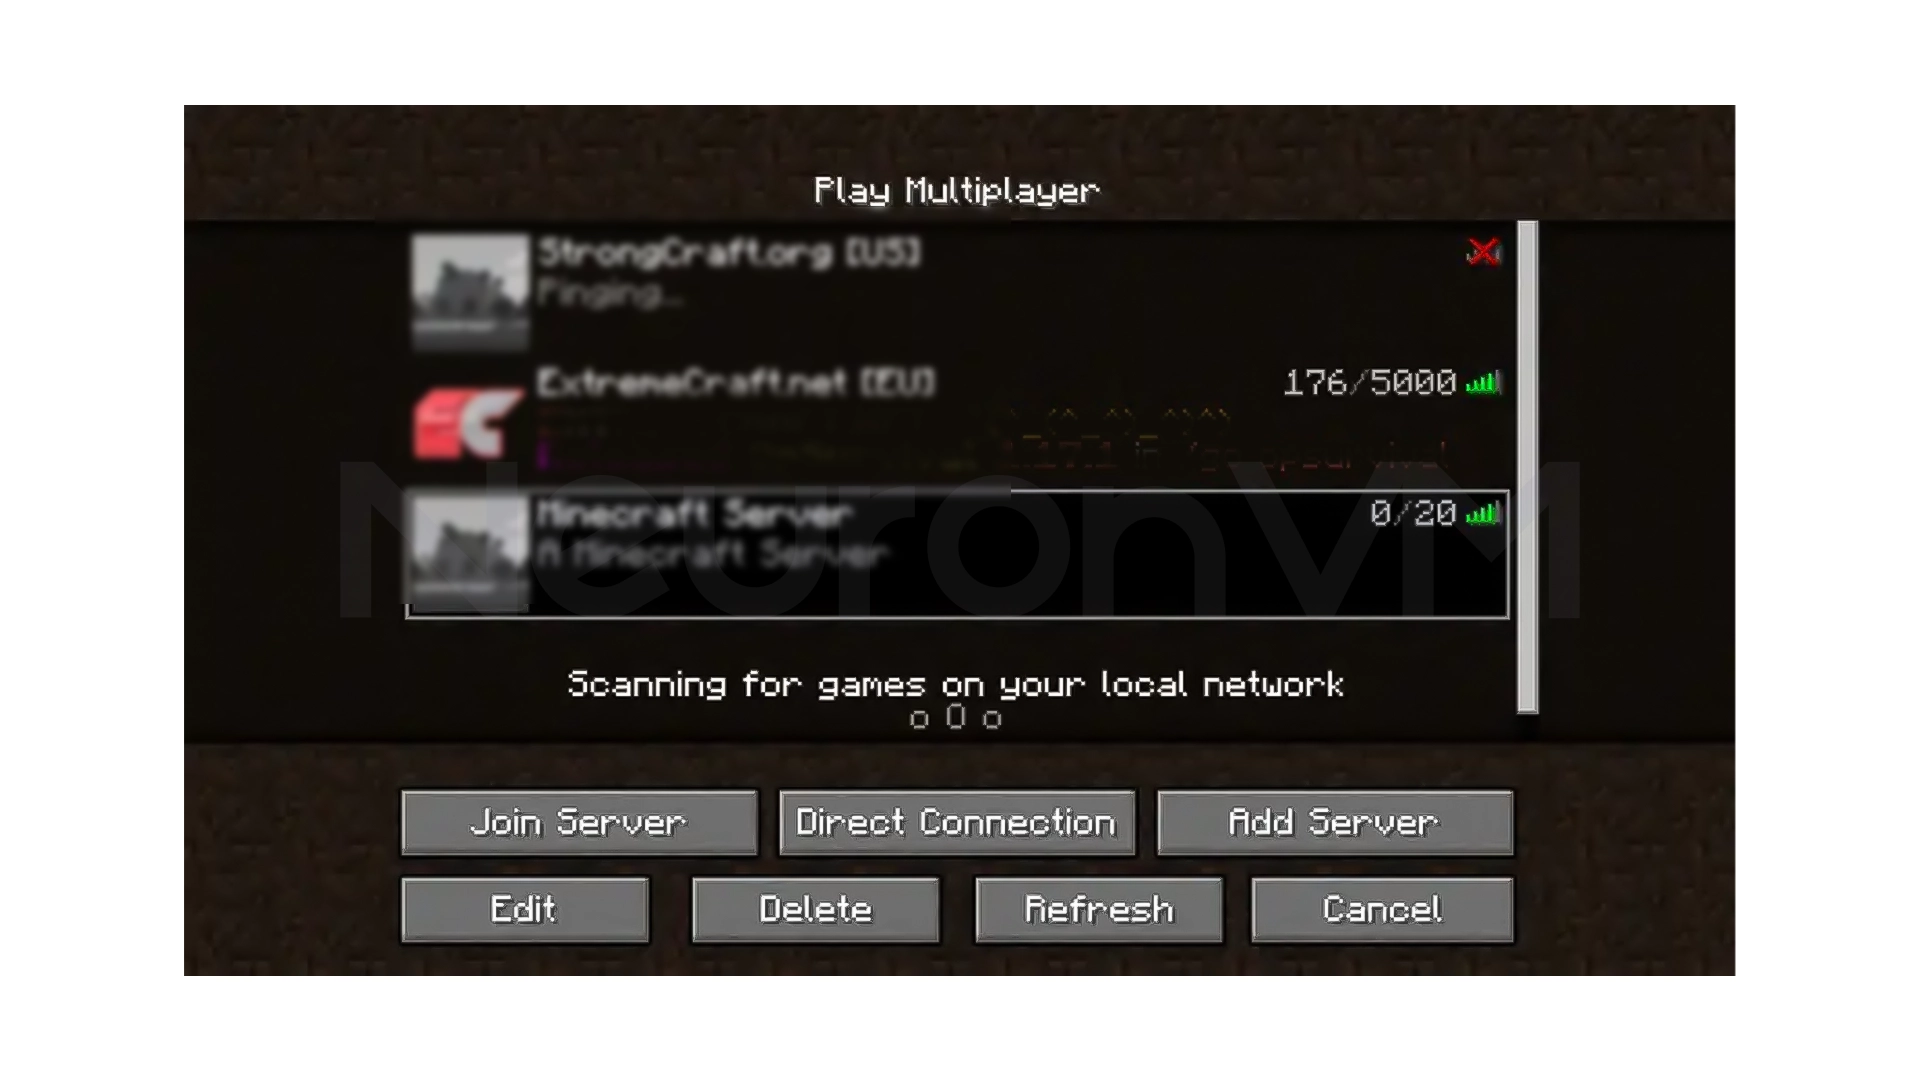
Select the server and click Join Server to log in, from here, you can share the server IP with your friends so that they can join the server as well.
Step 8– Customize Server Properties
Server configuration file:
/home/minecraft/server/server.properties
Some important settings:
enable-command-block=false

gamemode=survival

difficulty=easy
motd=A Minecraft Server

pvp=true
server-port=25565
Restart the server after each change:
sudo systemctl restart spigot
Step 9– Install Plugins
Download the plugins into the plugins folder:
sudo wget -P /home/minecraft/server/plugins/ --content-disposition <plugin-url>
WorldEdit installation example:
sudo wget -P /home/minecraft/server/plugins --content-disposition https://dev.bukkit.org/projects/worldedit/files/latest
Restart the server:
sudo systemctl restart spigot
Step 10– Update Spigot
To update Spigot:
- Stop the server
- Rerun the BuildTools step
- Replace the new spigot.jar file
- Restart the server
Be sure to make a backup before updating.
My Personal Experience
In my personal experience, running Spigot on Ubuntu 24.04 was much more stable than on older versions, because using a separate user and running the server as a systemd service made server management easier and more professional, the suggested JVM Flags also had a significant impact on reducing lag and also improving TPS, especially when the number of players increases, read more tips and experiences on our website.
Conclusion
In this article, you simply learned how to set up a complete and optimized Spigot Minecraft server on Ubuntu 24.04, from configuring the firewall and installing Java to running the server as a service, installing plugins, and managing settings, and with this setup, your server will be stable and always ready for development, and you easily can use it for friendly gaming or even larger projects.
o, it can run with at least 2GB of RAM, but more RAM will perform better.rn
Java 17 (LTS) is the best and most stable choice.
It is because the EULA is not approved and is considered normal.