How to Install Purpur on Minecraft
 6m
6m
 0 comments
Minecraft is one of the most popular video games ever created; it is almost iconic. It is amazing how it brings all the creativity with the worlds of blocks and legos. This guide will walk you through the steps of how to install Purpur on Minecraft on your system. Purpur is a high-performance Minecraft server that offers enhanced customization and performance compared to standard Minecraft servers.
Recommended service: Linux VPS

Everything about Minecraft
Minecraft is consistently updating, so if you are planning on playing it, be ready to learn while playing. New features are always added to this game, making your experience smooth.
Although it was released over 15 years ago, millions of people still play it daily. Also, its videos on YouTube are popular. They have been watched on YouTube more than one trillion times.
As you know, it has two modes; in creativity mode, you have access to unlimited blocks, tools, and all the resources; you can test your creativity with this mode; there is no limit on what you can build, so you have all the freedom to yourself.
The other mode is survival mode; unlike the other mode, your resources are limited. You must collect your blocks and tools yourself and build a shield for yourself at night to protect yourself.
What is Purpur Minecraft?
Purpur is like a customizable version of Minecraft. It lets you customize your server experience. It has so many features, and it is very flexible. Pupur gives users control over how their server works and can do lots of cool things that other servers can’t.
Even on older hardware, it can run smoothly, providing a lag-free experience for them.
As we said before, Purpur comes with a bunch of built-in features like new item drops.
Pupur is based on Paper, which is a high-performance Minecraft server. Pupur adds one layer of customization and optimization on top of Paper. Simply Pupur is a tool that will help you build a custom Minecraft world in which you can choose challenges and surprises.
If you are interested in running a Minecraft server, Pupur is worth checking out. It will create a pleasant gaming experience for your community.

Installing Purpur on Minecraft
Requirements
- Java Development kit
- Computer with sufficient RAM and CPU
- Java 21
1-Go to Pupur’s main website, choose the version you want to install, and click on it.
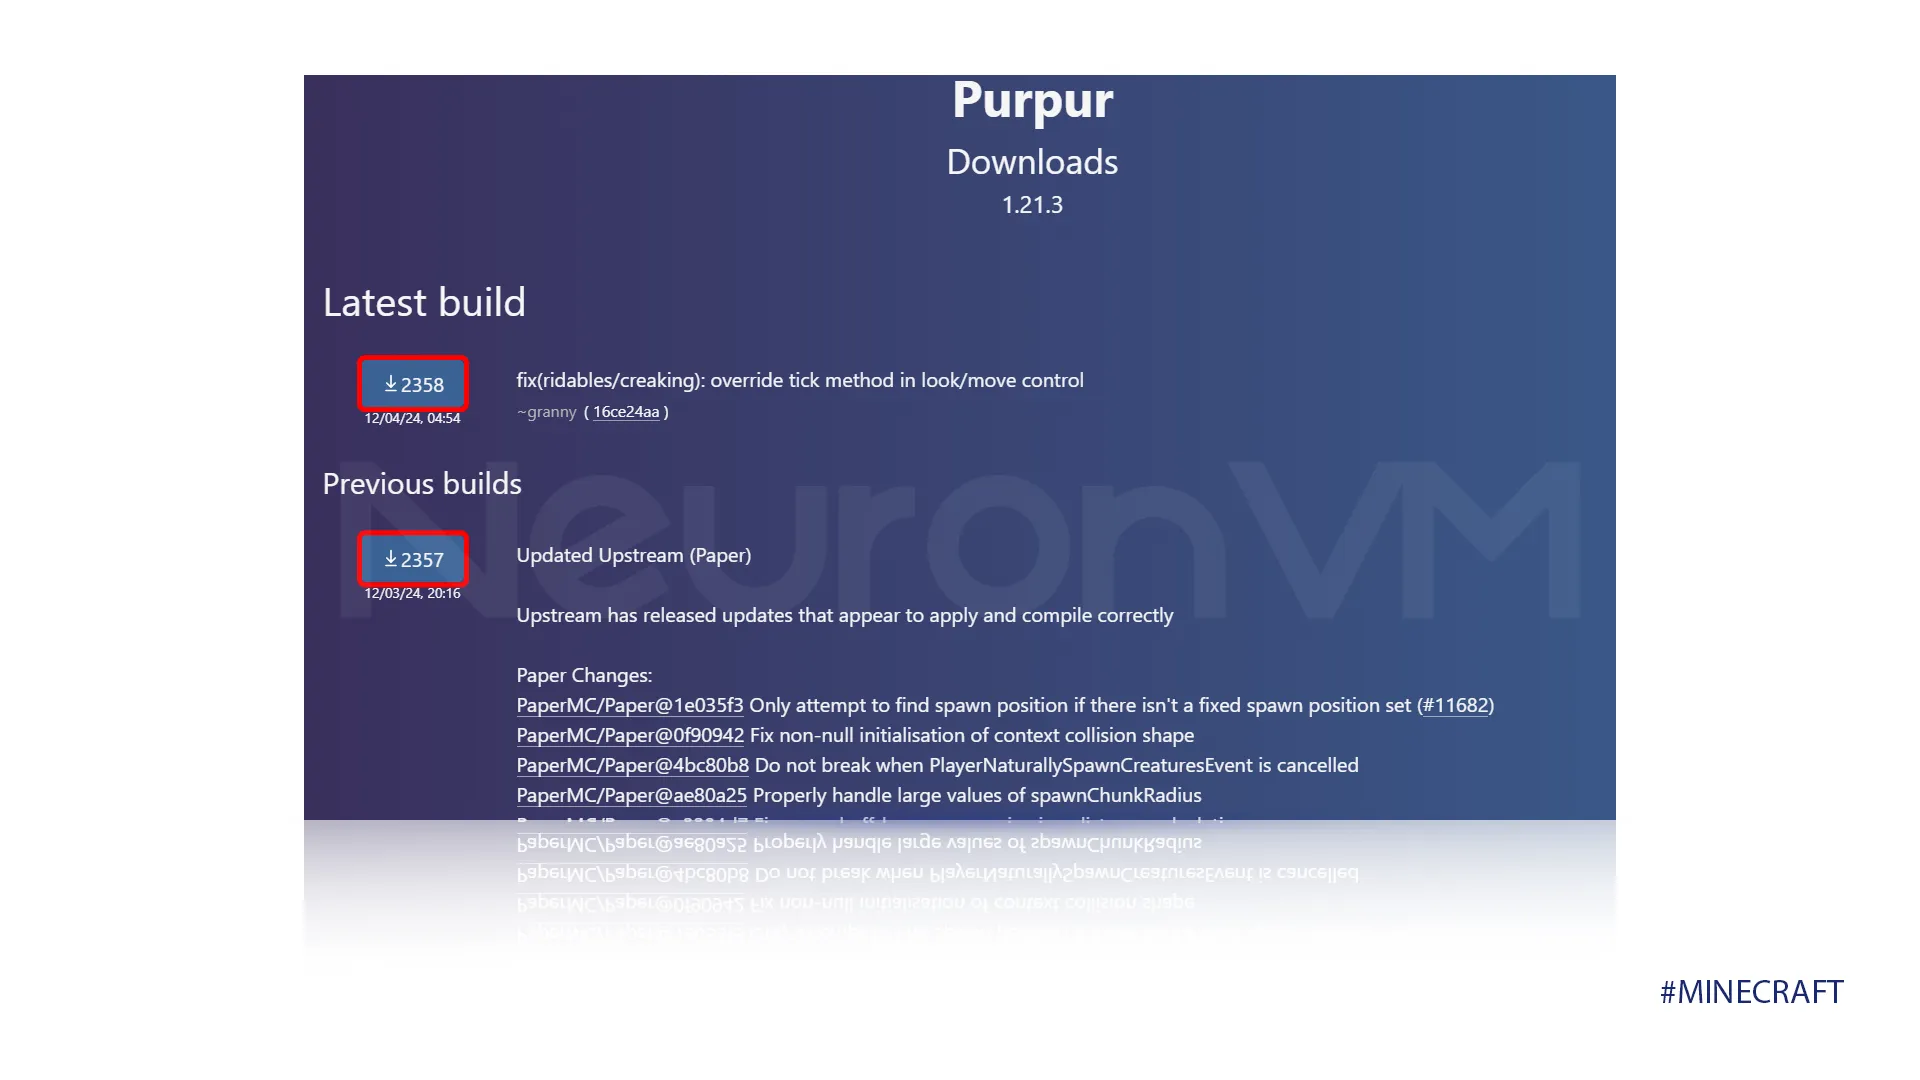
2-Then, rename the file you downloaded to “custom.jar.”

3-The next thing we have to do is to Stop our Minecraft server. Go to the server panel and click on stop.
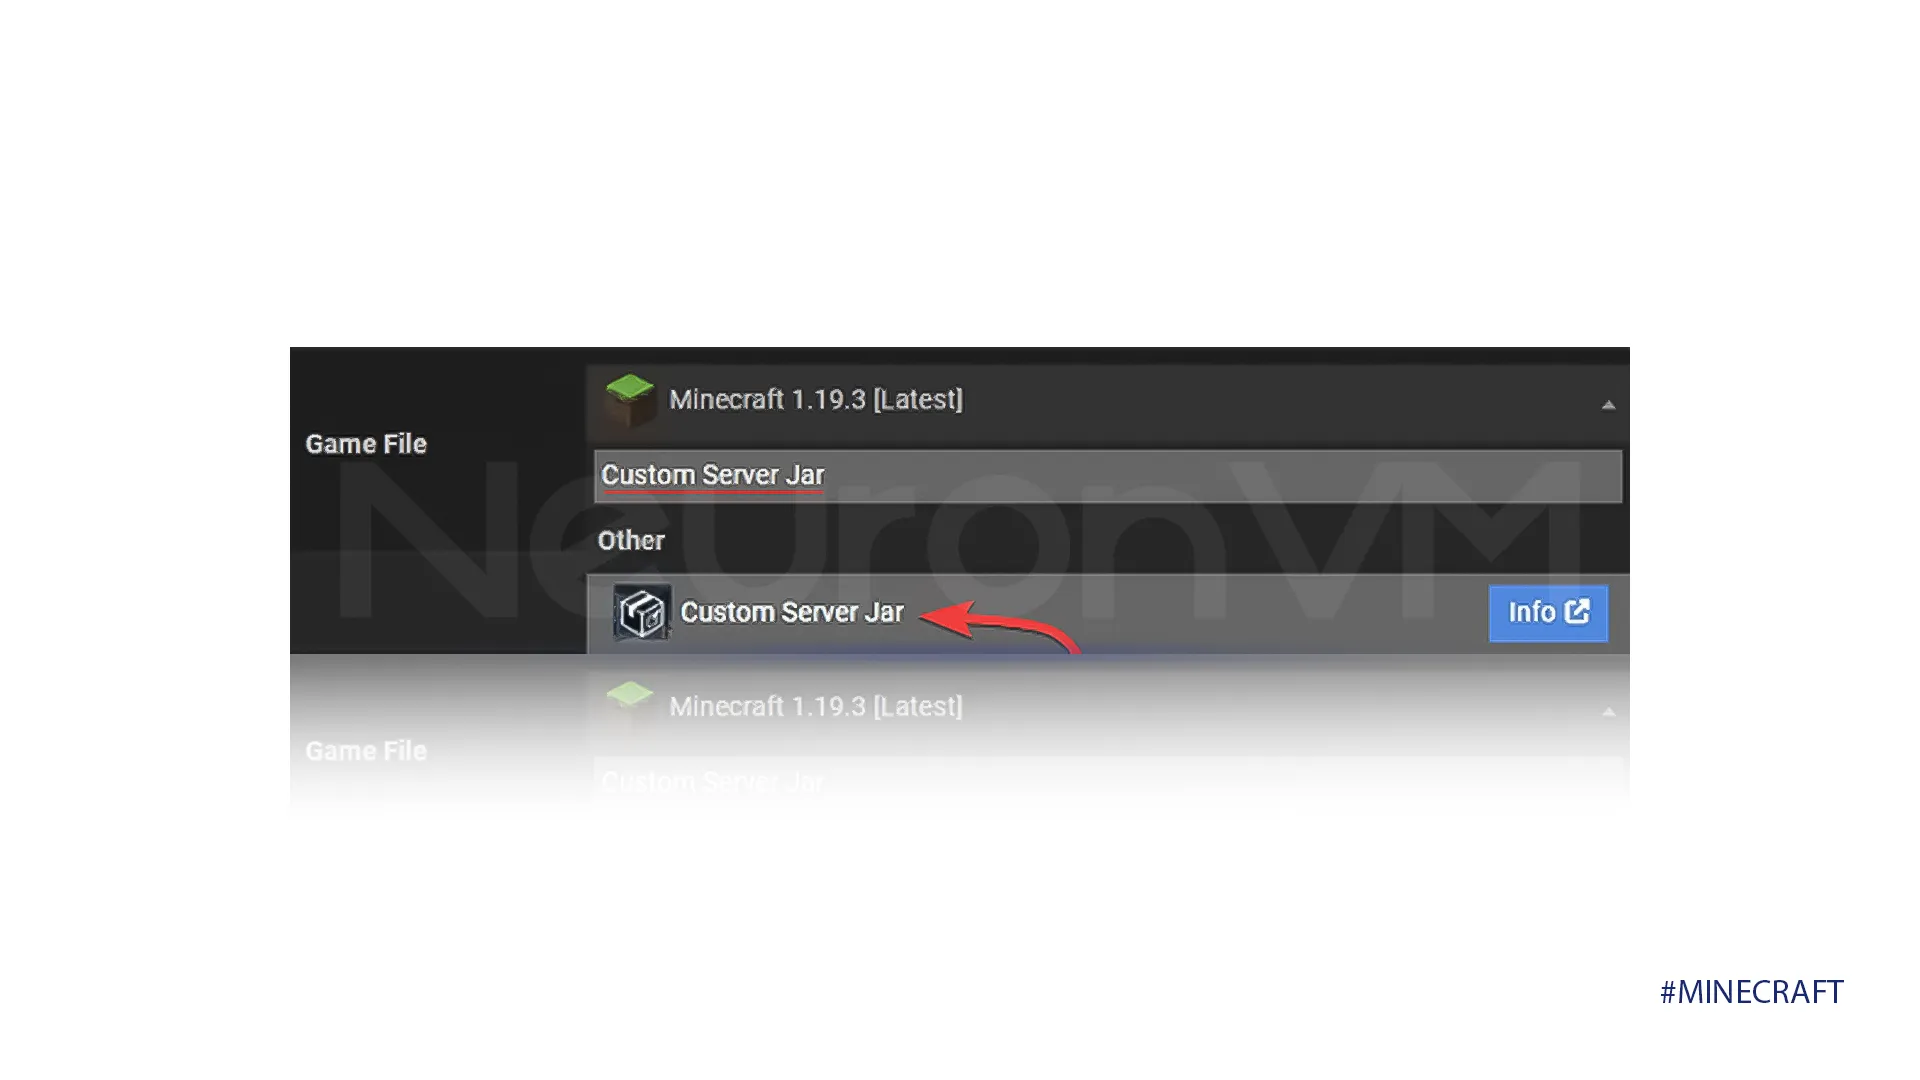
4-Once the server is stopped, identify the “Game File” section. Then click on the currently selected option, which is probably set in its default Minecraft server.
5-In the text box that appears, type “Custom Server Jar” and press enter. This action will guide the server in using the custom Purpur jar file.
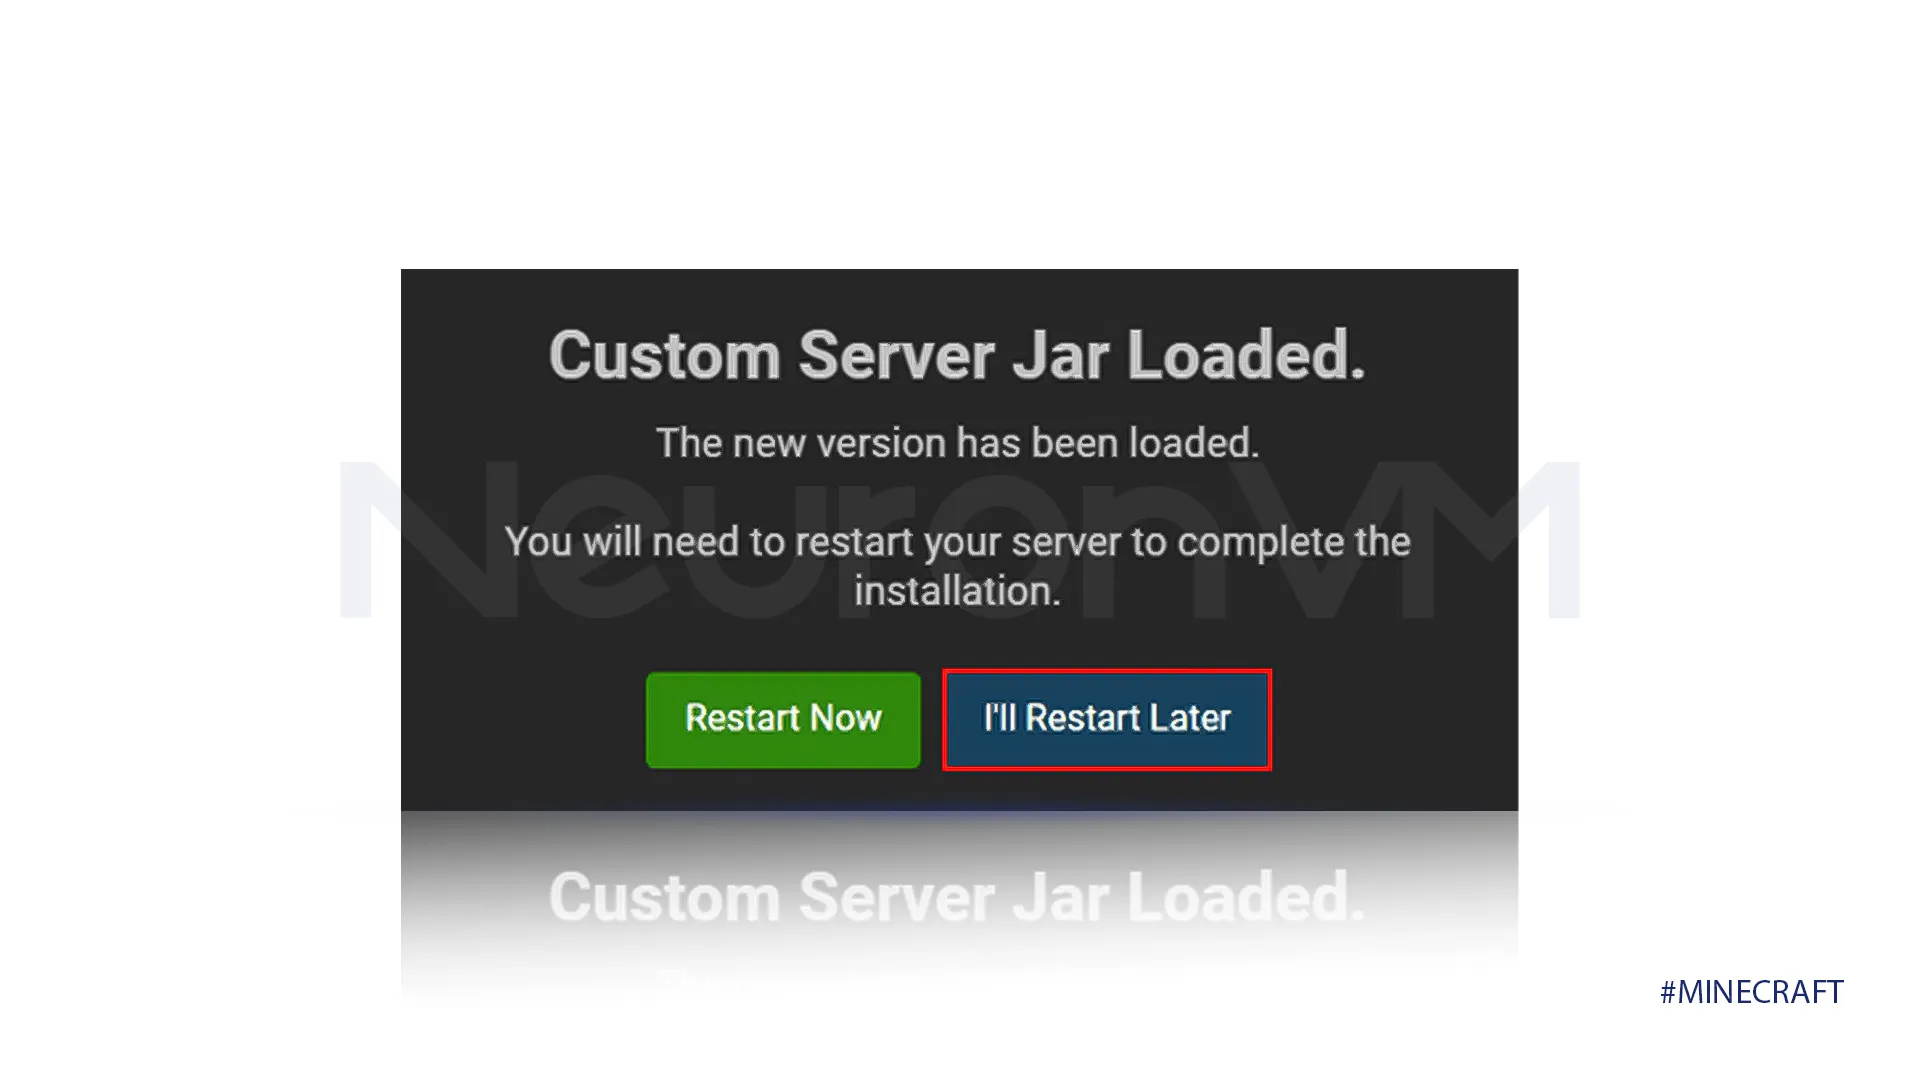
6-Click on “Change version” button to prepare your server for the new Purpur version. To avoid immediate downtime, choose the “I’ll Restart later” option.
7-Next, you will need to access your server’s FTP and find the “FTP File Access” button; it is usually located in the top left corner of your server panel.
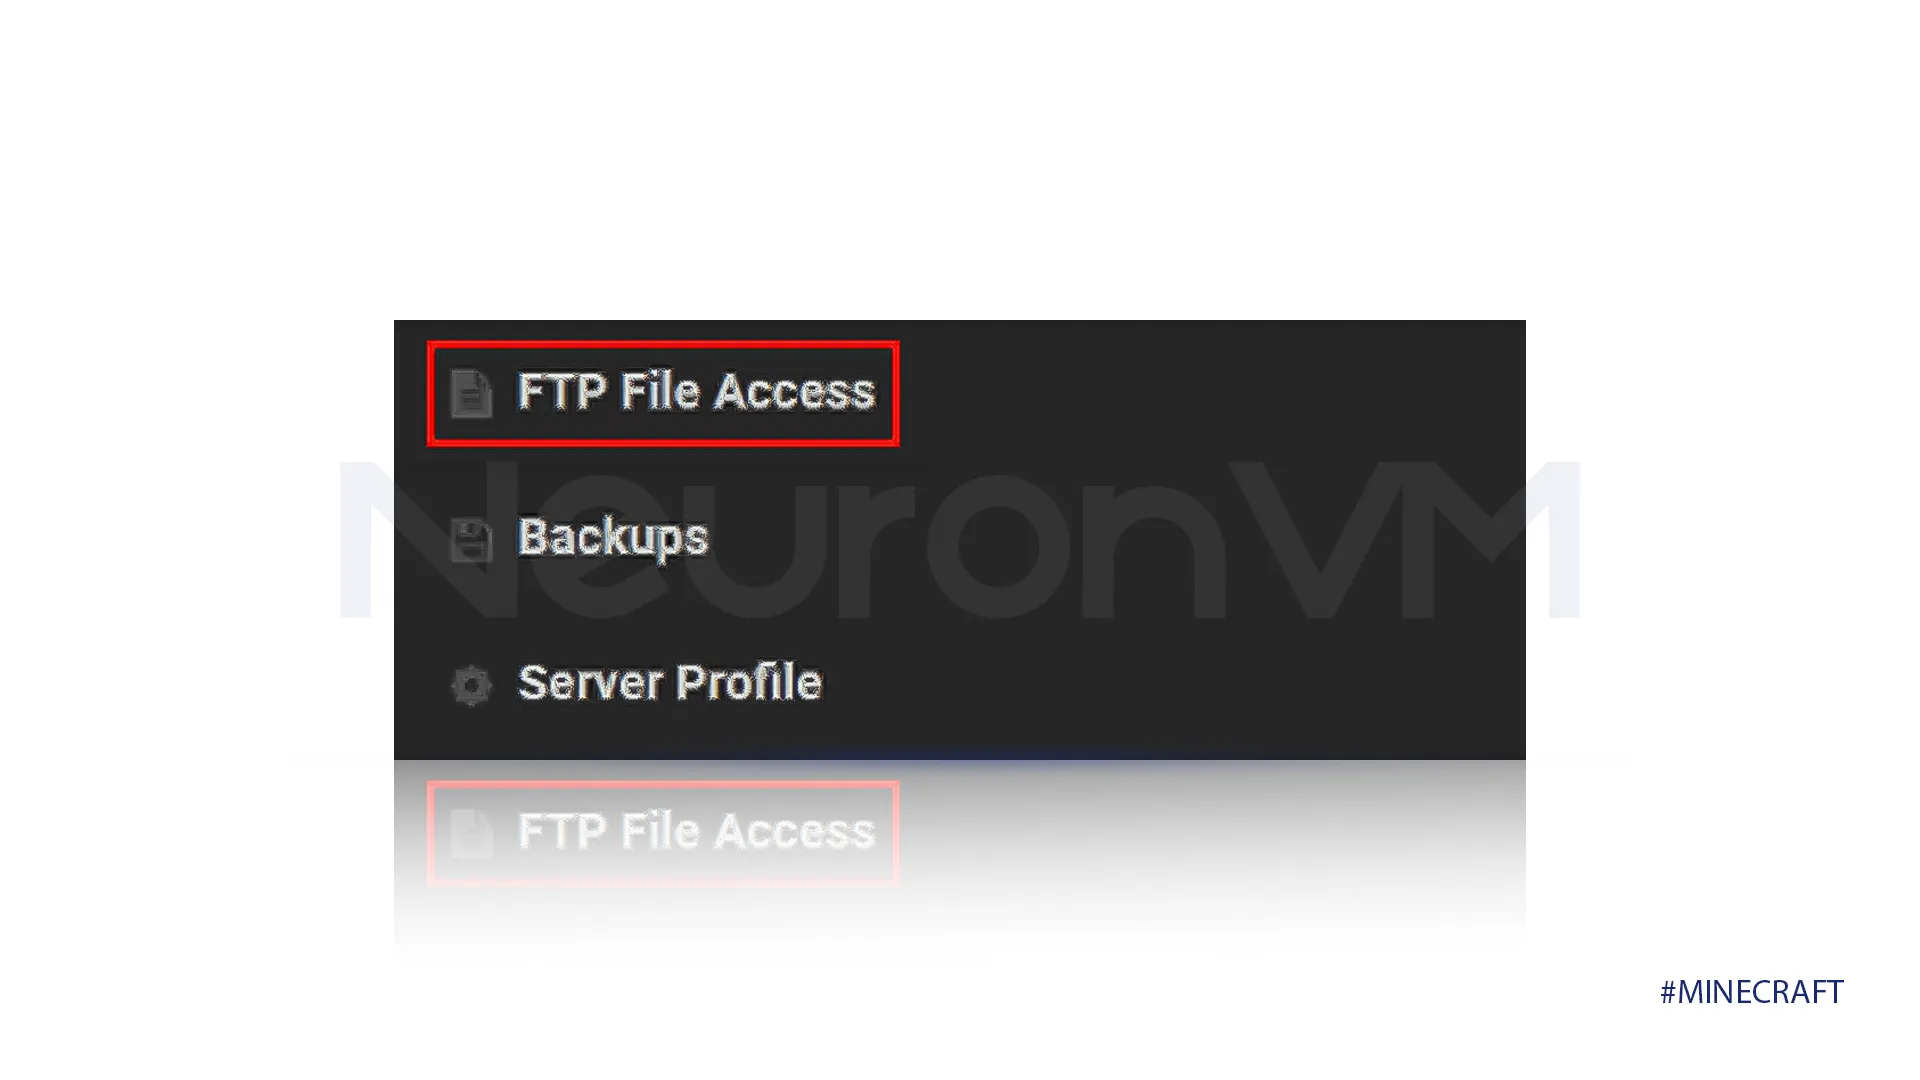 8-Once you’re logged into the FTP, navigate to the “jar” directory. This is where you will upload the Purpur jar file.
9-After uploading the Purpur jar file, locate the “custom.jar” file on your computer and drag it directly into the respective area. Once the file is successfully transferred, the upload progress bar will display “100%.”
 10-After uploading the Purpur JAR file, go back to the main server panel and click the restart button. This will load the custom Purpur file.
After these 10 steps, you will have Purpur successfully installed on your device. But first, we have to edit some of the files, the main one being purpur.yml. This file is crucial for customizing your Minecraft server. The following instructions will guide you through the process of modifying these settings.
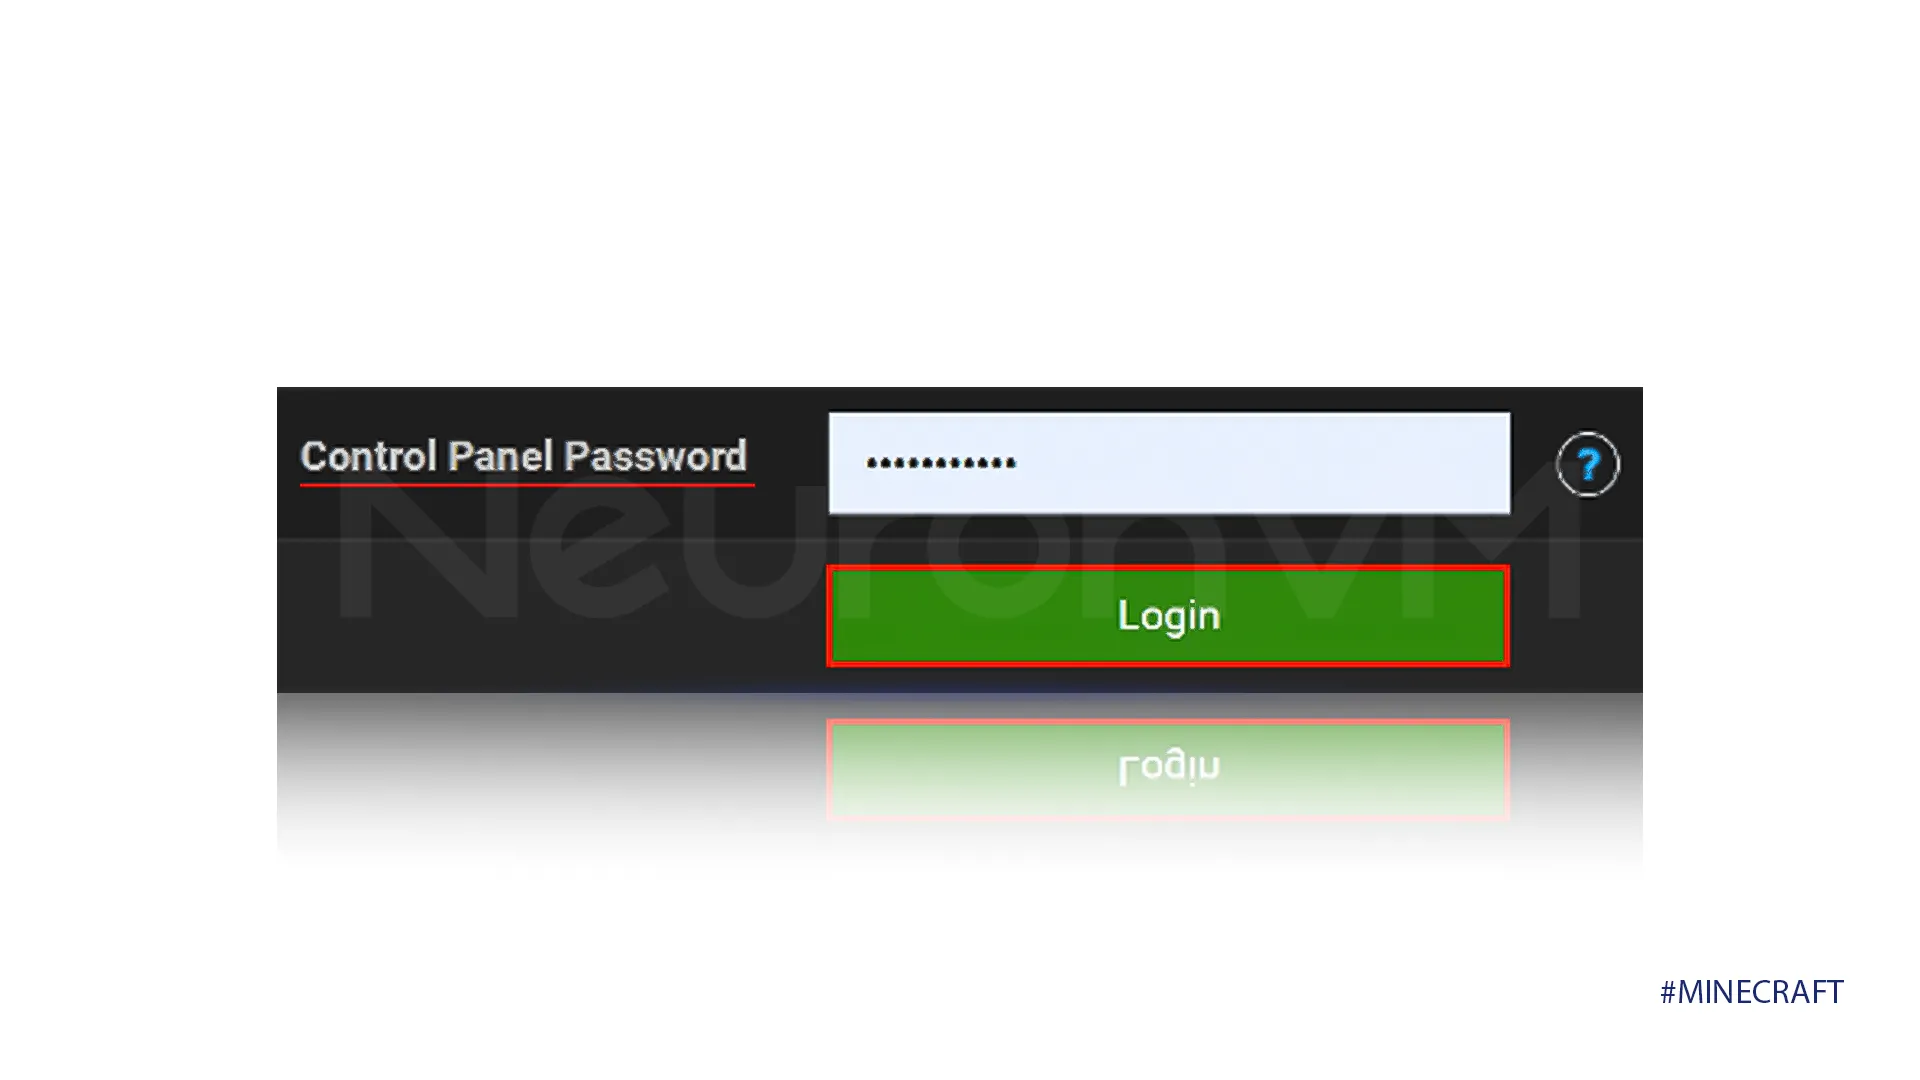
1-Log into your FTP account by entering the “FTP File Access” and providing your password.
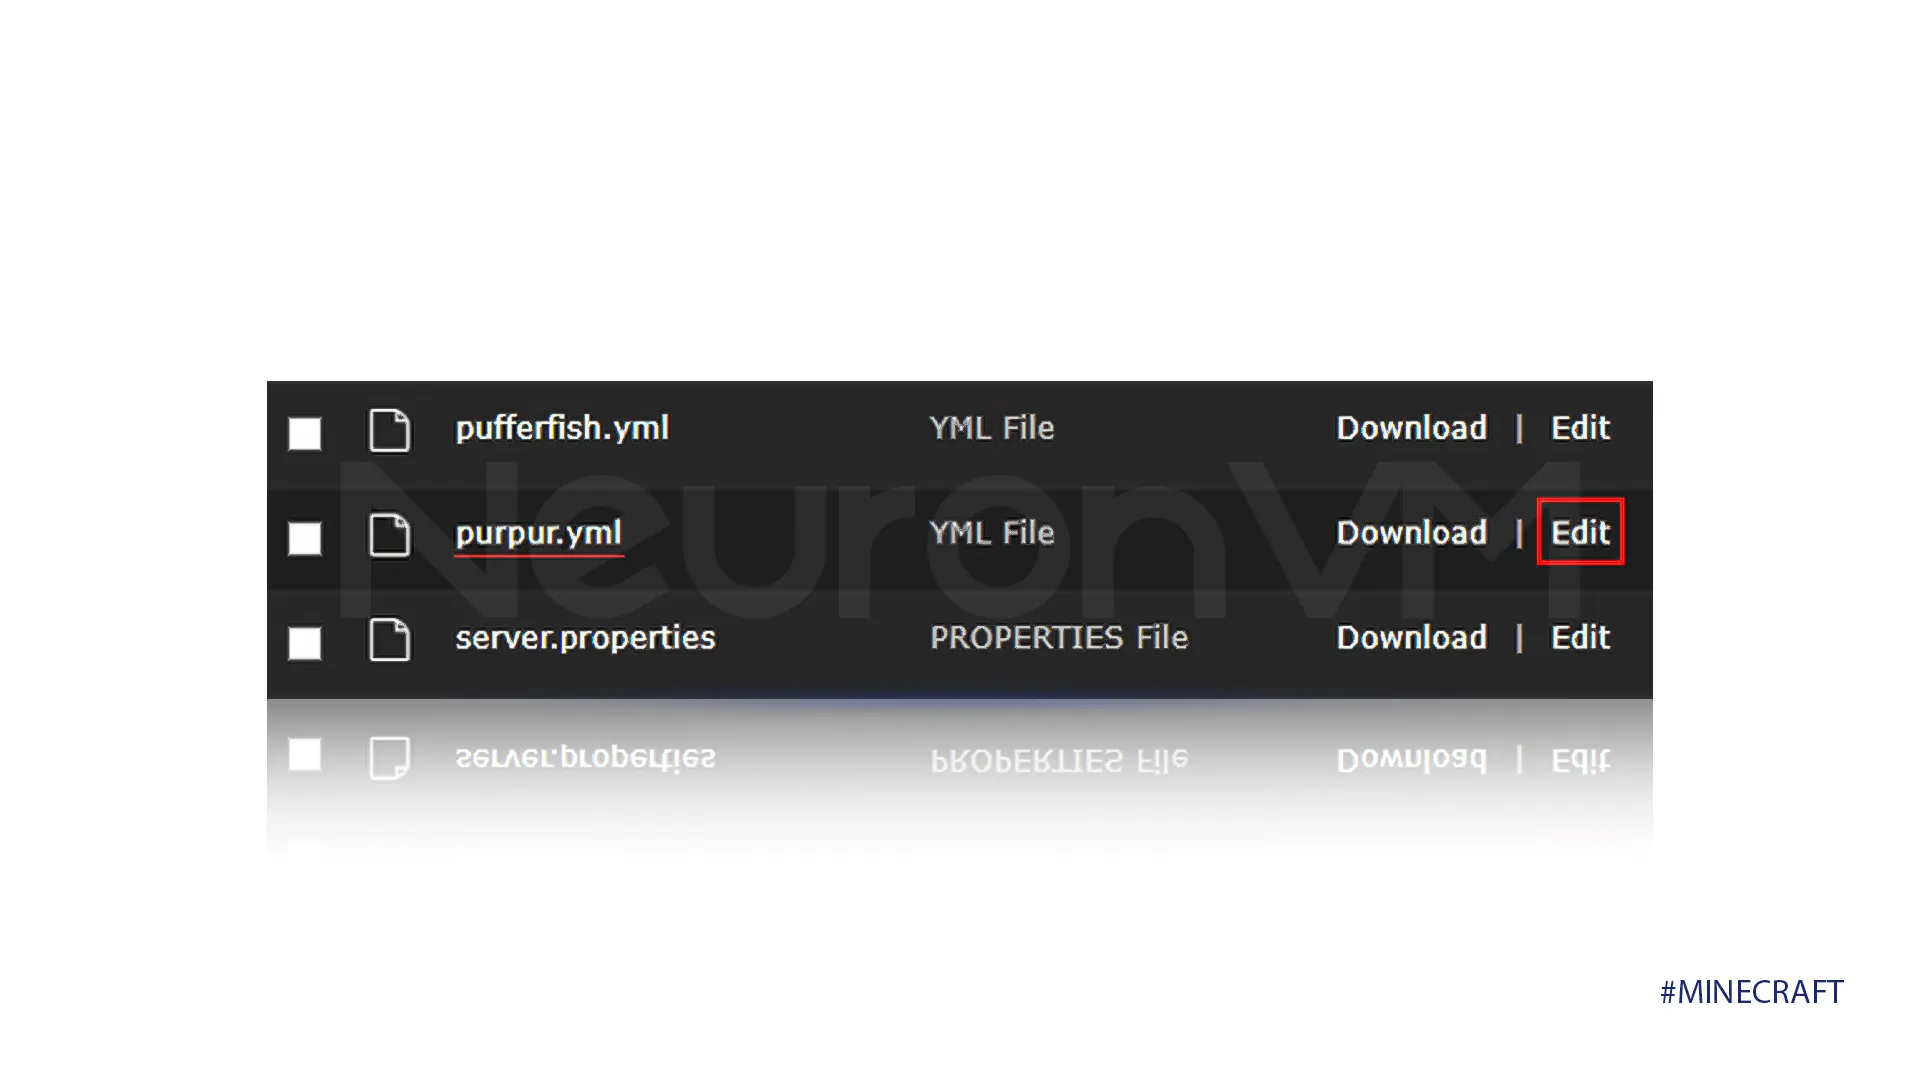
2-Find the “purpur.yml” file and click the “edit” button to open it.
3-Modify the settings within the “purpur.yml” file to achieve your desired server configuration.
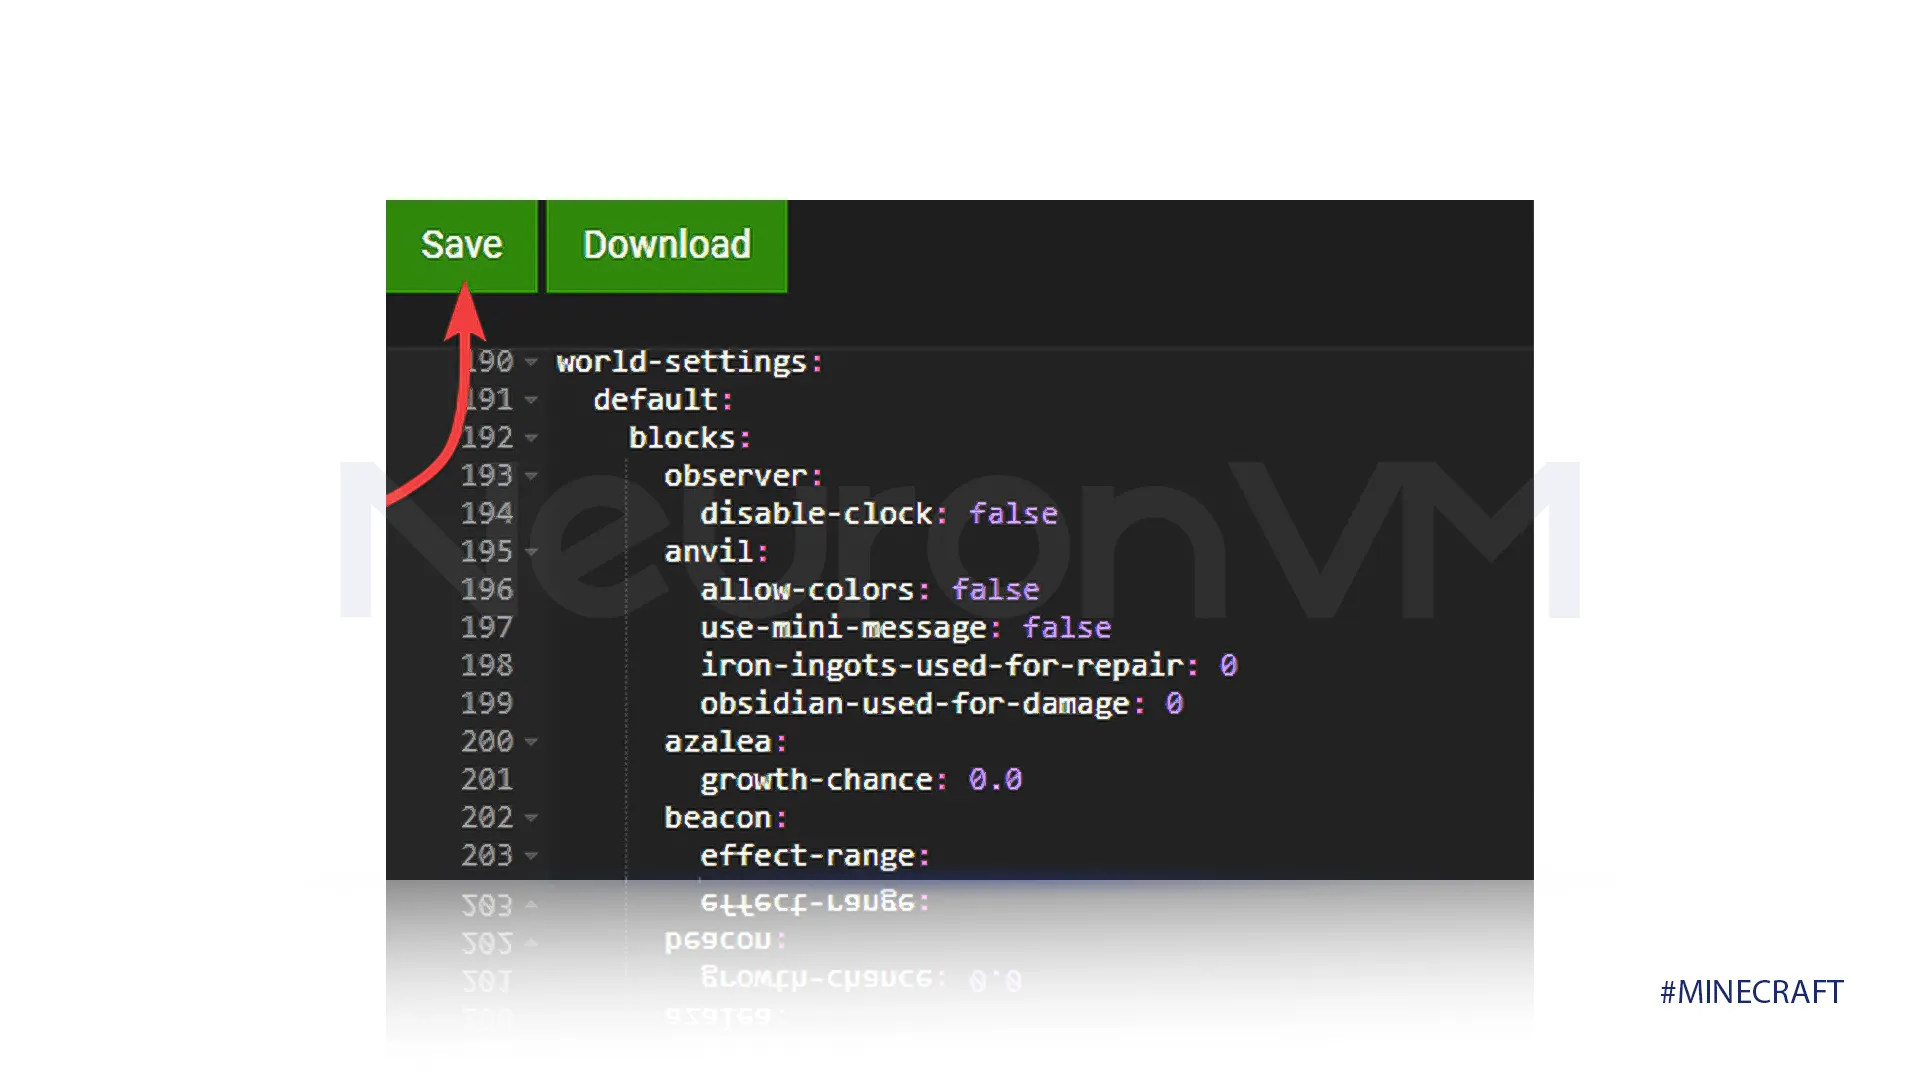
4-Once you have saved your changes, return to the main server panel and restart the server to apply the new setting. After doing that, you are done with installing Purpur on the Minecraft server.
Conclusion
We provided a straightforward tutorial on installing Purpur on Minecraft; by following these steps, you should have successfully installed and configured Purpur on your Minecraft server. If you want more information about the Purpur server, we recommend visiting the official Purpur documentation for more advanced customization options.
You might like it

Windows Tutorials
Enable SMB Compression in Windows Server 2022 RDP

Ubuntu Tutorials
Tutorial Switch Users in Ubuntu 20.04

Almalinux Tutorials
How to Install Cloudlinux on Almalinux 9


