How to Install League of Legends on Windows 11

 4m
4m
 0 comments
 Print
Print
If you are excited to play & Install League of Legends on your Windows 11 computer, don’t worry because it might feel confusing at first, but the process is actually very simple, in this guide will walk you through the simple proccess, it will walk you through everything, step by step, this is just a friendly guide to help you get leauge of Legends up and running, even if you’ve never installe a game before, so let’s get started toghter.

🎮 Configuring League of Legends on Windows 11
We will show you the correct and safe way to install League of Legends on Windows 11, since League of Legends is one of the most popular games in the world right now, it is so easy to come across fake websites or unsafe links that could harm your computer, but don’t worry because we will guide you step by step and help you download the game from the official source, so you can start playing with peace of mind.
System Requirements
- 64-bit version of Windows installed.
- The processor should be a Core i3.
- A minimum of 4 GB of RAM is required to play the game properly.
- A Graphics card like Intel HD Graphics or better is required for smooth gameplay.
- A Solid internet connection.
1-The first step is to open your favorite browser, whether it is Google Chrome, Firefox, or Edge, and then type “Download LOL” into the search bar.
2-As you can see, the page is really simple and clear, There is just one main button that says “Download for Windows”, if you are using a Mac, don’t worry; you can also play the game on macOS, and there is an option for that too.
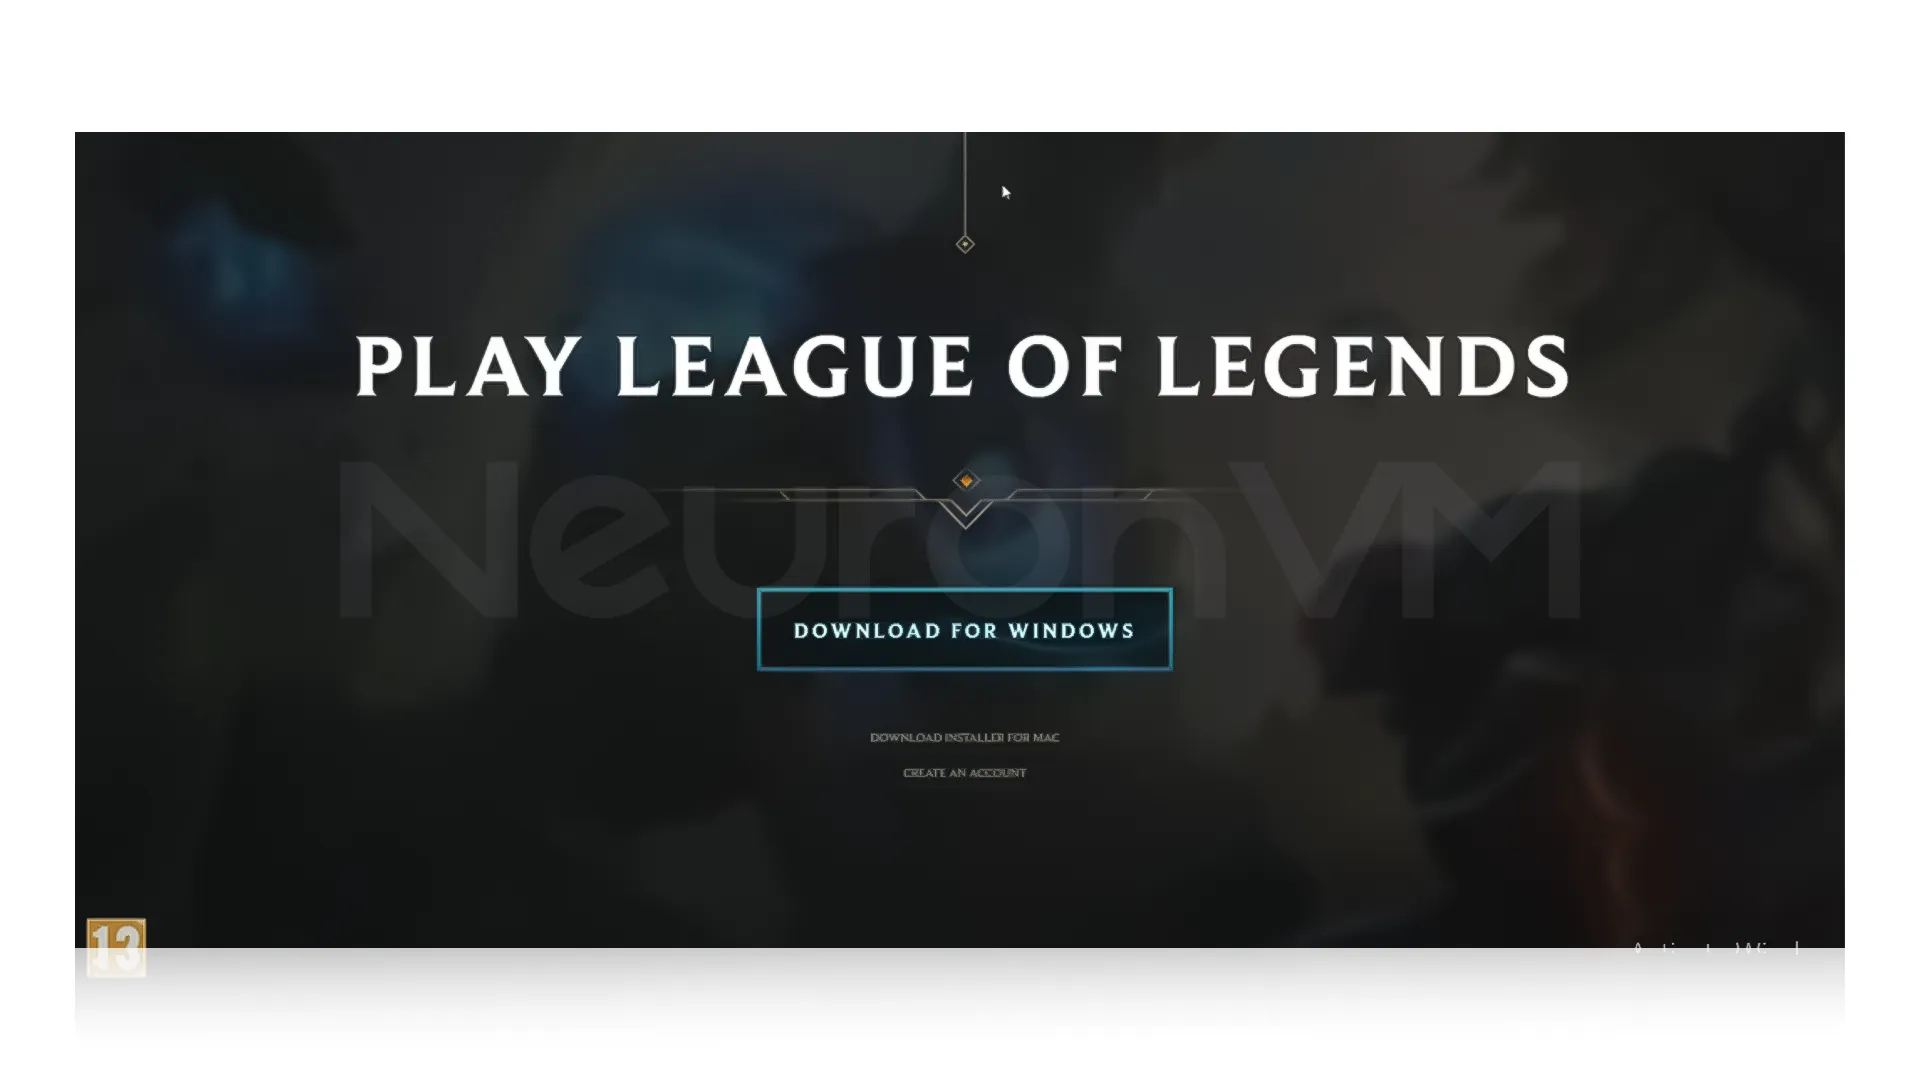
3-After you click on the Download button, the download will start automatically, but keep in mind it’s not the full game yet; what you are downloading is the Launcher, which is the program that will help you install and run League of Legends later.
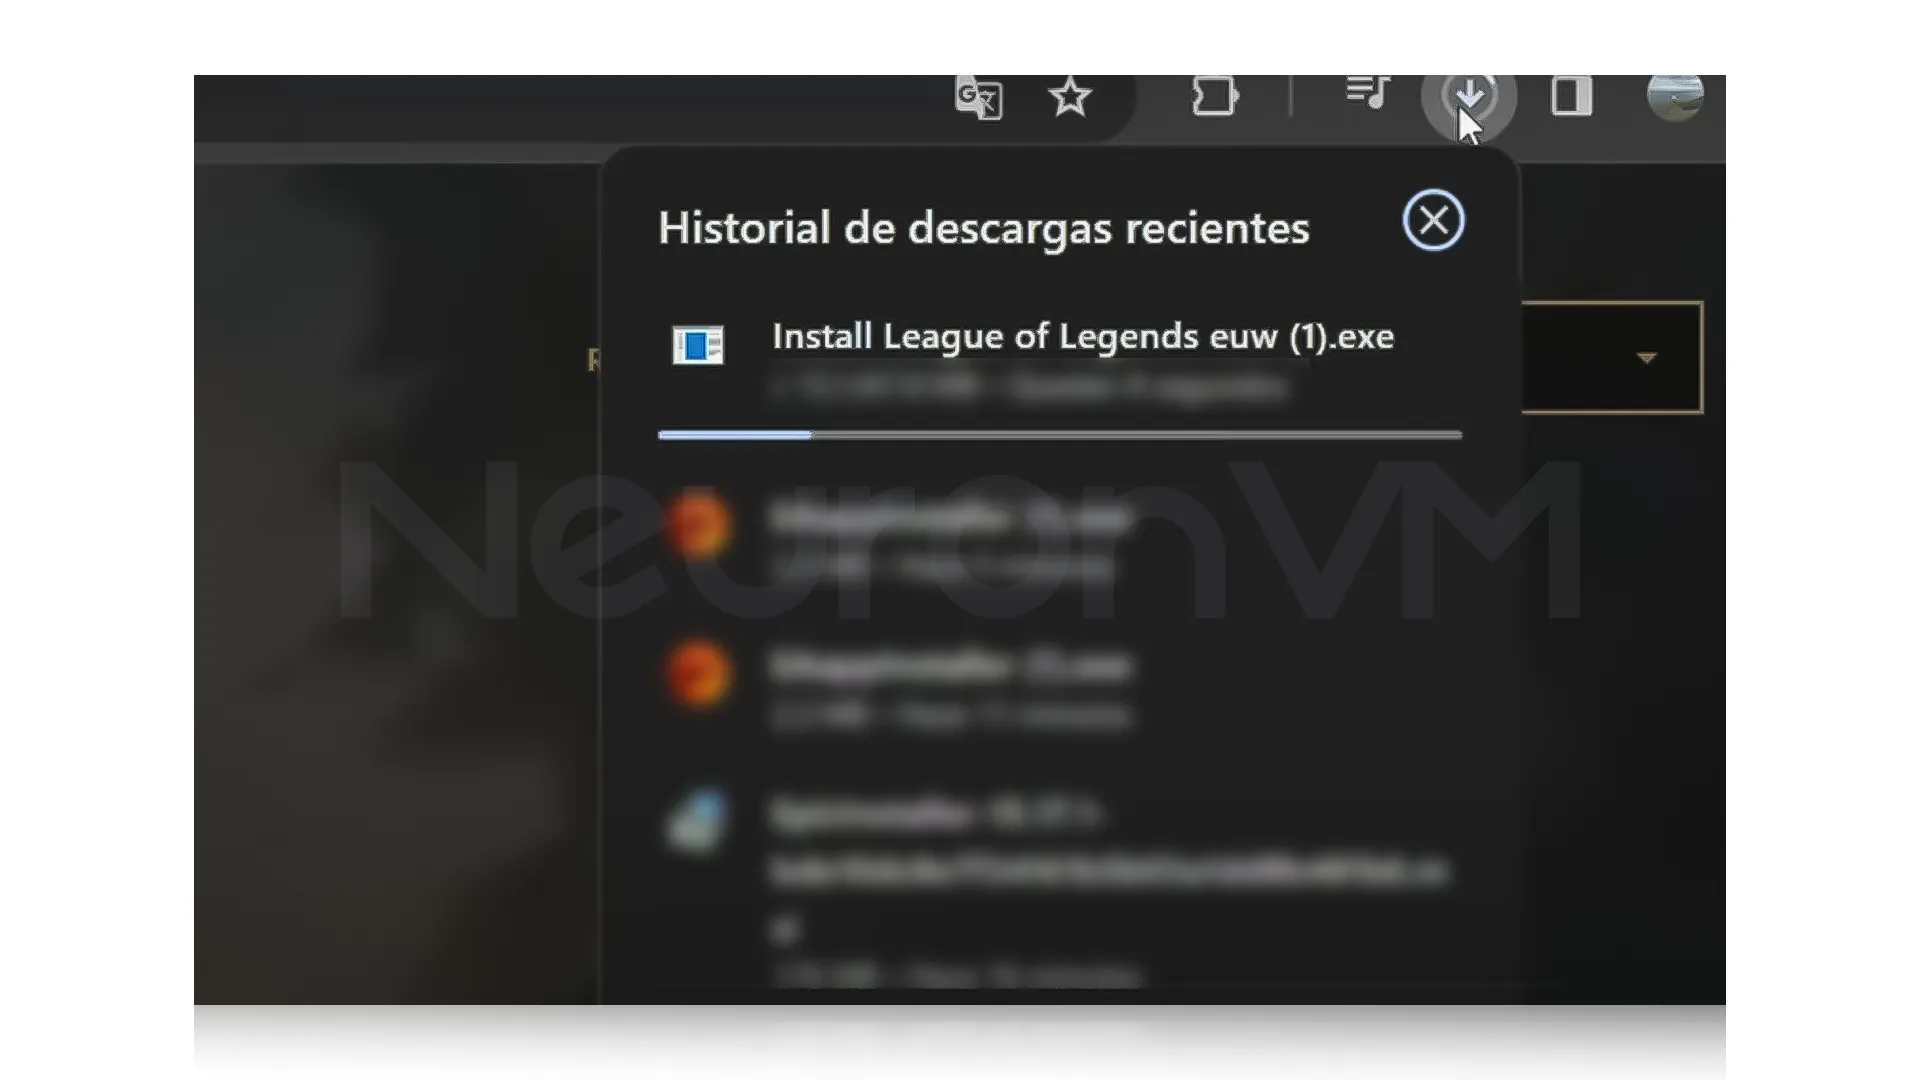
4-When the download finishes, you’ll see an icon like this on your desktop, just double-click it, and a small window will open, This is where you will start installing the actual game, The installer will guide you through everything automatically, making it easy to get the game ready to play.

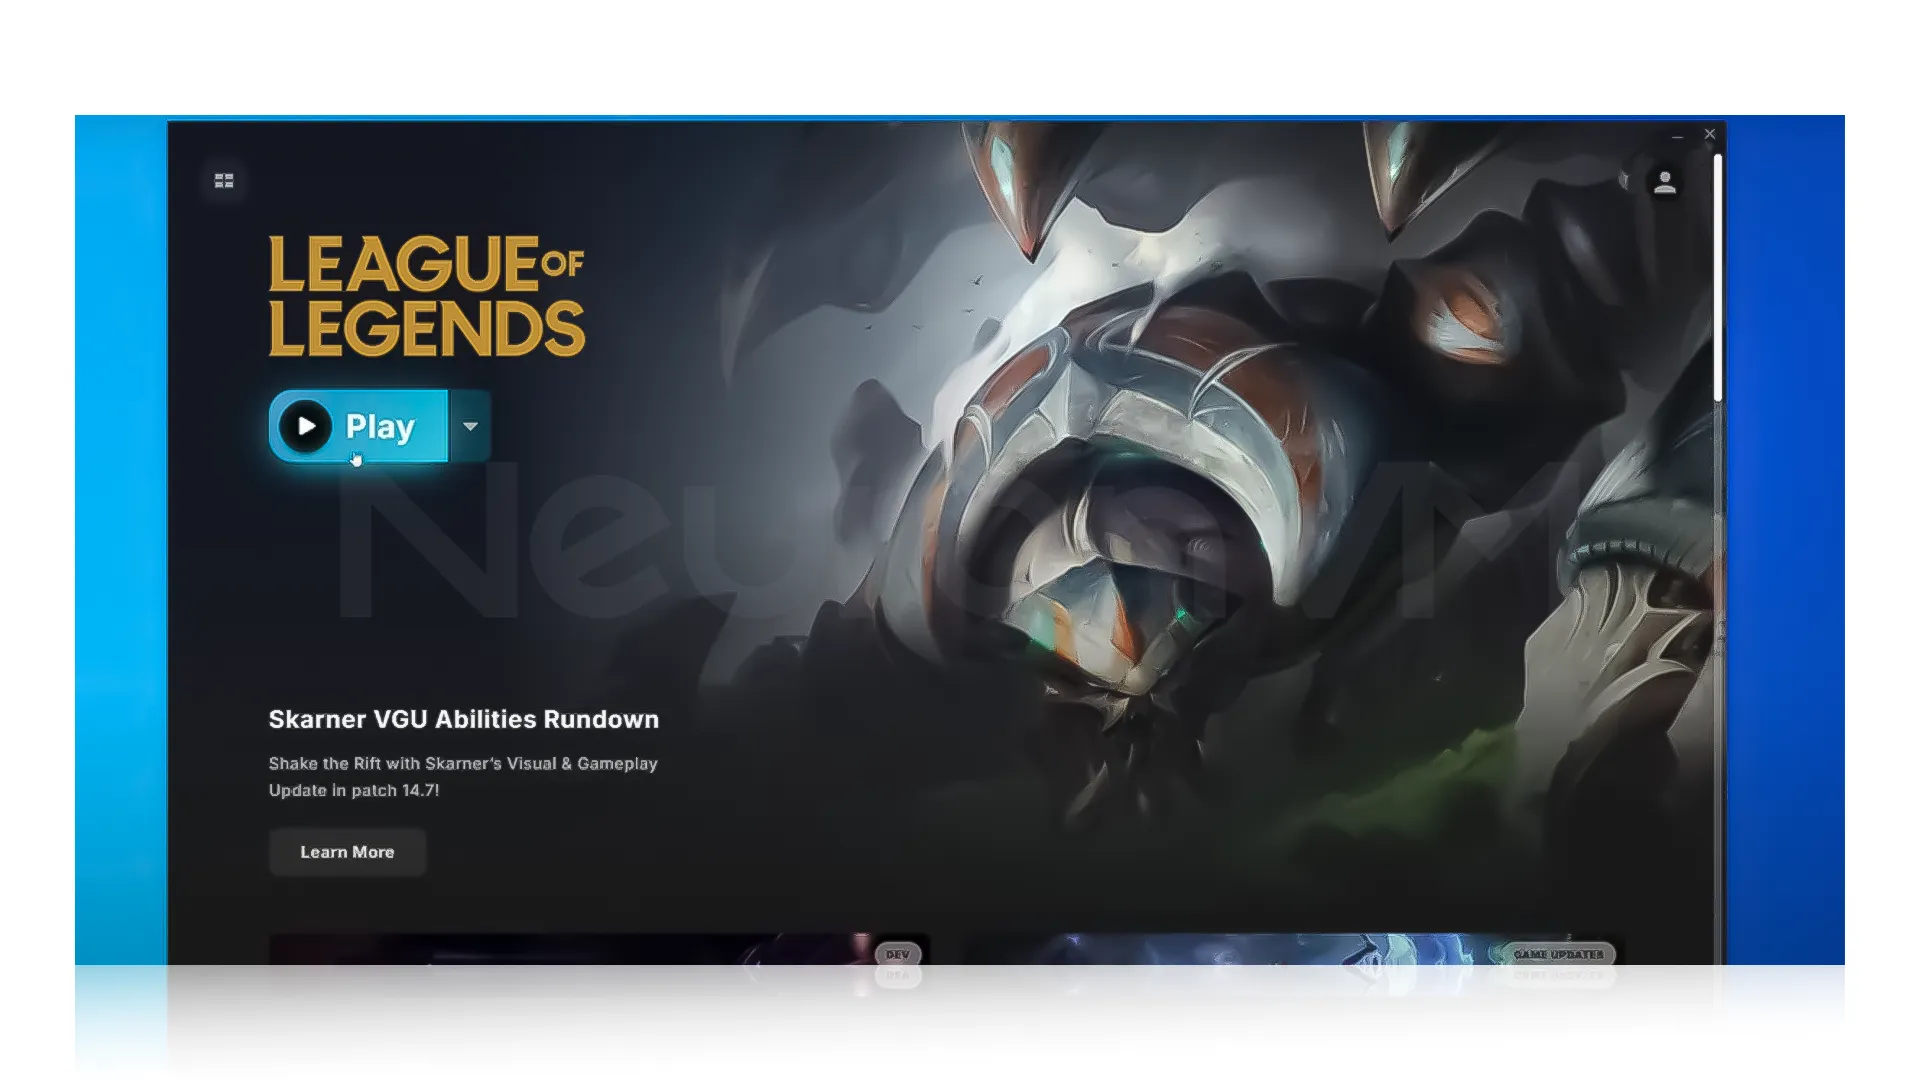
5-Once the download is complete, which can take you around 3 to 4 hours depending on how fast your internet is, you’ll see the “Play” button appear, This means that the game is ready, and you are all set to jump into League of Legends and start playing.
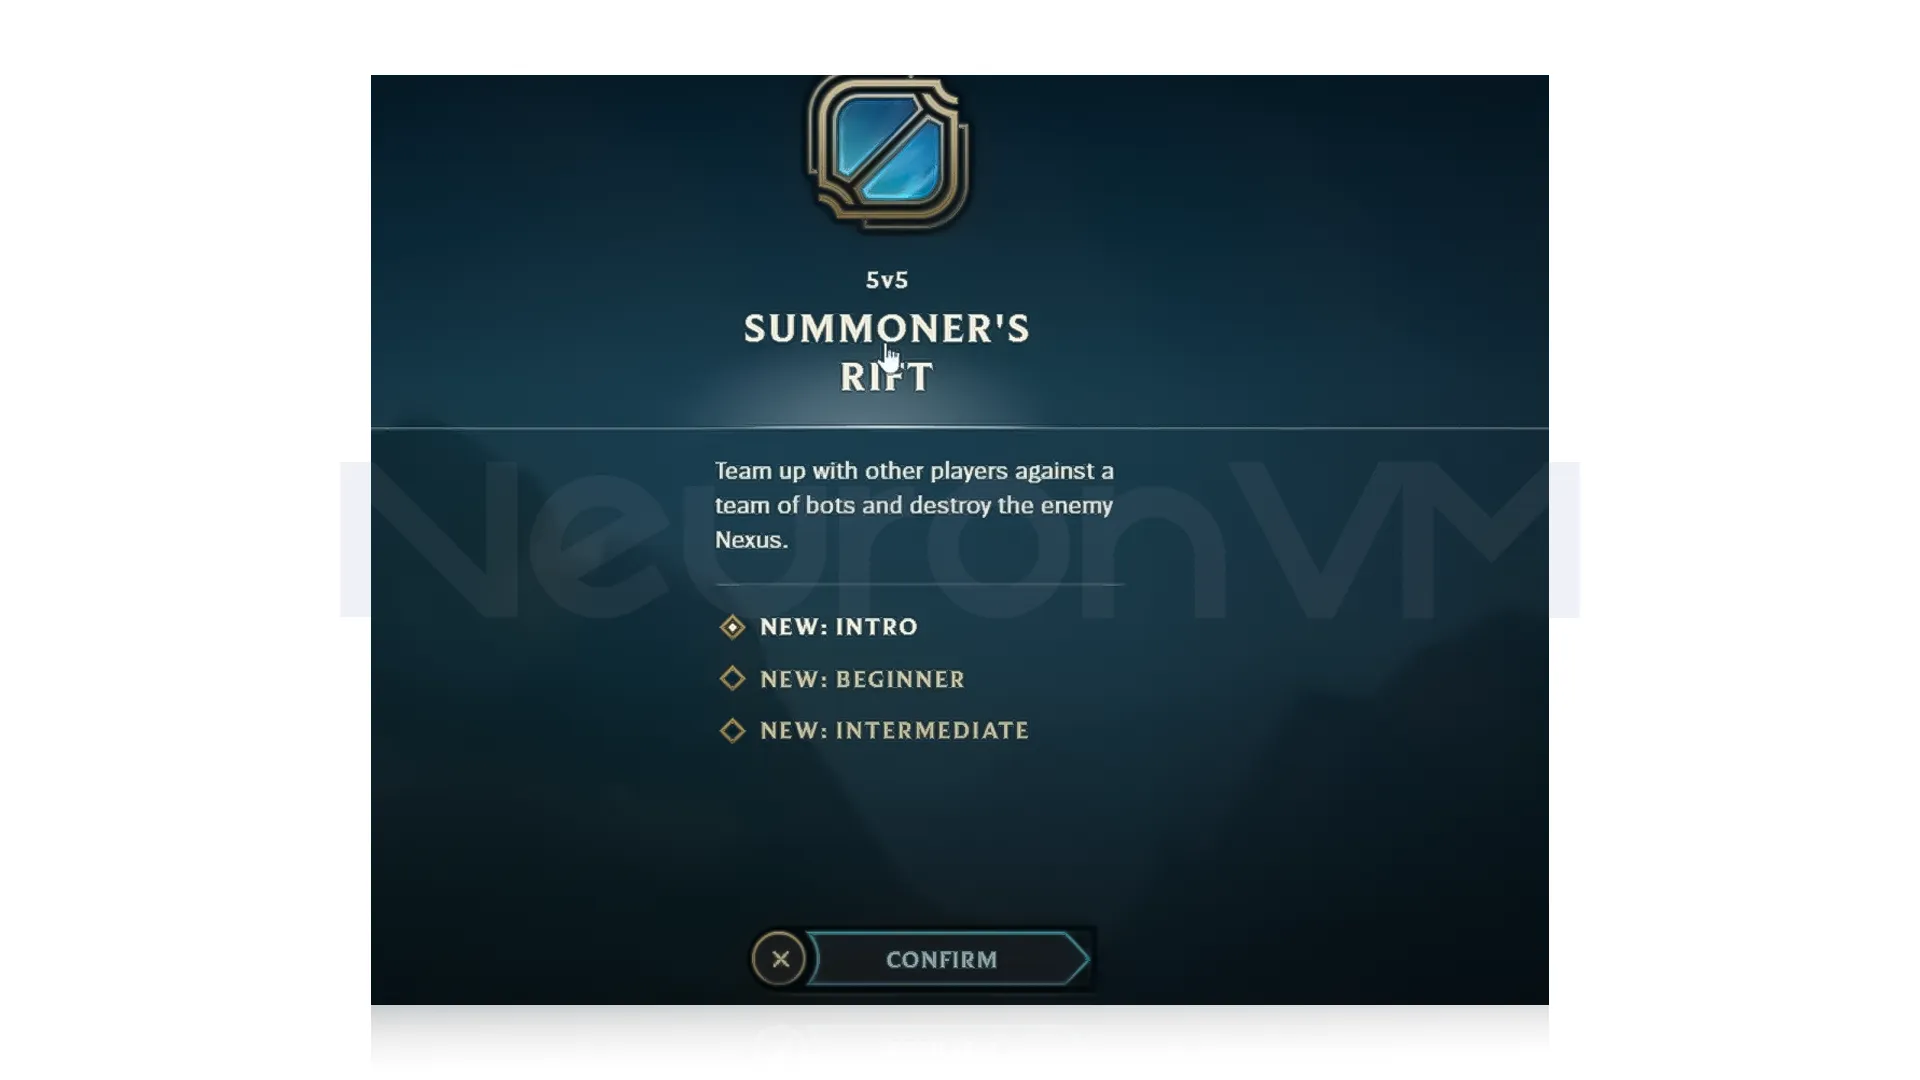
6- After clicking on the play button, you will be able to launch League of Legends and dive into the game, just confirm when prompted, and you will enter your first match, which is usually a 5v5 battle on Summoner’s Rift, as we mentioned before, all the process is really simple aside from waiting for the game to downloaded, settings things up only takes a few minuets, even if you don’t already have an account.
That’s it!! After these steps, you’re all set to enjoy League of Legends on your Windows 11 PC, you don’t need to do anything else; just start playing and have fun.
How to make League of Legends run smoother on Windows 11
1-Update your Graphics Drivers: If you have an NVIDIA graphics card, open NVIDIA GeForce Experience and check for updates, and if you have an AMD card, open AMD Radeon Software and look for updates, because updating your drivers can help you run faster and look better.
2-Turn on Game Mode in Windows 11: Windows 11 has a feature called Game Mode that helps your computer focus on the on the game.
3-Change Game Graphic Settings: If your computer isn’t very fast, lowering some graphic settings in League of Legends can help.
4-Close Other Programs: Having many programs open can slow your computer, you can press “Ctrl + Shift + Esc” to open Task Manager and find the program you don’t need right now and click End Task, which frees up your computer.

Uninstalling League of Legends from Windows 11
If you want to remove League of Legends from your computer, just delete it like a regular computer, just deleting it like a regular program might leave some extra stuff and files behind, to fully get rid of the game:
Uninstall the game in the normal way, open settings, find League of Legends, and click on uninstall, then open the file explorer and go to the “C: Riot Games”, if you see a folder named Riot Games, delete it.
Conclusion
Now you are ready to enjoy League of Legends on your Windows 11 PC, we know it might feel confusing at first, especially if you are not used to installing games, but as you follow the provided steps in this article, you will see how easy it is when each step is clear, this guide was created to make sure you stay safe while downloading the game and to help you avoid any risky websites, everything we share on NeuronVM comes from the official and trusted sources, so you can feel confident during the process, whether you are here to explore the game for the first time or just reinstalling it, you’re set, we also showed you how to make the game run better and how to fully remove it if needed, now it’s your time to enjoy playing.
Go to their official website and click on "Download".
Yes, you can create one for free.
Yes, the game is completely free to play.