How to Install Java on Ubuntu 21.04


 8m
8m
 0 comments
 Print
Print
If you have just set up a server or Ubuntu 21.04 system and you want to run Java-based software like Tomcat, Jenkins, Kafka, or development tools, the first step is to properly install Java, fortunately, Ubuntu has made the Java installation process very simple, and with just a few commands, you can install, verify, and configure it for all users on the system. In this tutorial, based on practical experience, we will take you through the steps carefully and practically, so that by the end, Java is fully ready to use on your system.
How to install Java on Ubuntu (step-by-step)
1- Check if Java is installed on the system
First of all, we need to make sure that Java is not already installed, a simple check is enough:
java --version
If you see this message:
Command ‘java’ not found, but can be installed with:
sudo apt install default-jre
This means that Java is not present on the system and you need to continue the installation steps.
2- Update Ubuntu Package List
Before installing any software in Ubuntu, it is better to update the package lists:
sudo apt-get update
After a few moments, messages like the following will be displayed:
Reading package lists... Done
All packages are up to date.
This means that Ubuntu is ready to install the new package.
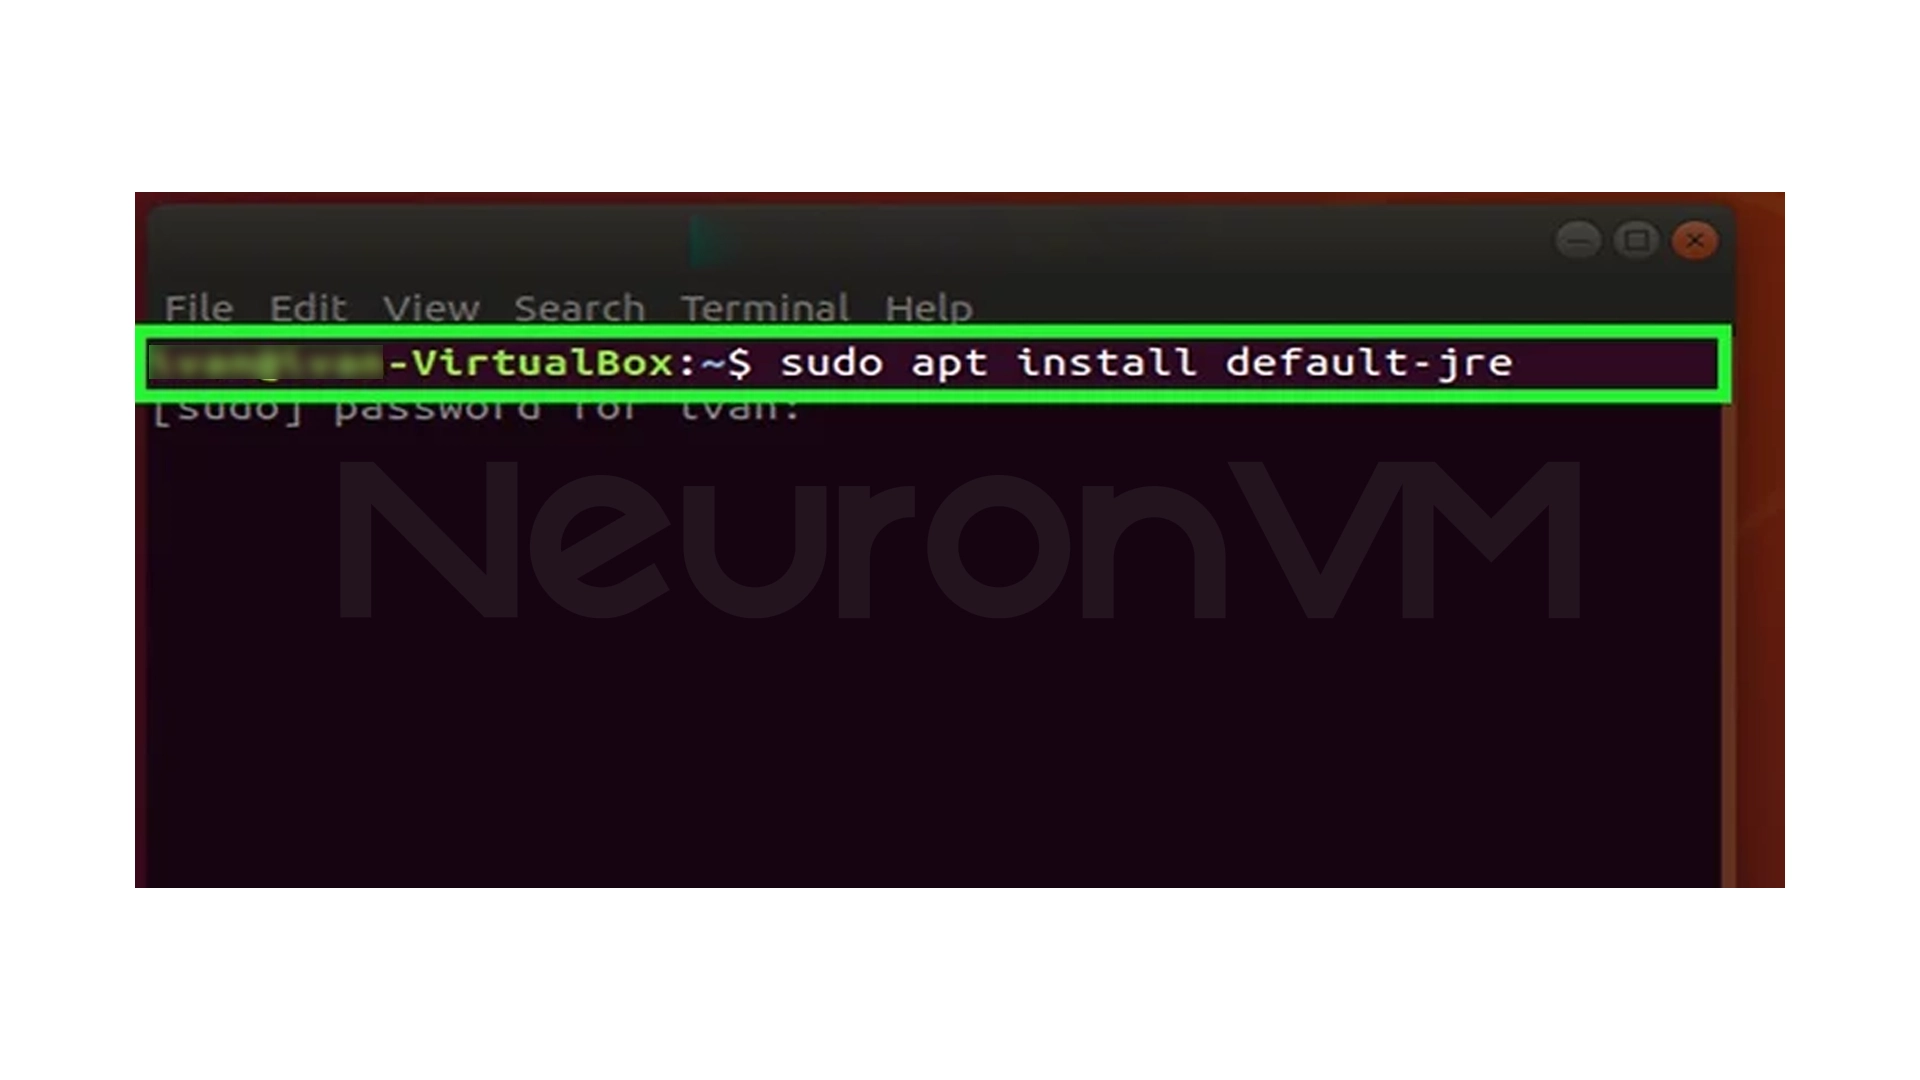
3.- Install Java (Ubuntu’s default JRE/JDK)
Ubuntu provides a quick way to install JRE and JDK via apt, this command will install the default version of Java (usually OpenJDK):
sudo apt install default-jre
During the installation, you will see messages similar to the following:
Setting up openjdk-21-jdk:amd64 ...
Setting up default-jdk …
After installation, both the Java Runtime and Java Development Kit are ready to use.
4- Verify the installation and make sure Java is added to the PATH
To make sure Java is installed successfully and is in the system PATH:
java -version
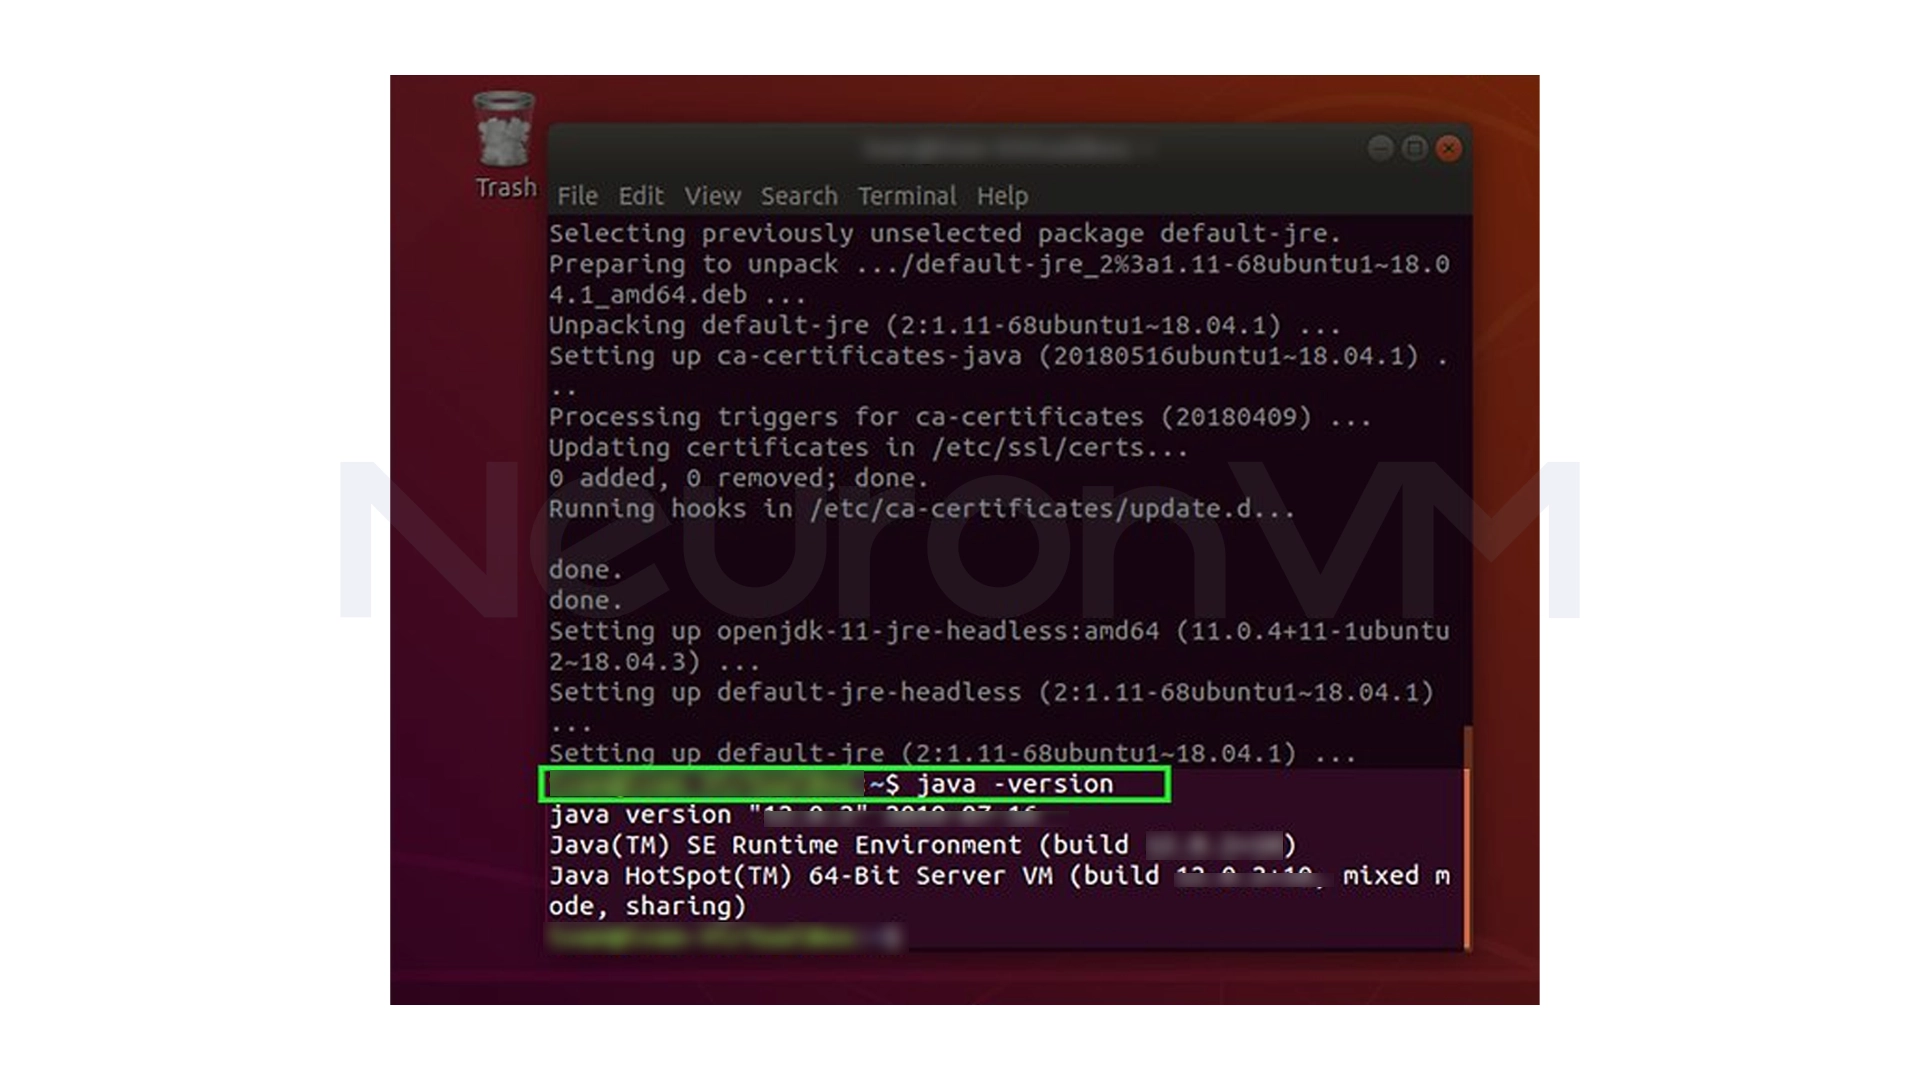
You will get an output similar to the following:
openjdk version "21.0.5"
OpenJDK Runtime Environment
OpenJDK 64-Bit Server VM
This means Java is fully installed and ready to use.
5- Set JAVA_HOME for all Ubuntu users
Many tools like Tomcat, Kafka or Jenkins require the JAVA_HOME variable.
JAVA_HOME specifies the path to where Java is installed on the system.
5.1 Finding the Java installation path
The following command will show you exactly where Java is installed:
update-alternatives --config java
The output will usually look something like this:
/usr/lib/jvm/java-11-openjdk-amd64/bin/java
However, to set JAVA_HOME, it is better to use the default path of Ubuntu:
/usr/lib/jvm/default-java
5.2 Adding JAVA_HOME to the environment file
Open the environment configuration file:
sudo nano /etc/environment
At the end of the file, add:
JAVA_HOME="/usr/lib/jvm/default-java"
Then load the file:
source /etc/environment
And finally check:
echo $JAVA_HOME
If you see the default Java path, JAVA_HOME has been set successfully.
My Experience Installing Java on Ubuntu
In all the projects I’ve run on Linux servers, the biggest problem engineers face is not setting JAVA_HOME correctly, even if Java is installed, some services like Jenkins or build tools like Maven and Gradle won’t run without a valid JAVA_HOME and that’s why the first thing I always do after installing Java is to set this variable correctly, on the other hand, installing Java via apt on Ubuntu is almost always hassle-free and stable, and is one of the fastest ways to set up Java environments for development or production, i share my personal experience of tech on our website you can always check more there.
Conclusion
Setting up Java on Ubuntu may seem simple at first glance, but if the steps are not followed correctly, you will encounter strange errors later when running services like Jenkins or build tools.
In this tutorial, we have reviewed all the steps from the ground up and with a practical approach, from checking if Java is installed, updating packages, installing the default JRE/JDK version, to validating the installation and setting JAVA_HOME system-wide, by following these steps, you now have a completely standard and stable environment for running Java applications on Ubuntu 21.04, an environment that is not only suitable for development, but also completely reliable for running enterprise services.
If you later plan to install Java development tools, programming servers, or even run enterprise projects, this installed base is the best possible starting point.
If you just want to run programs, a Java runtime environment is enough but for development, you need the full Java toolkit.
For many professional tools and services, setting JAVA_HOME is necessary to detect the path to the Java installation.
Usually, the latest stable and reliable version of Java that is available in the official Ubuntu repositories is installed.
You might like it