How to Install GNOME 40 on Ubuntu 22.04 for Remote Access


 9m
9m
 0 comments
 Print
Print
If you’ve only worked with the command line on your Ubuntu server, adding a desktop environment like GNOME 40 can be a completely different experience, GNOME is simple and also very useful for administrative and everyday tasks, In this tutorial, we’ll walk you through the installation and setup of GNOME 40 on Ubuntu 22.04, so you won’t get confused even if it’s your first time doing it, check out our website for more Ubuntu tutorial.
Preparing for Installation
First of all, make sure your system is running Ubuntu 22.04, as this version is fully compatible with GNOME, If you’re going to work remotely, using a tool like MobaXterm can really make things easier. It supports SSH, RDP, and VNC, and it’s very useful for managing the server in this tutorial. If you don’t have it installed, it’s a good idea to install it on your system before you start.
Updating the system
Before installing any new package, the first step should always be to update the system. This will both give you peace of mind in terms of security and prevent you from encountering strange errors during the installation. At this point, the list of installed packages and software on the system will be updated to the latest available version. This may take a few minutes, but it is worth it.
apt update && apt upgrade -y
Installing GNOME on Ubuntu 22.04
To install the GNOME desktop environment on Ubuntu, we will use the ubuntu-gnome-desktop package.
apt install ubuntu-gnome-desktop -y
This package requires approximately 2.5 GB of free space, so make sure you have enough space on the server before installing.
The installation process may take a while, depending on your internet speed. After the installation is complete, the system will be ready to configure remote access.
Installing and Setting Up xRDP
To be able to view and work with the GNOME environment remotely, you need xRDP. xRDP allows you to connect to a Linux desktop via the RDP protocol.
After installing xRDP, we enable its service to start automatically when the system boots.
sudo systemctl enable --now xrdp
Be sure to check the status of the service to make sure it is running properly.
sudo systemctl status xrdp
In some cases, logging in as a regular user via RDP may be problematic. In this situation, setting a password for the root user helps.
sudo passwd root
After making this change, restart the xRDP service once for the settings to take effect.
sudo systemctl restart xrdp
Now you can connect to the GNOME environment with the Remote Desktop tool in Windows or any other RDP client by entering the server IP.
Configuring the GNOME Desktop Environment
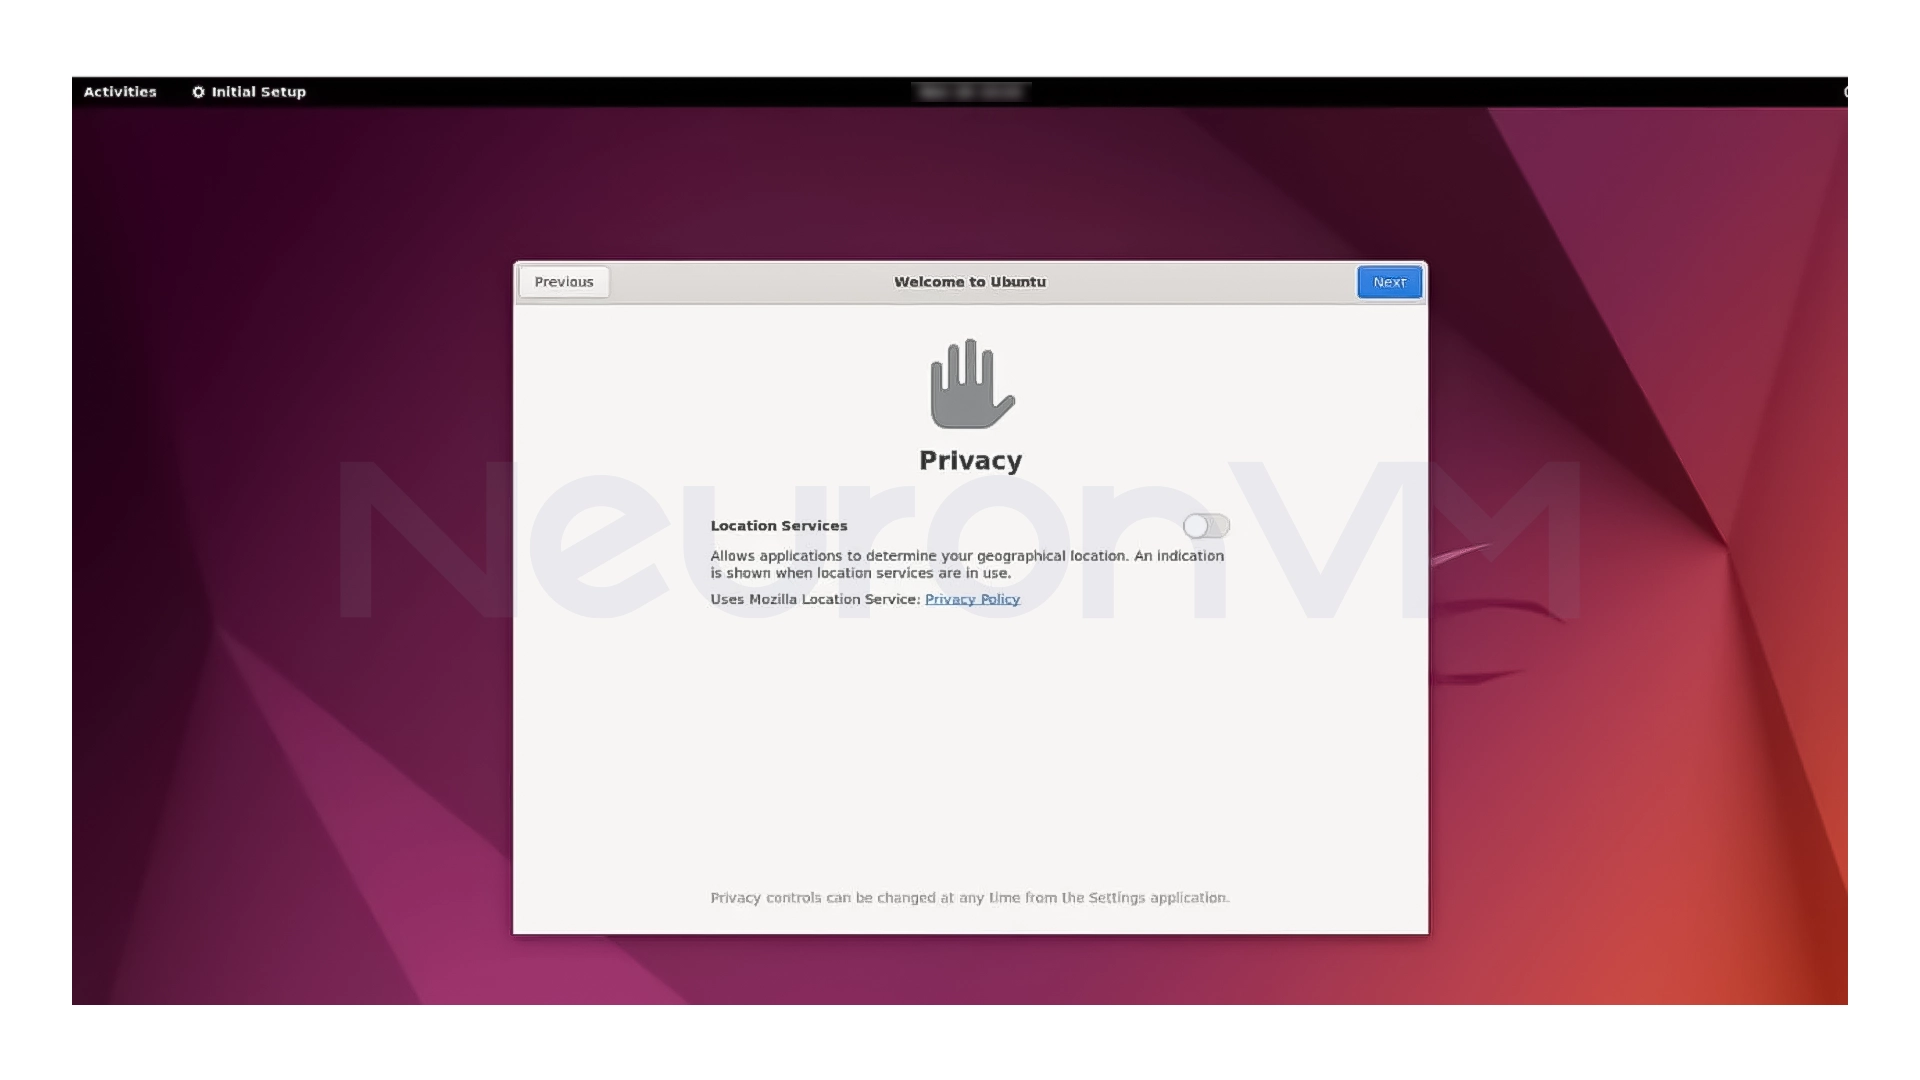
After the first connection, the GNOME Setup Wizard is displayed. This section is completely graphical and specifies the initial settings of your workspace.
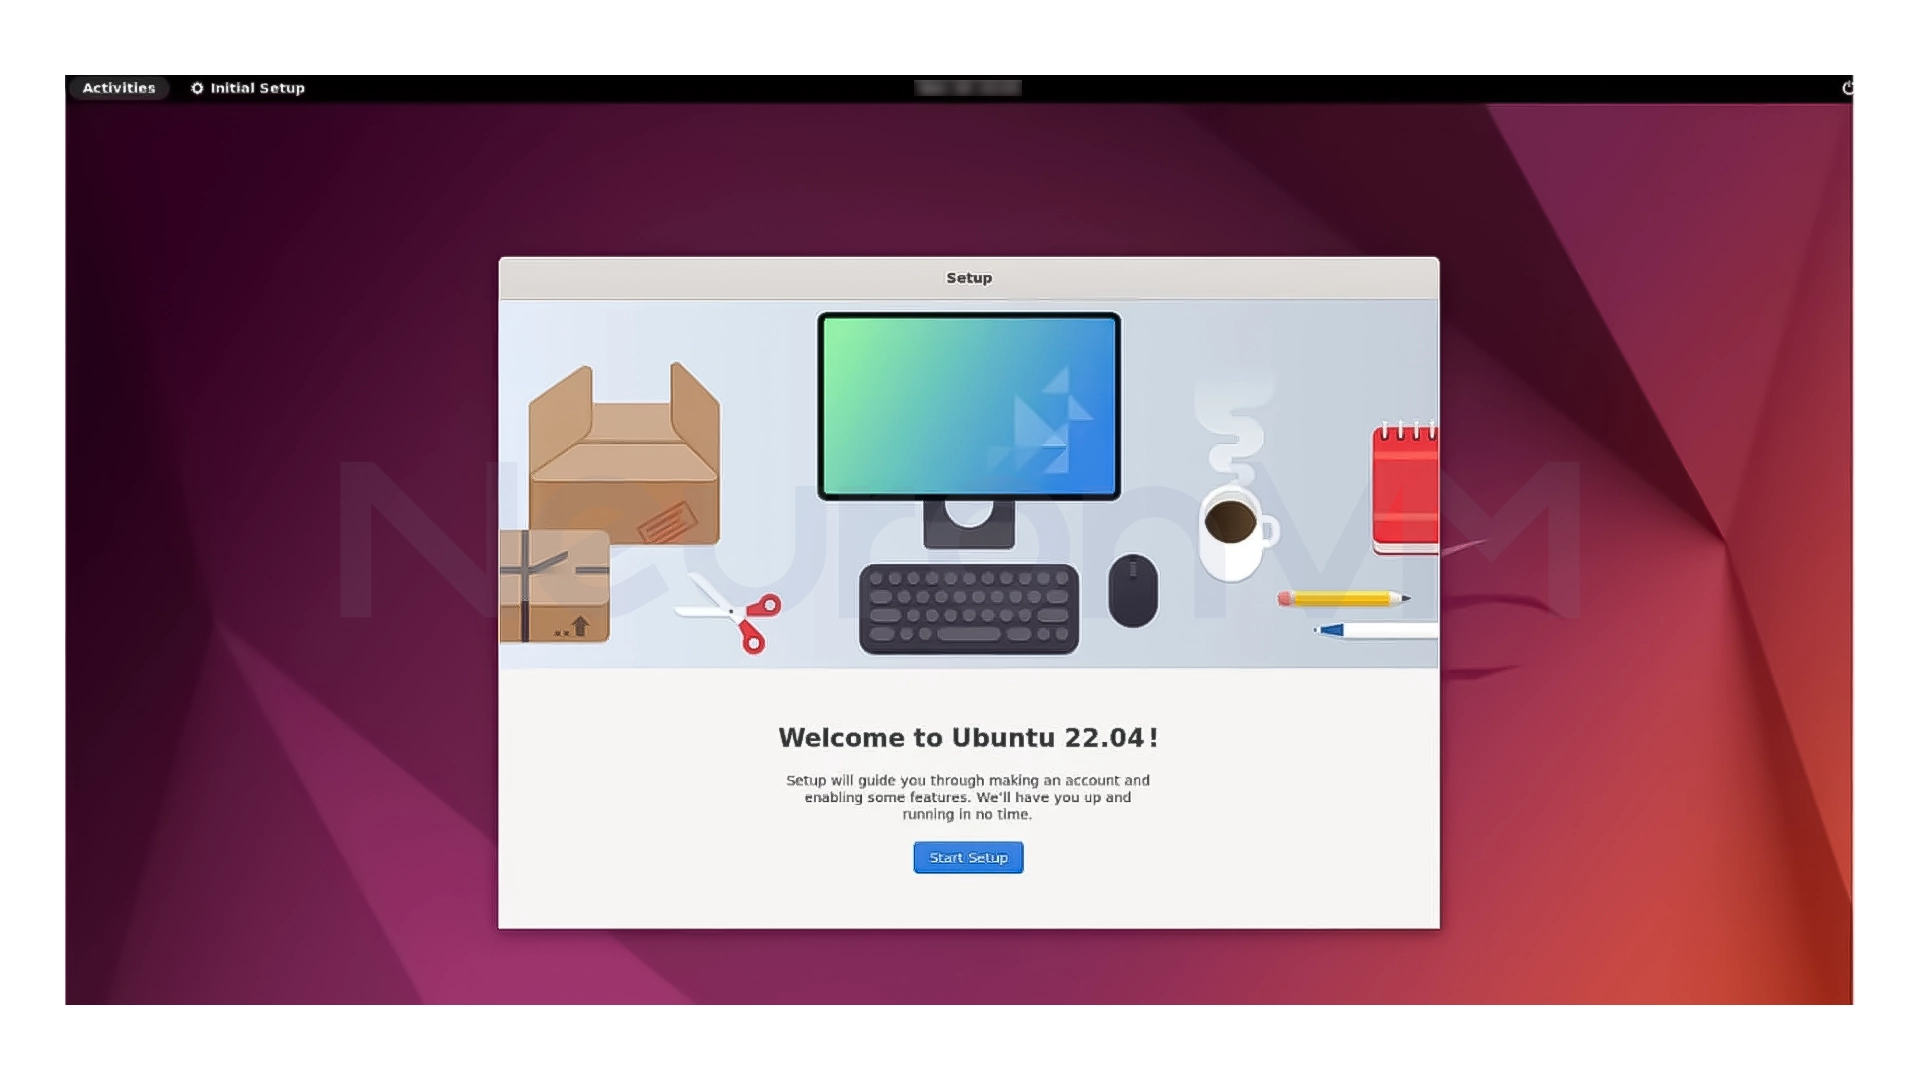
- First, you start installing the desktop.
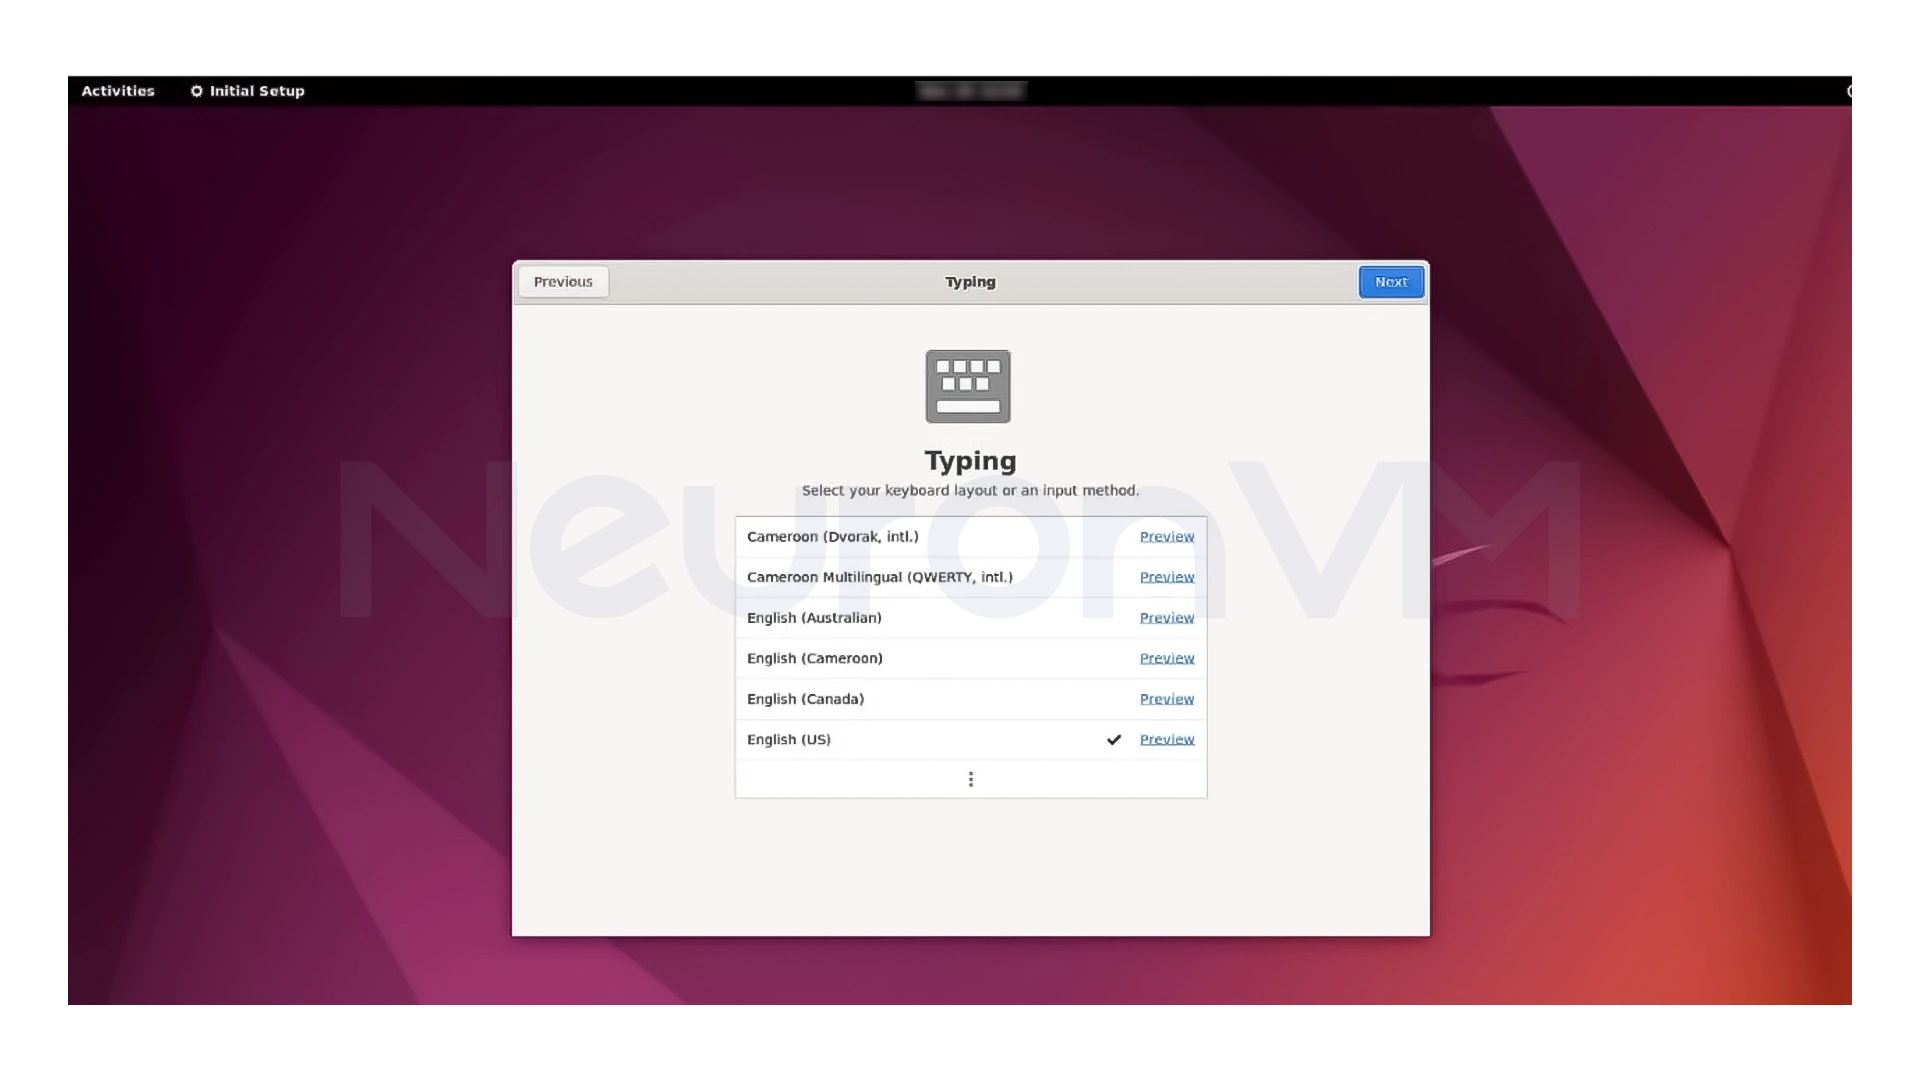
- Next, you select your desired keyboard layout.
- Then, a suggestion to share location information (Geolocation) is displayed, which is better to disable for privacy.
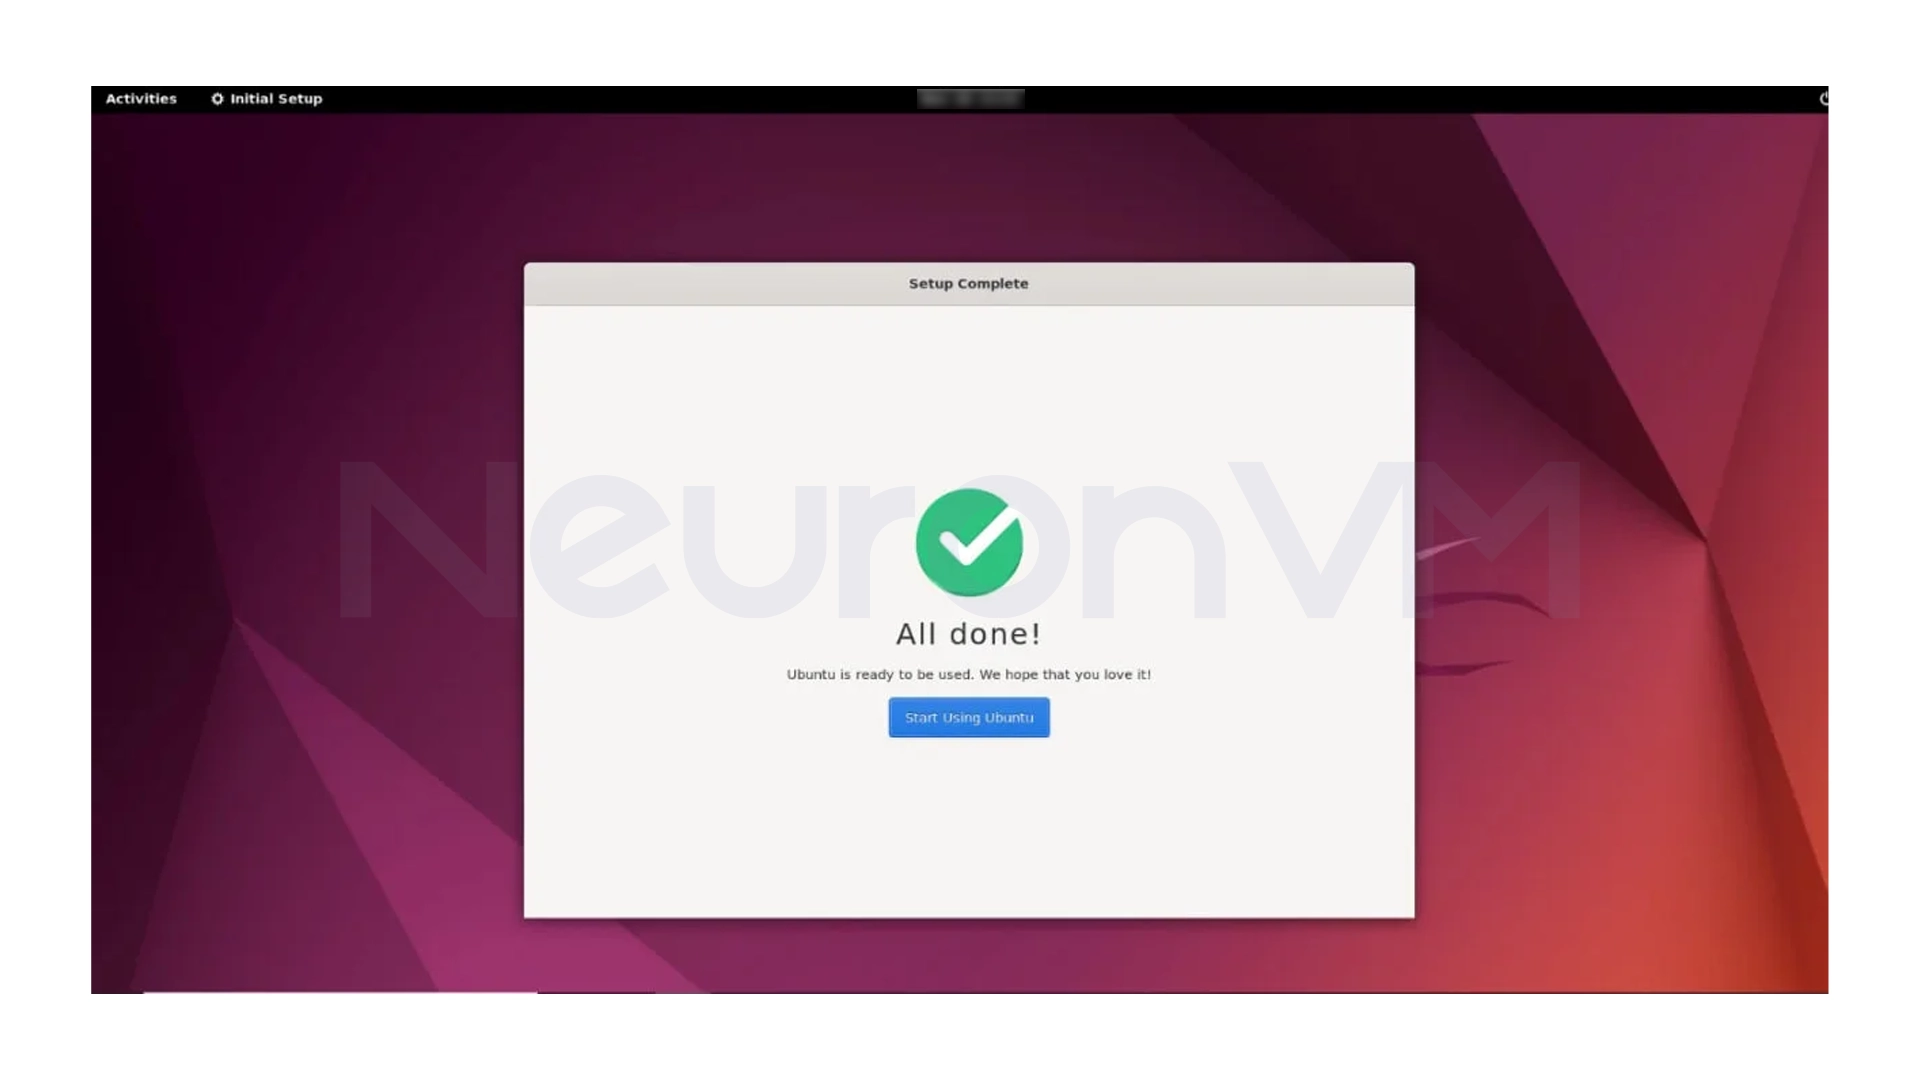
- Finally, the GNOME desktop environment is ready to use, and you will see the desktop in its entirety.
If you do not connect to xRDP at this stage, the problem is usually that you do not have a password for the root user, which by setting it, the connection will be made without any problems.
Checking System Information
To make sure everything is installed correctly, you can check the operating system information.
cat /etc/os-release
This will show that the Ubuntu version and system status are exactly as expected.

Installing and Running Firefox in GNOME
After installing GNOME, you can install software as you would on a regular desktop system. For example, installing the Firefox browser is one of the first things you usually do.
apt install firefox
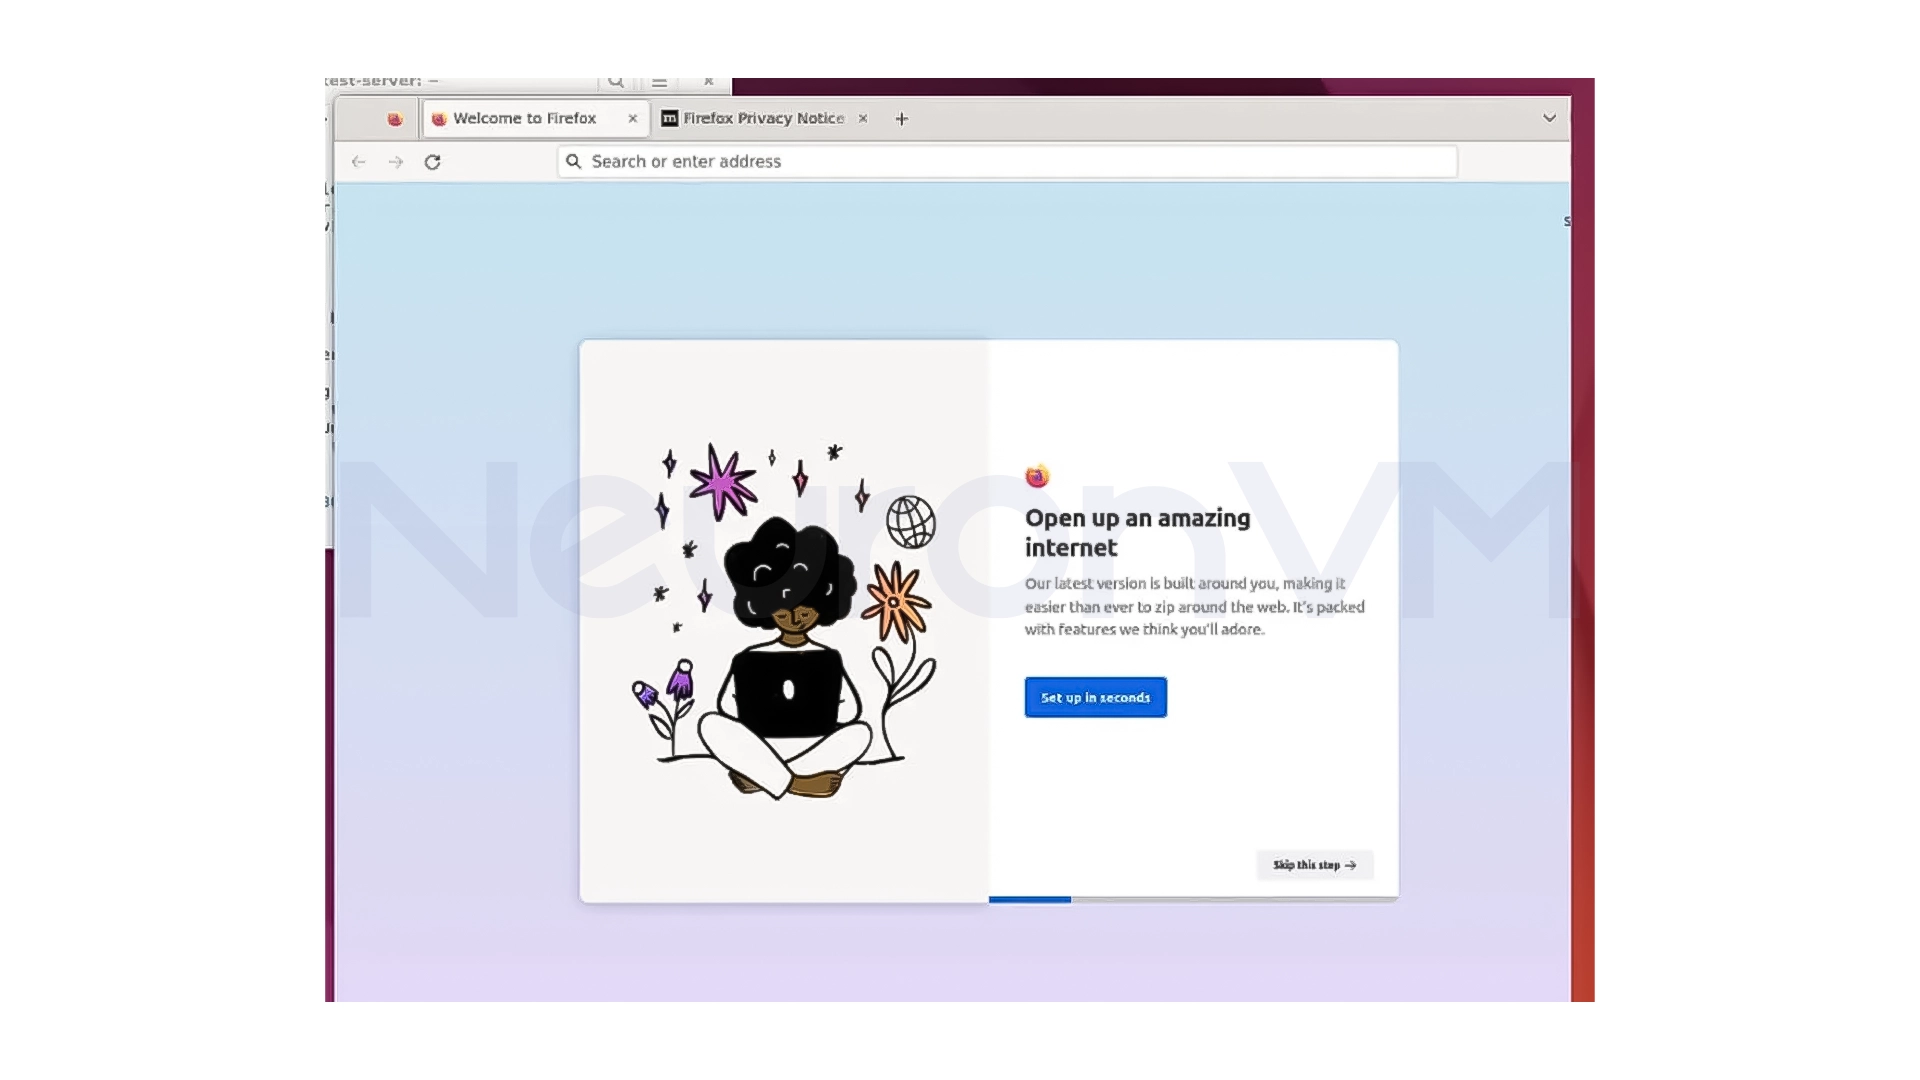
After installation, you can run Firefox to see the successful installation of GNOME in action and make sure that the graphical environment is working properly.
firefox
The result will be like:
Configuring VNC for Remote Access
If you prefer to use VNC instead of RDP, you can set up VNC on the server and connect to it via MobaXterm. This way, by entering the server IP and the port specified by VNC, the GNOME environment will be displayed exactly on your system.
My Experience
In my personal experience, installing GNOME on Ubuntu 22.04 was a big and positive change, especially on servers that are usually managed only with SSH. For some tasks, such as managing files, checking logs, or even testing software, having a graphical environment made things faster and less error-prone. Of course, you should be aware of the resource consumption; if the server has limited resources, it is better to use GNOME only when you really need it.
Conclusion
Setting up GNOME 40 on Ubuntu 22.04 is not in fact complicated, but it does require some careful attention to a few key steps, from updating the system to setting up remote access with xRDP or VNC, if you’re looking for a stable and modern desktop environment on Ubuntu, GNOME is a great choice. By following the steps in this tutorial, you can have a complete and reliable graphical environment on your Ubuntu server or system, and use it locally or remotely, depending on your needs.
No, GNOME is only installed as a desktop environment and does not affect any original settings or system data.
No, you can install GNOME on a server without a graphical interface and later connect to it via RDP or VNC.