


How to Install and Setup Fathom Analytics on Ubuntu 22.04


 6m
6m
 0 comments
 Print
Print
If you care about user privacy and want to get real insights from your website visitors, Fathom Analytics is a great choice. Unlike traditional analytics tools that often come with complicated cookies and tracking, Fathom is designed with a simple and transparent approach, with a focus on protecting user privacy without depriving you of important data, In this tutorial, we will learn step by step and in a very practical way how to install, configure, and set up Fathom Web Analytics on Ubuntu 22.04, so that you end up with a lightweight, secure, and reliable analytics dashboard.
7 Step to Setup Fathom Analytics on Ubuntu 22.04
Step 1- Installing Nginx and PostgreSQL
In the first step, we need to install the Nginx web server and the PostgreSQL database on the server. First, we update the package list and then install both services:
apt update -y
apt install postgresql nginx
After installation, log in to the PostgreSQL environment:
sudo -u postgres psql
Now we will create a database and a dedicated user for Fathom:
CREATE USER fathom WITH CREATEDB CREATEROLE PASSWORD 'password';

CREATE DATABASE fathomdb OWNER fathom;
Finally, exit the PostgreSQL environment:
exit
Experience-based suggestion: It is better to choose a strong and unguessable password for the real environment and keep it in a safe place.
Step 2– Download and Install Fathom
In this step, we will download the Fathom executable directly from the official GitHub repository:
wget https://github.com/usefathom/fathom/releases/download/v1.3.1/fathom_1.3.1_linux_amd64.tar.gz
After downloading, we will extract the file to “/usr/local/bin”:
tar -C /usr/local/bin -xzf fathom_1.3.1_linux_amd64.tar.gz
Then we will give the file executable permission:
chmod +x /usr/local/bin/fathom
To ensure the correct installation, check the Fathom version:
fathom --version
Step 3– Configure Fathom
First, we will create a system user for Fathom:
useradd -r -d /opt/fathom fathom
Create the Fathom home directory and set its ownership. We do:
mkdir -p /opt/fathom

chown -R fathom:fathom /opt/fathom
Generate Secret Key
For added security, we generate a random key:
head /dev/urandom | tr -dc A-Za-z0-9 | head -c 20 ; echo ''
Create the configuration file
Create the data directory:
cd /opt/fathom

sudo -u fathom mkdir -p /opt/fathom/data
Create the environment variables file:
sudo -u fathom nano /opt/fathom/data/.env
And enter the following values:
FATHOM_GZIP=true
FATHOM_DEBUG=true
FATHOM_DATABASE_DRIVER="postgres"
FATHOM_DATABASE_NAME="fathomdb"
FATHOM_DATABASE_USER="fathom"
FATHOM_DATABASE_PASSWORD="password"
FATHOM_DATABASE_HOST="127.0.0.1"
FATHOM_DATABASE_SSLMODE="disable"
FATHOM_SECRET="YOUR_SECRET_KEY"
Then run the Fathom server:
cd /opt/fathom/data

sudo -u fathom fathom server
If everything is correct, the server will be running on port 8080, and it is being implemented.
Step 4- Create a systemd service
To make Fathom always start automatically, we will create a systemd service:
nano /etc/systemd/system/fathom.service
Add the following content:
[Unit]
Description=Starts the fathom server
Requires=network.target
After=network.target

[Service]
Type=simple
User=fathom
Restart=always
RestartSec=3
WorkingDirectory=/opt/fathom/data
ExecStart=/usr/local/bin/fathom server

[Install]
WantedBy=multi-user.target

Then enable and run the service:

systemctl daemon-reload
systemctl start fathom
systemctl enable fathom
And check its status:
systemctl status fathom
Step 5- Create an admin user
To log in to the Fathom dashboard, we will create an admin user:
cd /opt/fathom/data
sudo -u fathom fathom user add --email="[email protected]" --password="password"
Step 6- Configure Nginx
Create a Virtual Host for Fathom:
nano /etc/nginx/conf.d/fathom.conf
And add the following code:
server {
listen 80;

server_name fathom.example.com;

location / {
proxy_set_header X-Real-IP $remote_addr;
proxy_set_header X-Forwarded-For $remote_addr;
proxy_set_header Host $host;
proxy_pass http://127.0.0.1:8080;
}
}
In the main Nginx file, add the following value:
server_names_hash_bucket_size 64;
Then check the settings and restart the service:
nginx -t
systemctl restart nginx
Step 7- Access the web interface
Open your browser and enter the following address:
http://fathom.example.com

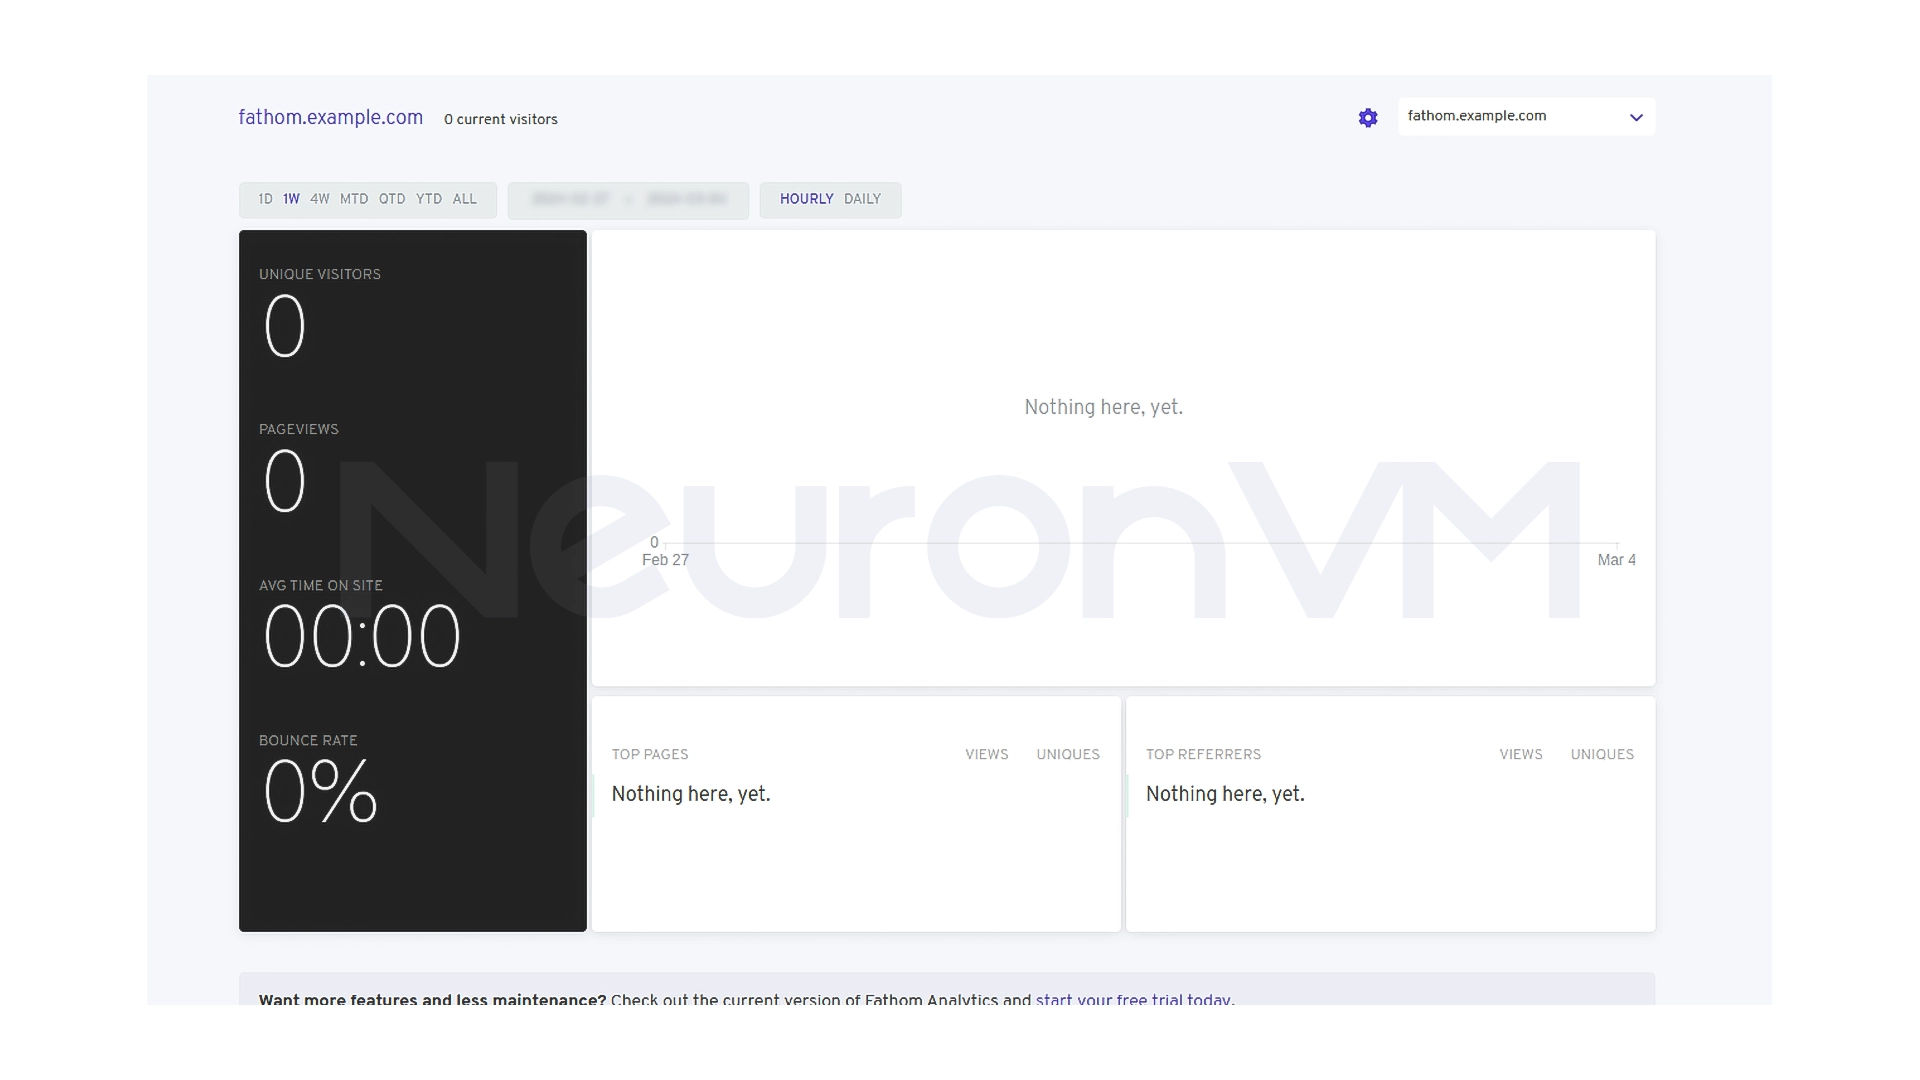
Enter your email and password, then click on Sign in. You will see the following page.

After entering the site name, click the Create Site button.
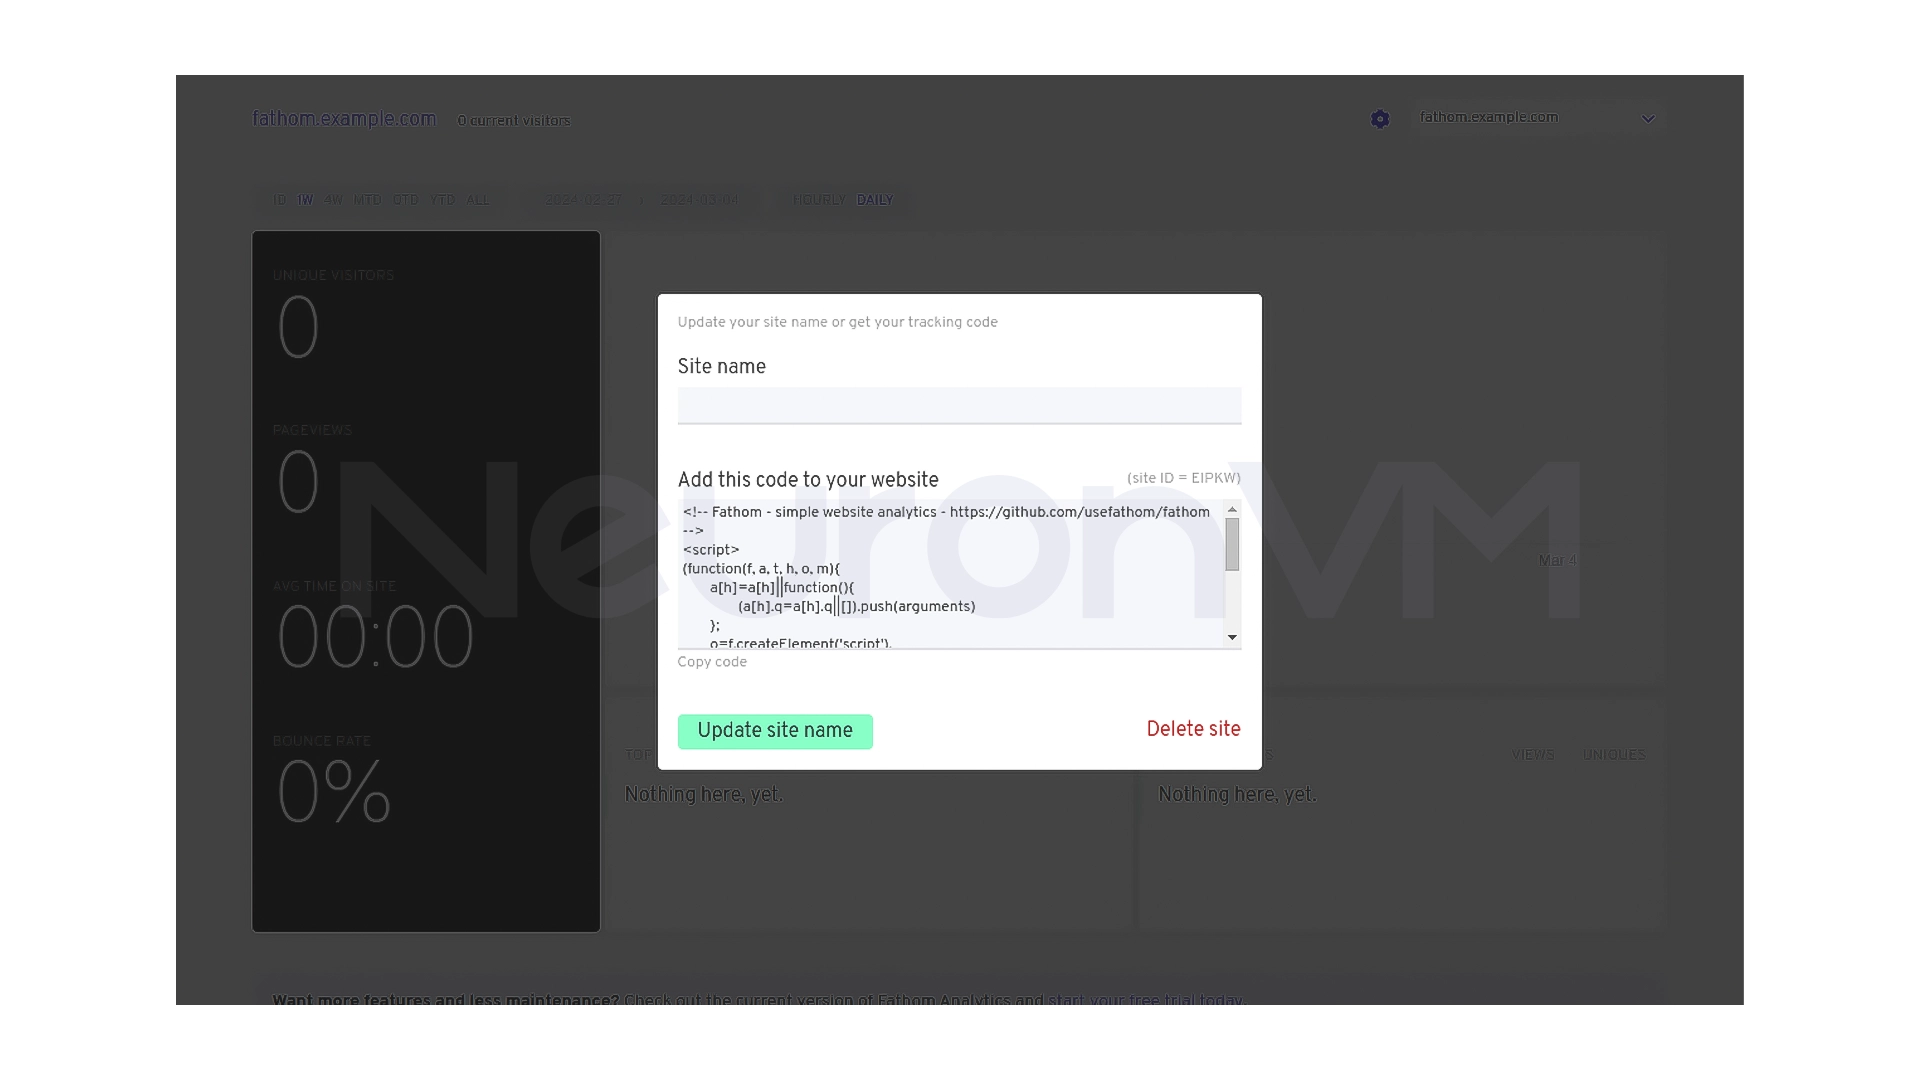
On the next page, you will be given the option to edit or confirm the site name. If you need to change the name, modify it and then click Update site name.
My Experience
I’ve used Fathom on projects where user privacy was a top priority, the simplicity of the dashboard, high speed, and elimination of common analytics tool complications allowed me to quickly access important data without worrying about privacy laws or excessive server resource usage. Fathom is a very logical choice, especially for small to medium-sized sites, you can always check more of my experiences on our website.
Conclusion
By installing Fathom Analytics on Ubuntu 22.04, you get access to a secure and privacy-friendly analytics tool, the platform provides you with key insights like visits, and traffic sources without relying on annoying cookies or tracking, if you’re looking for a modern and responsible analytics solution, Fathom can be a great alternative to traditional tools.
Fathom works without using cookies and without storing any personal information of users.
Yes. Fathom is designed to be lightweight and performs well even on VPS servers with limited resources.
Yes, you can run Fathom on any domain or subdomain that you configure in Nginx.
You might like it

Ubuntu Tutorials
How to Install PostgreSQL 11 on Ubuntu 20.04


Linux Tutorials
How to Disable and Turn off Hardware Acceleration Chrome


Kali Linux Tutorials
How to Install Balenaetcher on Kali Linux