


How to Install and Enable Docker on Kali Linux (Step-by-Step)


 7m
7m
 0 comments
 Print
Print
Suppose you have experience working with penetration testing tools and security Linux like Kali. In that case, you probably know how important it is to manage your tools and run them in isolated environments. Docker is exactly what can make your work many times easier, faster, and cleaner. I first installed Docker on Kali because I didn’t want every new tool to clutter my entire system, since then, Docker has become one of the foundations of my daily work. In this guide, I will show you, step by step and very simply, how to install and activate Docker on Kali Linux and ensure it runs without any problems.
1- Installing Docker on Kali Linux
Step 1: Prepare the Docker Repository
Before installing Docker, we need to prepare its official repository on the system so that the packages are fully valid and up-to-date, enter the following command in the terminal:
curl -fsSL https://download.docker.com/linux/debian/gpg
This command will get the key for the Docker repository to ensure a secure and authentic installation.
Step 2: Install Docker
Once the repository is ready, it’s time to install Docker itself, enter the following command:
sudo apt install -y docker-ce
After running this command, Docker will be installed on the system, and it usually finishes very quickly and does not require any complicated configuration.
2- Enabling Docker Service on Kali Linux
Step 1: Starting Docker
The installation is complete, but Docker is not yet enabled. To start the service, run the following command:
sudo systemctl start docker
In my experience, this step usually goes without a hitch, and Docker is ready to go right away.
Step 2: Enable Docker at boot time
If you want Docker to start automatically every time Kali boots, run this command:
sudo systemctl enable docker
This is especially great for those whose work environment is always dependent on containers and don’t want to manually start Docker every time.
Step 3: Check Docker Version
To make sure Docker is running, check its version:
docker version
If you see output, everything is installed correctly and Docker is ready to use.
My Experience with Docker on Kali Linux
When I first installed Docker on Kali, my goal was to run some legacy penetration testing tools without affecting the main system. To be honest, I was a little skeptical that Docker would work smoothly on Kali, but after installing it, I was really surprised. The most useful place where Docker came in handy was when I wanted to test multiple versions of a security tool. Before, I had to install each version separately, and my system would end up with a bunch of weird packages. But with Docker, I could just launch a new container, test it, get the results, and then delete the container with a single command, it was as if it never existed.
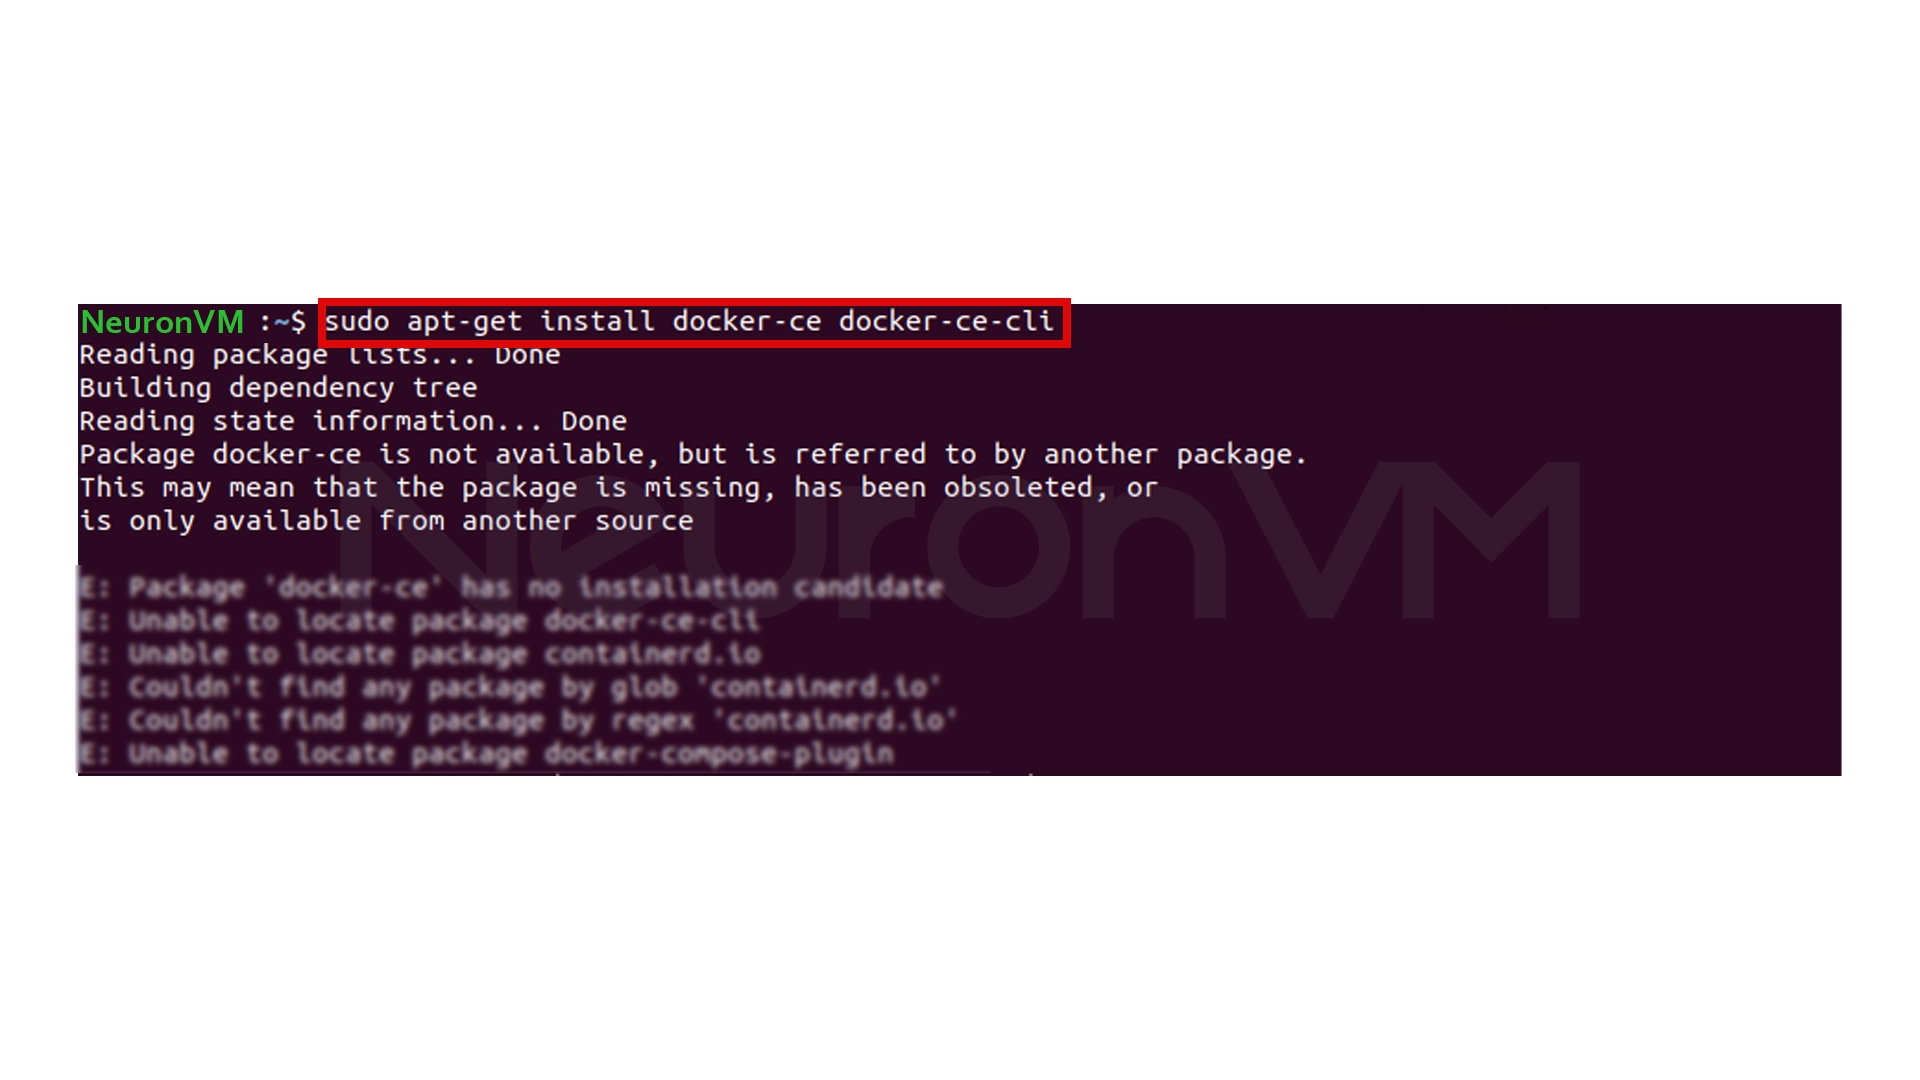
I even ran a Docker version of a tool on Kali that wouldn’t install on the system itself and gave me errors every time. But in Docker, it booted up without a hitch. That’s when I realized how much of a lifesaver Docker can be for testing security tools, Docker on Kali is not just an installable tool, it’s a new way of working that has allowed me to spend less time installing and configuring and more time testing and analyzing security.
Conclusion
Installing Docker on Kali Linux is not as complicated as many other distributions, but it can be confusing if the correct repository is not added or the service is not enabled. This short, step-by-step guide will help you set up Docker without any hassle and manage your tools cleaner, faster, and professionally from now on. Docker on Kali is a real boon, especially for those who do security and penetration testing work, because you can test each tool in a completely isolated environment without even touching your main system.
Yes, it is fully compatible and runs without any issues.
If you enable it, yes.
No, just a 64-bit system and at least 2GB of RAM is enough.
You might like it
Windows Tutorials
How to Zip Excel Files in Windows 10 (Quick & Easy Guide)

Windows Tutorials
How to Resize a Video in PC Windows 10
Windows Tutorials
How to Split MP3 Files on Windows 11 (Step-by-Step Guide)