


How to Change a JPG to a PNG Windows 11

 7m
7m
 0 comments
 Print
Print
Changing a JPG to a PNG image is a straightforward process, PNG supports a wide range of colors which is larger than JPG and it is also lossless meaning the image quality does not break down every time it is saved, but JPG loses quality each time it is getting saved.
What is a PNG file?
This is a popular format that is widely used on websites, it is sharp and clear which makes it a high-quality format.
You can keep all the details even after editing, and use its transparent background for logos and graphics, but it is heavy in size and larger than other formats, which might slow down website loading times.
Converting a JPG to a PNG Windows 11: two methods
We will provide 2 methods for converting a JPG image to a PNG image on Windows 11, the first method is using the default photos app, and the second one is using online apps, you can choose any of the provided methods as you like.
First Method: Windows Photos App
Open the photo
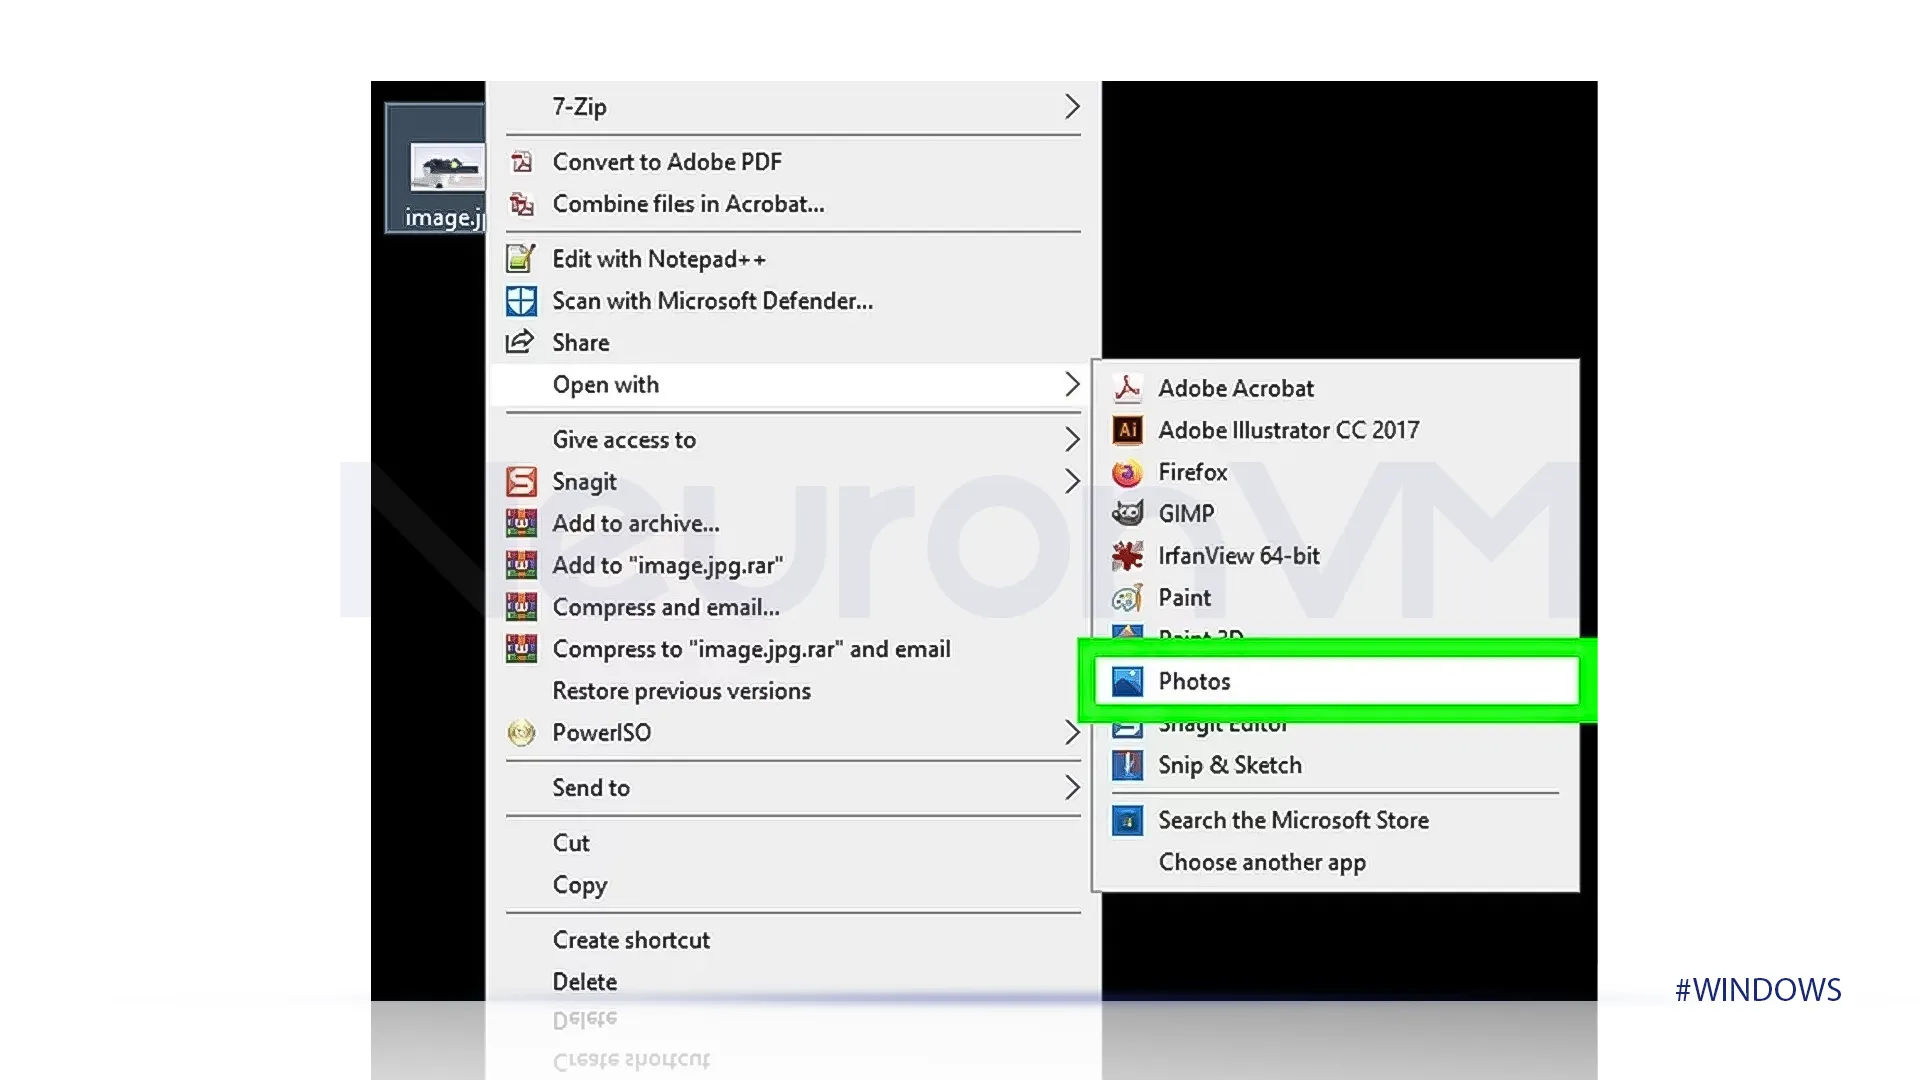
Search for photos in the start menu to open the Photos app or double-click on the JPG photo to open it in the Photos app.
If the Photos App is not selected by default, you can right-click on the desired image, select”open with” and then choose Photos.
Click on More Options
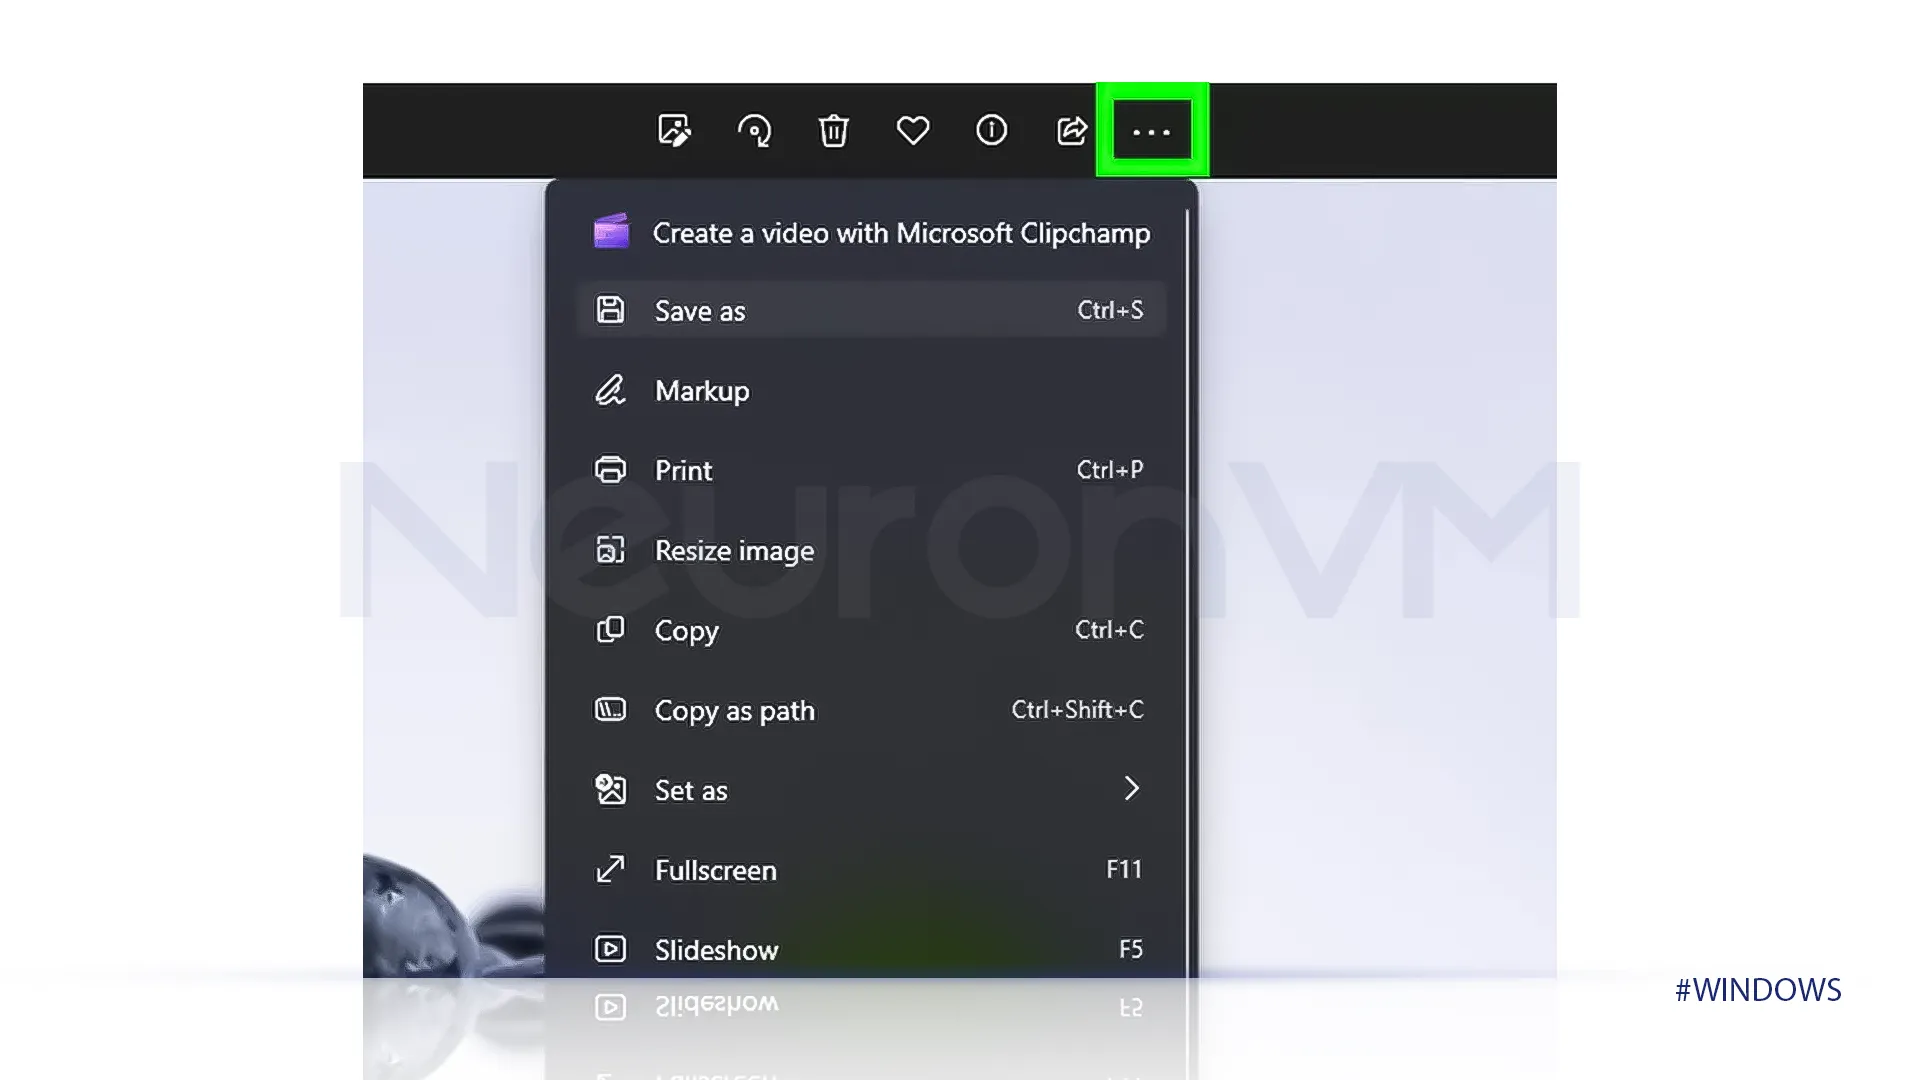
After you open the photo click on “…” to see more options at the top of the page.
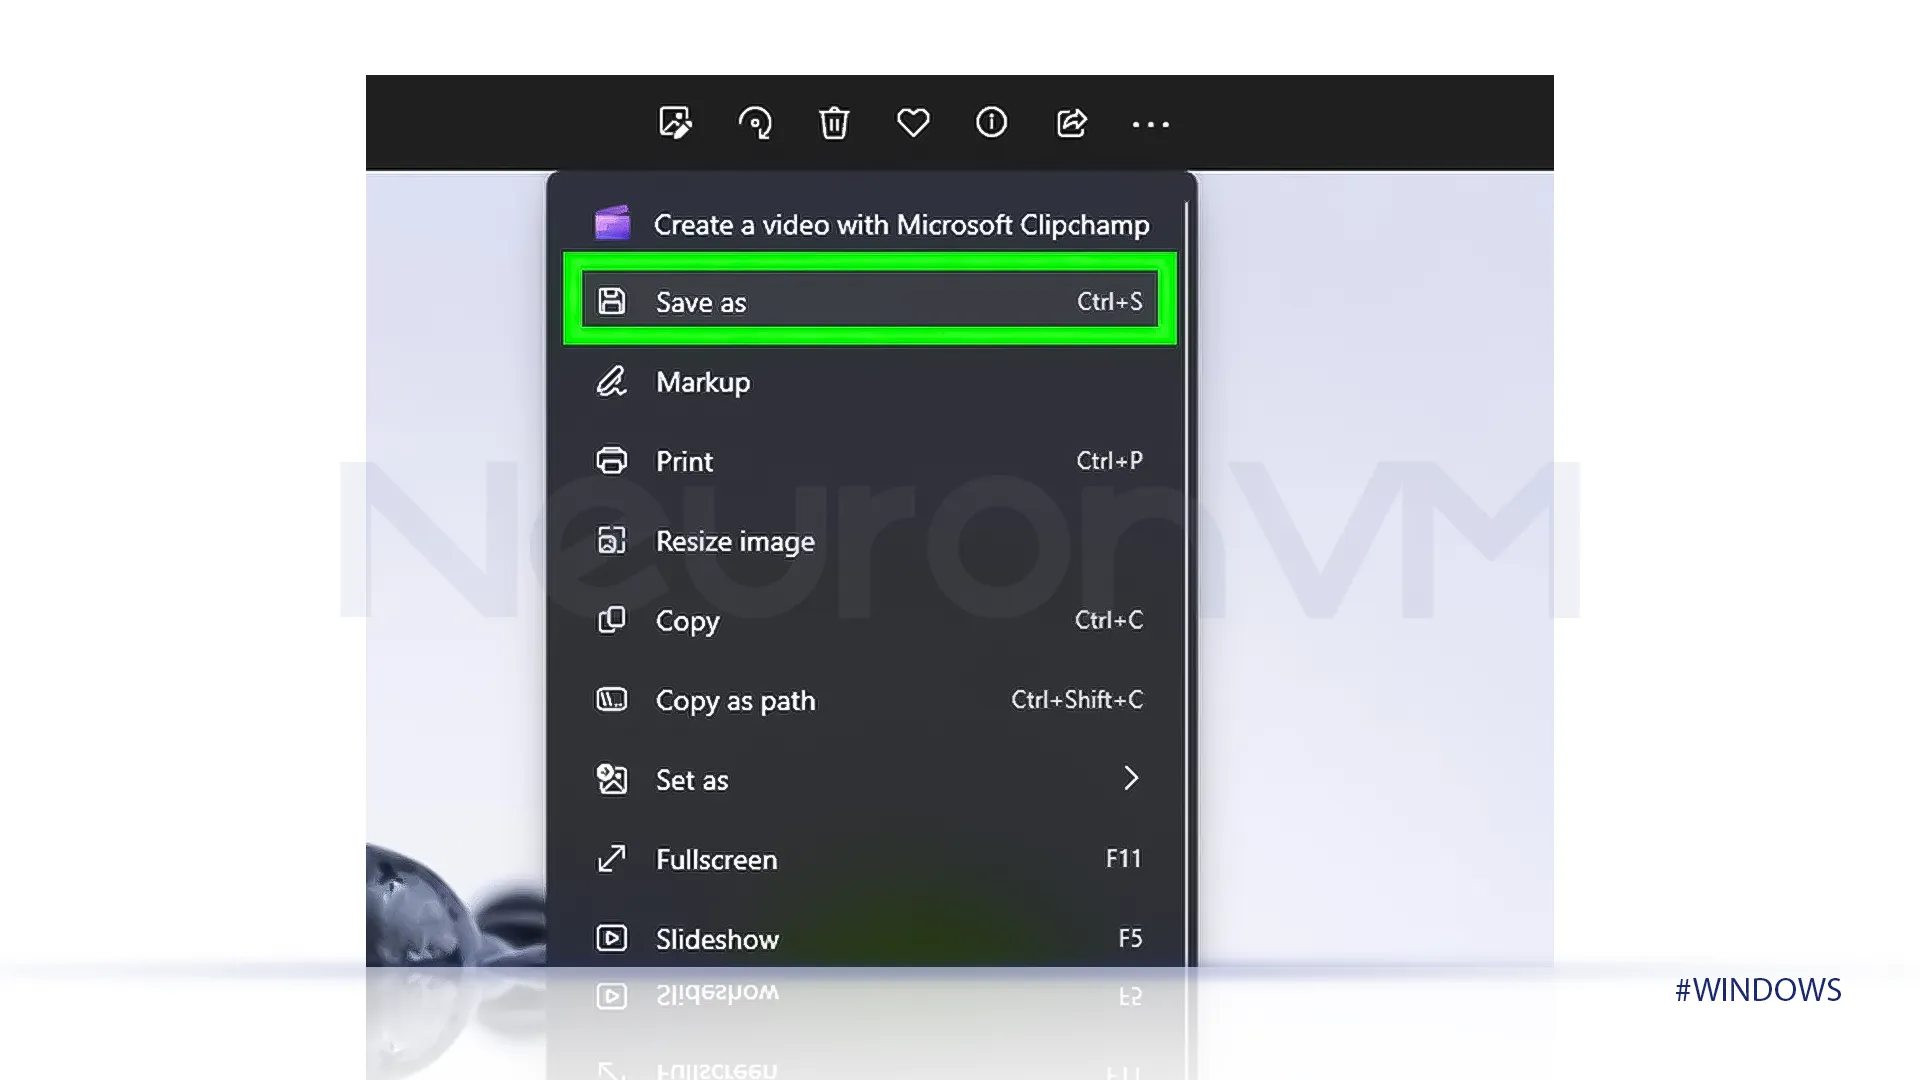
Click on Save As
The second option you see, after you click on more options, is Save As, select that or press “Ctrl + S” together.
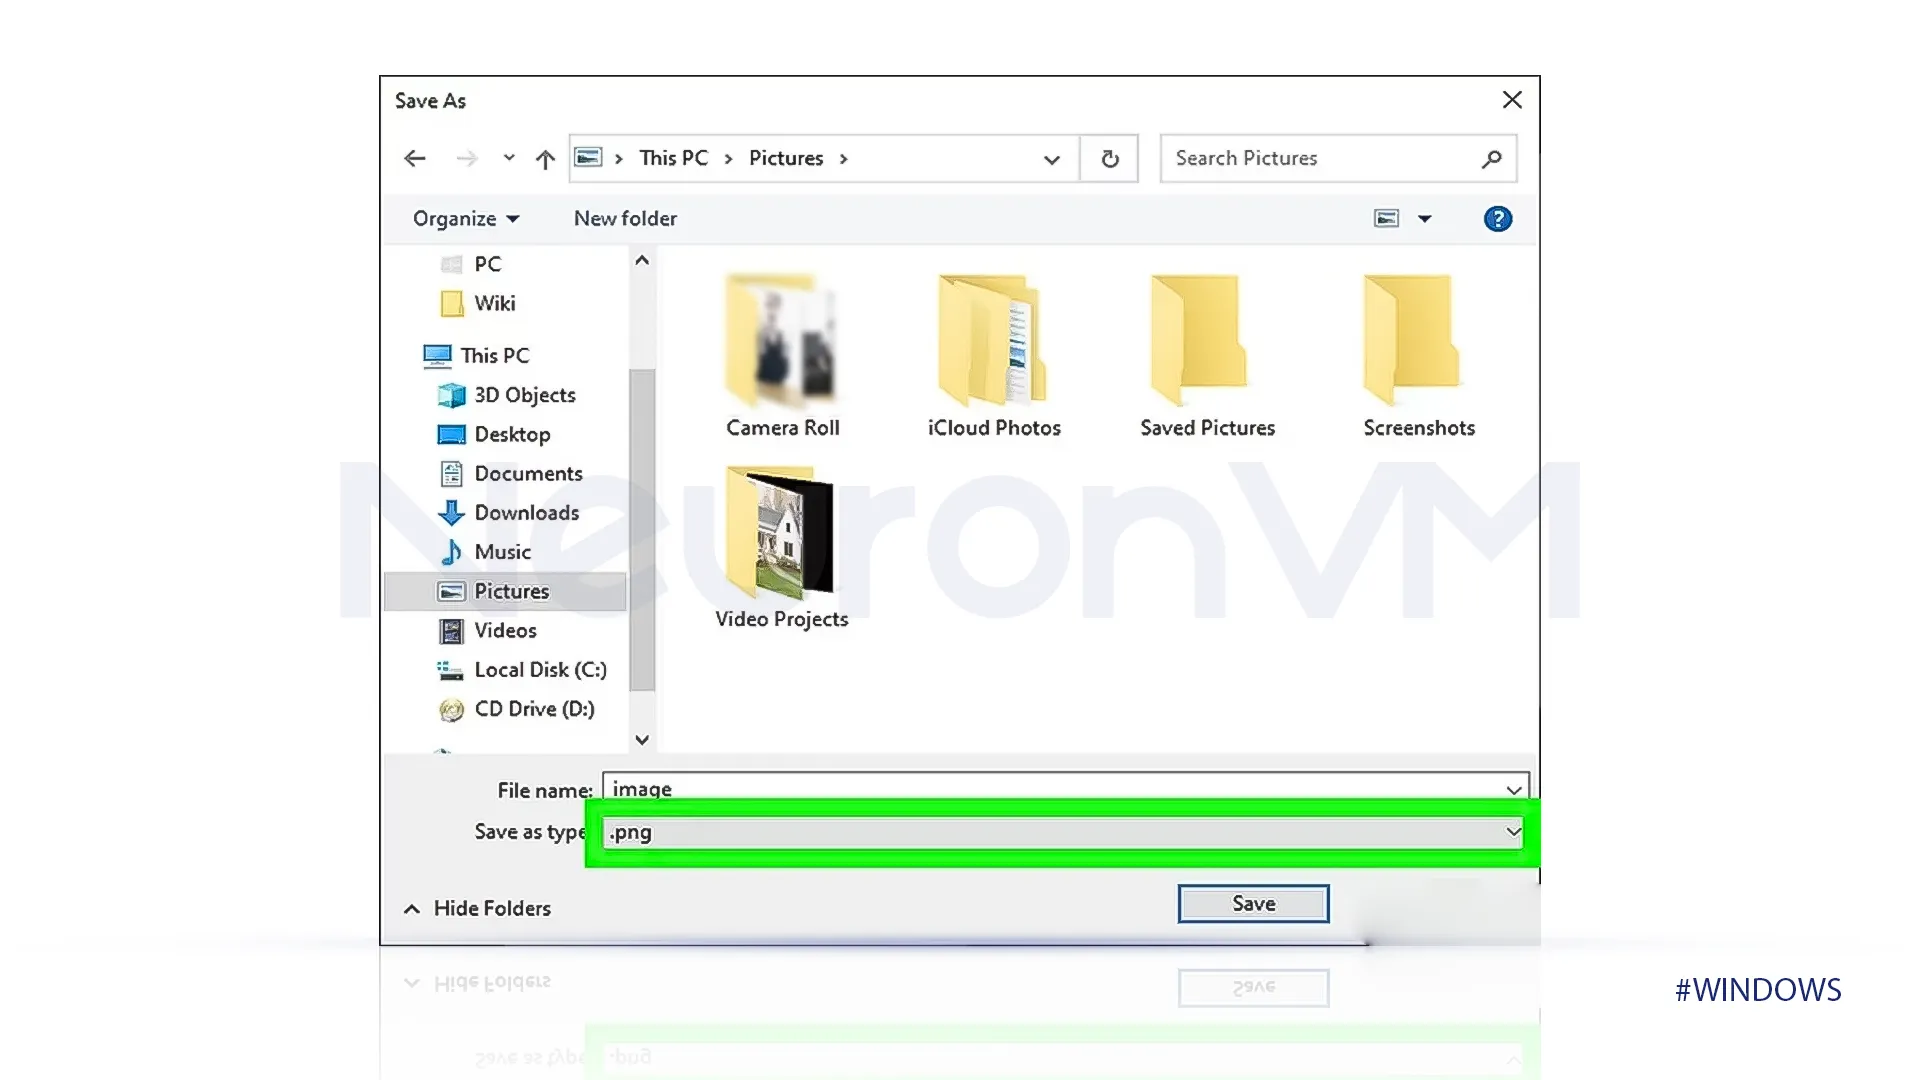
Select Save Type
When you click on “Save As” a new tab will open, select where you want to save your file and choose a name for it. Then in the second box, you have to choose your file type and change it to “.png” to convert your file to PNG.
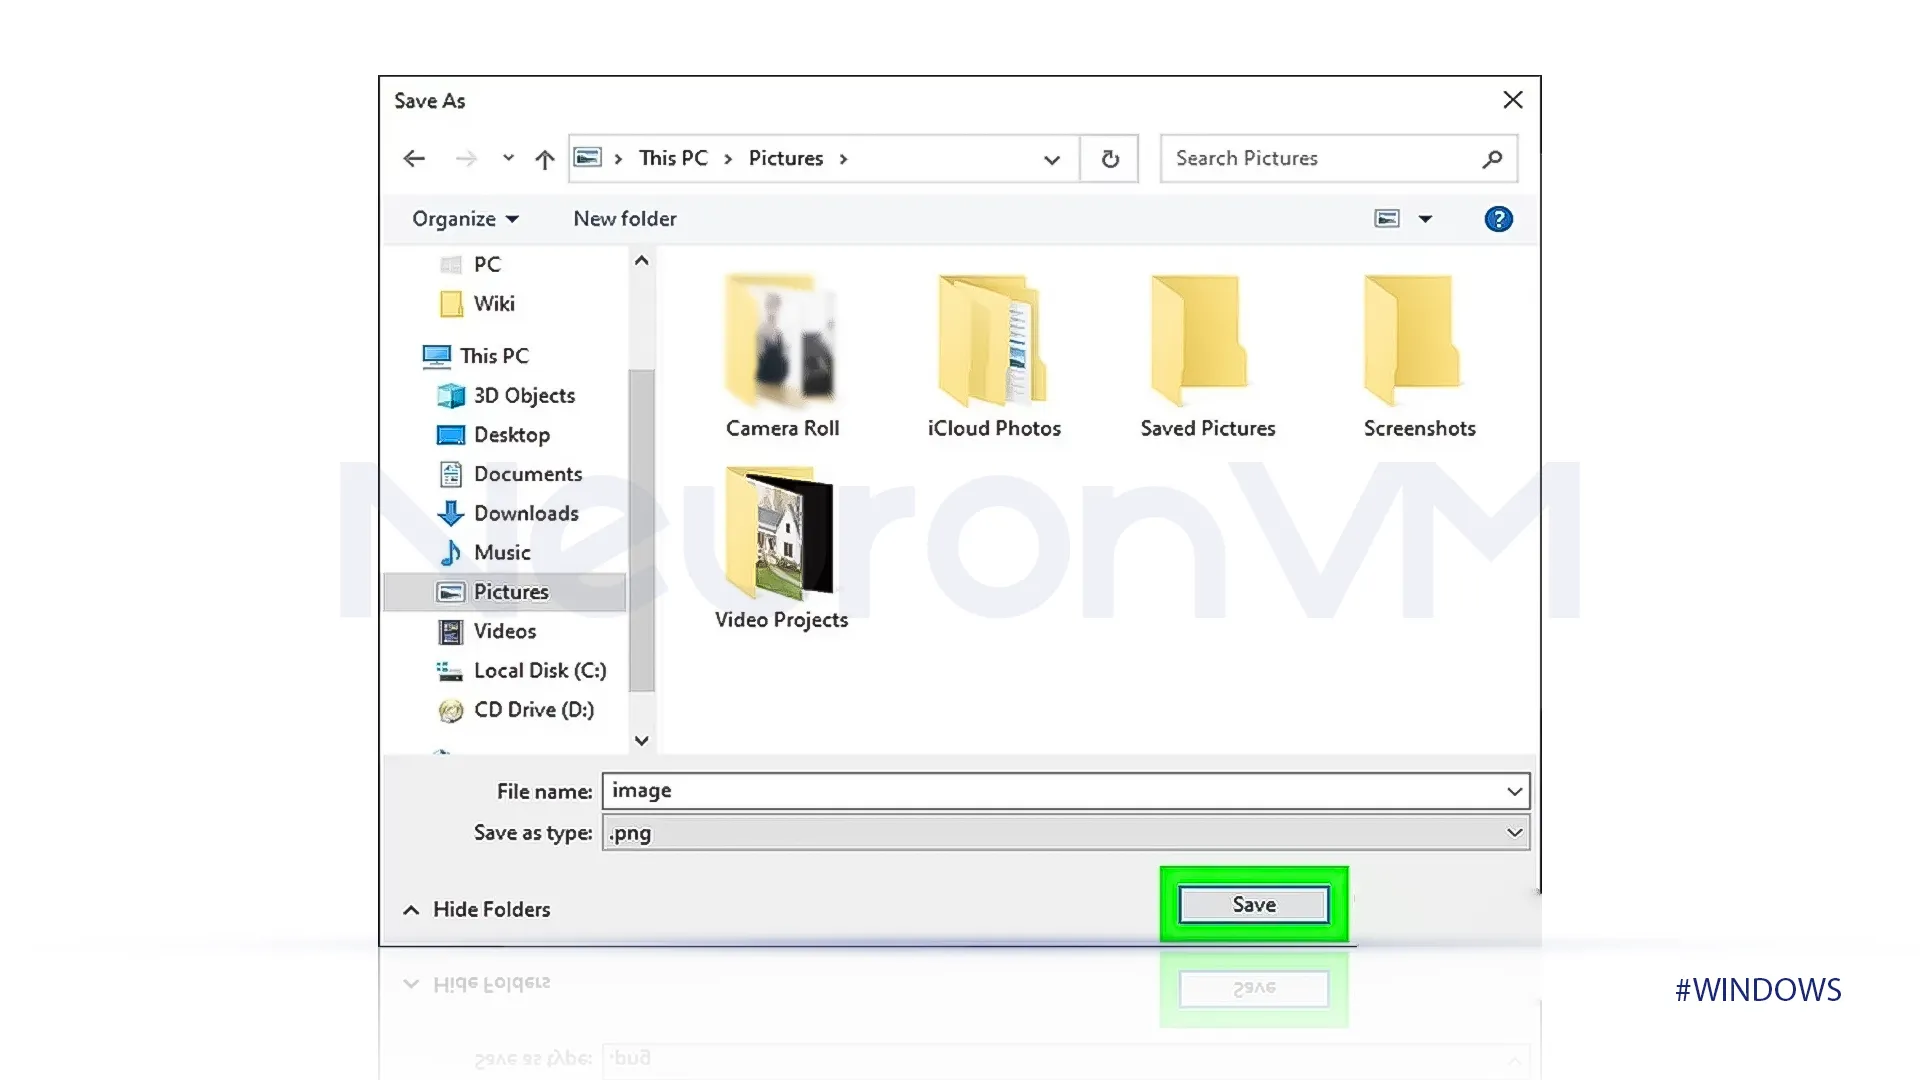
Save PNG
Once you have done all of the steps provided, click on Save to save your file in the directory you choose, it will save the file as a PNG.
These are all the steps you need to do to convert a JPG to a PNG file in Windows.
Second Method: Online Converter
There are many online converters you can access by searching their name in your browser but we will provide a guide for CloudConvert.
If you are not comfortable with this method, follow the previous method instead.
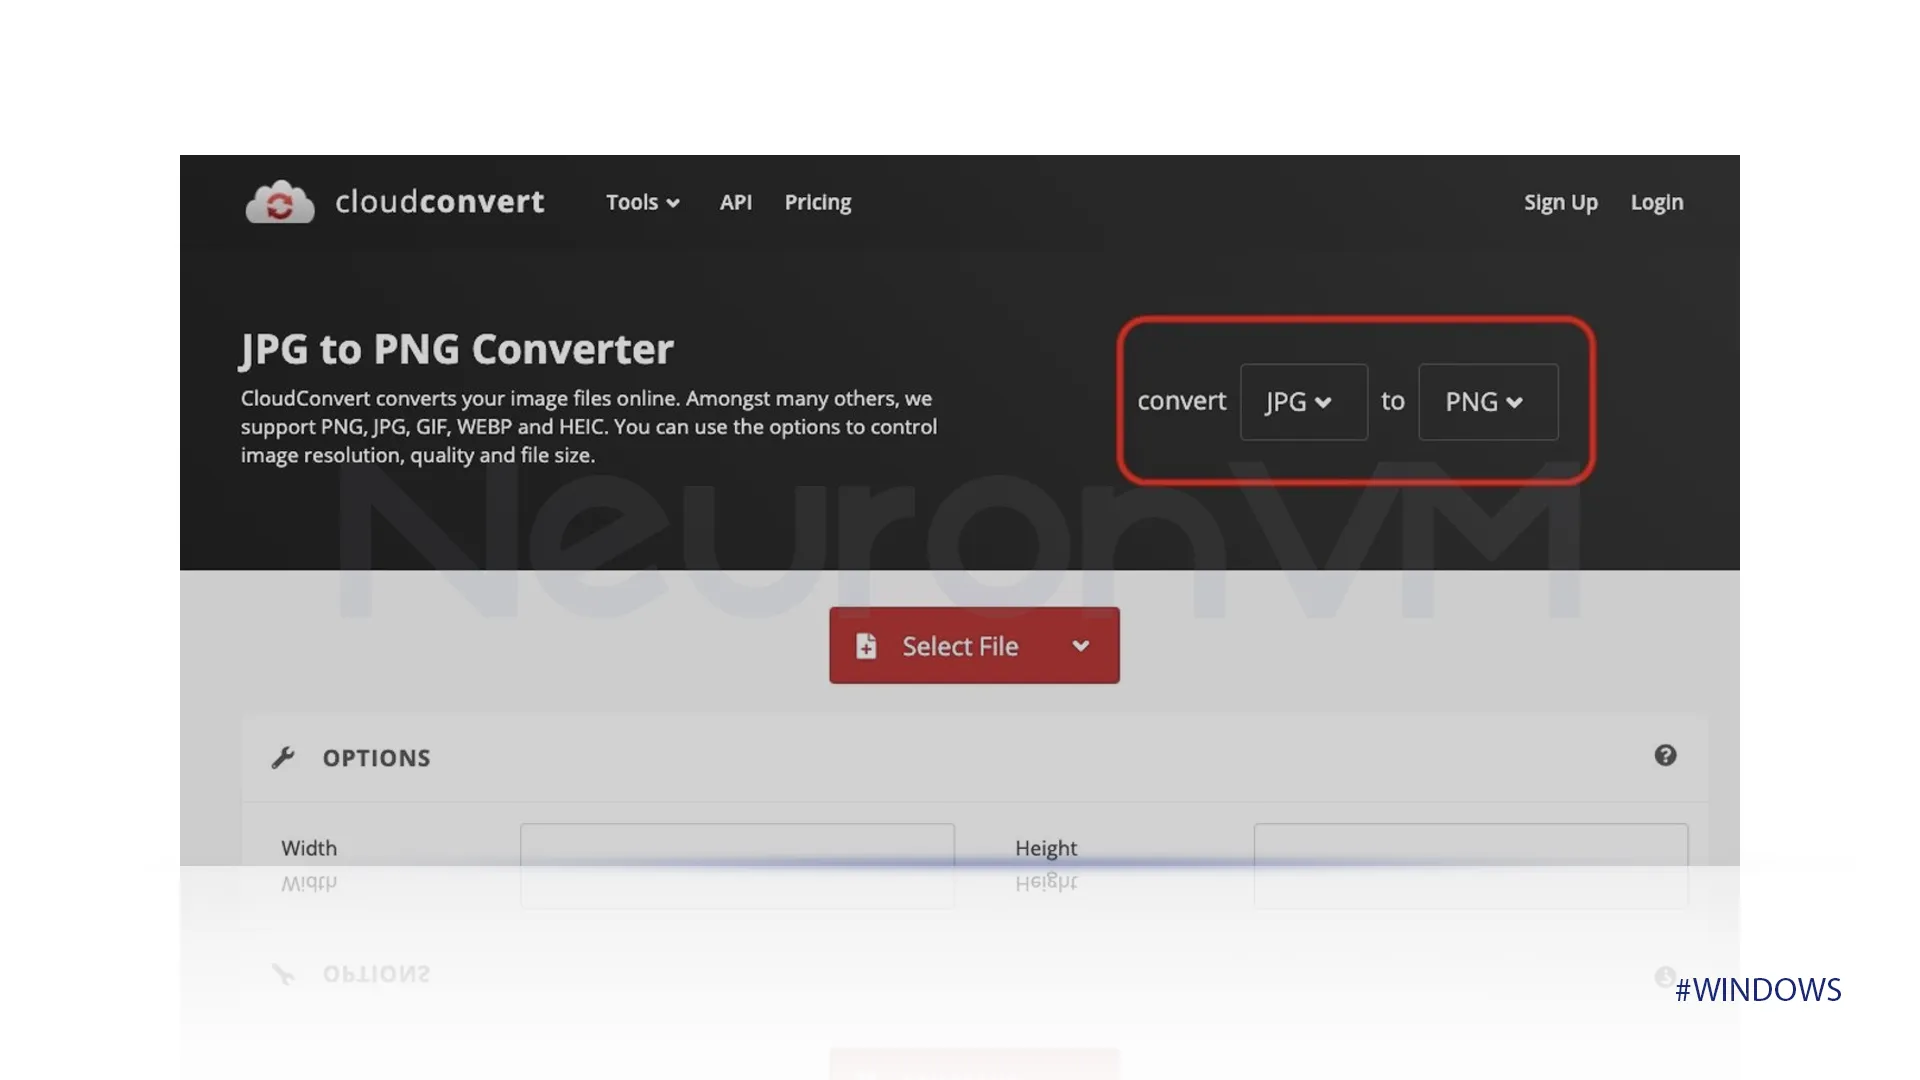
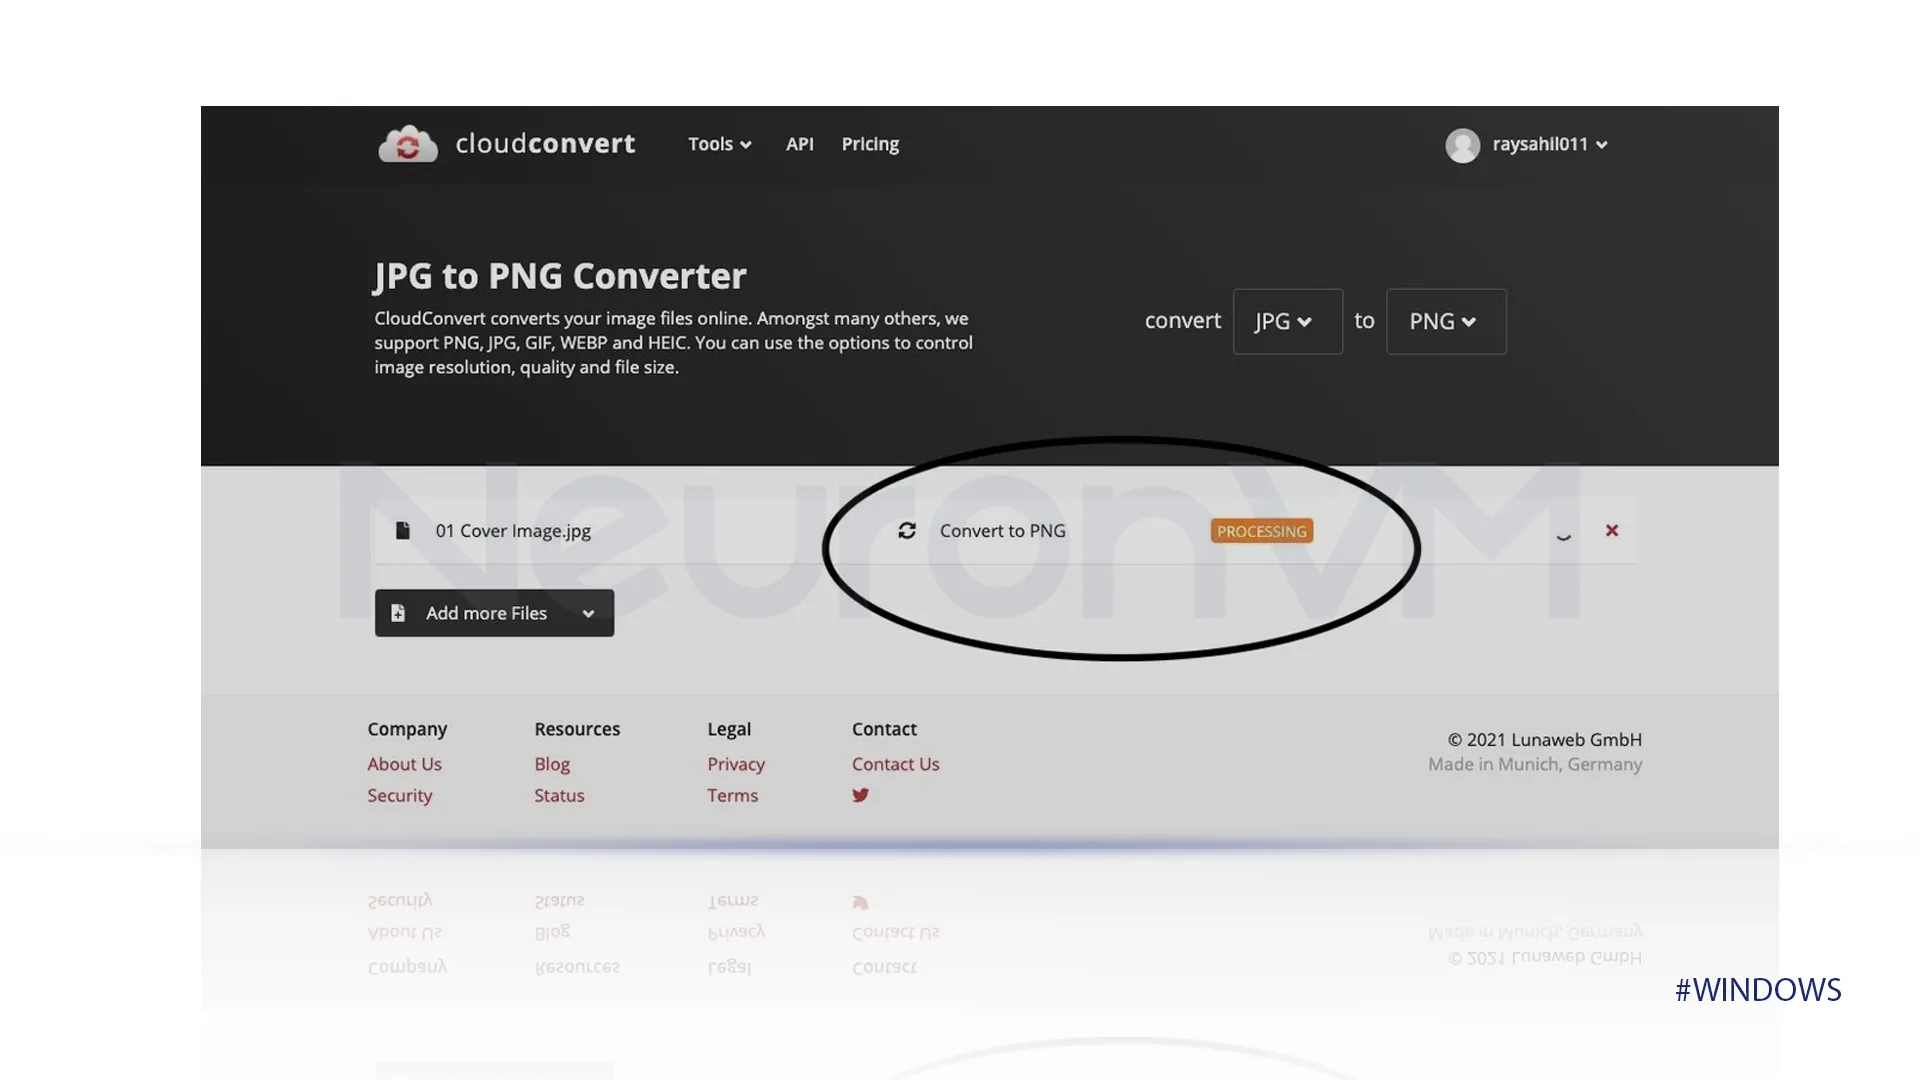
Open CloudConvert
First, go to CloudConvert’s main website, and in the form, menu select JPG to PNG to change your file from JPG to PNG.
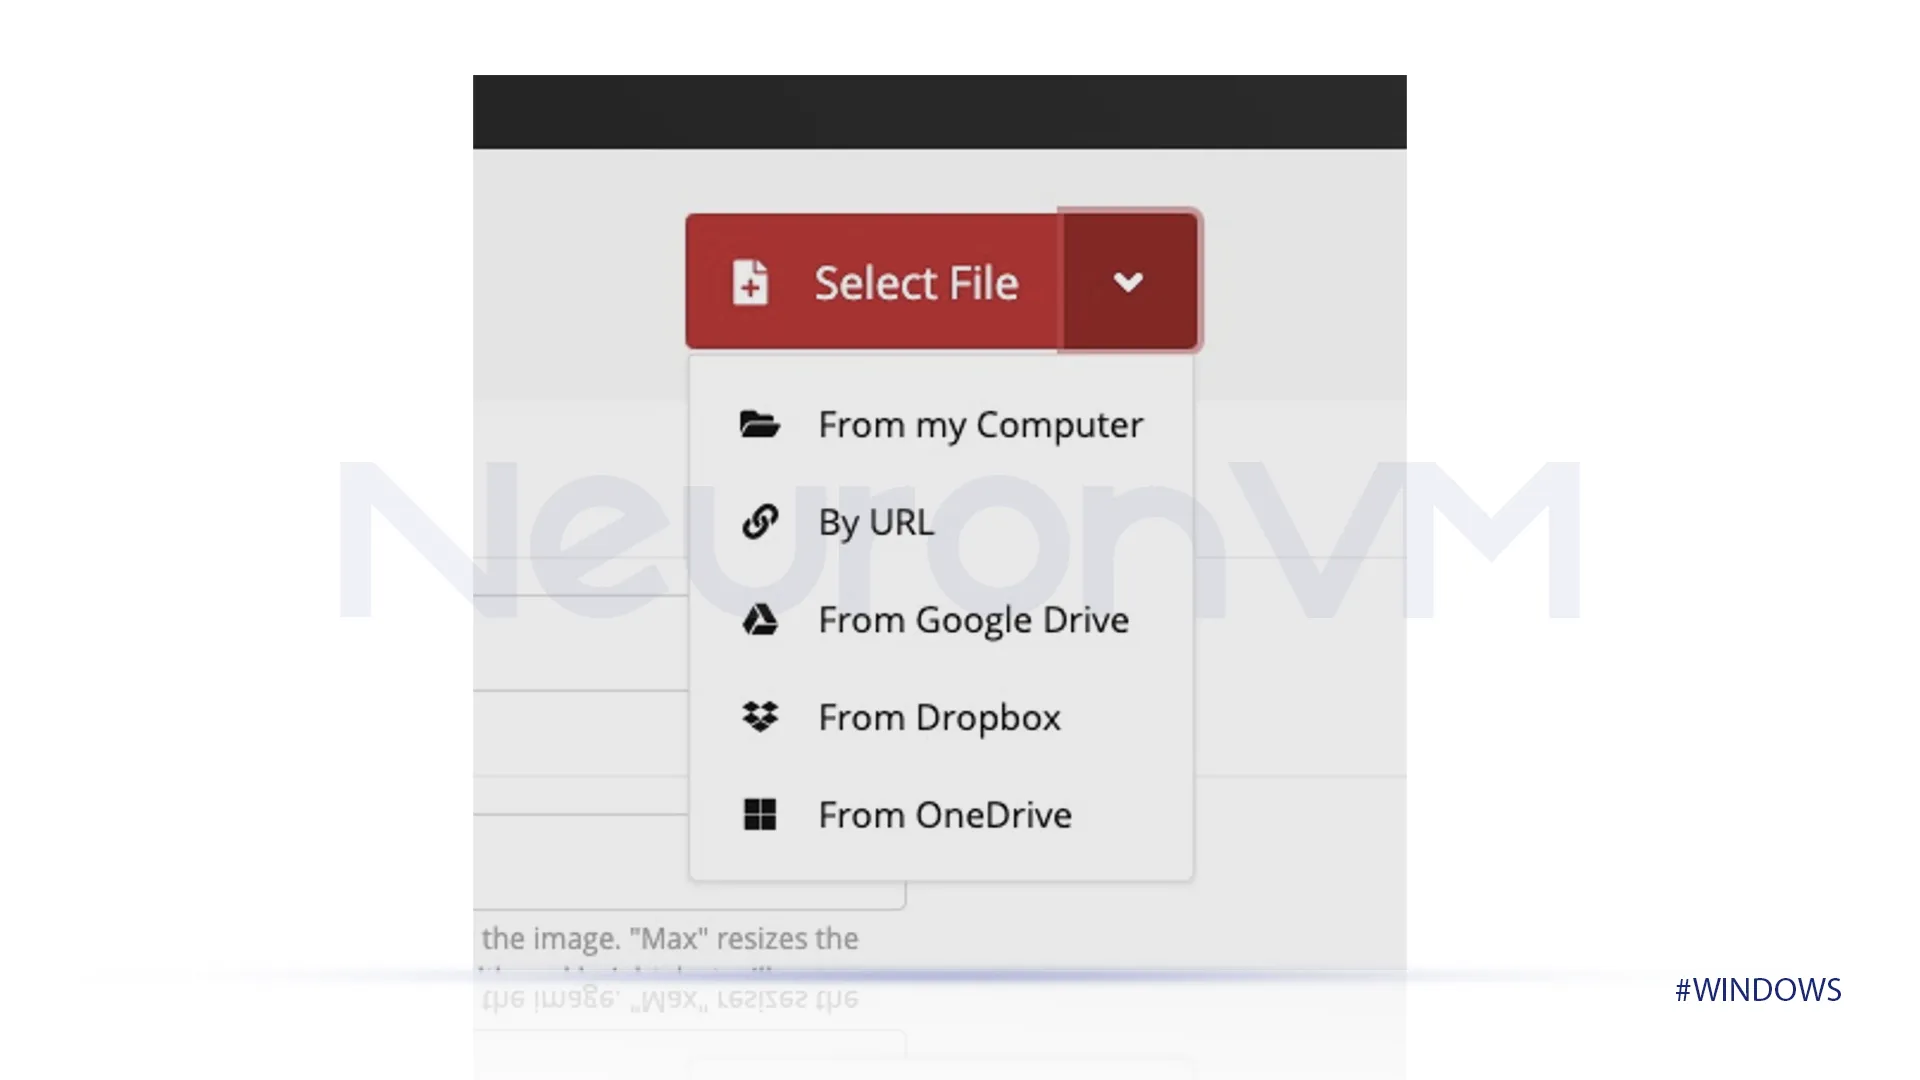
Upload file
In the select file box, choose the file you want to convert or simply drop your file there.
Change Properties
After you have uploaded your file, you can make any changes to the properties by clicking on the wrench icon.
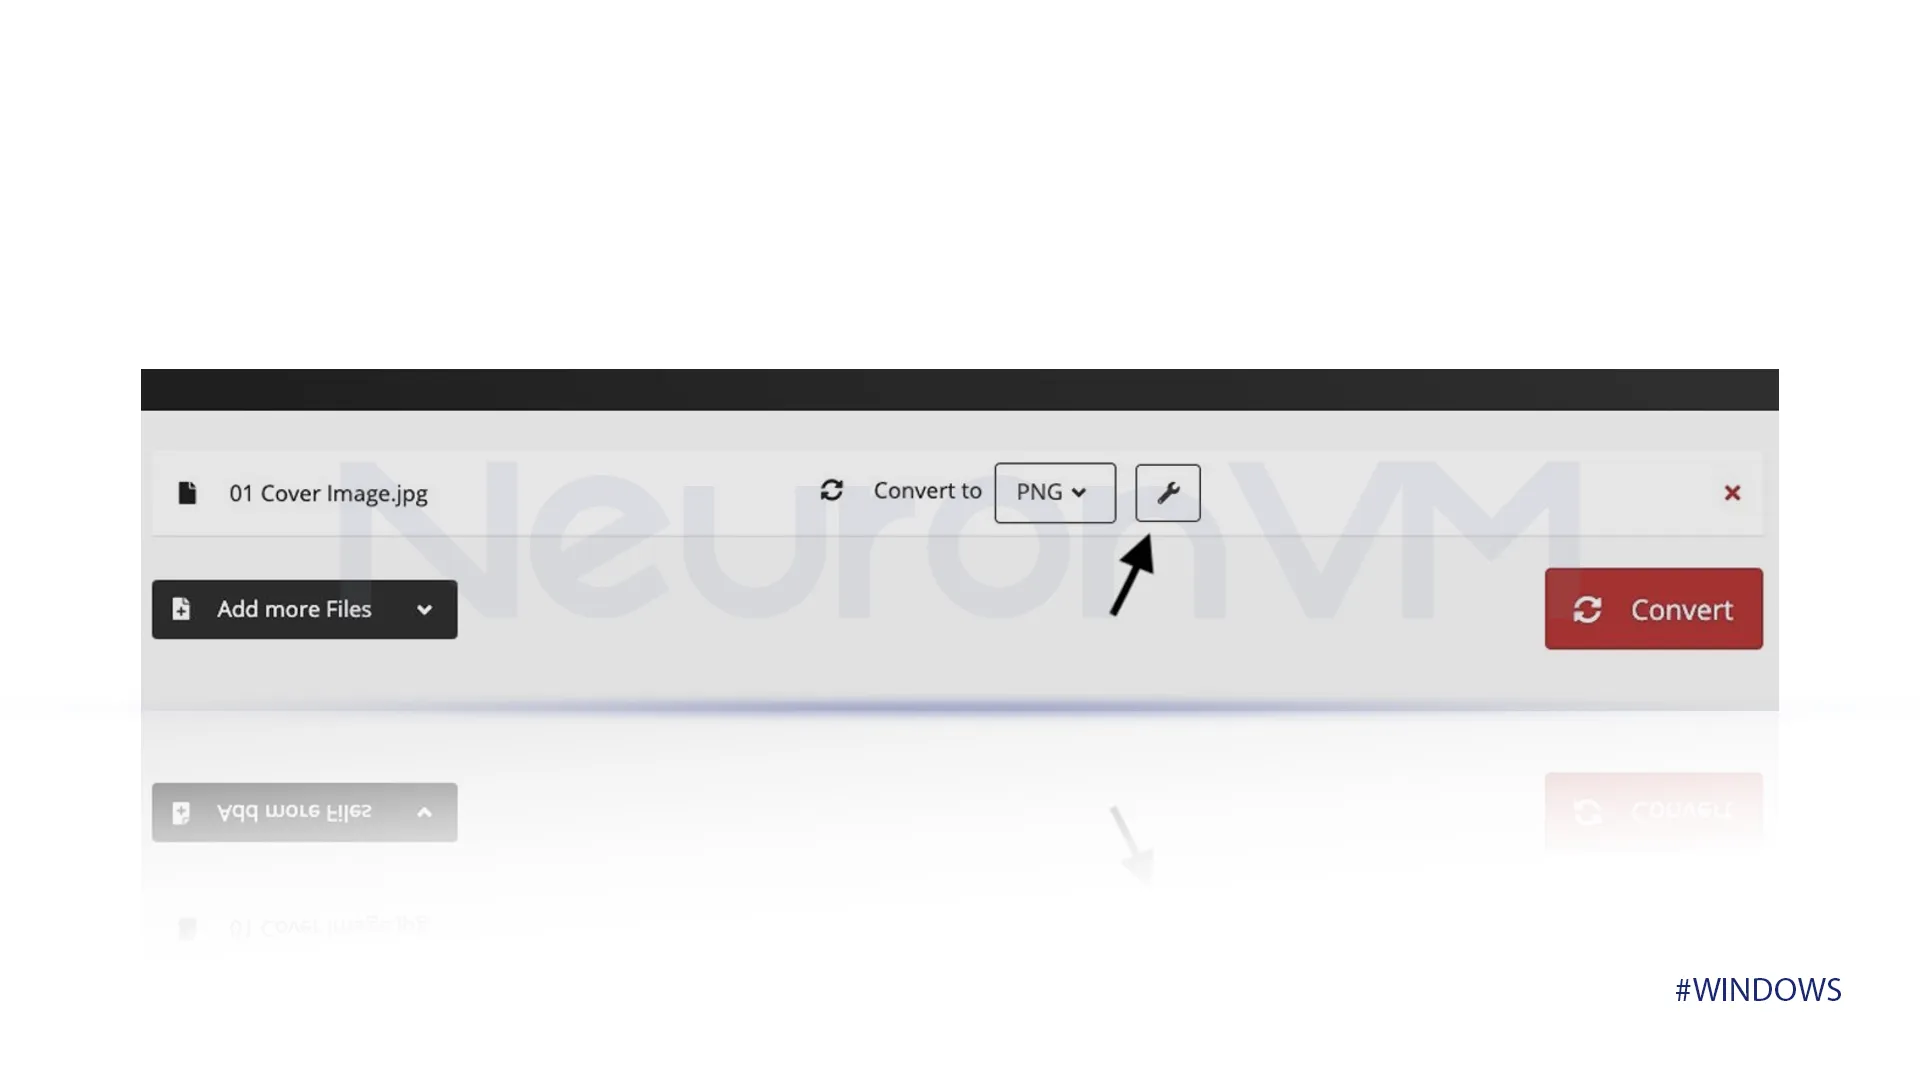
Click on Convert
Once you are done uploading your file, click on Convert to, to start the converting process.
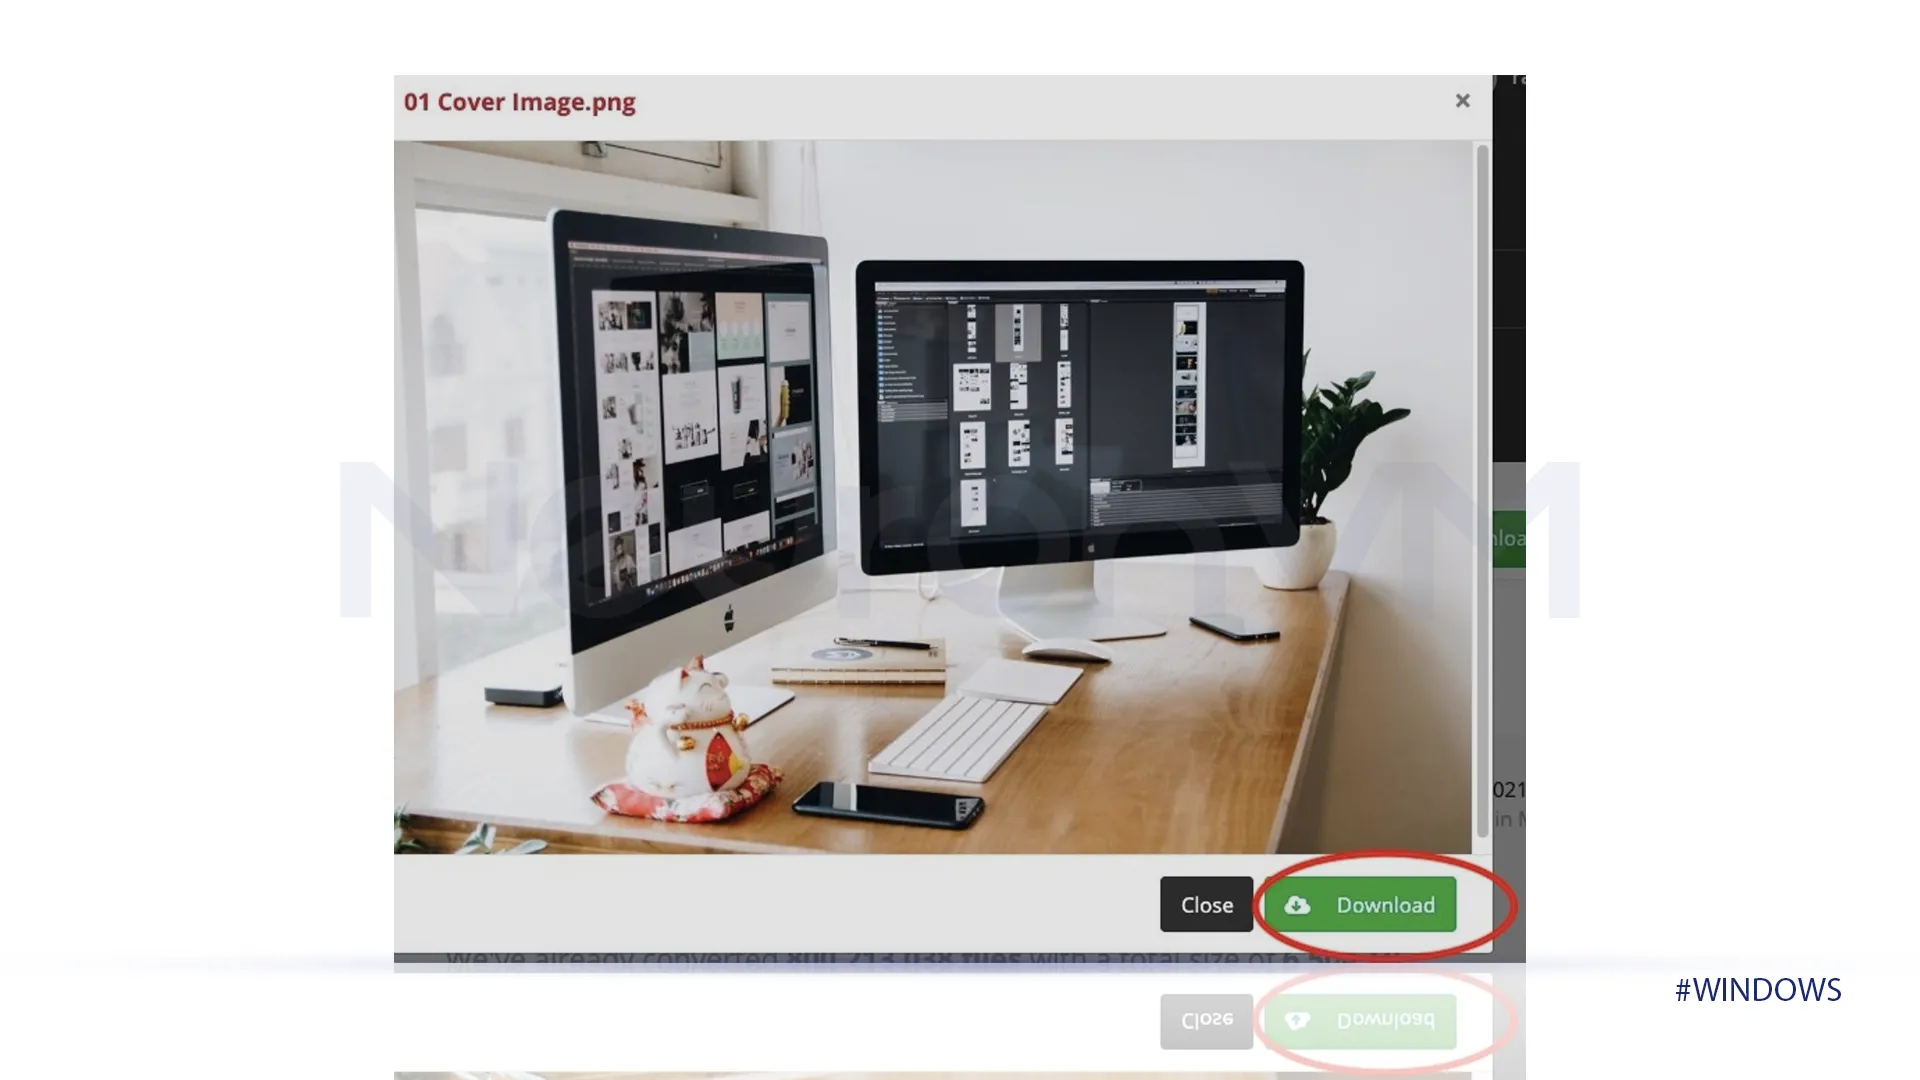
Download
When your file is done with processing, you can download your PNG file.
Conclusion
We provided an easy guide on how to change a JPG to PNG on Windows 11 with two methods, this process doesn’t need any specific application. You can do it offline with the Photos App on Windows or you can do it online with the second method provided as you hope.
Changing your JPG files to PNG is an effortless process with several benefits. You can enjoy the benefits of a PNG file by following our step-by-step guide.
We also provided a tutorial on How to Convert HEIC to JPG on our website, check that out if needed.
You might like it

Almalinux Tutorials
How to Install PostgreSQL 15 on AlmaLinux


Ubuntu Tutorials
How to Install LLVM System on Ubuntu 22.04


Ubuntu Tutorials
How to Install and Use Counter-Strike on Ubuntu 20.04