How to Install Mattermost on Debian 11 (Step-by-Step Guide)

 12m
12m
 0 comments
 Print
Print
If you’ve ever needed a private chat system for your team something secure and actually under your control you’ve probably looked at a few options before landing on Mattermost. I had the same situation, and this guide is basically the exact process I followed to install Mattermost on Debian 11 on a real server. Nothing fancy, just the actual steps. I’ve written everything in a straightforward way so you can follow along without having to be a Linux expert or dig through confusing documentation.
Prerequisites
To get started, you’ll need a few things:
A Debian 11 server (Bullseye edition)
Full SSH access or a user with sudo privileges
A little bit of Linux knowledge
And of course, a bit of patience
Step 1: Log in to the server and update the system
First, log in to the server using SSH.
ssh root@IP_Address -p Port_number
After logging in, check the Debian version to make sure you are on Debian 11.
lsb_release -a
Once you are sure, fully update the system so that the packages and libraries are up-to-date and stable.
apt update && apt upgrade
This will both increase the security of the server and prevent you from encountering strange problems in the future.
Step 2: Install MariaDB
Mattermost needs a database to store its data, which we will use here is MariaDB.
apt install mariadb-server
After installation, you need to secure the database.
mysql_secure_installation
The MariaDB security tool will ask you a series of questions, such as:
- Remove anonymous users
- Prevent remote root login
- Drop test database
- Reload access tables
The suggested options are always “Yes” to make MariaDB work more securely.
Step 3: Create the Mattermost Database
After securing MariaDB, log in to the database management environment.
mysql -u root -p
In this step, you need to:
Create a database named Mattermost
MariaDB [(none)]> CREATE DATABASE mattermost;
Create a new user specifically for Mattermost
MariaDB [(none)]> CREATE USER 'mmuser'@'%';
Specify a strong password for the user
MariaDB [(none)]> SET PASSWORD FOR 'mmuser'@'%' = PASSWORD('Str0ngPa$$worD');
And finally, give this user full access to the database
MariaDB [(none)]> GRANT ALL ON mattermost.* TO 'mmuser'@'%' IDENTIFIED BY 'Str0ngPa$$worD' WITH GRANT OPTION;
Finally, run the command to reload the permissions.
MariaDB [(none)]> FLUSH PRIVILEGES;
MariaDB [(none)]> EXIT;
This step is one of the most critical points of the installation; if you enter the database name, user, or password incorrectly, Mattermost will not connect to the database in the next step.
Step 4: Download and Install Mattermost
Now you need to download Mattermost and install it on your system. First, a dedicated user and group will be created to run Mattermost.
sudo useradd --system --user-group mattermost
This will increase the security of the service and keep everything separate.
Download the new version of Mattermost from the official website, extract it, and move it to the appropriate path.
tar xvzf mattermost-6.0.2-linux-amd64.tar.gz -C /opt/

sudo mkdir /opt/mattermost/data
Then, create a folder to store the data and give the Mattermost user the necessary access level.
Finally, you need to open the Mattermost configuration file and enter:
Site address
"SiteURL": "http://example.com",
Database connection information
"DriverName": "MySQL",

"DataSource": "mmuser:Str0ngPa$$worD@tcp(localhost:3306)/mattermost?
And a few other parameters into it.
This step is crucial, and you need to enter the information carefully.
Step 5: Create a Systemd Service for Mattermost
To make Mattermost always run as a systemd service, we will create a systemd service.
nano /lib/systemd/system/mattermost.service
In the relevant file, you need to define things like:
Path to run Mattermost
Run user and group
How to automatically restart the service
Dependency on MariaDB
After saving the file, refresh the system services and enable and run the Mattermost service.
systemctl start mattermost
systemctl enable mattermost
If everything is correct, the service status should be displayed as Active (running).
systemctl status mattermost
Step 6: Configure Apache as a Reverse Proxy
To make Mattermost accessible through a domain, we will install Apache and configure it as a reverse proxy.
apt install apache2
In this section, we need to:
Enable the Proxy and Rewrite modules
a2enmod rewrite
a2enmod proxy
a2enmod proxy_http
a2enmod proxy_wstunnel
Create a Virtual Host file
ln -s /etc/apache2/sites-available/mattermost.conf /etc/apache2/sites-enabled/mattermost.conf
Redirect HTTP traffic from the domain to the Mattermost port
And configure websocket rules (necessary for instant chat)
After activation, restart Apache for the changes to take effect.
systemctl restart apache2
Step 7: Access Mattermost
Now you’re all set, you have to open a browser and enter the domain address you set up for Mattermost, its welcome page will appear, asking you to:
1- Create the admin
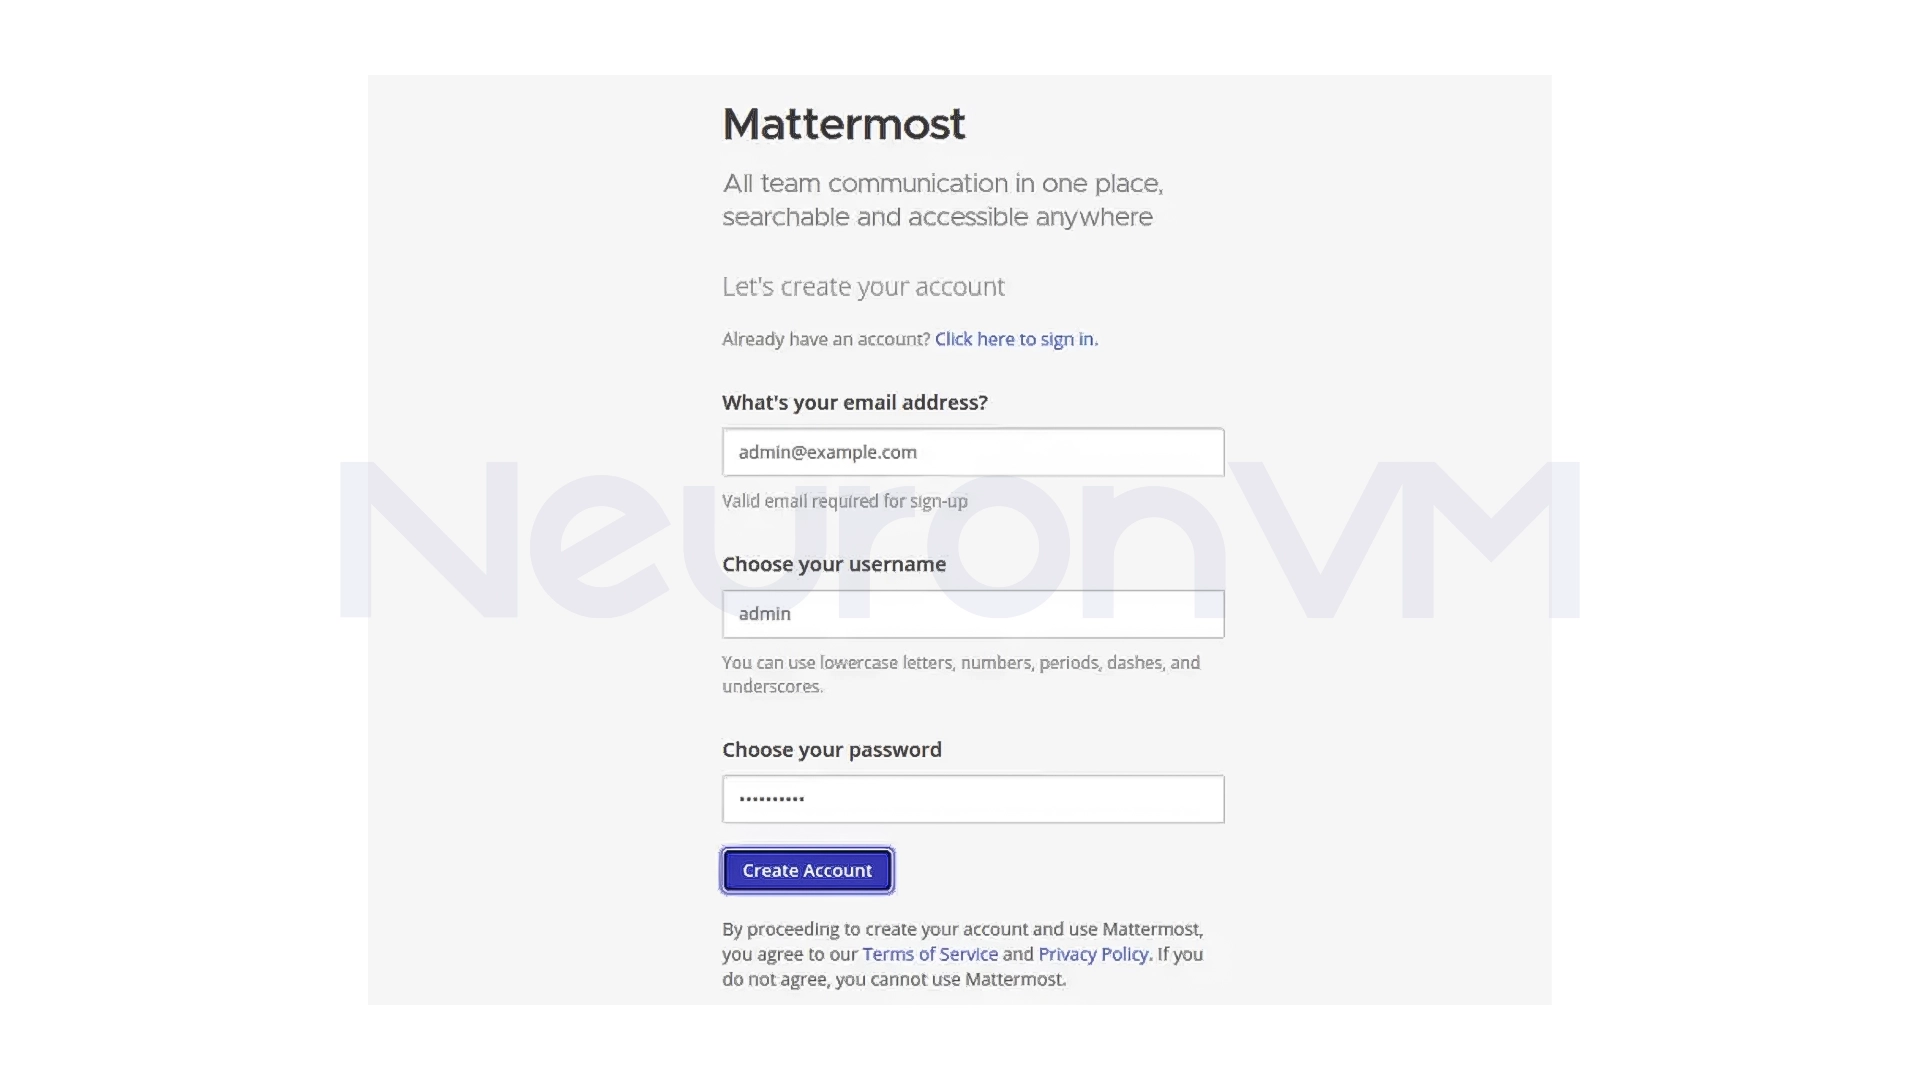
2- Complete the initial settings
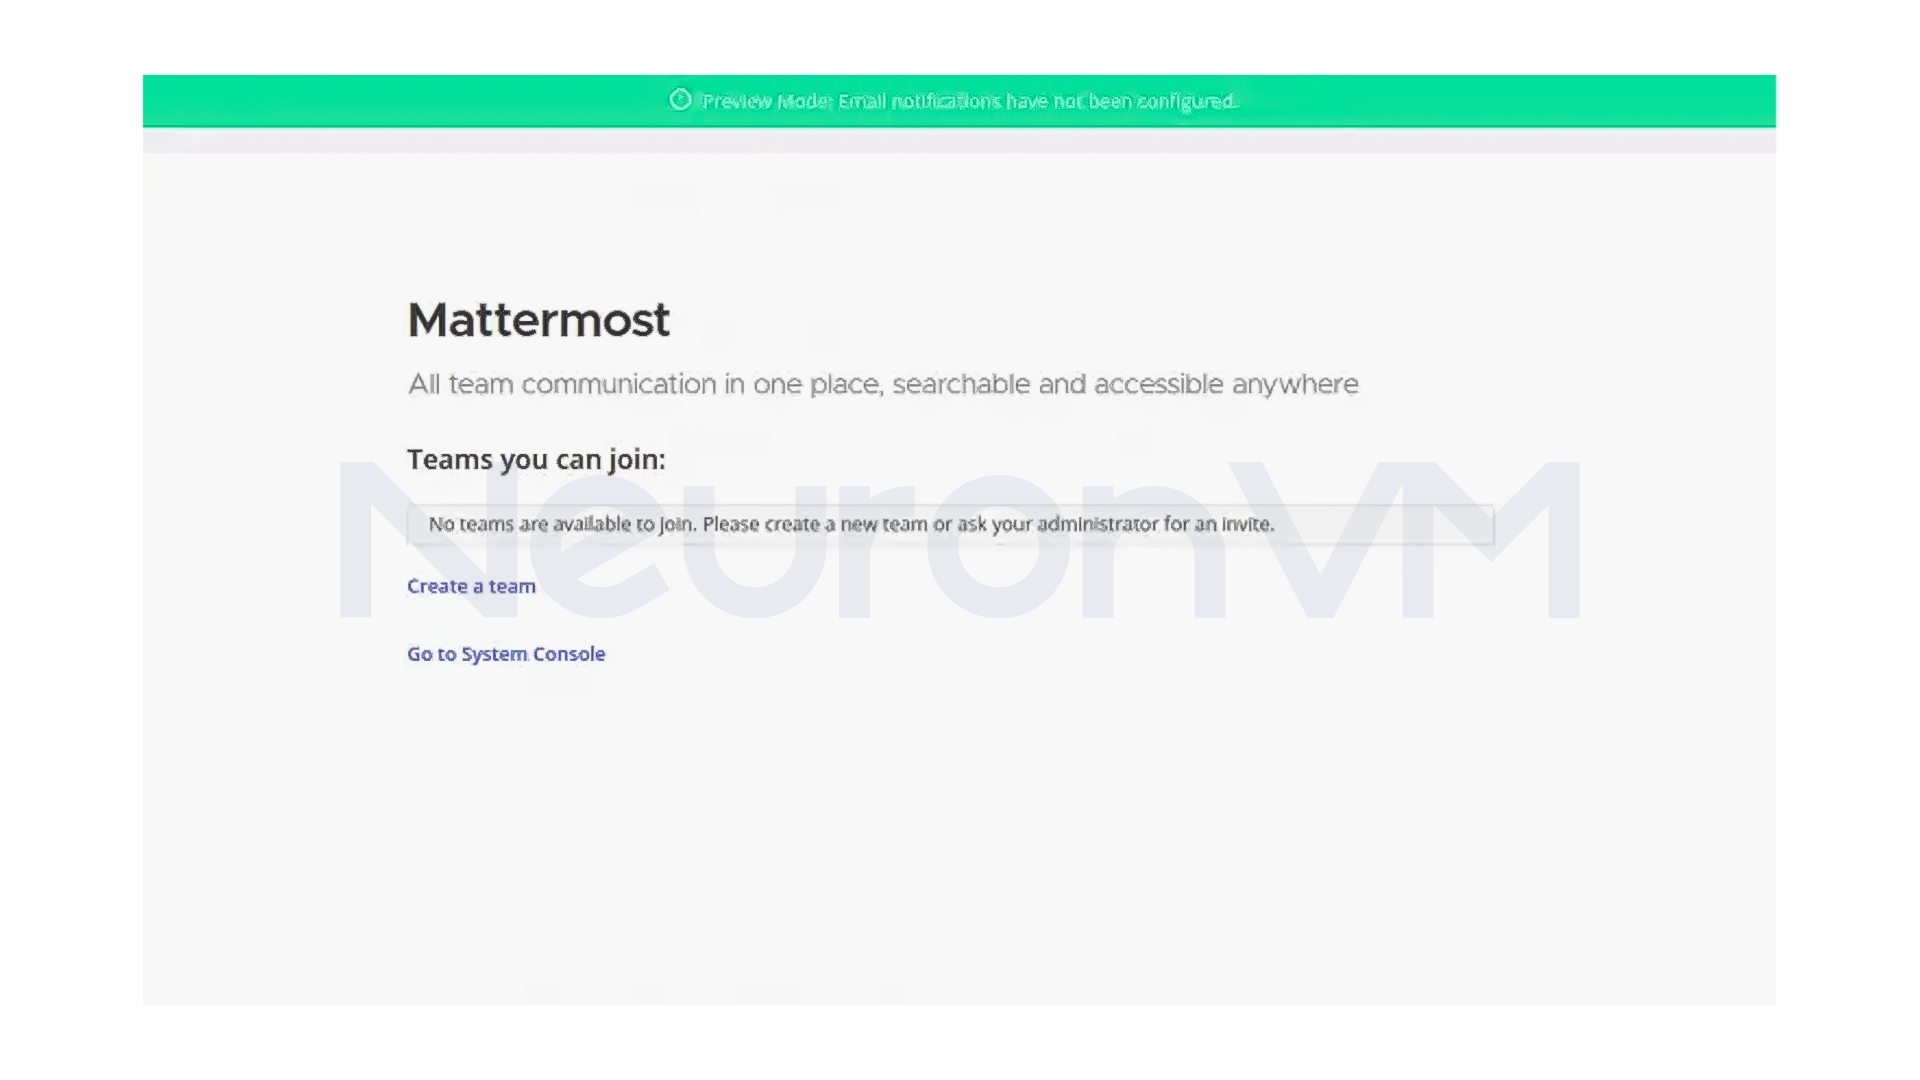
3- Then log in to the dashboard
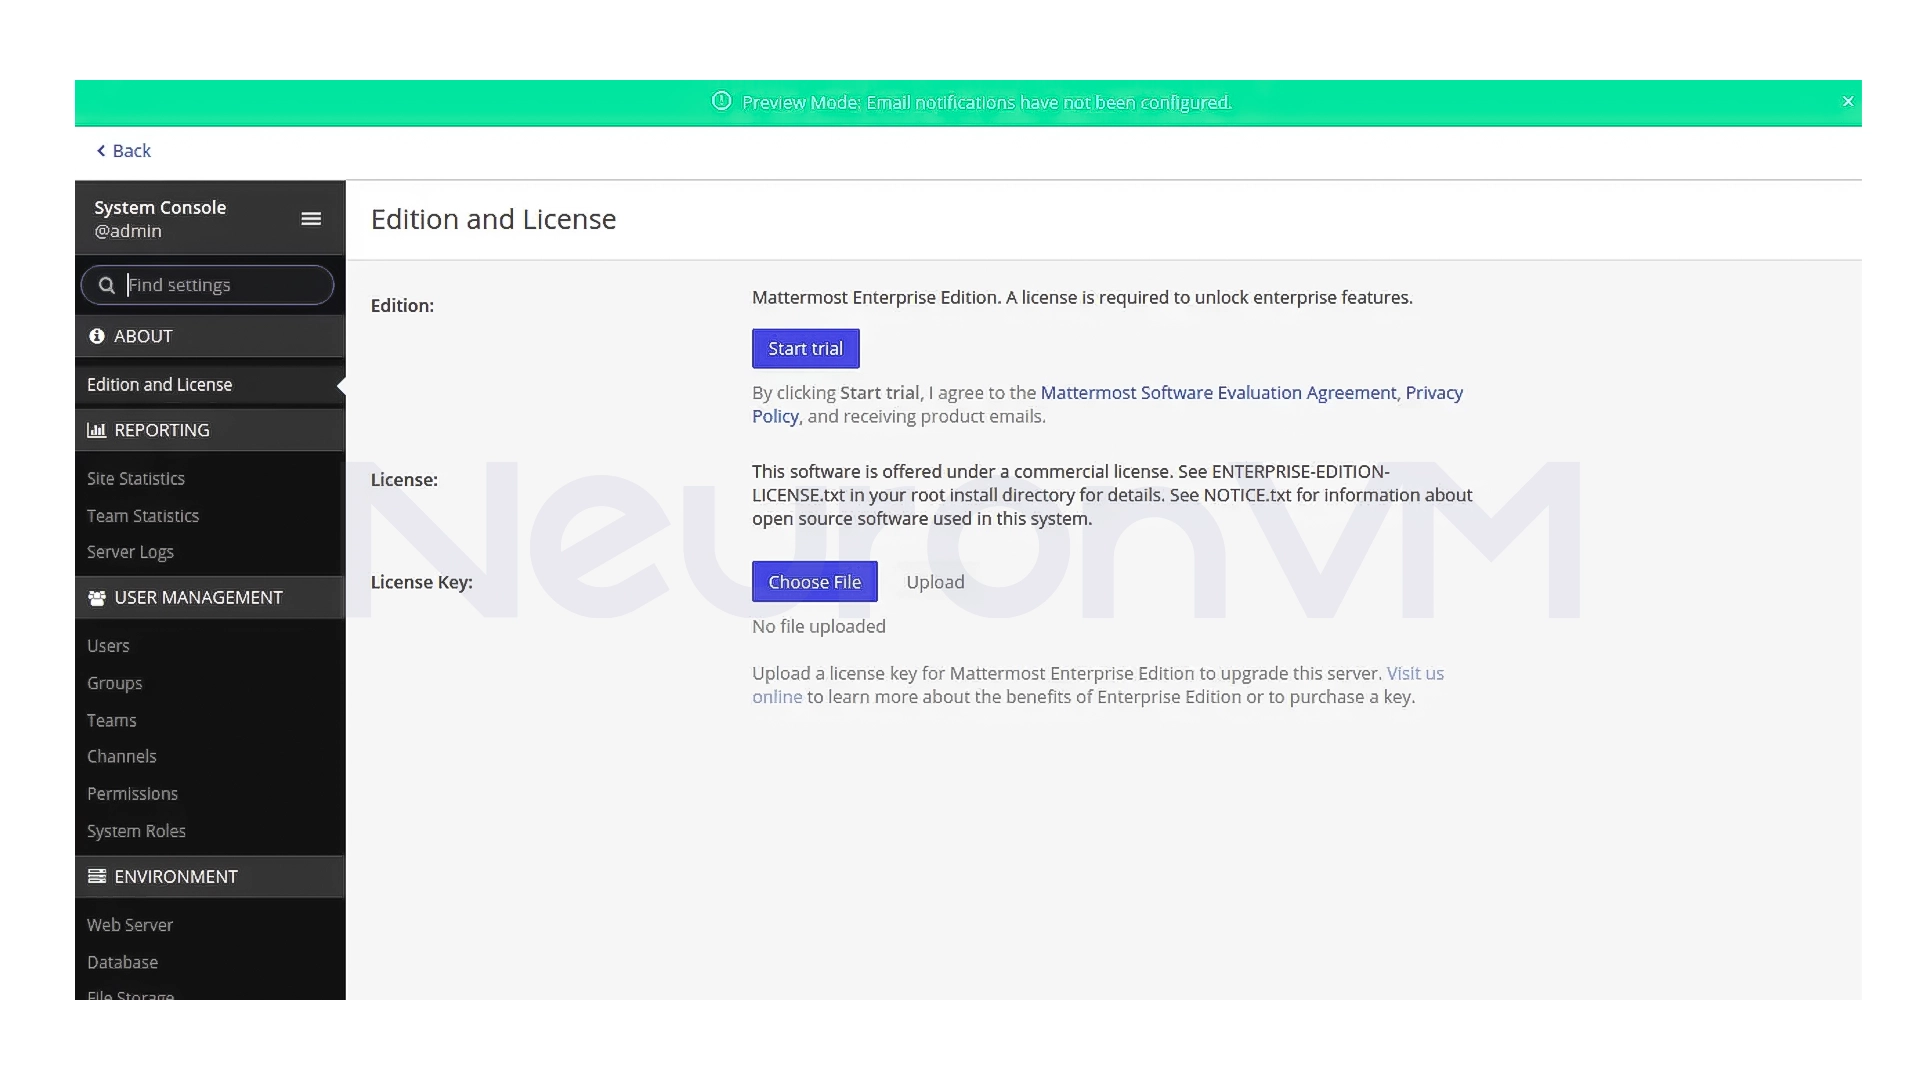
After creating the admin user, the system is completely ready to use.
My Experience Installing Mattermost on Debian 11
The first time I installed Mattermost on Debian 11, I really expected it to be more complicated than the documentation says, especially the database connection and systemd service creation parts, but what I found was that if you follow the steps carefully and step by step, installing Mattermost is one of the cleanest installations you can experience on a Linux server. The biggest challenge I had in that time was configuring the database and also entering the correct database name and password, even if one of these is wrong, the service will not start, and a connection error message will appear, this made me always double-check the information before even editing the config file.
On the other hand, creating the systemd service was one of the best parts of the job, Mattermost would start automatically after the server reboot, and there was no need to worry about the service being down. Finally, the Reverse Proxy part with Apache was also a good experience, and with the necessary modules enabled and WebSocket rules set up, Mattermost worked without any lag or outages, overall, if you are careful and patient, installing Mattermost on Debian 11 is nothing to be afraid of.
Conclusion
Installing Mattermost on Debian 11 may seem like a long process at first sight, but once you follow each step correctly, the process is quite simple. From installing MariaDB and creating a database to downloading Mattermost, setting up the configuration file, creating the systemd service, and finally connecting it to Apache, all of these steps are done only once, and the result is a secure, fast, and fully controlled internal chat environment.
Mattermost is an ideal option for teams and organizations that don’t want to depend on external services and are looking for a professional, stable, and reliable communication system. If you follow these steps correctly, you will end up with an internal messaging system that is ready to be used in small to large workplaces.
Yes. Mattermost is an open source platform and is completely under your control, so all data is stored on an internal server.
No, just basic familiarity with Linux commands is enough. This article explains all the steps in a simple and practical way.
Mattermost supports several databases, but MariaDB is one of the most stable and compatible options for Debian 11, which is why it is used in this guide.
You might like it