How to Install Asterisk VoIP Server on Ubuntu 20.04


 9m
9m
 0 comments
 Print
Print
If you are planning to set up a VoIP Server or a Linux-based system, it is almost impossible not to have heard of Asterisk, Asterisk is the heart of many enterprise systems, call centers, and even large telecom projects. The first thing that many people encounter is that: Asterisk does not have an official repository ready for Ubuntu, and this makes its installation seem intimidating at first glance, the good news is that if you follow the steps correctly and in order, installing Asterisk on Ubuntu 20.04 is quite manageable and logical.
What should we know before starting the Asterisk installation?
- Asterisk must be compiled from source
- Dependencies must be installed first
- Some libraries, like DAHDI and LibPRI, play a key role
- It is very important not to rush and be careful with the output of the commands
Installing Asterisk VoIP Server on Ubuntu
Step 1: Update the system and install dependencies
The first step is always simple but important:
We update the system so that we don’t run into problems with old versions of packages.
sudo apt update
After that, we install the packages that are required to compile Asterisk:
sudo apt install wget build-essential git autoconf subversion pkg-config libtool -y
Practical tip: If a package doesn’t install or gives an error here, don’t continue. Most of the subsequent problems start exactly from this step.
Step 2: Compile and install DAHDI and LibPRI
Asterisk needs these two libraries to communicate with analog, digital, and ISDN phones.
Installing DAHDI
DAHDI consists of two parts:
- dahdi-linux
- dahdi-tools
First, we get the dahdi-linux source:
sudo git clone -b next git://git.asterisk.org/dahdi/linux dahdi-linux
cd dahdi-linux
sudo make
sudo make install
cd ..
Now it’s Dahdi-Tools’ turn:
sudo git clone -b next git://git.asterisk.org/dahdi/tools dahdi-tools
cd dahdi-tools
sudo autoreconf -i
sudo ./configure
sudo make install
sudo make install-config
sudo dahdi_genconf modules
cd ..
Installing LibPRI
LibPRI is used for ISDN-based communications:
sudo git clone https://gerrit.asterisk.org/libpri libpri
cd libpri
sudo make
sudo make install
After this step, the necessary infrastructure for Asterisk is ready.
Step 3: Get the Asterisk Source
In this tutorial, we will be using Asterisk version 18 (LTS).
sudo git clone -b 18 https://gerrit.asterisk.org/asterisk asterisk-18
cd asterisk-18
This step may take a while, especially on slow servers.
Step 4: Get MP3 Source and Asterisk dependencies
To support MP3 format:
sudo contrib/scripts/get_mp3_source.sh
Then install Asterisk-specific dependencies:
sudo contrib/scripts/install_prereq install
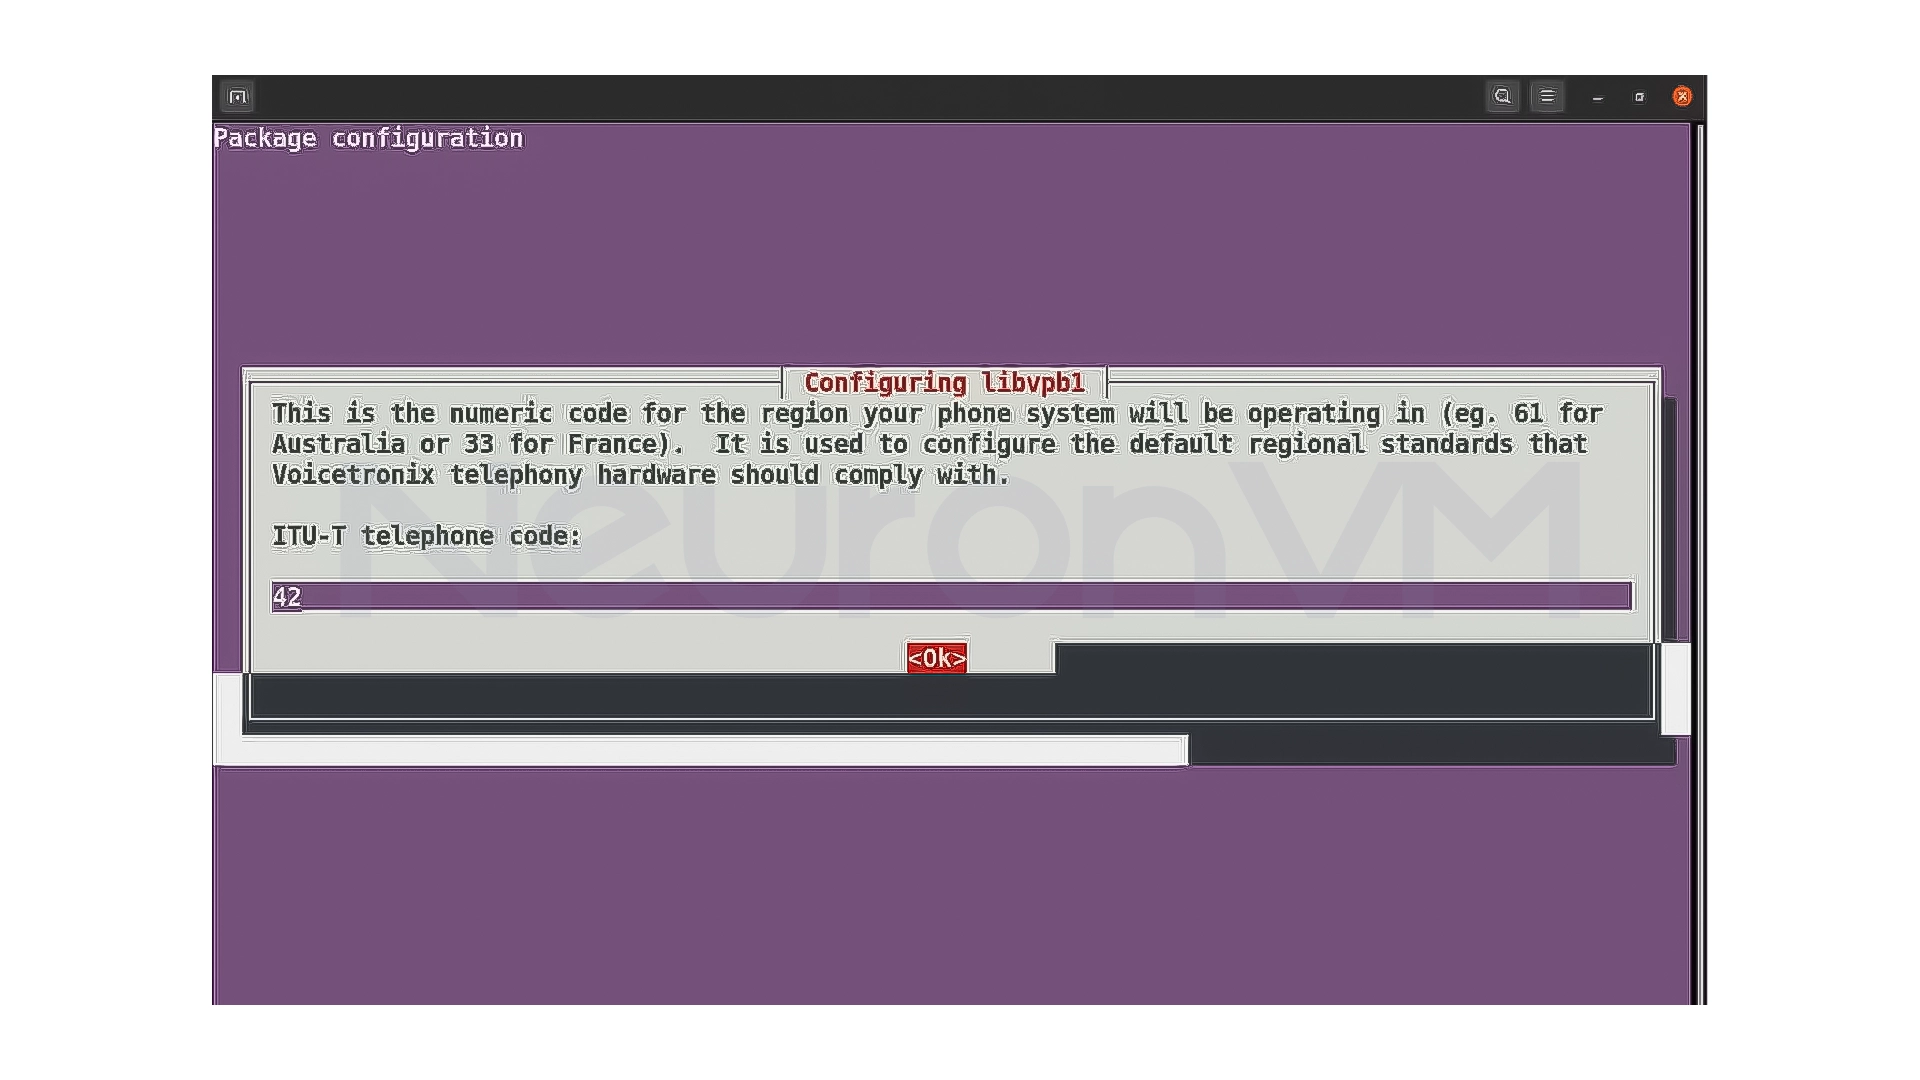
At this point, you may be asked for the Area Code, enter the number for your area.
Step 5: Configure and compile Asterisk
First initial configuration:
sudo ./configure
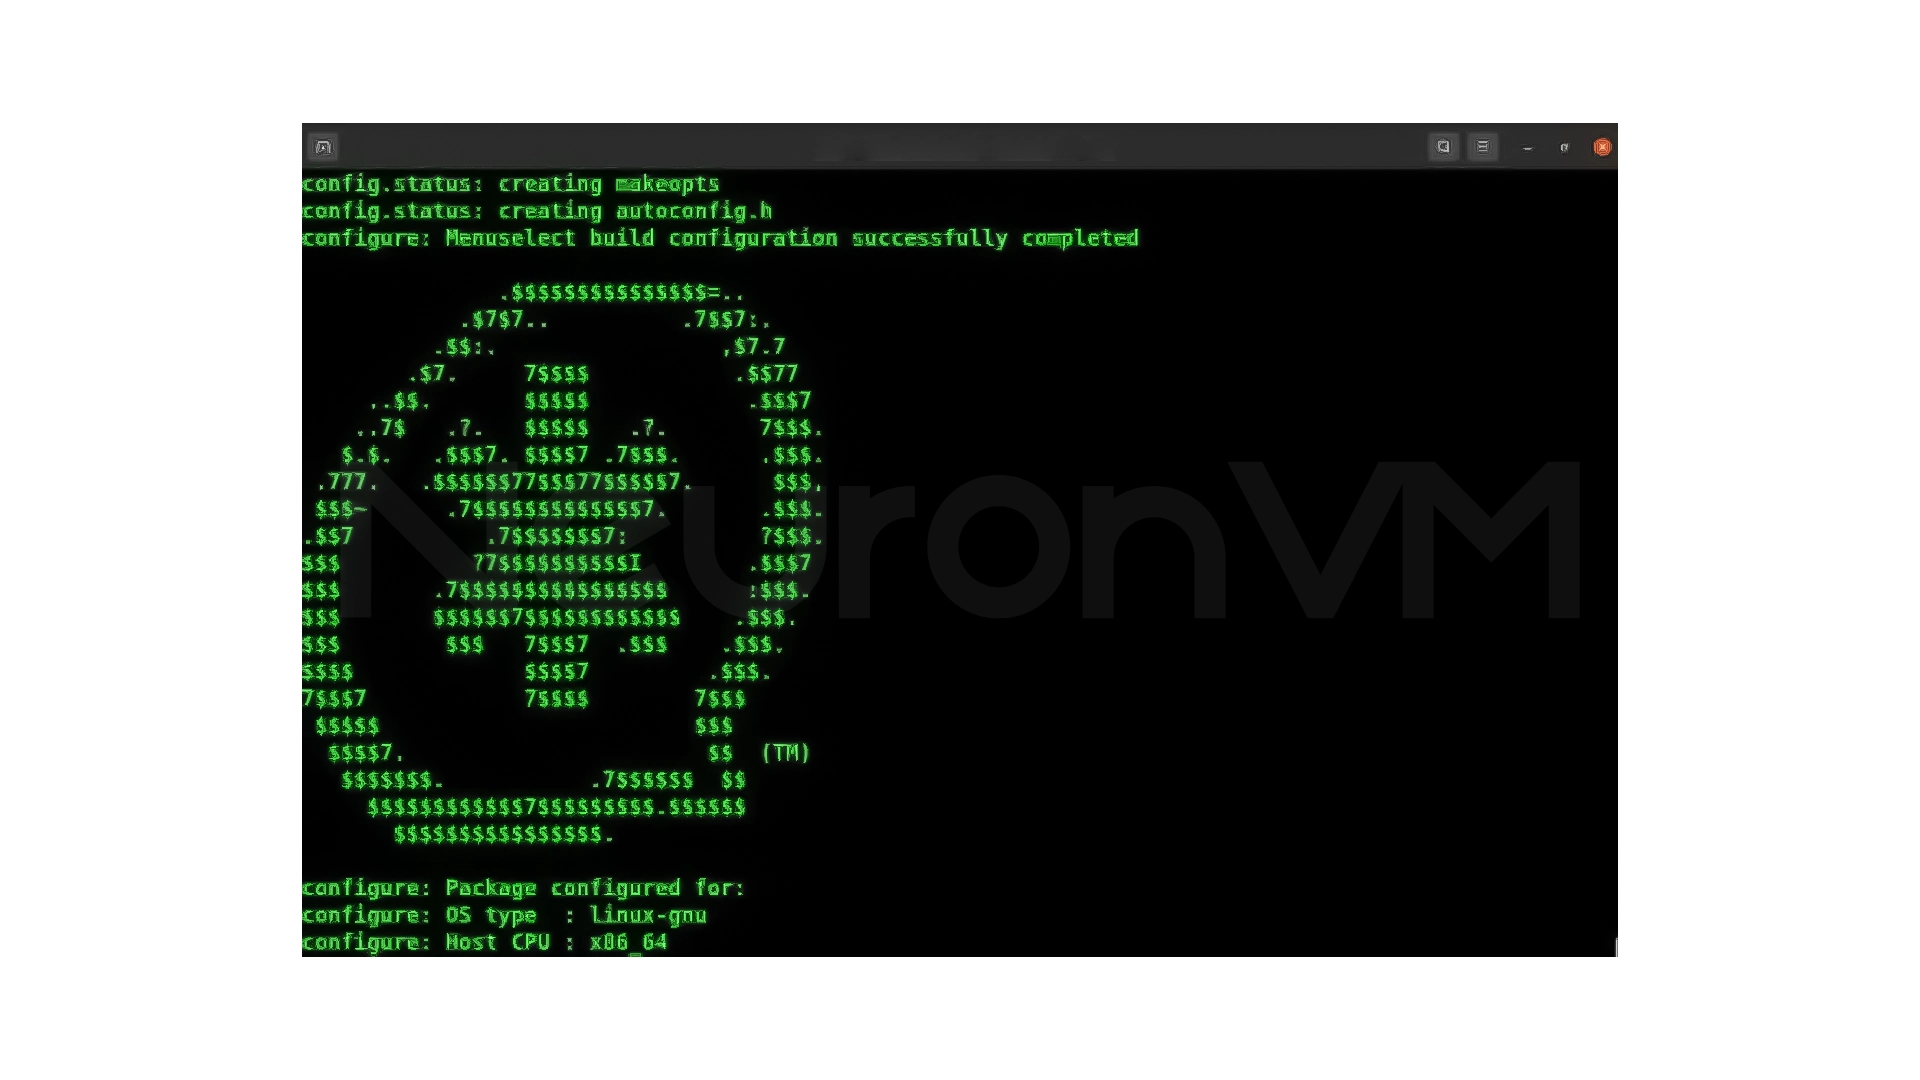
If everything is correct, you will see the Asterisk ASCII logo, Now the module selection menu:
sudo make menuselect
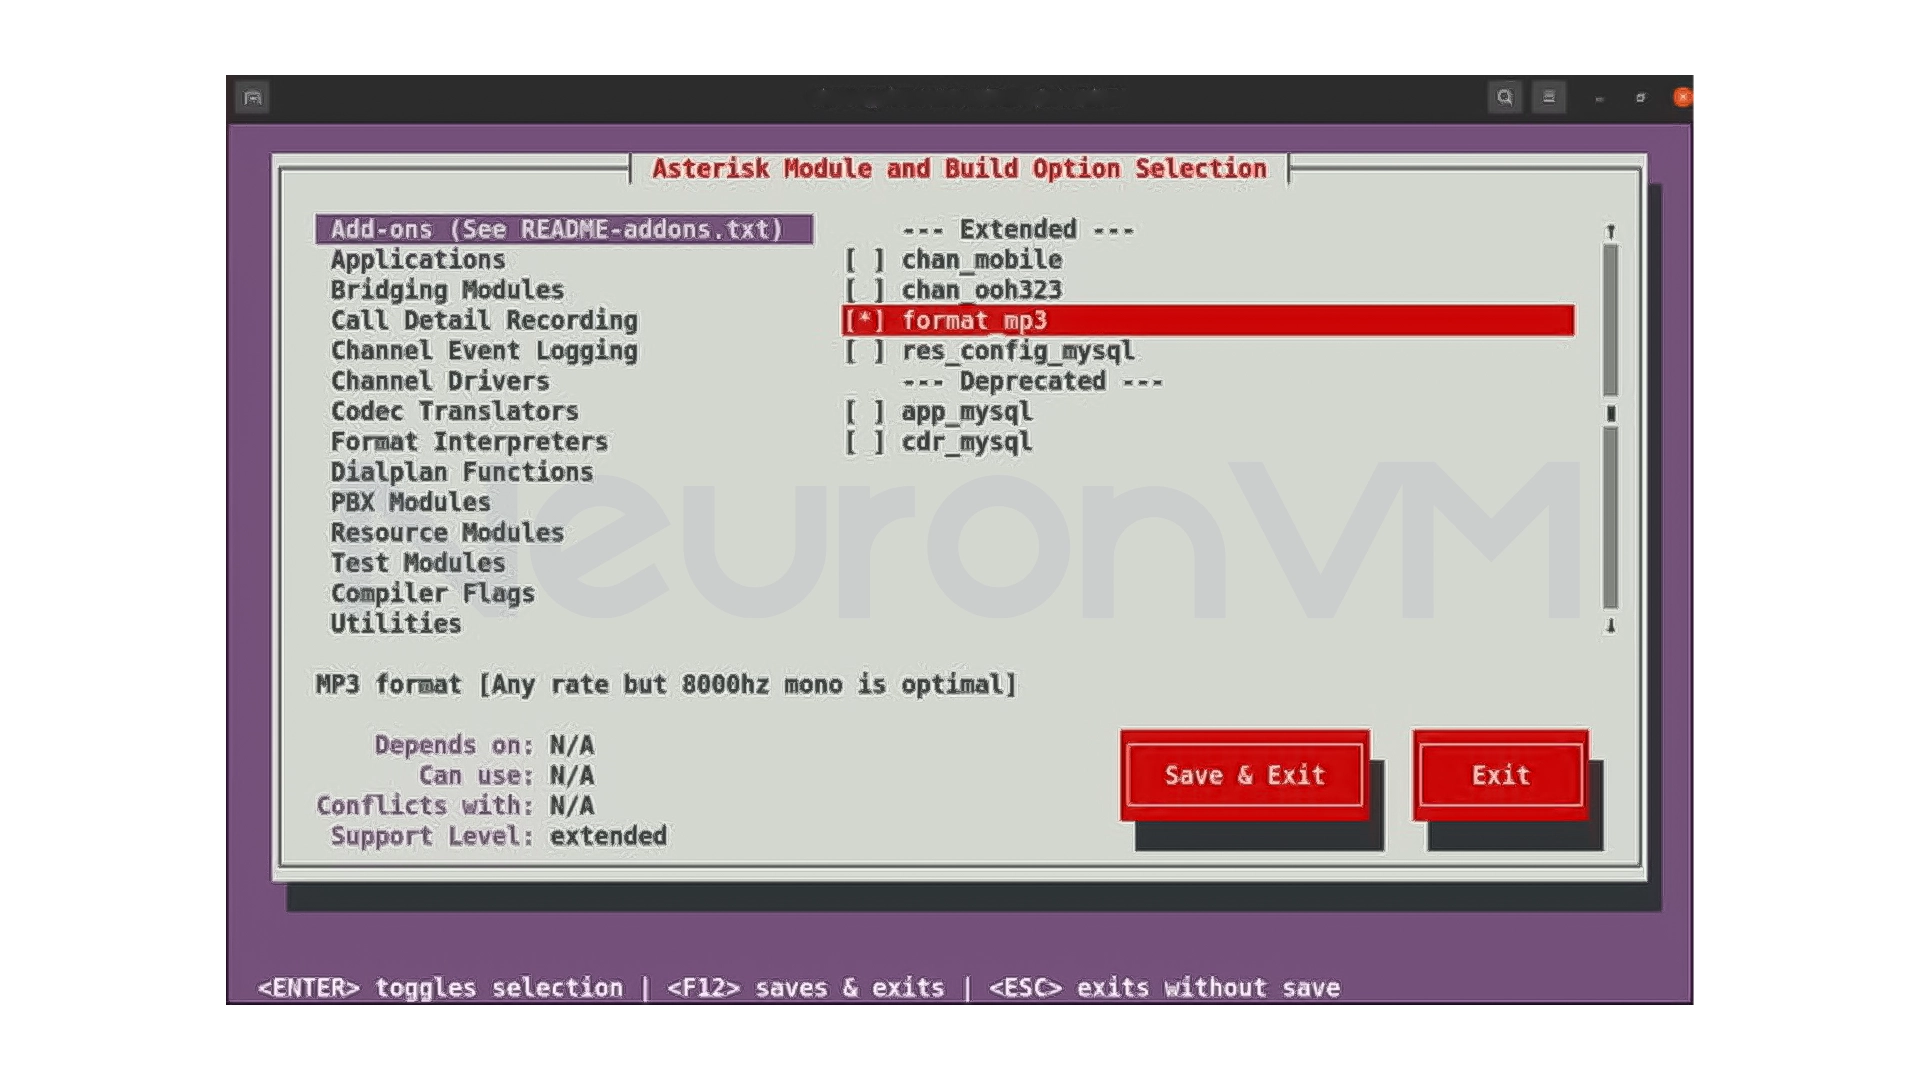
Practical suggestion: If you need MP3, be sure to enable the format_mp3 module.
Start compiling:
sudo make -j2
After the compilation is complete, the final installation:
sudo make install
sudo make samples
sudo make basic-pbx
sudo make config
sudo ldconfig
Step 6: Create and configure the Asterisk user
For security reasons, Asterisk should not be run as the root user.
sudo adduser --system --group --no-create-home --gecos "Asterisk PBX" asterisk
Edit the default settings:
bash
Copy code
sudo nano /etc/default/asterisk
Enable these two lines:
ini
Copy code
AST_USER="asterisk"
AST_GROUP="asterisk"
Add permissions and change file ownership:
bash
Copy code
sudo usermod -a -G dialout,audio asterisk
sudo chown -R asterisk: /var/{lib,log,run,spool}/asterisk /usr/lib/asterisk /etc/asterisk
sudo chmod -R 750 /var/{lib,log,run,spool}/asterisk /usr/lib/asterisk /etc/asterisk
Step 7: Run Asterisk and check its performance
sudo systemctl start asterisk
sudo systemctl enable asterisk
Log in to CLI:
bash
Copy code
sudo asterisk -vvvr
If you are logged into the CLI environment, the installation was successful
Step 8: Configure Firewall for Asterisk
For SIP and RTP connections:
sudo ufw allow 5060/udp
sudo ufw allow 10000:20000/udp
My Experience with Installing Asterisk
The first time I installed Asterisk, I thought it would be a simple project, but the truth is that Asterisk is detail-oriented, so here are the mistakes I made:
- Rushly installing dependencies
- Ignoring compilation errors
- Running Asterisk as root
After a few installations and messing around, I quickly realized:
- If you follow the steps, Asterisk won’t bother you
- You should really read the output of the commands
- Security is very important
For me, Asterisk is now one of the most stable services I run on the server, and I also share my other experiences on our website, check out for more.
Conclusion
Installing Asterisk on Ubuntu 20.04 may seem complicated at first sight, but the truth is that if you follow the steps patiently and in order, everything will be quite manageable for you. Most of the challenges come not from Asterisk itself, but from rushing and not paying attention to the output of commands, Asterisk is not a simple tool, it is a complete communications platform that gives you a lot of power and this high power makes its installation and setup require more precision, When you successfully complete this step, you will have built the foundation for a stable and scalable phone system, If you have followed this tutorial step by step, you now have a working Asterisk on the server and can safely move on to more advanced settings such as creating extensions, routing calls, or connecting to FreePBX, from here on, Asterisk is no longer a challenge, It’s a tool you can count on.
Because Asterisk is usually provided as source so that it can be customized with different modules and needs.
If they follow the steps carefully, yes, but it requires care and patience and it is better to do it on a test server to start.
These two libraries enable Asterisk to communicate with analog, digital, and ISDN telephone lines.
You might like it