How to Disable SELinux on CentOS (Best Practices)


 Study duration :
10 Minutes
Study duration :
10 Minutes
 0 Comment
If you are a Linux user, especially an enterprise distribution like CentOS or RHEL, you must have heard of SELinux. This system is one of the important security layers of Linux, designed to control the access levels of programs and processes. In fact, SELinux or Security Enhanced Linux is a tool developed by the NSA and the Linux community to increase system security at the kernel level.
But sometimes you may encounter problems in some settings or programs due to SELinux restrictions. In these cases, it is necessary to be able to check its status and disable it temporarily or permanently if necessary. Below, we will explain in simple terms what SELinux is and how you can disable selinux on CentOS system.
What is SELinux, and what is its use?
SELinux is an enforcement access control system that checks what permissions each program has on the system and whether it is allowed to access certain resources, such as files or the network. This feature prevents even if a service or program is compromised, it cannot infect the entire system
There are three main modes for SELinux
- Enforcing means that security policies are fully enforced
- Permissive means that only warnings are displayed instead of imposing restrictions
- Disabled means that SELinux is completely disabled
By default, CentOS runs in Enforcing mode to provide maximum security, but if you need to run programs that are not compatible with SELinux, you can disable it.
Checking the current state of SELinux
Before making any changes, you need to know what state SELinux is currently in. To do this, enter the following command in the terminal
sestatus
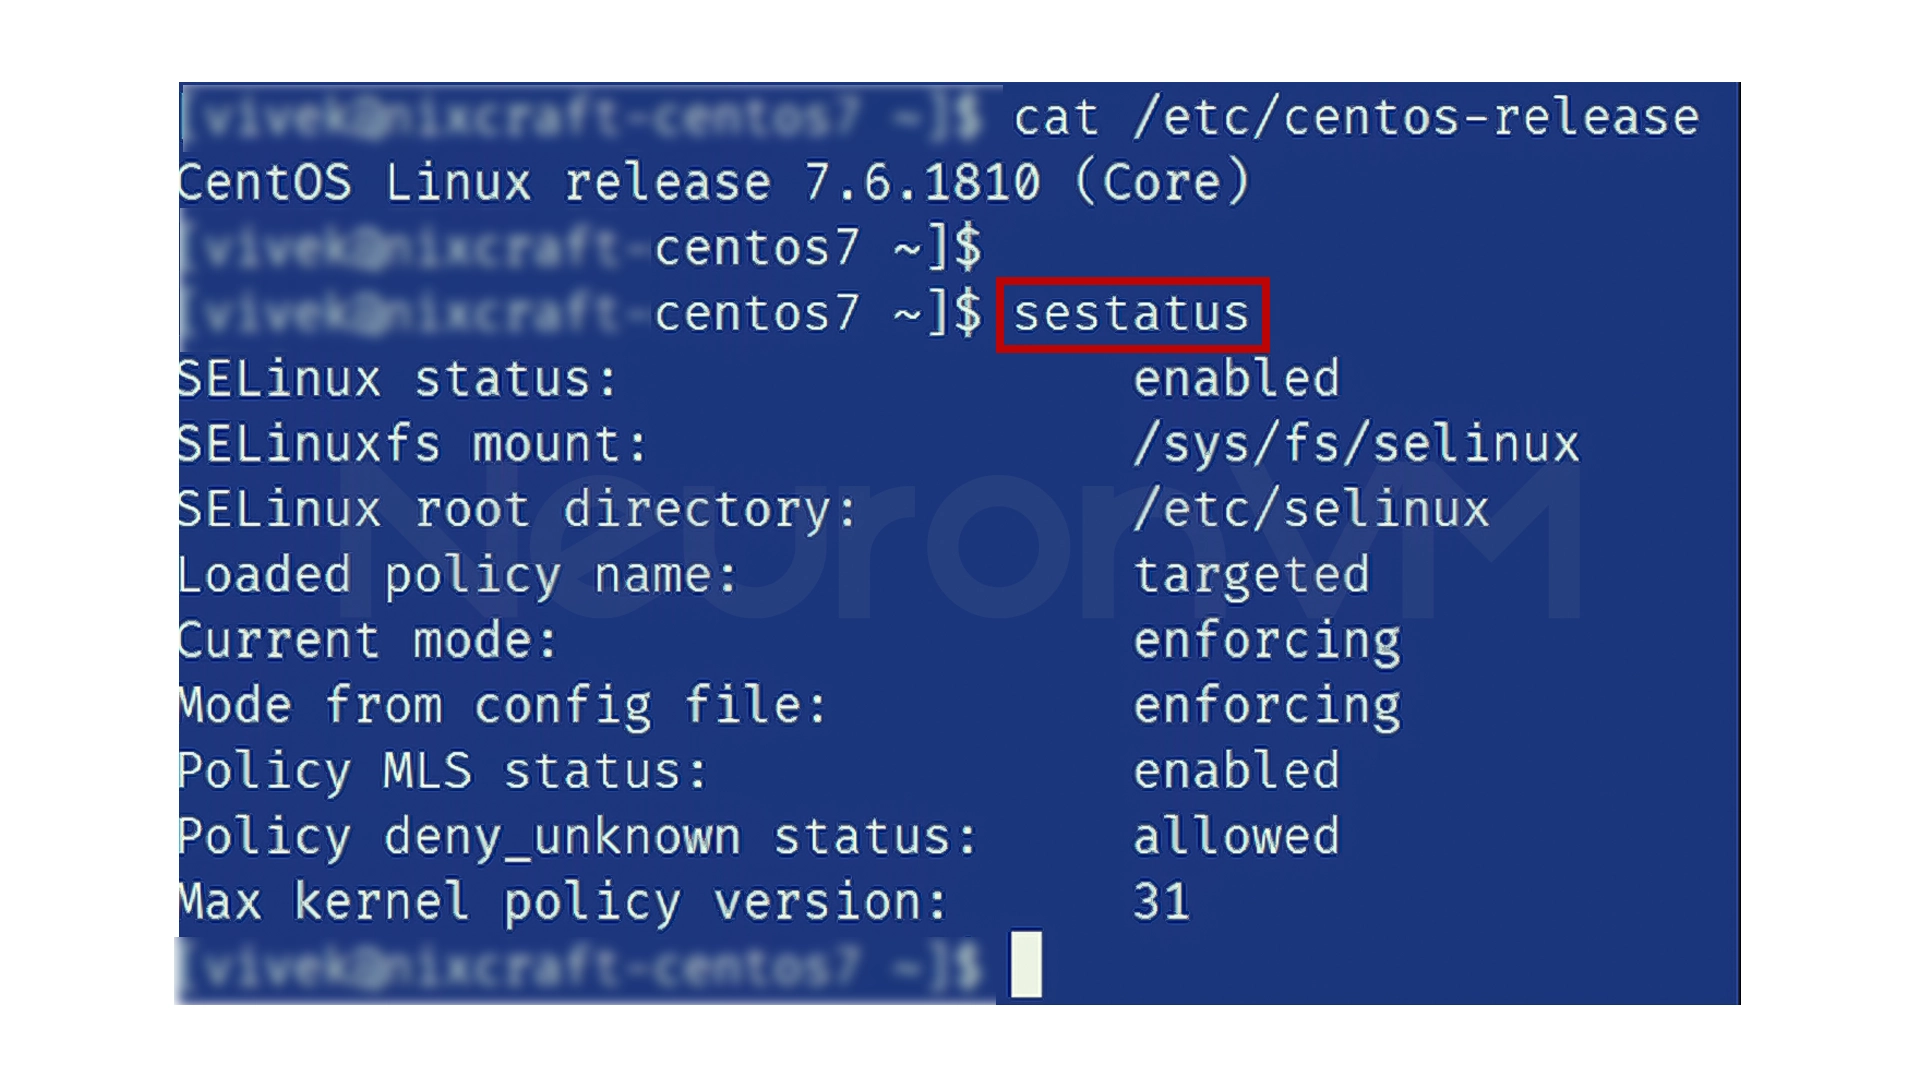
The output will show one of the states Enforcing, Permissive, or Disabled, which indicates whether SELinux is enabled or not
Another method is to use the following command
getenforce
If you want to see the configuration details, you can open the main configuration file
cat /etc/selinux/config
In this file, you will see a line with the phrase SELINUX= whose value can be enforcing, permissive, or disabled, and the second line specifies the SELINUXTYPE, which can be targeted, minimum, or mls.
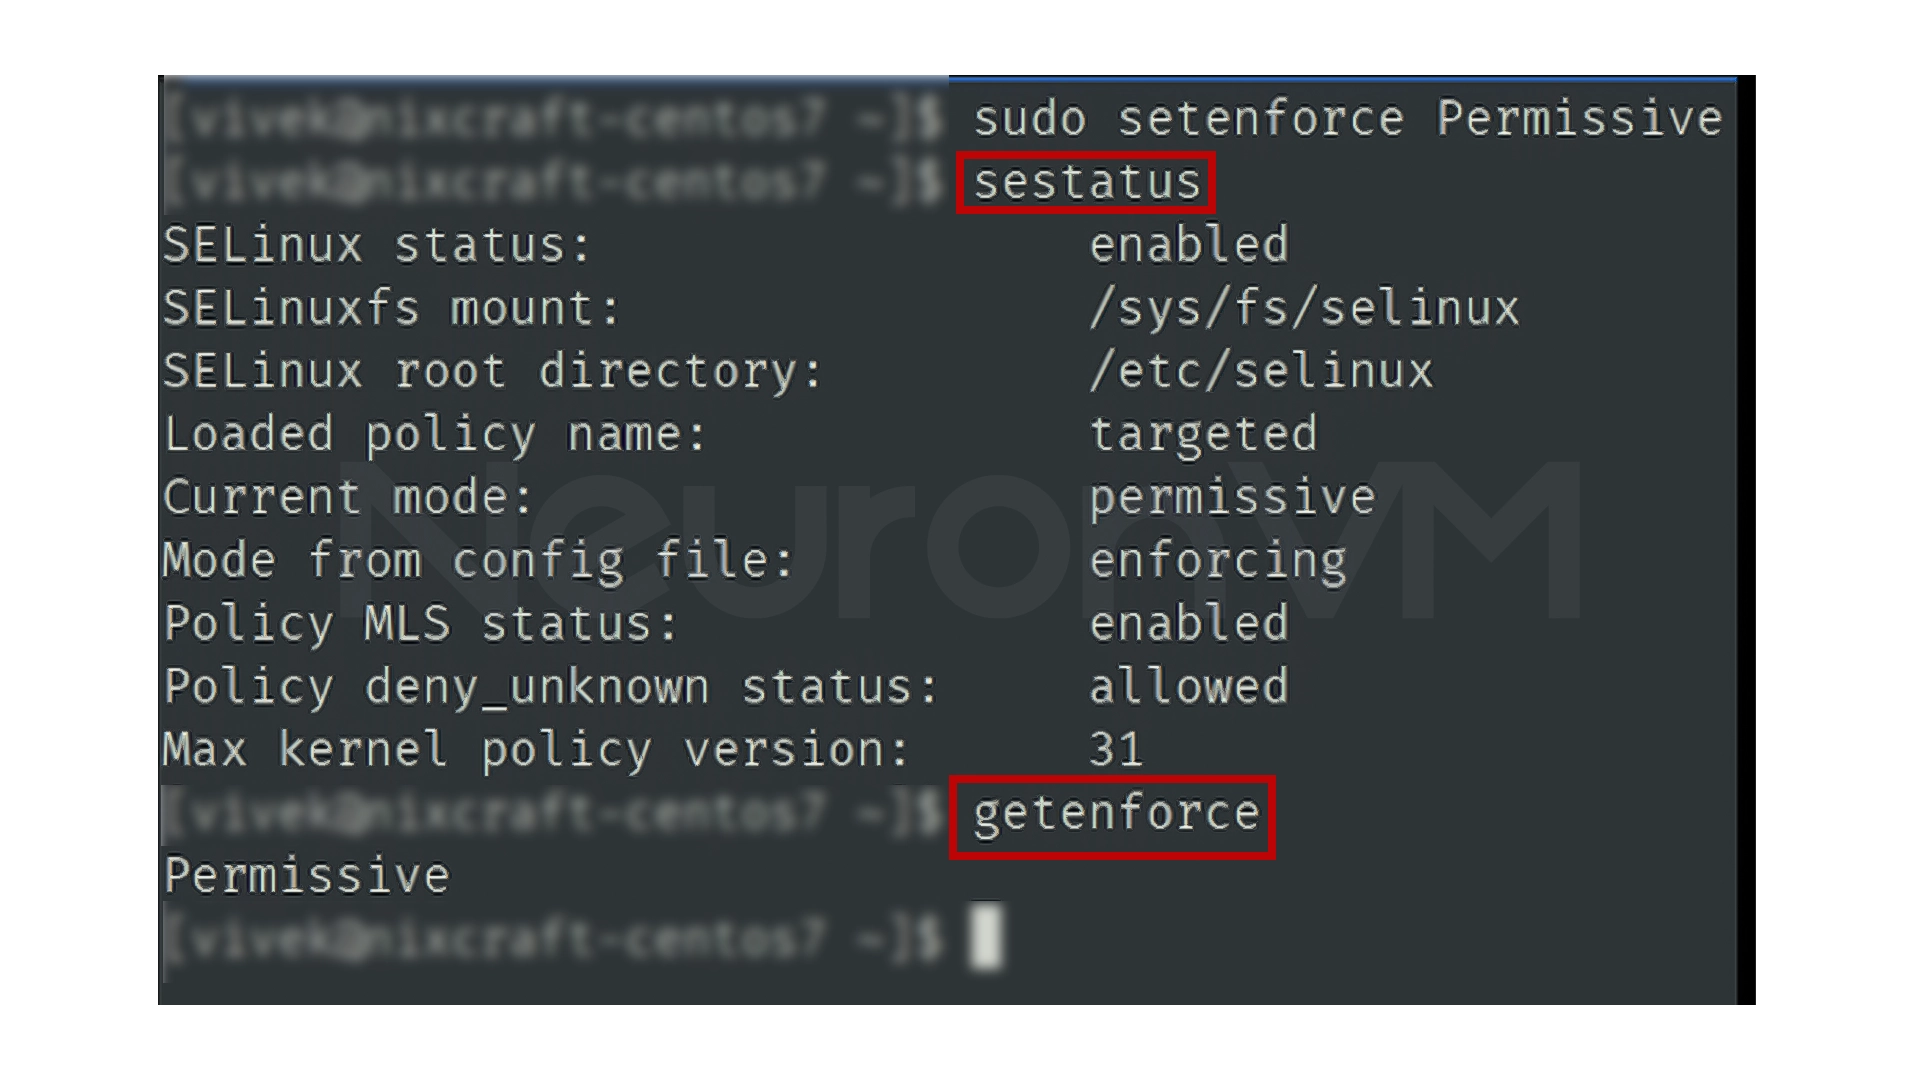
How to temporarily disable SELinux
If you only want to disable SELinux for a short time, for example, to test or temporarily run an application, just run the following command.
sudo setenforce 0
This command will immediately set SELinux to Permissive mode, meaning the restriction will be disabled, but will be re-enabled after the system is rebooted.
To be sure, you can run the getenforce command again to see the new status
getenforce
If the output is Permissive, it means it has been temporarily disabled.
How to Permanently Disable SELinux
To completely disable SELinux, you need to edit the main configuration file. This change will take effect after rebooting the system.
First, open the following file with root access
sudo vi /etc/selinux/config
Now change the SELINUX value from enforcing to disabled
SELINUX=disabled
Save and close the file, then reboot the system
sudo reboot
After the system boots up, check the status again
sestatus
or
getenforce
If the output is Disabled, SELinux is completely disabled.
Important Security Warning
Before you disable SELinux, you should know that this tool is one of the pillars of Linux security. Disabling it allows many potential attacks to proceed unhindered, so it is recommended to do this only in test environments or in special cases. If you have a specific problem with SELinux, it is better to edit its settings and rules instead of turning it off, so that the required applications work correctly.
Advanced Analysis and Tips on SELinux
In practice, SELinux is not just a simple security layer, but a tool for access management at the Linux kernel level. And Experience shows us that many problems with services such as Apache or Nginx are caused by SELinux restrictions, and a thorough understanding of logs and policies can help optimize system security and performance. For example, using Permissive mode before permanently changing the state provides an opportunity to analyze application conflicts and identify real access needs, in the end, choosing the Targeted policy instead of completely turning off SELinux allows you to maintain security while maintaining service performance, allowing system administrators to restrict only the necessary processes. This analytical and operational approach takes the article beyond a simple step-by-step guide and creates added value for power users and those who want to understand the depth of SELinux functionality.
My Experience with SELinux
When I first started working with CentOS, many services, such as Apache or Nginx were not running properly, and every time I got a Permission denied error message, So at first, I thought it was a configuration problem, but then I just realized that SELinux was preventing some commands from running. And then by temporarily disabling it with the setenforce 0 command, I was able to figure out that the problem was with the system’s security From then on, I learned to always check SELinux logs before completely disabling it and, if necessary, change only the access level of the service itself This experience helped maintain system security while all services worked properly.
Conclusion
SELinux is one of the most important security layers in the Linux operating system that prevents unauthorized programs from running, but in some specific situations, you may need to disable it temporarily or permanently, and in this article, you learned how to manage the state of SELinux with simple commands like sestatus and setenforce, editing the /etc/selinux/config file, and rebooting the system, in the end, turning it off is a simple task, always remember that security in Linux is not an option, but a necessity.


SELinux, or Security Enhanced Linux, is a security system in Linux that controls access to programs.
You can view the status of SELinux with the "sestatus" or "getenforce" command.
SELinux increases system security and prevents unauthorized programs from running and intruding into the system.