


How to Install WordPress on cPanel (Real Experience)

 6m
6m
 0 comments
 Print
Print
Sometimes when you’re just starting out with a personal website or online store, one of the first challenges is installing WordPress. Especially if you’re using cPanel, it can seem a bit complicated at first, but the truth is, you just need to know where to start. I made a lot of mistakes the first time I tried to install WordPress! I uploaded files to the wrong place, created the wrong database, and had to start from scratch a few times. But after a few tries, I realized that Install WordPress on Cpanel is not only not difficult, but can be done very quickly with a simple, step-by-step process.
In this article, we’re going to walk you through exactly that process, from downloading WordPress to finally running it in your browser.
Steps to install WordPress on cPanel
Step 1: Download WordPress
1- Go to wordpress.org.
2- Click on the Get WordPress button.
3- Now, click on the Download WordPress option to save the zip file to your system.
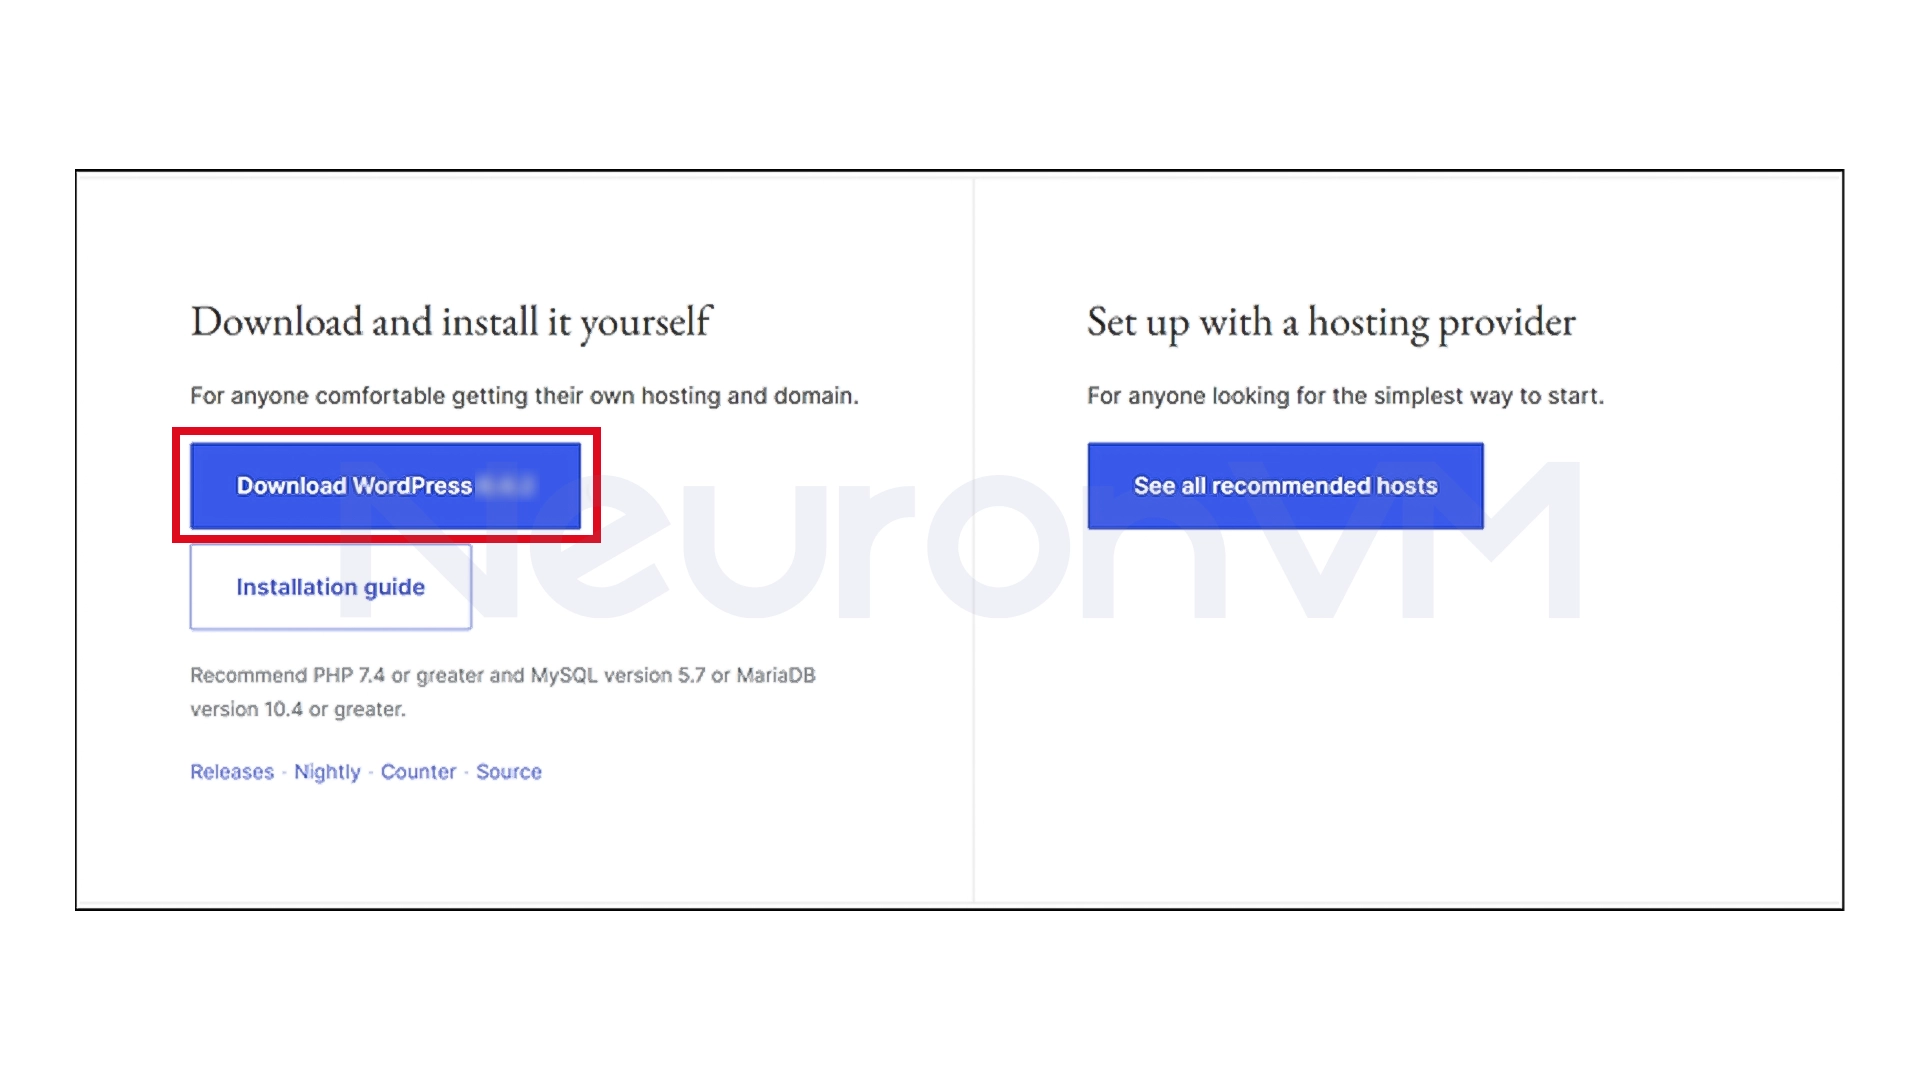
My personal recommendation is always to download the official version of WordPress to be on the safe side.
Step 2: Upload WordPress Files to the Server
1- Log in to your cPanel. Usually, the address is “yourdomain.com/cpanel”.
2- Enter your username and password to log in.
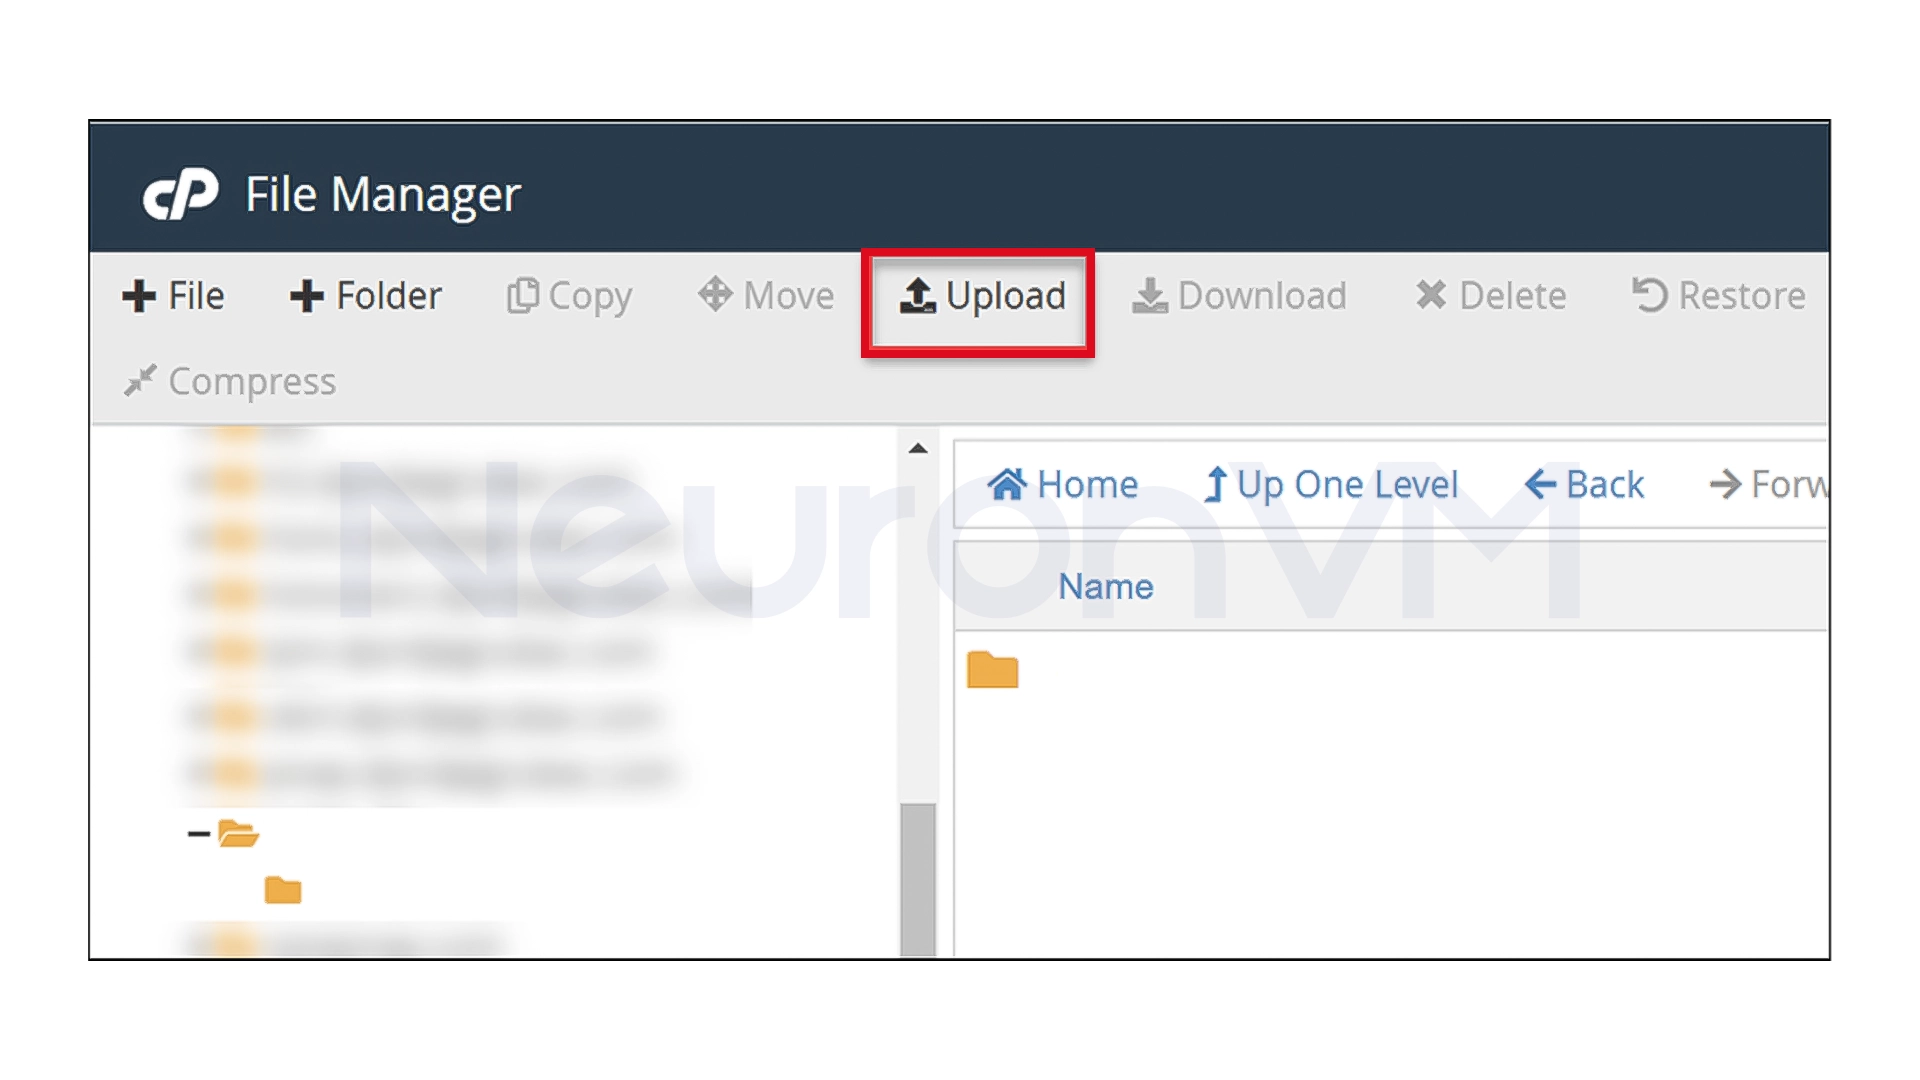
3- From the Files section, open the File Manager option.

4- Select the domain where WordPress is going to be installed.
5- Click on the Upload option and upload the WordPress zip file.
6- After uploading, go back to the folder and right-click on the zip file and select the Extract option.
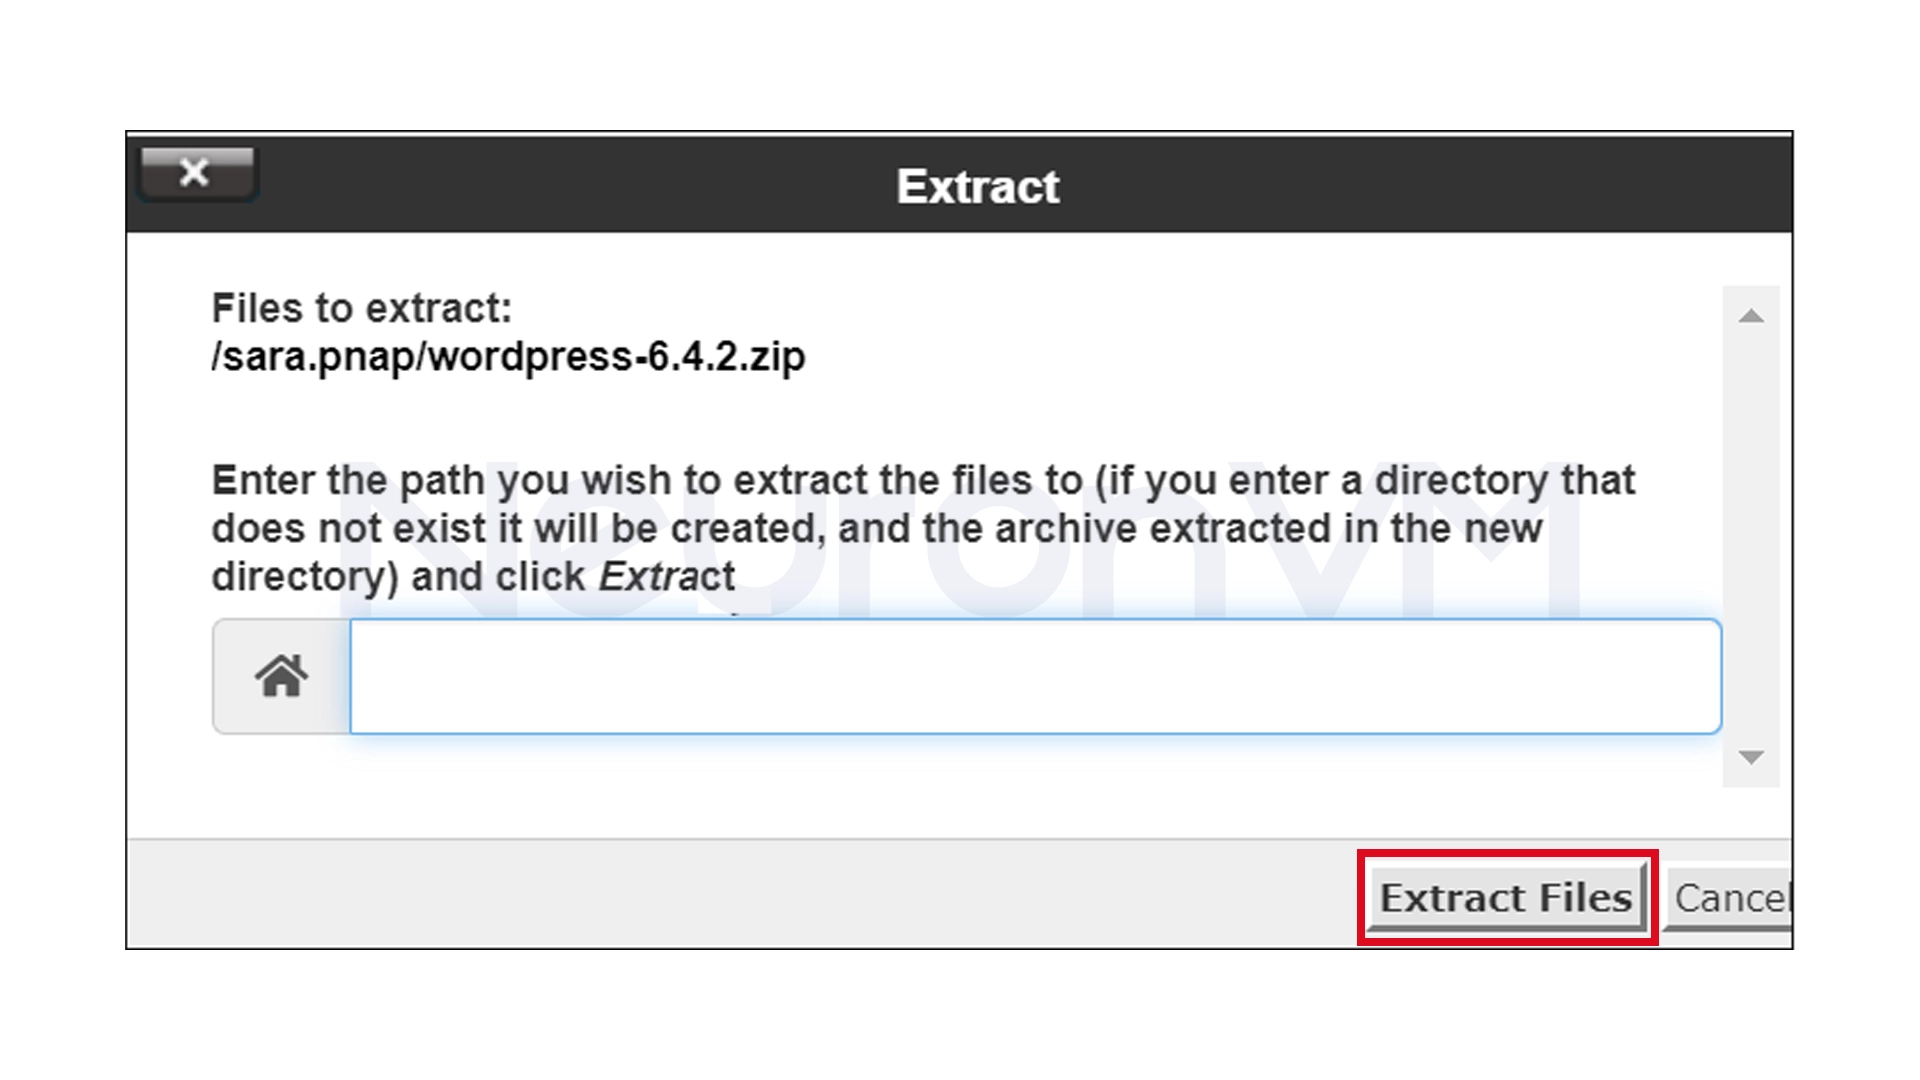
7- Now the files will be extracted into a folder called WordPress.
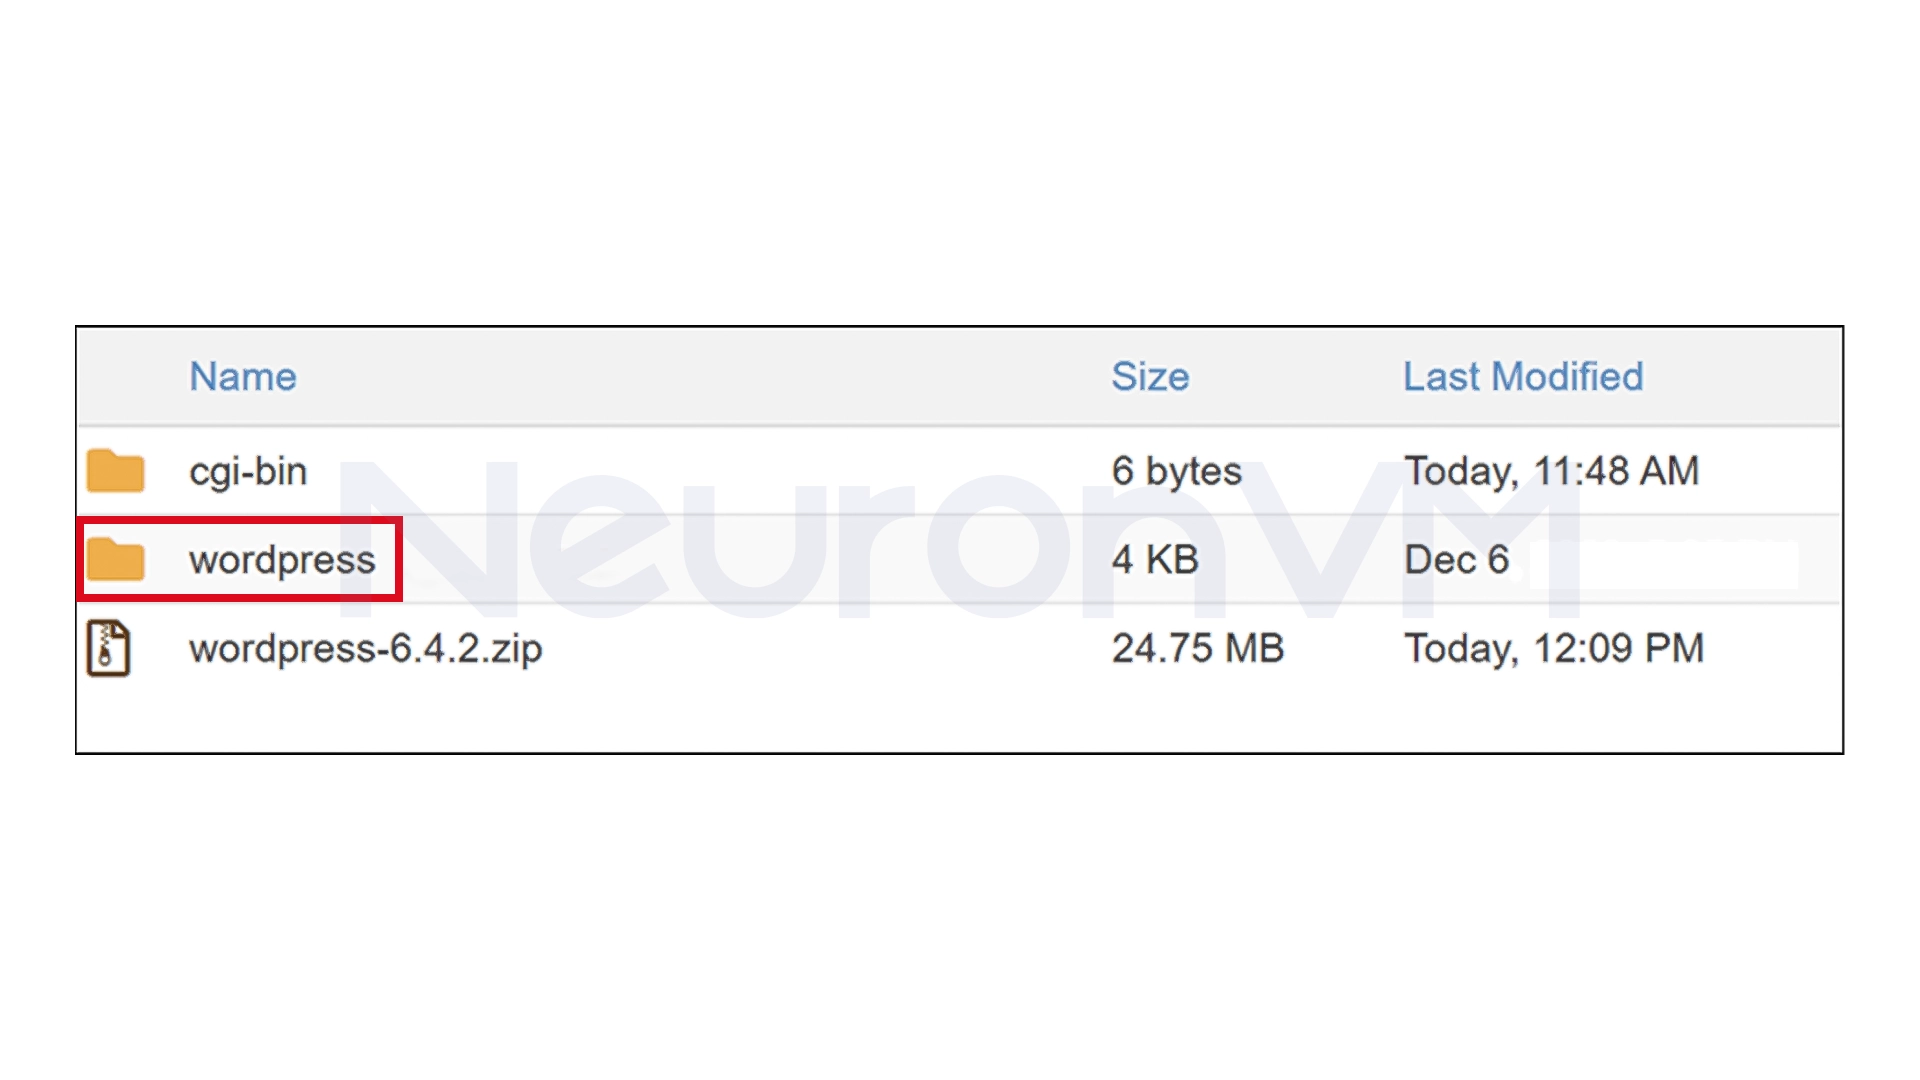
8- Go into the folder, select all the files, and move them to the main folder of the domain with the Move option.
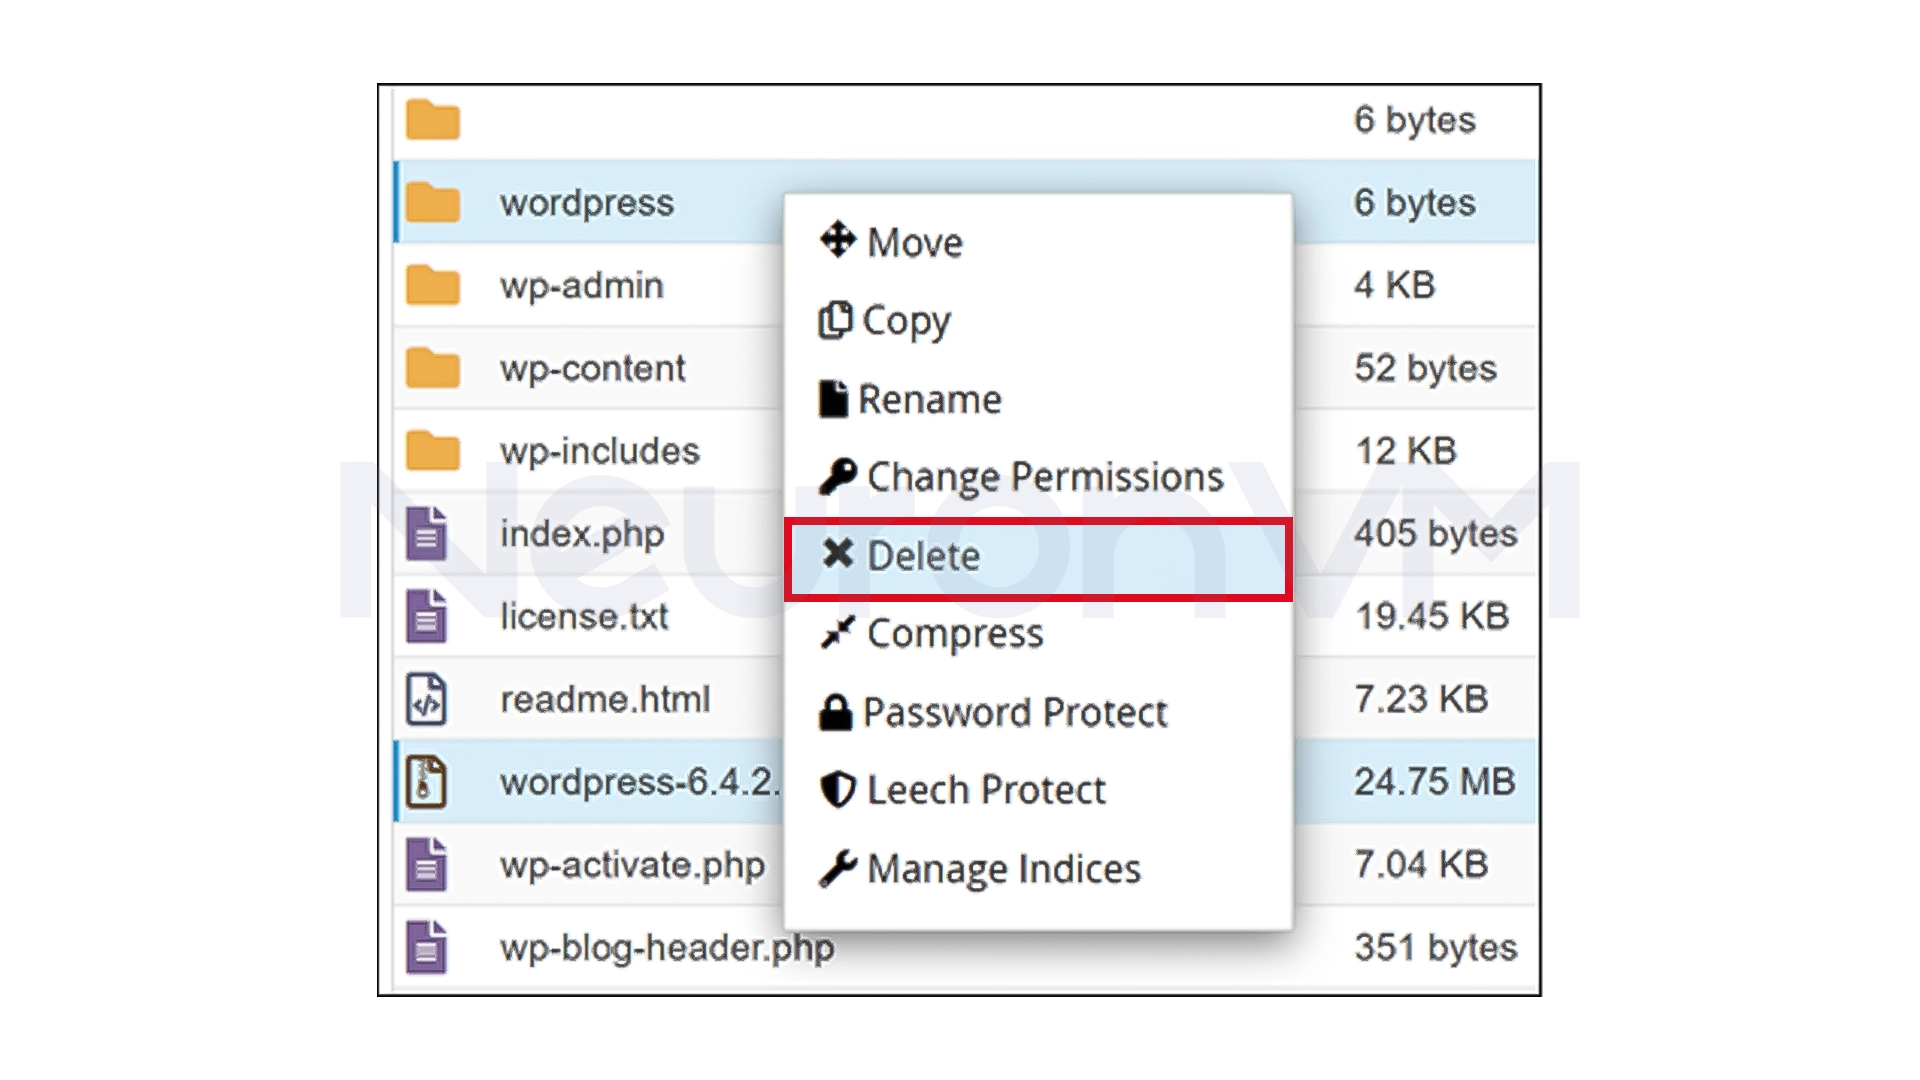
9- Finally, delete the zip file and the empty WordPress folder to keep the root folder clean.
My experience is to always open the site path once after transferring the files to make sure they are in the right place.
Step 3: Create a MySQL Database
1- On your cPanel homepage, go to the Databases section.
2- Click on MySQL Databases.
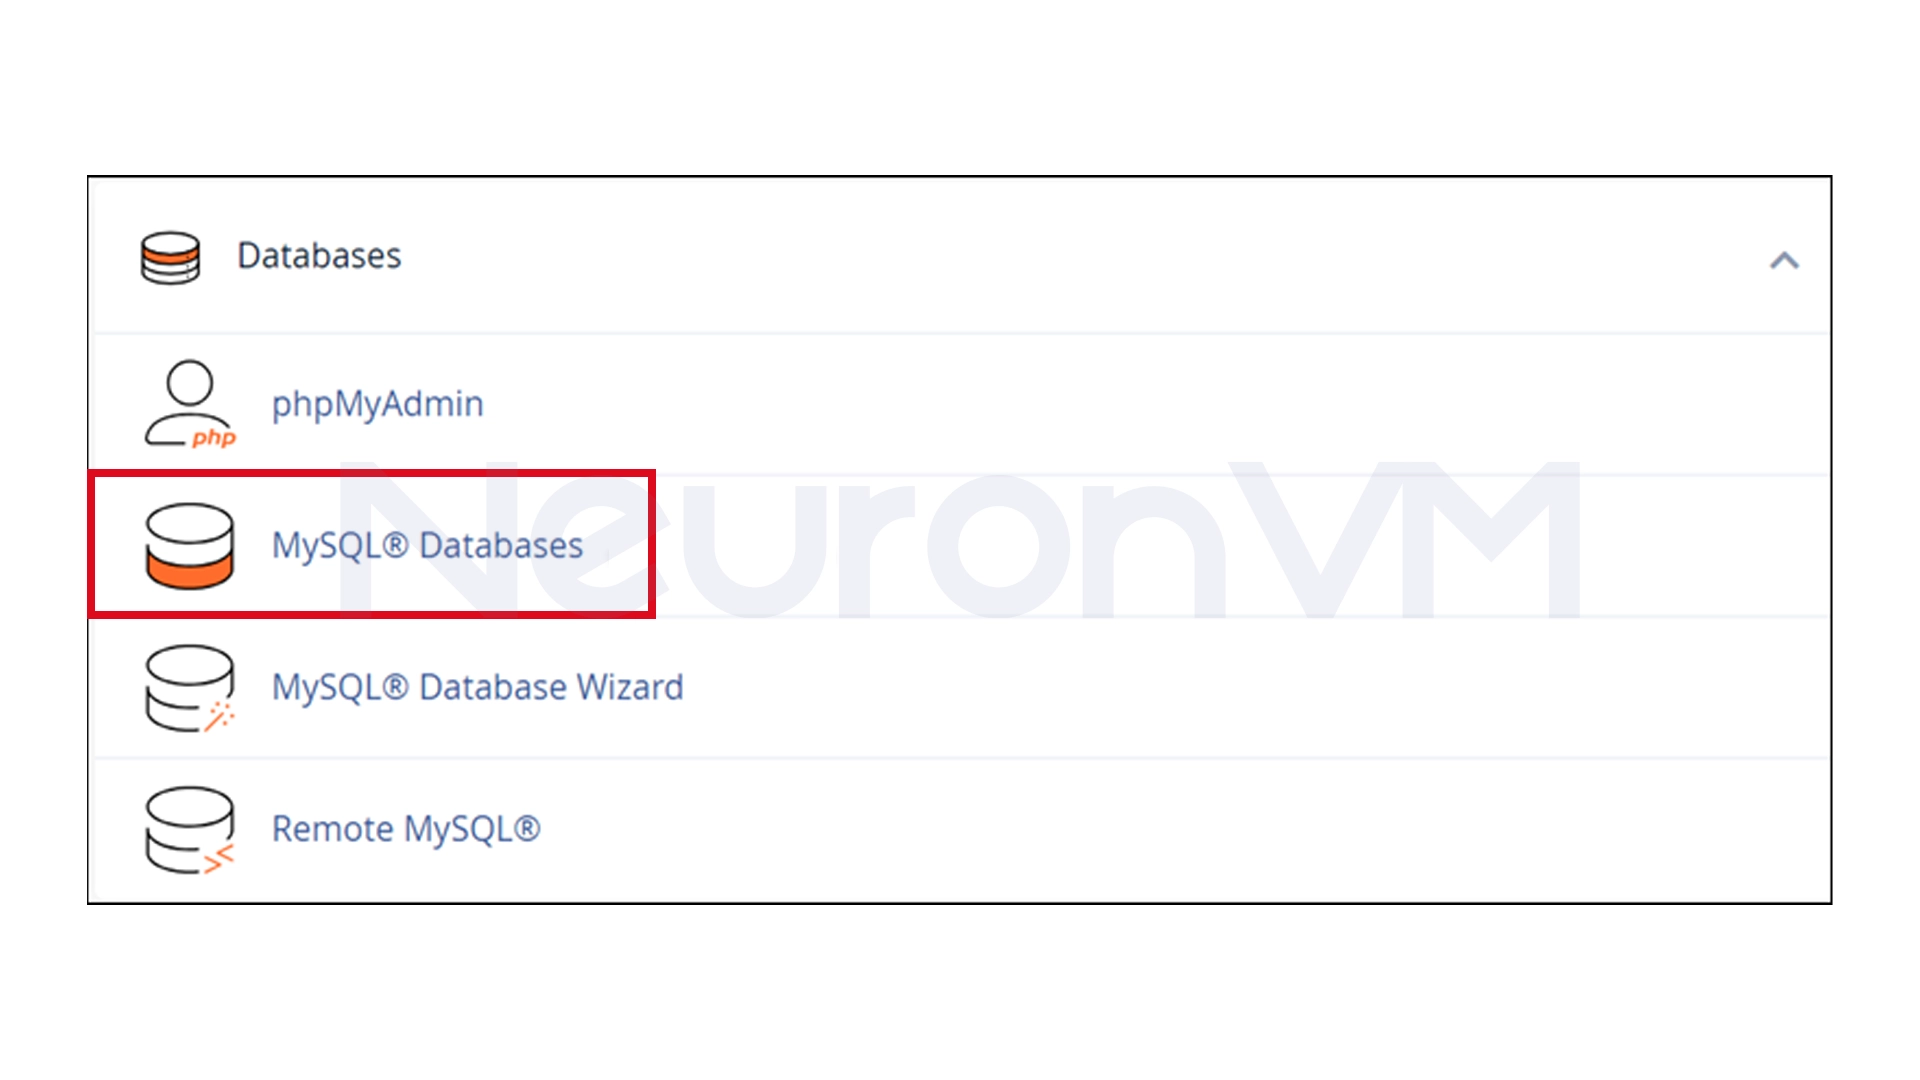
3- Enter a name for the new database and click Create Database.
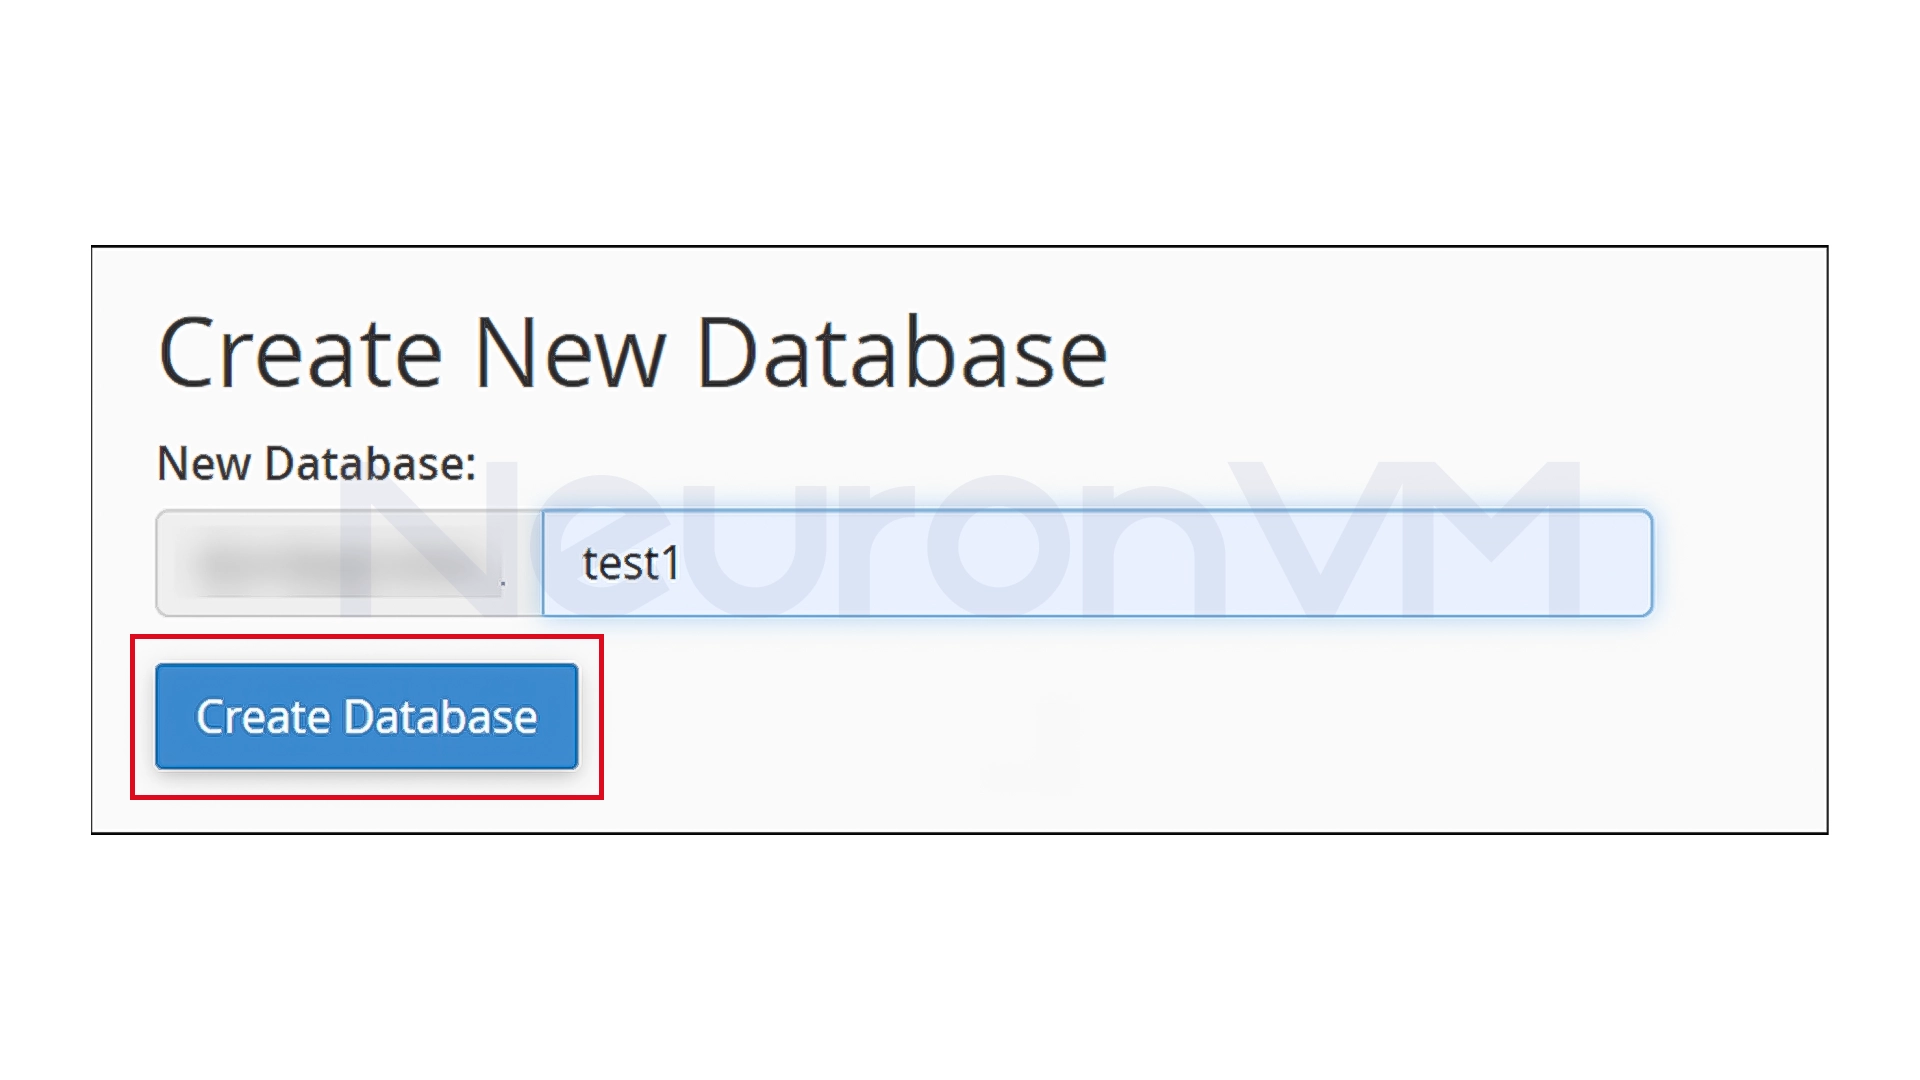
Remember to write down the database name somewhere, as you’ll need it later.
Step 4: Create a Database User
1- On the same page, go to the MySQL Users section.
2- Choose a strong username and password.
3- Click Create User.
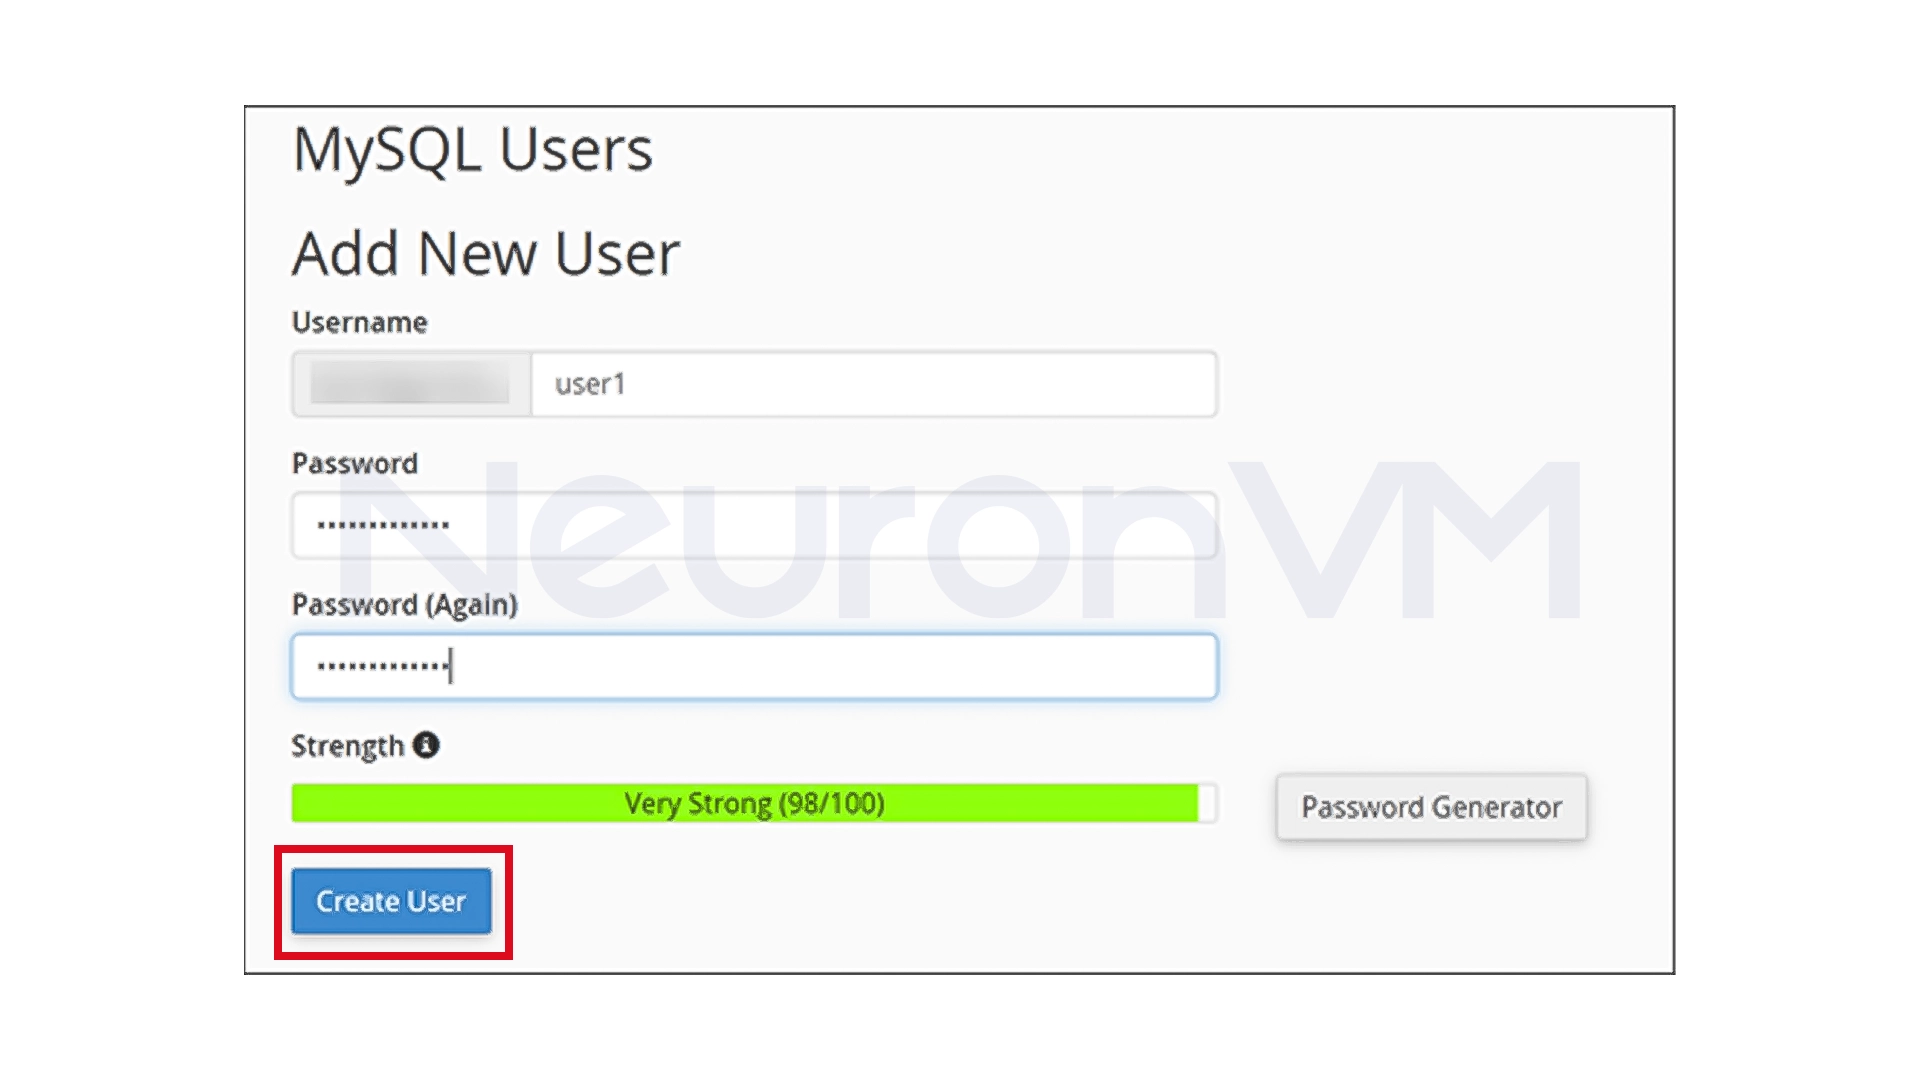
Note: It is better to use a combination of letters, numbers, and symbols for the password to increase database security.
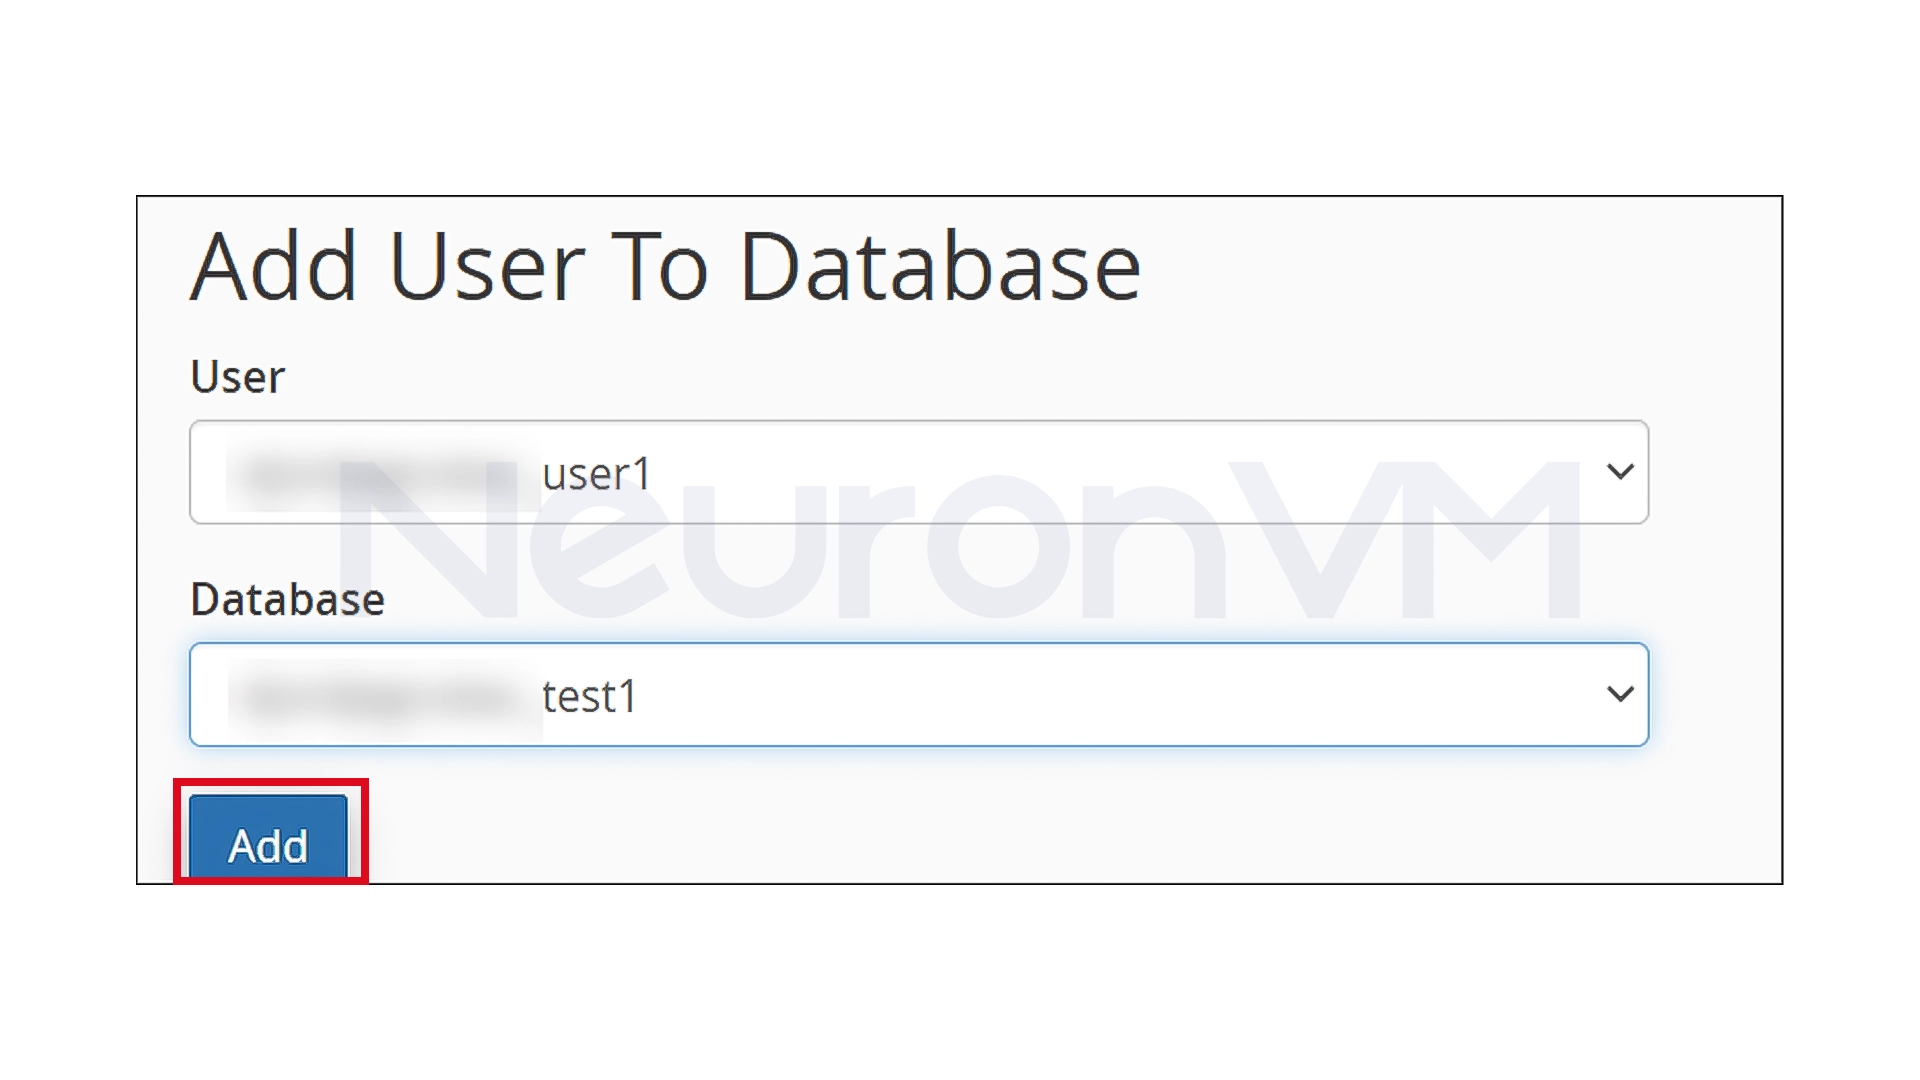
Step 5: Connect the user to the database and set the access level
1- From the Add User to Database section, select the new user.
2- Select the created database and click Add.
3- In the Permissions section, check the All Privileges option, just be careful not to enable the Drop option so that the database is not accidentally deleted.
4- Click Make Changes.
WordPress is now allowed to access the database.
Step 6: Install WordPress
1- Now, open your domain address in your browser.
2- Select your preferred language and click Continue.
3- On the next page, click Let’s go!
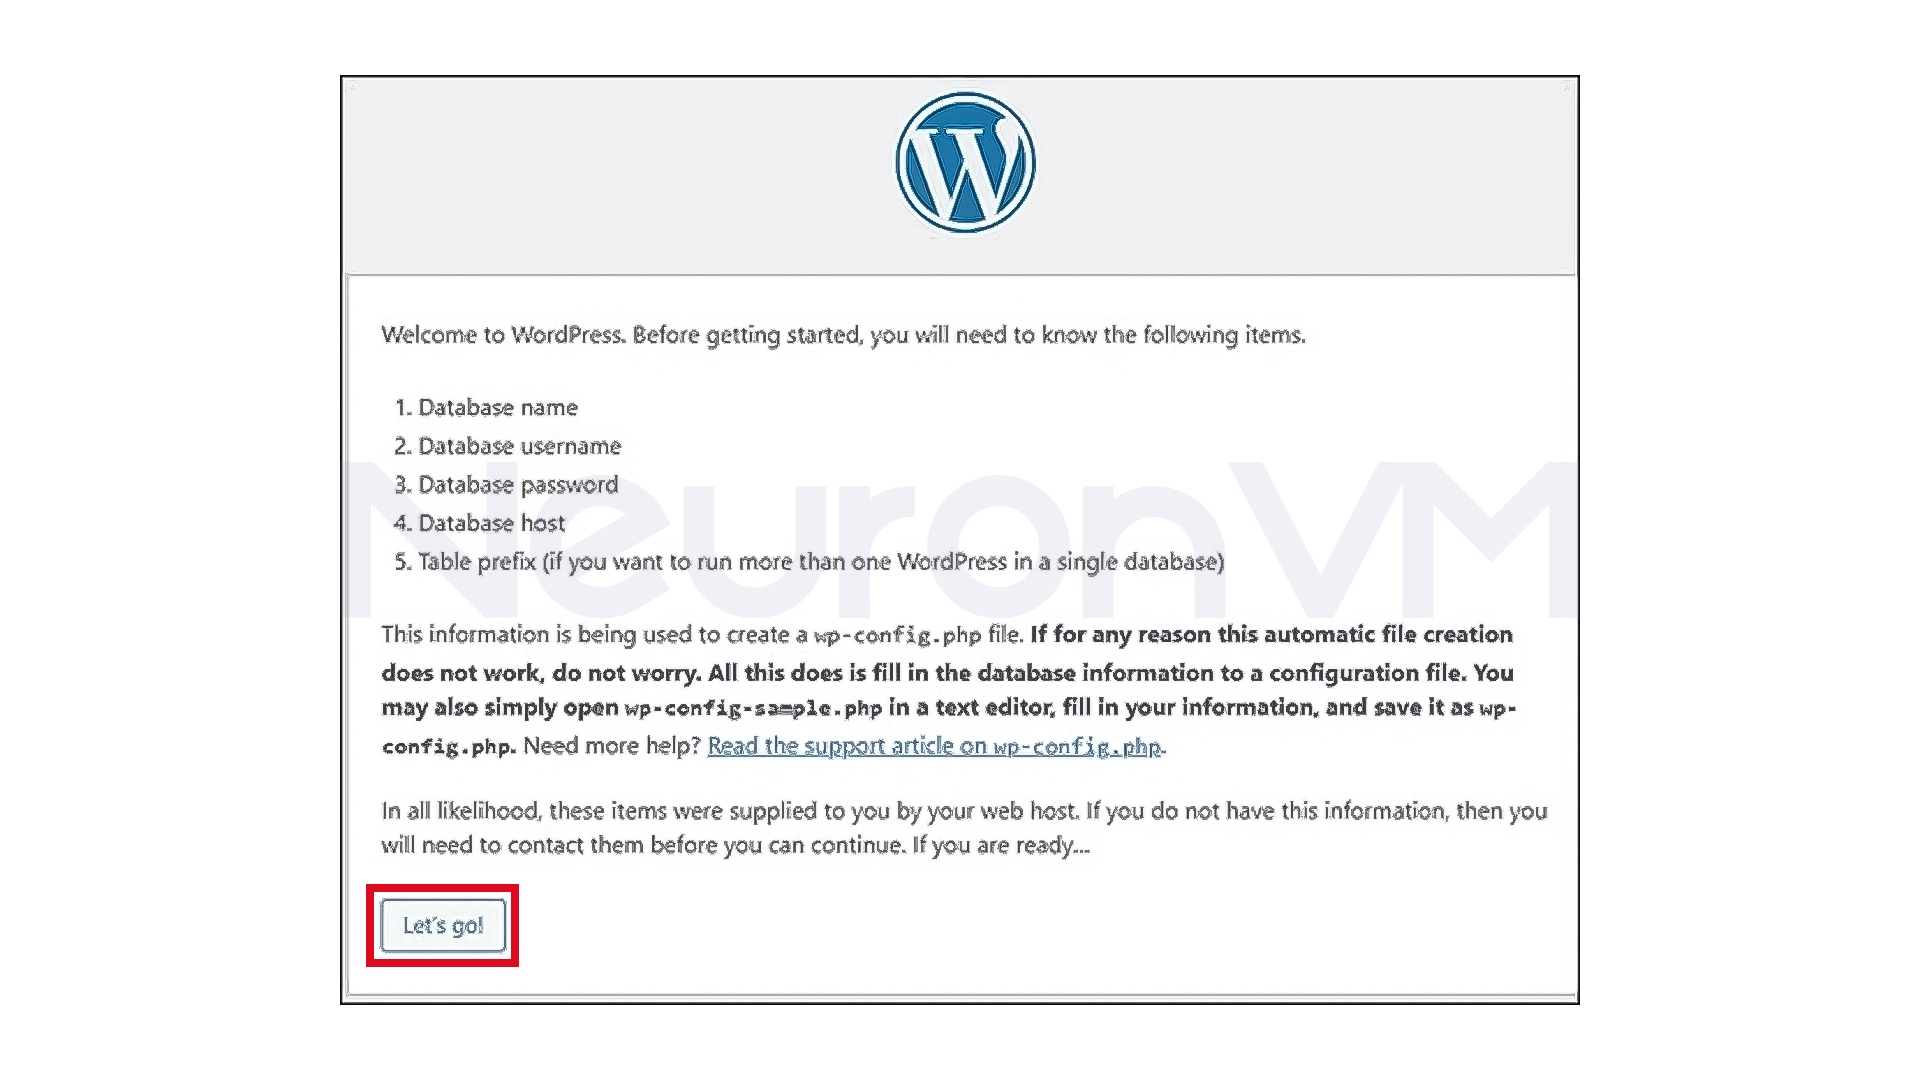
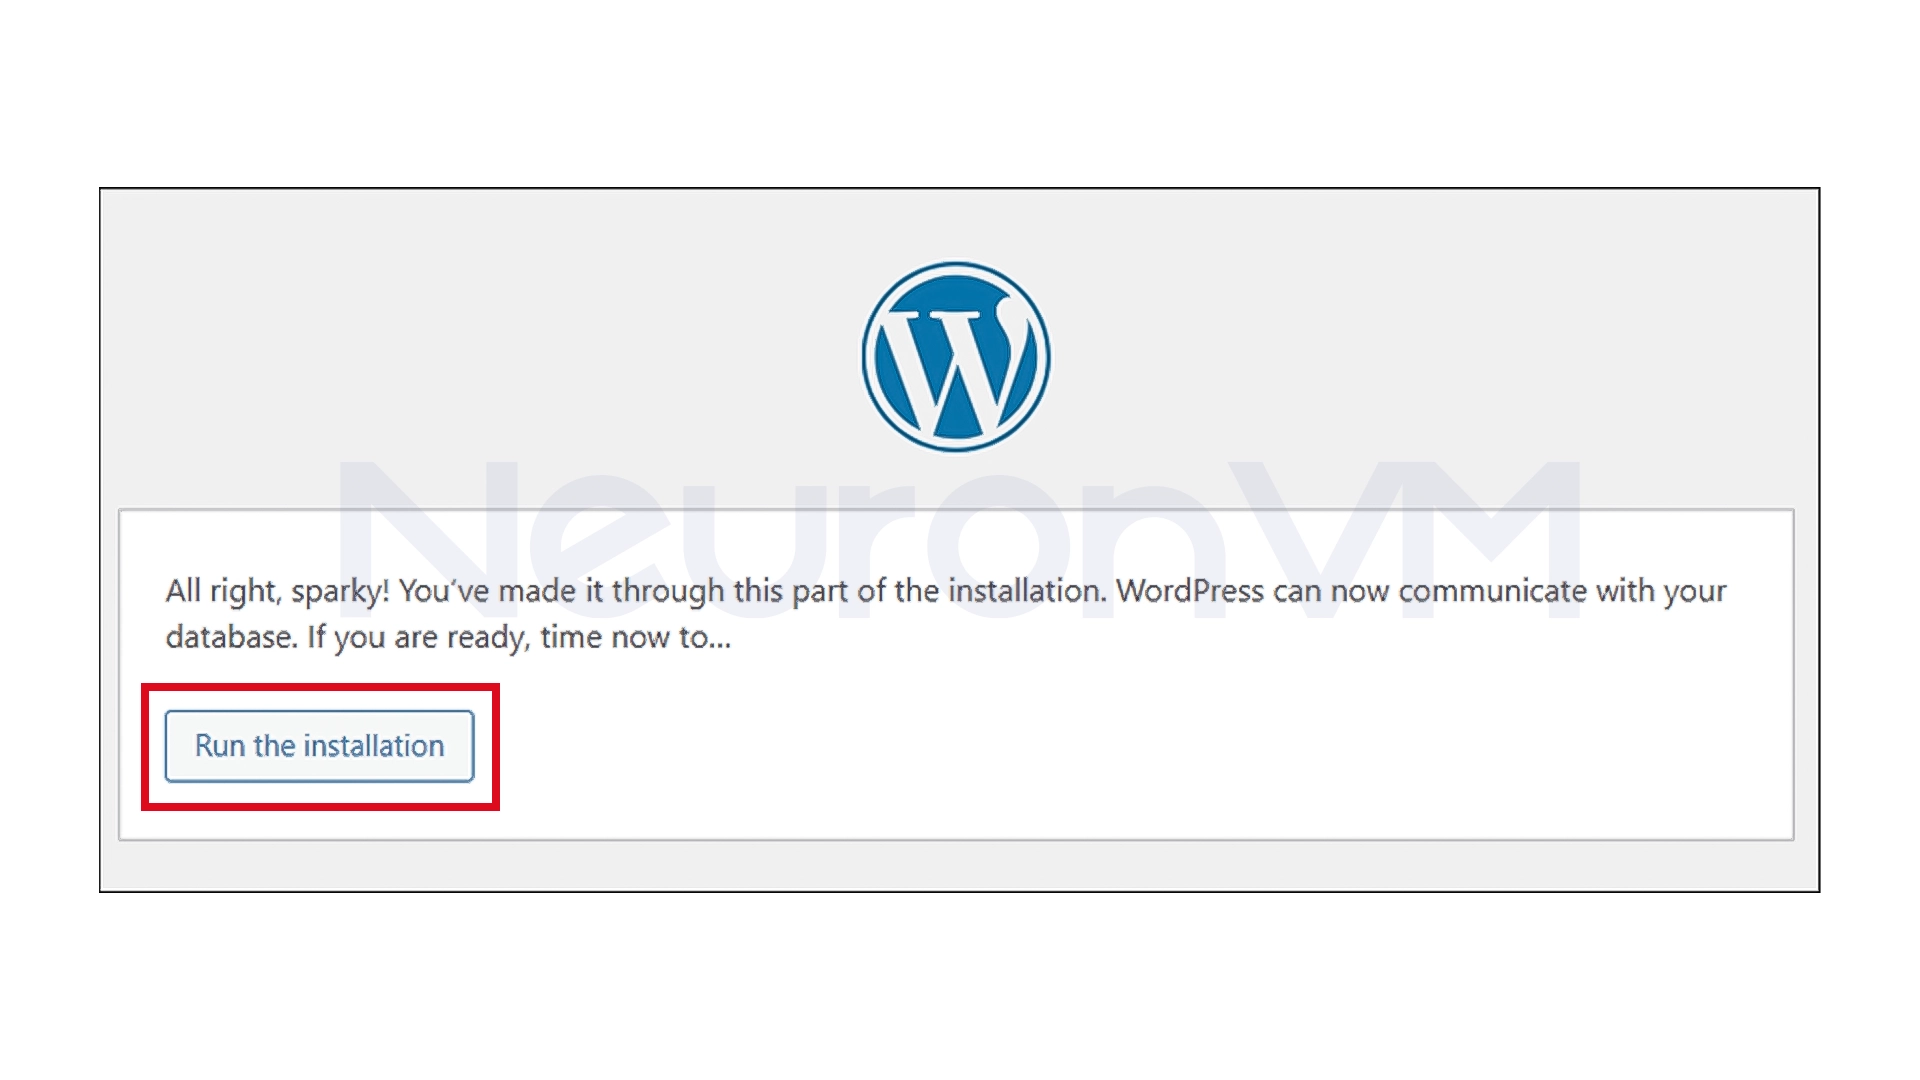
4- Enter the database information (name, username, password). The database server address is usually localhost.
5- Click Run the installation.
6- Enter the site information: title, username, password, and email.
7- Finally, click Install WordPress.
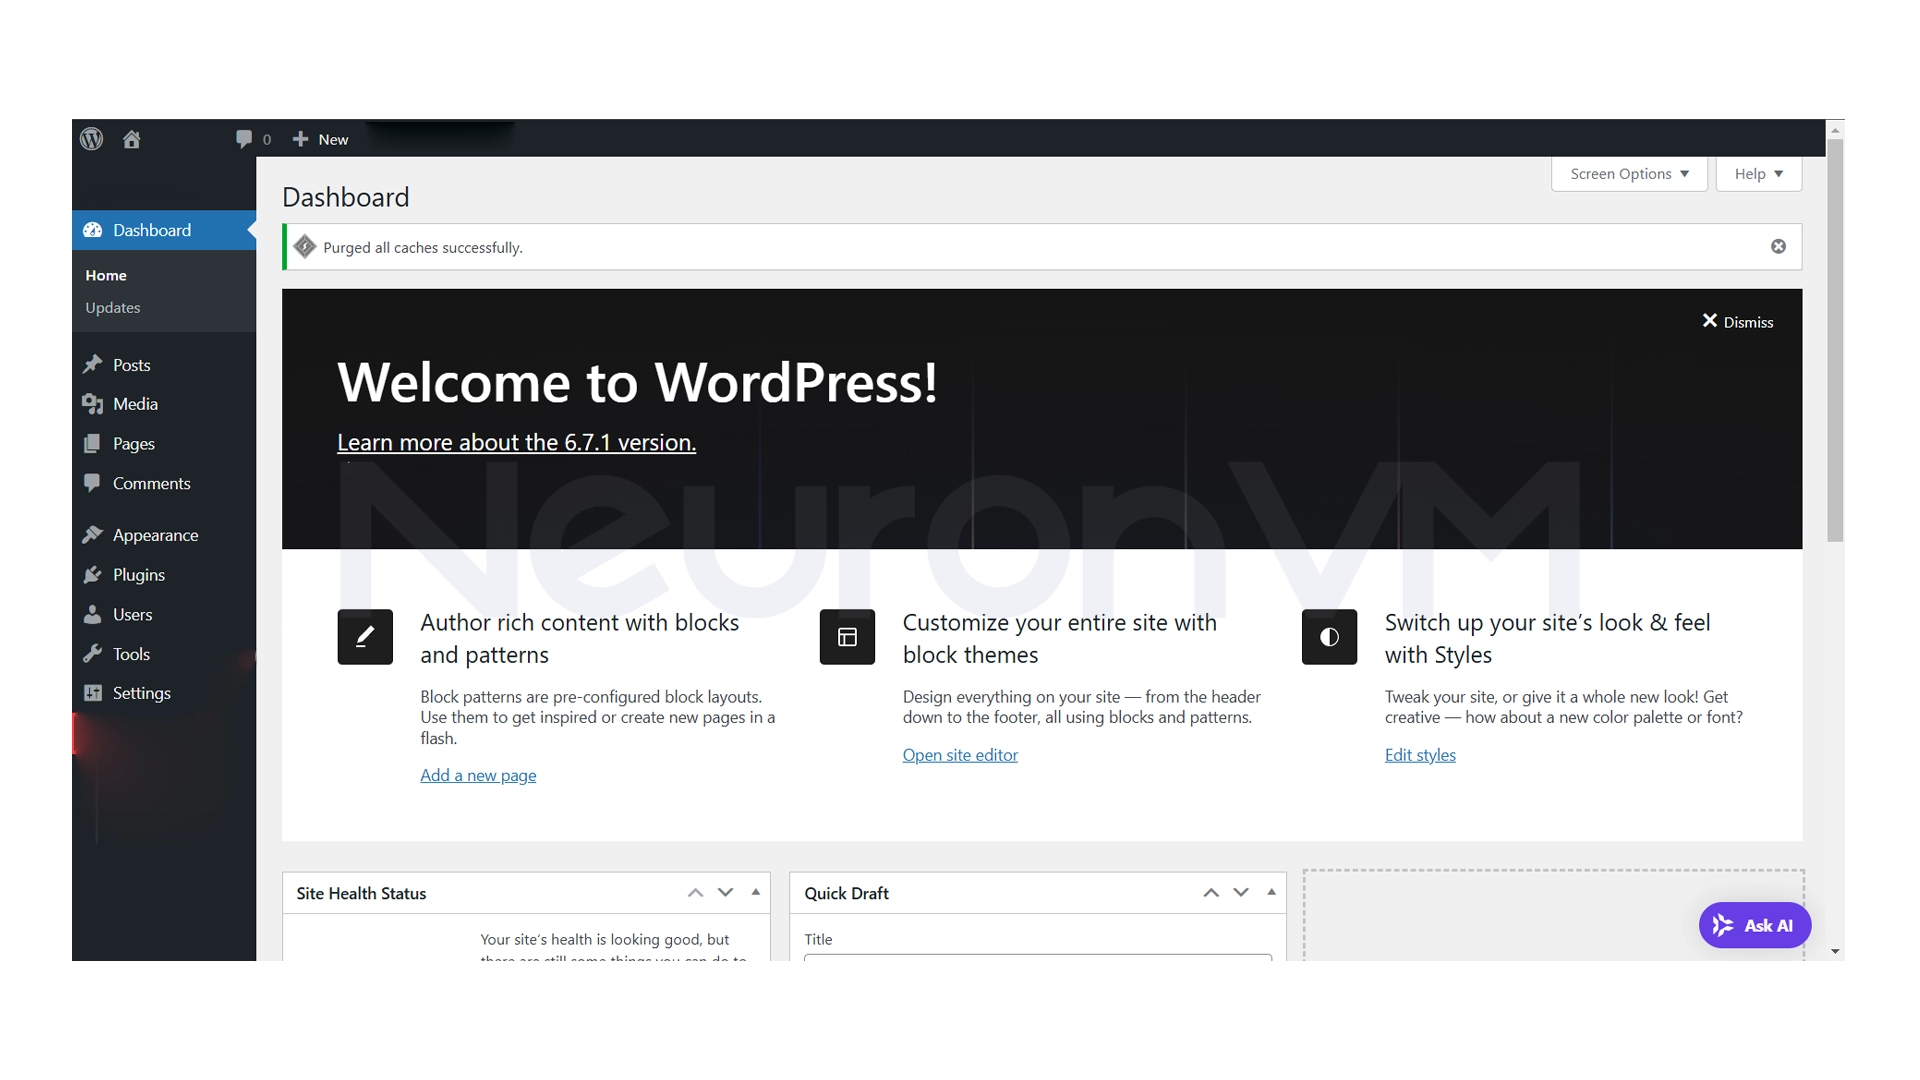
After a few seconds, you will see a success message and be redirected to the login page.
My experience is to never use the username “admin.” It’s much easier to target.
Practical tips after installing WordPress
Log in to the dashboard: Open the address yourdomain.com/wp-admin and log in with your information.
Essential plugins: Install plugins like Yoast SEO, Wordfence, and UpdraftPlus immediately after installation.
Regular backups: Always back up your site. cPanel has a Backup Wizard tool that makes it very easy.
My Personal Experience with WordPress Installation
The first time I installed WordPress, it took me over an hour! But now with a few clicks and a simple checklist, the whole thing takes less than 10 minutes. The secret is to know exactly where each file and setting should be placed. One interesting thing is that once you learn how to install WordPress manually, you’ll never use automated installers like Softaculous again, because you’re in complete control.
Conclusion
Installing WordPress on cPanel may seem complicated at first, but once you learn the steps, it becomes a much simpler and even enjoyable task, especially when hosted on a Linux VPS from downloading the files to creating the database and finally running it, just follow the steps carefully The best part? After installation, you’ll be presented with a world of templates and plugins that will easily allow you to create any type of site you want, from a personal blog to even a professional store.
Not really! Just follow the step-by-step guide carefully and you'll be able to install WordPress even as a beginner.
Yes, you can install WordPress on any domain or subdomain by uploading the files to its directory.
WordPress works best with MySQL databases, which you can easily create in cPanel.
You might like it
Debian Tutorials
How to Install Python on Debian 11: A Beginner's Guide
Ubuntu Tutorials
How to Install Java on Ubuntu 22.04/20.04 with PPA
Windows Tutorials
How to Connect to VPS on Windows 10
