How to Install Software on Ubuntu (Step-by-Step)

 17m
17m
 0 comments
 Print
Print
Ubuntu is one of the most popular Linux distributions, providing a flexible platform for users to benefit from open source software, Whether you use the graphical interface or the terminal, Ubuntu has many options for installing software. In this article, we’ll walk you through installing six different software packages in Ubuntu using both the terminal and the GUI, and explore advanced tips, pros, cons, and real-world experiences.
Covered software:
- VLC
- Stacer
- FileZilla
- GNOME Tweaks
- Visual Studio Code
- Google Chrome
How to Install VLC in Ubuntu
Install VCL Using Terminal:
Open Terminal with Ctrl+Alt+T.
Update packages:
sudo apt update
Install VLC:
sudo apt install vlc
Check the installed version:
vlc --version
To run VLC:
vlc
Install VCL Using GUI:
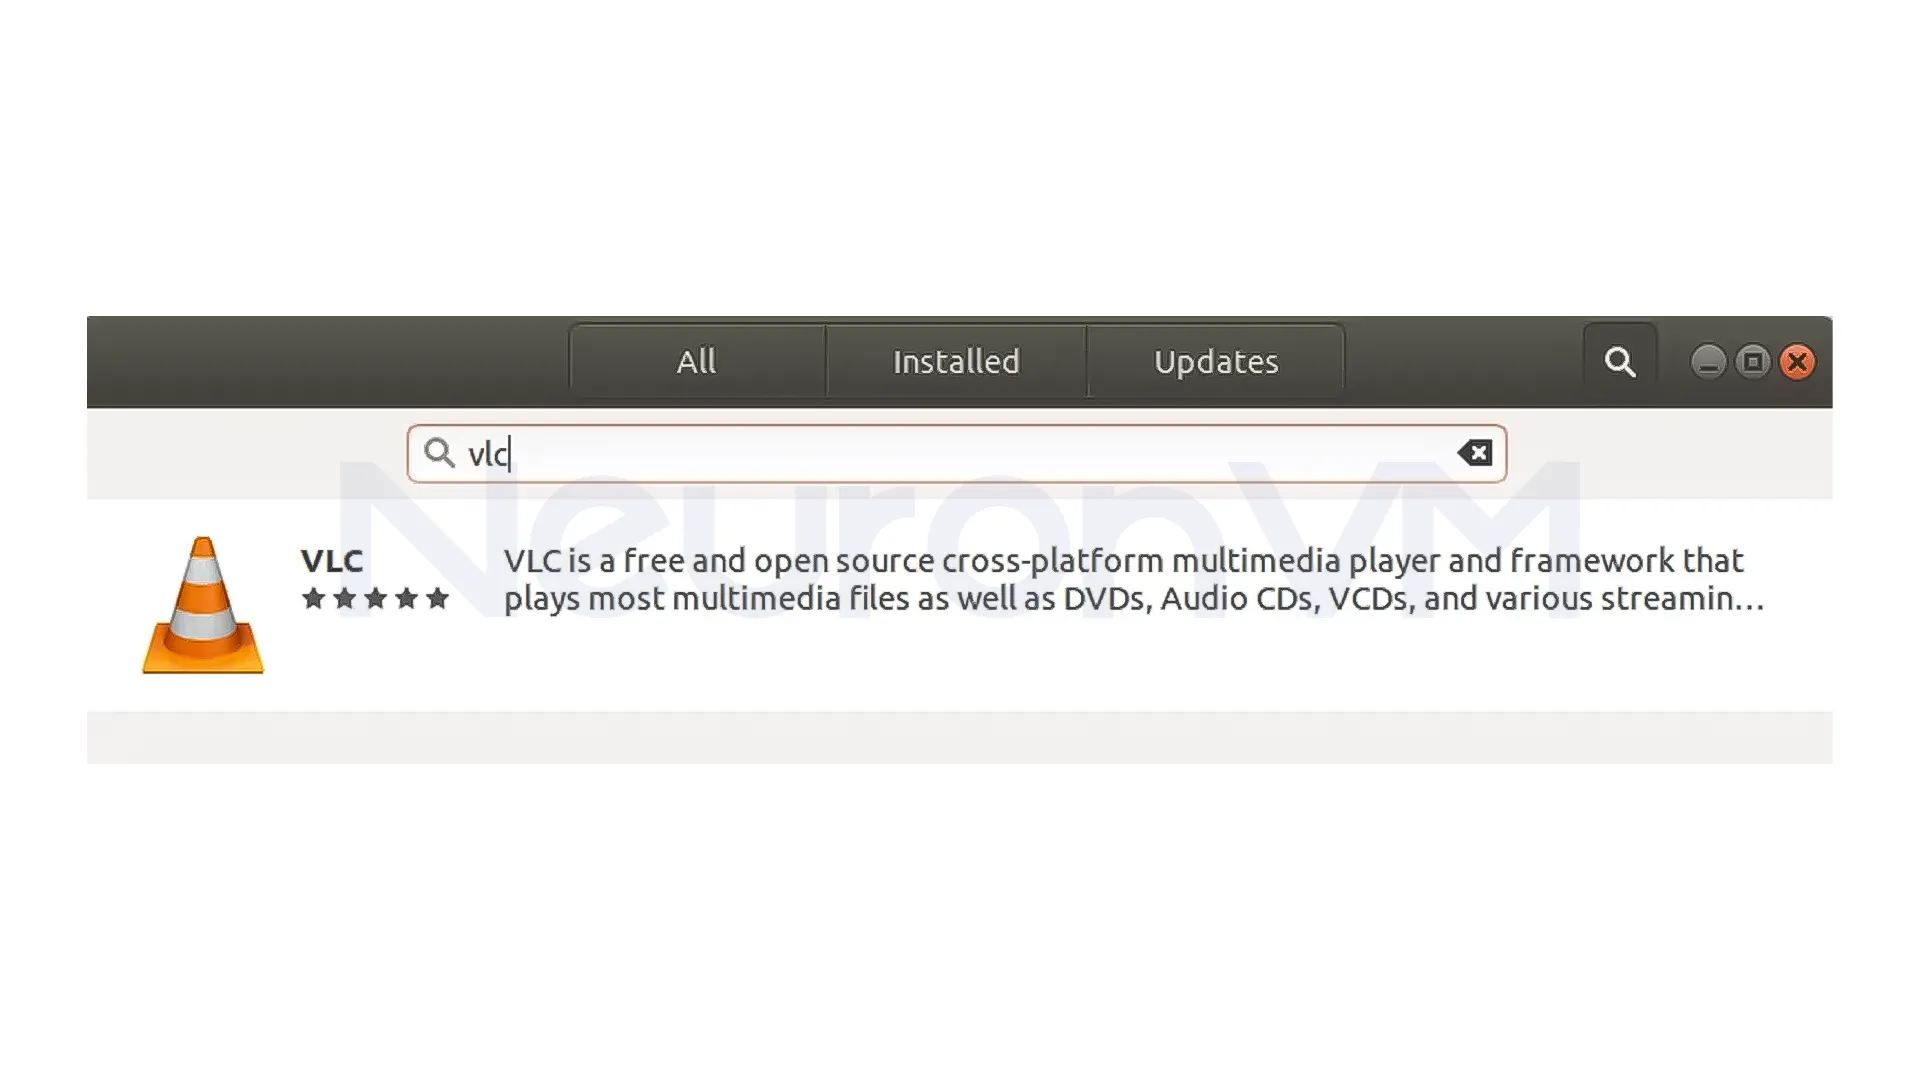
1- Open the Ubuntu Software Center.

2- Type “VLC” in the search bar, and click on it:
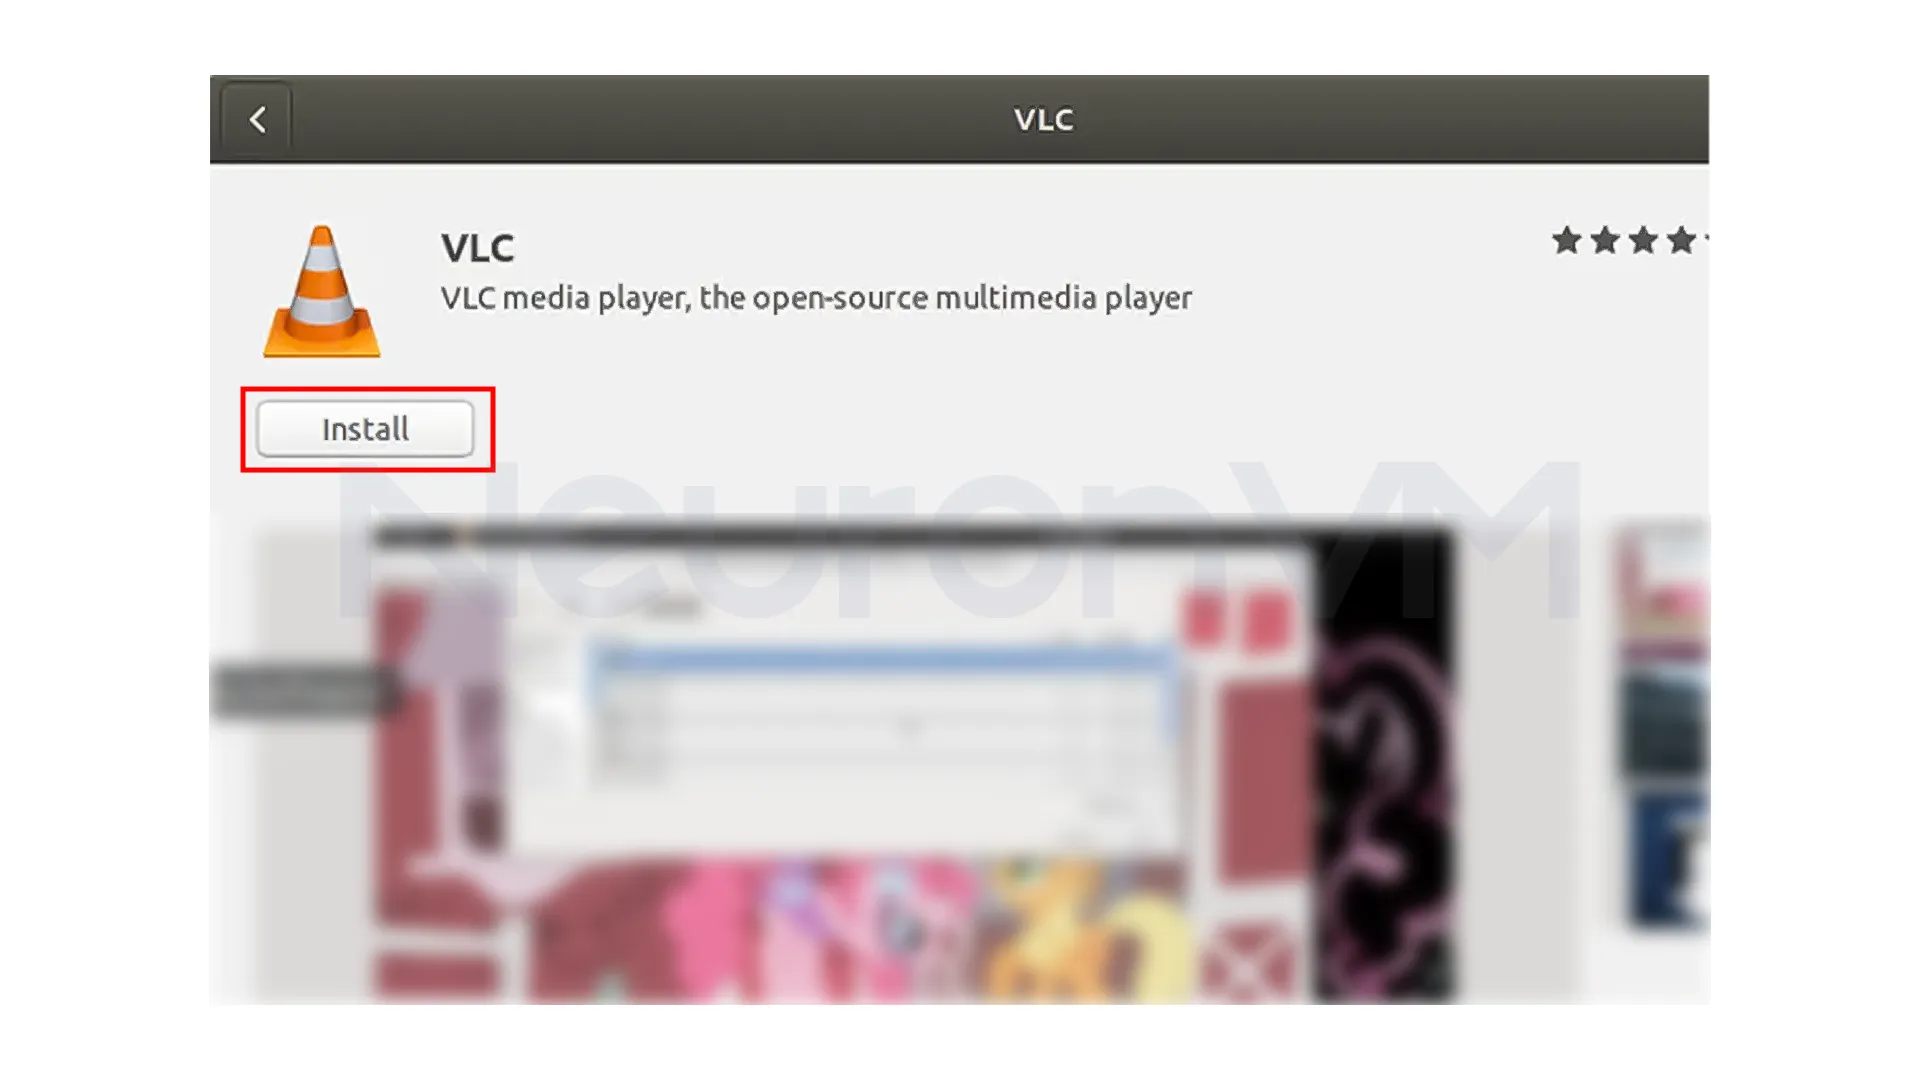
3- You will be directed to the VLC media player’s software page. Click on the “Install” button:
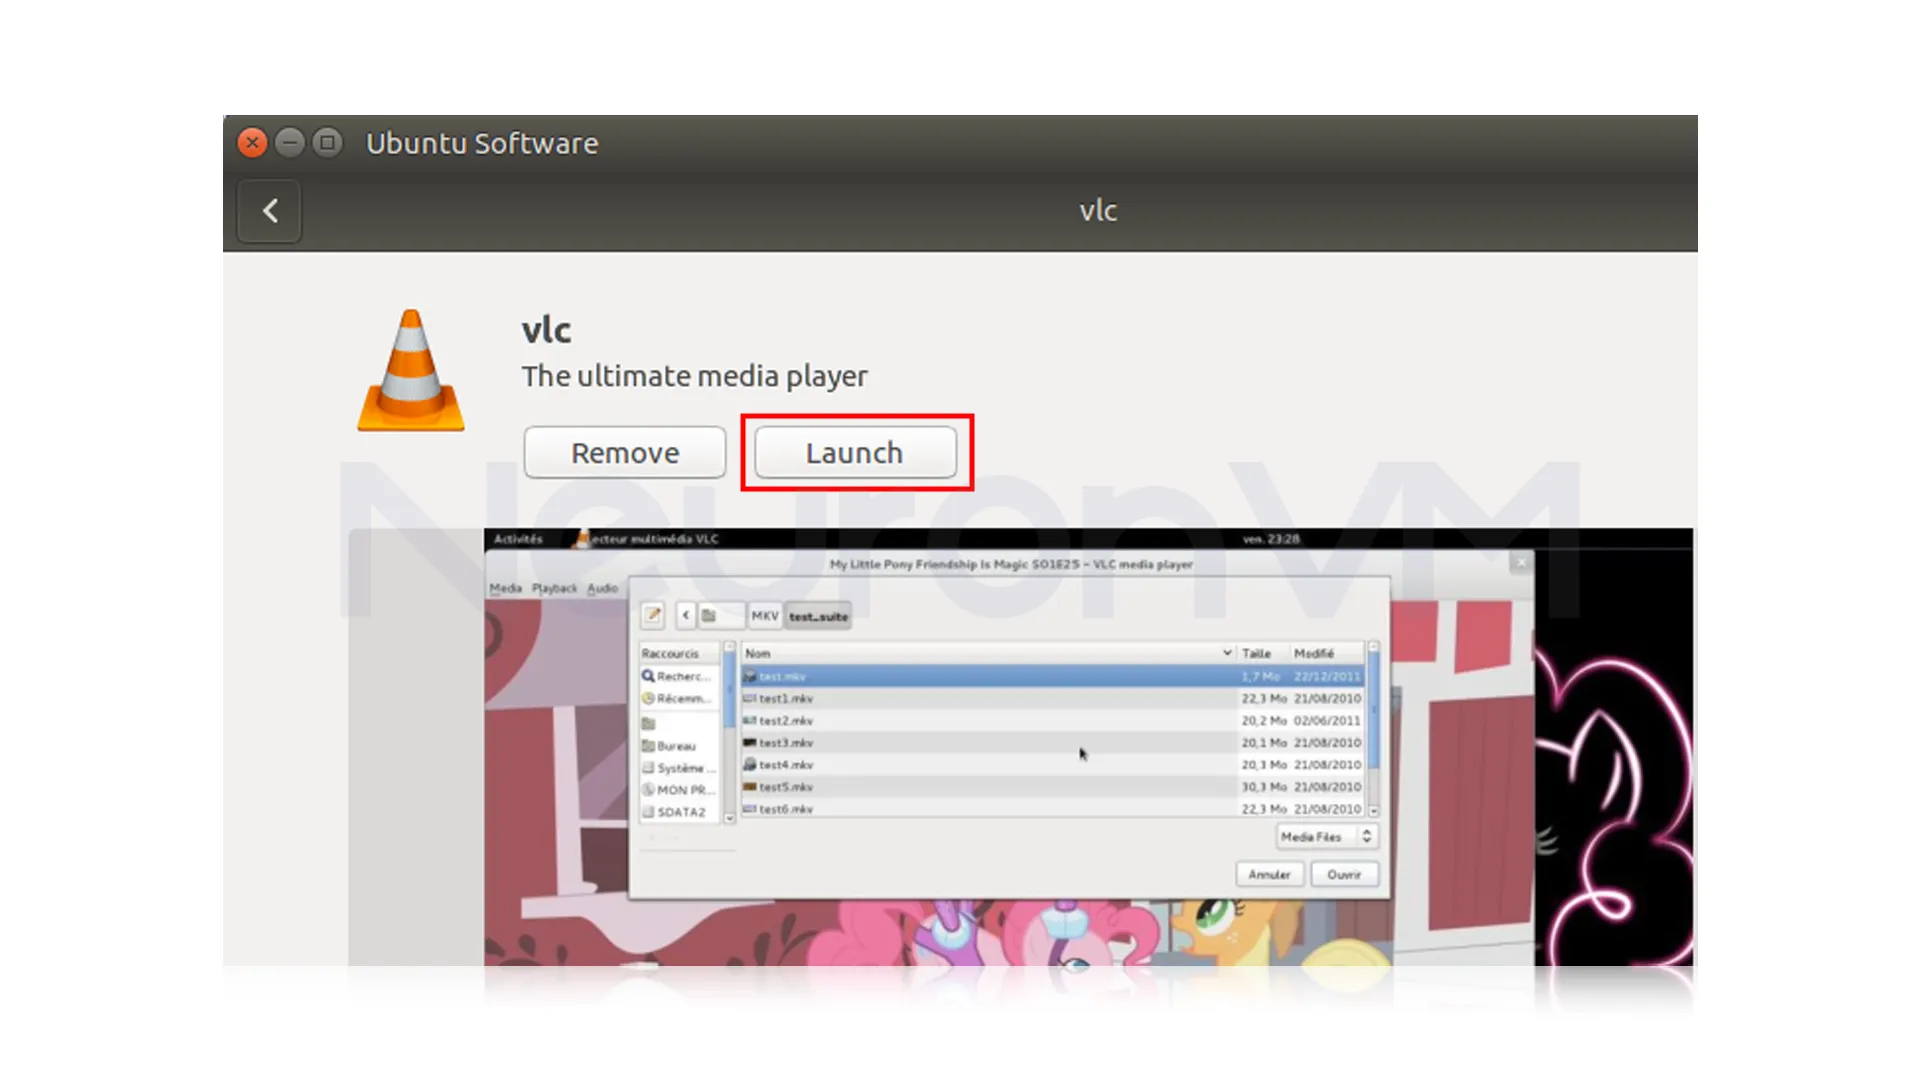
4- Wait for the installation to complete. Once it is finished, you will see a green check mark next to the “Installed” label on the software page.
You can now close the Ubuntu Software Center and launch the VLC media player from the Applications menu, or by searching for “VLC” in the Ubuntu Dash:
How to Install Stacer in Ubuntu
Install Stacer Using Terminal:
Open the Terminal, add the Stacer repository to your system by running the following command:
sudo add-apt-repository ppa:oguzhaninan/stacer
Update your package list by running:
sudo apt update
Finally, install Stacer by running the following command:
sudo apt install stacer
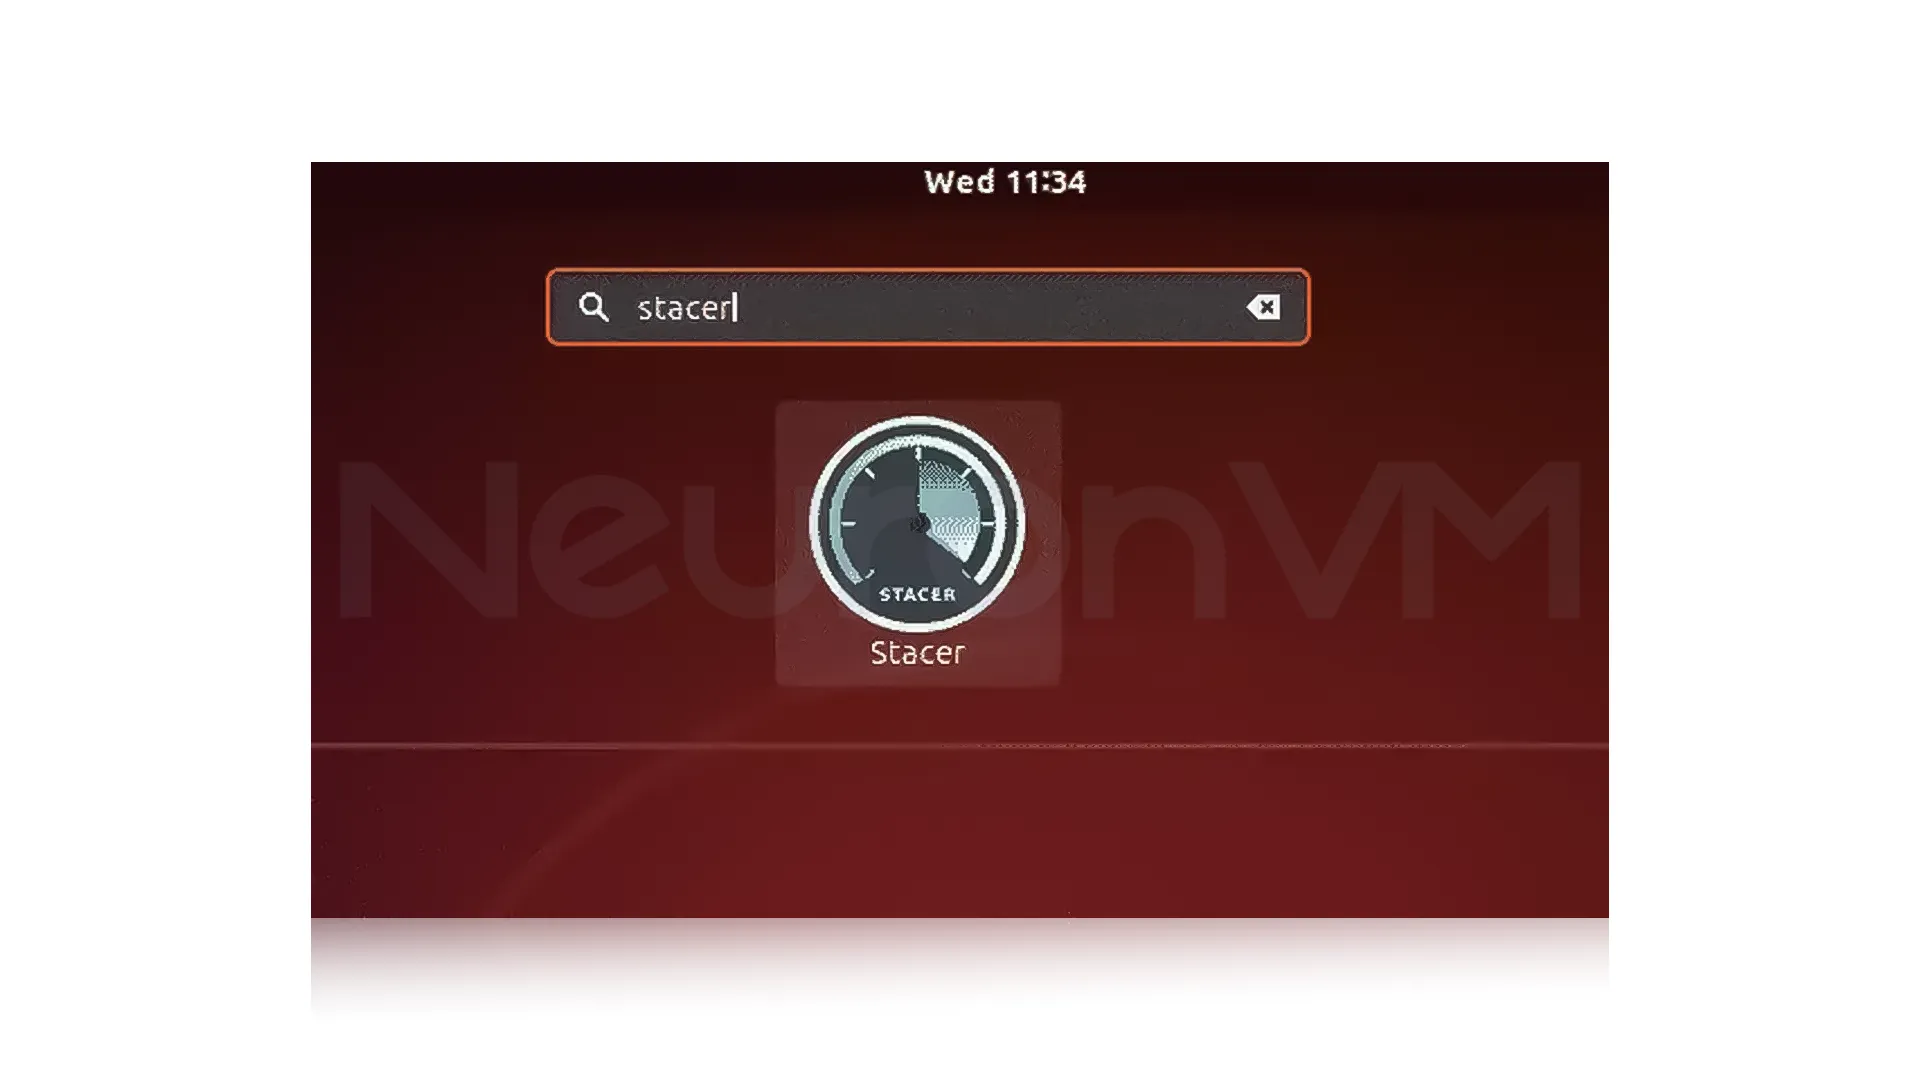
Once the installation is complete, you can launch Stacer either by searching for “Stacer” in the applications menu or by running the following command in the terminal:
stacer
Install Stacer Using the GUI:
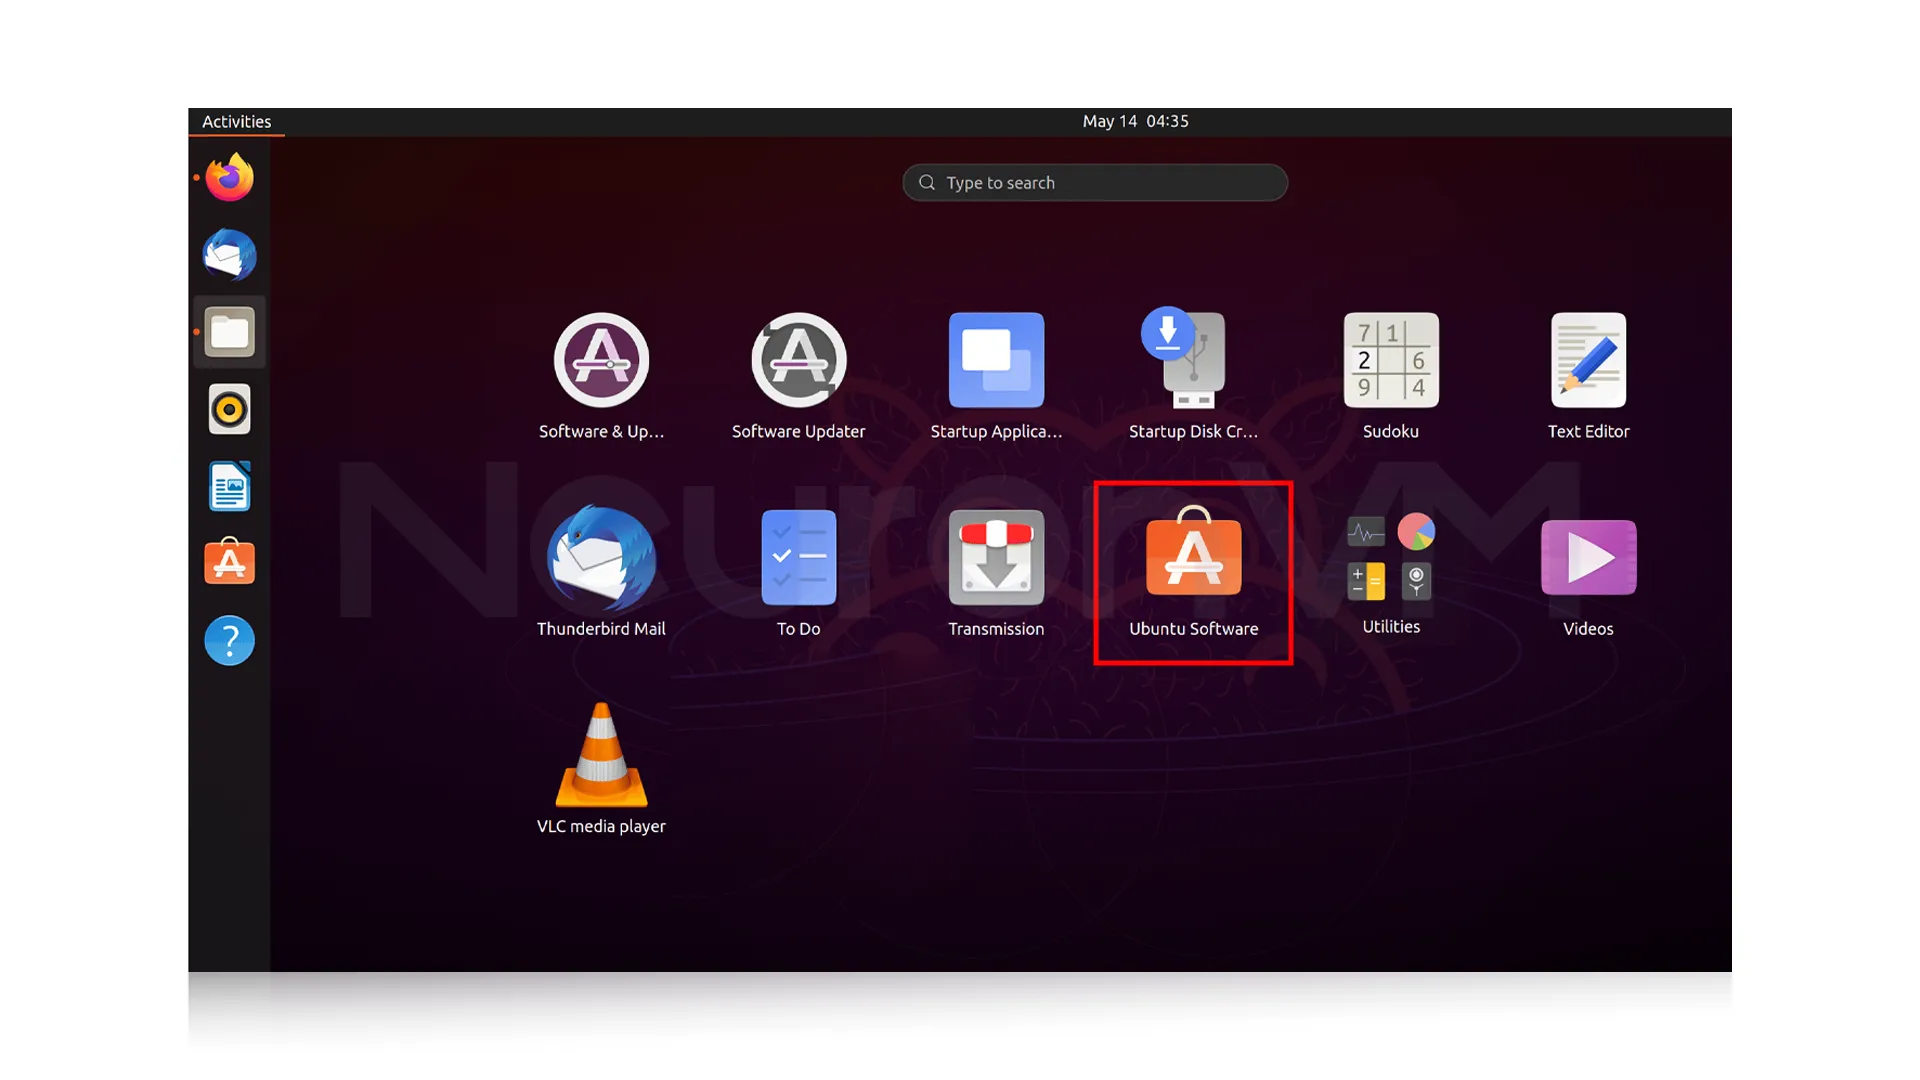
Open the Ubuntu Software Center:

Once the Software Center opens, type “Stacer” into the search bar. Then, select the Stacer application from the search results:
On the application page, click on the “Install” button.
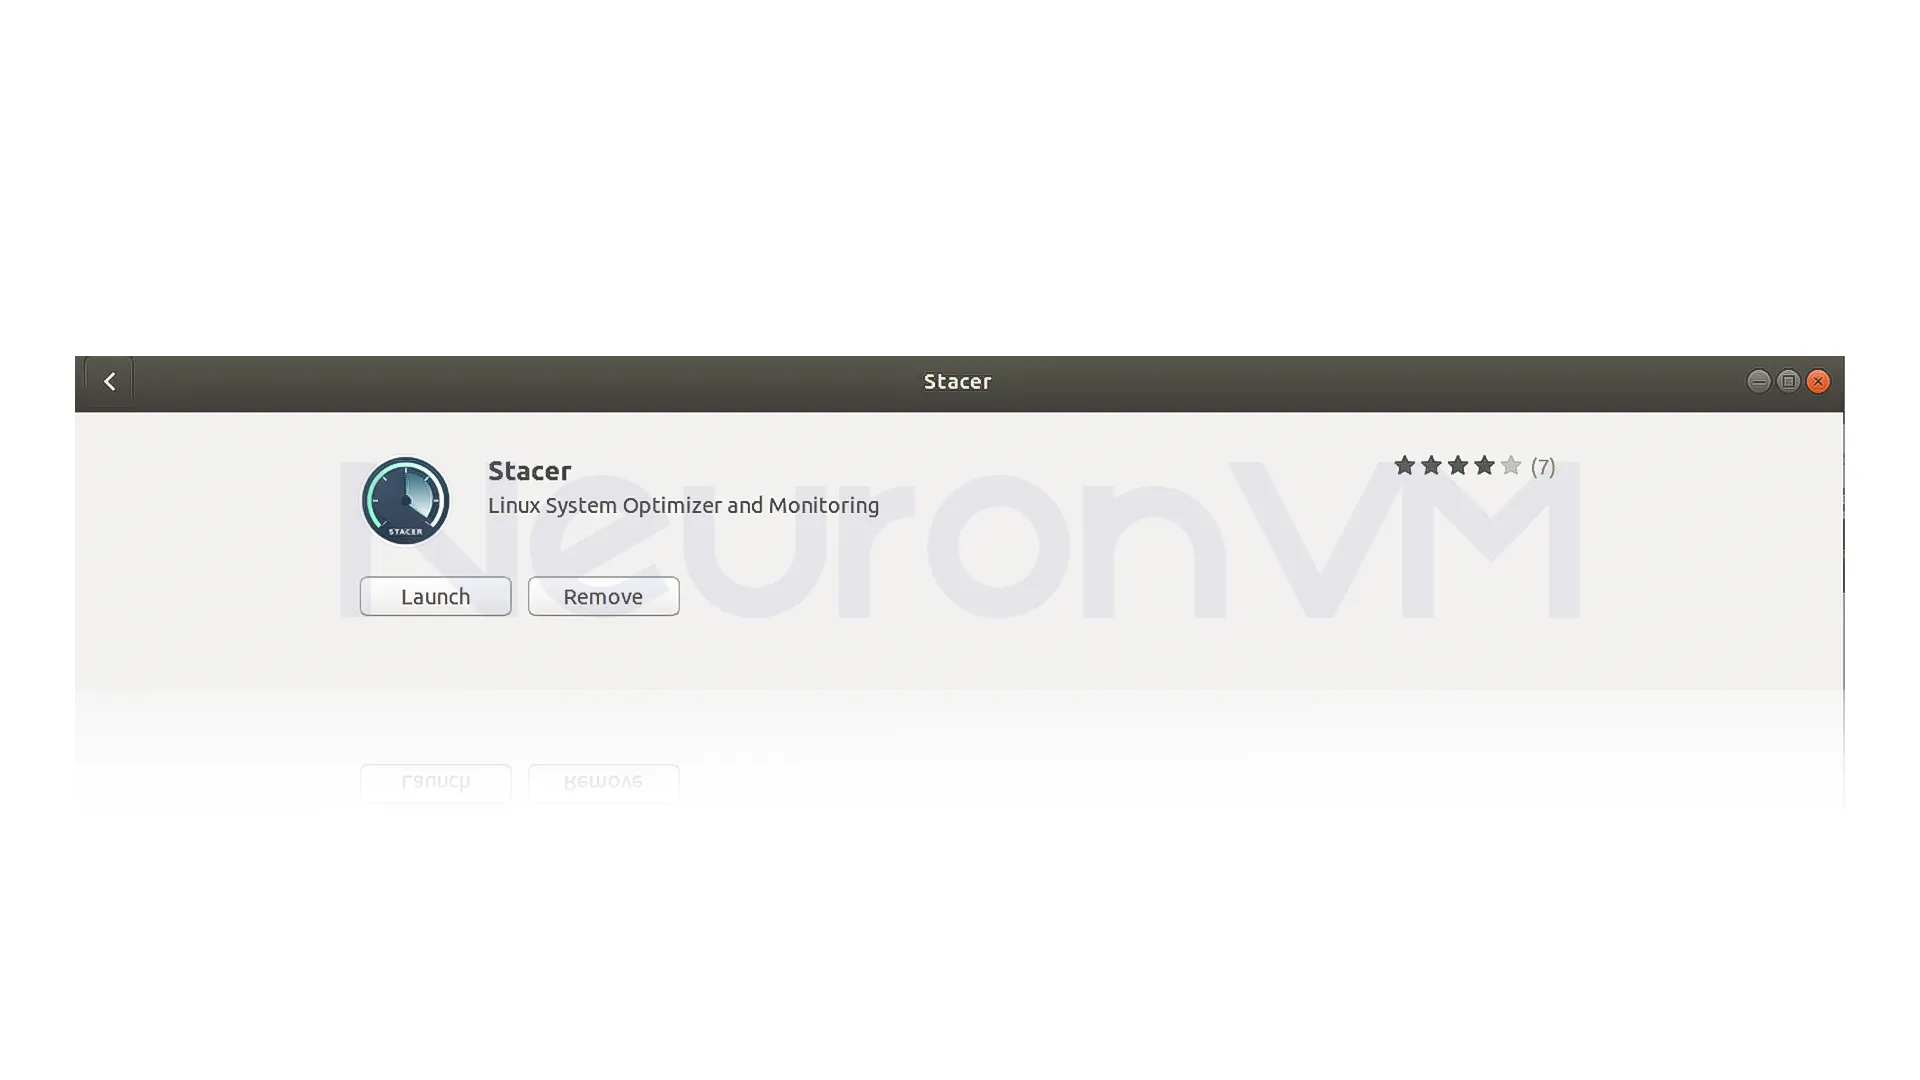
Wait for the installation to complete. Once the installation is finished, you can launch Stacer by clicking on the “Launch” button.
How to Install FileZilla in Ubuntu
Install FileZilla Using Terminal:
Update the package list by running the following command:
sudo apt update
Install FileZilla by running the following command:
sudo apt install FileZilla
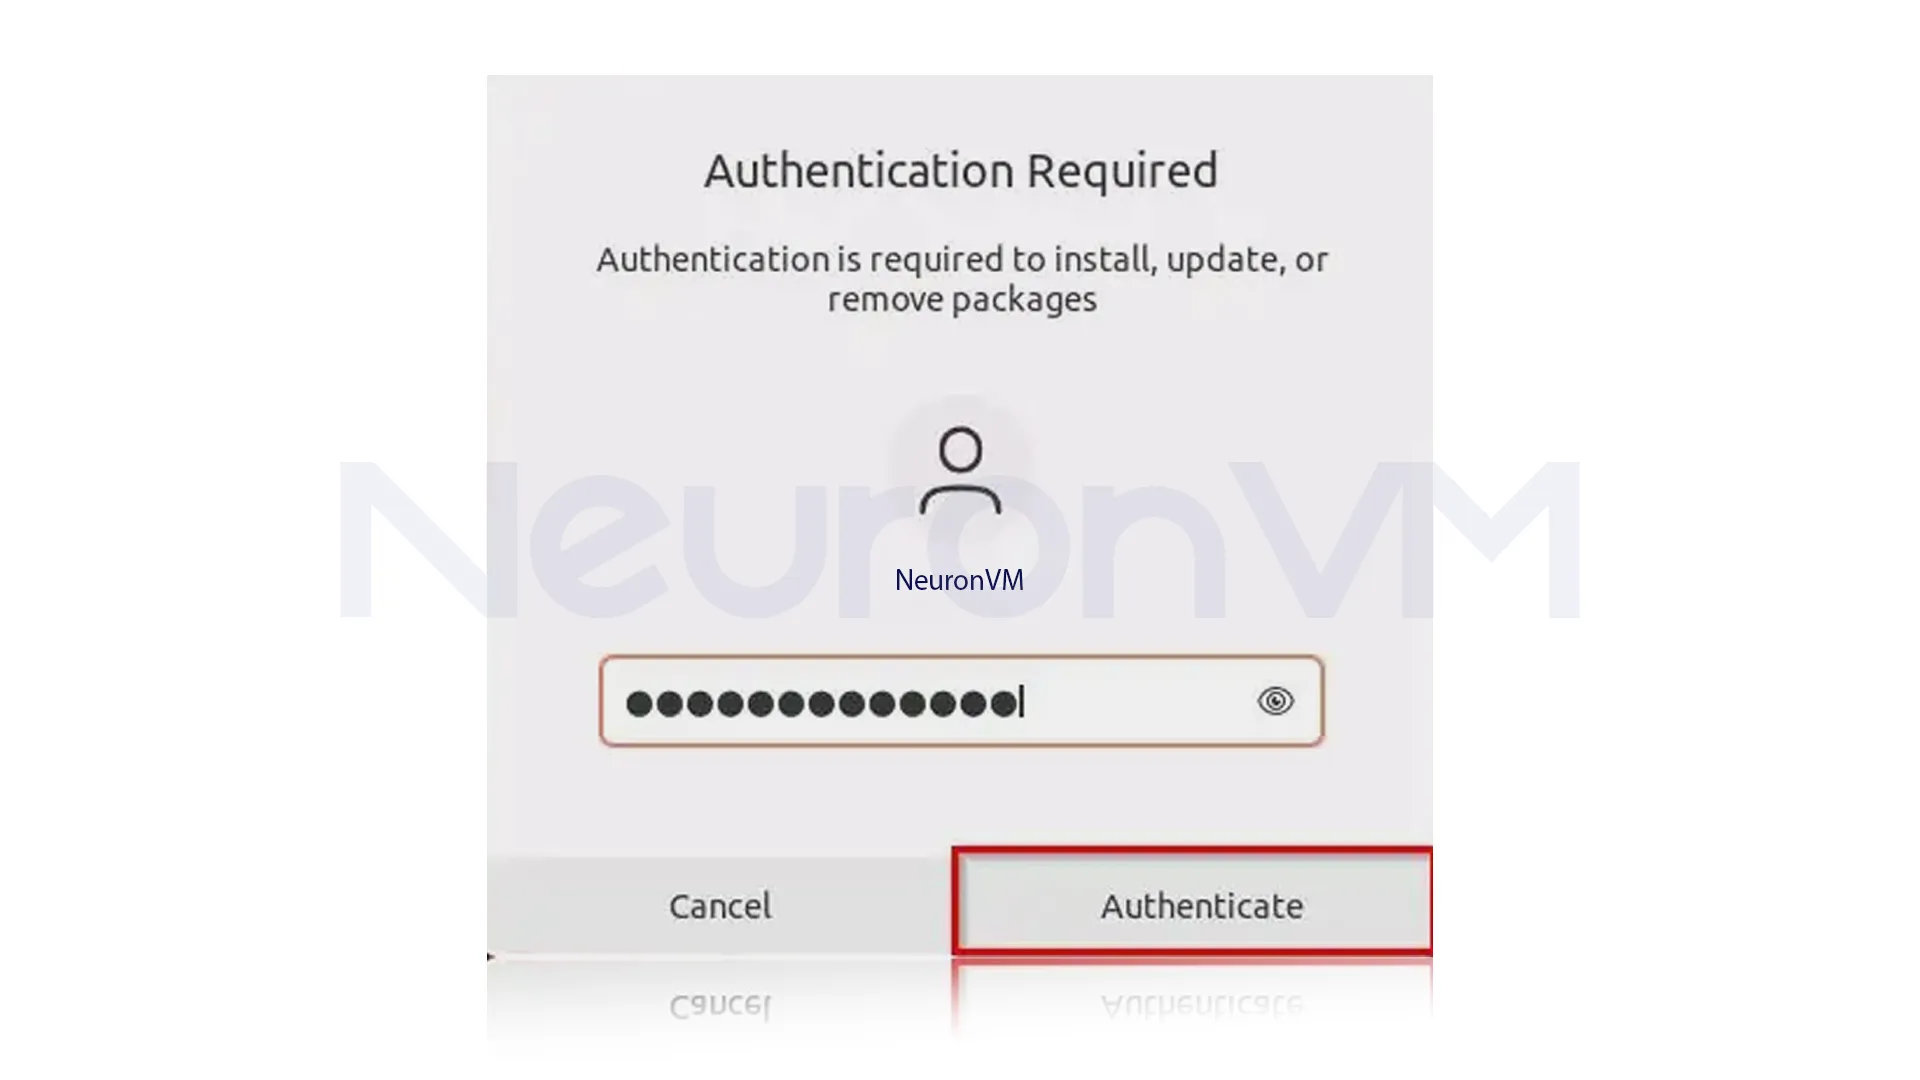
Enter your password and click on “Authenticate” to confirm the installation.
Wait for the installation to complete. Once it is finished, FileZilla will be installed on your system. You can now open FileZilla from the Applications menu or by typing Filezilla in the Terminal:
filezilla
Install FileZilla Using the GUI:
Open the Ubuntu Software Center:
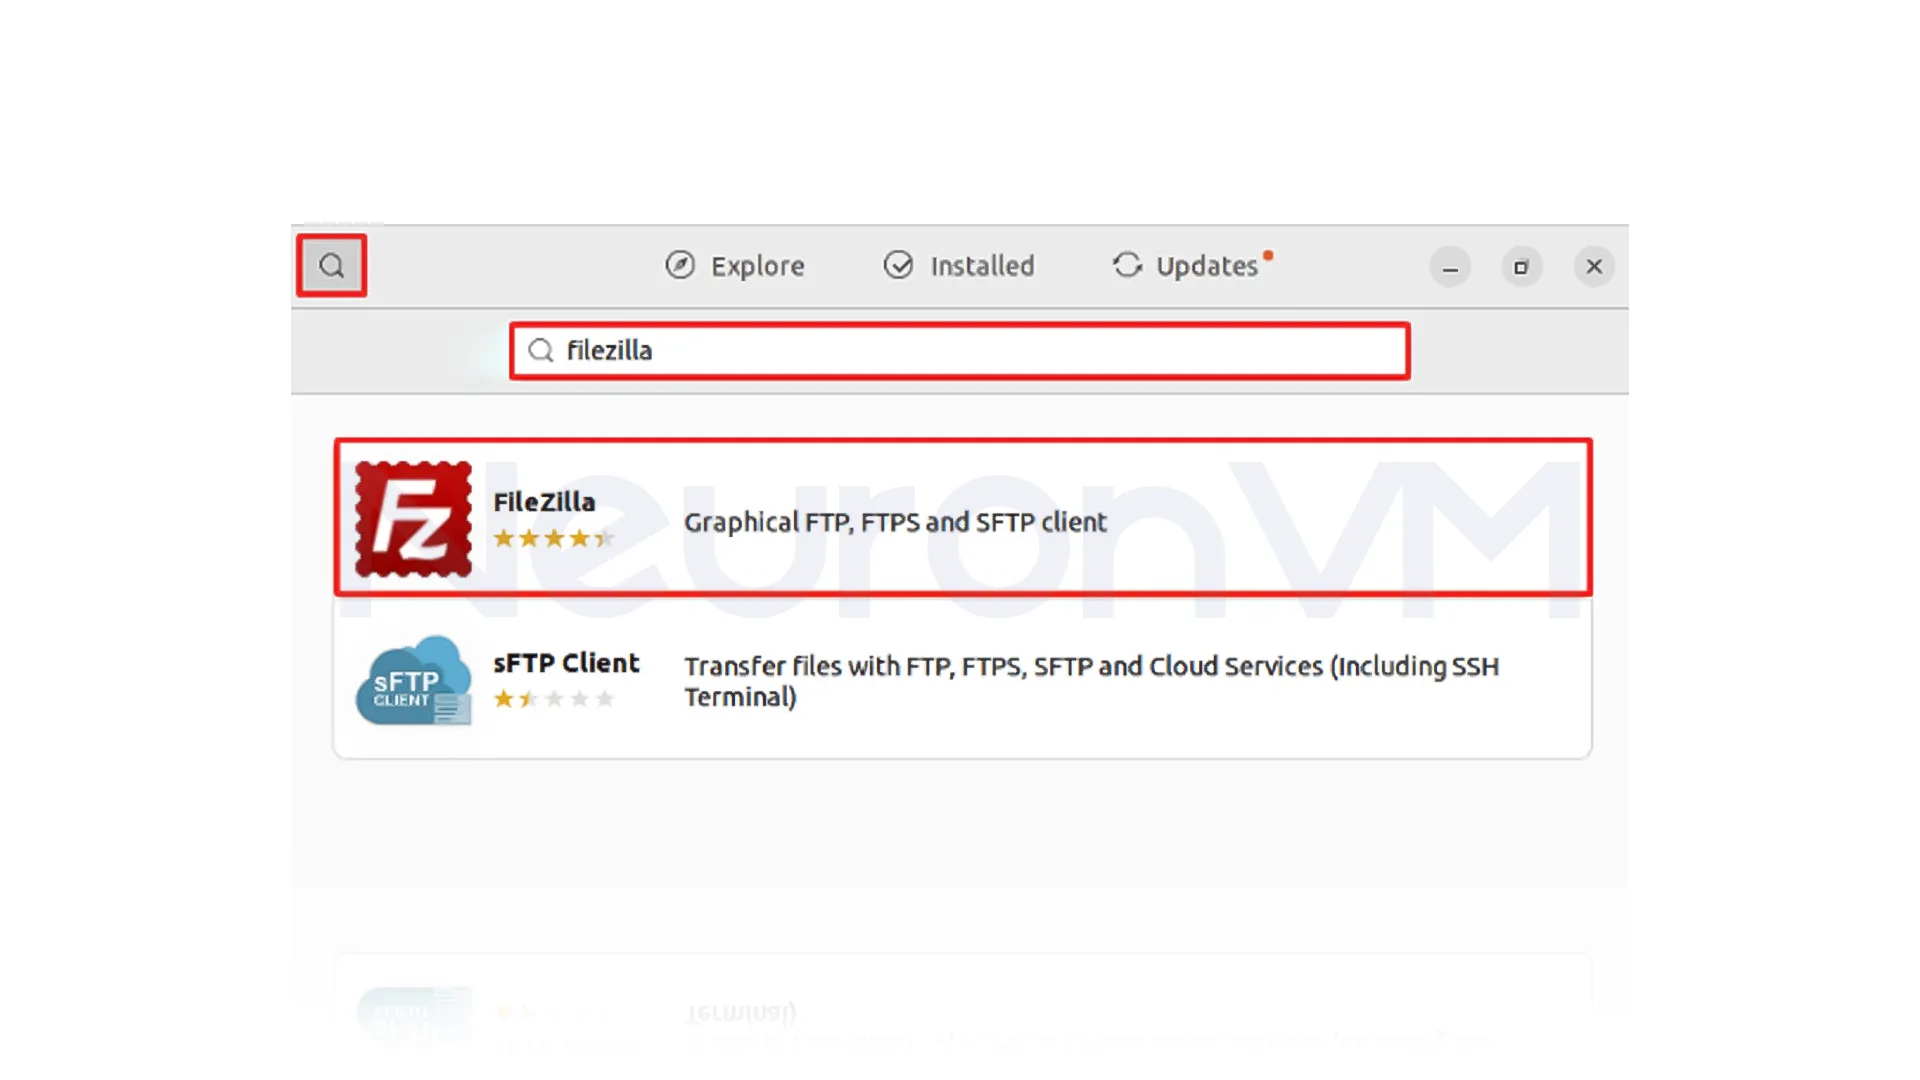
In the Software Center, click on the search bar and type “FileZilla“. From the search results, click on the FileZilla application:
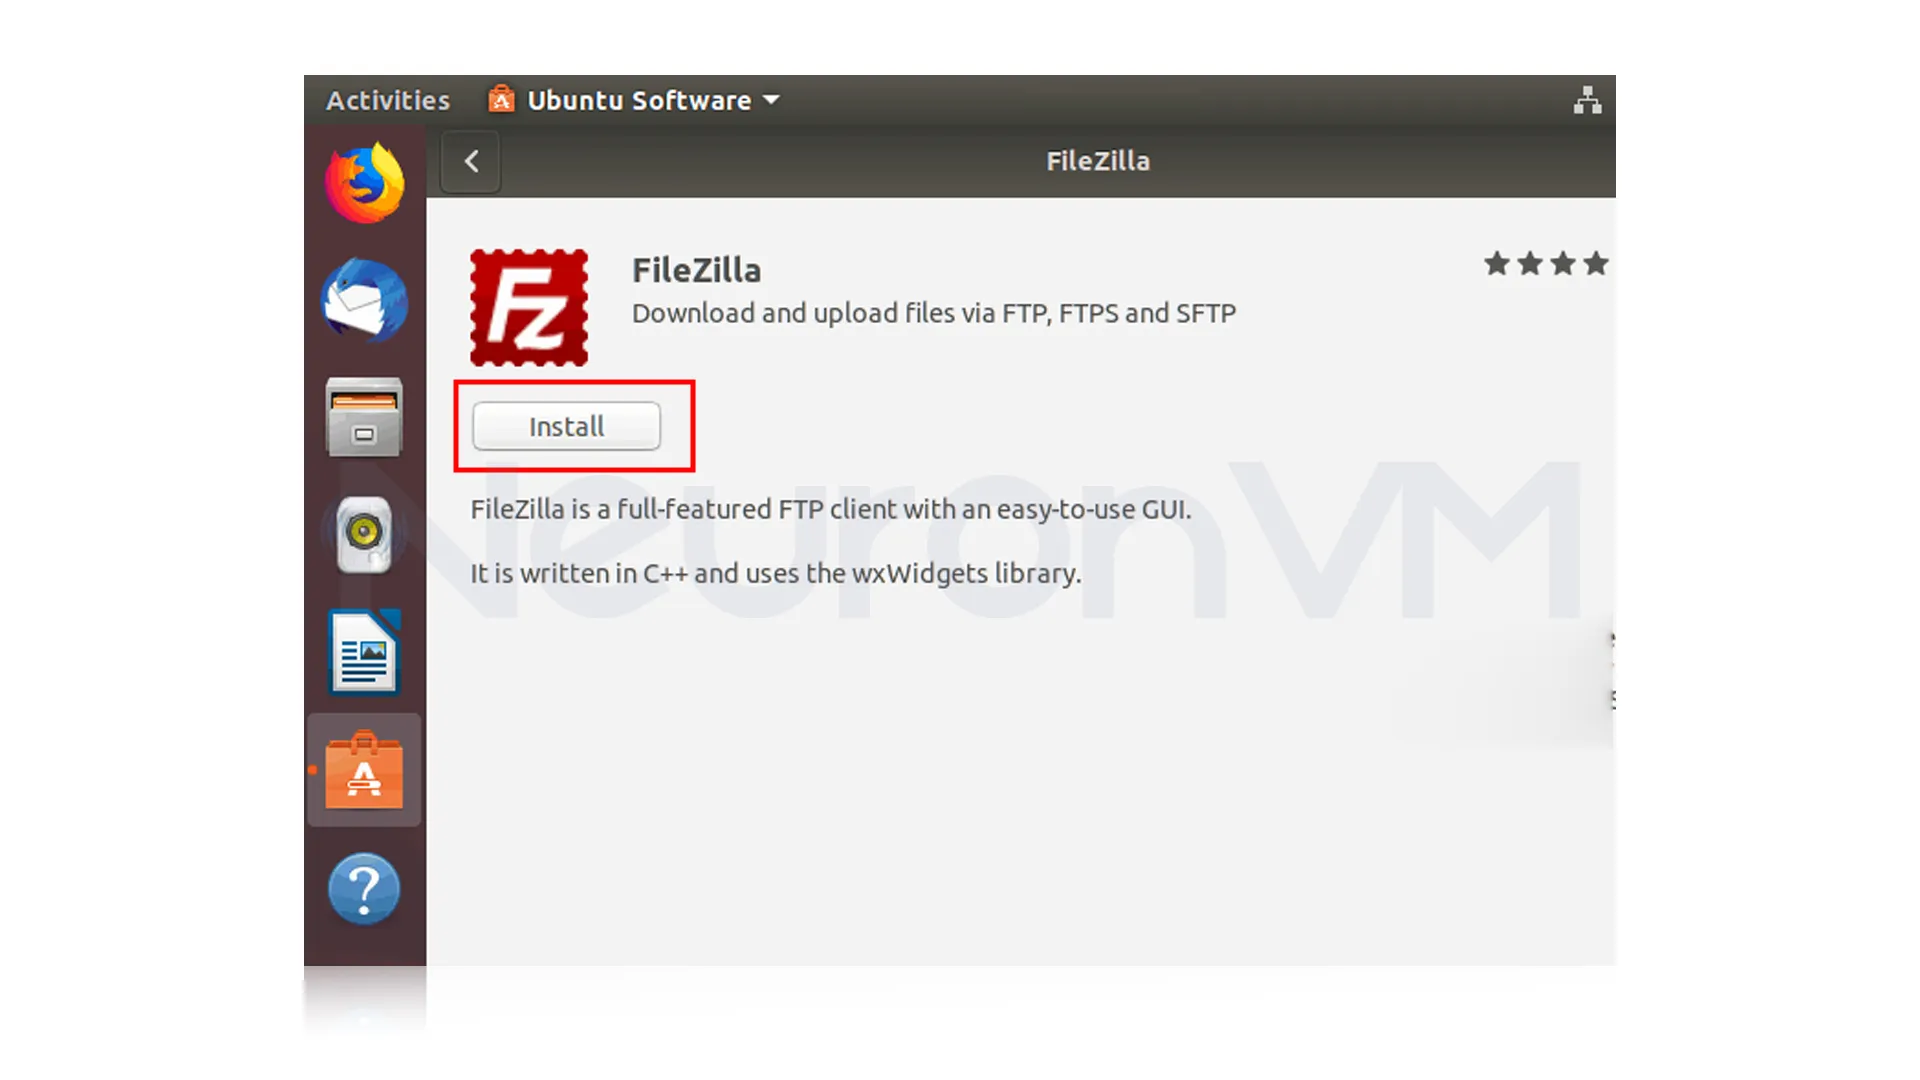
On the FileZilla application page, click on the “Install” button:
To authorize the installation, enter your password and click “Authenticate“:
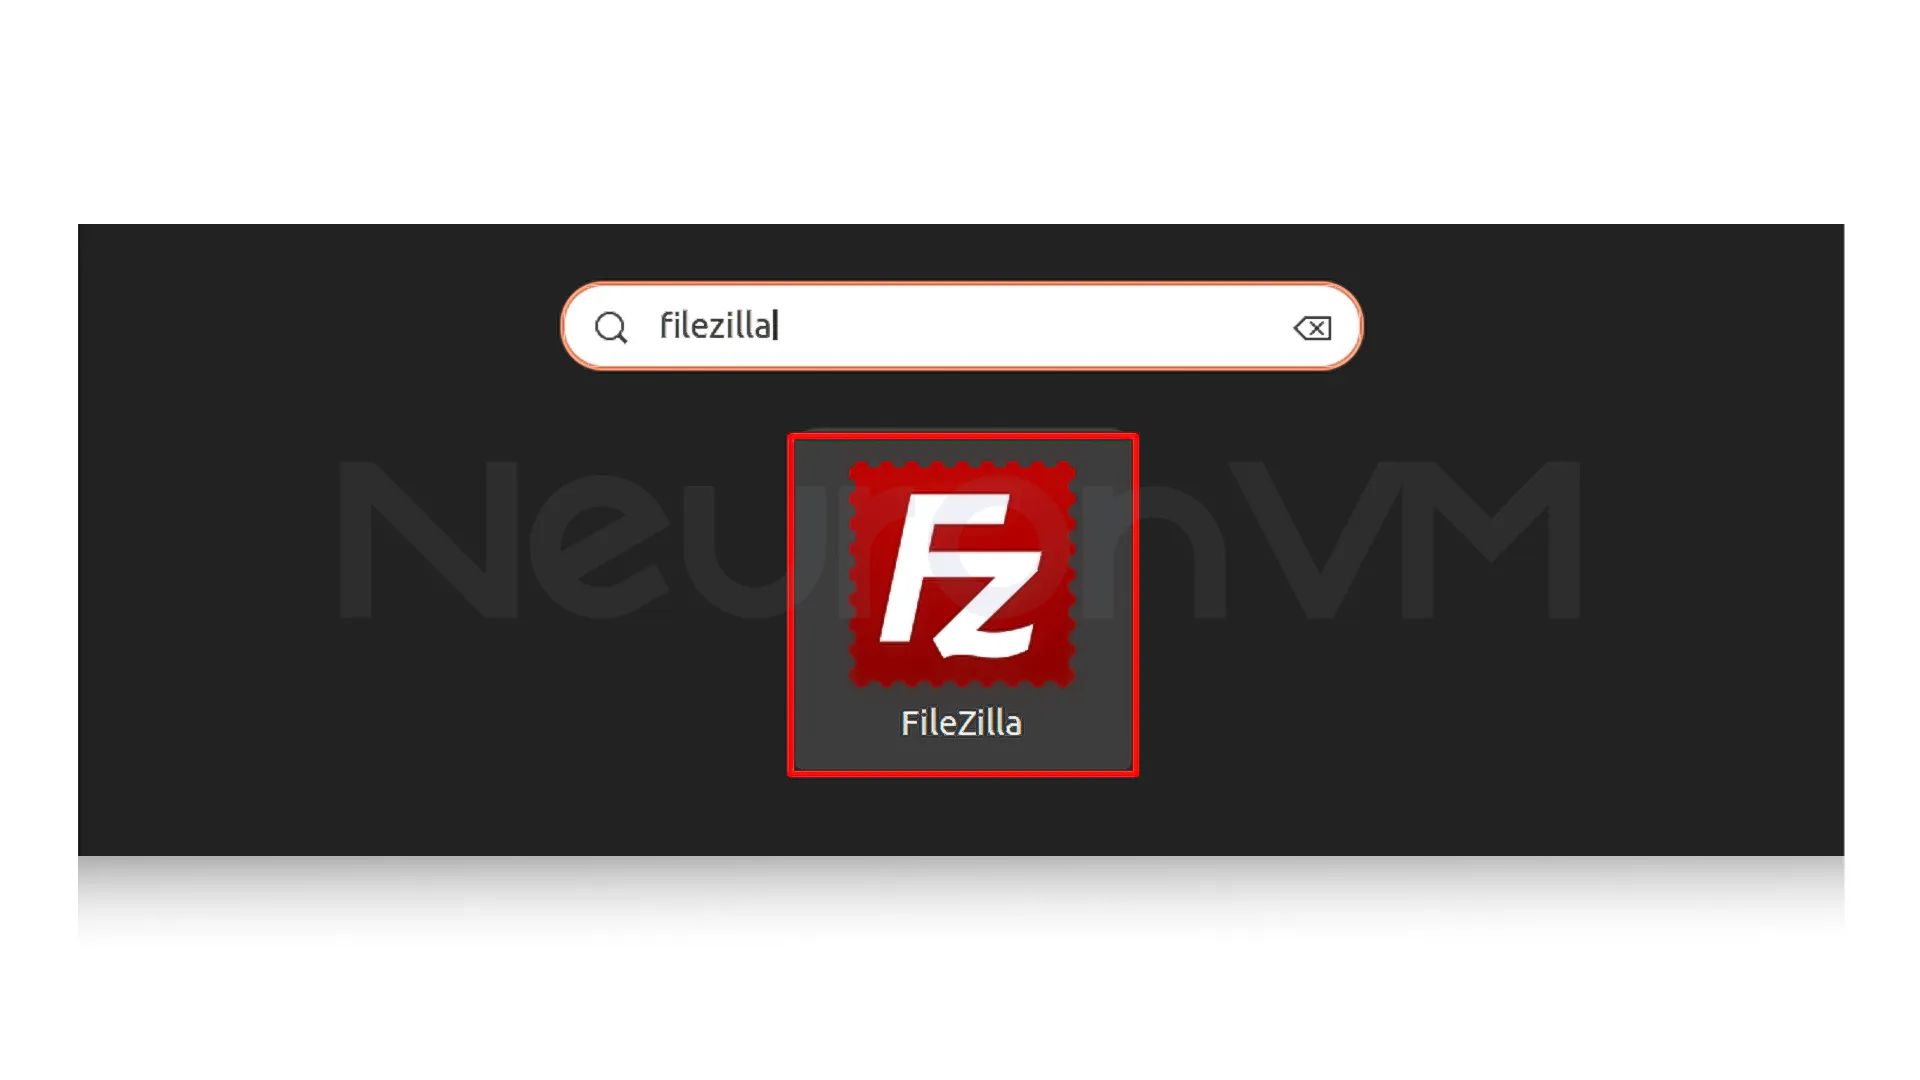
To launch FileZilla, you can either search for “FileZilla” in the Ubuntu Dash or go to the Applications menu, navigate to the “Internet” category, and click on the FileZilla icon:
How to Install GNOME Tweaks in Ubuntu:
Install GNOME Using Terminal:
Use the update command to update the package list:
sudo apt update
After the update is complete, run the following command to install GNOME Tweaks:
sudo apt install gnome-tweaks
Open GNOME Tweaks by running the following command in the Terminal:
gnome-tweaks
Install GNOME Tweaks Using the GUI:
Open the Ubuntu Software Center or Snap Store.

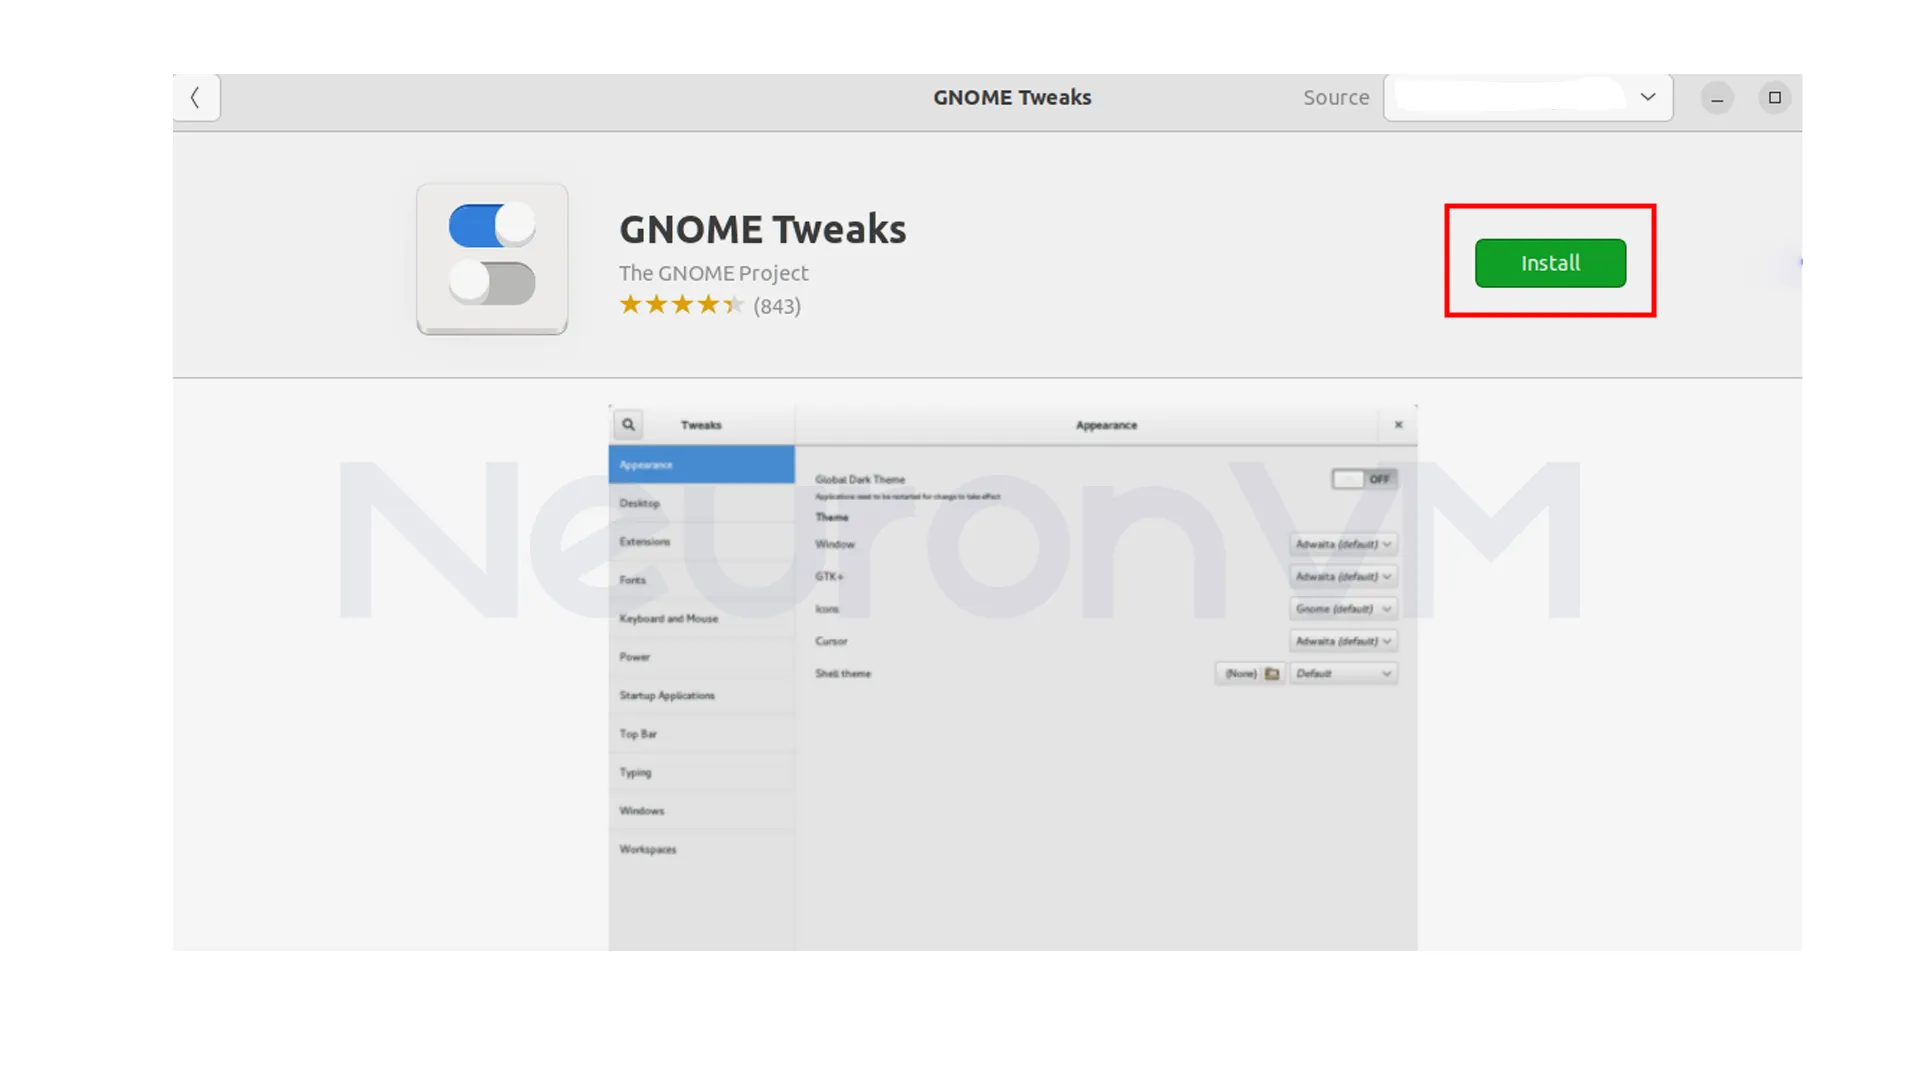
Search for “Gnome Tweaks”.
On the Gnome Tweaks application page, click on the “Install” button:
Ubuntu will prompt you for your password to authenticate the installation. So, click on “Authenticate“:
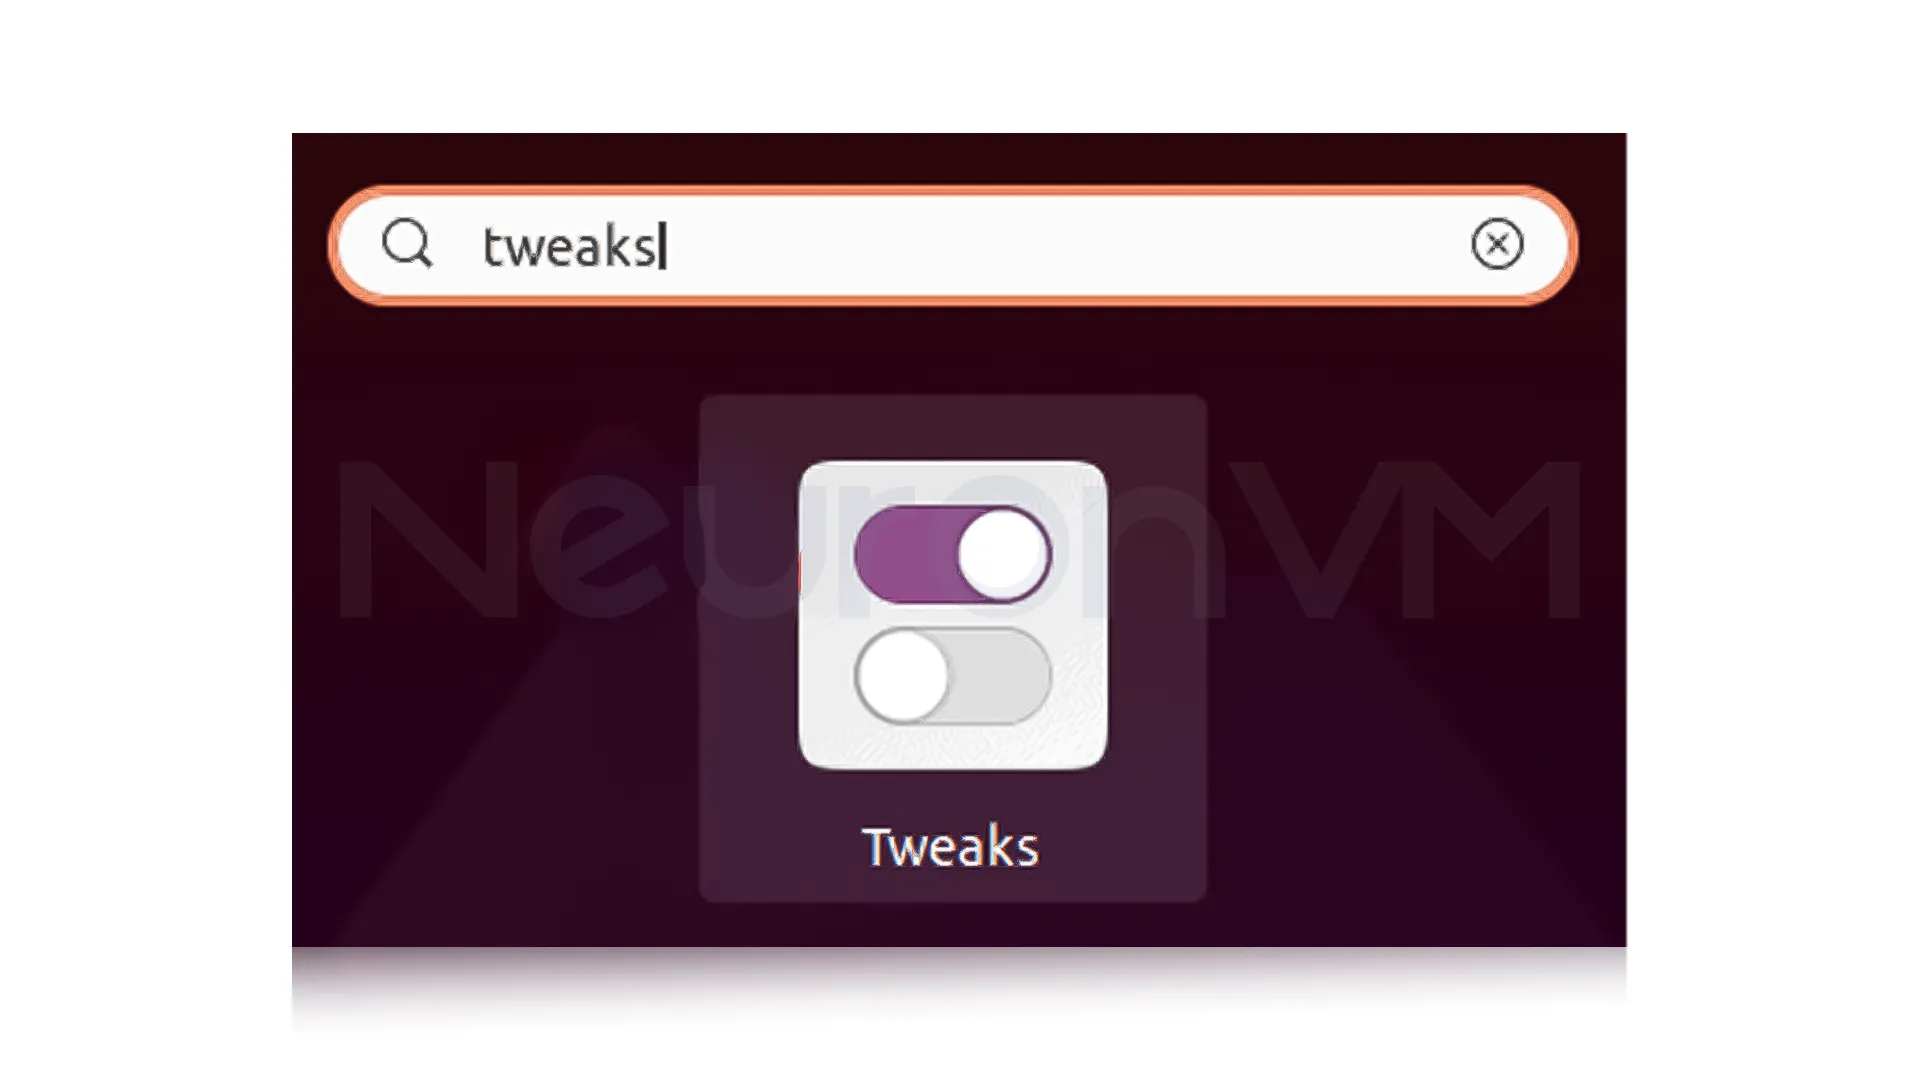
The Gnome Tweaks application will now be installed on your system. You can access it by searching for “Tweaks“.
How to Install VS Code in Ubuntu
Install VS Code Using Terminal:
Add the Microsoft GPG key to your system using the following command:
wget -q https://packages.microsoft.com/keys/microsoft.asc -O- | sudo apt-key add -
Enable the Visual Studio Code repository by running the following command:
sudo add-apt-repository "deb [arch=amd64] https://packages.microsoft.com/repos/vscode stable main"
Update the package list by executing the update command:
sudo apt update
Finally, install Visual Studio Code by running the following command:
sudo apt install code
After the installation process is completed, you can launch VSCode by searching for it in the Applications menu or by running the code in the terminal:
code
Install VS Code Using the GUI:
Open the Ubuntu Software Center by clicking on the “Show Applications” button located at the bottom-left corner of the screen:
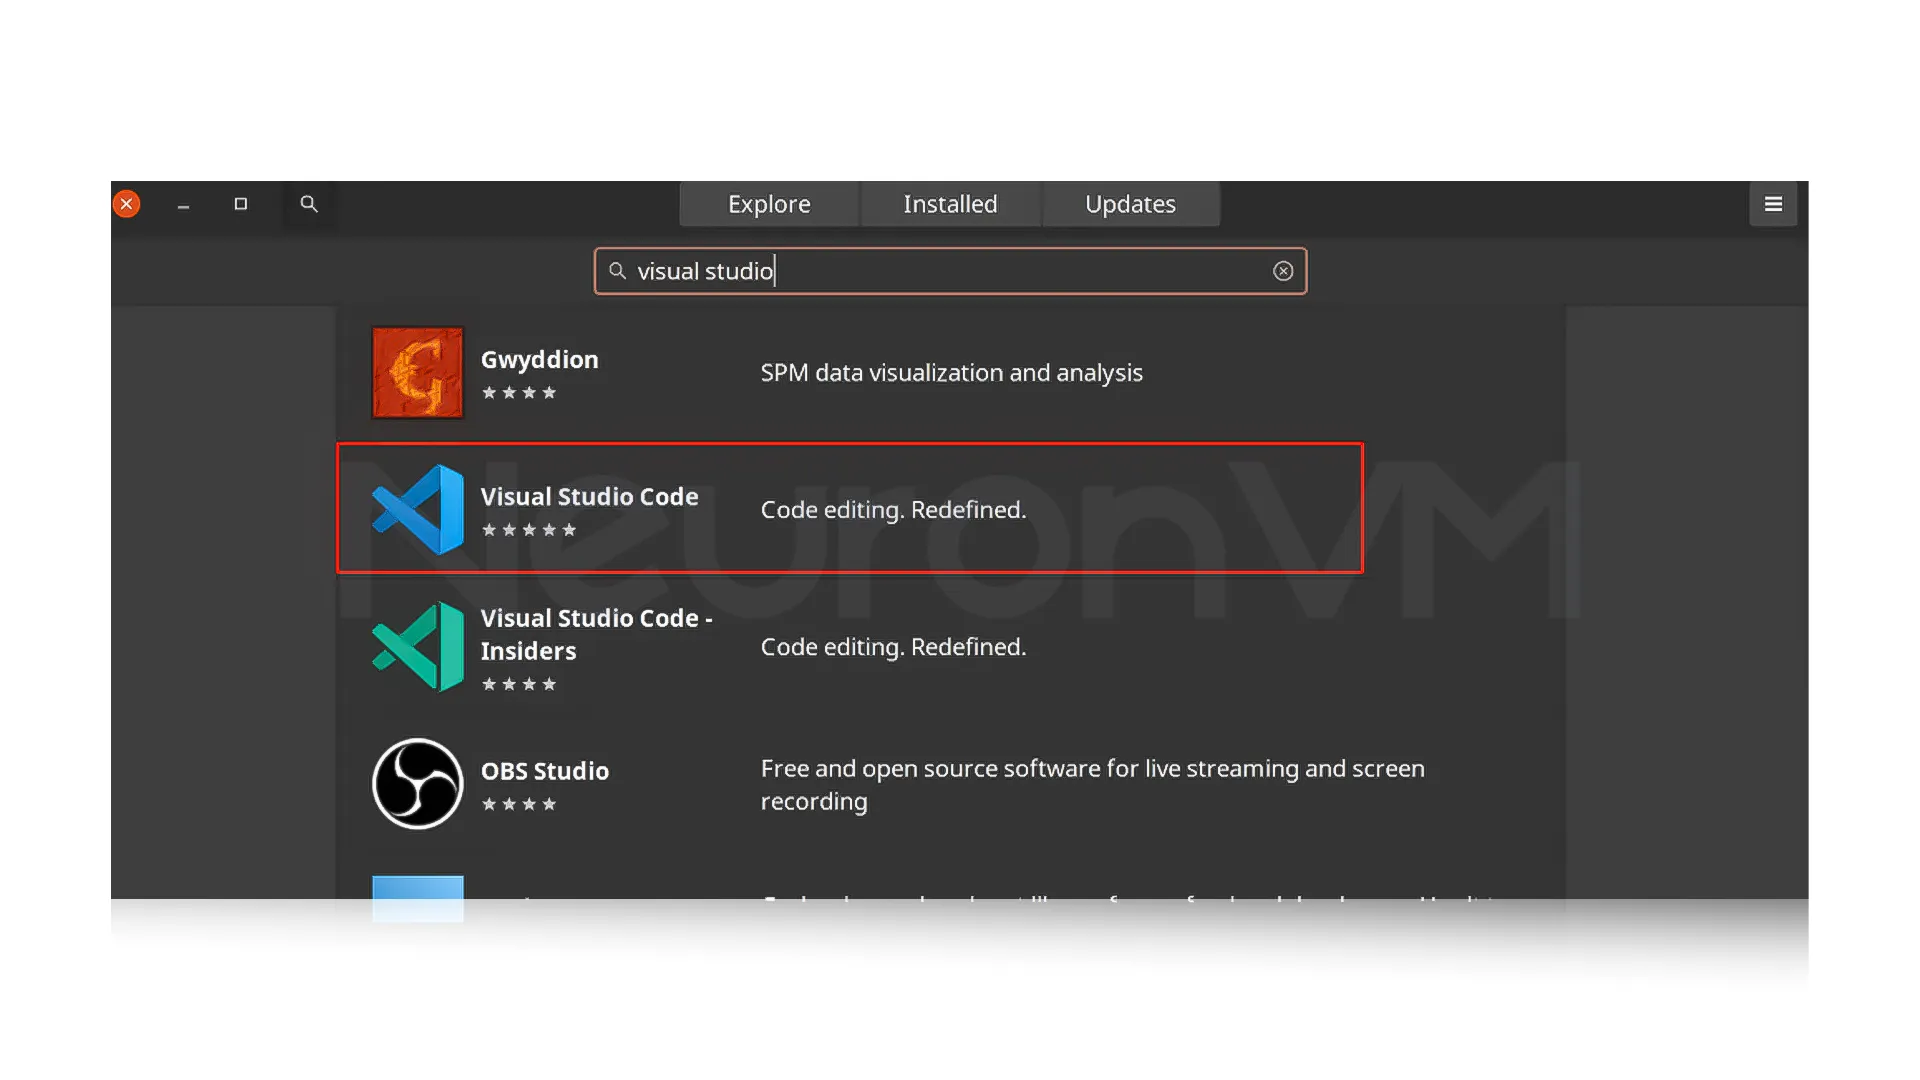
In the Software Center, type “VS Code” in the search bar and press Enter. From the search results, click on “Code” to open the application’s page:
On the page, click on the “Install” button to start the installation process:
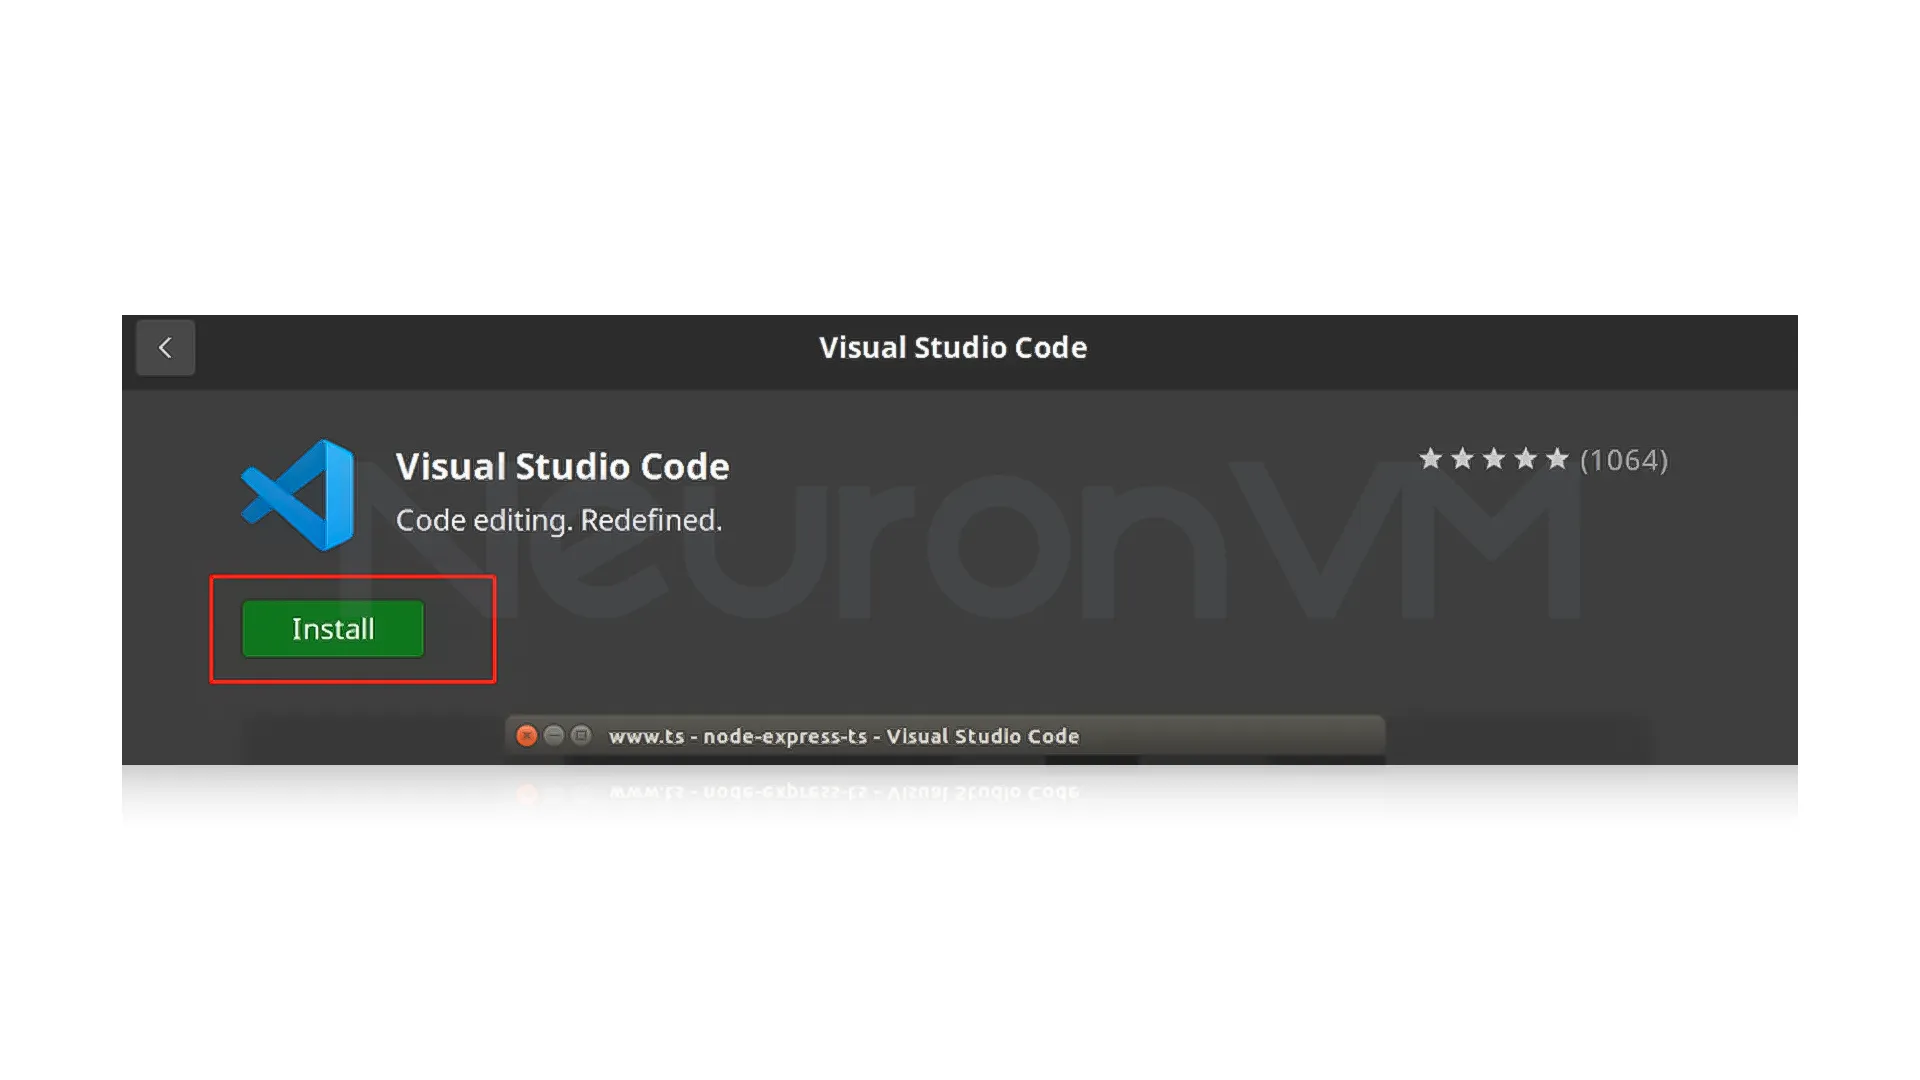
Once the installation is complete, you will see a “Launch” button. Also, you can search for “Visual Studio Code” from among the applications, as shown in the image below, and click on it to run.
How to Configure Google Chrome in Ubuntu
Installing Google Chrome Using Terminal:
Run the following command to download the Google Chrome installation package:
wget https://dl.google.com/linux/direct/google-chrome-stable_current_amd64.deb
Once the download is complete, run the command below to install it using the package manager (dpkg):
sudo dpkg -i google-chrome-stable_current_amd64.deb
The installation may prompt you about missing dependencies. If so, run the following command to fix them:
sudo apt --fix-broken install
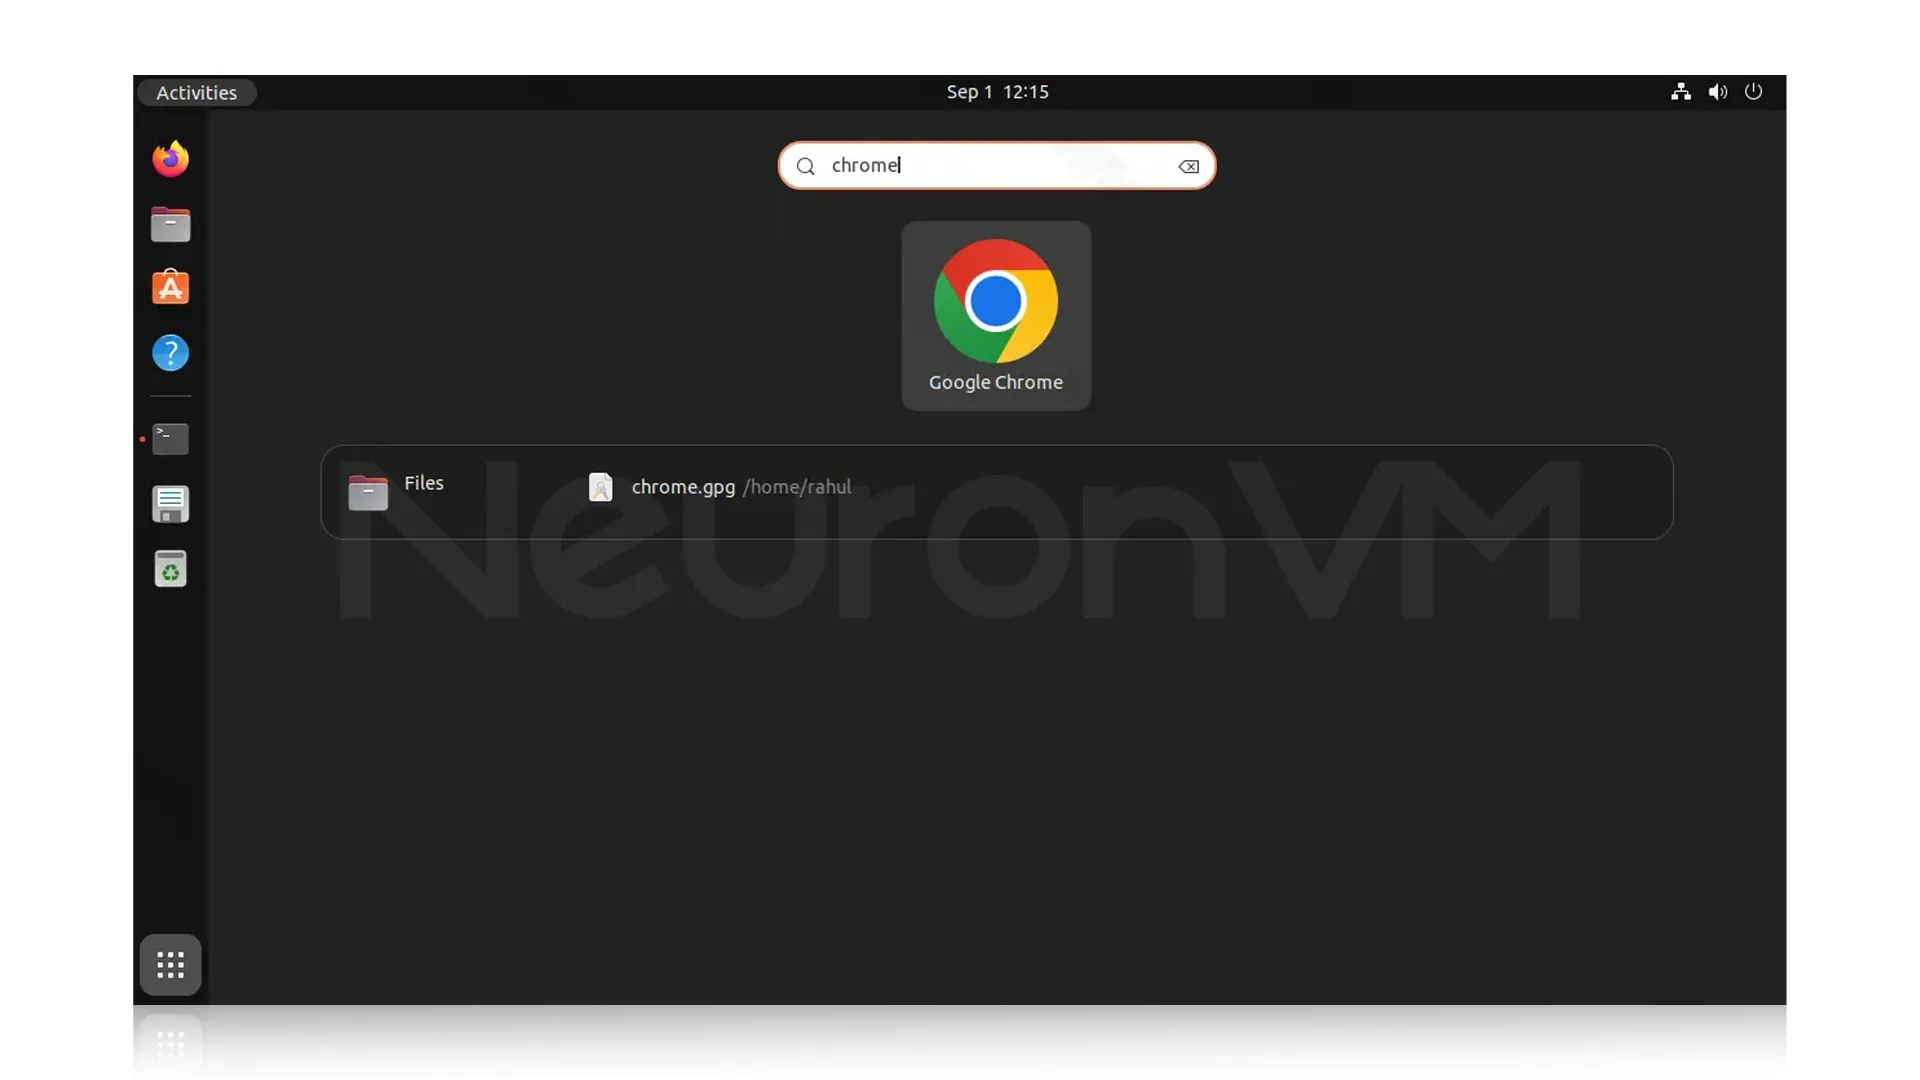
After the dependencies are resolved, you can now run Google Chrome by searching for “Chrome” in the Applications menu or running the command:
google-chrome-stable
Installing Google Chrome Using the GUI:
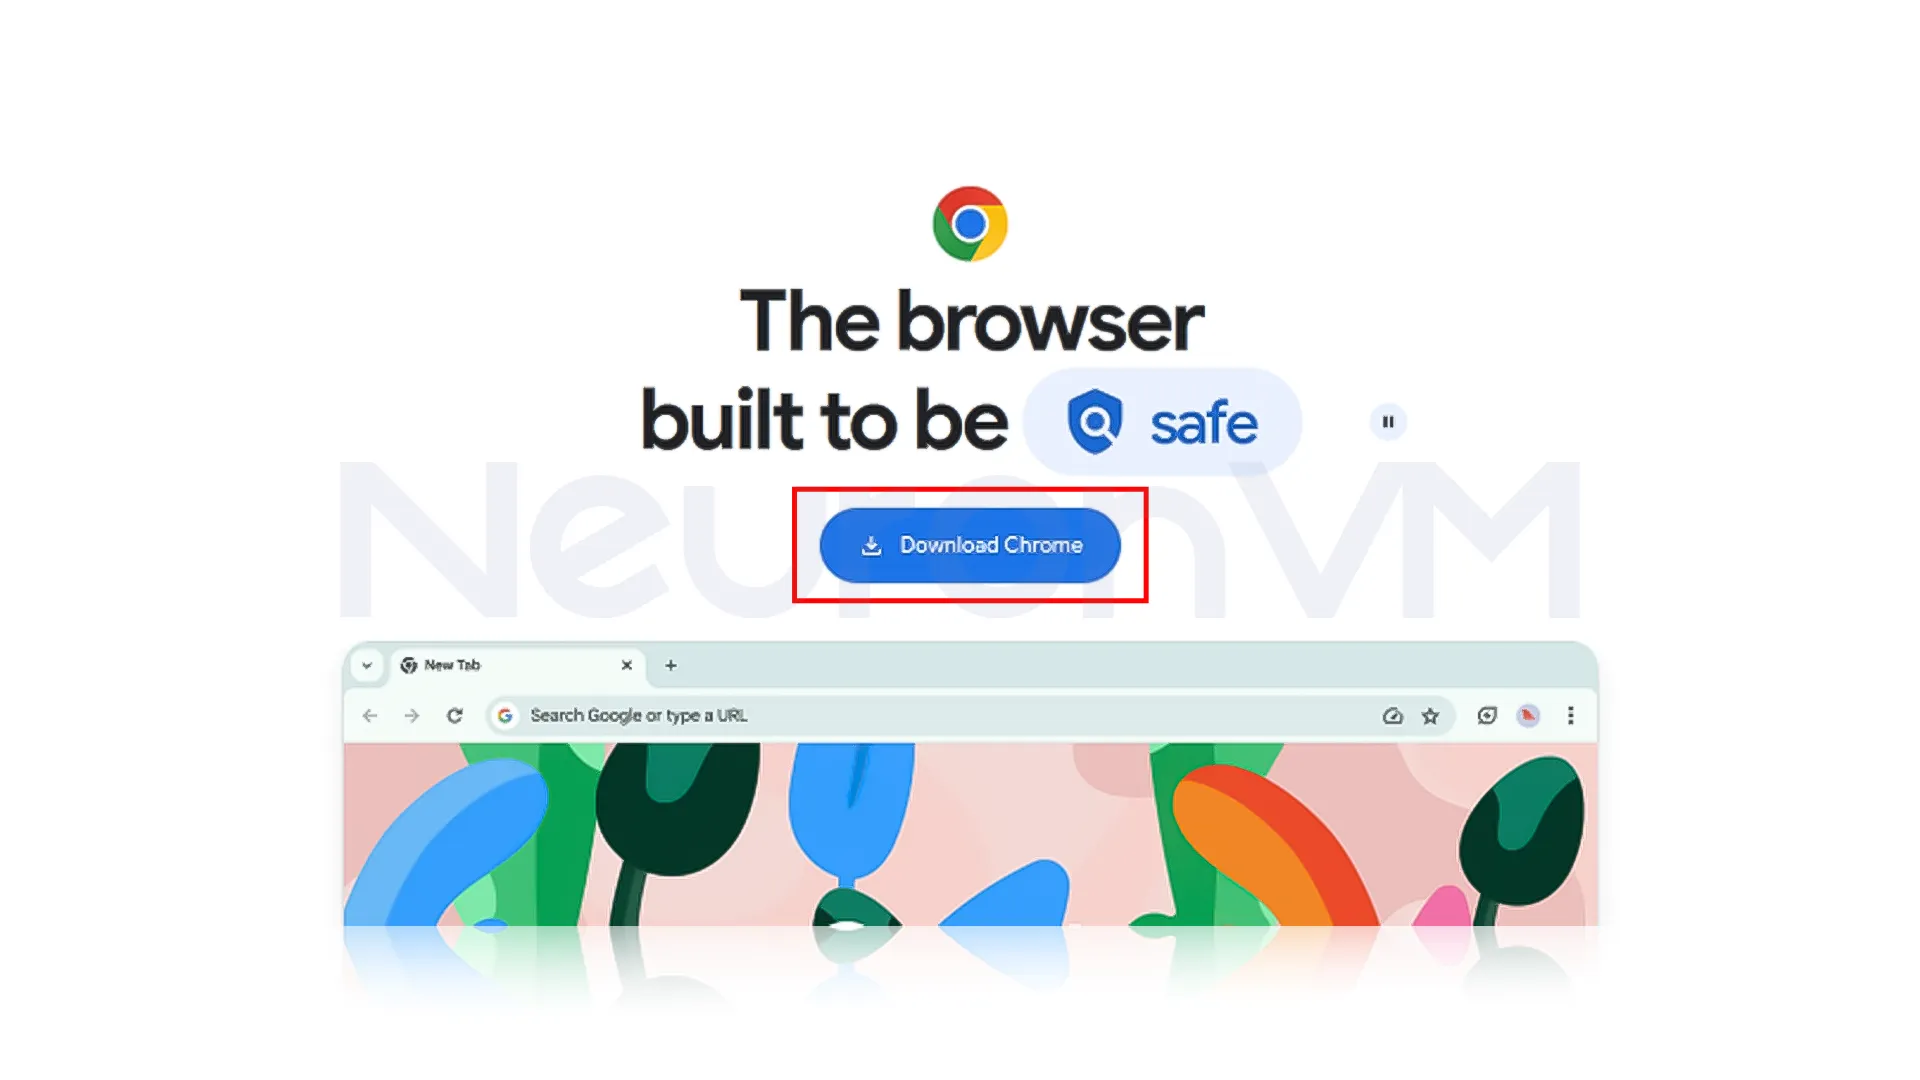
Open the default web browser in Ubuntu (usually Firefox).
Visit the Google Chrome website and click on the “Download Chrome” button:
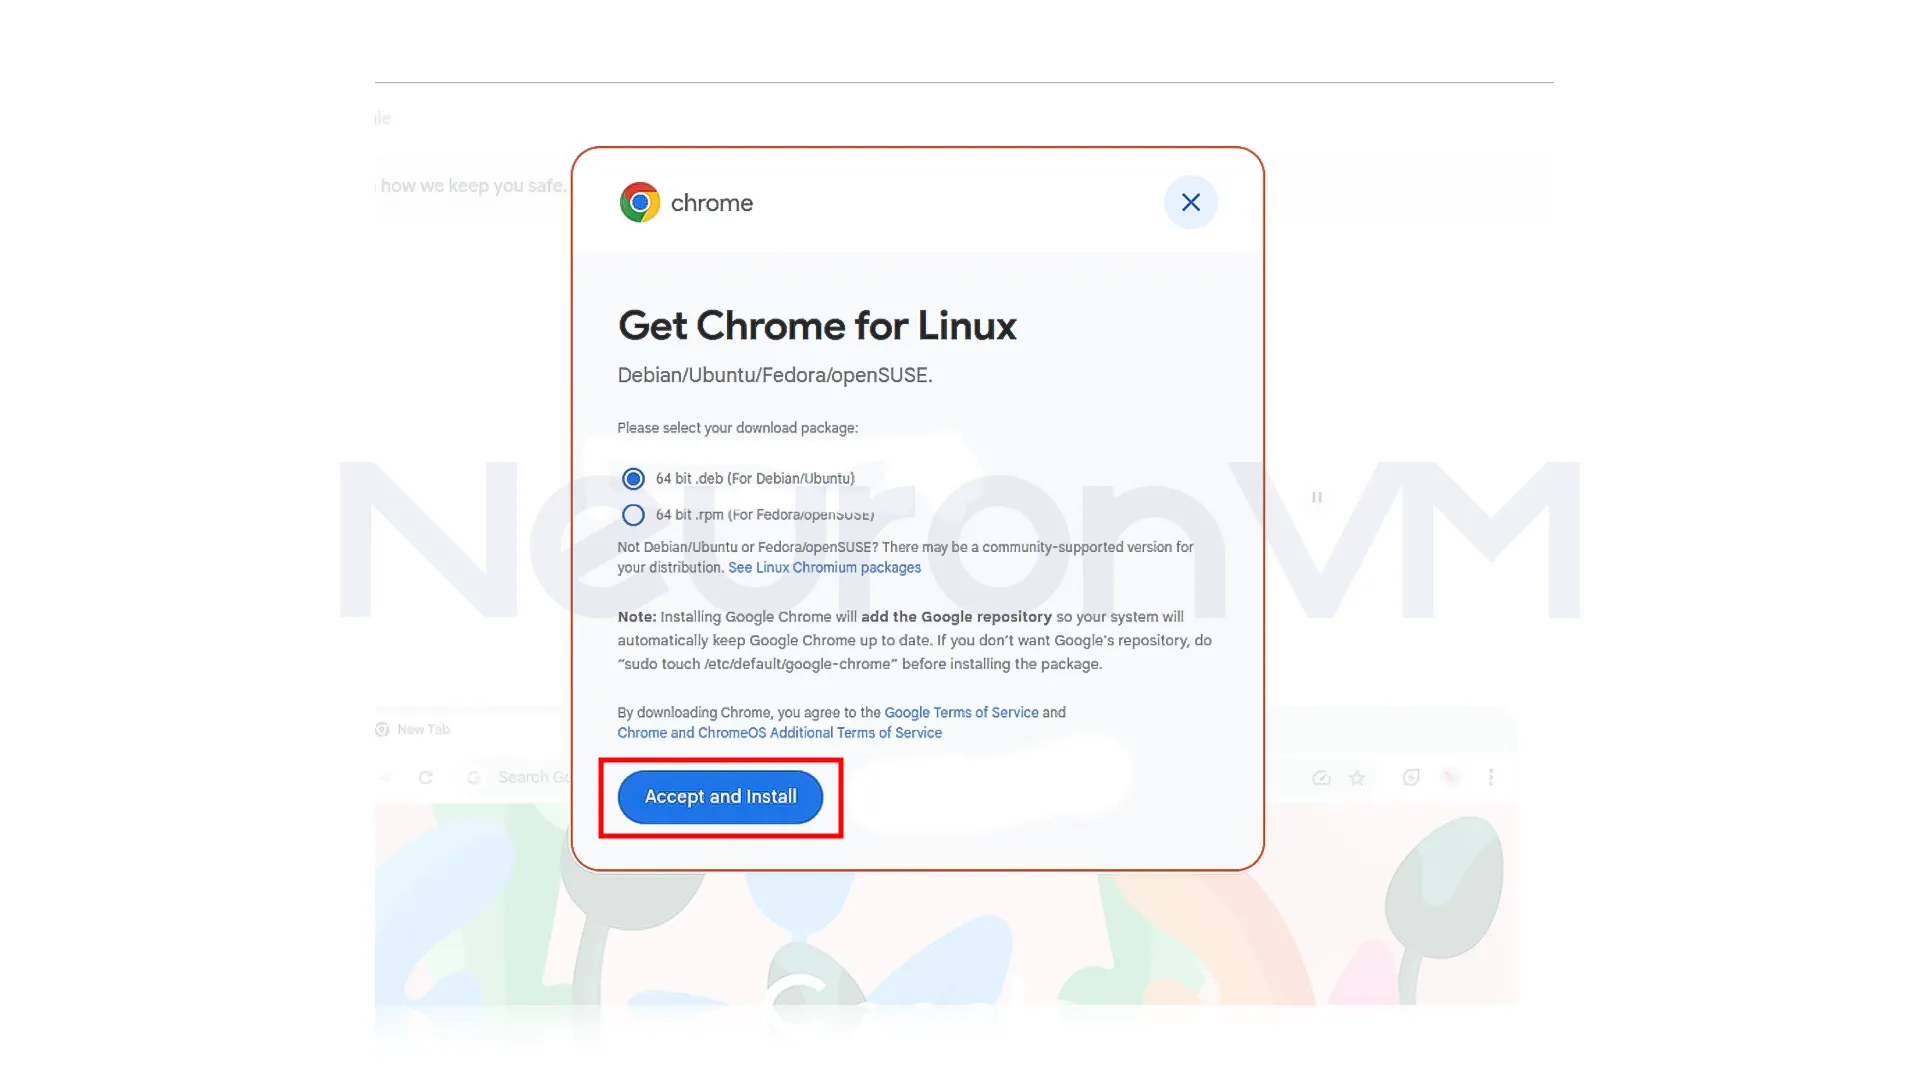
On the download page, select the “64-bit .deb (For Debian/Ubuntu)” option and click on “Accept and Install“:
Note: Once the file is downloaded, open the file manager and navigate to the location where you saved the .deb file.
Right-click on the .deb file and select “Open with Software Install” or “Open with GDebi Package Installer” (depending on your Ubuntu version):
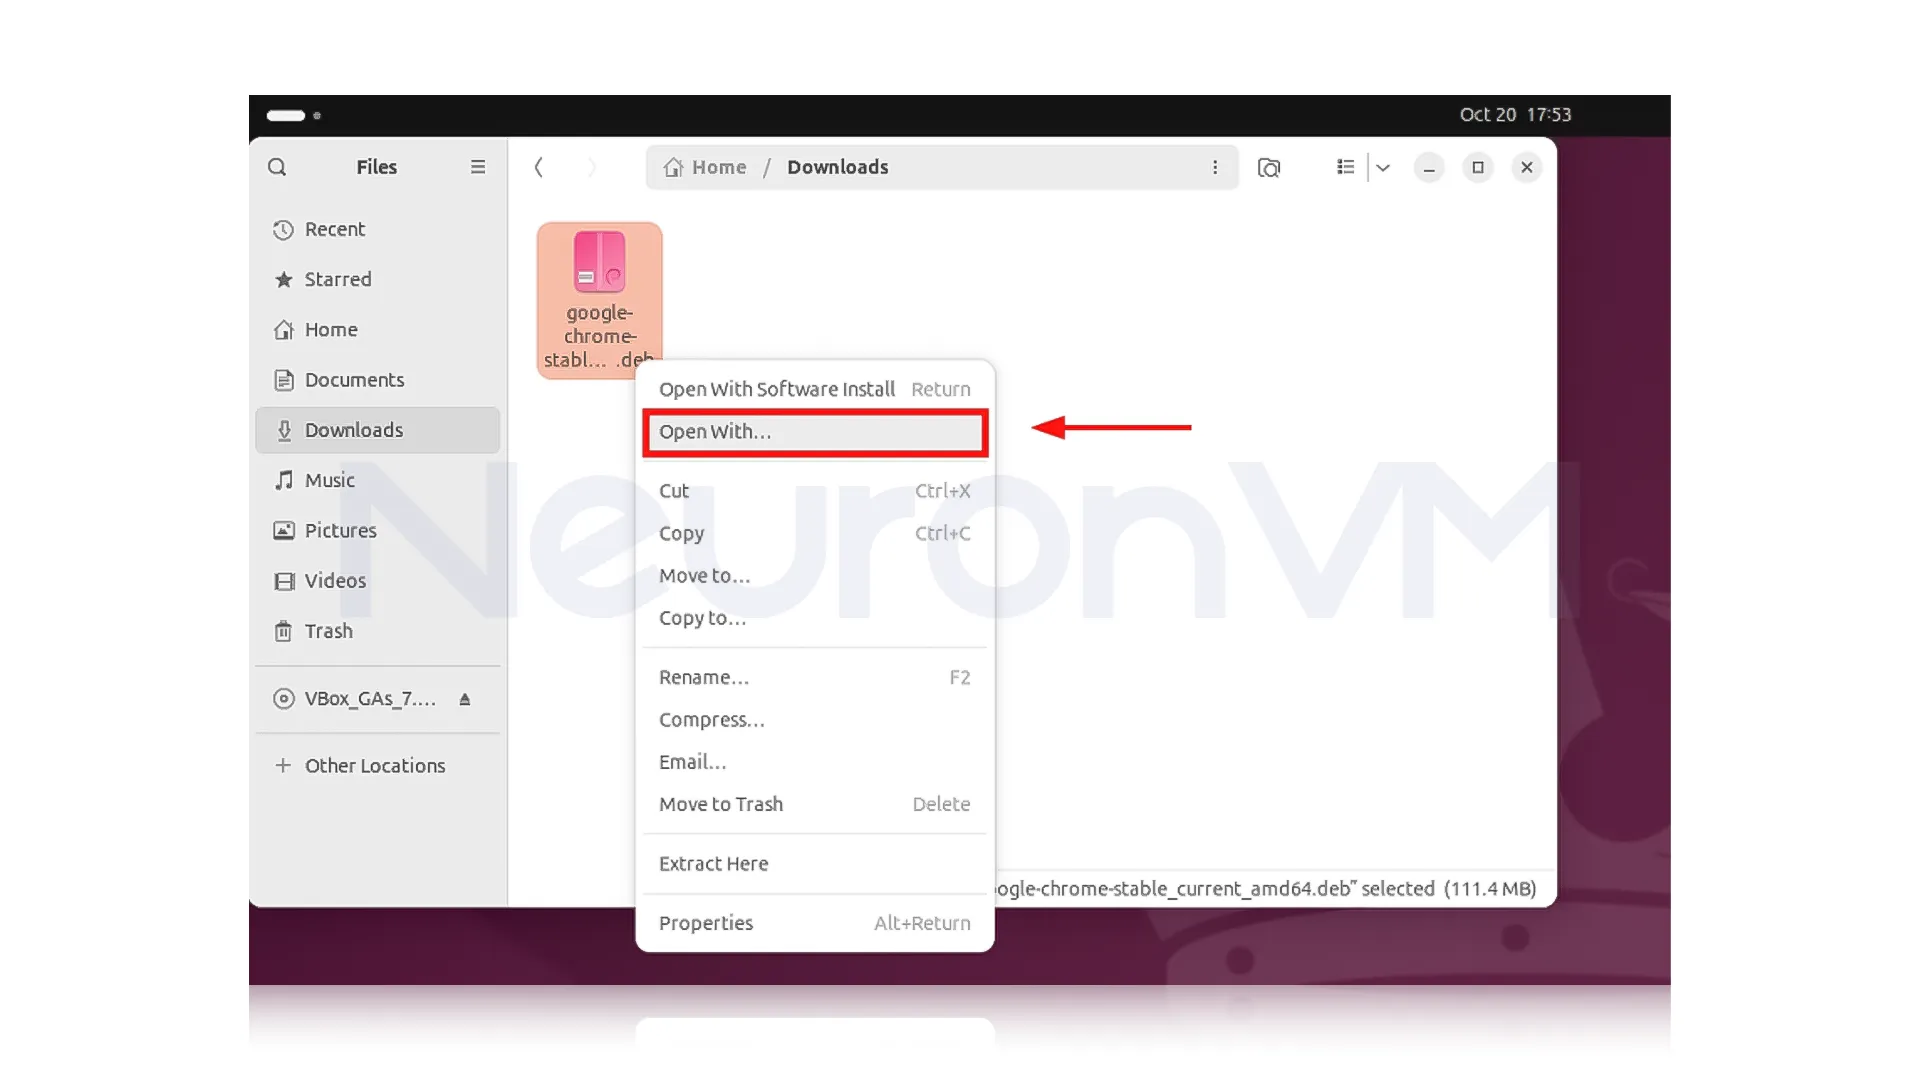
Click on the “Install” button to proceed.
Wait for the installation process to complete. Google Chrome is now installed on your Ubuntu system. You can find it in the Applications menu or by searching for “Google Chrome” in the Ubuntu Dash:
The benefits and real-world uses of installing software on Ubuntu
Terminal is fast and lightweight, making it suitable for VPS servers and legacy systems.
The GUI is easier for regular users and reduces potential errors.
Real-world example: Many DevOps teams use a combination of terminal and GUI to manage servers for both speed and visibility into the software.
Disadvantages and Limitations
Some commercial software does not have official Ubuntu packages and requires PPAs or external .deb files.
It is not possible to use the GUI on servers without a graphical environment.
Incorrect installation from unofficial PPAs can threaten system security.
Advanced Tips and Tricks
Always use sudo apt update and sudo apt upgrade before installing.
When installing external software (.deb or Snap), verify the integrity of the files with sha256sum.
Comparison of installation methods
Terminal: It is Fast, lightweight, and also suitable for advanced users.
GUI: GUI is convenient and suitable for most users, but it is time-consuming and requires higher memory.
Practical advice: For VPS servers, the terminal is recommended, but for desktop users, the GUI is more convenient.
Real opinions and user experiences
In the real world, the way you install software on Ubuntu can impact your system performance and security, For example, system administrators and also DevOps professionals often use the terminal because it allows for automation via Bash scripts and reduces resource consumption, which is needed on VPS serversو In contrast, casual users, or students trying to use the graphical interface more often because the installation process is simpler and also more understandable, However, experts warn you that overuse of the graphical interface may result in installing older versions or, in some cases, delaying updates, The best way is a combination: using the terminal for system tools like VS Code or Stacer, and using a graphical interface for general-purpose software such as VLC or Chrome, this gives a good balance between speed and convenience.
Technical analysis and performance comparison
Performance analysis of installation methods
When installing software via the terminal, the process is usually faster, and you will immediately receive an error message if there is an error or broken dependency. For example, when installing Google Chrome using the dpkg command, if a package is broken, it can be fixed immediately by running “sudo apt –fix-broken install”.
In contrast, in a GUI installation, these details are hidden from the user, which is good for novice users but limiting for system administrators or DevOps professionals. According to reviews, installing via terminal consumes about 15-20% less resources during installation, which is very important on older systems or VPSs. Additionally, terminal installation is documentable, meaning you can save and repeat the same commands in automated installation scripts, which is not possible with a GUI. This is why learning the terminal is a key skill for advanced Linux users.
Conclusion
Installing software on Ubuntu is not just a simple technical task, it is also an opportunity to gain a deeper understanding of how your system works, because each method has its own advantages and also the skills: the graphical interface for simplicity and an easier user experience, and the terminal for morer control, the real power of Ubuntu lies in its flexibility, allowing you to learn both methods as needed. If you’re working on a server or VPS, the terminal is the best choice available for you, but if you’re a desktop user, the graphical interface offers a more convenient experience, and by combining these two methods and using tools like Stacer and GNOME Tweaks, you not only install software, but also make your operating system more optimized, and personalized.
For beginners, the GUI method via Ubuntu Software Center is the easiest. It's visual and safe for most common applications.
Because it's faster, and gives full control, especially useful for VPS and server environments.
Absolutely, many users mix both. For instance, they use the terminal on servers and the GUI for desktop applications