How to Install Vim Text Editor on Ubuntu 20.04 (Step-by-Step)


 Study duration :
2 Minutes
Study duration :
2 Minutes
 0 Comment
If you’re a terminal enthusiast, you’ve probably heard of Vim, one of the most powerful and fastest text editors in the Linux world. I first got introduced to Vim when I was just starting out on a server, when I didn’t have a graphical environment and had to edit files from within the terminal. It was a bit intimidating at first, but after a few days, I realized that Vim is one of the best tools a Linux user can learn. In this article, we’ll walk you through the step-by-step process of install Vim Text Editor on Ubuntu 20.04, along with a few tips from my own experience that will help you get started.
Step 1: Install the required tools
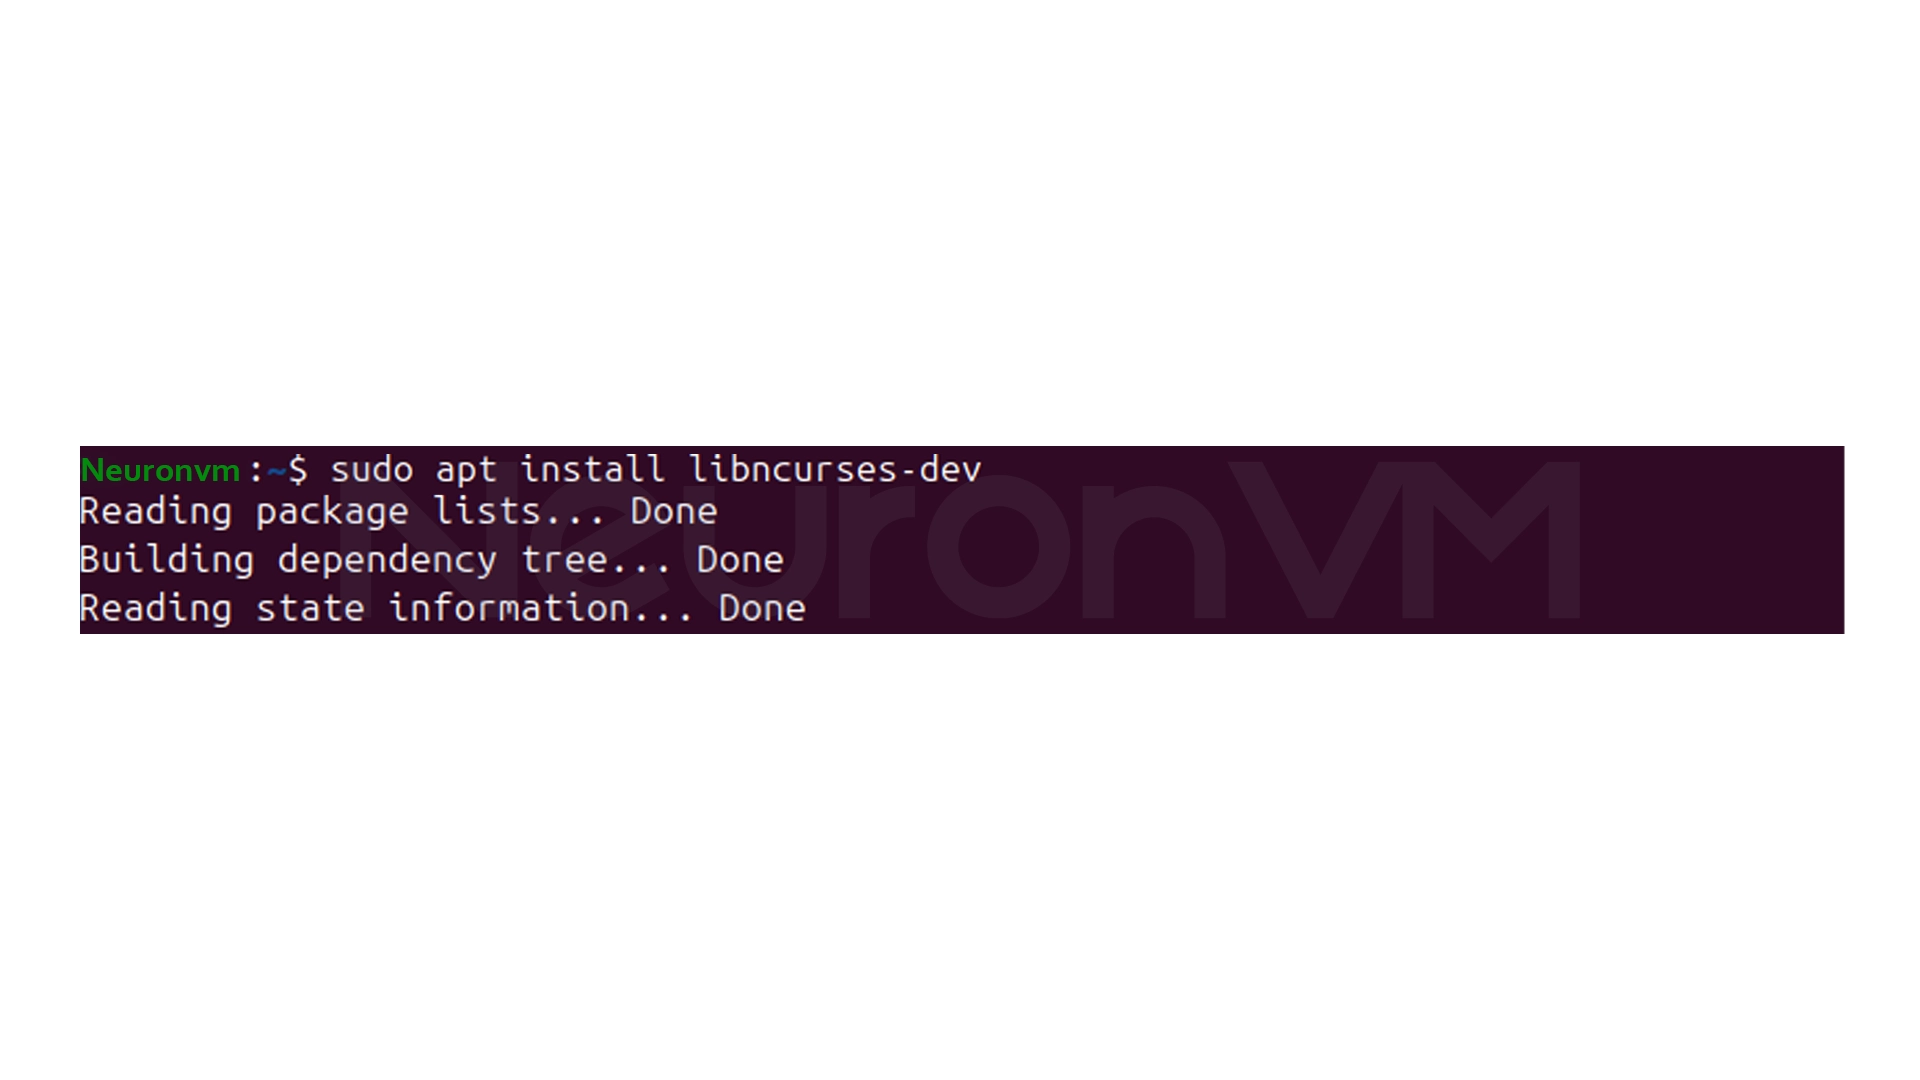
Before we install Vim from GitHub, we need to make sure that all the necessary tools are available on the system to compile it. First, install the ncurses development libraries, this library is used to display text in the terminal and control the cursor:
Before we install Vim from GitHub, we need to make
sudo apt install libncurses-dev
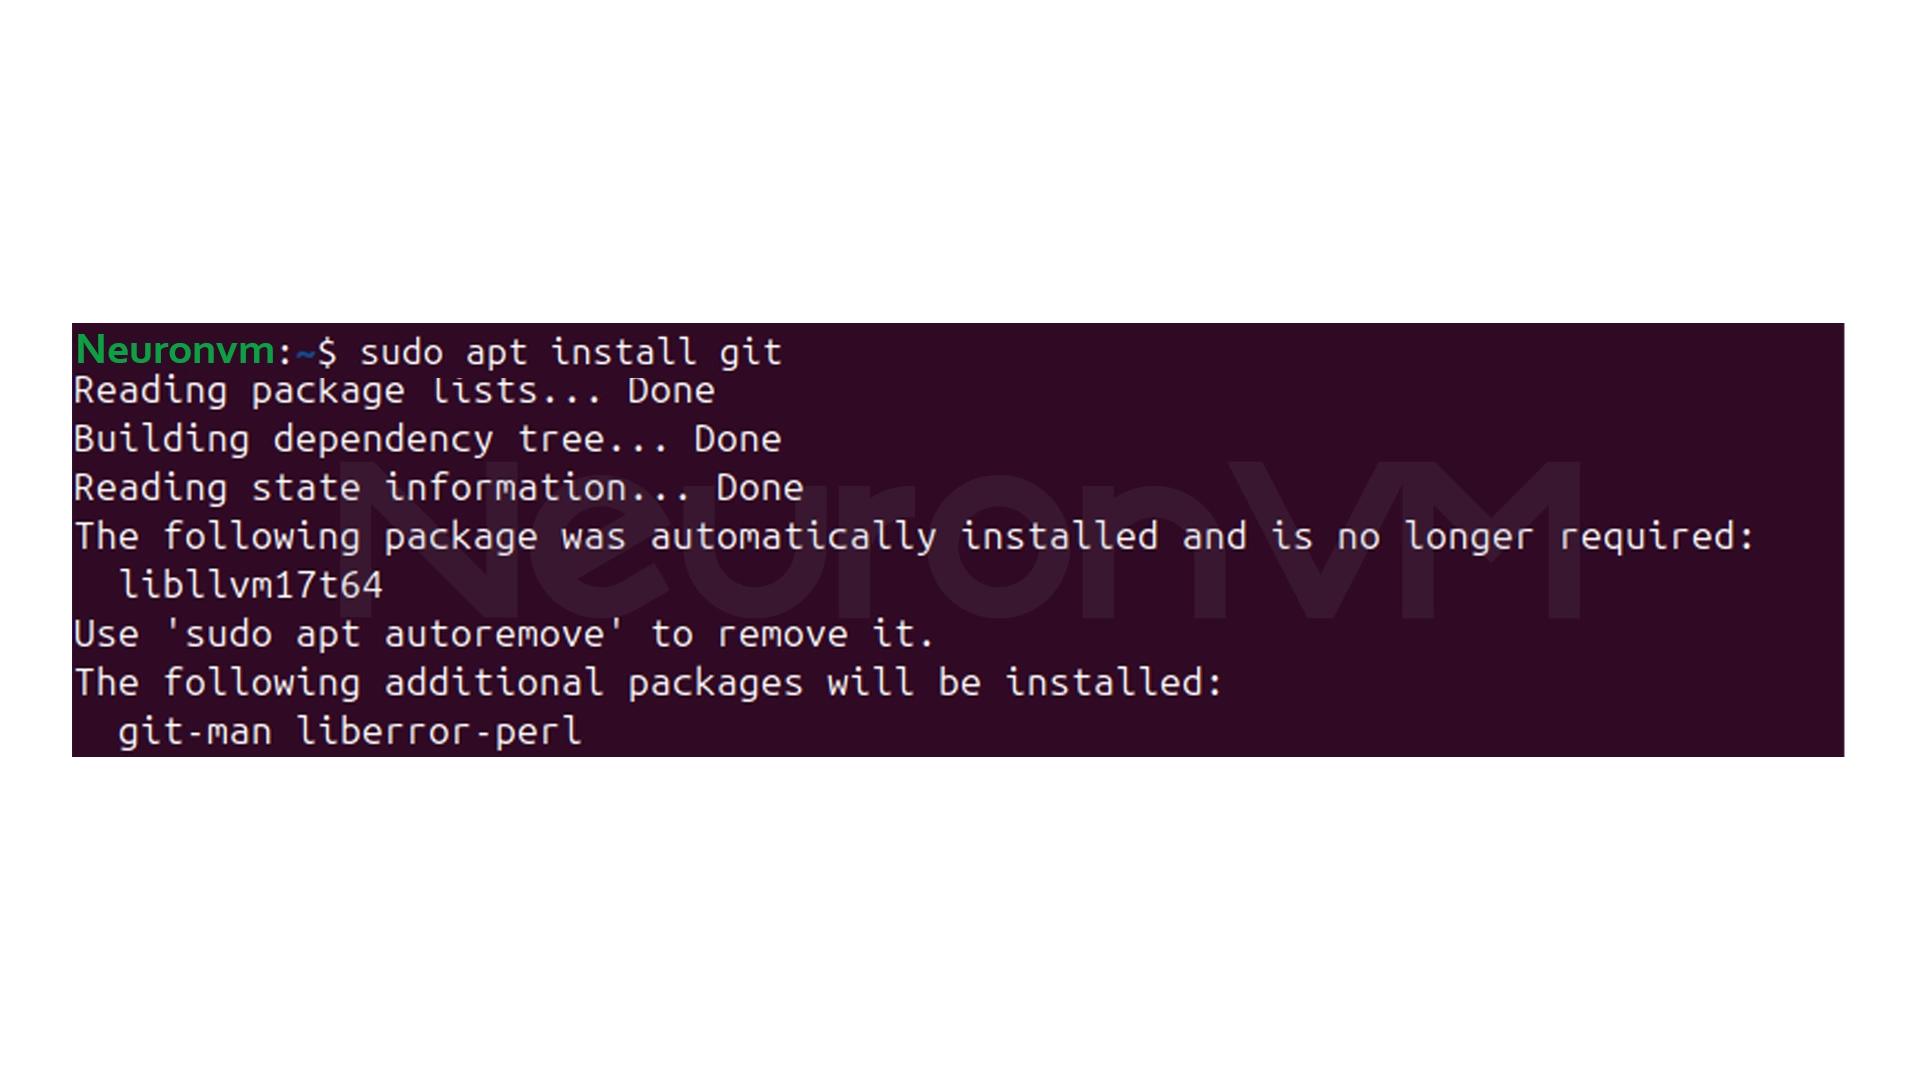
Then install Git so that you can get the Vim source from its official repository:
sudo apt install git
Now install the make command, the tool used to build and install packages:
sudo apt install make
Note: In newer versions of Ubuntu, make is usually installed by default.
Finally, install the build-essential package to have the required compiler available:
sudo apt install build-essential
Step 2: Install Vim
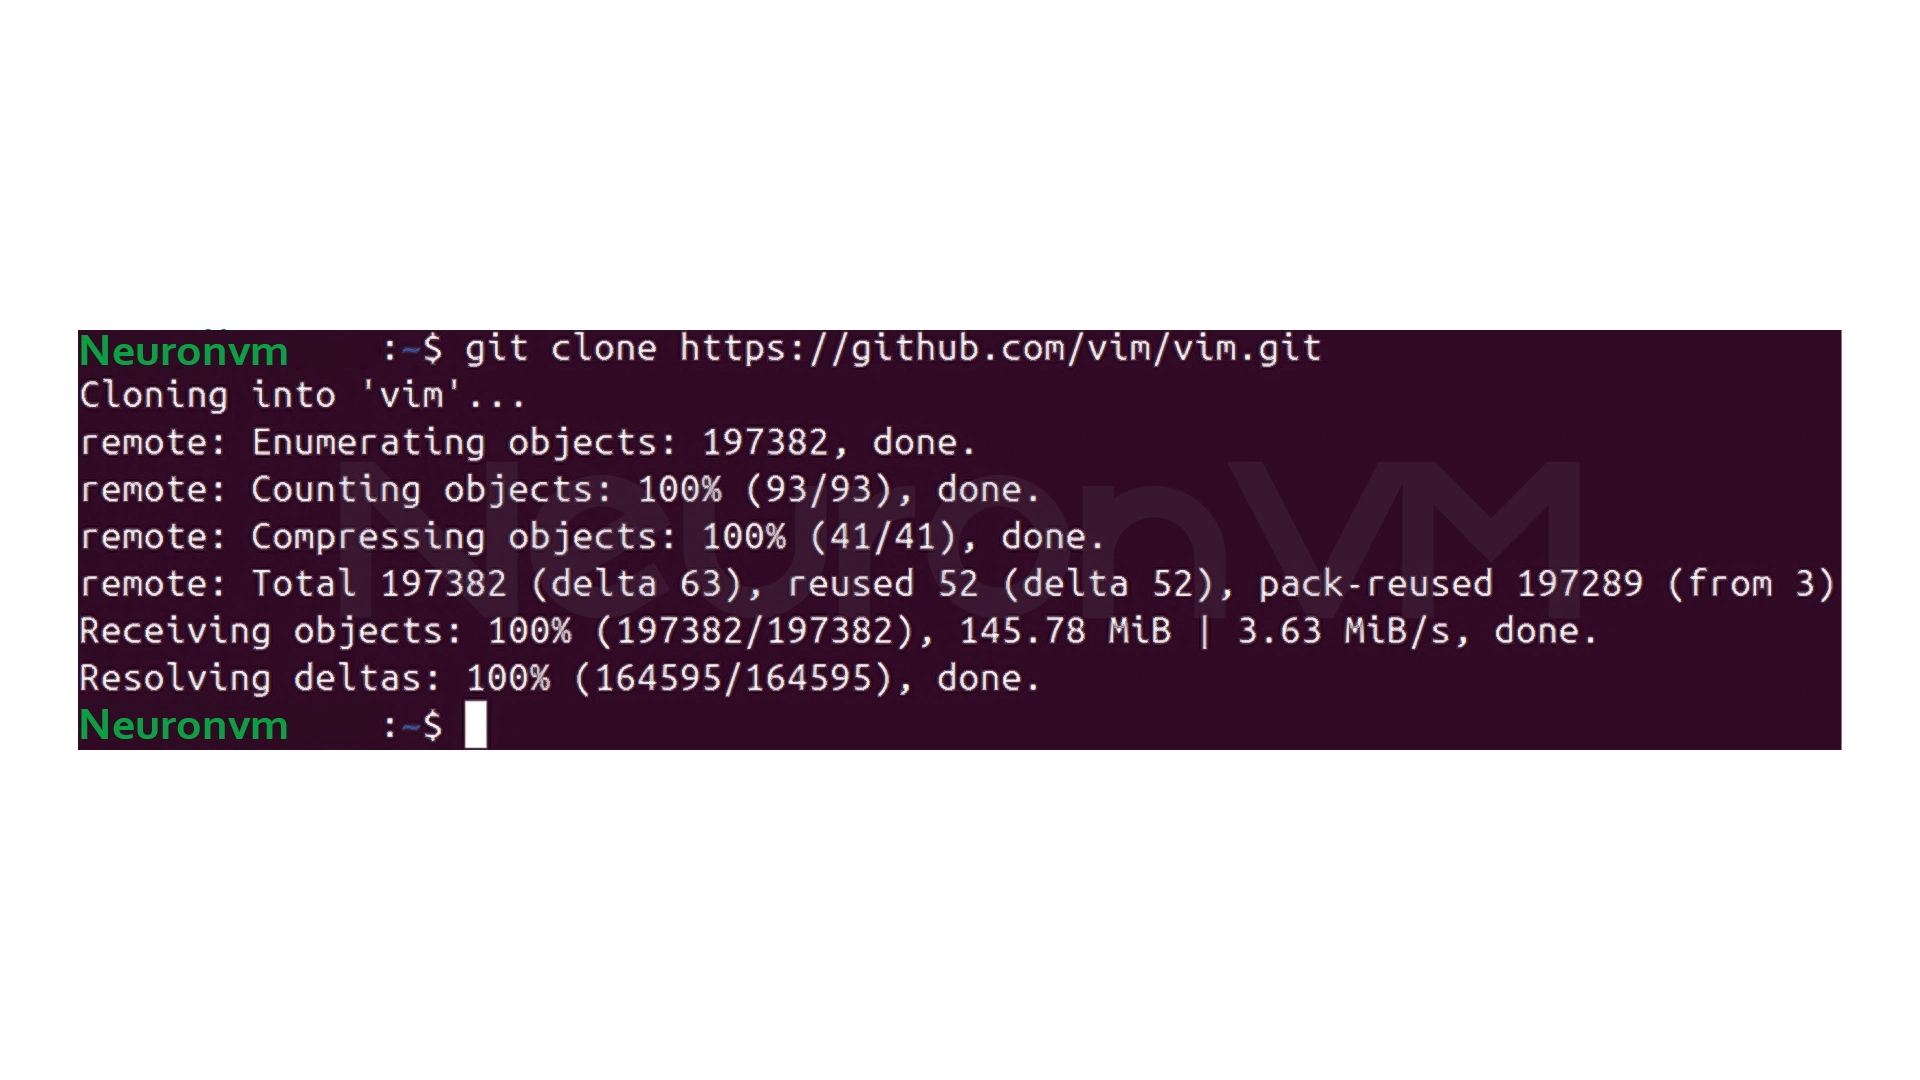
Now that all the prerequisites are ready, it’s time to install Vim itself from its official source on GitHub. Clone the Vim source from the official repository:
git clone https://github.com/vim/vim.git
Go to the project folder:
cd vim
Configure the build environment. This command enables many features, such as Python3 and multibyte (UTF-8) support:
./configure --with-features=huge --enable-multibyte --enable-python3interp=yes --enable-cscope --prefix=/usr/local
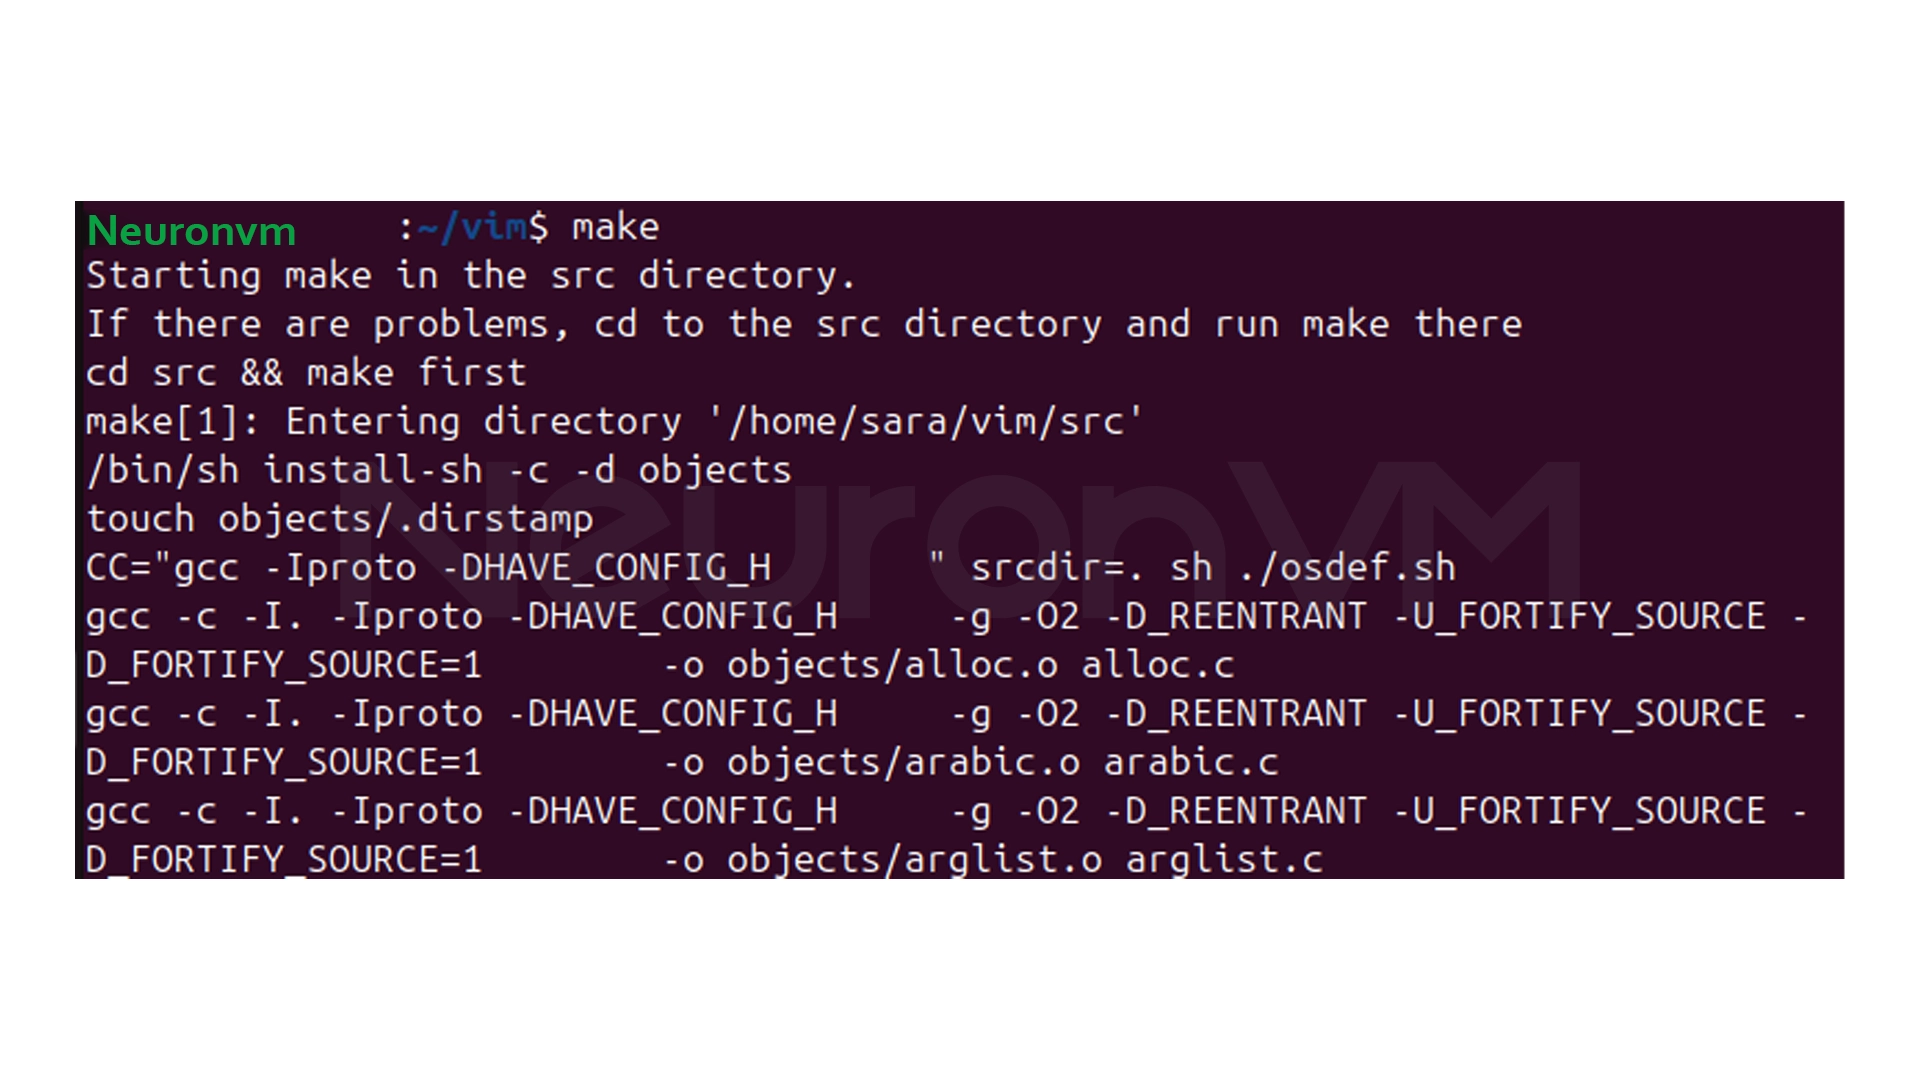
Now compile Vim:
make
And finally install it:
sudo make install
Step 3: Verify Vim Installation
To make sure everything is installed correctly, run the following command:
vim -v
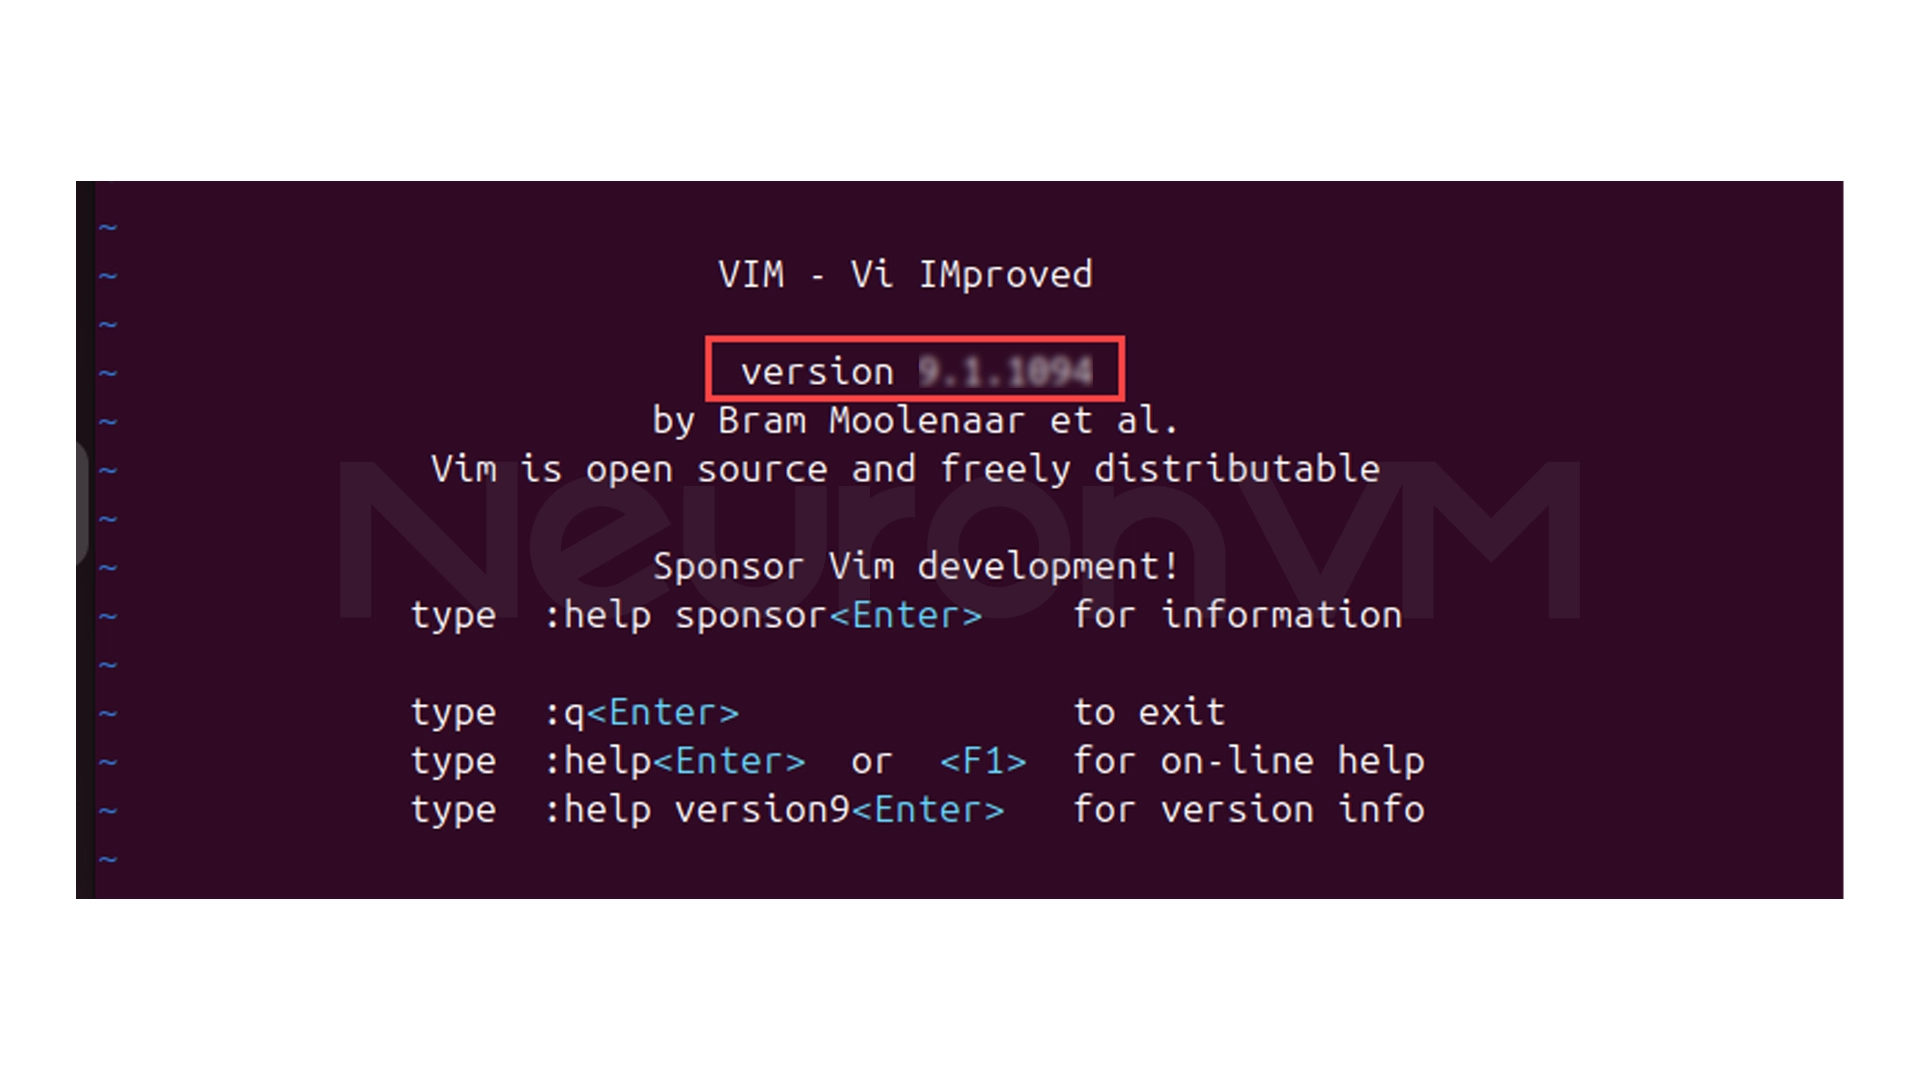
If you are shown the Vim version and information, the installation was successful.
Uninstall Vim (if needed)
If you ever decide to remove Vim from your system, simply go to the source directory and run the following command:
sudo make uninstall
And if you no longer need the project source, you can delete its folder:
rm -rf ~/vim
My personal experience with Vim
When I first installed Vim, I thought it was only for “hackers,” But after using it for a while, I realized that the speed and accuracy I get with Vim is unmatched by any other editor. Learning basic shortcuts like i, :wq, and dd was really enough to make my work in the terminal several times faster. My suggestion? Even if you use VSCode or graphical IDEs, don’t miss learning Vim, it’s especially useful when working on remote servers.
Conclusion
Installing Vim on Ubuntu 20.04 is simple, but it’s worth the experience. From installing the prerequisites to running your first Vim command, every step will help you feel more comfortable in the terminal environment. I always install Vim after setting up a new server, because I know that whenever I need to quickly edit files, Vim is always ready.


Yes, "sudo apt install vim" will install the latest version available in the repository, but the source will provide the latest features.
No, just open the terminal again and run "vim -v".
Go to the source folder and run "sudo make uninstall" , then delete the folder "rm -rf ~/vim".