How to Install Java on Ubuntu 22.04/20.04 with PPA


 17m
17m
 0 comments
 Print
Print
If you’ve ever wanted to run a Java project on Ubuntu, you’ve probably noticed that installing Java isn’t as easy as you might think, especially when it comes to the Oracle JDK version, which isn’t directly included in Ubuntu’s default repositories, that’s why using a PPA is usually the easiest and quickest way. Java is one of the oldest and most used programming languages, still used in a variety of projects from desktop applications to web services and mobile applications. Java 17 is an LTS release, making it a good choice for large, professional projects. In this tutorial, we’ll walk you through how to install Java on Ubuntu 22.04, set the JAVA_HOME environment variable, and remove Java or the repository if necessary, the goal is to keep everything clear and simple, even if you don’t have much experience with Linux.
Prerequisites
Before you start, make sure you have the following requirements so you don’t run into any problems:
- A server or system with Ubuntu 22.04 (this guide also works on Ubuntu 20.04 and Linux Mint 20).
- Access to a user with sudo permissions.
- Stable internet connection to download packages from PPA.
Installing Java on Ubuntu with PPA
Step 1: Add PPA
First, you need to add the Java repository to your system, you can choose one of these two PPAs:
sudo add-apt-repository ppa:webupd8team/java
sudo add-apt-repository ppa:linuxuprising/java
Step 2: Updating repositories and installing Java 17
After adding the PPA, update the system and install Java 17:
sudo apt-get update
sudo apt-get install oracle-java17-installer oracle-java17-set-default
Step 3: Check the installation
To make sure it’s installed correctly, check your Java version:
java --version
The output should be something like Java 17.
You can also use the following command to find the path to the Java executable:
which java
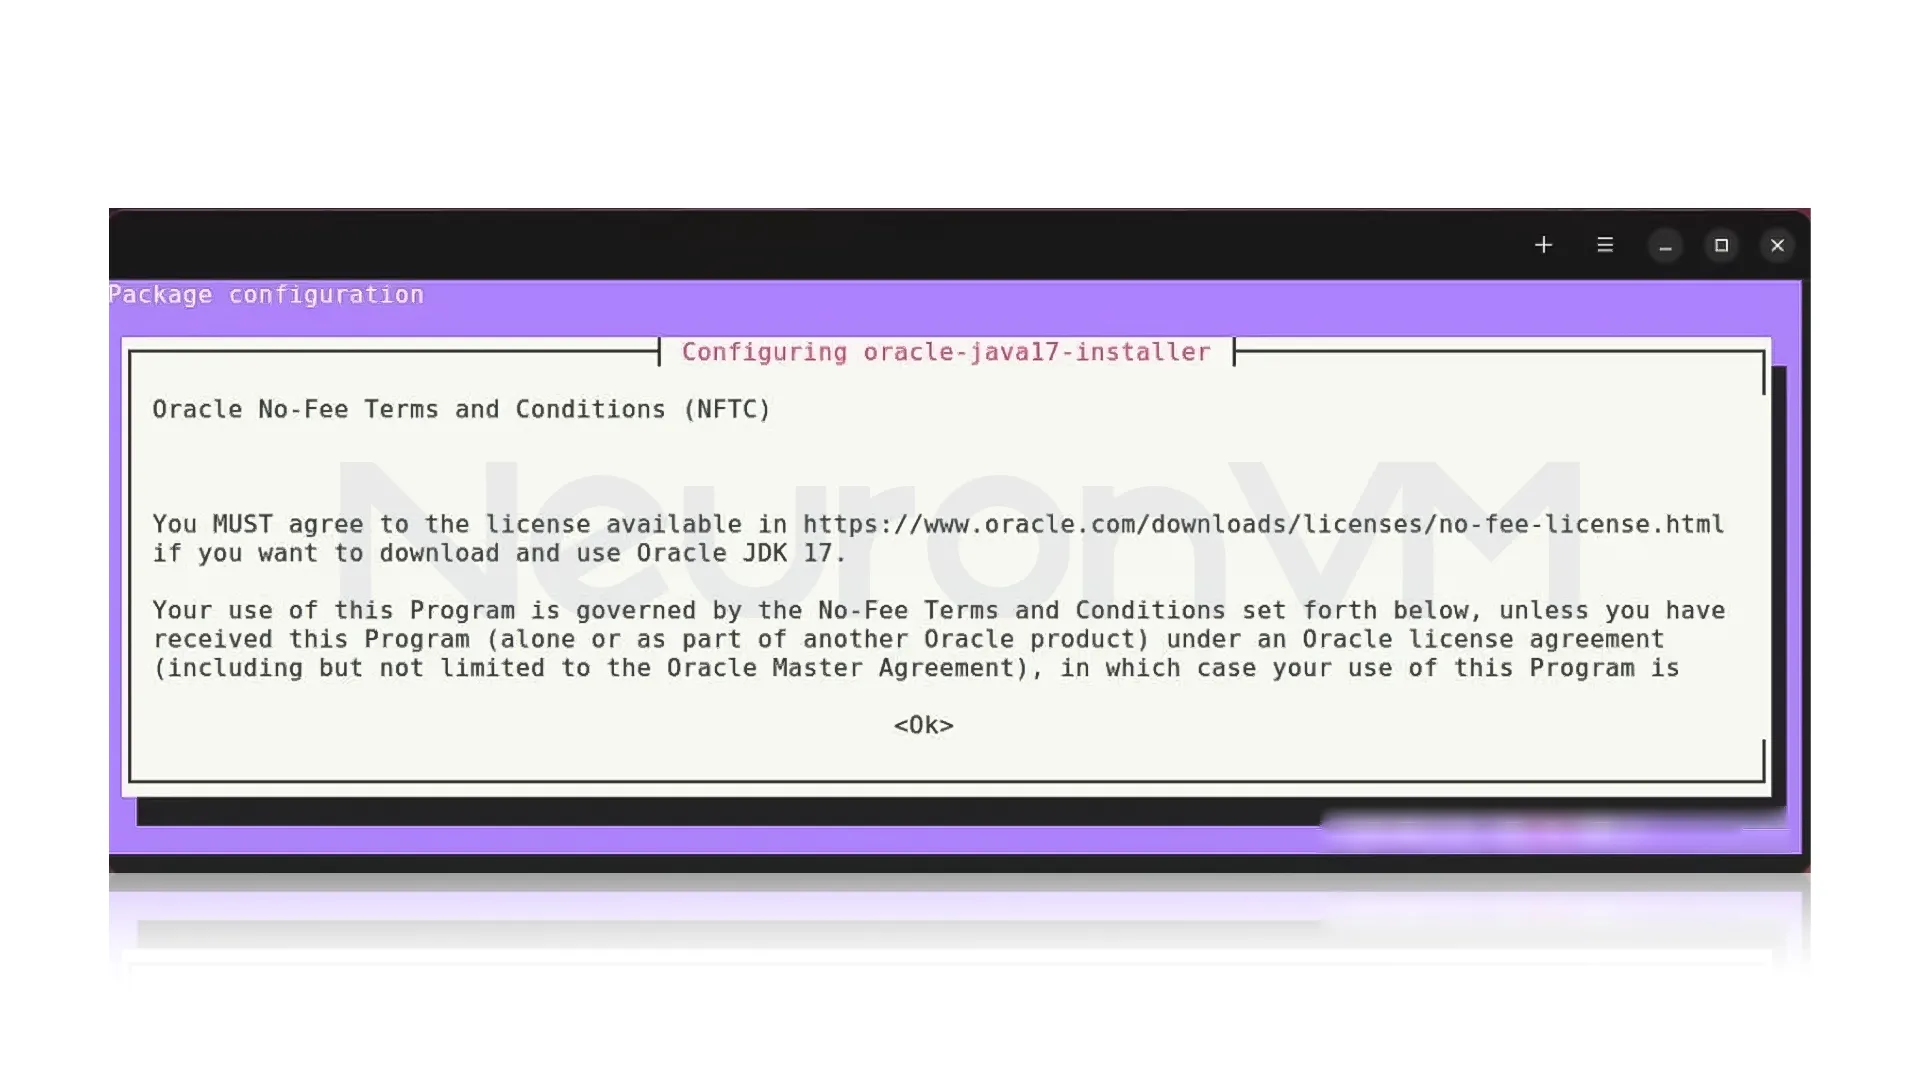
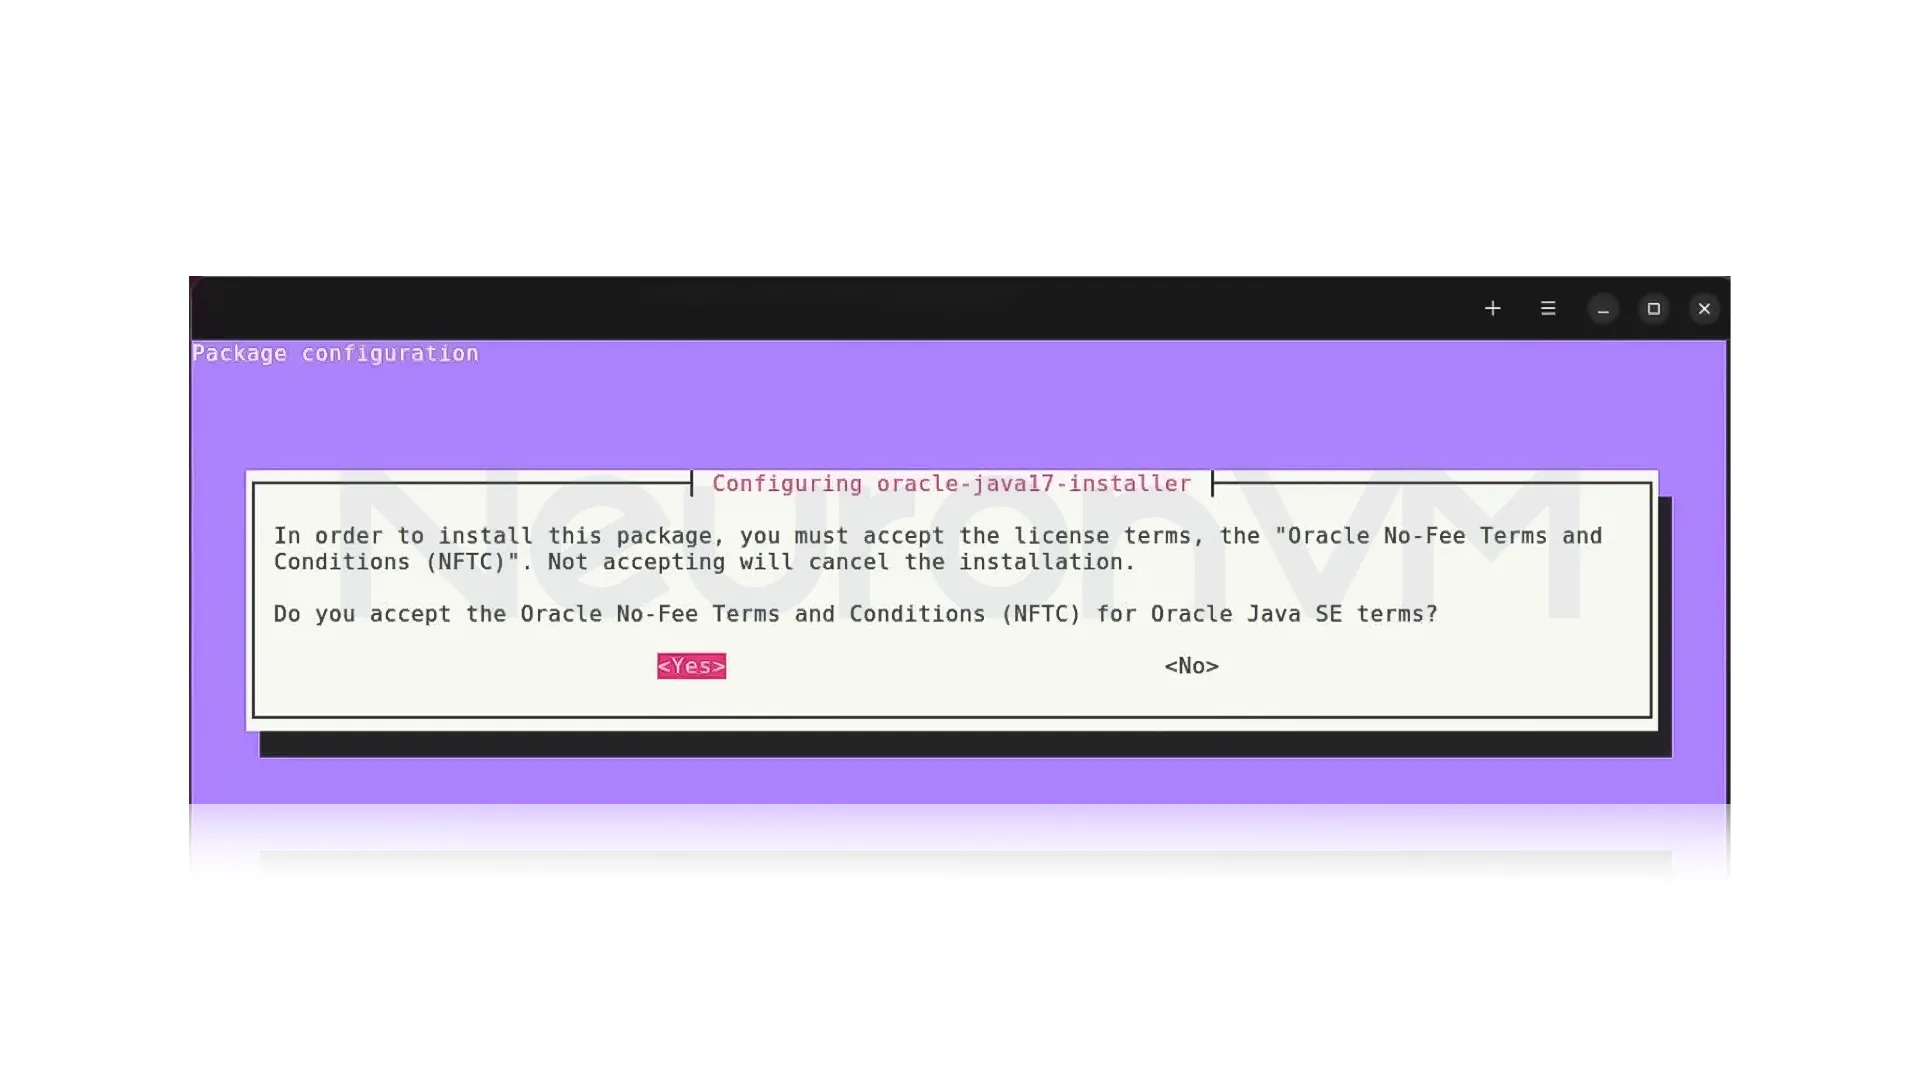
Note: For a successful installation, you should accept the specific usage terms of Oracle:
Setting the JAVA_HOME variable
Many times, some programs require the JAVA_HOME variable. To set it, first find the exact path to where Java is installed:
readlink -f /usr/bin/java | sed "s:jre/bin/java::"
Now add this path to the /etc/environment file:
echo "JAVA_HOME=/usr/lib/jvm/java-17-openjdk-amd64/bin/java" >> /etc/environment
source /etc/environment
You can also run it for testing:
echo $JAVA_HOME
If you see the right path, it means everything is OK.
Uninstall PPA Repository (optional)
Sometimes you may want to delete a PPA repository:
sudo add-apt-repository --remove ppa:linuxuprising/java
Or even remove the entire Java 17 along with its dependencies:
sudo apt purge --autoremove -y openjdk-17-jdk
Note: this guide also applies to Ubuntu 20.04 and Linux Mint 20.
Common Problems and Solutions
1- Slow package download speed:
When installing Java, the files take a long time to download or get interrupted.
Solution: Change the source of the Ubuntu repositories or use a more stable VPN/internet; sometimes the problem is related to the main Oracle server and requires patience.
2- Low disk space:
When the Java installation fails because there is not enough space on the VPS or the system.
Solution: Check the free space with the “df -h” command and, if necessary, delete unnecessary files or old logs you have.
3- User without sudo access
If your user account does not have administrative (sudo) permissions, the installation will not complete.
Solution: You must either log in with the root account or ask the server administrator to enable sudo access for you.
4- Interference with other software
Some applications or services require a specific version of Java, and installing a new version may cause incompatibility.
Solution: Check the software requirements before installing. If necessary, you can keep multiple versions of Java running at the same time and only change the default version.
Why does the Java version matter?
- Java 17 is an LTS release and will receive updates and support for years to come.
- 19 or 20 releases are fine for testing new features, but can be a little problematic in some environments, like the production environment.
- Choosing the right version prevents security issues or library incompatibilities.
Recommendation: Use the long-term support version (like 17) for servers and also important setups, you can try out the latest versions just on your own computer when developing.
Connection between the real environment and Java applications
Java is still a key player in the software world, with many important systems and applications relying on it. For example, banks and large financial companies use Java to build payment setups and also handle money transfers because it’s super reliable and keeps things safe from hacks. Also, some of the well-known big data tools like Hadoop and Spark are made with Java, which proves Java isn’t just for desktop and web apps; it’s great for big company setups and processing tons of data too.
One of Java’s top features is its “Write Once, Run Anywhere” trick, which means you code a program on one computer, and it works on all kinds of operating systems without even needing extra work. Programmers and businesses love this because it lets projects run in tons of places with way less trouble. Installing Java on the server, even for small projects, will prepare you to run critical applications and services without problems and benefit from a stable and reliable environment.
Real-world experience installing Java on a server
The first time I tried to install Java on a new Ubuntu server, I thought it would be just a simple command and that would be it. But I got stuck in the middle because there were several other services on the same server, each requiring a specific version of Java. I immediately understood why knowing the installation path, setting JAVA_HOME, and even keeping multiple Java versions side by side was so important. Once everything was set up and the project was up and running, I felt like I had complete control of the server.
Security tips after installation
1- Keep the official PPA active
Always make sure that the official PPA you use to install Java is enabled on your device; this will ensure that the latest security updates are delivered directly to your system and protect you from known attacks.
2- Regular updates
By running the following command, your system and Java packages will always be up to date:
sudo apt update && sudo apt upgrade
This prevents security issues between software.
3- Setting JAVA_HOME only for necessary users or services
If Java is only used by a specific user or service, it is best to define the JAVA_HOME path for that user only; this action actually reduces the risk of Java being compromised or even used unintentionally by other users on the system.
4- Monitoring and security tools for sensitive services
If Java is running on a server that has sensitive services or even important data, it is really necessary to use security monitoring and scanning tools. This will help you quickly identify unusual behavior and prevent potential problems.
Alternative ways to install Java and why PPA is a better choice
There isn’t just one way to install Java on Ubuntu, because you can download the tar.gz file directly from Oracle, use Snap packages, or even rely on OpenJDK included in Ubuntu’s default repositories, but you have to know that each of these methods has its own problems:
Manual installation with tar.gz puts you entirely in charge of updates, so consider that every time a new version is released, you have to download the file again, extract it, and change the environment variables, this action is very time-consuming and error-prone, especially on servers.
Snap packages are easy to install, but they aren’t always compatible with all applications, so it will cause many enterprise tools to expect Java to be installed in a specific path, which Snaps typically don’t follow, and that causes a huge problem.
The default repositories (OpenJDK) are stable, but pay attention that they don’t always provide the latest version of Oracle JDK and may lag in some updates.
This is why using a PPA is the best choice: you have access to the latest official version of Oracle JDK, and your updates are automatic, plus it integrates well with Ubuntu’s package management system, so for most developers and system administrators, this method is the fastest and most reliable solution, especially in sensitive and production environments.
Comparing different Java versions and which one is best for you
Java has had many versions over the years, and like every other programming language, each version has its own unique changes, choosing the right version is very important, especially if your project is running in a server environment.
Java 8: It is still used in many companies because it is stable and it also has high compatibility with older libraries and frameworks, so if your project is old or depends on software that only works with Java 8, this version is the best choice, and there won’t be any problem.
Java 11: It is a popular version because it is both stable and it also has more modern features than Java 8. Because of all those features, many organizations choose Java 11 when migrating from Java 8.
Java 17: It is currently one of the best options put there, because it has long-term support, is more secure and optimized than previous versions mentioned earlier. For new projects or migrating from older versions, Java 17 is the recommended choice.
Java 21: This is the latest available version of Java, which has many advanced features that make it an ideal choice for developers, but keep in mind that some libraries and frameworks are not yet supported!!!
Conclusion
Java is still one of the main pillars of the programming world, and many applications and also services cannot really run without it. Installing Java on Ubuntu may seem a bit complicated at first glance, but as you can see, with the help of PPA, you can quickly and easily install Java 17, set the JAVA_HOME path, and remove it if necessary, i hope this tutorial can help you set up the Java environment on your server or Linux system without any hassle and get ready to run your projects.
No, you can use the default OpenJDK packages, but the PPA makes it easier to install newer versions.
Java 17 is a newer LTS version and has longer support, making it a better choice for important projects.
You might like it