Install and Configure Kali Linux on Windows 11 (Beginner-Friendly Guide)

 Study duration :
12 Minutes
Study duration :
12 Minutes
 0 Comment
Are you interested in hacking, cybersecurity, or Linux, but don’t know where to begin? Don’t worry, because as the NeuronVM team, we’ve made this article for beginners like you. In this “Install and Configure Kali Linux on Windows 11”, we will show you how to run Kali Linux on a Windows 11 computer step by step, You don’t need to be a tech expert, and you won’t have to erase or change your system, because it is easier than you might think!
Before we forget, let’s thank the built-in Windows feature called Windows Subsystem for Linux, which you can install and use Kali Linux right inside Windows, it’s safe, fast, and perfect for beginners who want to explore tools used in cybersecurity, we will walk you through everything, just follow along and you will be ready.

What is Kali Linux?
Kali Linux is a special kind of operating system that is mainly designed for people who are curious about cybersecurity, Kali Linux will give you tools to learn how hackers break into systems or how to stop them, and it also comes with a big collection of tools already installed, so you don’t have to search for them, these tools can help you check the security of networks, websites, passwords, and much more, even though it is a powerful tool kali-linux can be bigenner-friendly if you take your time and learn with us, think of Kali Linux as a safe lab where you can learn the skills used in hacking and protecting systems.
Why install Kali Linux on Windows?
If you’re new to cybersecurity, you might wonder, Why would anyone install Kali Linux on Windows? The simple answer, it’s the easiest and fastest way to start learning; you can run Kali Linux right inside your Windows 11 without worrying about breaking anything, whether you’re just curious about ethical hacking or starting your journey into IT security, Installing Kali Linux on Windows makes everything much more accessible and less overwhelming, so if you’ve ever wanted to explore cybersecurity tools, test your knowledge, or just see what kali can do, this is the perfect way to begin.
What is WSL (Windows Subsystem for Linux)?
WSL is a special feature of Windows that will help you run a real Linux environment inside your Windows 11 without needing a separate computer or virtual machine, think of it like you are using Windows, but you can open a terminal and run a Linux command, install Linux tools, and even use all Linux apps so it is basically like having two systems at once, WSL is begginner-friendly, fast, and does not use a lot of resources like traditional virtual machines, it’s perfect if you want to learn Linux or cyber security, but you don’t want to risk messing up your main system, in short WSL makes learning and using Linux easy even if you’re just starting out.
Configuring Kali Linux on Windows 11
In this part, you will learn to install Kali Linux on Windows 11, we will start by setting up WSL, then install Kali Linux, and finally add Win-KeX to get a full desktop interface, it is not that hard; you just need to follow the steps one by one.
Requirements
- A Computer with Windows 11 installed
- A little bit of knowledge about using
- Some idea of what WSL is
📌 Enabling WSL on Windows 11
Before installing Kali Linux, we need to turn on some features in Windows, these steps will help you set up the Windows Subsystem for Linux, which lets you run Linux right inside Windows 11.
Open PowerShell as Administrator & Enable WSL
Click on the start menu, type PowerShell, right-click it, and choose “Run as Administrator”, then copy and paste the command below into the PowerShell, then press Enter.
dism.exe /online /enable-feature /featurename:Microsoft-Windows-Subsystem-Linux /all /norestart
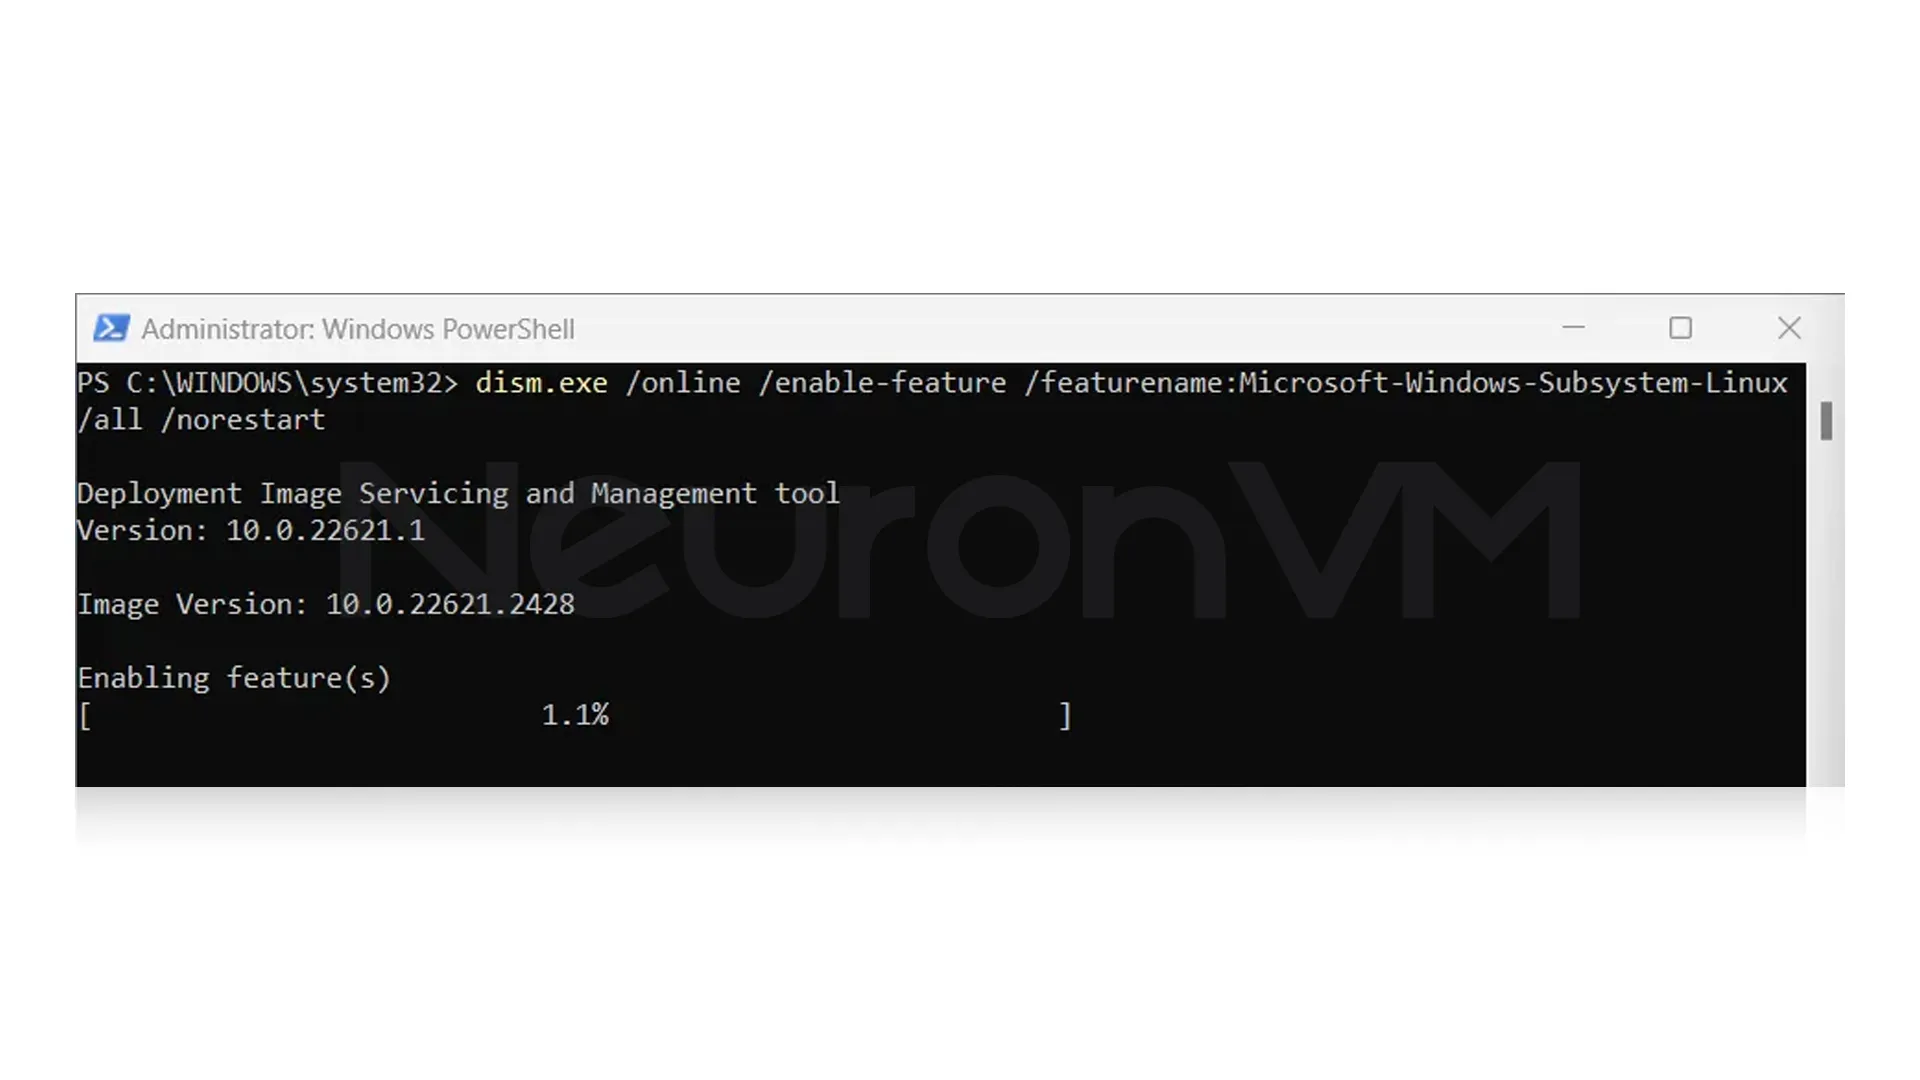
The output after entering the command should look like this:
Set WSL version to 2
To make sure you’re using the latest version of WSL, run this command in PowerShell:
wsl — set-default-version 2
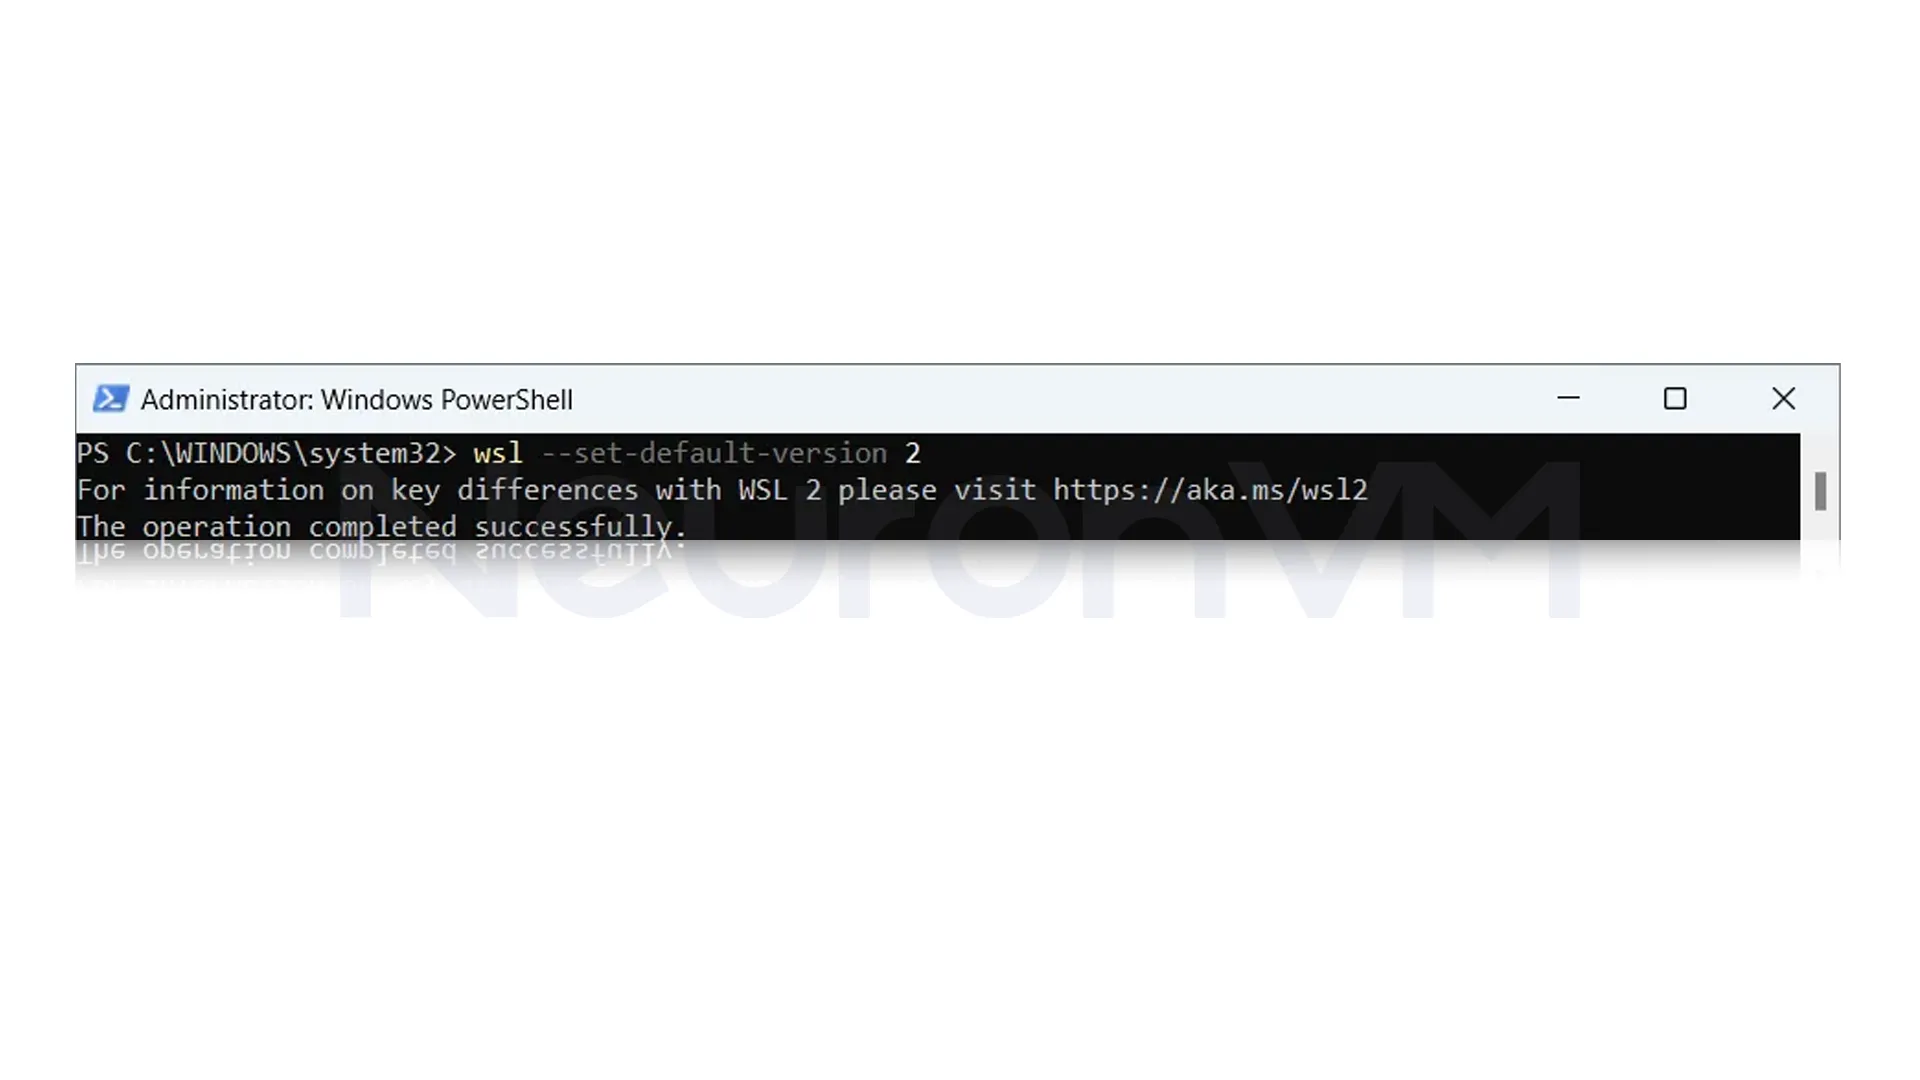
This tells Windows to use WSL 2 by default when installing Linux, Once that’s done, restart your computer to finish the setup.
📌 Check if WSL is Installed Correctly
Once your computer restarts, you can confirm that WSL is installed by opening the Windows Features settings, to do this, type “Turn Windows features on or off” in the Windows search bar, then look through the list and make sure that “Windows Subsystem for Linux” has a checkmark next to it, as shown in the image below.

Installing Windows Terminal
For a smoother and better terminal experience, download and install Windows Terminal from the Microsoft Store, this is useful if you don’t already have it; you can find it easily by searching in the store or using the link.
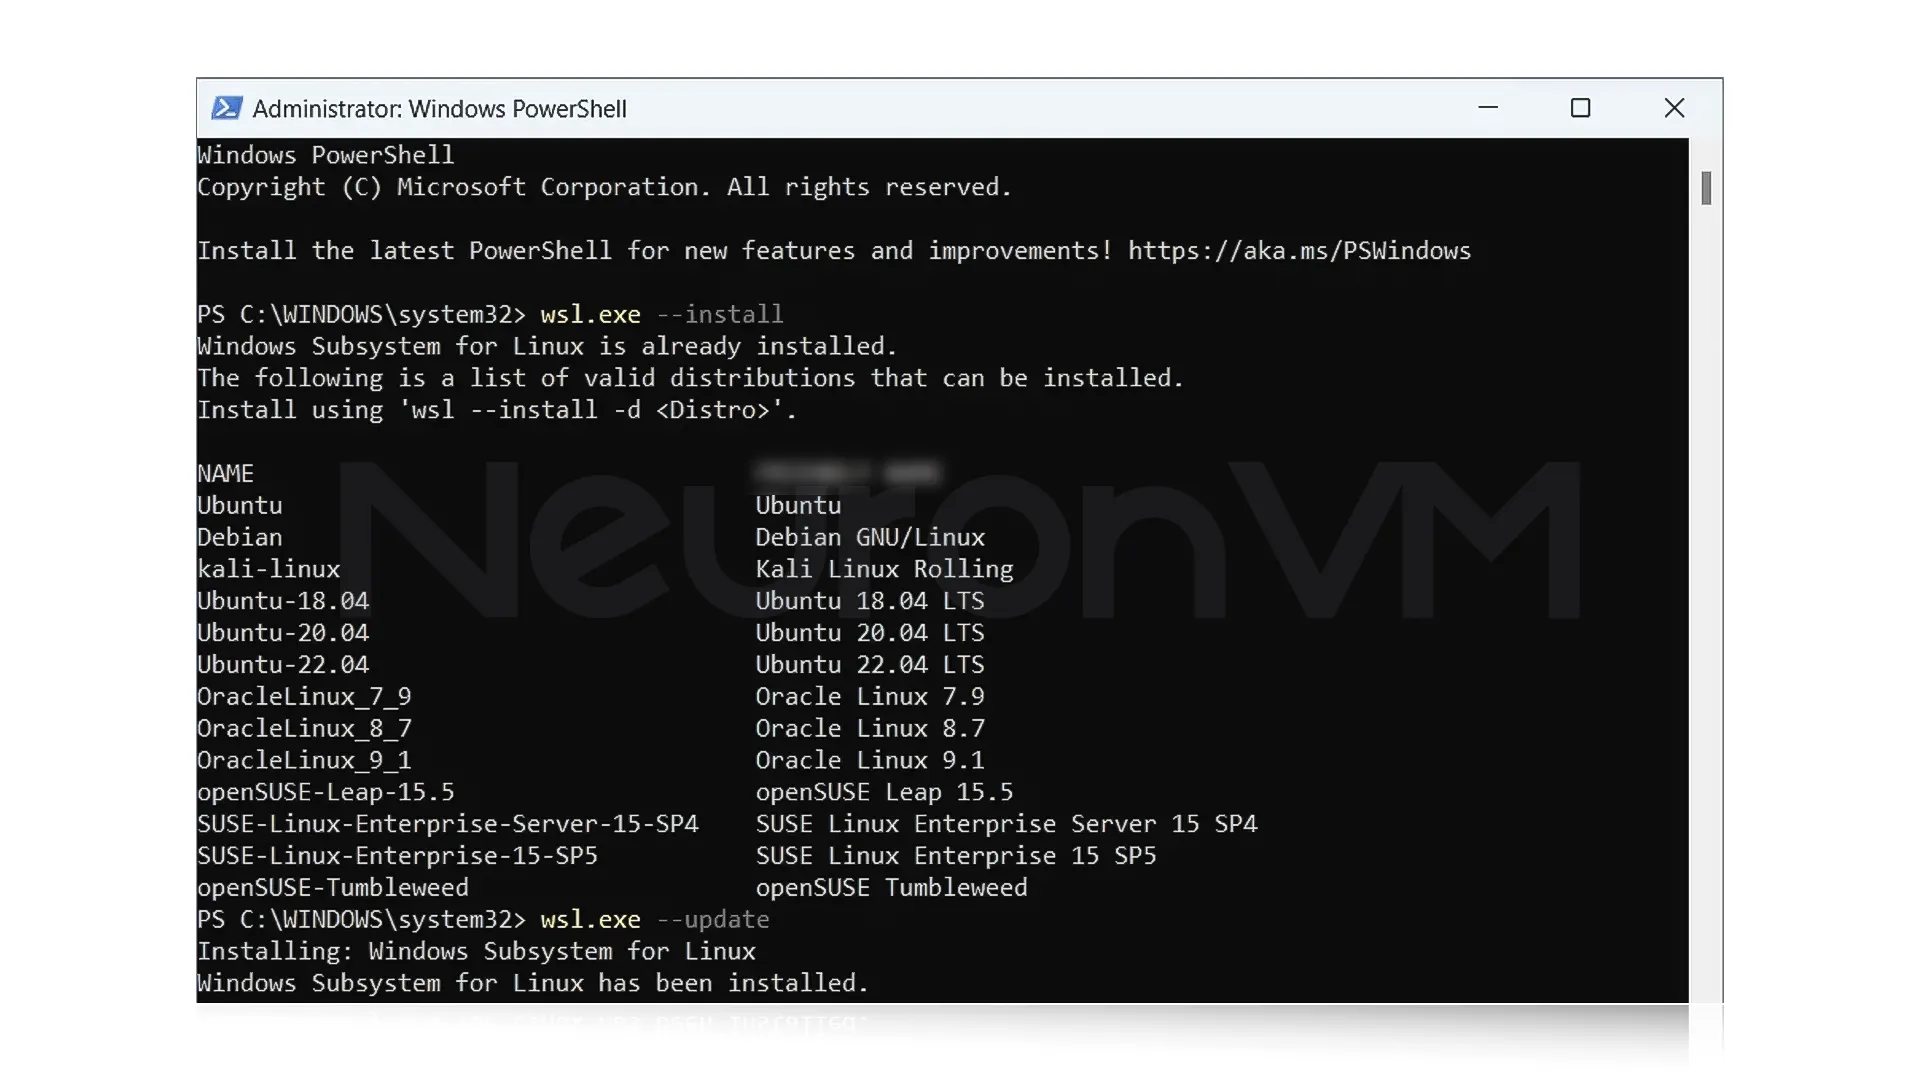
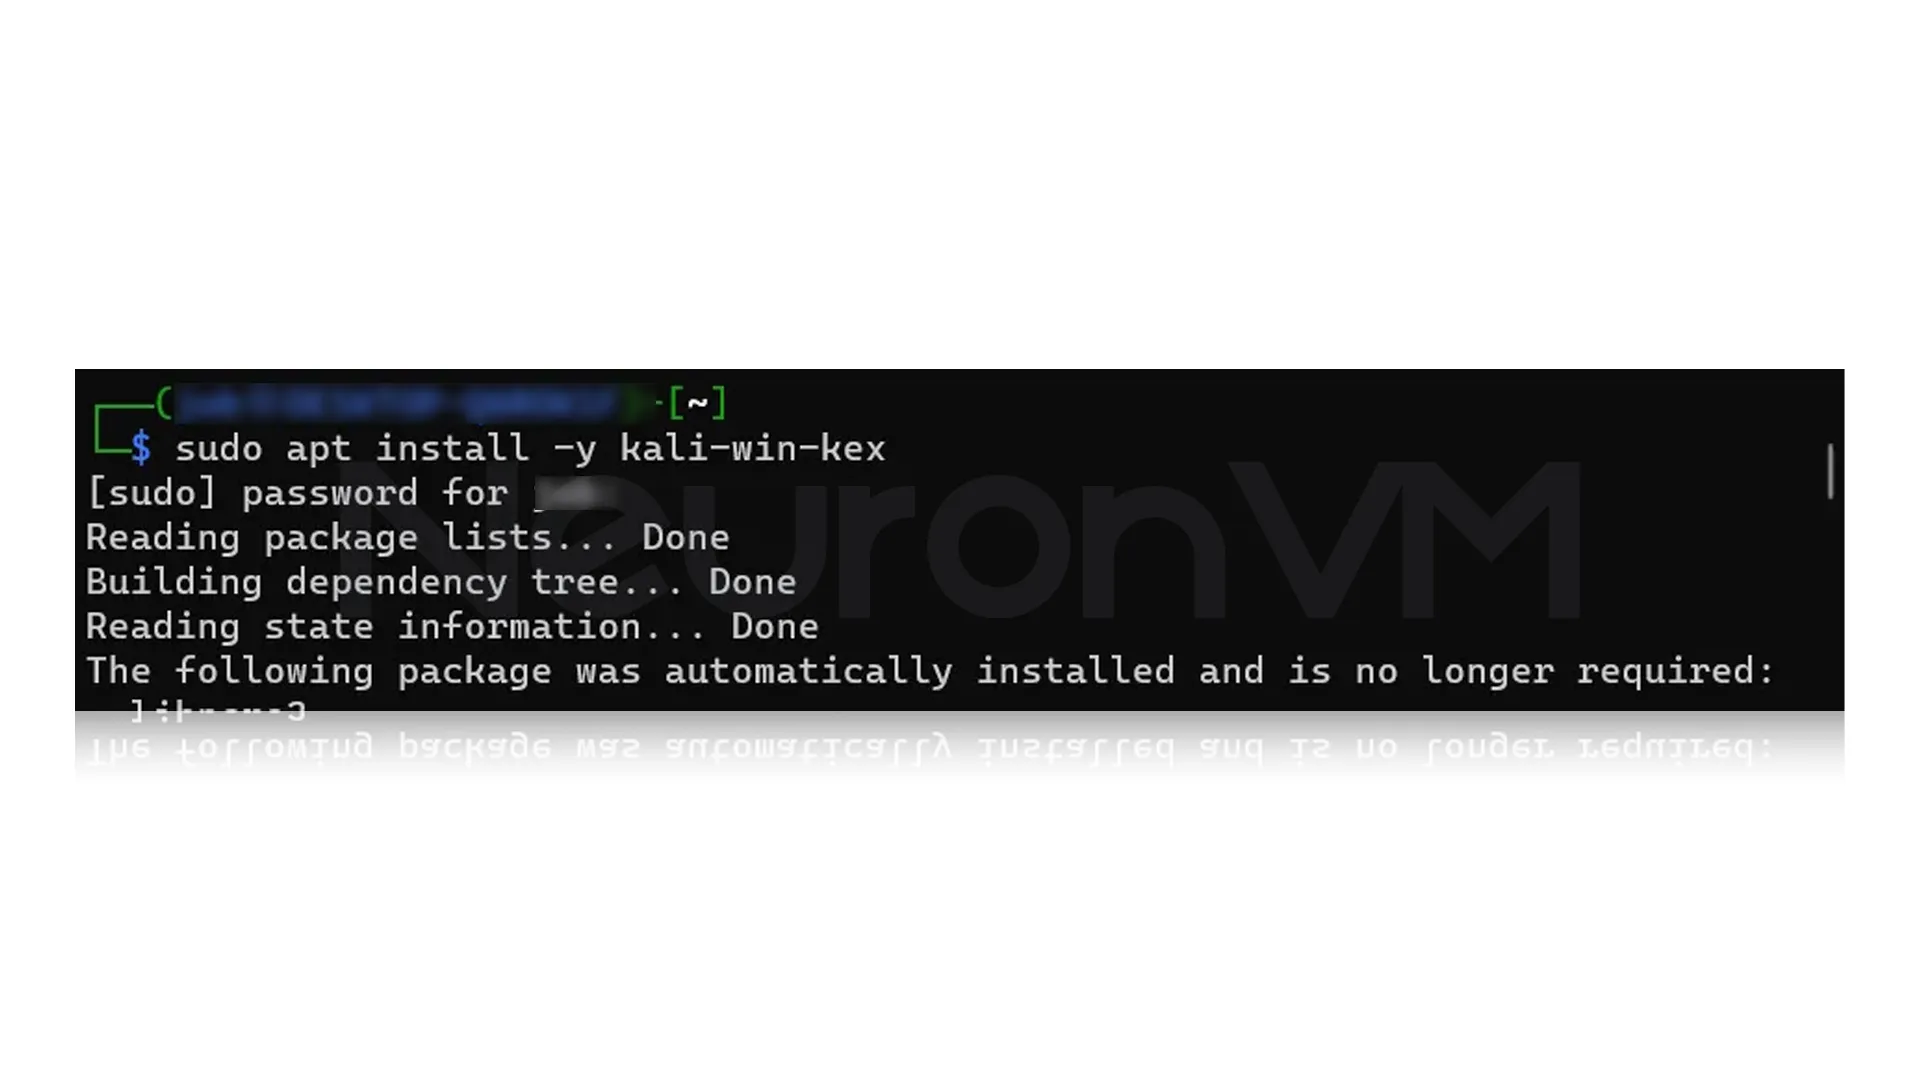
📌 Installing Kali Linux
After you have WSL installed and ready, the next step is to install Kali Linux on your Windows 11 system.
Download Kali Linux
Go to the Microsoft store and search for Kali Linux, or use the provided link to find it directly, and click install to download and install Kali Linux on your computer.
Launch Kali Linux
Once installed, open Kali Linux from the start menu, it will open inside Windows terminal, which gives you a command-line interface to interact with Kali.
Create a User Account
The first time Kali Linux starts, it will prompt you to create a non-root user account and set a password, this user will be the default account for running commands safely, follow the on-screen instructions carefully to set up the username and passwords.
Update Kali Linux
After your account is ready, it’s important to update the system to get the latest security patches and software, run this command in the Kali Terminal:
sudo apt update && sudo apt upgrade -y
This command installs the latest package lists and upgrades installed software automatically, by following these steps, Kali Linux will be properly installed and up-to-date on your Windows 11 system.
 📌 Launching Win-Kex (Kali GUI on Windows 11)
Once Kali Linux is installed and updated, you can launch the graphical desktop environment using the GUI using Win-Kex, which lets you use Kali with a full desktop interface inside Windows, there are different ways to launch depending on how you want it to look and feel :
Windows Mode:
This opens the full Kali Desktop in a separate window, to make this happen, run the following command:
kex —-win -s
Seamless Mode
This blends Kali apps directly into your Windows Desktop, making it feel like they are native Windows apps, run:
kex — sl -s
Conclusion
You’ve just learned how to install and configure Kali Linux on Windows 11, step-by-step, in a simple and safe way, if you are new to Linux or cybersecurity, don’t worry, starting can feel a little bit confusing, but following this guide means you are already on the right path, thanks to the tools like WSL and Win-Kex, you don’t need to install a separate system or risk breaking your Windows computer, now that you already have Kali Linux installed on your Windows computer, feel free to explore and make sure to check NeuronVM for more information.

