


How to Manually Partition on Debian 12

 7m
7m
 0 comments
 Print
Print
If you want to have complete control and manage your operating system, you should understand How to Manually partition on Debian 12. You can organize storage in the way you need it by following our steps.

8 Steps to Manually Partition on Debian 12
Manually Partitioning on Debian might sound overwhelming in so many people’s heads but we will break it down to you to make it as easy for you.
1-Initial Configuration
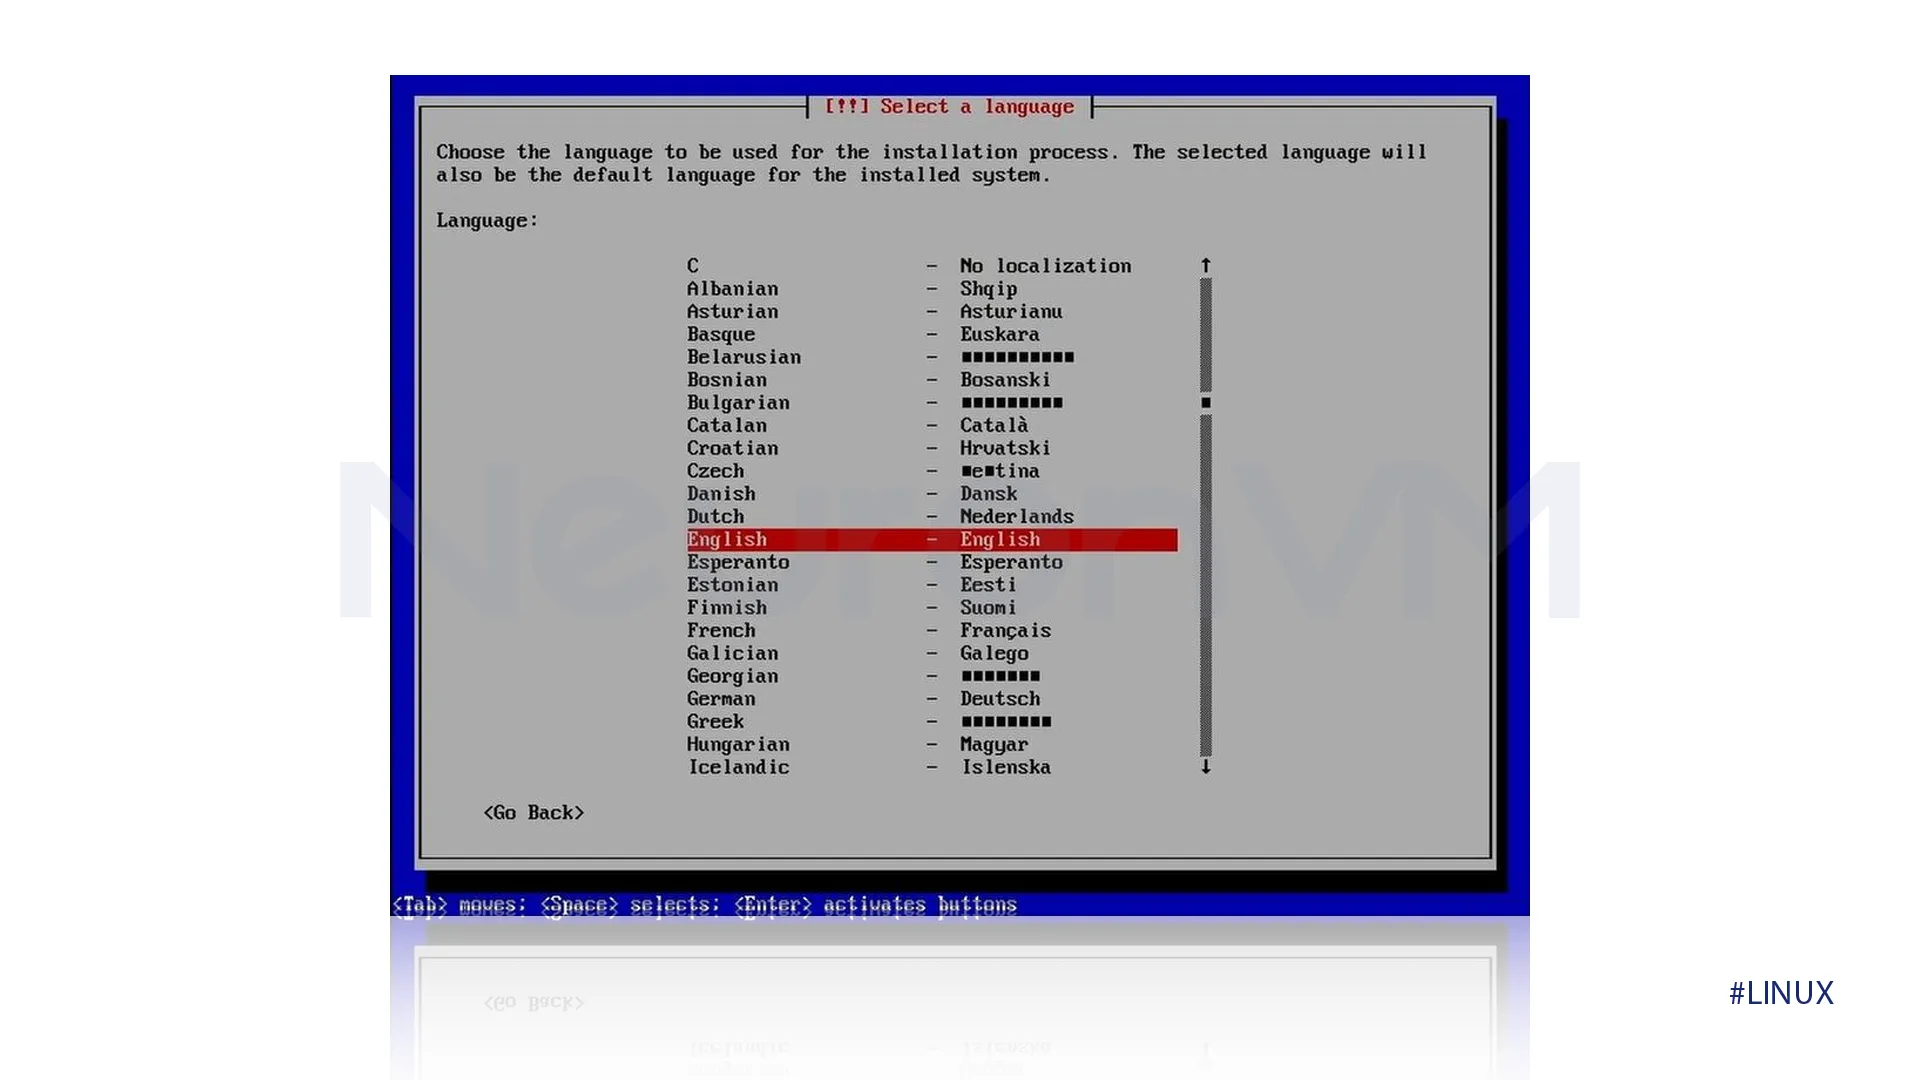
1-For the first step, start by choosing the desired language for your operating system.
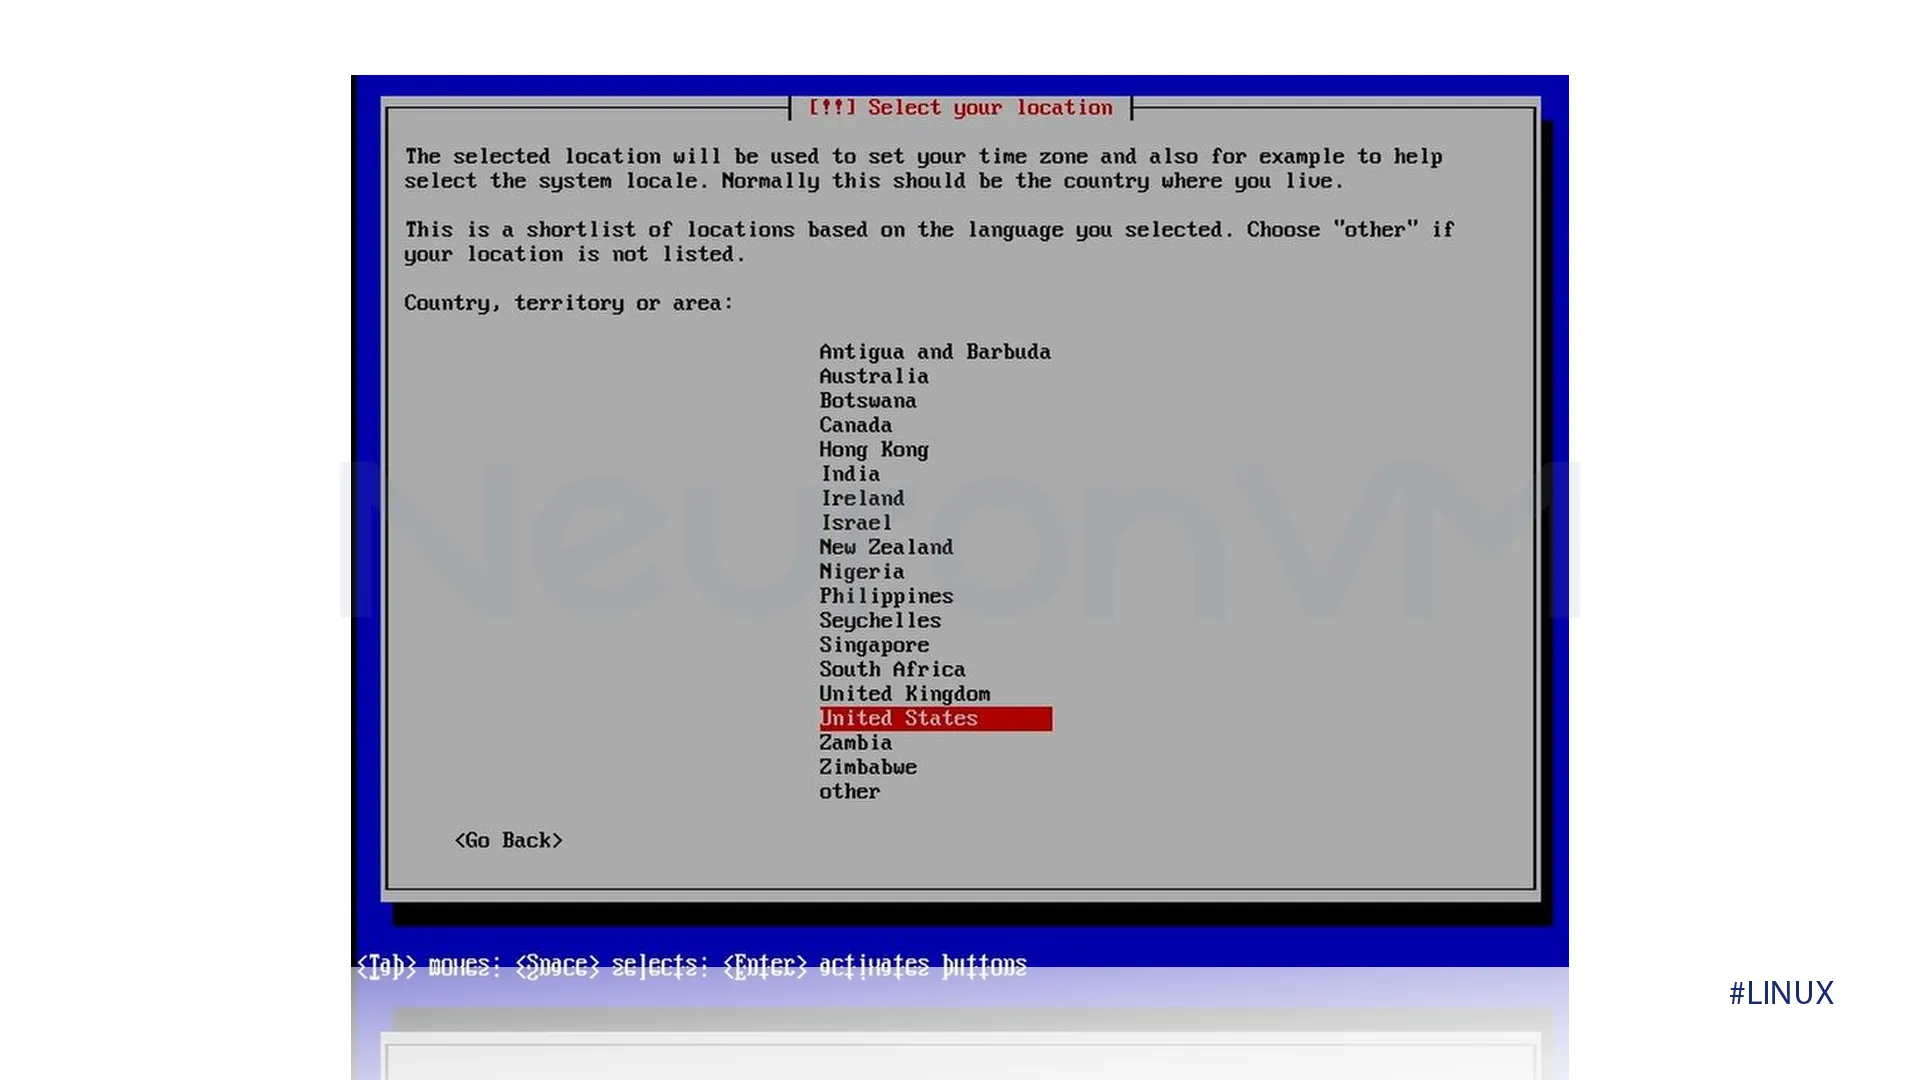
2-Then select the country you live in to let the operating system set the time zone, make sure to select your keyboard layout too.
2-User and System Setup
3-First start by configuring your system by setting a hostname, we will use Debian in this tutorial.
4-You need to leave the domain name empty unless it is specifically required.
5-You have to skip setting a root password to disable the root account, this step will enable the first user you create to have sudo privileges for administrator tasks.
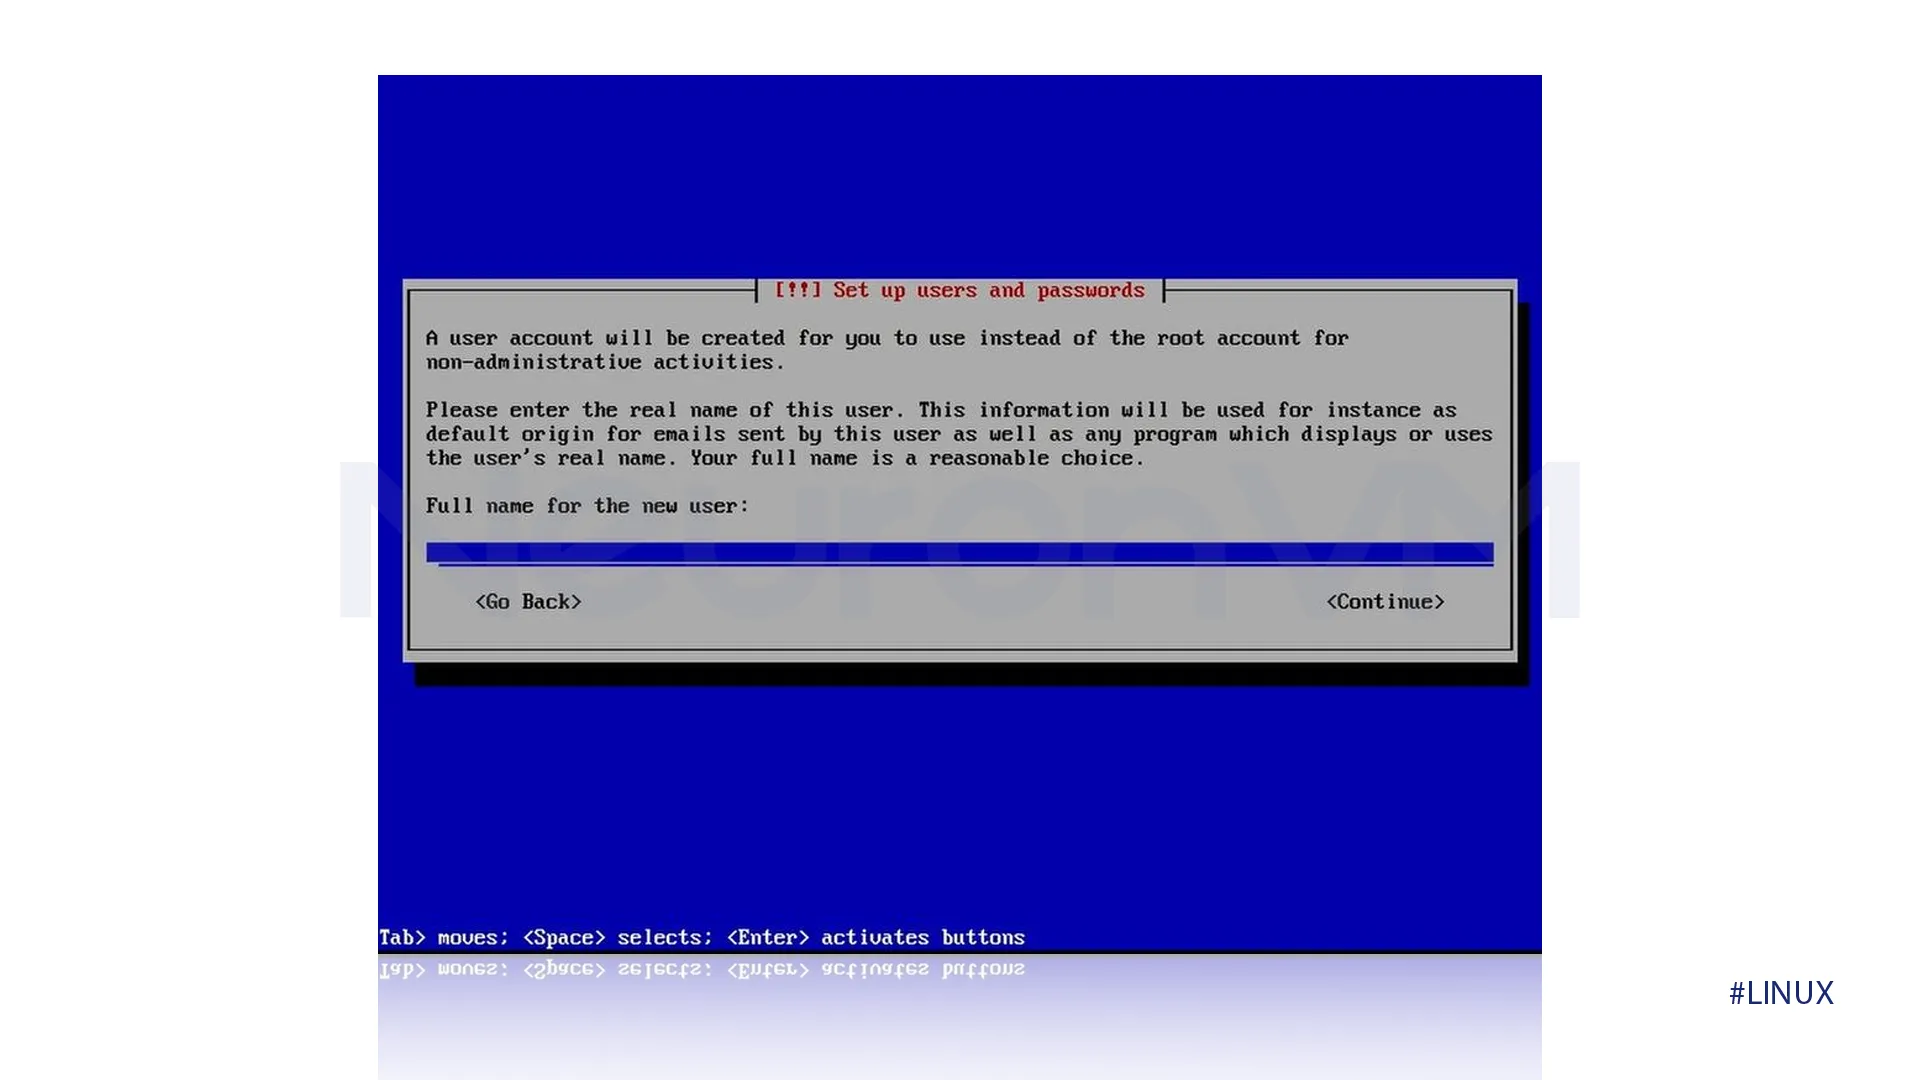
6-Make sure to create your user account by providing your full name, and a username for login, and also make sure to set a strong password.
3-Manual Partitioning Selection
7-For taking all of the partitions to your hands select manual to control your disk setup

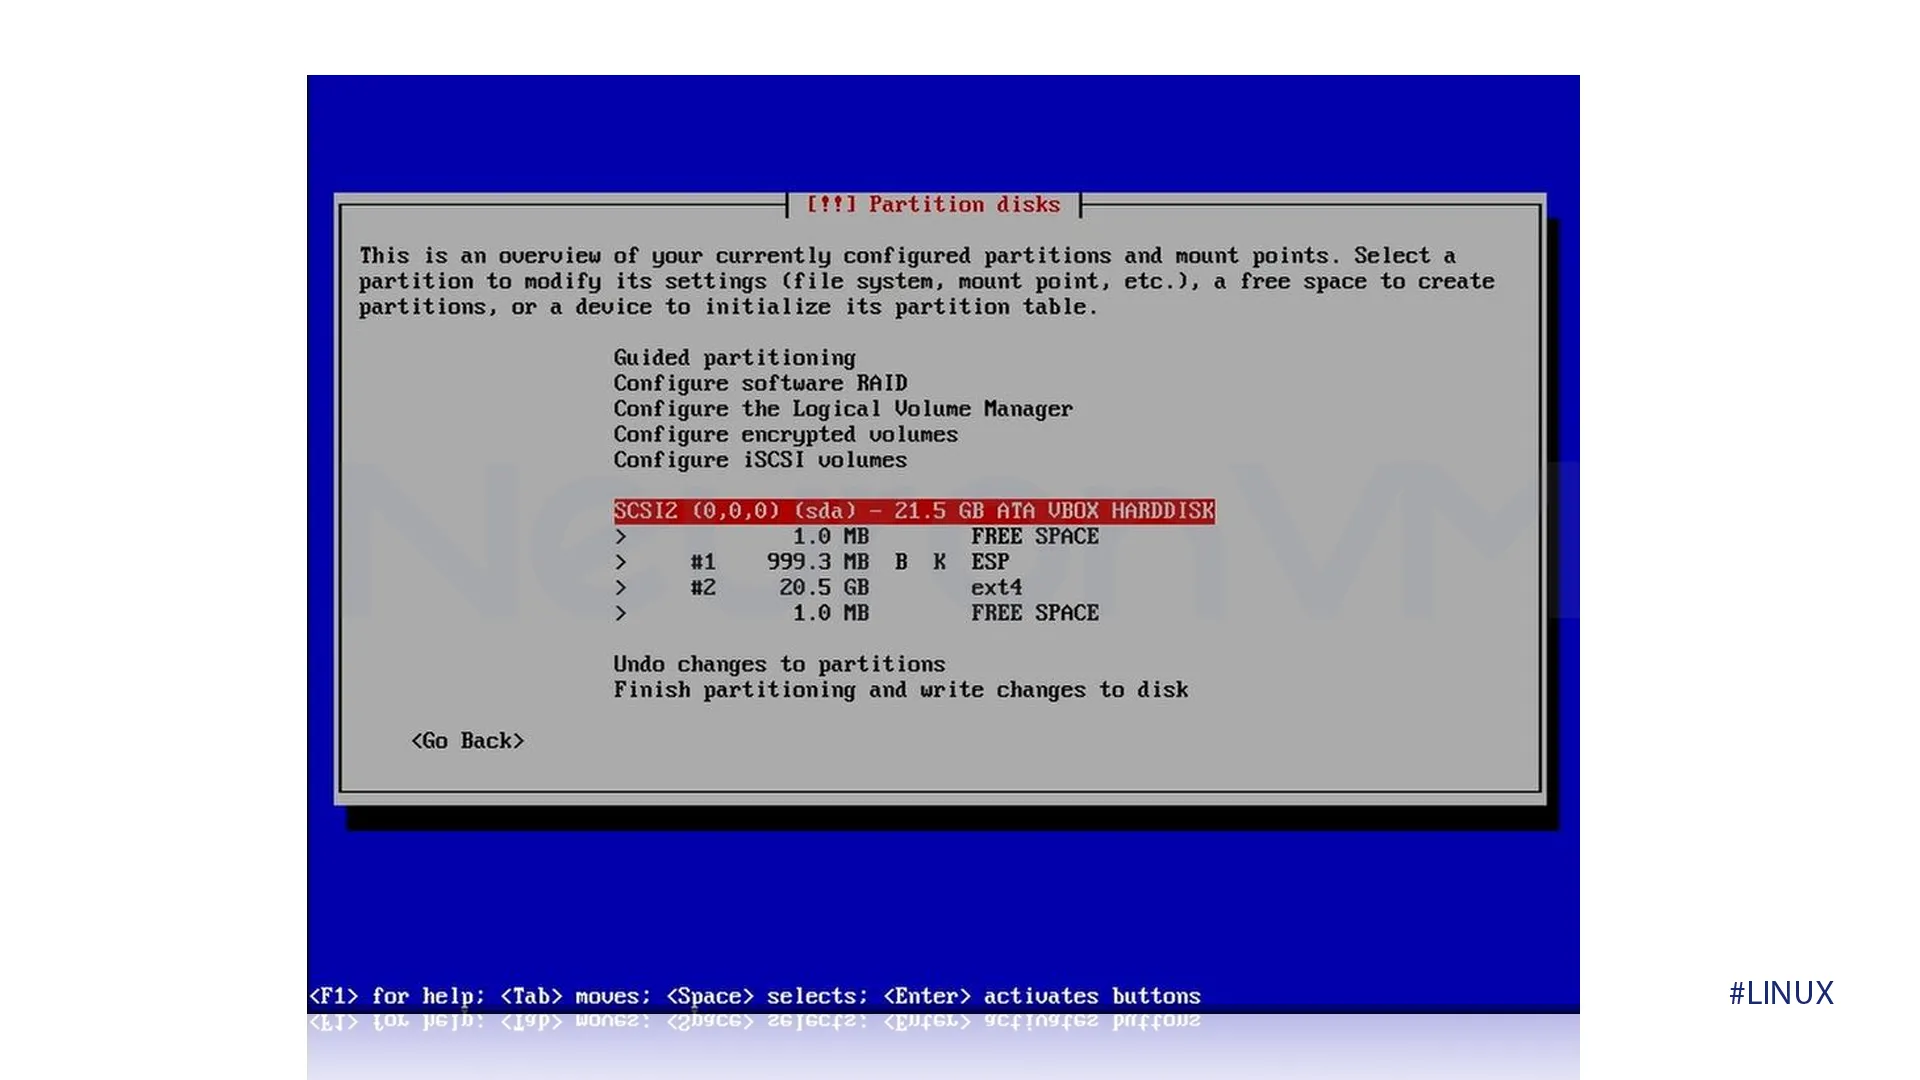
4-Disk Selection and Partition Table
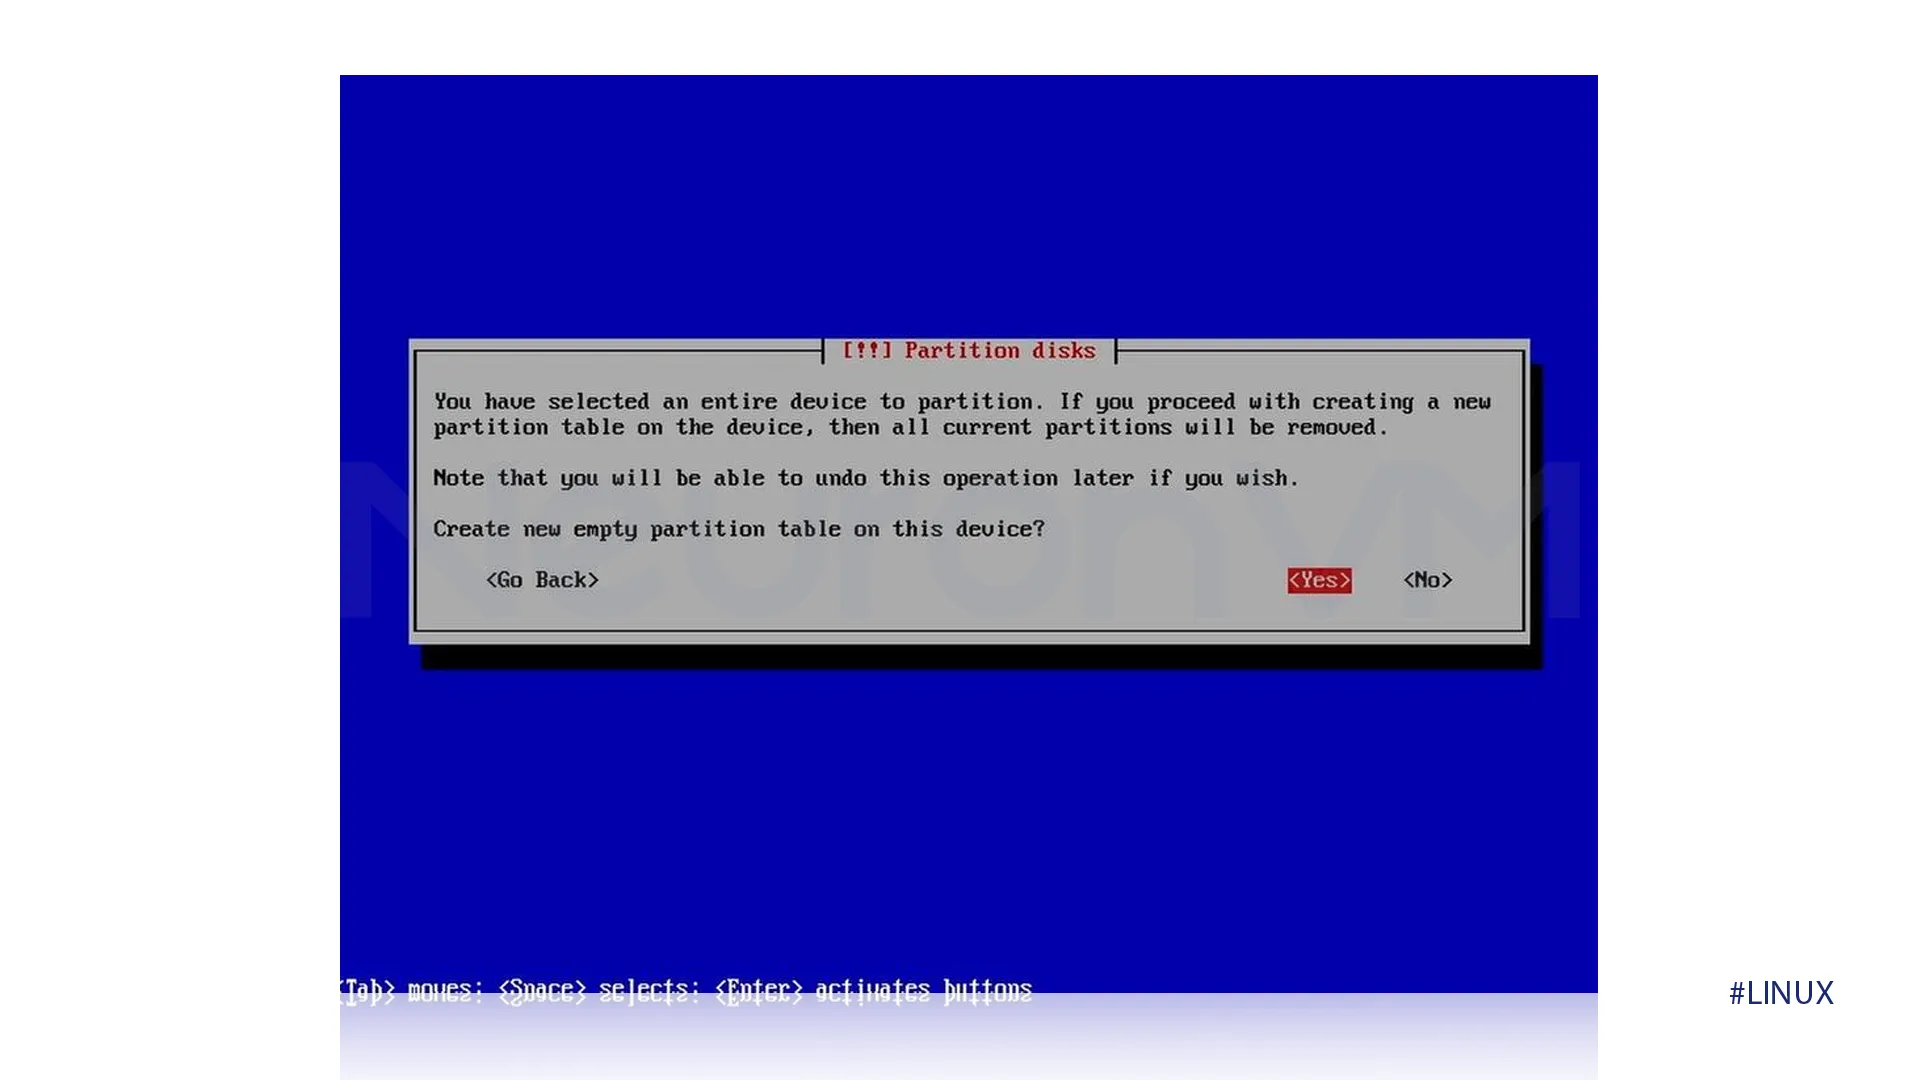
8-You have to select the hard drive where you want to install Debian 12. If the disk you’re working with already has partitions and you want to start fresh, you can choose to use the entire disk, this option will create a new partition table. Confirm this action understanding it will erase all of the data in the selected disk.
9-For removing all the current partitions, confirm that you want to create a new partition.
5-EFI System Partition
10-We need to create the partitions that are required one by one, for the first step select “free space.”
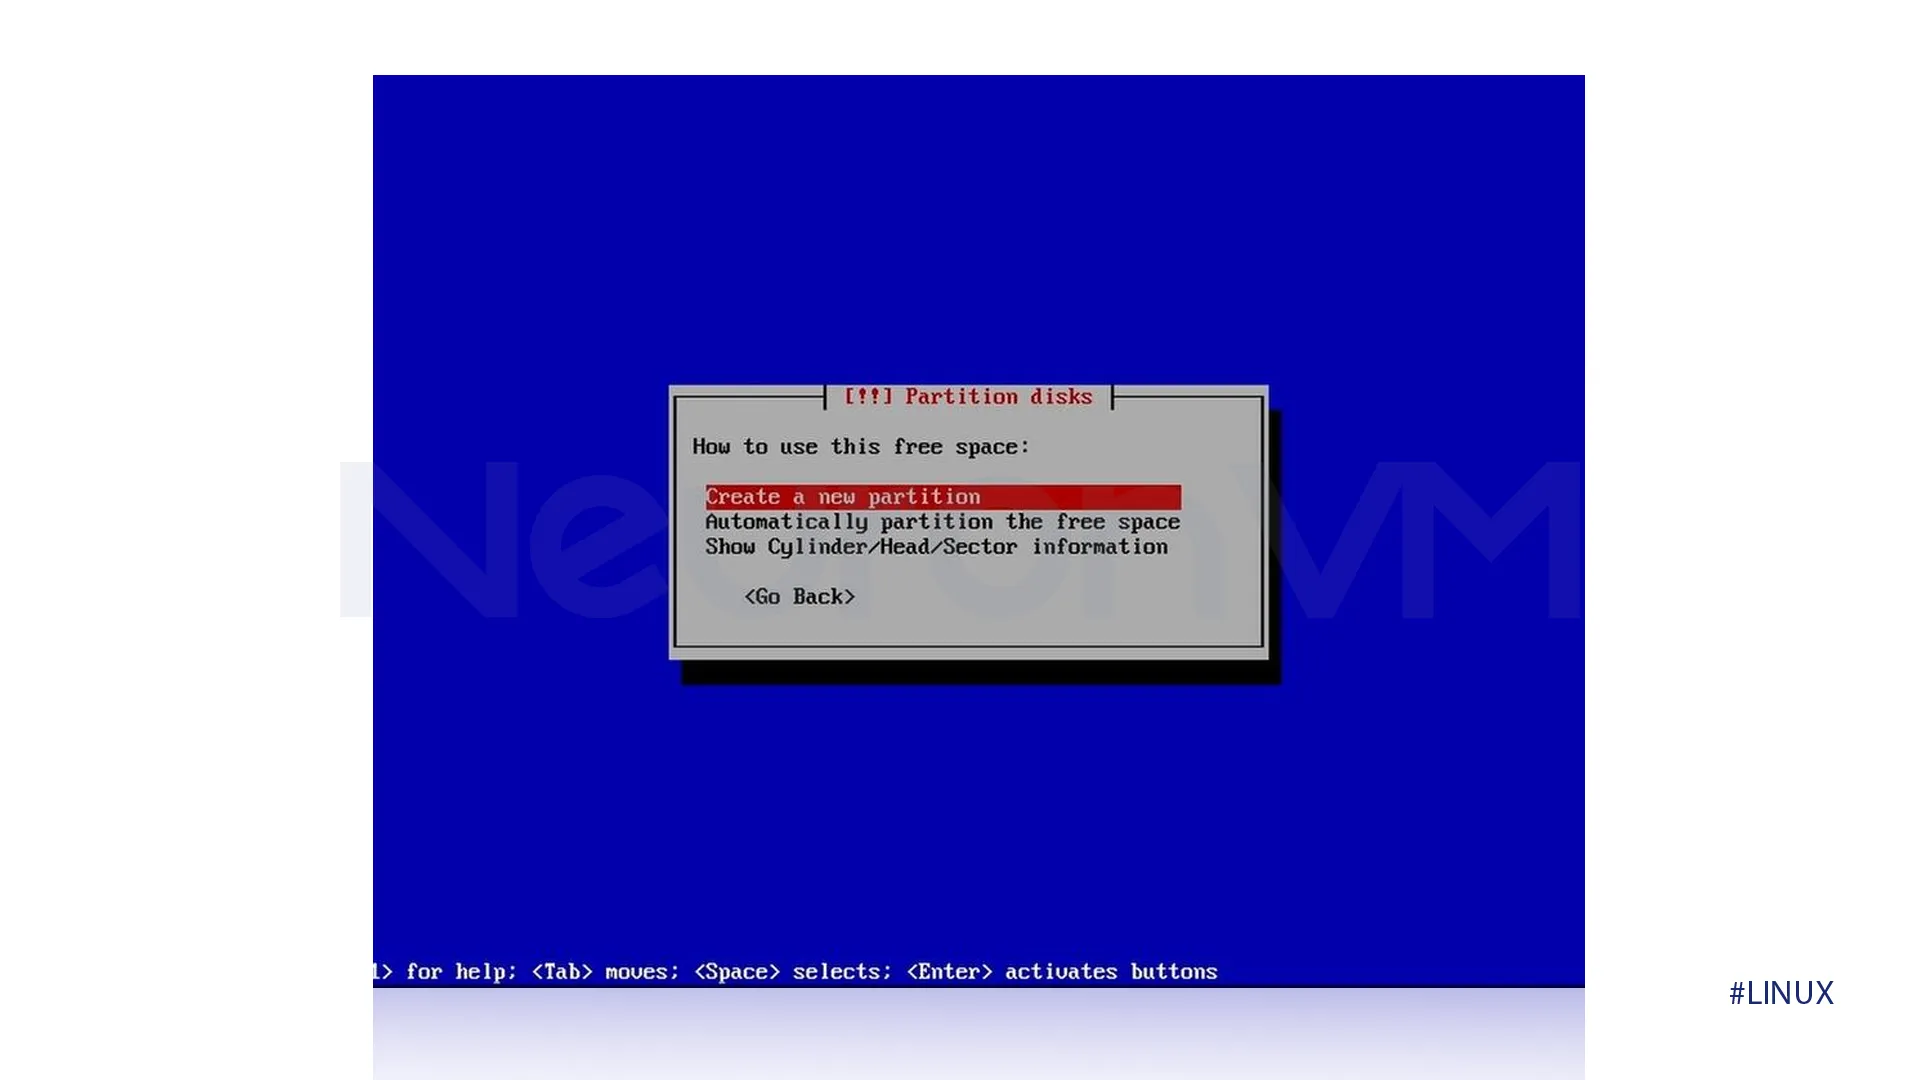
11-1GB of free space is at least recommended to create the EFI System Partition, this step is essential for booting your system.
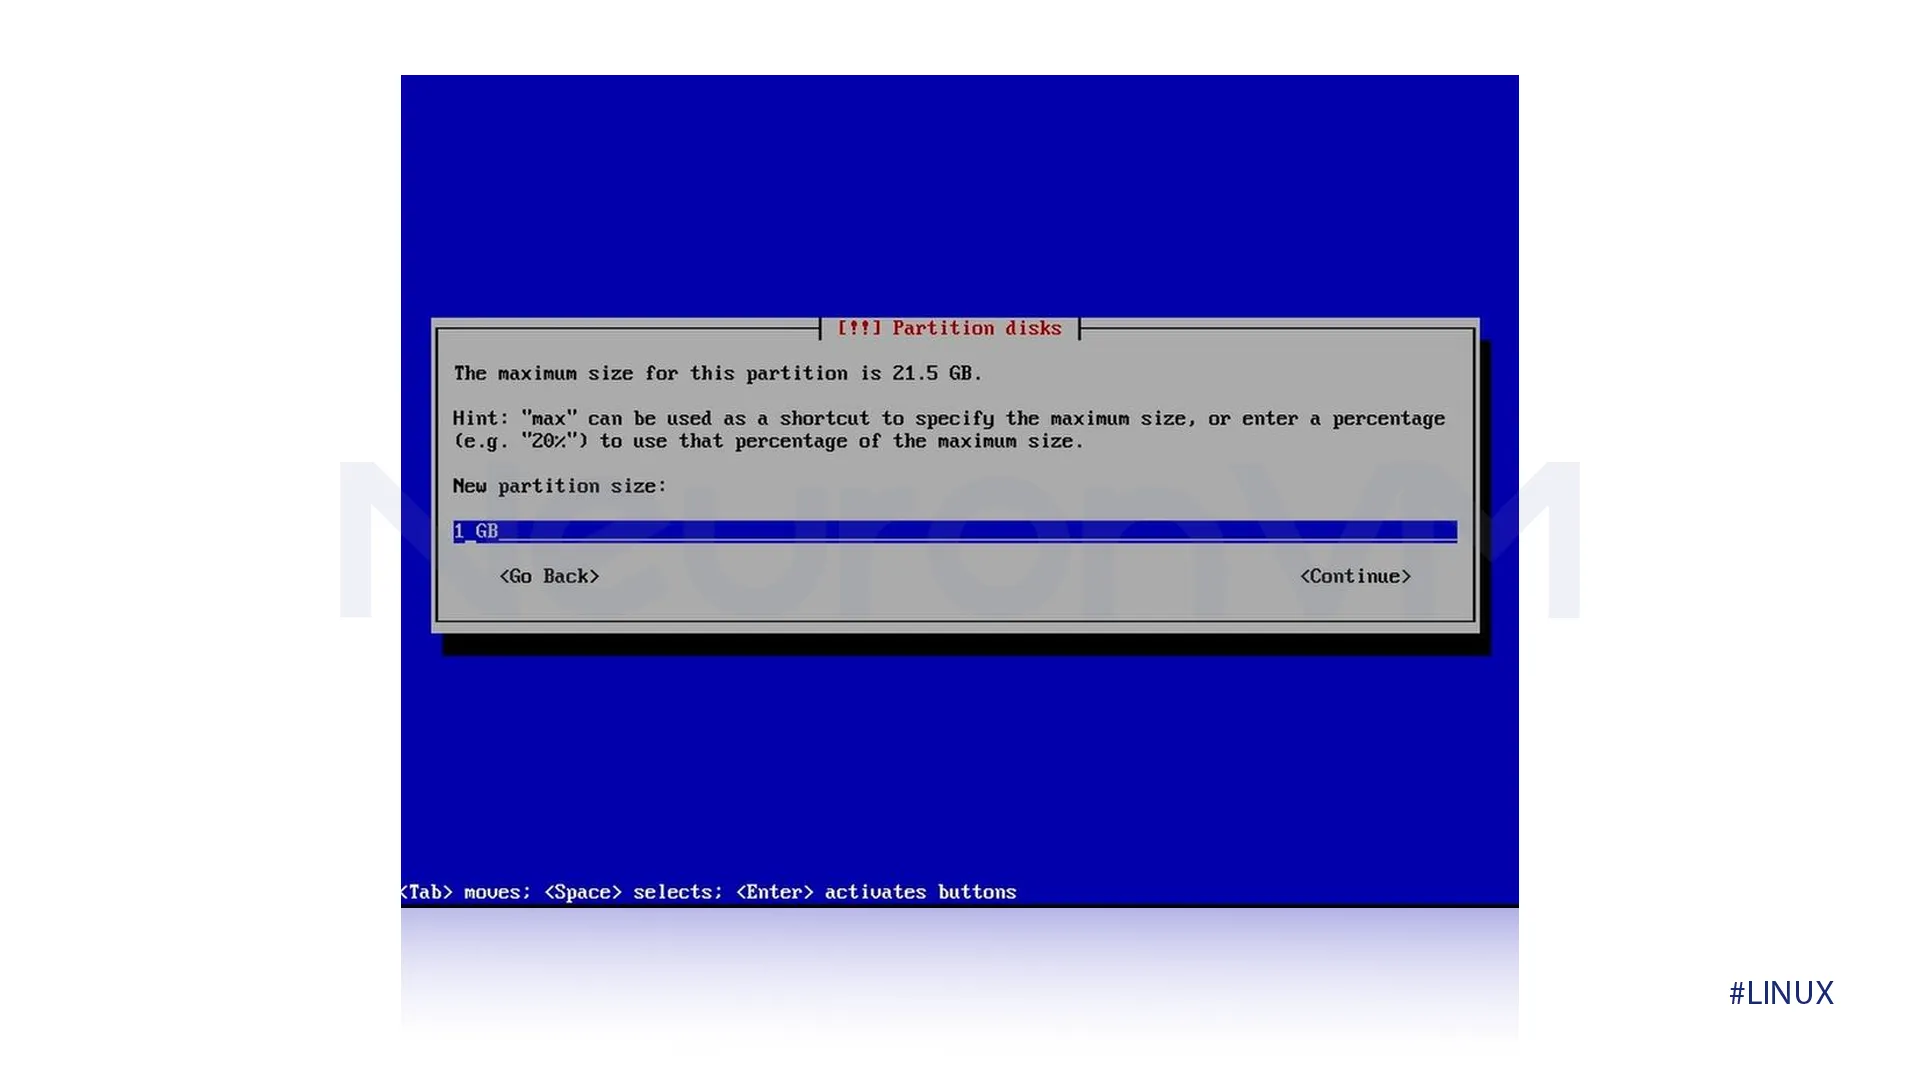
12-Set the partition name to “ESP” and change its type to “EFI System Partition.”

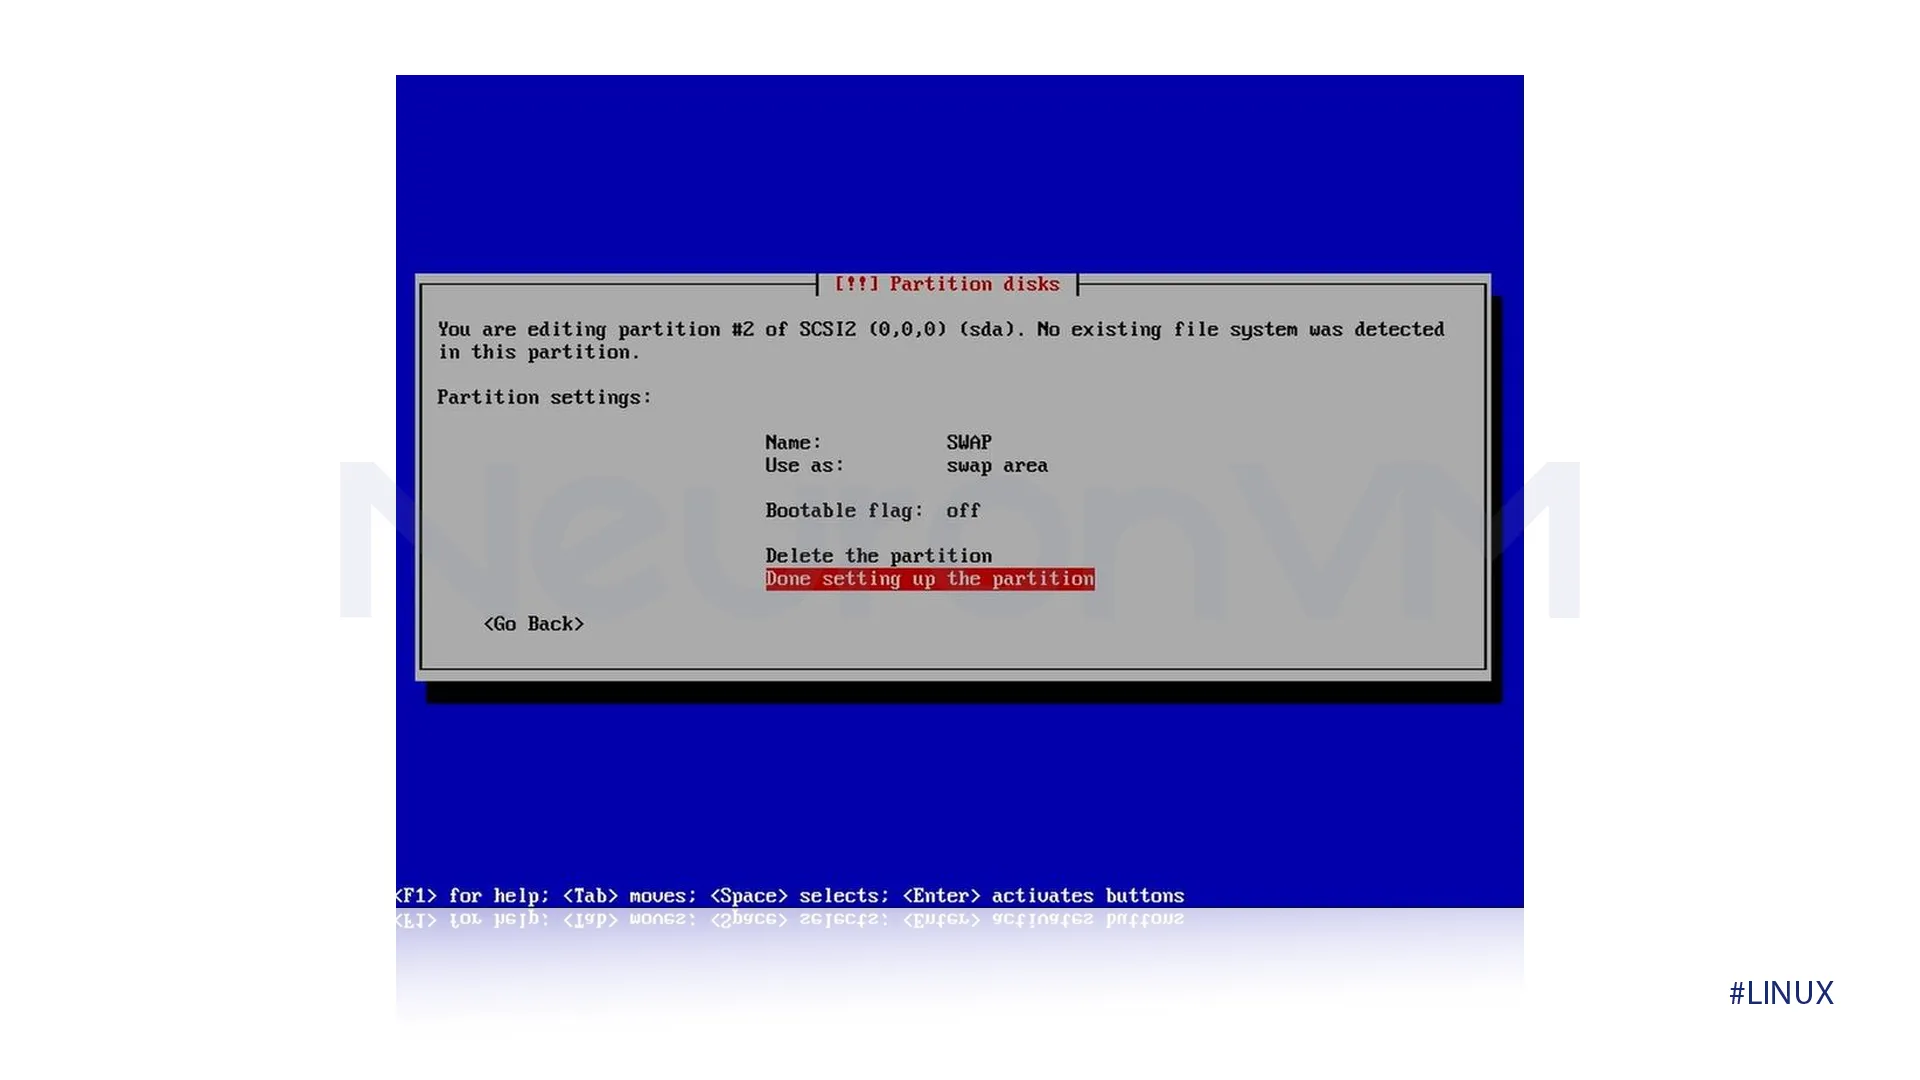
6-Swap Partition
13-You have to use a partition of the remaining free space to create a swap partition, this partition will act like virtual memory, and a size of 2-4GB is acceptable. You need to name the partition Swap and set its type to Swap Area.
7-Main Root Partitions
14-Use all the remaining space you have to create the main partition where Debian 12 and your files will reside, name it Debian 12 and choose “EXT4 File System” as its type.

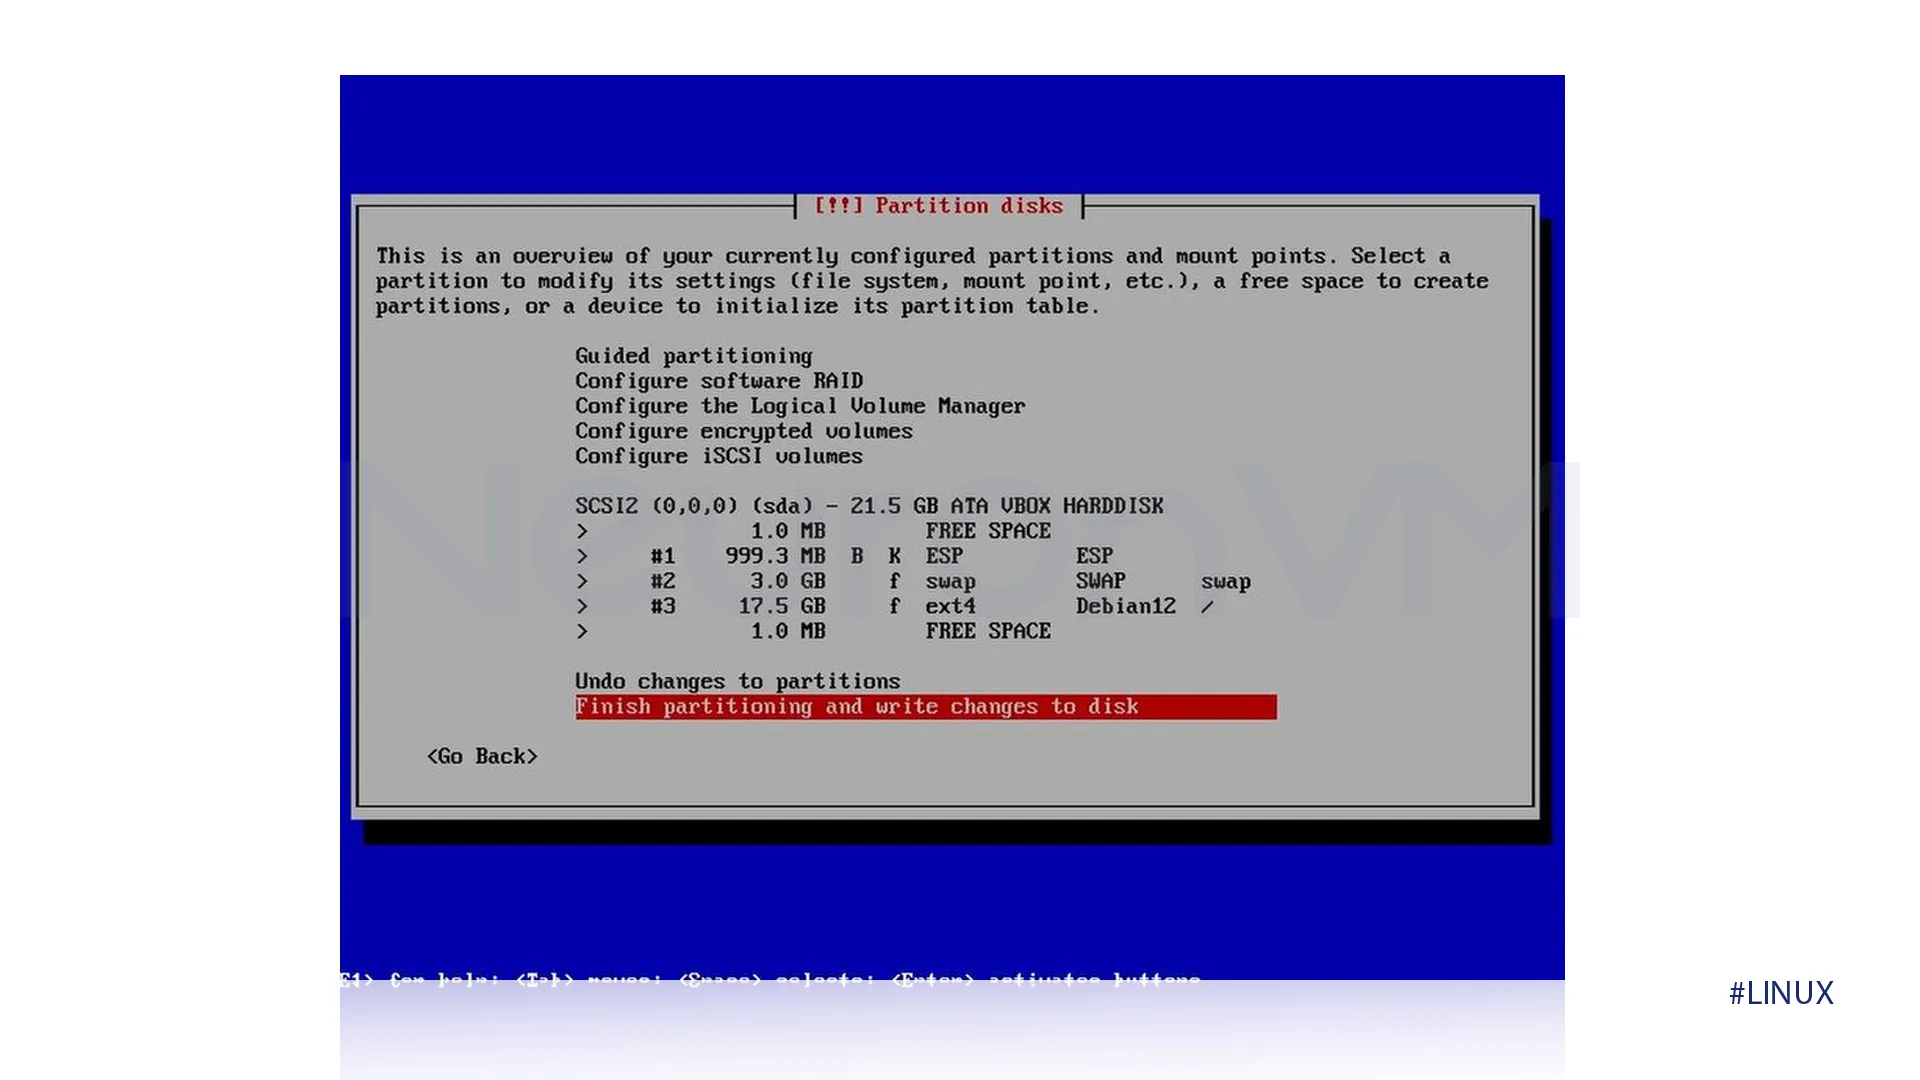
8-Partitioning Finalization
15-You need to carefully review the partition table to ensure the ESP, Swap, and main partition are correctly sized, named, and typed. Once satisfied, write the changes to the disk.
9-Debian Installation and Completion
16-The Debian 12 installation will begin, be patient because it will take some time. Make sure to choose the default options for the questions, and restart your computer when the installation is done.
Conclusion
In this article, we provided a clear step-by-step guide on how to Manually Partition on Debian 12, learning how to manually partition your disk when installing Debian 12 gives you full control over how your computer’s storage is used and this feature is crucial for Debian users, especially expert users. By following the provided steps one by one you will be able to set up your disk exactly how you want it. By following our steps you will be able to run your system better, and keep your files organized it is also a useful skill to work with Linux, keep following our tutorials on more Linux and Debian guides on our website.
You might like it
Linux Tutorials
How to Dual Boot Linux Mint 22 with Windows 11

Linux Tutorials
How to Installing Lightweight GUI on Ubuntu server 24.04
Linux Tutorials
How to Exit Bash Scripts on Errors (Exit Codes, set -e, trap...