


How to Increase Image Size on Windows

 7m
7m
 0 comments
 Print
Print
If you are trying to find ways to Increase Image Size on Windows, Follow this article till the end because we will outline several methods to help you accomplish your goal. There are many ways to increase image size on Windows, so this tutorial can help you a lot.
What are the usages of increasing Image size
An image in the incorrect size might cause several problems, especially if you are trying to upload that picture to a website. There are certain conditions where we need to increase the size of our images. For example, there are some size standards for visa photos, printing, uploading a post to a website, and much more. It depends on its size and whether you need to increase or decrease the size of the photo, but this article only includes tips for increasing.

Increasing Image Size on Windows
There are several methods to accomplish this goal; we will provide some of them for you in order to provide choices for you to find the best method for yourself.
Note: Consider you should have Windows 10 or later for HEIC images or try to convert HEIC to JPG by the tutorial provided on our website.
Increase Image size by Microsoft Paint
Increasing your image size using Microsoft Paint is not the best way to do it, but it is one of the easiest ways, We recommend doing it if you are using it for a limited amount of images.
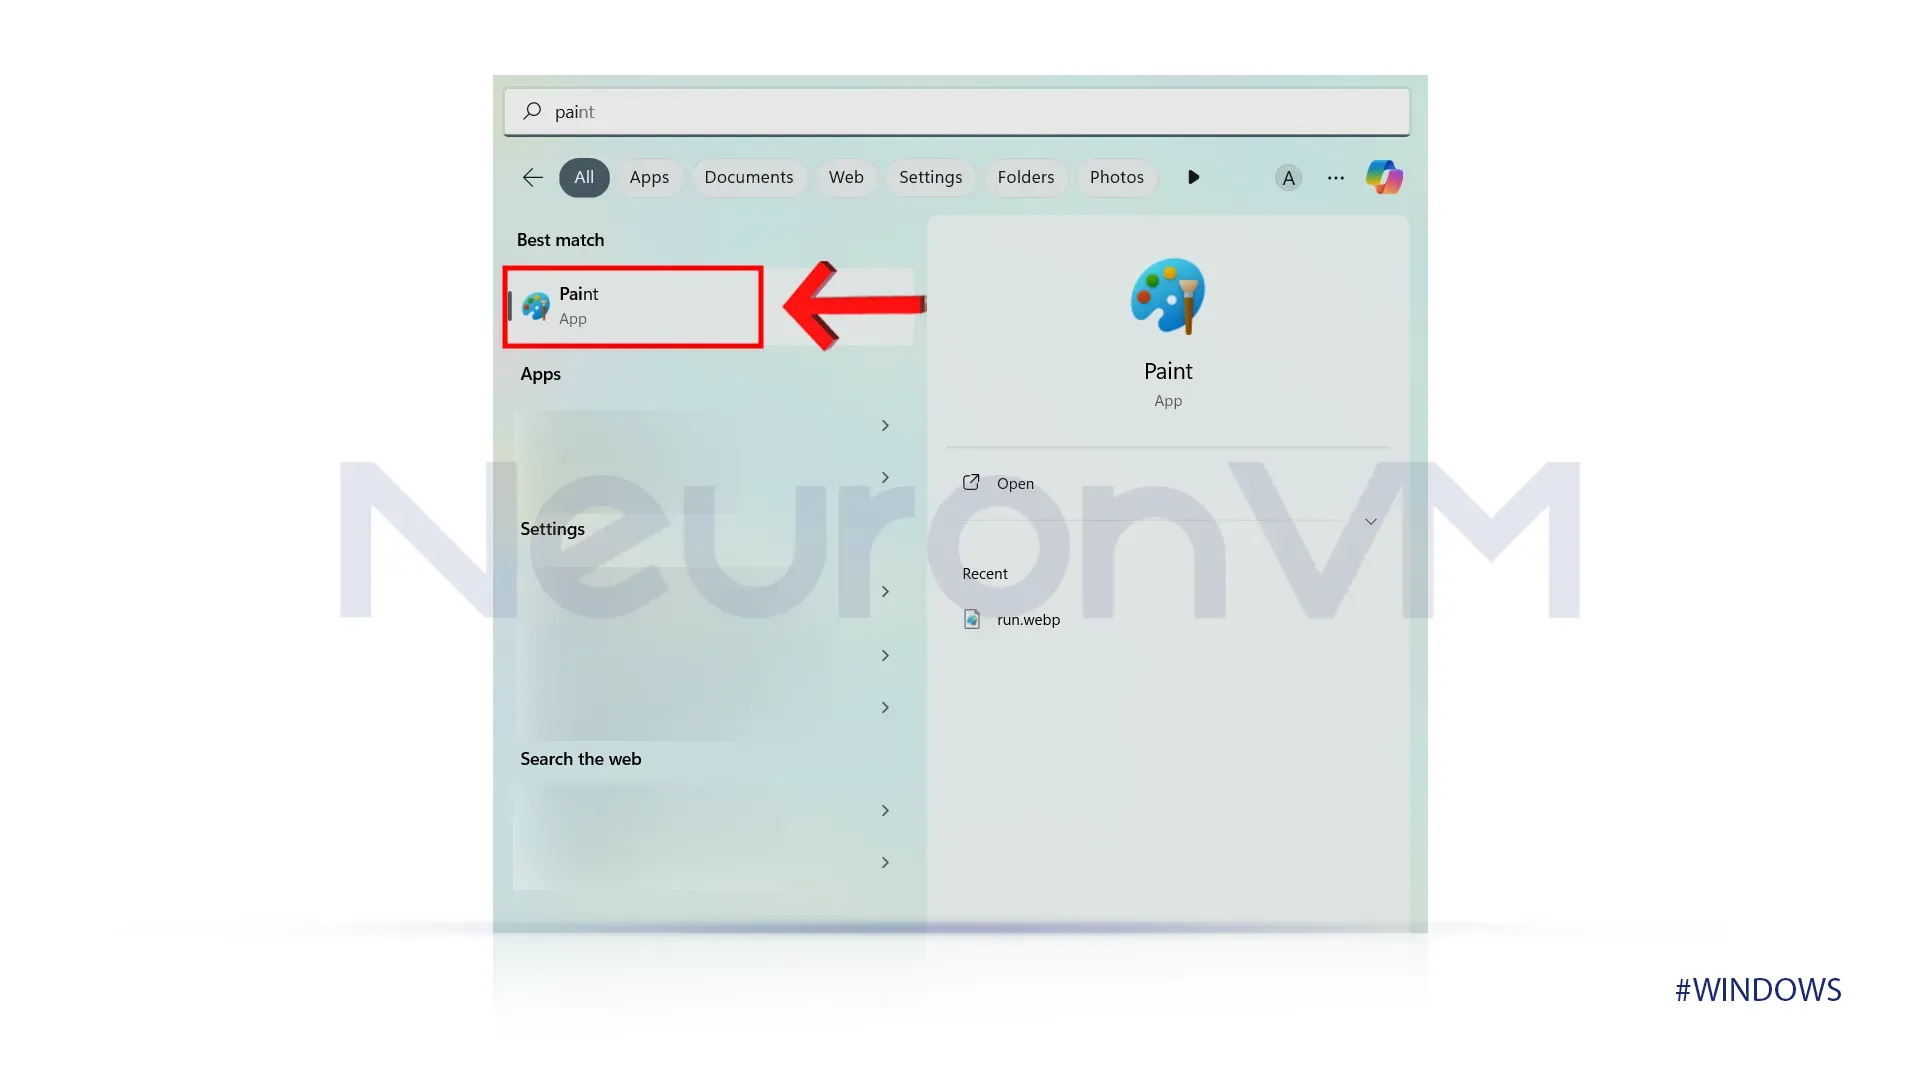
1-Open the Start Menu, Select the Paint application by searching its name.
2-Select File on the left side of the menu, then click on Open to browse for your photo.
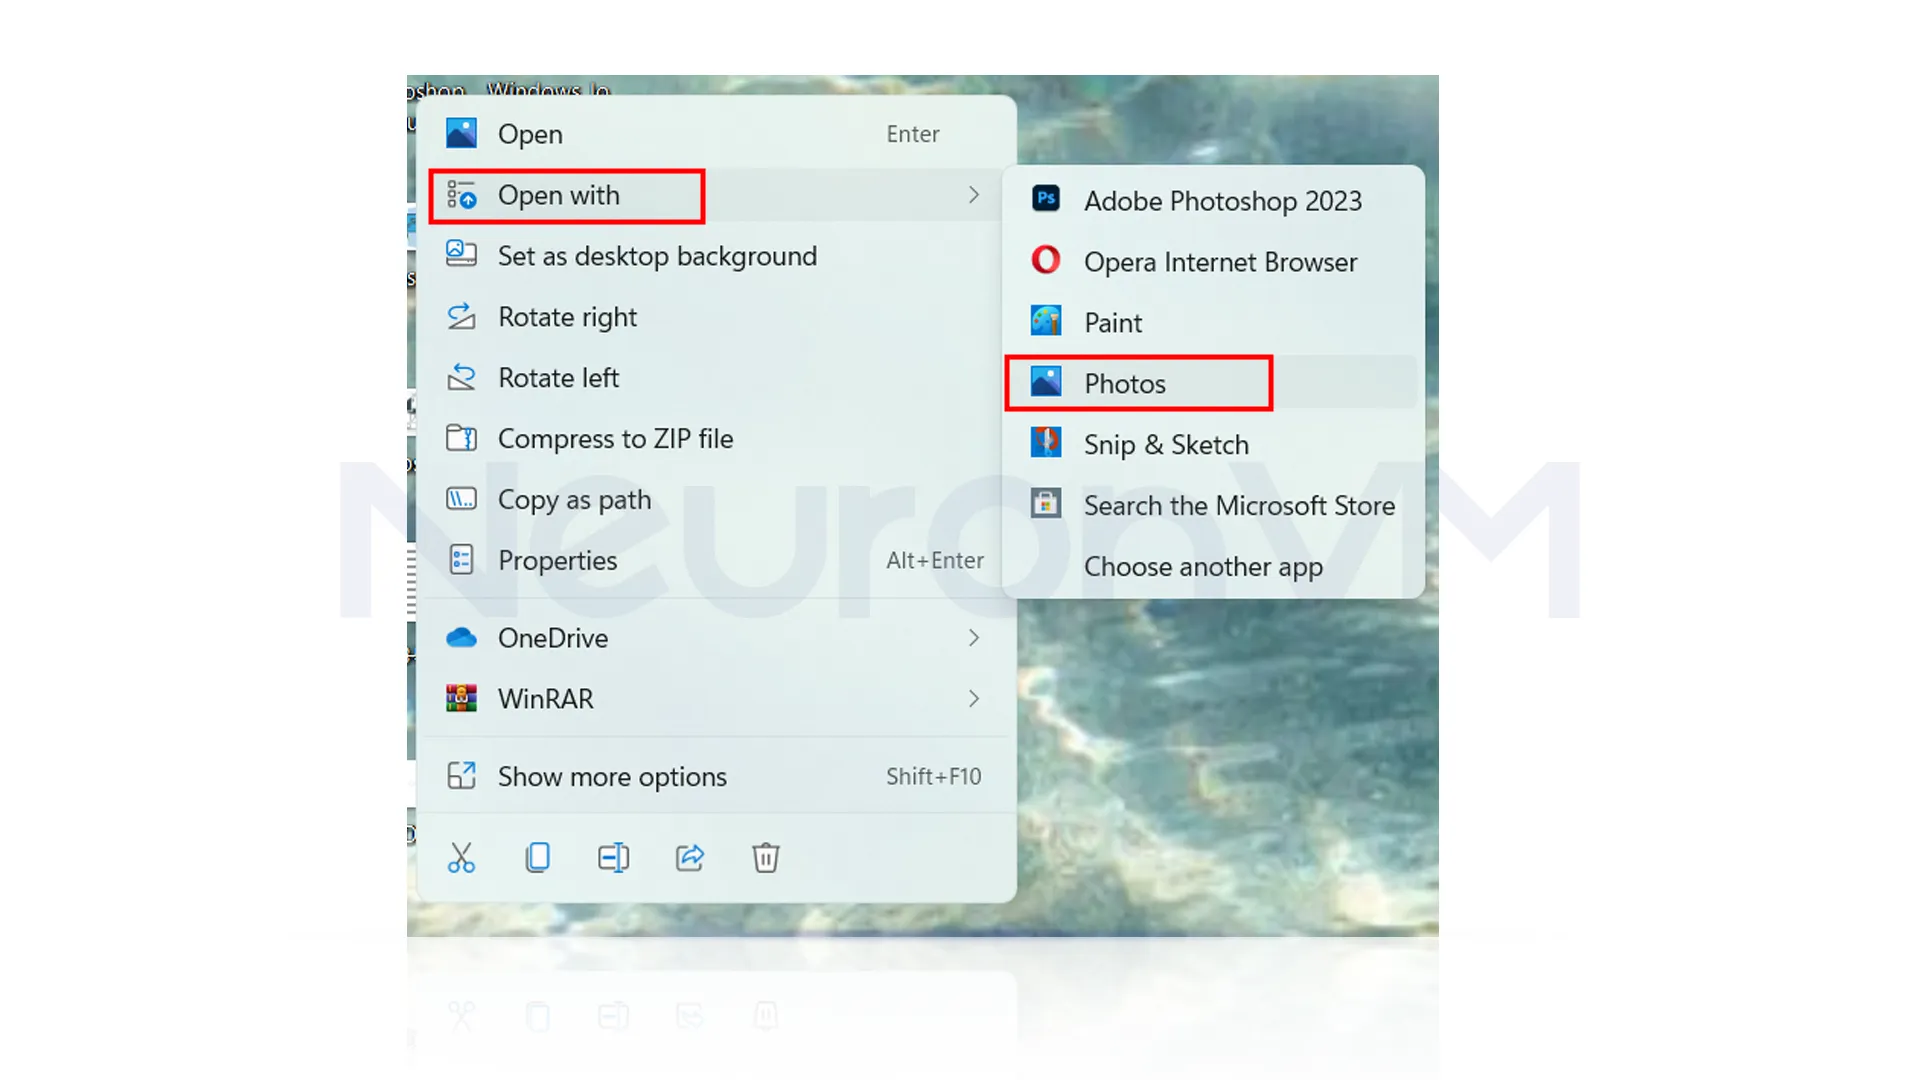
Note: You can right-click on your desired photo select “open with” then choose Paint.

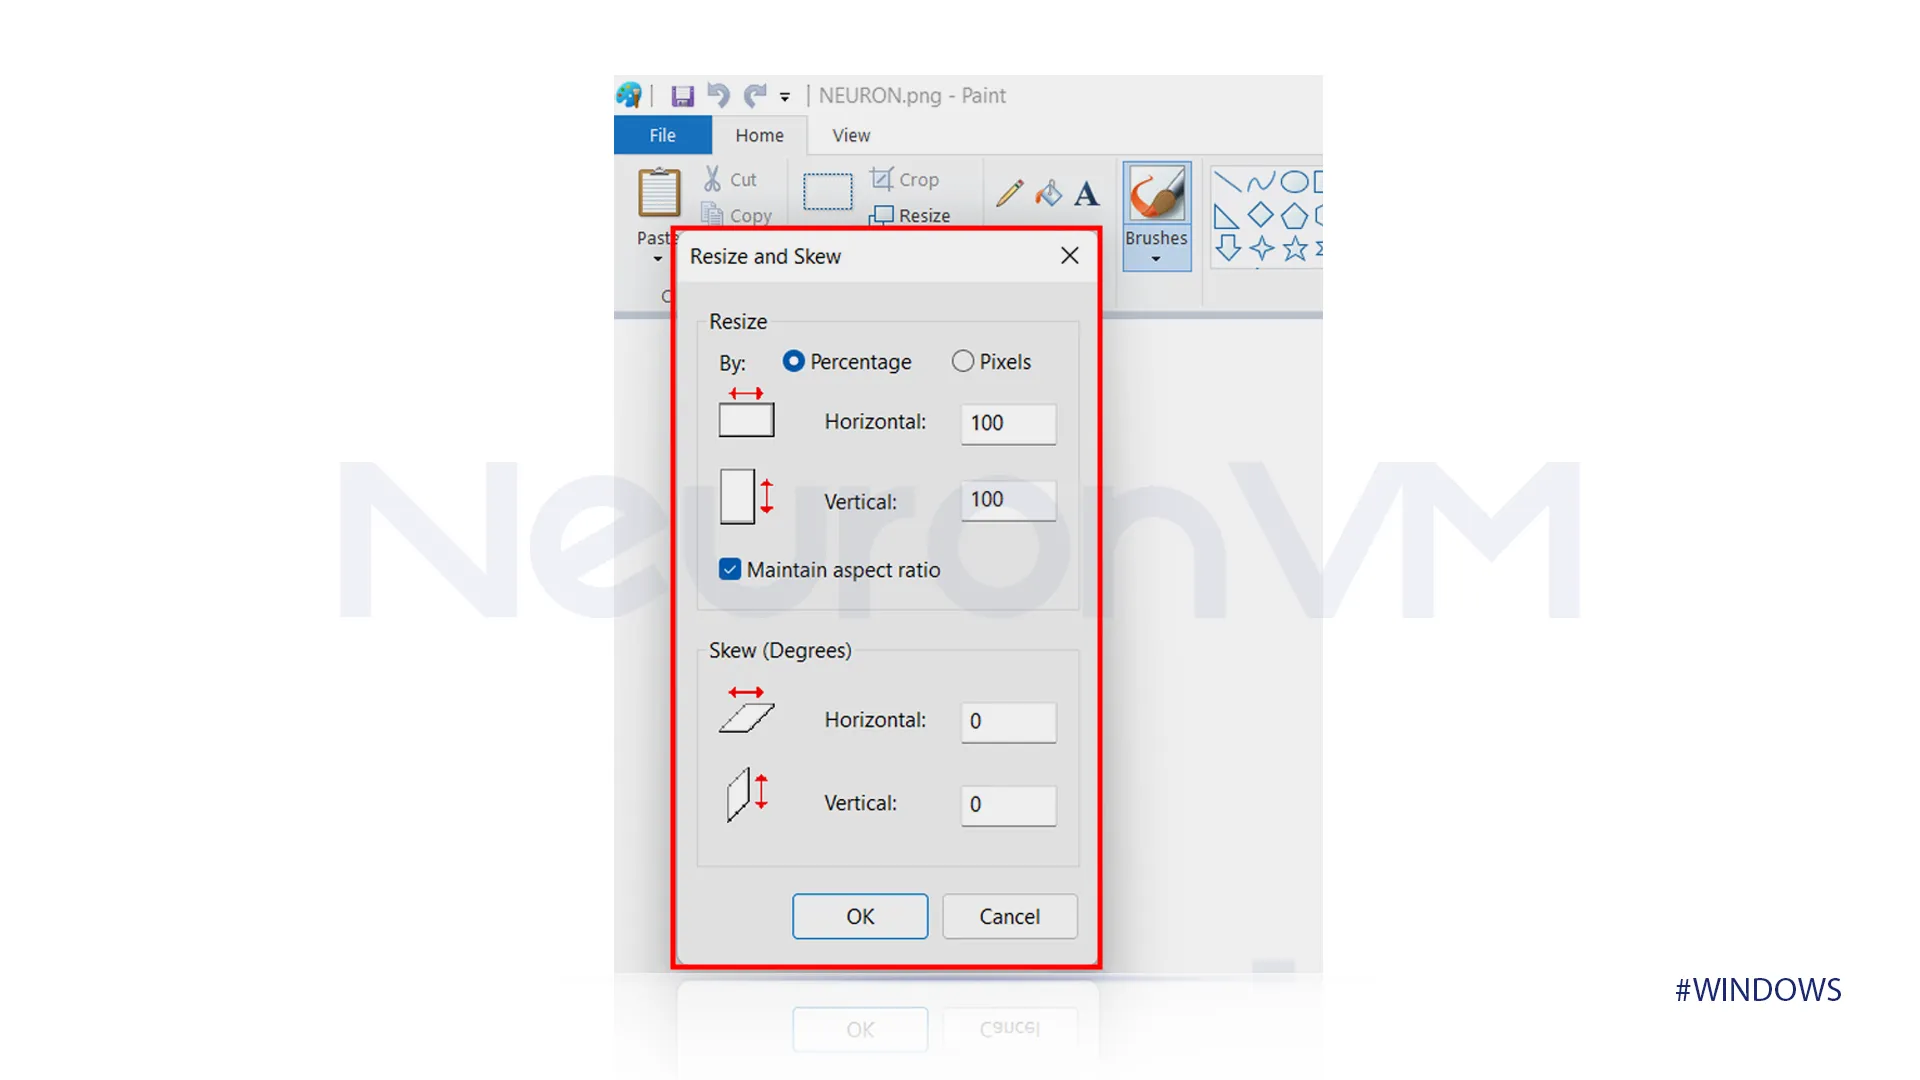
3-Once you have selected your photo, click on the Resize button.
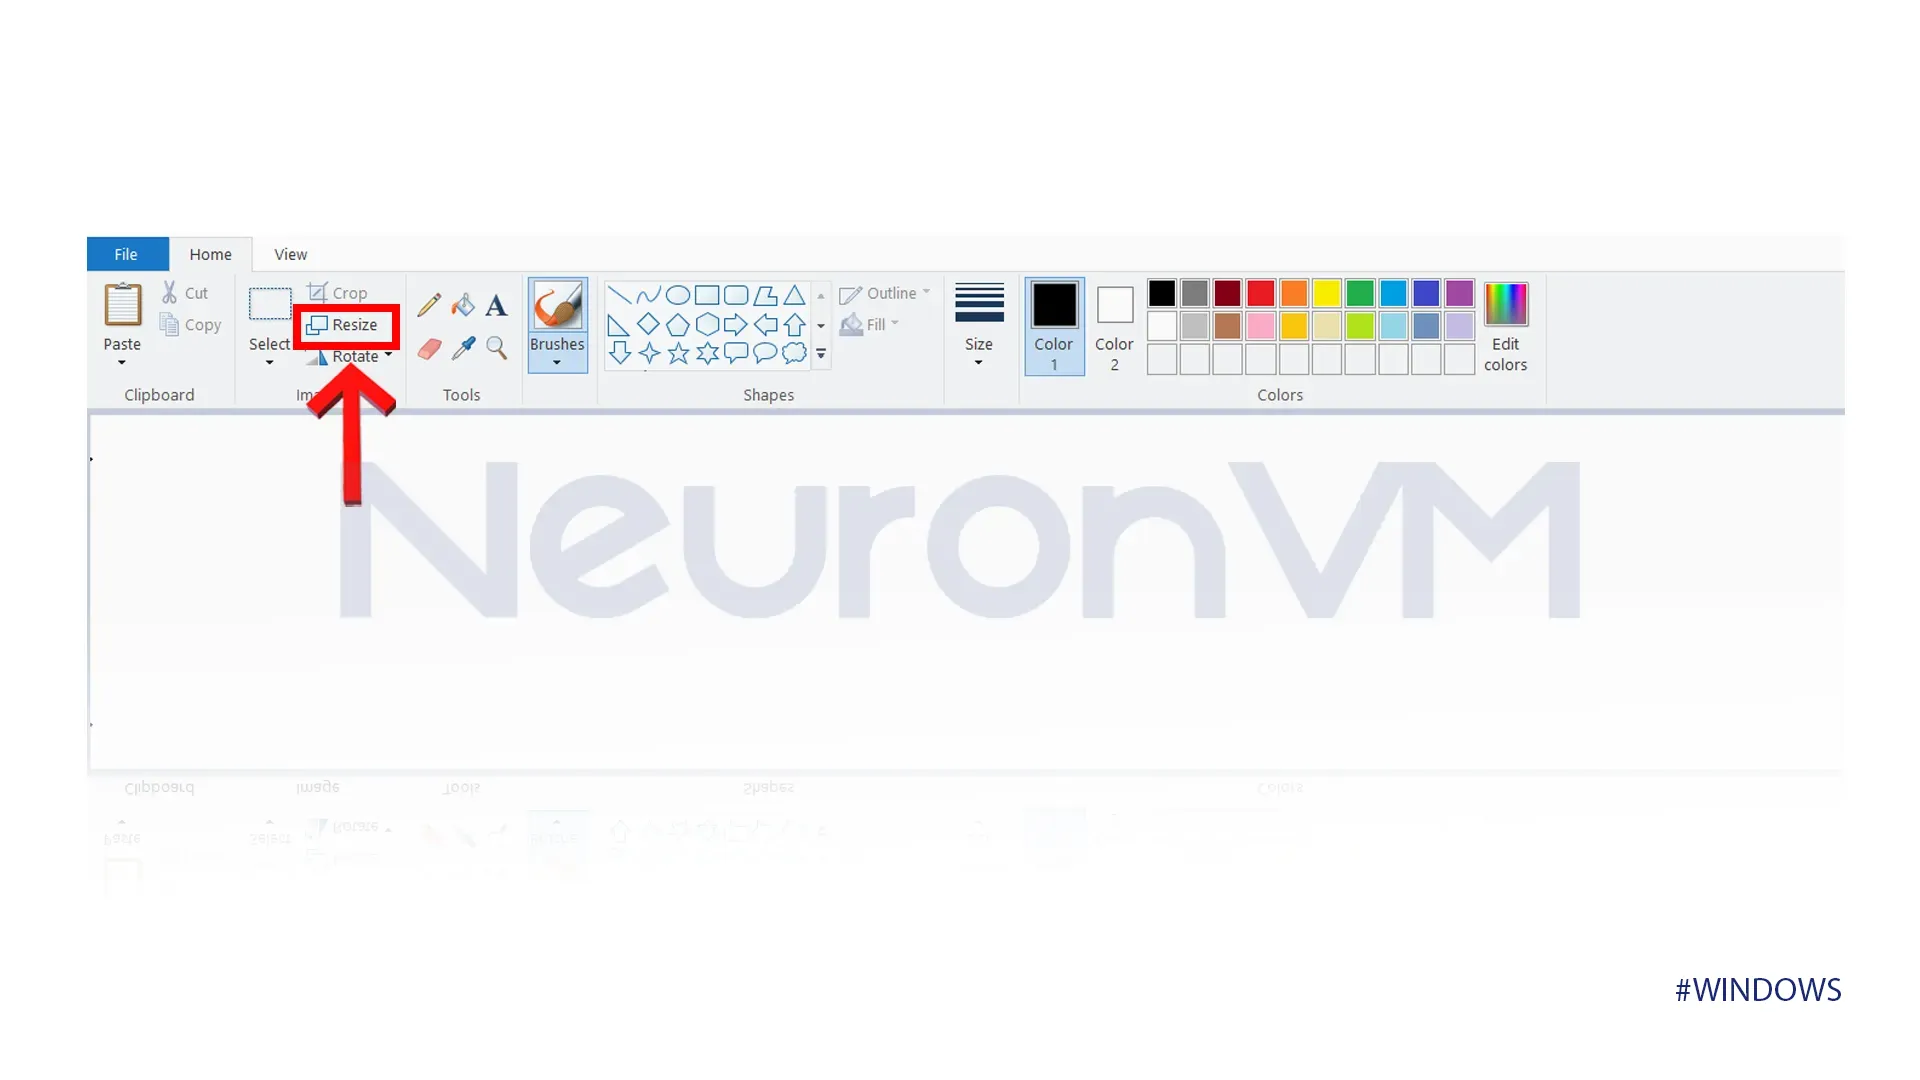
4-Select the desired size for your picture, then click on Ok.
5-After you have made the changes to your photo, save your photo.
Increase Image size by Photos App
For increasing the size of your photo using the Photos App follow the provided steps.
1-For the first step, right-click on your photo, then click on “open with” and select Photos.
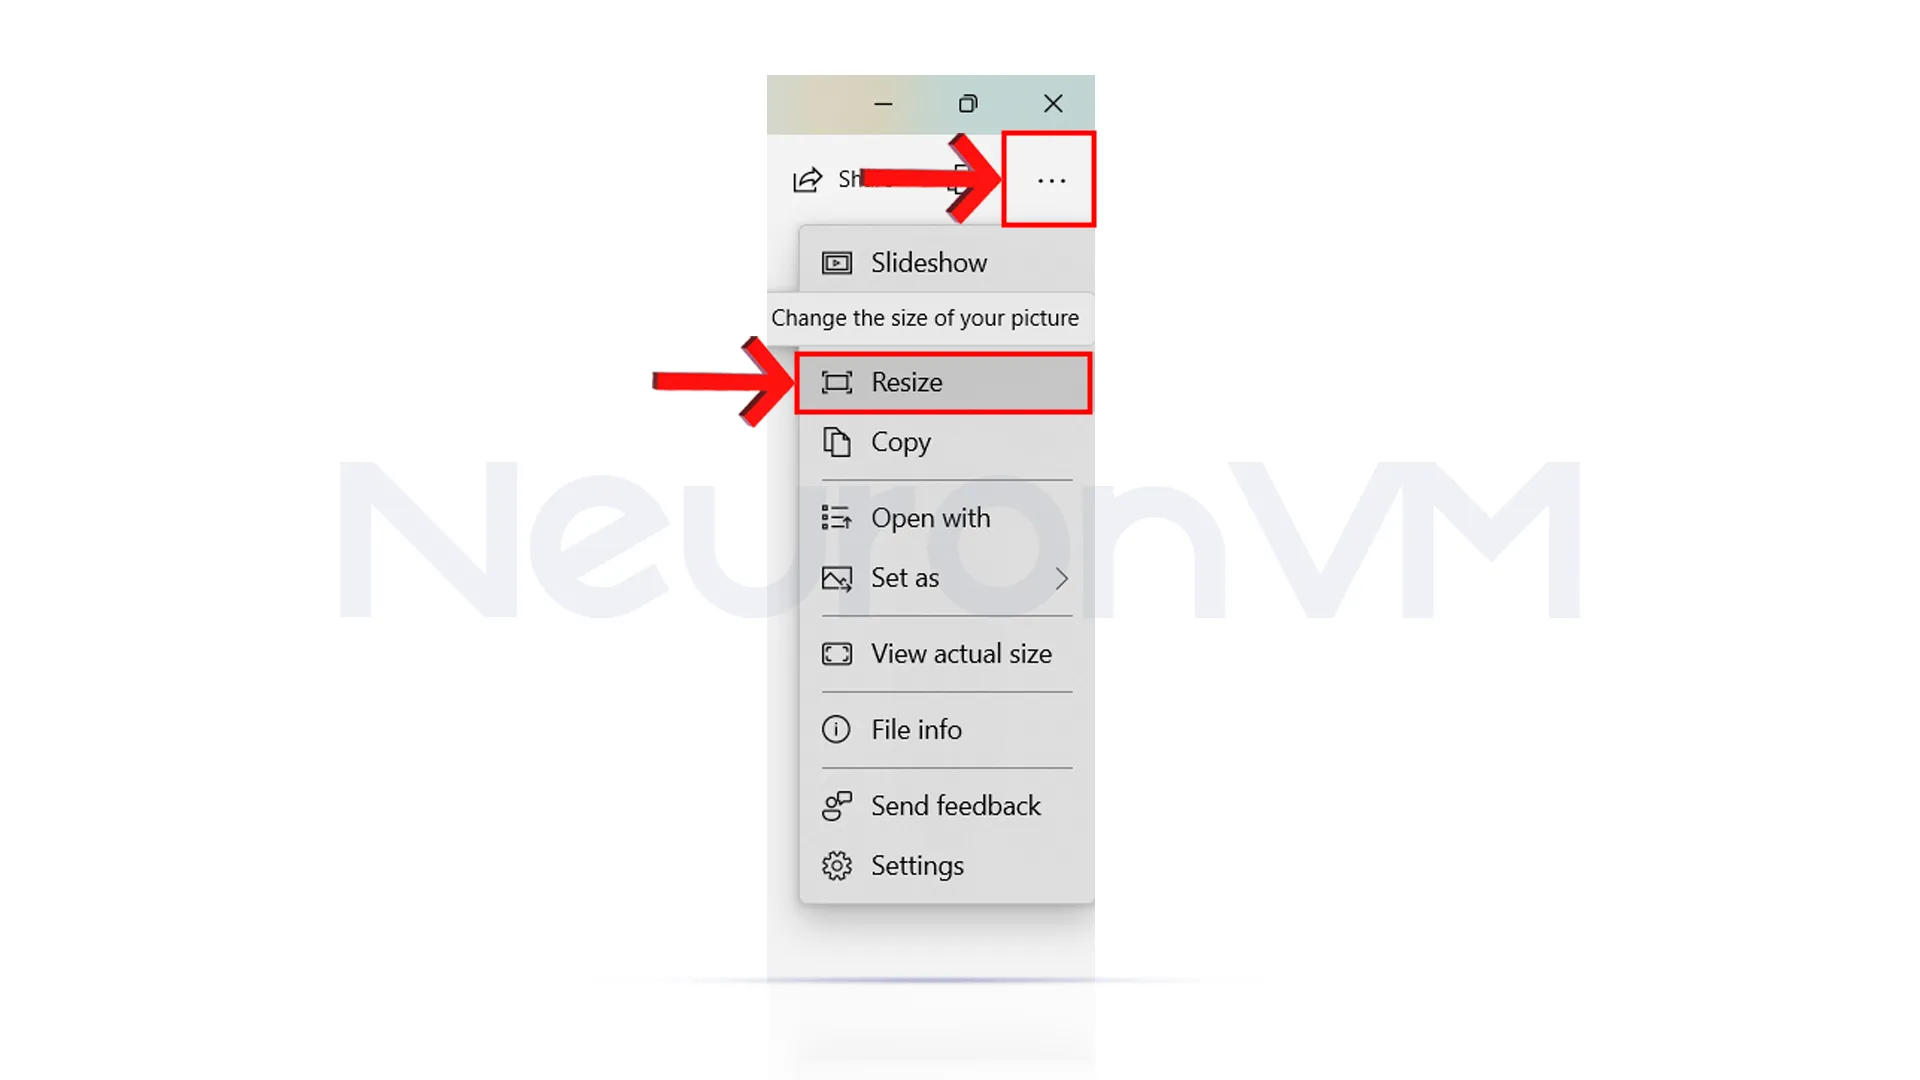
2-Once you open the photo, click on three dots and select “Resize.”
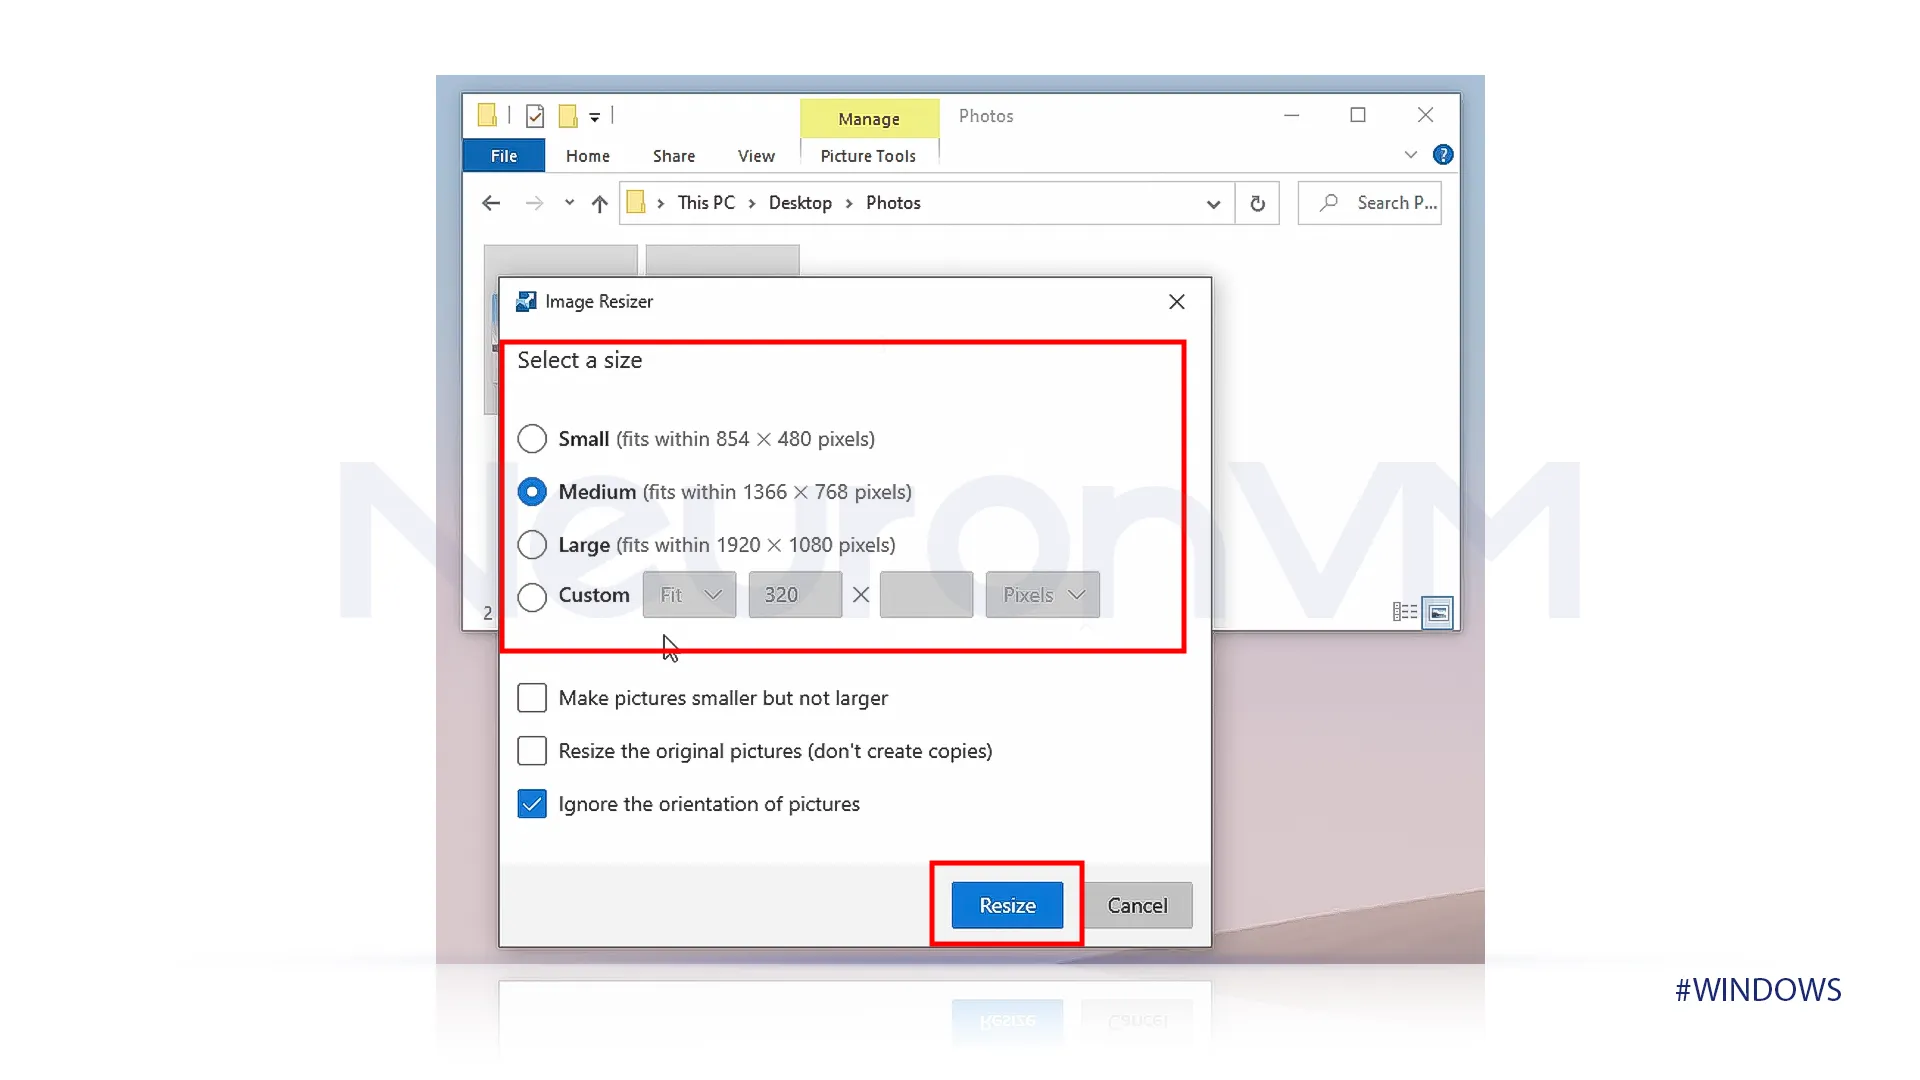
3-You will have four options; three of them have default sizes, but you can customize the size of your image by selecting the last option.

4-After making the changes to your photo save it or press “Ctrl + S.”
Increase Image size by Microsoft Powertoy
If you haven’t heard about Powertoy, it is simply a set of tools that make your Windows experience better because they add some features and make everything easier. Remember you can install Powertoy only if you have Administrator rights. Read more about Powertoy on Microsoft’s main website. This method is the most recommended method for large amounts of photos.
1-It is only one step for this method: select one or more images to increase their sizes, Right-click on them, and then select Resize Pictures and choose the size you want. Save the photos after making the changes to them.
 This is the most recommended way to increase the size of your images because it is easy and you can do it in one step. also, it does not harm the files no matter how many we make changes using that.
Conclusion
In this article, we outlined several methods for increasing the size of an image on Windows, which had different technical levels. Paint is the most direct method for this tutorial, but it is not the best method however, you can use it for a few images. The Photos App provides more control, and using the Powertoy is the most recommended method for this tutorial, if this article was helpful, let us know in the comments!
You might like it

Ubuntu Tutorials
How to Install and Use TermKit on Ubuntu


Linux Tutorials
How to Enable and Set scaling_max_freq on Linux

MikroTik Tutorials
How to Set a Public IPv6 /64 on a 6to4 Tunnel in MikroTik
