Configure WireGuard with Docker on Ubuntu 22.04


 9m
9m
 0 comments
 Print
Print
With the internet’s presence today, virtual private networks (VPNs) are crucial for privacy and internet security. WireGuard is a popular protocol and is widely appreciated for its ease of use, speed, and security. Using Docker on Ubuntu 22.04 ensures that WireGuard is easy to deploy and manage by encapsulating the application inside a container, providing consistent environments and easy scaling. Ubuntu 22.04 is a great platform to do so.
This guide is for configuring WireGuard with Docker on Ubuntu 22.04, minimizing for simple installation and a stable, isolated VPN environment to ensure individual or institutional use.
🔗 Why Use WireGuard with Docker?
WireGuard and Docker are applied in home labs with security, low-power VPN’s, ad-blocking VPNs, and SOAP connections that are secure. There are a lot of advantages of employing WireGuard with the portability and ease of management of Docker. Why the combination is good:
☑ Simplified Configuration ☑ Enhanced Portability ☑ Resource Efficiency ☑ Easy Management
☑ Secure Networking for Containers ☑ Accessibility Without Opening Ports ☑ Cross-Platform Compatibility

Prerequisites
You’ll need the following to set up WireGuard with Docker on Ubuntu 22.04 successfully.
✔ Ubuntu 22.04 VPS or Cloud Server
✔ Docker & Docker Compose installed
✔ Basic understanding of Networking
✅ How to configure WireGuard with Docker on Ubuntu+Step-by-step Guide
📌 Step 1: Install Docker & Docker Compose
Run the following commands to install:
sudo apt update && sudo apt install docker.io docker-compose -y
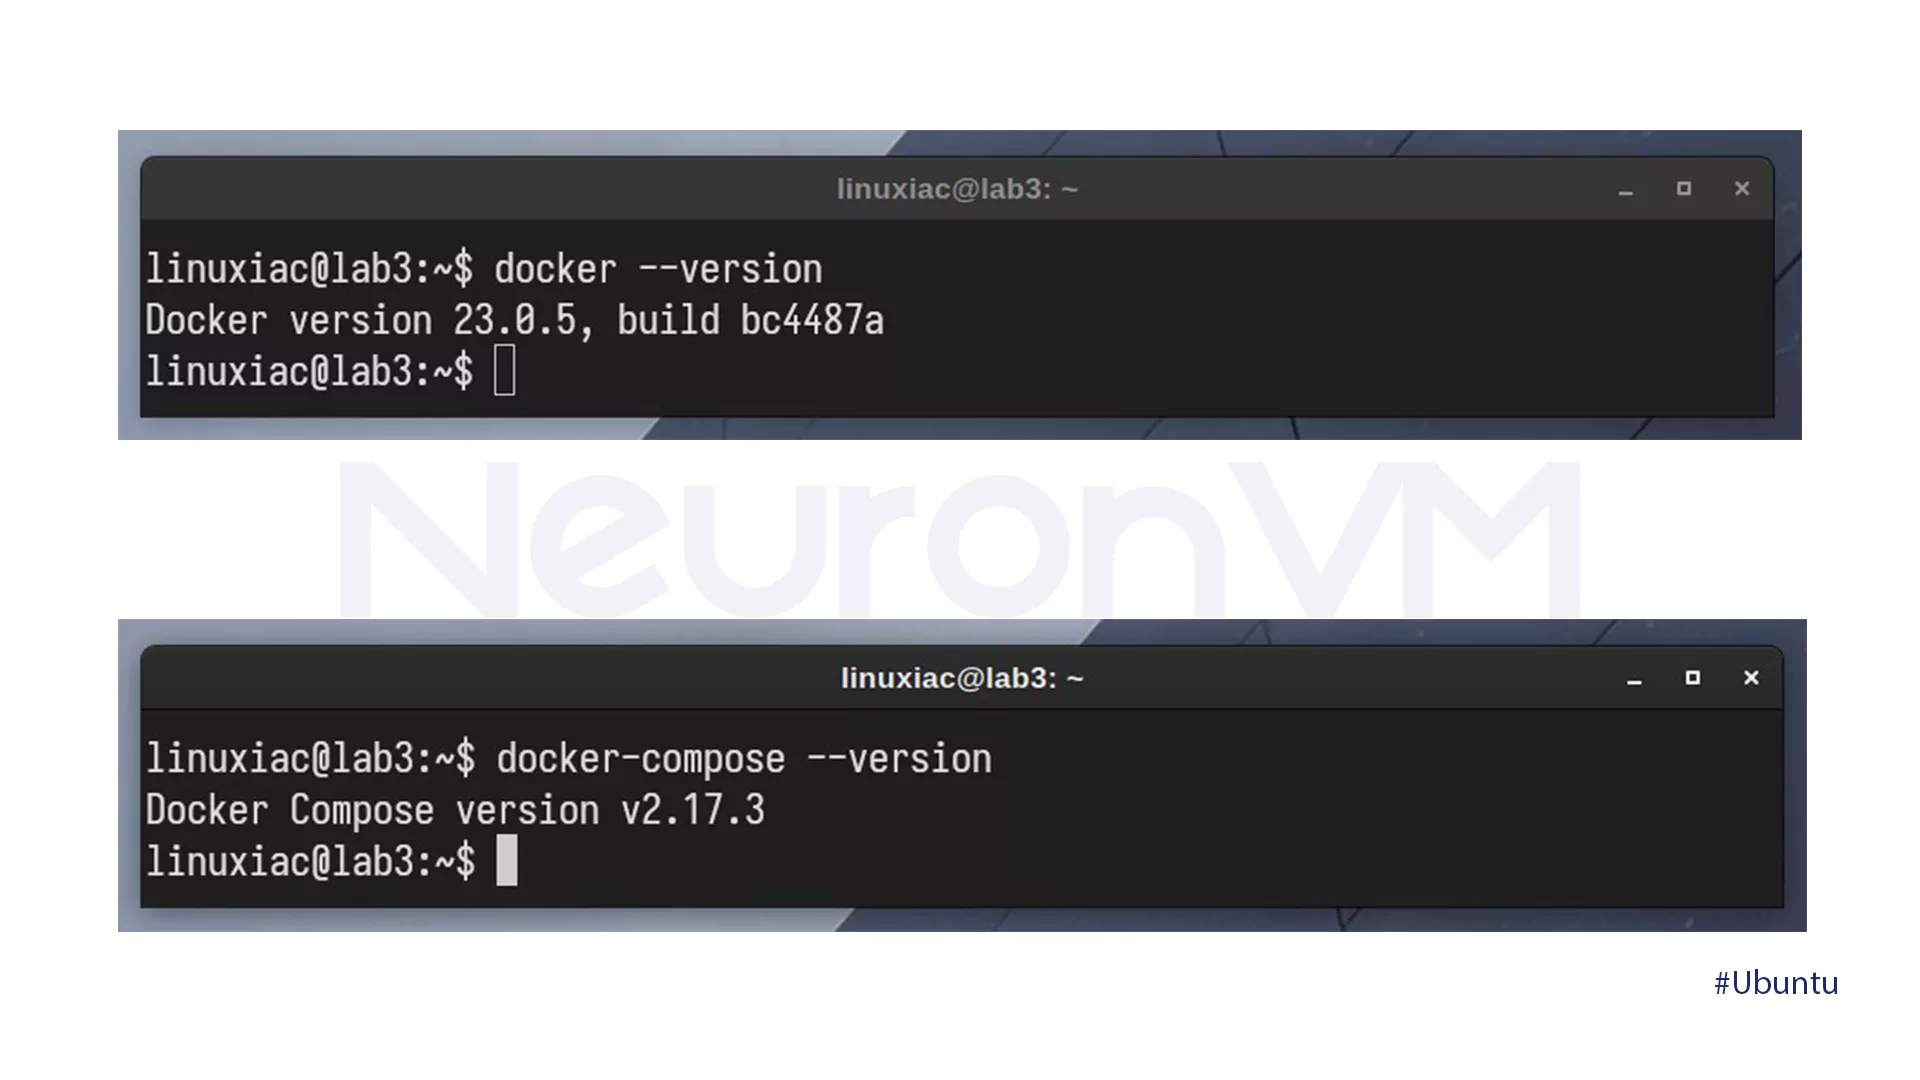
Verify the installation:
docker --version
docker-compose --version
📌 Step 2: Generate a Docker Compose file
Make a WireGuard directory and switch into it:
mkdir /opt/wireguard-server && cd /opt/wireguard-server
Generate a docker-compose.yml file:
version: '3.8'

services:
wireguard:
image: linuxserver/wireguard
container_name: wireguard
cap_add:
- NET_ADMIN
- SYS_MODULE
environment:
- PUID=1000 # User ID for permissions
- PGID=1000 # Group ID for permissions
- TZ=Etc/UTC # Timezone
- SERVERURL=vpn.myserver.com # Public domain or IP of the server
- SERVERPORT=51820 # Port for WireGuard (UDP)
- PEERS=5 # Number of clients to configure automatically
- PEERDNS=8.8.8.8 # DNS for clients to use
- INTERNAL_SUBNET=10.13.13.0/24 # Internal subnet for VPN clients
volumes:
- ./config:/config # Configuration files directory
- ./lib/modules:/lib/modules:ro # Kernel modules directory (read-only)
ports:
- "51820:51820/udp" # Expose WireGuard UDP port
sysctls:
- net.ipv4.conf.all.src_valid_mark=1 # Enable valid source marking for routing
restart: unless-stopped
- 📚 Explanation of Paramthers
🔹 SEVERURL: The public IP.
🔹 SERVERPORT: The port WireGuard will use.
🔹 PEERS: Number of pre-configured client profiles.
🔹 INTERNAL_SUBNET: Subnet range assigned to VPN clients.
🔹Volumes: Ensure persistence of configuration files.
📌 Step 3: Create WireGuard keys
You can generate keys either on your host os inside the container. On the host:
umask 077 && wg genkey | tee privatekey | wg publickey > publickey
Alternatively, once the container is launched, you can access it and create keys:
docker exec -it wireguard /bin/bash
# Inside the container:
wg genkey | tee privatekey | wg publickey > publickey
📌 Step 4: Launch the WireGuard Container
Execute the following command:
docker-compose up -d
Check if the container is running:
docker ps
📌 Step 5: Verify & Test the VPN
Verify WireGuard status within the container:
docker exec -it wireguard wg show
⚙ Client Configuration
After completing the setup, you can connect clients to your WireGuard with Docker on Ubuntu 22.04 server using the generated configuration files.
How to connect from desktop/Mobile
If the WireGuard server is already running, desktop and mobile clients can be connected using the configuration file generated by the Docker container. To do so, follow these steps:
1- Locate the client configuration file in ./config/peerX/peerX.conf.
2- Find the .conf file and import it into your WireGuard client application:
- Desktop
Use tools such as WireGuard GUI on Windows, macOS, or Linux.
- Mobile
Install the WireGuard app on Android or IOS and import the config file.
3- Scan the QR code (if present) for easy setup on mobile.
🔺 Here is an example:
[Interface]
Address = 10.13.13.2/24
PrivateKey = <client-private-key>
DNS = 8.8.8.8

[Peer]
PublicKey = <server-public-key>
Endpoint = vpn.myserver.com:51820
Match “Endpoint” to your server’s domain name and replace the <client-private-key> and <server-public-key> with the generated keys during the setup.
🛡 Security Practices
🔴 Use “ufw” or “iptables” with Docker
Enable ufw and only give access to WireGuard Traffic:
sudo ufw allow 51820/udp
sudo ufw enable
You can also use iptables for fine-grained control:
sudo iptables -A INPUT -p udp --dport 51820 -j ACCEPT
sudo iptables -A INPUT -m conntrack --ctstate ESTABLISHED,RELATED -j ACCEPT
🔴 Protect Configuration Keys
To restrict access, use the following permissions:
chmod 600 ./config/privatekey
🔴 Rotate Keys Occasionally
Use wg genkey to generate new keys.
Replace server and client configurations with new keys.
Restart the WireGuard container.
🚨 Troubleshooting
⚠ Common Container Networking Issues
Verify that the WireGuard is running:
docker ps | grep wireguard
Check port forwarding on the firewall/router to enable UDP traffic on port 51820
⚠ Log Analysis Commands
Inspect Docker logs:
docker logs wireguard
Check system logs for WireGuard messages:
journalctl -u wg-quick@wg0
If the clients cannot connect, check their configurations and make sure the server’s public key is the same:
🎯 Conclusion
WireGuard in Docker provides an easy and secure VPN configuration that is easy to deploy and manage on Ubuntu 22.04. Some of the key benefits include Simple setup and management, fast speeds with low resource utilization, and cross-platform compatibility with desktop and mobile clients.
With this guide, you’ve learned to configure WireGuard with Docker on Ubuntu 22.04 and run your own portable VPN server.
You might like it