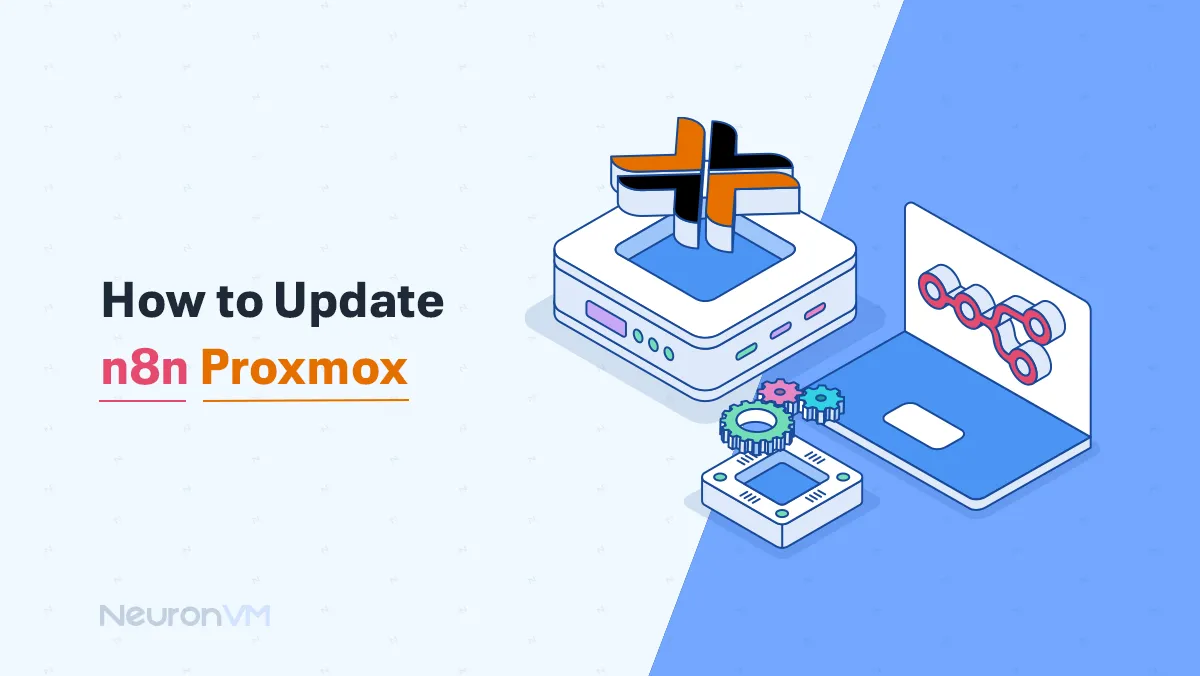
How to update n8n ProxMox
 7m
7m
 0 comments
Keeping your n8n updated is essential for having the security patches and the latest features released, In this guide, we will walk you through the process of how to update n8n ProxMox along with the concept of n8n and ProxMox.
We will cover both explanations and a straightforward guide on how to update n8n ProxMox.

What is ProxMox?
If you want to use your computer for multiple tasks at the same time instead of buying multiple computers you can use ProxMox to achieve this goal.
After using ProxMox you will be able to create virtual computers, it will separate each of them with their own operating system.
It has a really nice user-friendly interface which makes it an ideal choice. You are saving money by using ProxMox because you do not need to purchase any other computer to handle your tasks.
So it is simply like having multiple computers with a single machine.
What is n8n?
Do you ever wish for your jobs to get automatic? So you have more time for anything else?
If you want your emails to be sent automatically or you want to post regularly on social media, that is where n8n comes into play.
n8n is visual, it is also a programming language and it is AI native. For creating a workflow connect different nodes.
Each node you connect represents a different job, so every node there is for a job.
It works like a professional assistant in the background to do your repetitive jobs automatically.
You can also make yourself customized nodes by using Python or JavaScript, not no coding is required for the basic workflows. But knowing coding will unlock advanced features.
If you want to download it or read more about n8n you can check their main website.
Updating n8n on ProxMox
There are several methods for updating n8n on ProxMox but we recommend you update it from Docer, We are going to provide a straightforward method for updating it from Docker.
First method: Update through Docker
If you do not know what a Docker is, it is a box that packages your software, along with everything it needs to be run. Check out Docker’s main website if you want to get more informed.
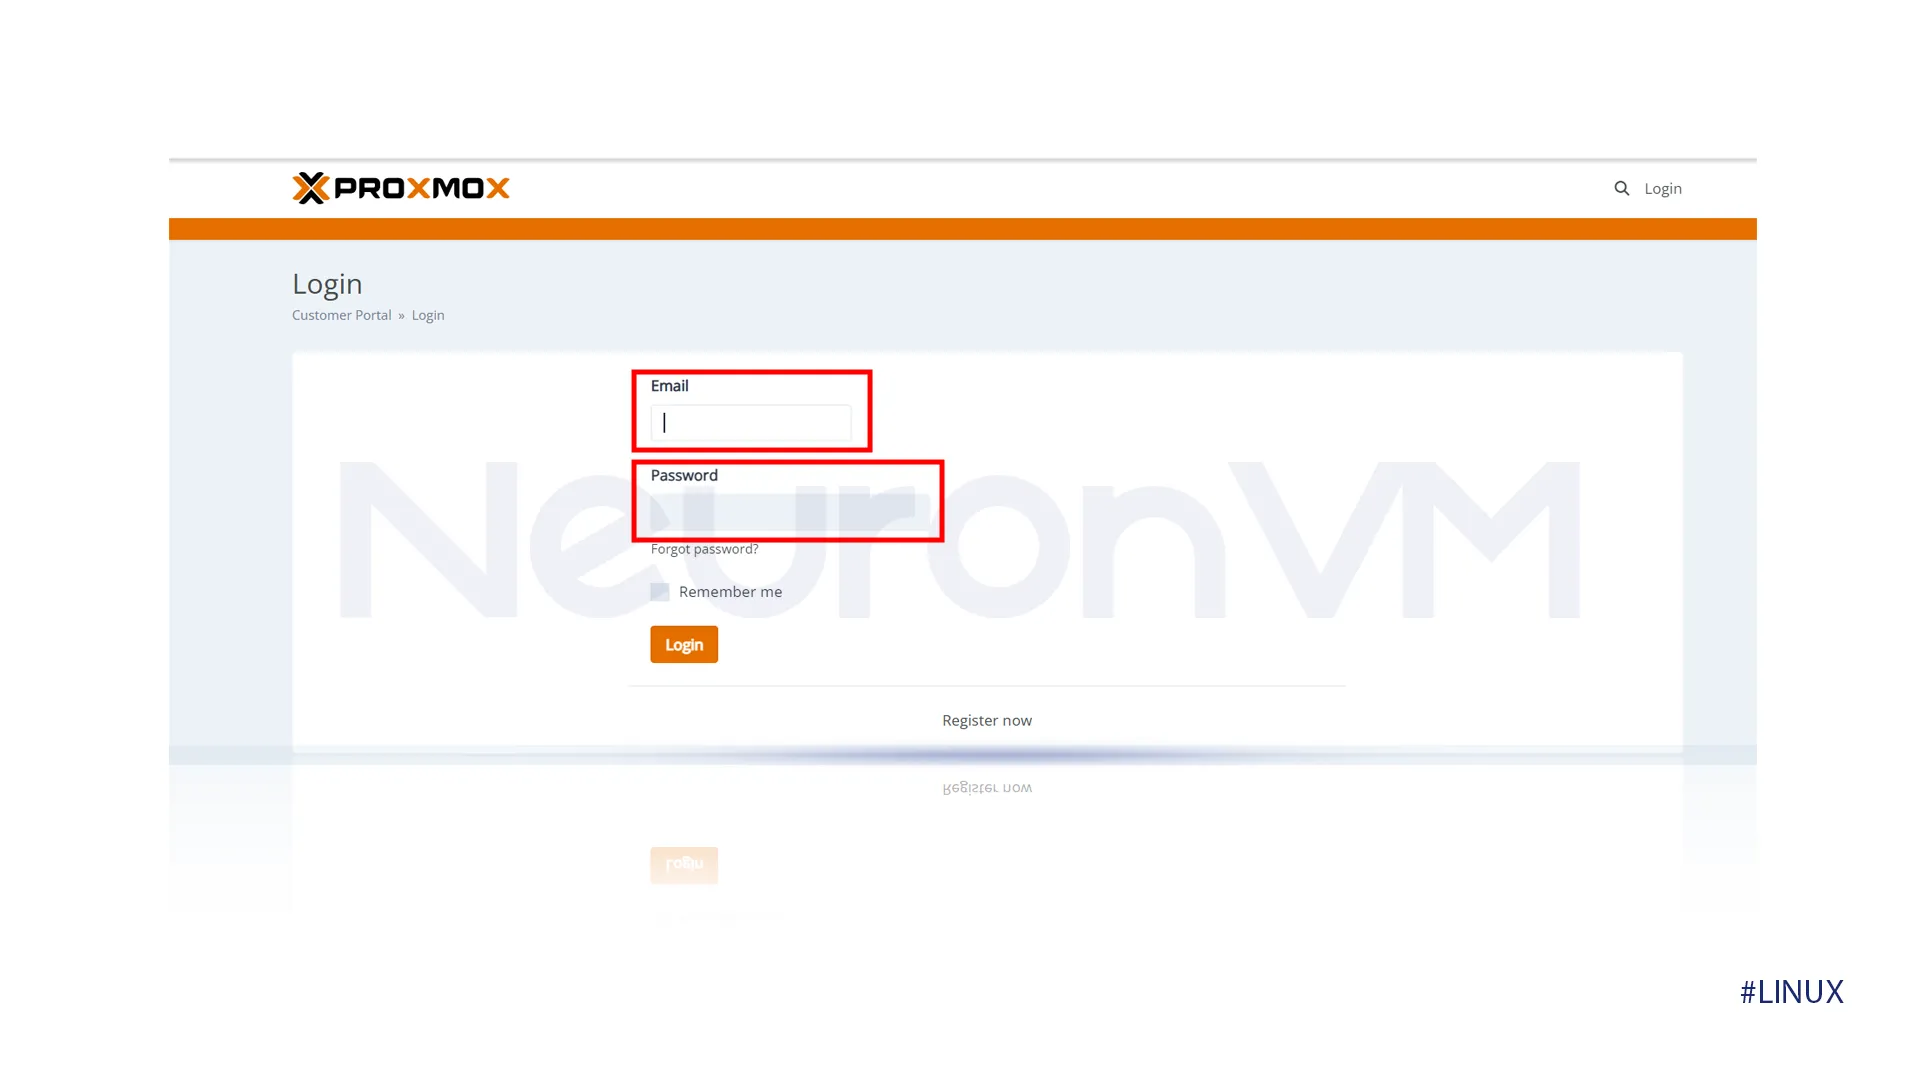
Step 1: “Log in to ProxMox”
The first thing you need to do to update n8n is to log in to your Proxmox. Fill in the requested information and log into your Proxmox.
Step 2: “Identify your n8n Container”
After you log into ProxMox, you need to find the virtual machine where your n8n is running.
Use the ProxMox console to see a list of running containers, and choose n8n.
Write down the unique ID of the n8n container.
Step 3: “End the running n8n Container”
Use the following command to put a stop to the n8n container, make sure to replace the container ID with the unique ID that you wrote down in the previous step.
sudo docker stop <n8n_container_id>
Step 4: “Drag the latest image”
The following command will download the latest n8n Docker image from Ducker Hub to your virtual machine.
sudo docker pull n8n-io/n8n
Step 5: “Start the Upgraded container”
First, you need to remove the old container by the command below, this will remove the old one and replace it with a new one.
docker rm <container_id>
Make sure to replace the container ID with the unique ID that you wrote down in the second step.
If you want improved management, consider using Docker Compose.
Enter the command below to start the previously stopped Docker container.
sudo docker start <n8n_container_id>
And with that, you updated your n8n Proxmox successfully.
Conclusion
In this article, we provided a clear guide on how to update n8n ProxMox.
This article included an explanation of the concept of n8n and ProxMox, if you are a Linux user you can take a look at the Linux tutorials on our site.
If you have any problem with updating your n8n ProxMox, consider leaving us a comment, our experts will help you accomplish your goal.


