How to Install and Use Yakuake on Ubuntu 20.04

 7m
7m
 0 comments
 Print
Print
If you have ever used Ubuntu for your daily work, you probably know how often you open and close the terminal. Sometimes you just need to check a single command or monitor something quickly. That’s when Yakuake becomes your best friend. It’s a drop-down terminal that appears with one shortcut and hides just as easily.
No more searching for the terminal app or opening new windows every few minutes. Yakuake was first inspired by the console system used in classic games like Quake.
Gamers would press a single key, and a transparent command screen would slide down from the top. Developers later turned that simple but clever idea into a tool for Linux users who wanted speed and accessibility in their workflow.
What is Yakuake?!
Yakuake is a terminal emulator based on KDE’s Konsole technology. Unlike a regular terminal that runs separately, Yakuake stays quietly in the background waiting for you to call it. When you press the assigned key, it slides down instantly, giving you full command-line access without interrupting your work. Many Linux VPS users or system administrators prefer it because it feels natural to use. Once you try it, you’ll probably keep it pinned to your startup programs. Yakuake remembers your open tabs, supports customization, and feels lightweight even on older systems.
Key Features of Yakuake!!
Yakuake has some practical and fun features that make it stand out:
1- You can adjust how fast it opens or how large the animation appears
2- It slides down smoothly from the top of the screen like a game console
3- It has an advanced D-Bus interface for developers
4- Tabs are easy to manage if you work with multiple sessions
5- You can even change its appearance with skins
The Best Way to Install Yakuake on Ubuntu
There are a few simple ways to install Yakuake on Ubuntu 20.04. You can do it using apt-get, apt, or aptitude. Each method works well, so it’s up to you which one to choose.
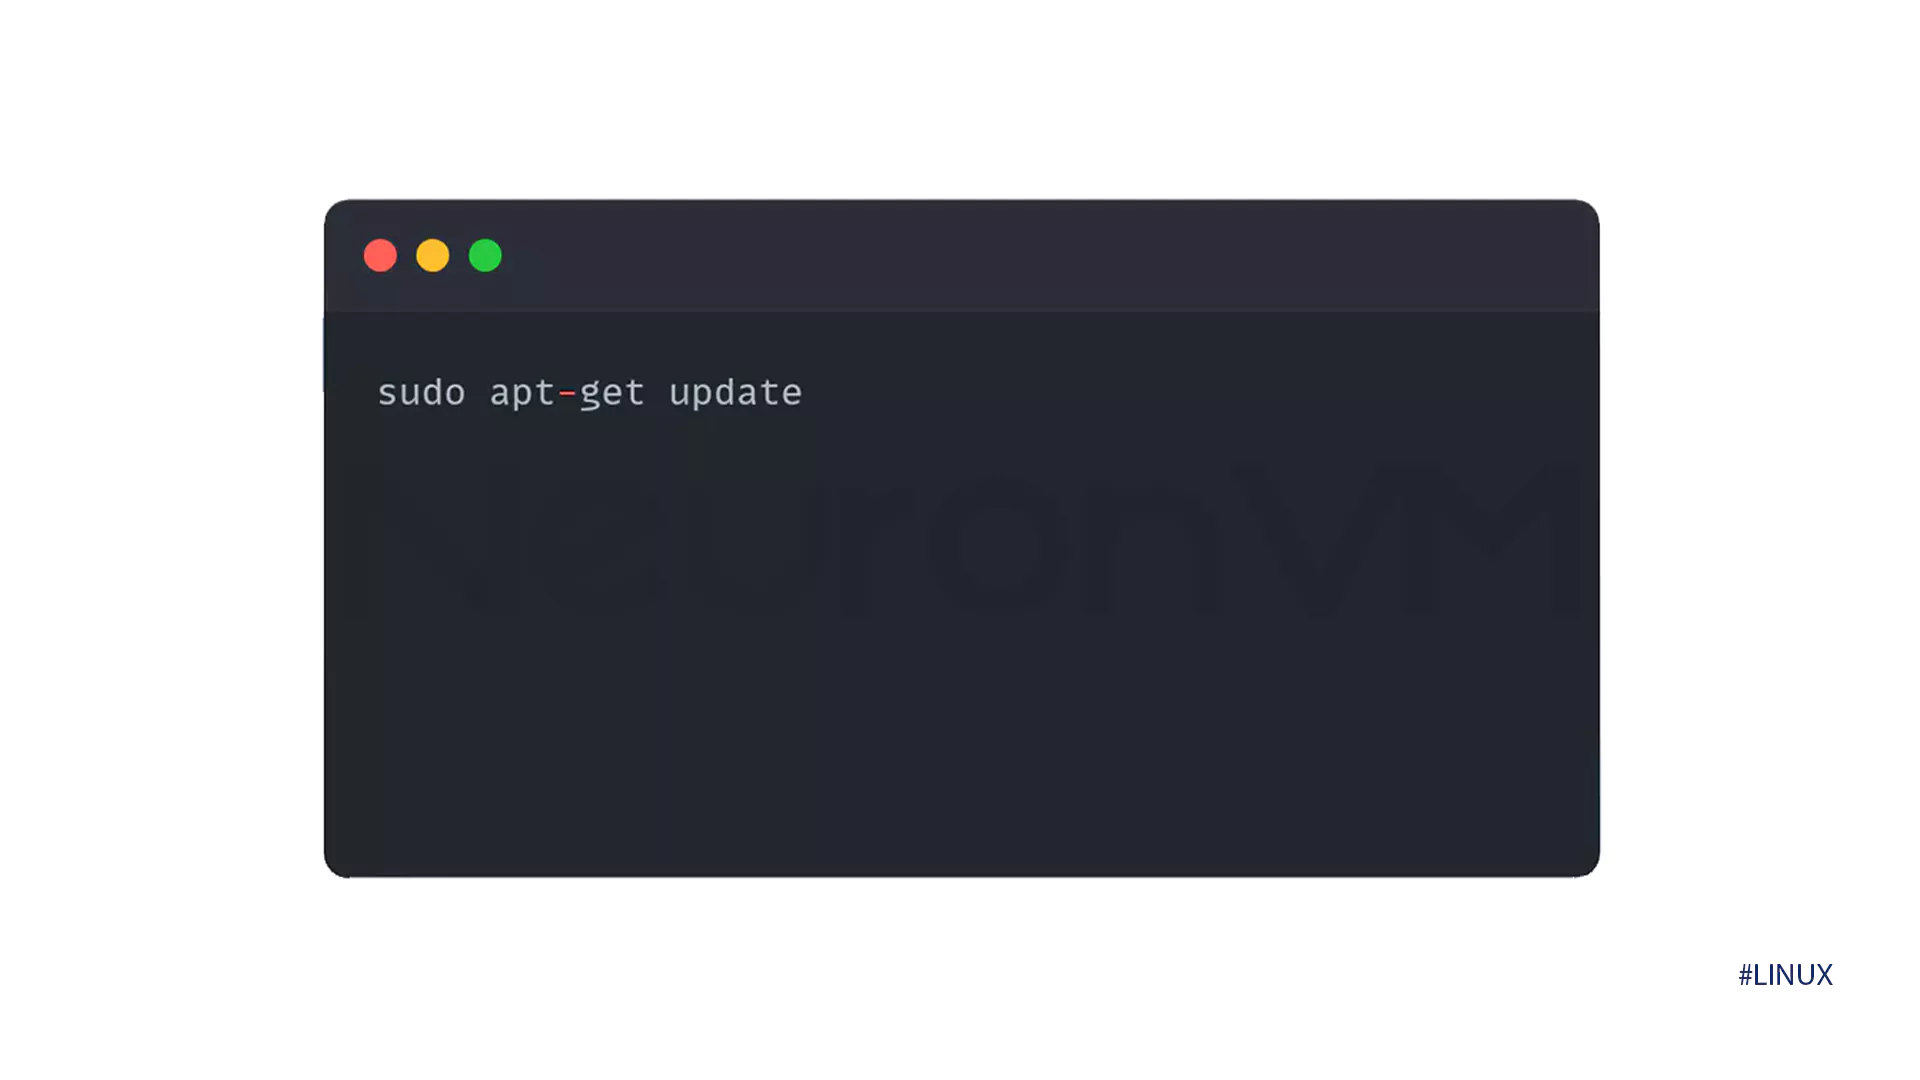
1- Installing with apt-get
First!! make sure your system package list is updated. Open your terminal and type:
After that, install Yakuake using this command:
Once installed, press F12 or your chosen shortcut, and you’ll see Yakuake appear instantly from the top of your screen.
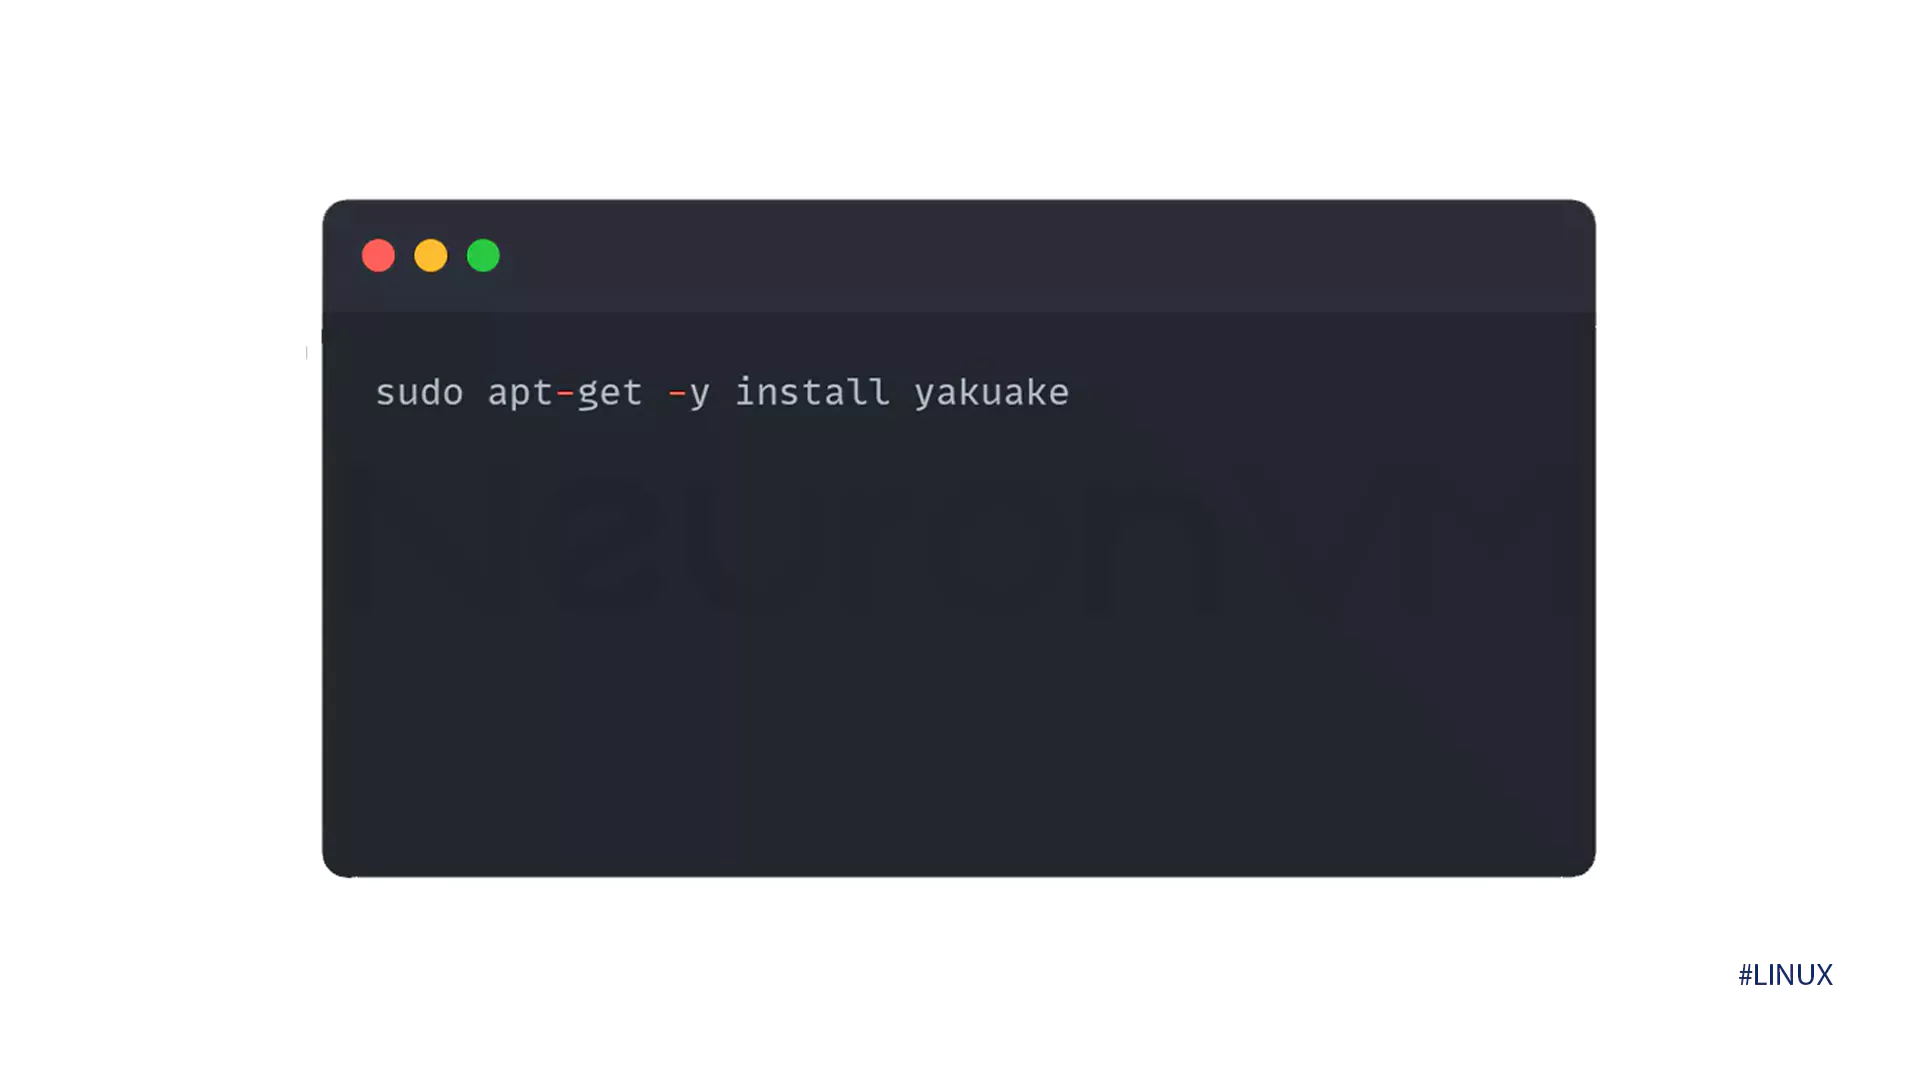
2- Installing with apt
The process is very similar. Update your system first:
sudo apt update
Then run the installation command:
sudo apt -y install yakuake
Within a few seconds, Yakuake will be ready to use.
3- Installing with Aptitude
If you prefer using Aptitude. you might need to install it first because it’s not always included by default on Ubuntu. Run the following command to update your packages.
sudo aptitude update
Then install Yakuake with:
sudo aptitude -y install yakuake
How to Uninstall Yakuake:
If one day you decide you don’t need Yakuake anymore uninstalling it is simple. To remove just the package:
sudo apt-get remove yakuake
If you also want to delete unused dependencies:
sudo apt-get -y autoremove yakuake
To completely clean up all its settings and data, you can run:
sudo apt-get -y purge yakuake
sudo apt-get -y autoremove --purge yakuake
A Few Words from Experience!!
Using Yakuake feels like upgrading your workflow from manual to automatic. I first discovered it while managing a VPS and got tired of switching between windows. Once I installed it, everything became smoother. I could monitor logs, check server status, and return to my browser with one quick press. It’s one of those tools that doesn’t seem necessary until you actually try it.
Conclusion
Yakuake is more than just another terminal emulator. It’s a small yet smart upgrade for anyone who spends time in the command line!! Installing it on Ubuntu is easy, and once you start using it, you’ll wonder how you managed without it. Whether you’re a developer, system admin, or just a curious Linux user. Yakuake gives you the flexibility and speed you need. Try it today and see how it changes the way you work with Ubuntu.
You might like it