How to Install VSCode on Ubuntu 22.04


 Study duration :
8 Minutes
Study duration :
8 Minutes
 0 Comment
This article is presented to review visual studio code or VSCode. This tool is a powerful open-source code editor created by Microsoft. Strong VSCode support includes built-in debugging, syntax highlighting, built-in git control, code completion, code refactoring and snippets, and an integrated terminal. This tool can be used on most important platforms such as Windows, Linux, and Mac. We will also try to teach you how to install VSCode on Ubuntu 20.04.
Prerequisites
Here are the requirements to install VSCode on Ubuntu 20.04
- An up-to-date Ubuntu system on Linux VPS
- A powerful network connection
- A root account or sudo privileges
3 Easy Methods to Install VSCode on Ubuntu 20.04
There are different methods to install VSCode on Ubuntu. We will examine all of them for you, but you can choose the proper one according to your desire. Here are the methods:
- Via Snap
- Via APT
- Via Graphical User Interface/GUI
Method 1: Installing Visual Studio Code Via Snap
Open the Ubuntu terminal and run the necessary command to install the snap package. This package contains VSCode with required dependencies. These snap packages are containerized applications.
sudo snap install --classic code
To check the program version, use the command below:
code --version
Method 2: Installing Visual Studio Code Via APT
You can use the apt package manager to install VSCode on your Ubuntu server, so follow the instructions below carefully.
1- First you should update your system’s repository using the following command:
sudo apt update
2- For a successful operation, you should install the required package dependencies. Now execute the command below:
sudo apt install software-properties-common apt-transport-https wget -y
This command will install all the dependencies automatically.
3- It is important to verify the package integrity, so import the GPG key provided by Microsoft. You should use the following command:
wget -q https://packages.microsoft.com/keys/microsoft.asc -O- | sudo apt-key add -
4- To add the Visual Studio Code repository to your system, you can execute the following command:
sudo add-apt-repository "deb [arch=amd64] https://packages.microsoft.com/repos/vscode stable main"
5- It is time to install the VSCode after enabling the repository:
sudo apt install code
6- Run the following command to verify VSCode installation:
code --version
Tip: If you install the VSCode successfully, you will see the program version.
Method 3: Installing VSCode Using the GUI
In this section, we will give step-by-step instructions to install VSCode by Ubuntu software center.
1- First of all open the Ubuntu software center. Click on the Show Applications button and open the software center application:
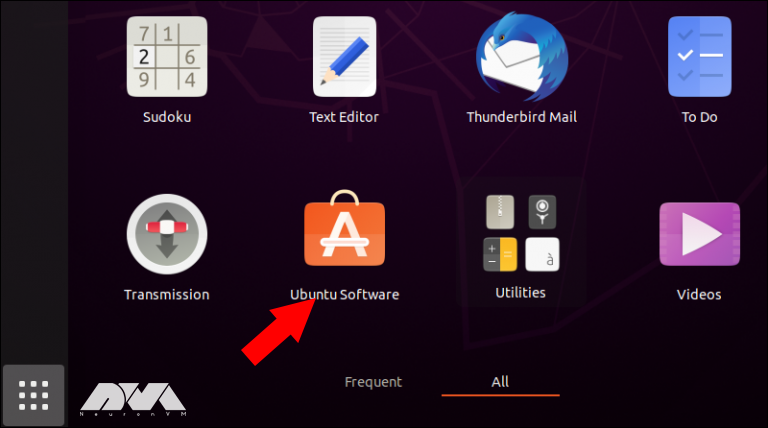
Tip: The show application option opens the application drop-down menu and shows the installed application icons.
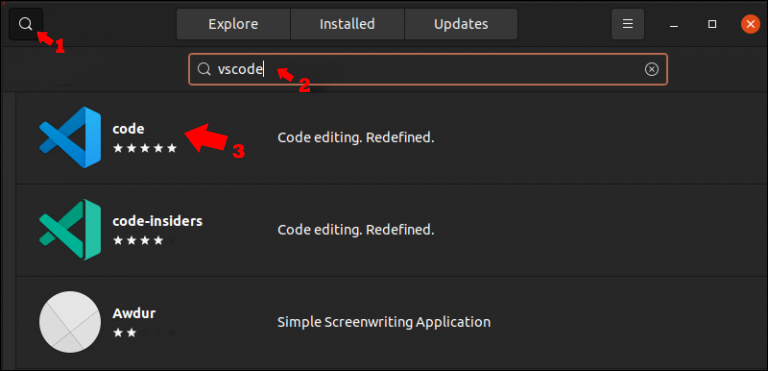
2- Now you should press the search button and type VSCode. Now if you want to open the app page, select Code:
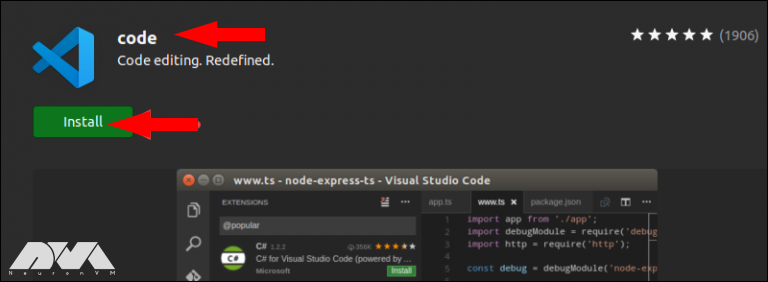
3- You can see the Visual Code app icon here. Click the Install button. It will be asked to insert an administrative password and start the installation process:
Starting VSCode on Ubuntu
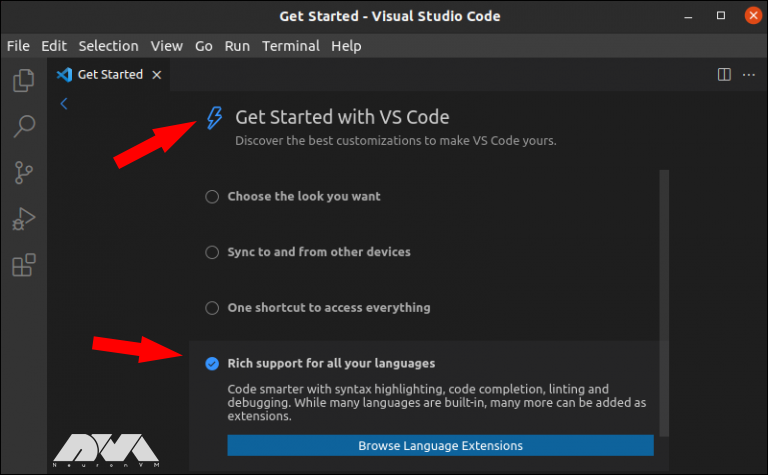
After a successful installation, you can start the program. On the Ubuntu terminal click on the show applications icon and locate the Visual Studio code in your app list:
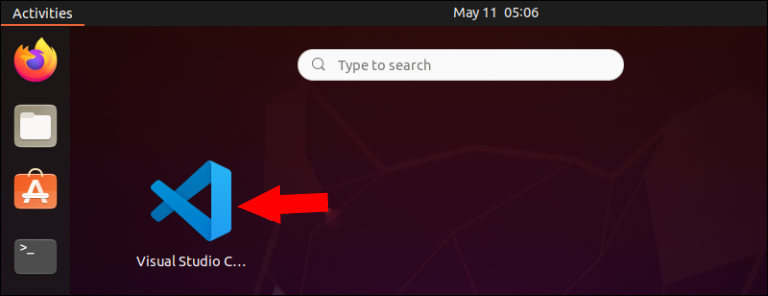
Click to open the program. Now you can customize the appearance of the program according to your taste. For example, program extensions you need for programming languages, etc.
Troubleshooting Issues Of VSCode on Ubuntu
Here are some common problems with Visual Studio Code on Ubuntu:
1- If you install VSCode using Snap, it might not have access to certain resources like USB devices.
Solution:
Install it using the .deb package or use the following command to enable the necessary permissions:
sudo snap connect :removable-media
2- Sometimes, you might encounter dependency issues when installing VSCode.
Solution:
Ensure that you have the required dependencies installed. Run the following commands:
sudo apt update sudo apt install -y libx11-xcb1 libasound2
3- If you’re getting a “404 Not Found” error when updating the package list, the repository might be deprecated.
Solution:
Check the official VSCode documentation for the latest instructions on adding the repository.
Conclusion
Visual Studio Code is one of the helpful editors to use on platforms like Linux and Windows. This article was prepared to show the way of installing VSCode via three different methods. Then you learned how to start it on your terminal. Install and enjoy the program. Happy coding!