


How to Install Apache on Windows RDP


 10m
10m
 0 comments
 Print
Print
Apache is a popular open-source web server software that is widely used to host websites and applications. In this Tutorial, we are going to teach you how to Setup and Configure Apache on Admin RDP (2012, 2016, 2019) step by step. By following the steps outlined in this guide, you will be able to have a fully functioning Apache web server on your Admin RDP, allowing you to host websites and serve content to users.
Prerequisites
1) The Admin RDP should be running a supported version of the Windows Server operating system, such as Windows Server 2012 or later.
2) Administrative Access to the RDP server.
3) Sufficient hardware resources, including CPU, RAM, and disk space, to handle the expected web traffic.
How to Download Apache on Admin RDP Server
In this section, we want to deal with Setup Apache on Admin RDP. The first step is to log in to your Admin RDP.
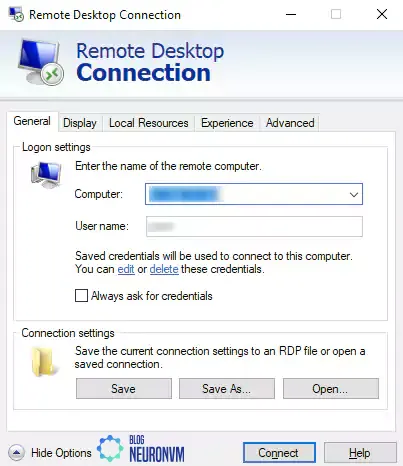
Open Remote Desktop by searching your Windows Start menu.
Then enter the desired IP to enter the RDP Admin and click Connect.
Note: If you are asked for a password, you must enter the server login password. If you do these steps successfully, you will become an Admin RDP environment.
After successfully entering the Admin RDP environment, you must open one of the browsers you want. Then, you must download the Apache webserver.
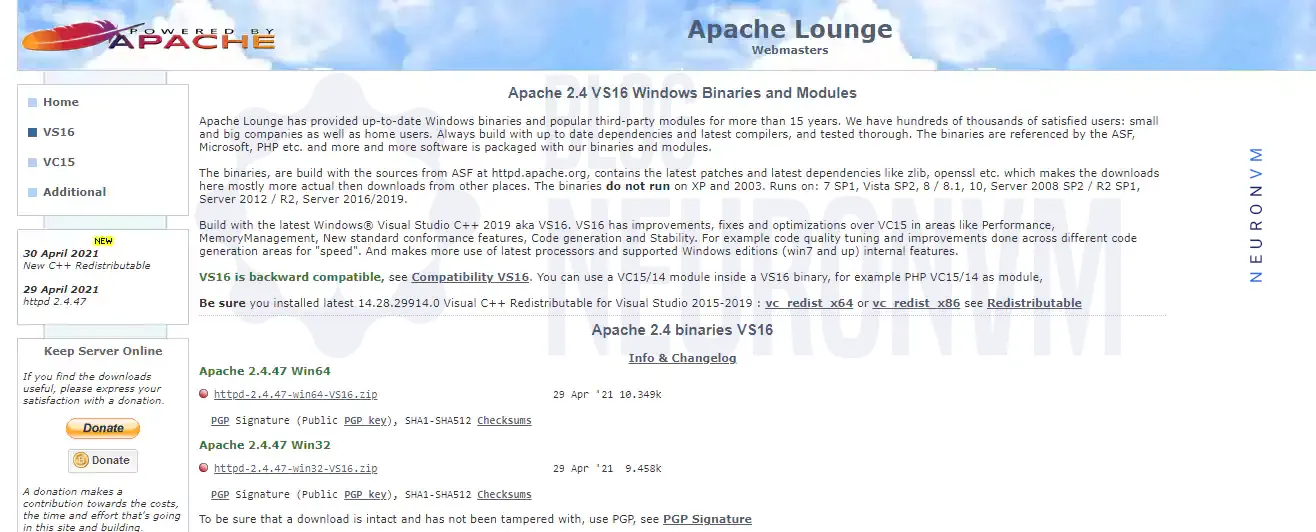
You should also have C++ Redistributable Visual Studio because the Apache webserver needs it to run on Windows. You can download this by clicking on vc_redist_x86 for a 32-bit operating system and vc_redist_x64 for a 64-bit operating system and then install it.
Once the Apache download is complete, you should go to the location where you downloaded the file.
Then you have to extract it in the place you want. Note that after unzipping the file, you should see the files of this web server. In the next step, we will teach you how to configure Apache.
Setup and Configure Apache on Admin RDP
Now is the time to configure Apache.
First, you should locate the file “httpd.conf” and open it in a standard text editor. Apache can be installed anywhere on the system, but you must change the SVROOT settings to indicate your compressed location:
Define SRVROOT "C:/Apache24" → Define SRVROOT "D:/Apache"
If the httpd.conf file does not have the SRVROOT variable, update everything manually as in the following examples:
ServerRoot "C:/Apache24" → ServerRoot "D:/Apache"
DocumentRoot "C:/Apache24/htdocs" → DocumentRoot "D:/Apache/htdocs"
<Directory "C:/Apache24/htdocs"> → <Directory "D:/Apache/htdocs">
ScriptAlias /cgi-bin/ "C:/Apache24/cgi-bin/" → ScriptAlias /cgi-bin/ "D:/Apache/cgi-bin/"
1- Now you need to add ExecCGI to the Options directory and locate the following line:
Options Indexes FollowSymLinks
and then you must append “ExecCGI“:
Options Indexes FollowSymLinks ExecCGI
This means in Apache CGI/Perl scripts are allowed outside of the CGI-bin director.
2- You need to find and uncomment the following line by removing the # sign from the beginning of the line:
AddHandler CGI-script .cgi
and then add the following line to it:
AddHandler CGI-script .pl
These two lines show how to handle the .cgi / .pl file to Apache.
3- You should add the following command to the end of the httpd.conf file:
ScriptInterpreterSource Registry
This allows Apache to ignore the first line of .cgi / .pl files and instead determine the location of Perl through the Windows registry.
How to Setup Apache on Admin RDP
Now it’s time to start Apache.
First, go to the Apache extraction location and open the command windows/PowerShell prompt in the bin folder.
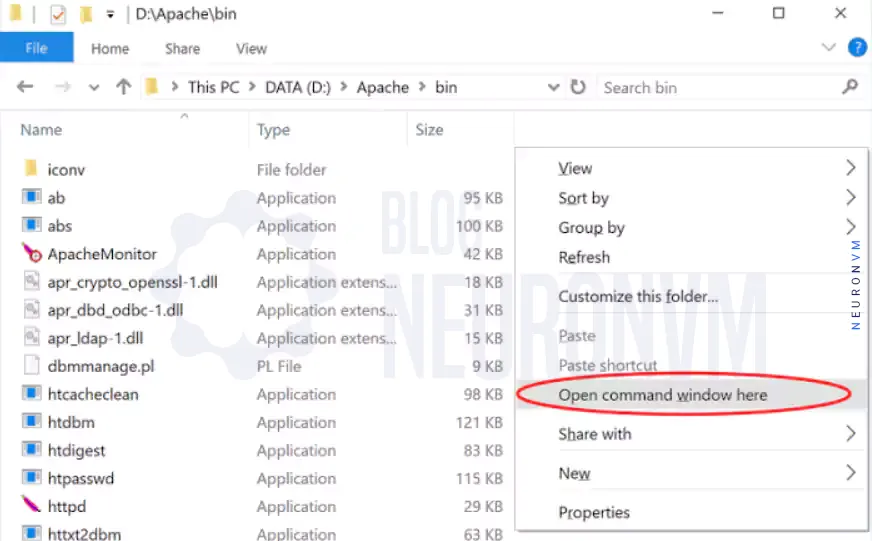
After opening the command prompt, enter the “httpd.exe” command to start Apache.
Note: If you open the PowerShell prompt, you must enter the command “D:\Apache\bin\httpd.exe” to start Apache.
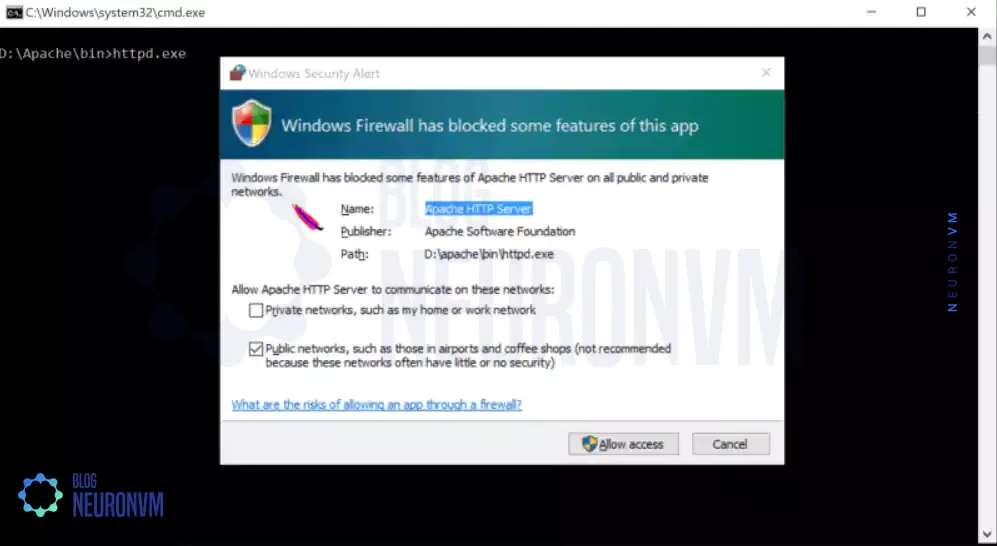
Now you should allow access as appropriate after seeing a Windows Firewall prompt.
The point to note is that you must have access to Apache through the firewall. Otherwise, other devices will not be able to connect to the web server. So allow access accordingly:
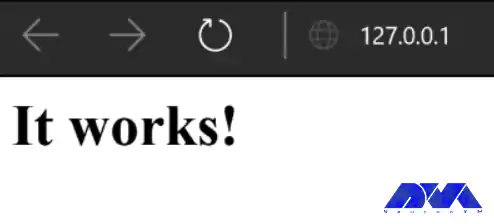
At this point, you should check the Apache. Go to http://127.0.0.1 from your web browser, provided the previous command window is open. If Apache is running, you must see the image below.
Note: To exit Apache, just close the command/PowerShell window.
Now you should install Apache as a Windows service. After that, you make sure it runs all the time.
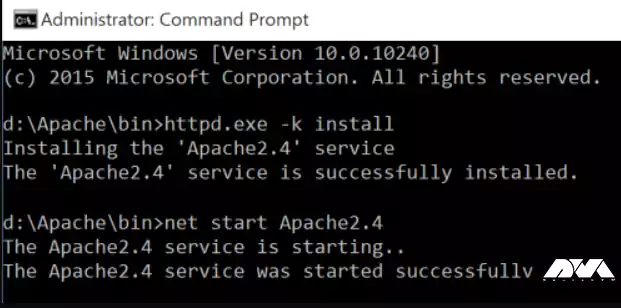
To do this, open the command prompt again and enter the following command:
httpd.exe -k install
Or if you open PowerShell, you can run the following command:
Start-Process PowerShell -Verb RunAs
Then you should enter:
& "D:\Apache\bin\httpd.exe" -k install
Now you must receive a message that Apache is installed.
Type the following command to start the service:
net start Apache2.4
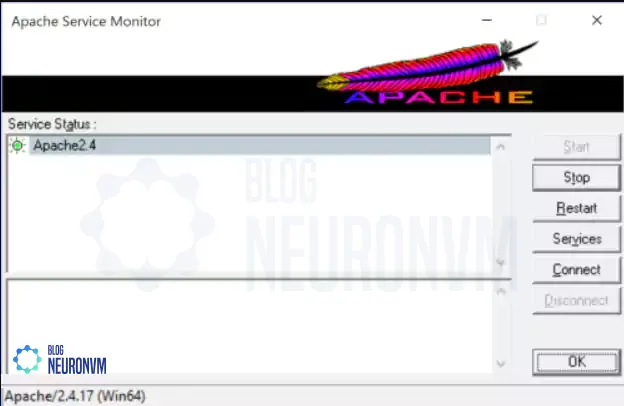
Apache has an “Apache Monitor” with which you can control the current state of the Apache server and start, stop, or restart the server.
Double-click ApacheMonitor.exe to run the utility. Also, to run it automatically when Windows starts put a shortcut in the Startup folder.
You can press WinKey+R and type “shell:common startup” to access the Startup folder faster, in Admin RDP:
Conclusion
Setup and configure Apache on Admin RDP server is a foundational step in hosting websites and serving content to users. By following this comprehensive guide, you have learned how to install Apache, configure its settings, start and test the server, host websites, and configure virtual hosts. Apache’s flexibility and robustness make it an ideal choice for web servers, and with the knowledge gained from this tutorial, you are now ready to explore the vast possibilities of hosting websites on your own Admin RDP server. If you wish, you can read the Apache vs Litespeed article.