How to Connect Studio 3T MongoDB to local DB
 7m
7m
 0 comments
Studio 3t is a powerful and popular GUI for interaction with MongoDB. This GUI unlocks a world of possibilities for managing your data.
This exact guide will walk you through how to connect Studio 3T Mongo DB to local DB. We will cover essential steps for you to connect your Studio 3T MongoDB to local DB easily.
What is Studio 3T?
The idea behind Studio 3T was so simple, The founders of Studio 3T thought that data professionals needed a simpler way to work with MongoDB.
It is a new tool that founded on 2019, however it managed to gain popularity so fast.
And it is also designed for both beginners and experts, which leads us to one of the reasons for its rage.
They claim that this GUI saves up to 20% of developing time.
Several key factors are served with Studio 3T that help developers; It is fast, it manages data better and it provides user friendly interface that makes it easy to work with MongoDB. It is specially designed to work with MongoDB.
If you are looking for more information about Studio 3T, you can check out their main website.
What is MongoDB?
It is a popular open-source database, that stores data in flexible documents, these documents can contain text, numbers and other information.
One of the key factors in MongoDB is its flexibility; unlike other database it allows you to adapt changes and store data with no strict rules.
Gaming and social media companies mainly use it because it suits modern applications that deals with large amount of data.
Enabling Studio 3T MongoDB to local DB
prerequisites for connecting Suddio 3T MongoDB to local DB
- Studio 3T installation
- Running MongoDB
Note: If you are connecting to a remote installation of MongoDB you do not need to install it locally.
Installing Studio 3T for Linux
First, you need to download Studio 3T from their main website. It is available as a gzipped tarball.
Then you need to open the terminal and use the command below to change the directory where you downloaded (.tar.gz) file.
$ cd Downloads
Next, you will need to unpack the previously downloaded file.
$ tar -xvzf studio-3t-linux-x64.tar.gz
After unpacking the file, for the next step run its installer.
$ ./studio-3t-linux-x64.sh
With that step, you are done with installing Studio 3T on your computer, but take a few seconds to follow the prompts provided by Studio 3T.
How to connect MongoDB
For the first step to connect MongoDB, click on the connection and next click on a new connection.
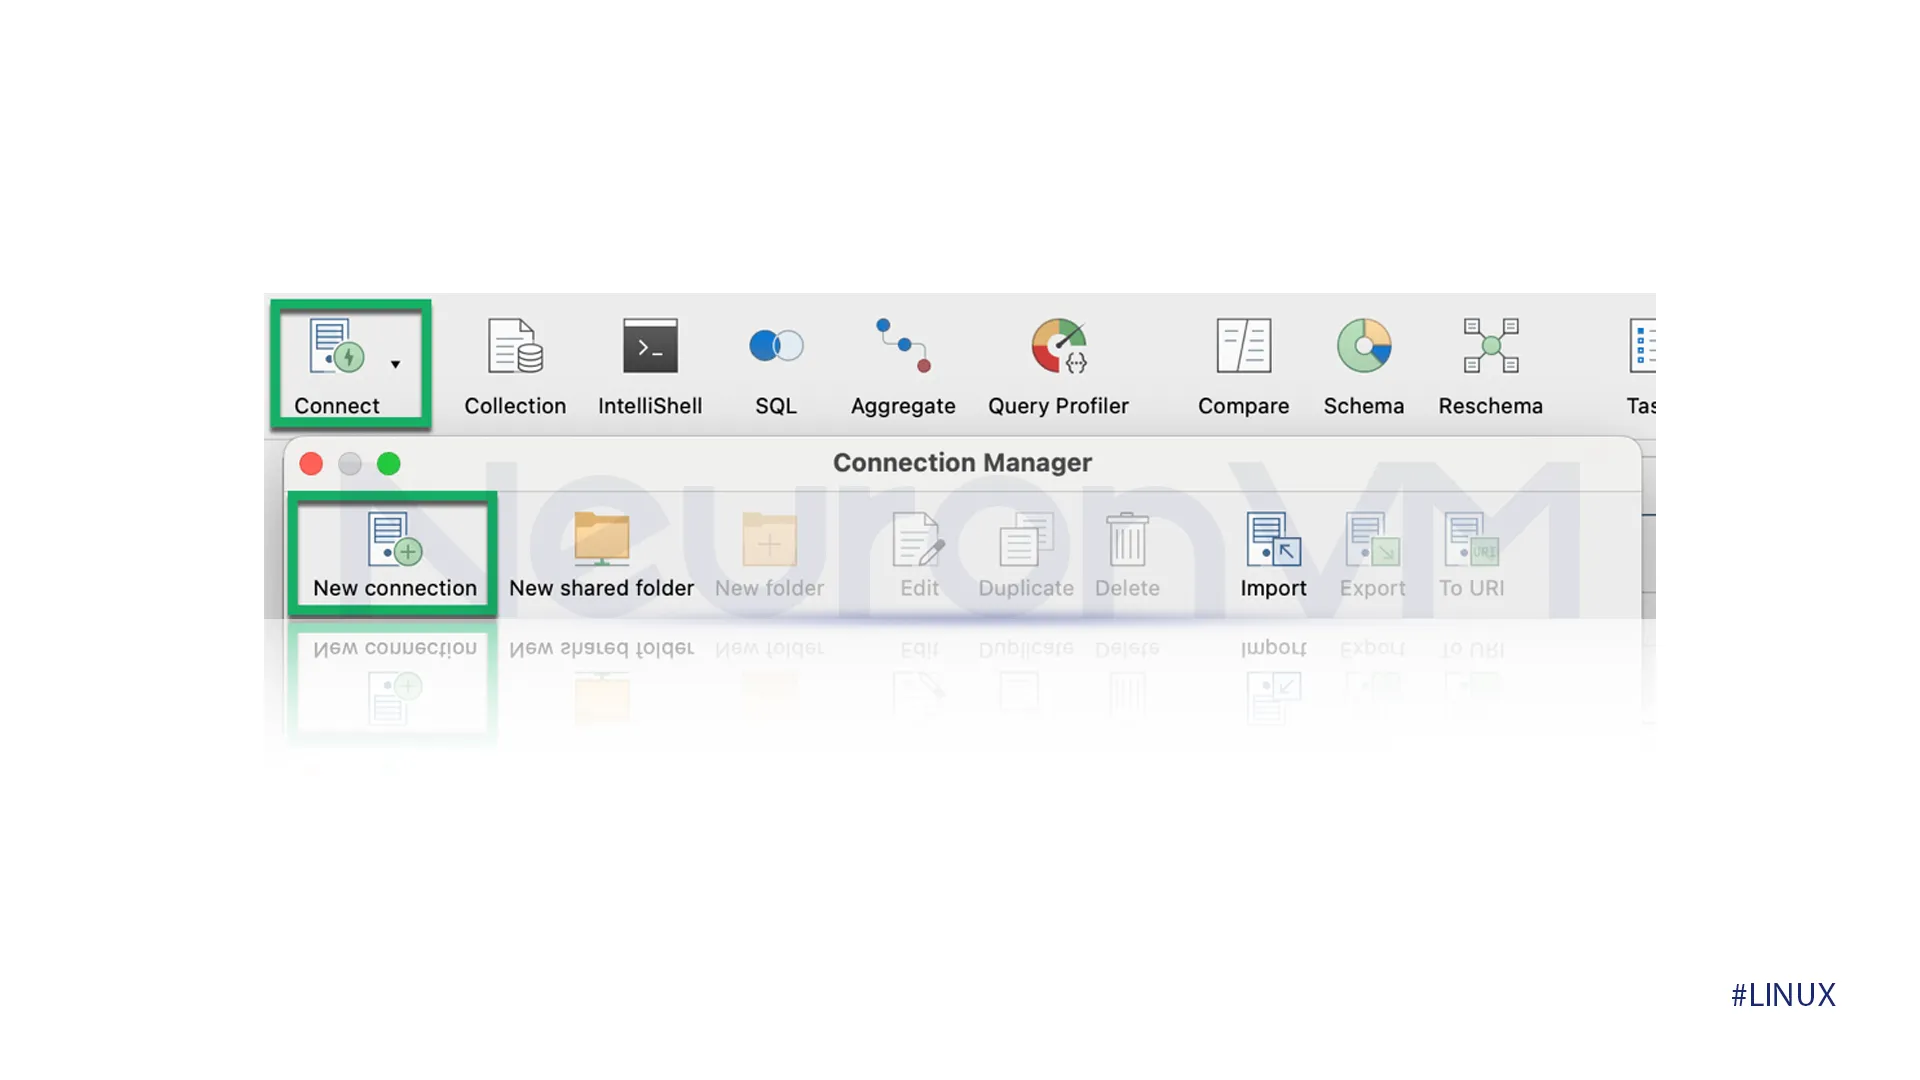
In this step, you need the connection string that is provided by your hoster.
After clicking on the new connection, it will open a new connection dialog; you need to paste your connection string first, then click on next.
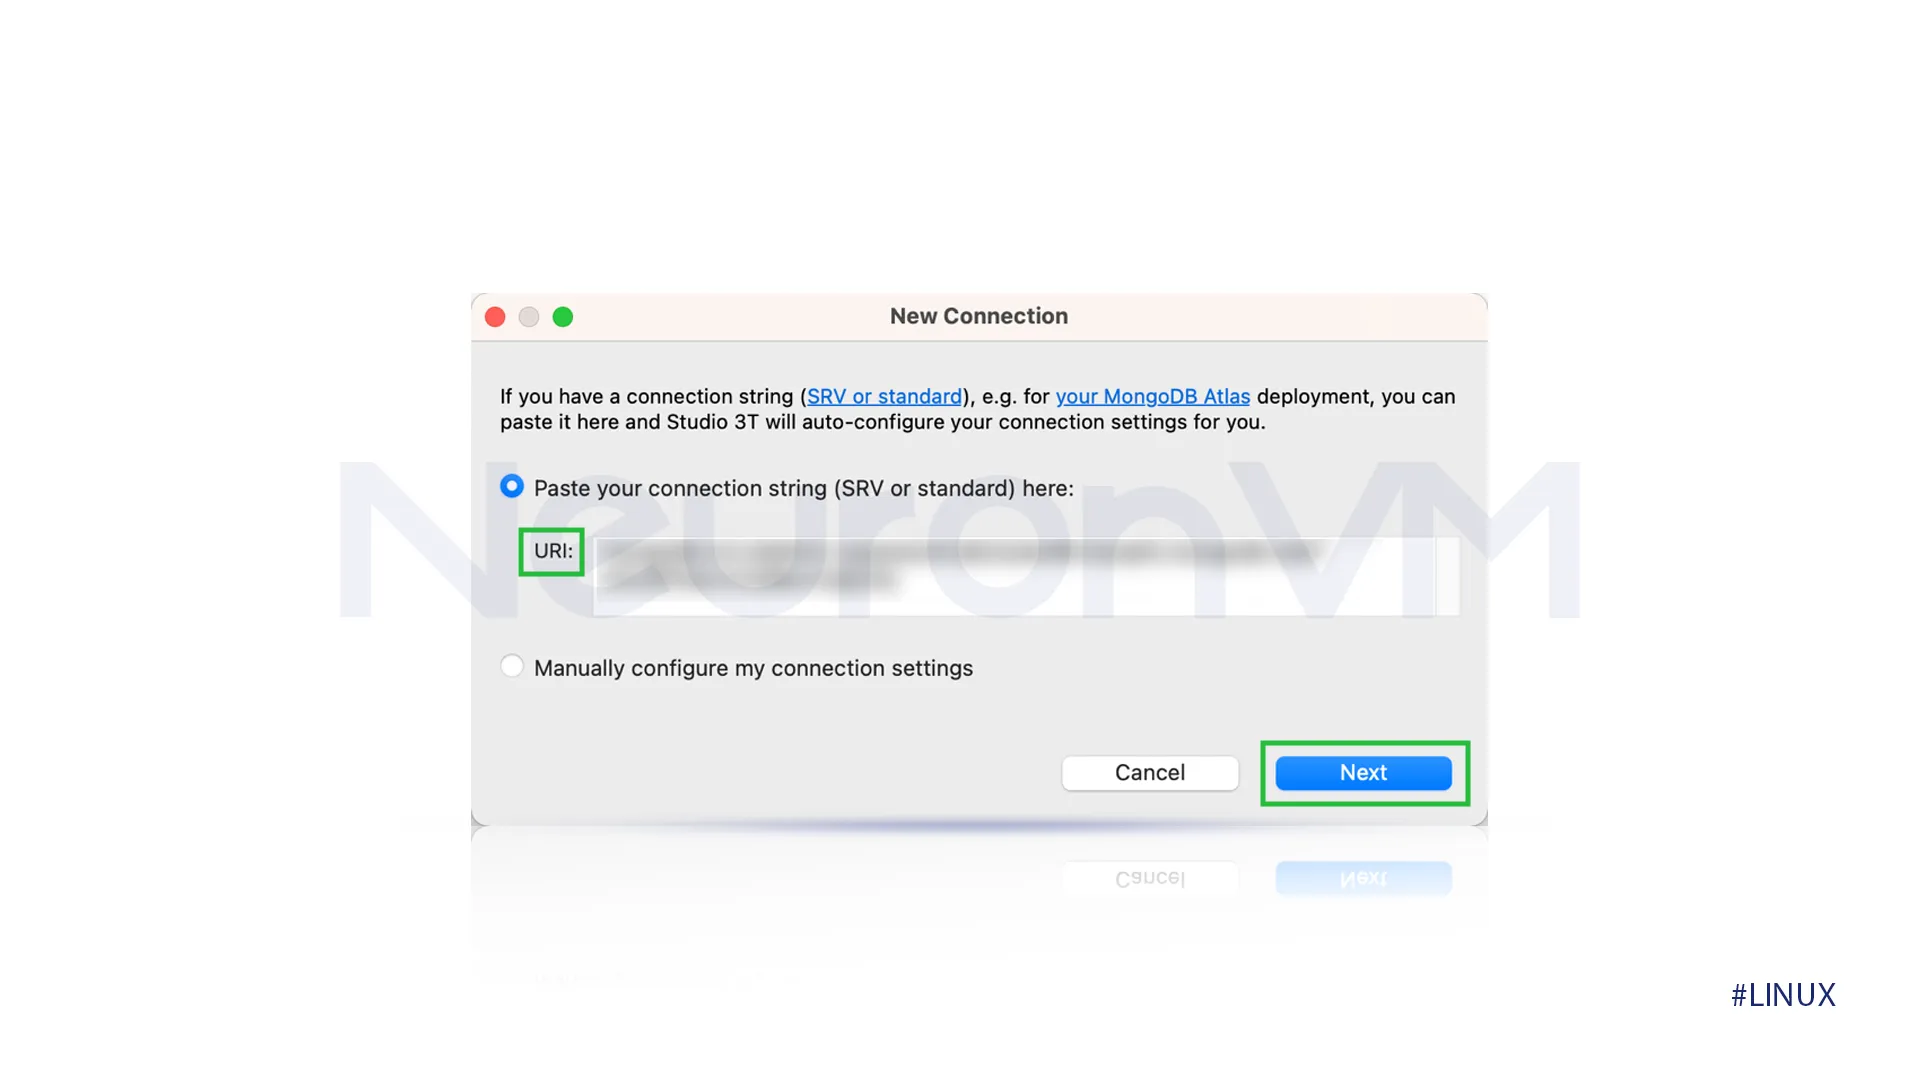 Studio 3T will automatically fill in the necessary information for you on the server, SSL, SSH, authentication, and advanced tabs. You can click on the save button to save information for later.
How to connect MongoDB to local DB
There is not much left to do, the only thing left to do is to connect to your local DB.
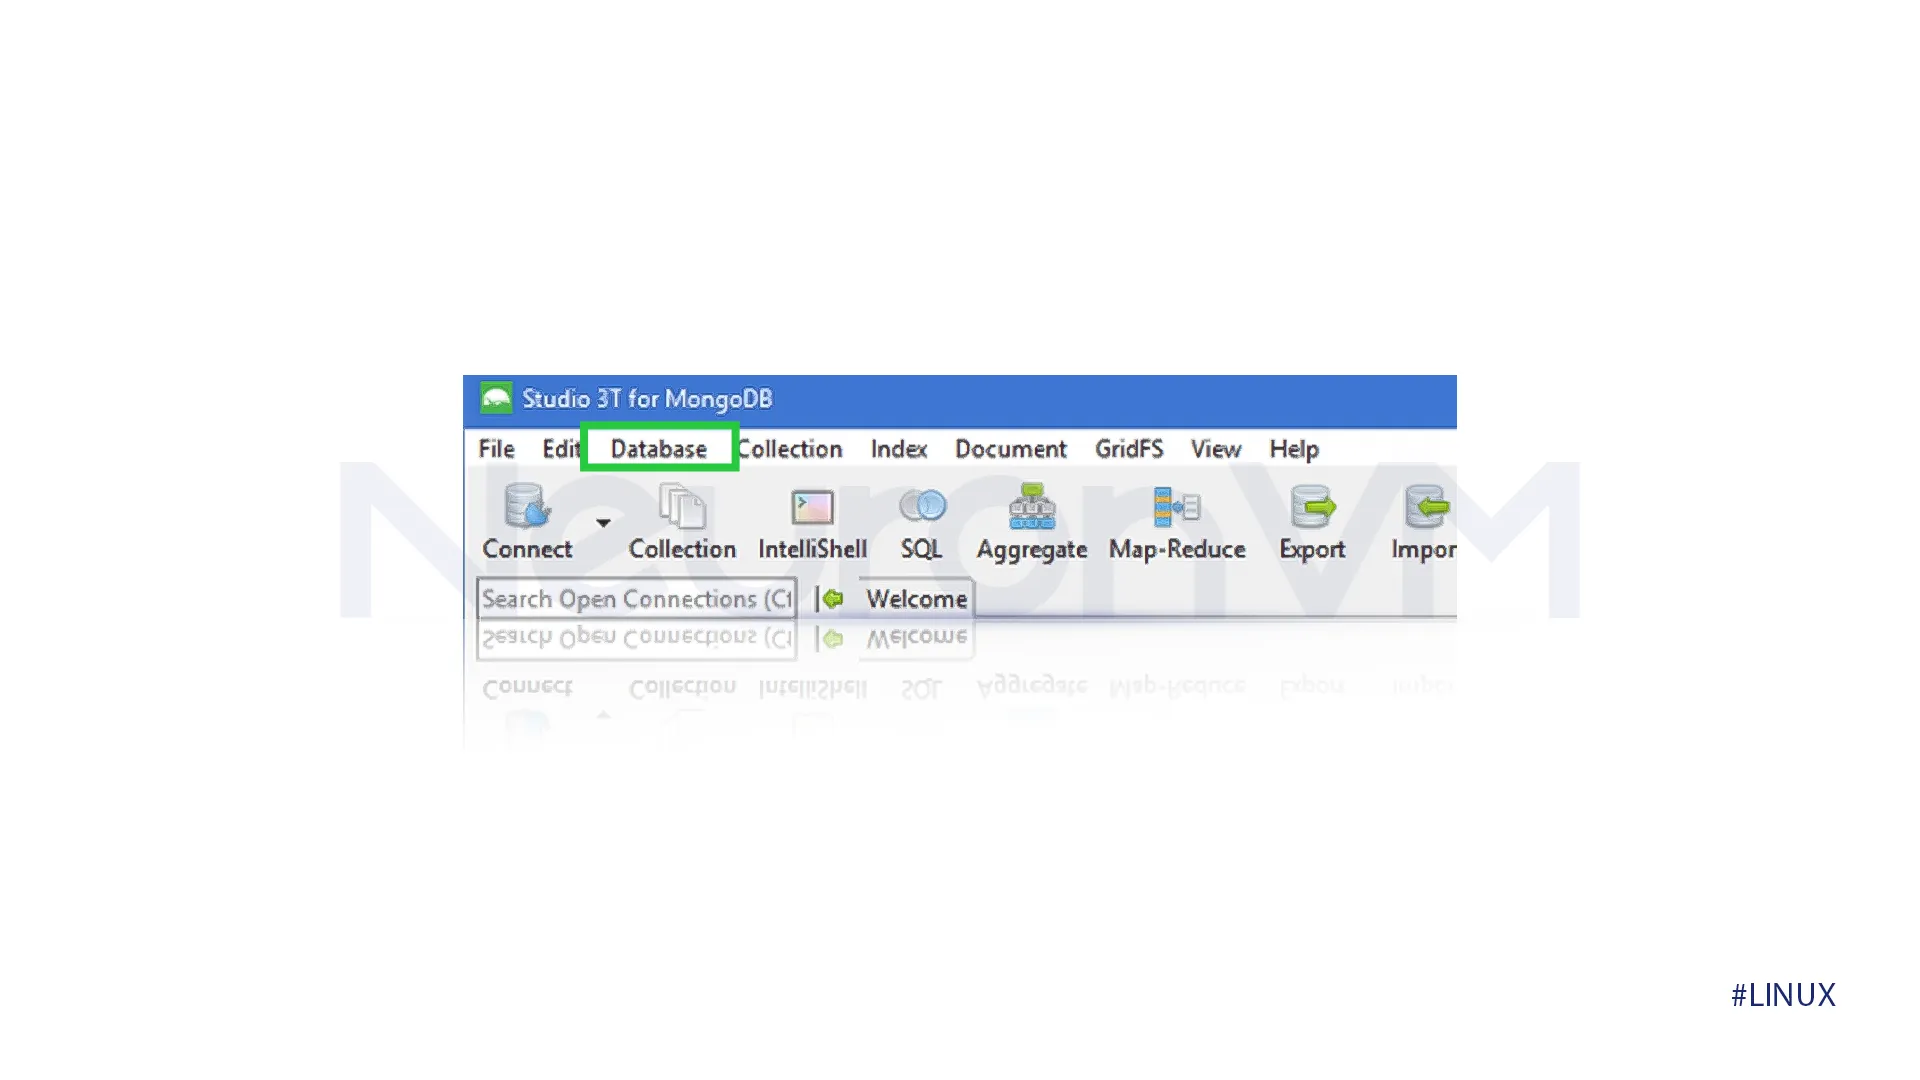
Go to the database section; there will be a list of available databases on your MongoDB server.
If your desired database is listed click on it and it will be automatically connecte to that database.
If it does not appear on the list, right-click on the database node and click on refresh.
 Conclusion
By following this step-by-step tutorial, you will successfully establish a connection between your Studio 3T MongoDB and your Local DB, we also explained the concept of Studio 3T and MongoDB.
Studio 3T will enhance your MongoDB experience and make it easier to work with it; if you are interested in more Linux tutorials, visit our tutorials and ask any upcoming questions in the comments section.
You might like it


