How to Configure LVM Partitioning on a Dedicated Server
 6m
6m
 0 comments
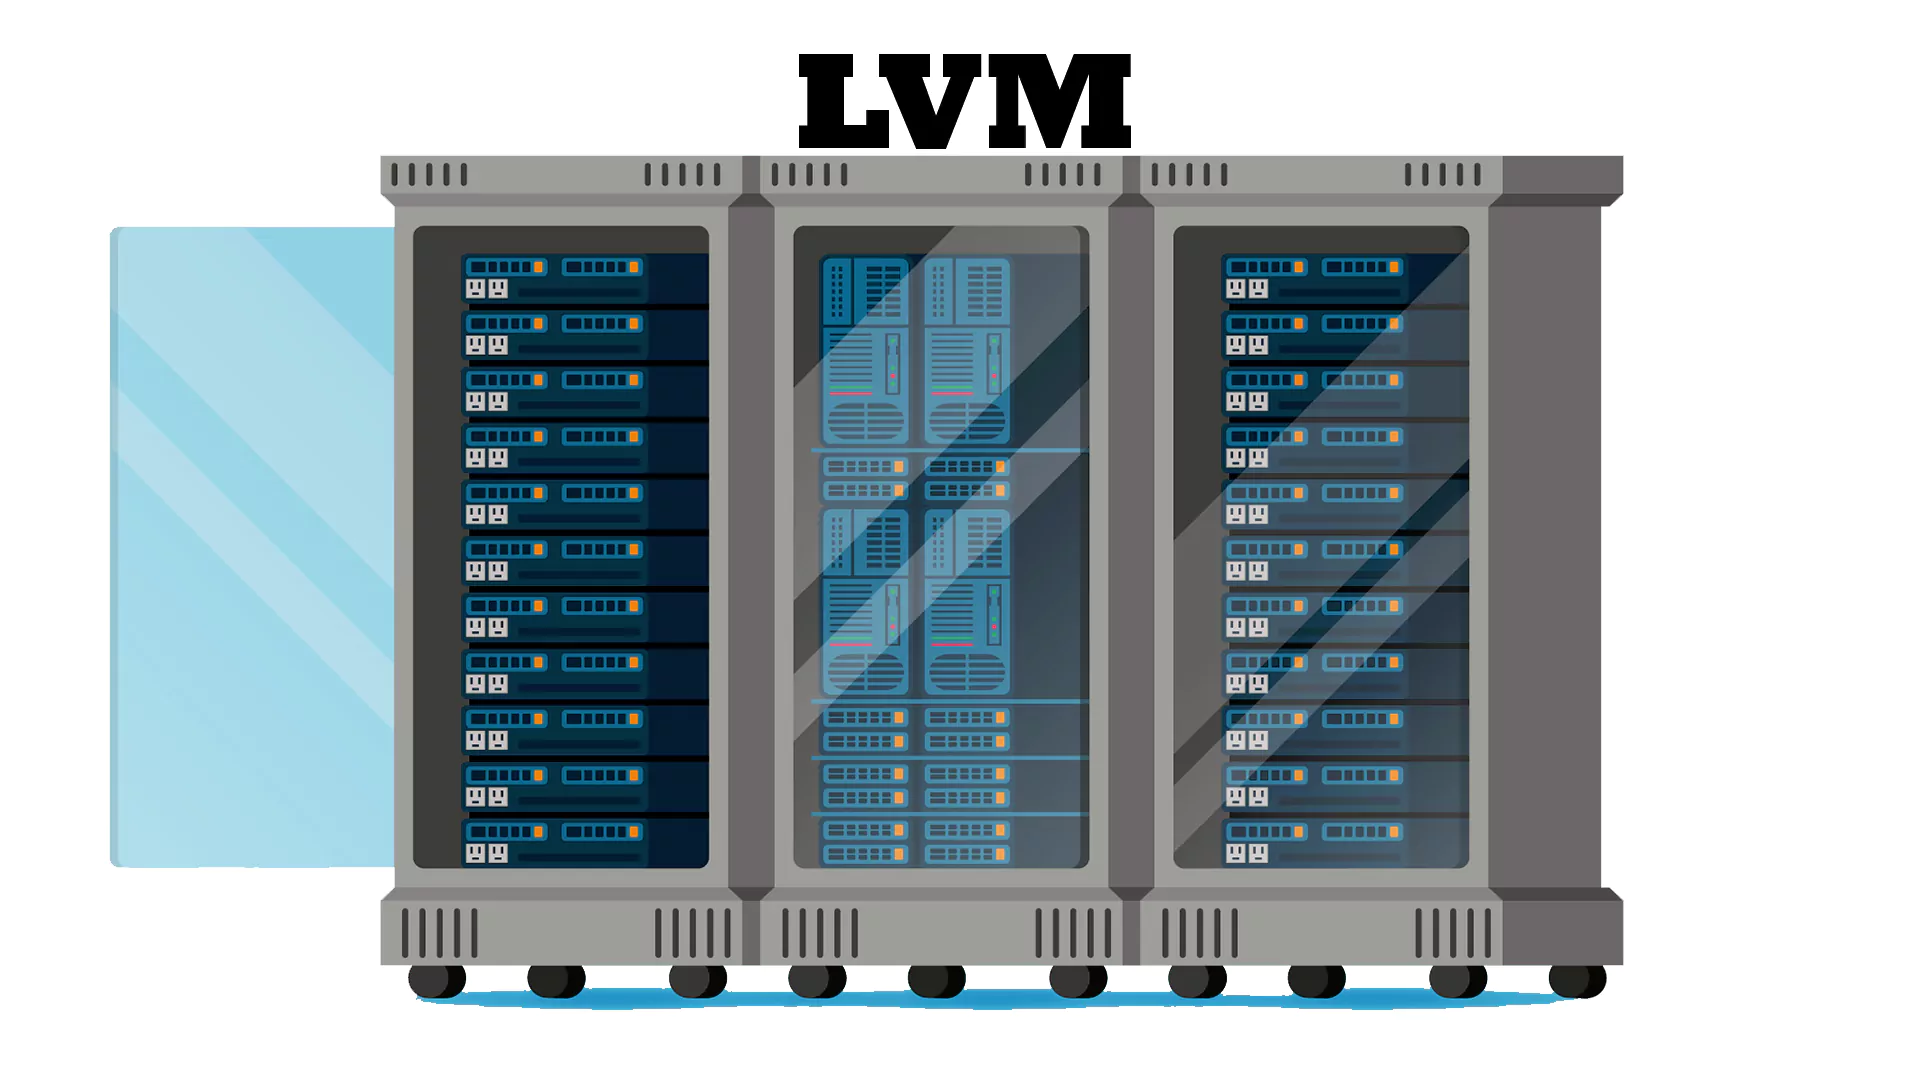
The achievement of dedicated server operations hinges on operator implementation of correct storage management practices when using Logical Volume Management. Linux native LVM system eliminates typical partition restrictions, which generates flexible volumes that expand throughout multiple disks and modify their sizes. The system provides dynamic storage management without interruption or complex data transfers, making it ideal for situations where system stability and expansion capability, and system flexibility are essential. The succeeding paragraphs will explore LVM partitioning advantages together with instructions for installation, followed by detailed steps to implement it on dedicated servers.
Why Choose LVM Partitioning Over Traditional Partitioning?
Standard partitioning tools including fdisk and parted create rigid disk partitions. This simple partitioning method has two main disadvantages:
- Resizing: Changing partition sizes usually necessitates unmounting filesystems or perhaps bringing your server offline.
- Space: You may find that one partition has unused storage while another has run out of space.
- Disk Flexibility: Traditional filesystems are limited to one physical disk.
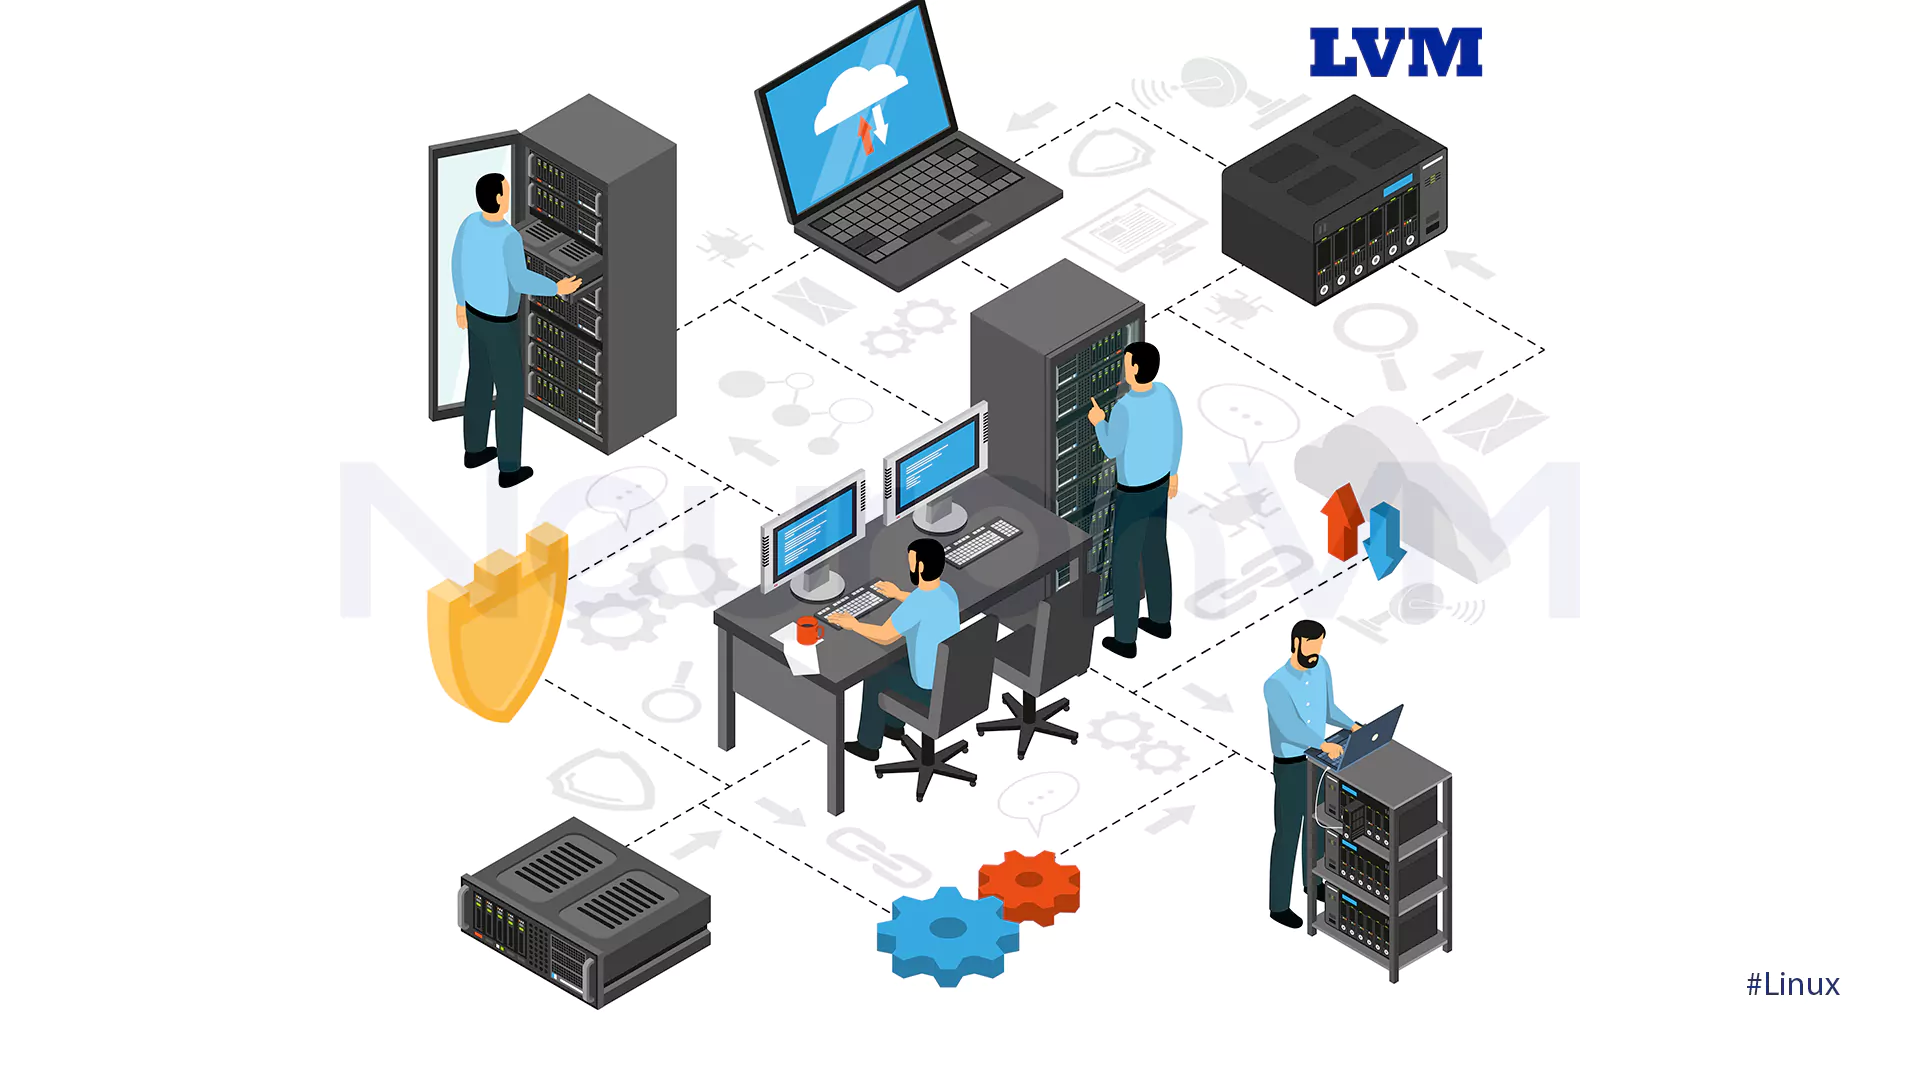
LVM Concepts and Components
This system consists of the following key elements:
| Component | Description |
| Physical-Volume (PV) | Refers to the real disk or partition used by LVM. |
| Volume-Group (VG) | A pool of storage |
| Logical Volume (LV) | A partition-like space created from the virtual group |
| Physical Extent (PE) | Separated into chunks |
LVM Partitioning on a Dedicated Server: Step-by-Step
What You’ll Need Before Getting Started:
✔ Root access to Linux server.
✔ An available disk.
Step 1: Finding Available Disk
First, enter the following command to figure out which partition you want to dedicate to LVM:
fdisk -l
Identify disks that have no active partitions or mounted filesystems.
Step 2: Preparing the Disk
For a new disk, create a partition and mark it for LVM using fdisk:
- Launch fdisk on your target disk:
sudo fdisk /dev/sdb
- Create a new primary partition:
– Type n to add a new partition
– Then p for primary
– Choose a partition number (usually 1 if it’s a new disk)
- Set the partition type to Linux LVM:
– Press (t) to change the type
– Enter 8e
- Save your changes and exit.
* Press w to save the partition table and exit.
Step 3: Creating Physical Volume (PV)
Initialize the disk as a physical volume:
sudo pvcreate /dev/sdb1
Check its status with:
sudo pvdisplay
Step 4: Creating Volume Group (VG)
Now that you have a physical volume, you can group one or more of them into a Volume Group, a flexible storage pool that LVM uses to allocate space!!!
sudo vgcreate my_vg /dev/sdb1
If you want to expand the volume group later by adding more disks, run:
sudo vgextend my_vg /dev/sdc1
Step 5: Creating Volume Group (VG)
Create flexible, resizable logical volumes:
sudo lvcreate -L 10G -n my_lv my_vg
To confirm, run:
sudo lvdisplay
Step 6: Formatting Logical Volume
Finally, format the logical volume. For example, to use ext4:
sudo mkfs.ext4 /dev/my_vg/my_lv
Then:
sudo mkdir /mnt/my_data
sudo mount /dev/my_vg/my_lv /mnt/my_data
Conclusion
A dedicated server configured with LVM partitioning enables users to achieve flexible disk space management through scalable solutions. LVM provides the necessary tools to resize volumes and add storage, and improve data organization with minimal operational impact!!!
Through this tutorial,l you have acquired sufficient knowledge to establish volume groups and logical volumes and handle them effectively. The evolving requirements of your server can be easily adapted through LVM because it eliminates traditional partitioning complexities.


