
How to access Wi-Fi settings through browser Windows 11

 6m
6m
 0 comments
 Print
Print
How to access Wi-Fi settings through a Windows 11 browser is another topic we will cover in this article from NeuronVM. Accessing Wi-Fi settings is one of the main needs of every user who is active on the web. Meanwhile, Windows 11, the latest generation of Microsoft’s operating system, provides them with numerous features and capabilities for managing wireless networks. If you want to know how to access Wi-Fi through a web browser, don’t miss this tutorial!
Accessing Wi-Fi settings through the browser Windows 11
To access Wi-Fi settings through a web browser on Windows 11, you typically need to access your router’s configuration page. To do this, follow these steps in order:
Step 1: Find Your Router’s IP Address for access Wi-Fi
As a first step, you need to find the IP address of your router.
1- Click on your system’s ”Start” menu and select the ”Settings” icon.
2- Tap ”Network & Internet”.
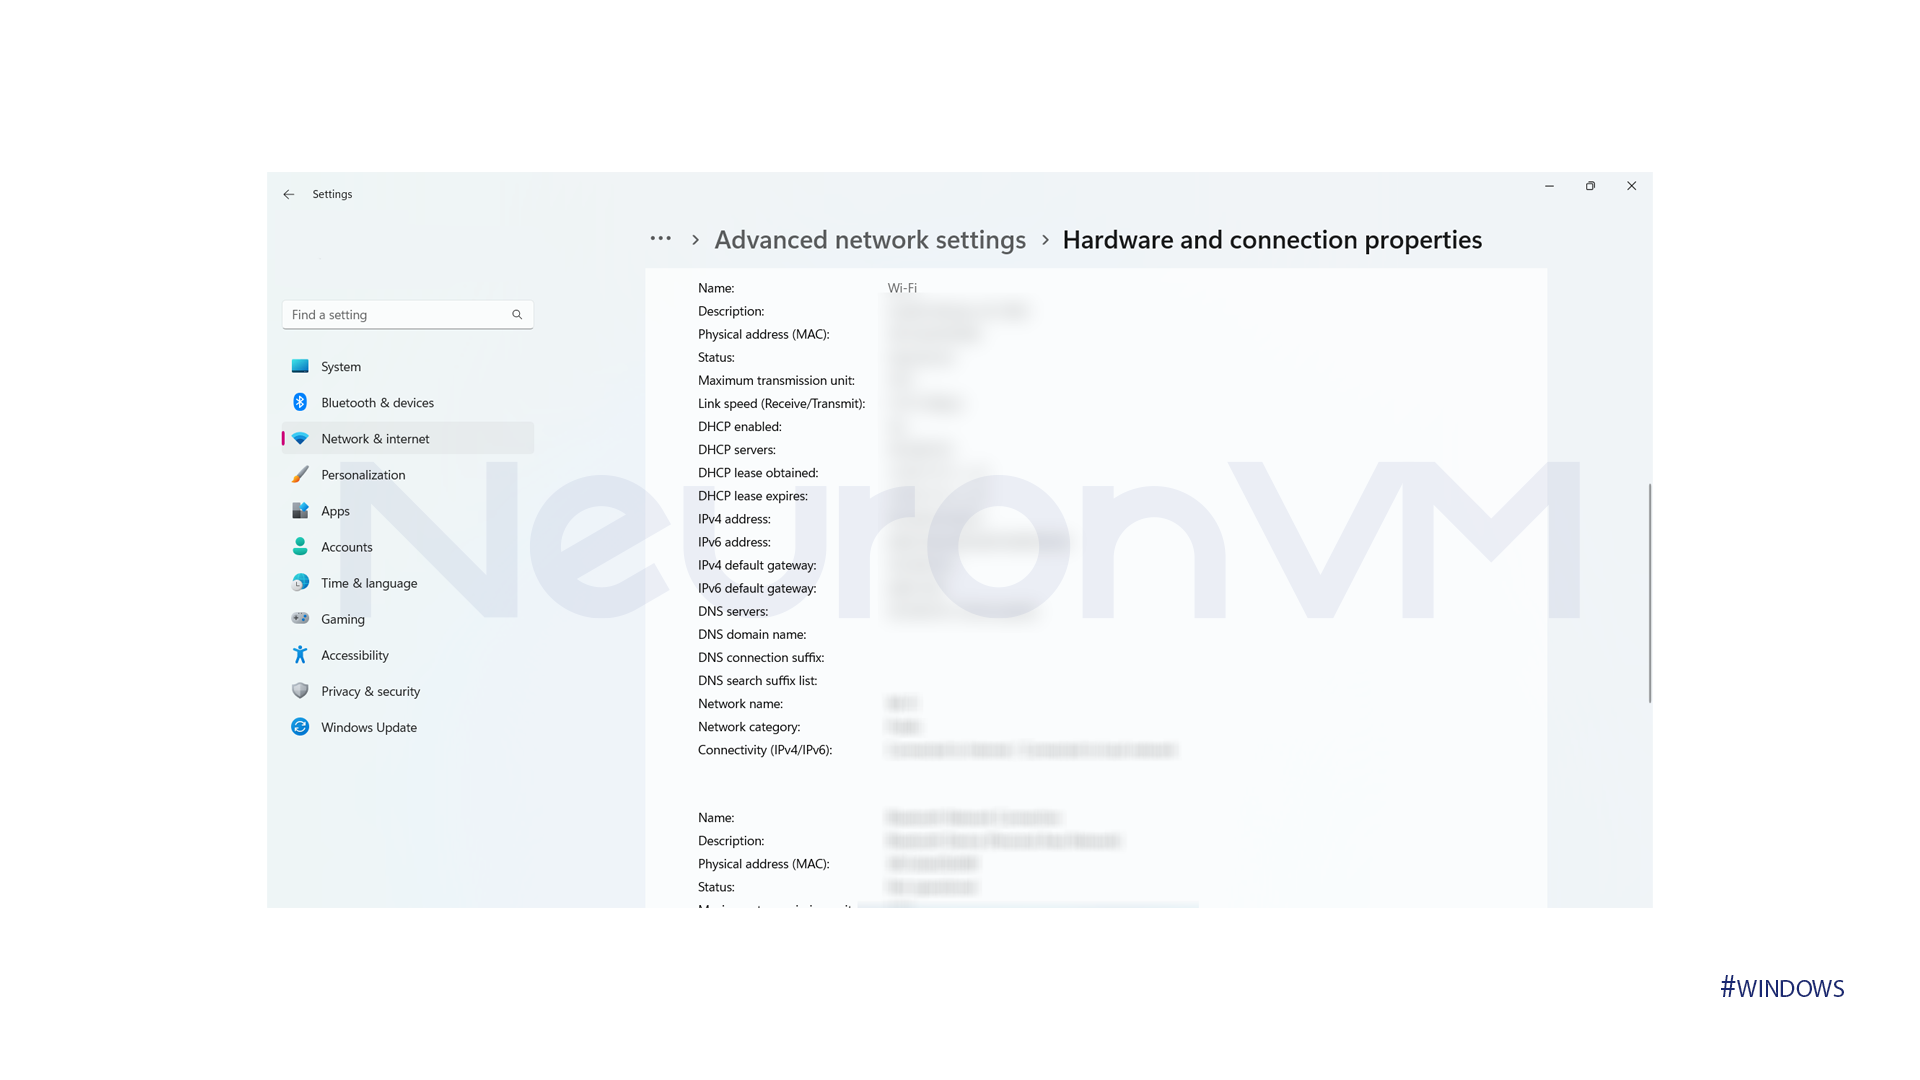
3- Under the Status tab, scroll down and click on ”Hardware properties”.
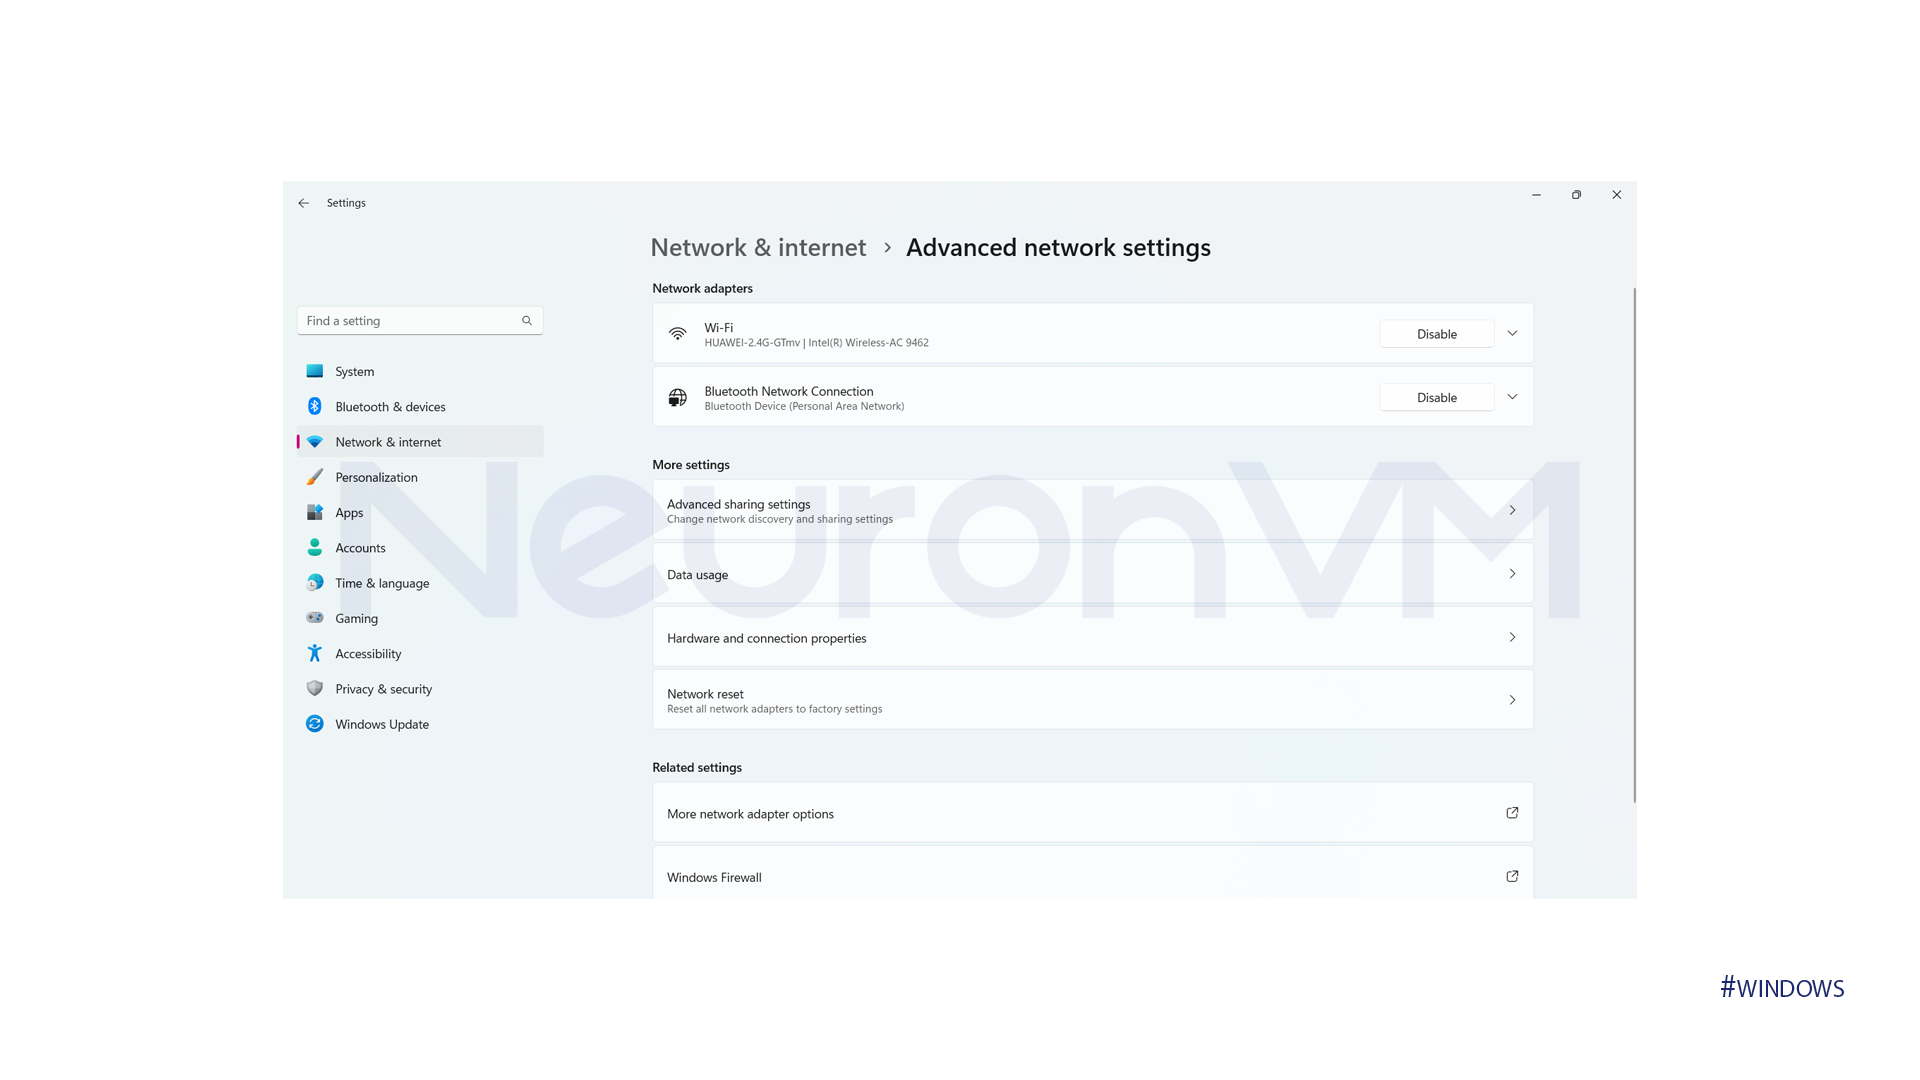
4- Look for the ”Default gateway” IP address.
Step 2: Access the Router’s Web Interface
At this point, you need to access the Router Web Interface. Please note that if you do not know your username and password at this stage, access will be difficult for you.
1- Open your preferred web browser. If you don’t have access to a browser on your system, you can download and install it.
2- Type the default gateway IP address you found earlier into the address bar and press Enter.
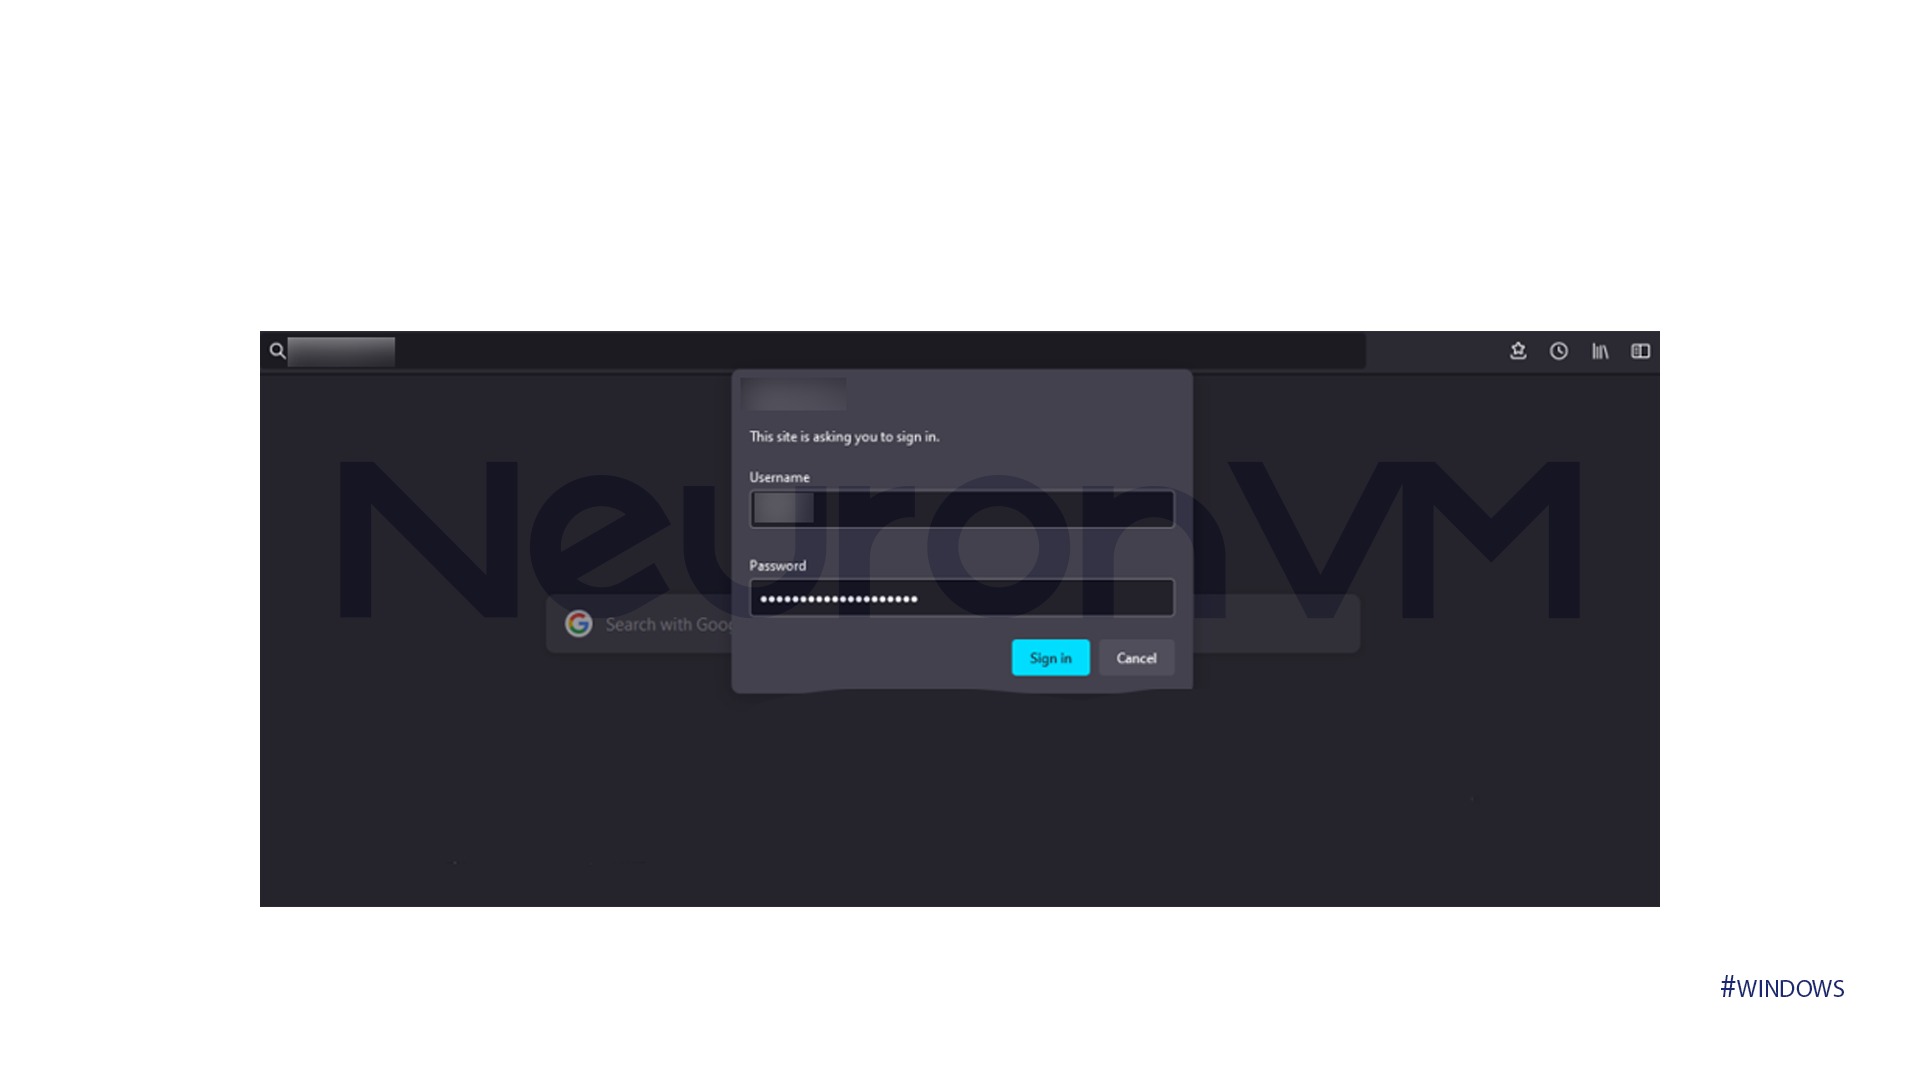
3- Now enter your username and password.
📌Note! If you don’t know these, it’s best to assume they’re usually set to default. You can also find them on the label on your router or in its manual.
Step 3: Adjust Wi-Fi Settings
1- Once you’re logged in, look for a section Wireless, Wi-Fi or similar. This is where you can configure settings like SSID (network name), password, security type, and more.
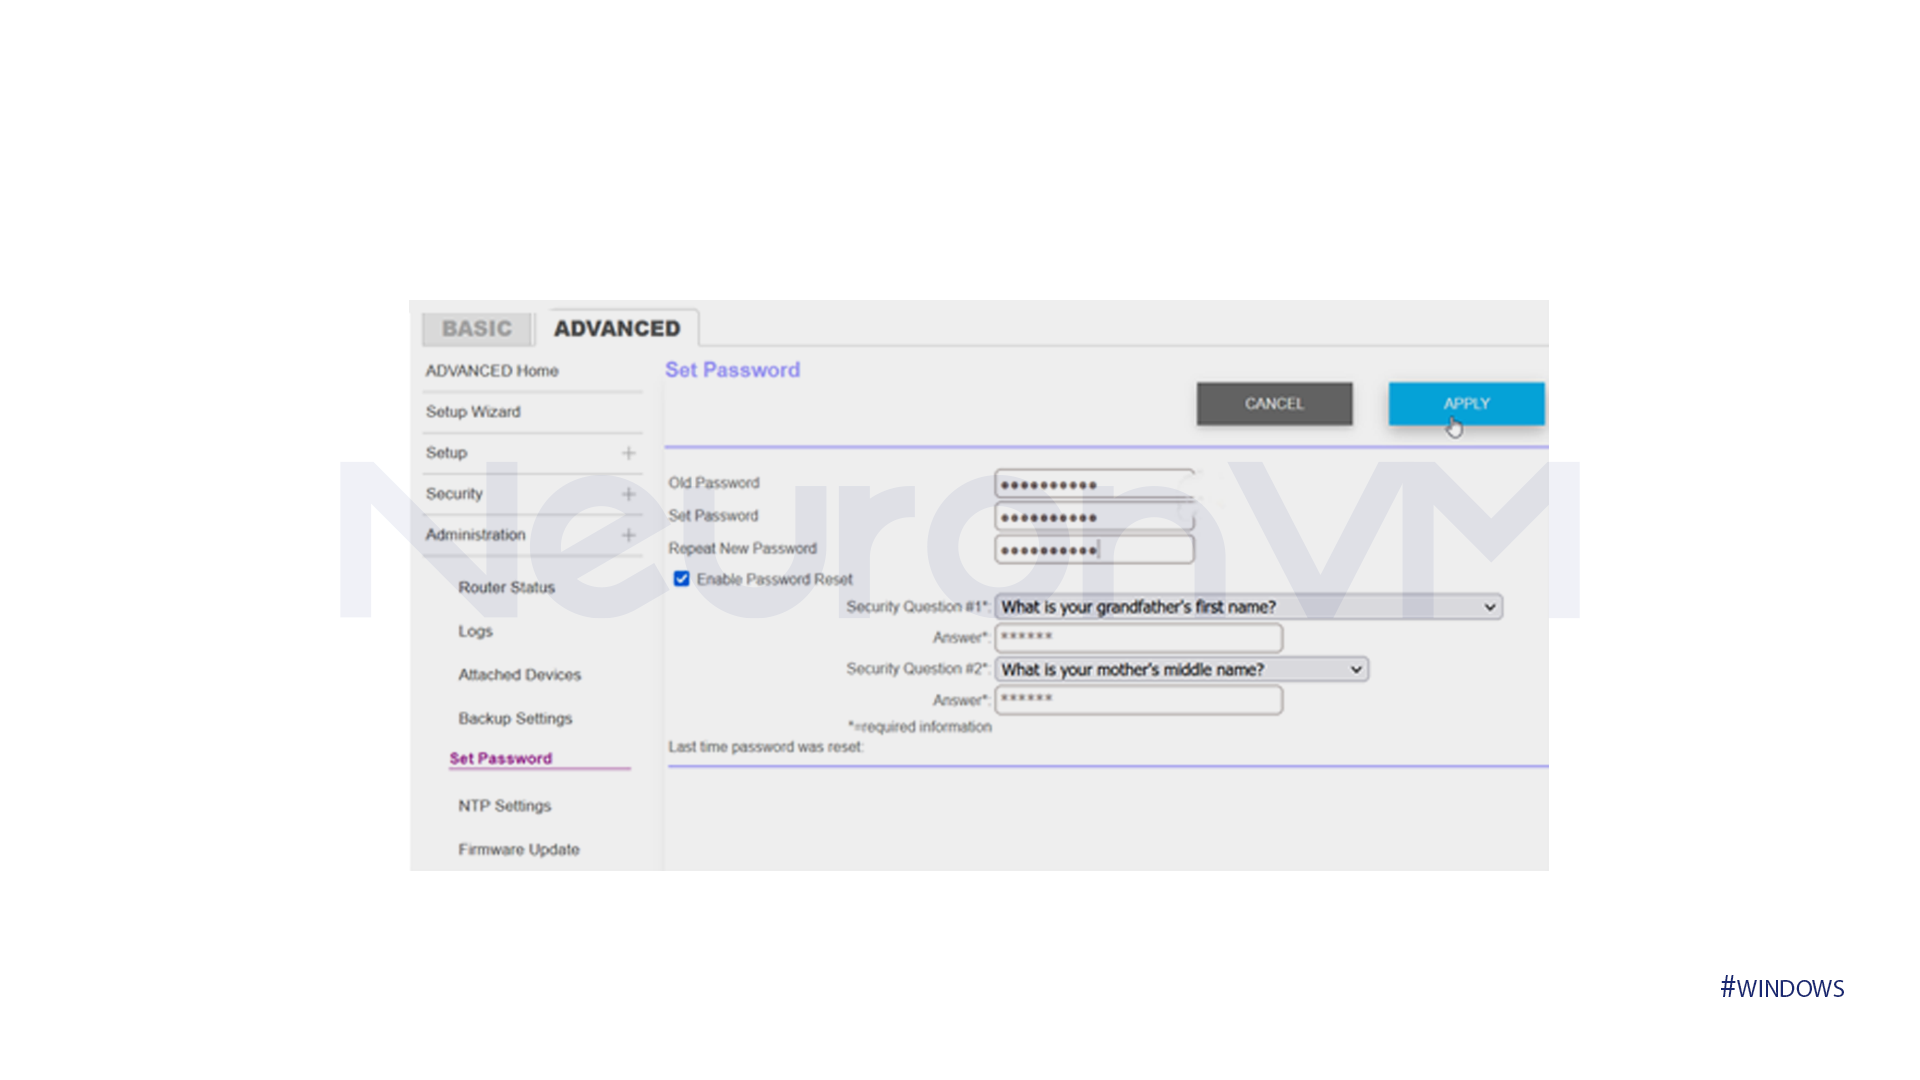
2- If you need to make any other changes, adjust them and save them.
Step 4: Connect to Wi-Fi Network
Now you can access Wi-Fi settings from your Windows 11. Make sure to follow these steps in order and carefully.
1- At this point, go to Windows 11 settings.
2- Select the network icon in the taskbar, find your Wi-Fi network, and click it to connect.
3- You may be asked for a password at this point. If prompted, enter your Wi-Fi password that you set in your router settings in the space provided.
Conclusion
accessing Wi-Fi settings through a browser in Windows 11 offers a convenient alternative to traditional methods. By leveraging the built-in web interface of your router, you can easily manage your network settings, monitor connected devices, and troubleshoot connectivity issues. Whether you’re adjusting your Wi-Fi password, changing the network name, or configuring advanced settings, the browser-based approach provides a user-friendly experience. Remember to ensure that your device is connected to the Wi-Fi network and that you have the necessary credentials to log into your router.