How to change Region on Windows 11

 Study duration :
7 Minutes
Study duration :
7 Minutes
 0 Comment
Are you looking for a way to guide you in changing the region on Windows 11? How to change region on Windows 11 is one of the questions that is asked by many Windows users. To adapt the local needs and preferences of users to the system you need to change region on Windows. Changing the region has a great impact on Windows services and features, including language settings, date, and time format, and even access to some services and programs. In this guide, we will review the steps and methods of changing the region in Windows 11 and provide important points in this field. Stay with us to help you get the most out of this new feature.
Recommended service: windows vps
Unlock Your Windows Power: The Ultimate Guide to Changing Regions Step by Step
Maybe you made a mistake during the initial setup, or you are looking for an app or feature in the Microsoft Store that’s only available in a different region, or you want to view the date, time, numbers, or currency in a different format on your desktop.
All these demands are easily possible by learning how to change region on Windows 11. Window 11 adjusts your region settings, system content, and apps based on your location. For example, The Microsoft Store shows you the apps, games, and videos that are available in your region based on regional information.
These changes can be useful for users who live in different countries or work with different languages too! Follow the steps below:
Step 1: Change region settings
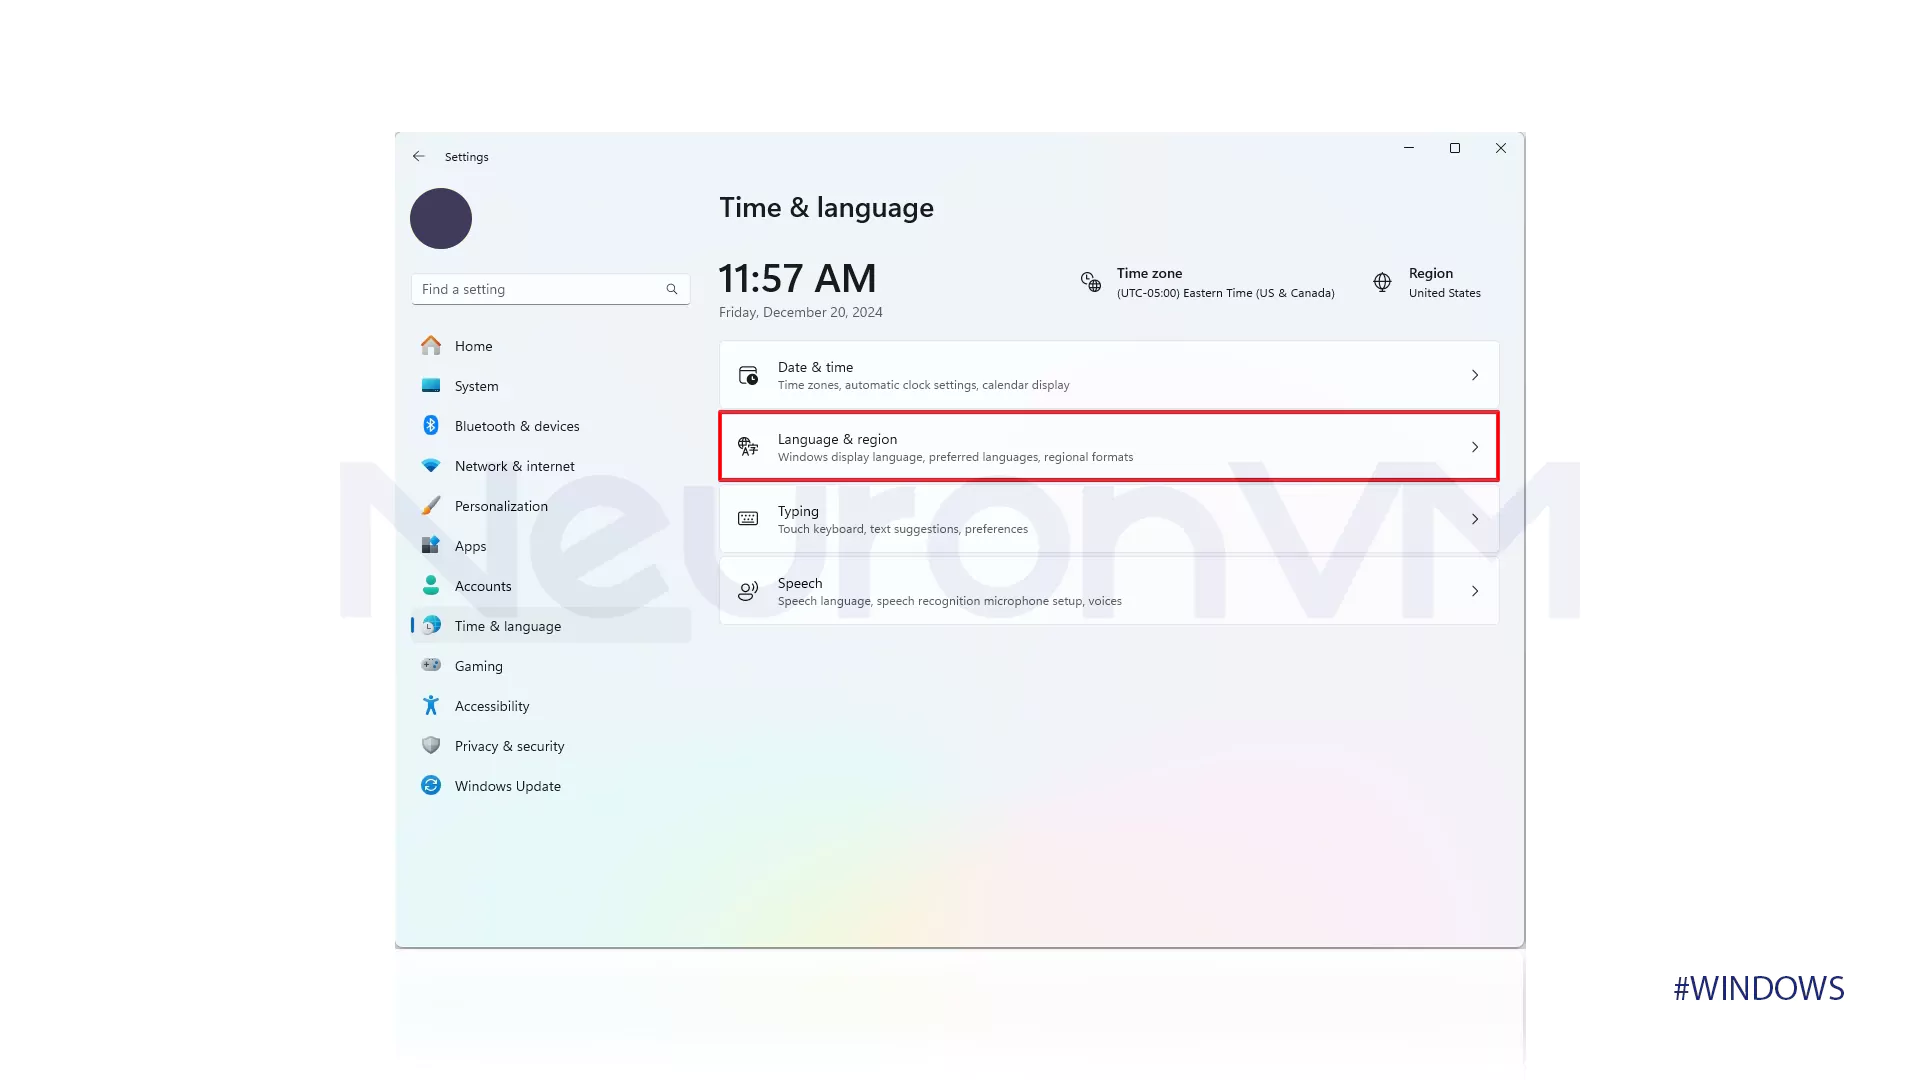
- Go to Settings and click on the tab shown in the picture below.
- Find the Language & region option and click on it.
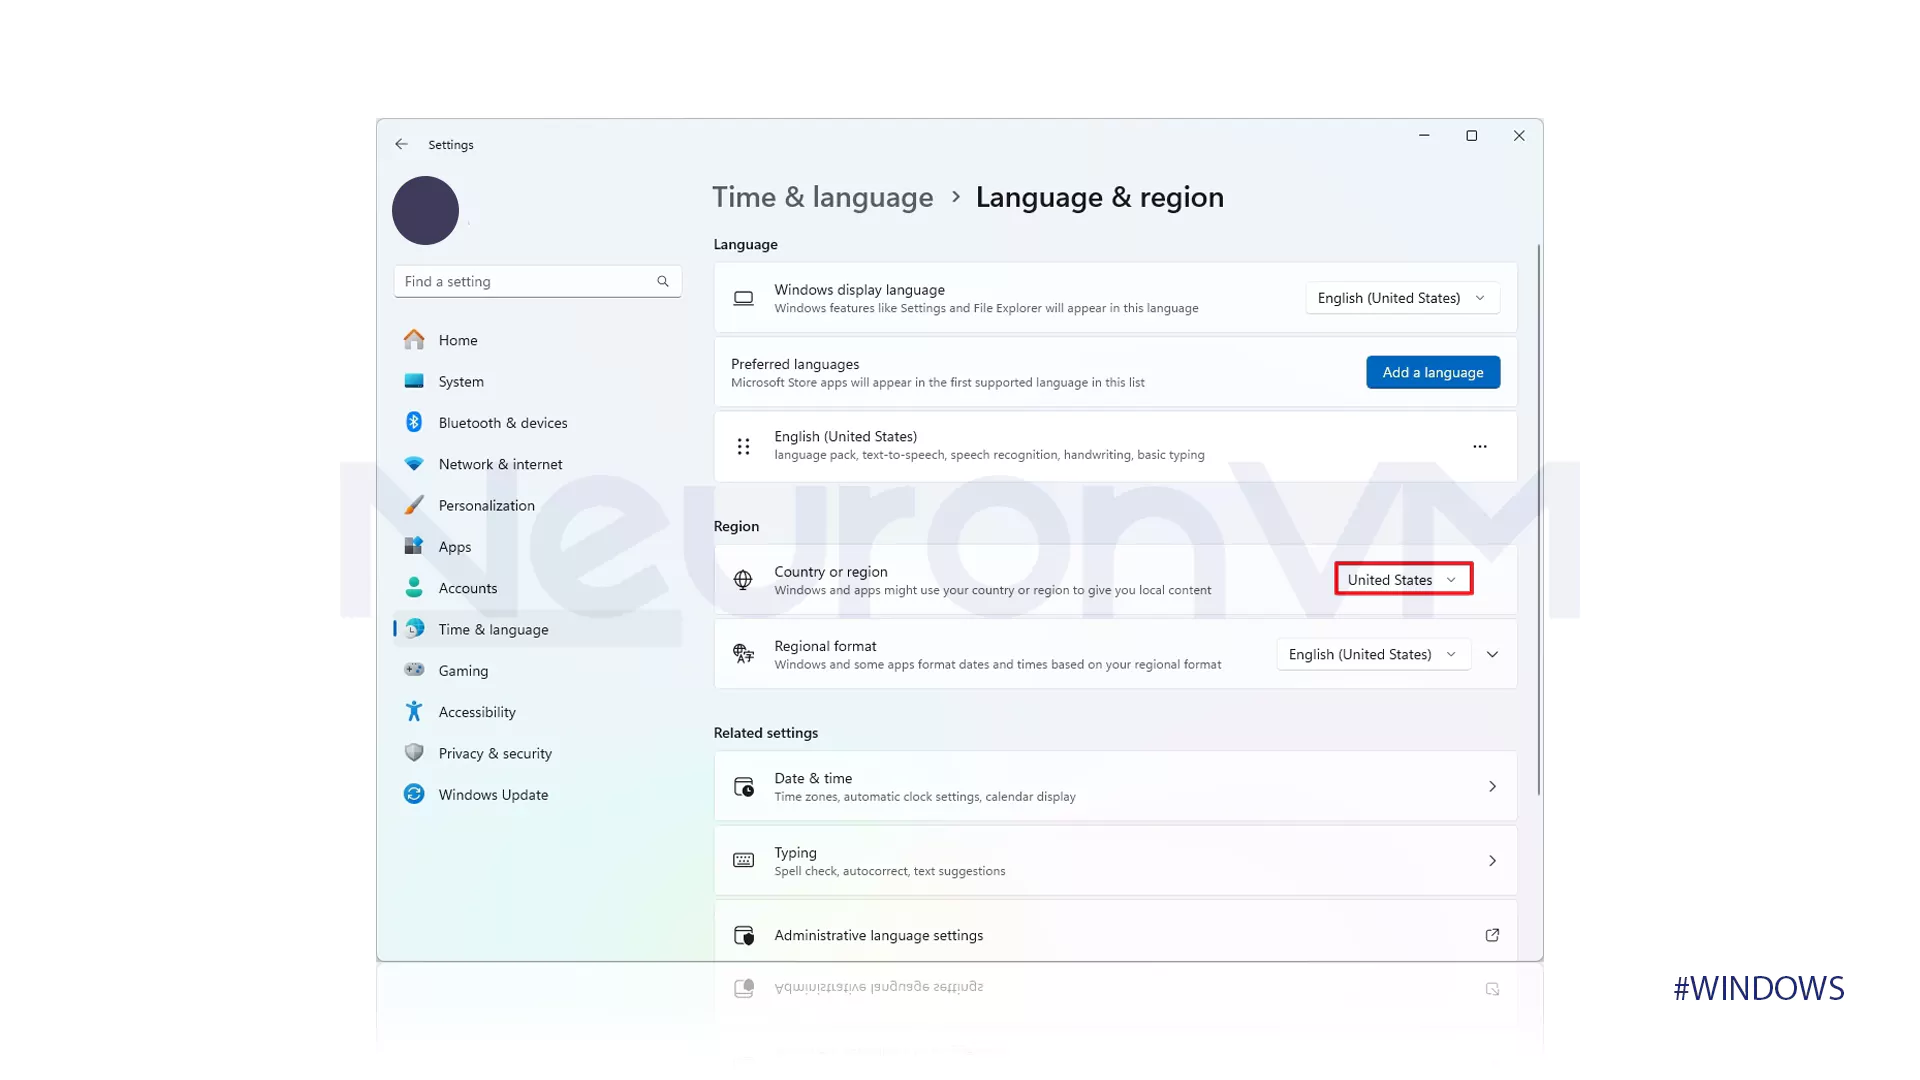
- In the Region section, click on the option shown in the picture.
- Choose the Country or the region you want.
Step 2: Change regional format settings
- Find the Language & region option and click on it.
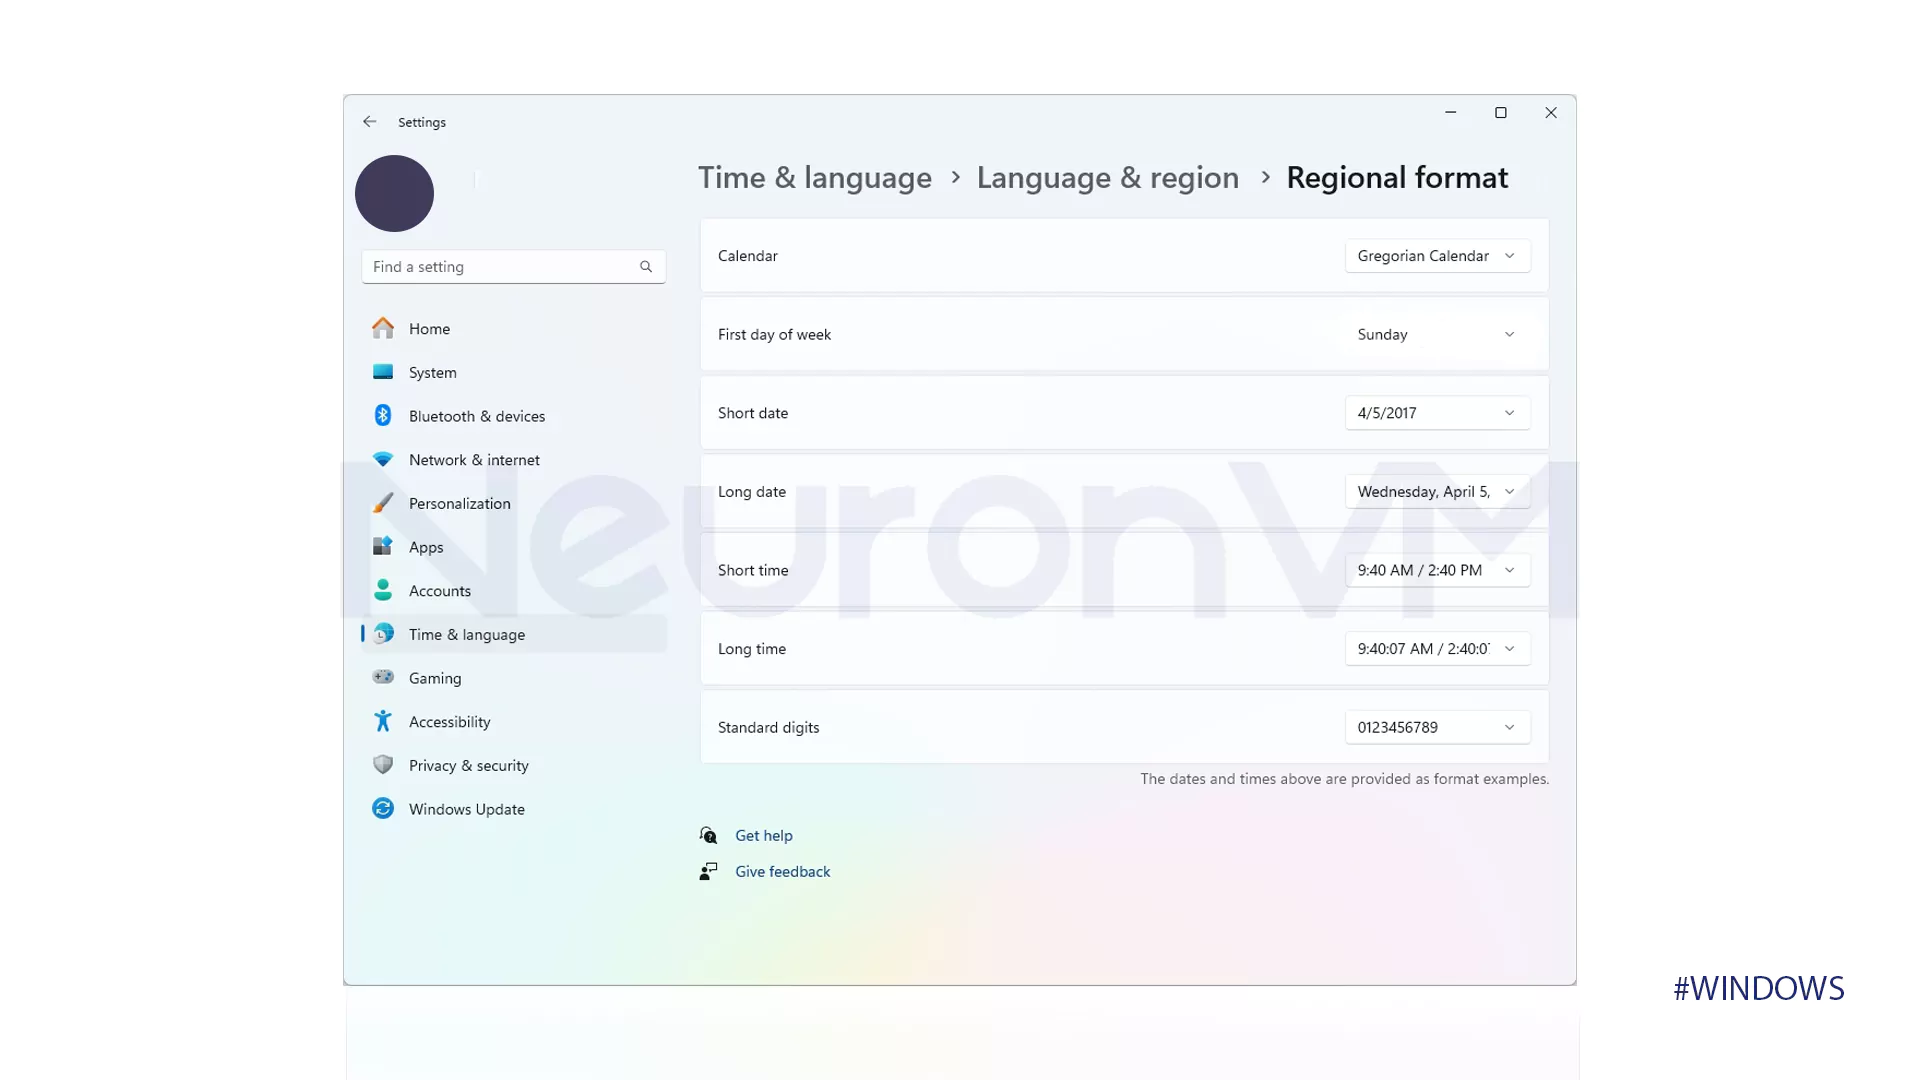
- Click on the “Regional format” option.
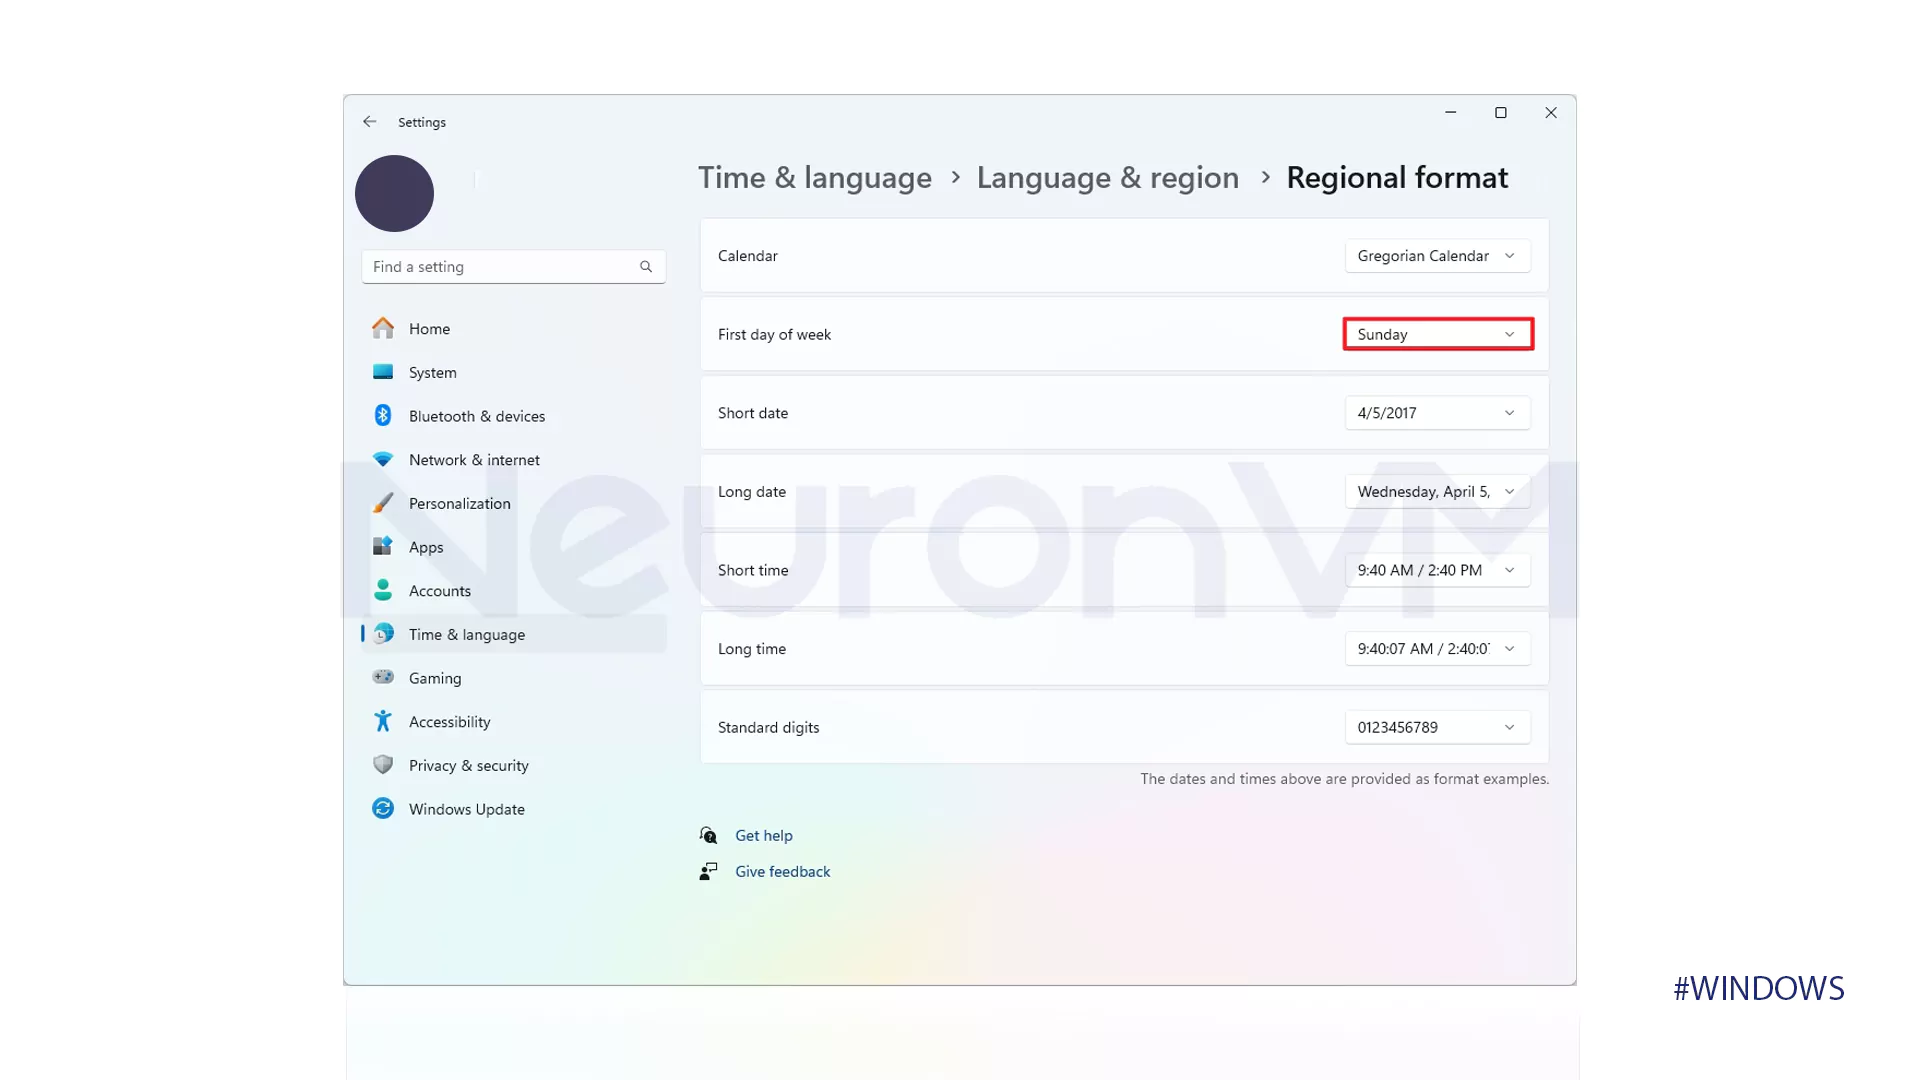
- Then click on the option that is shown in the picture below.
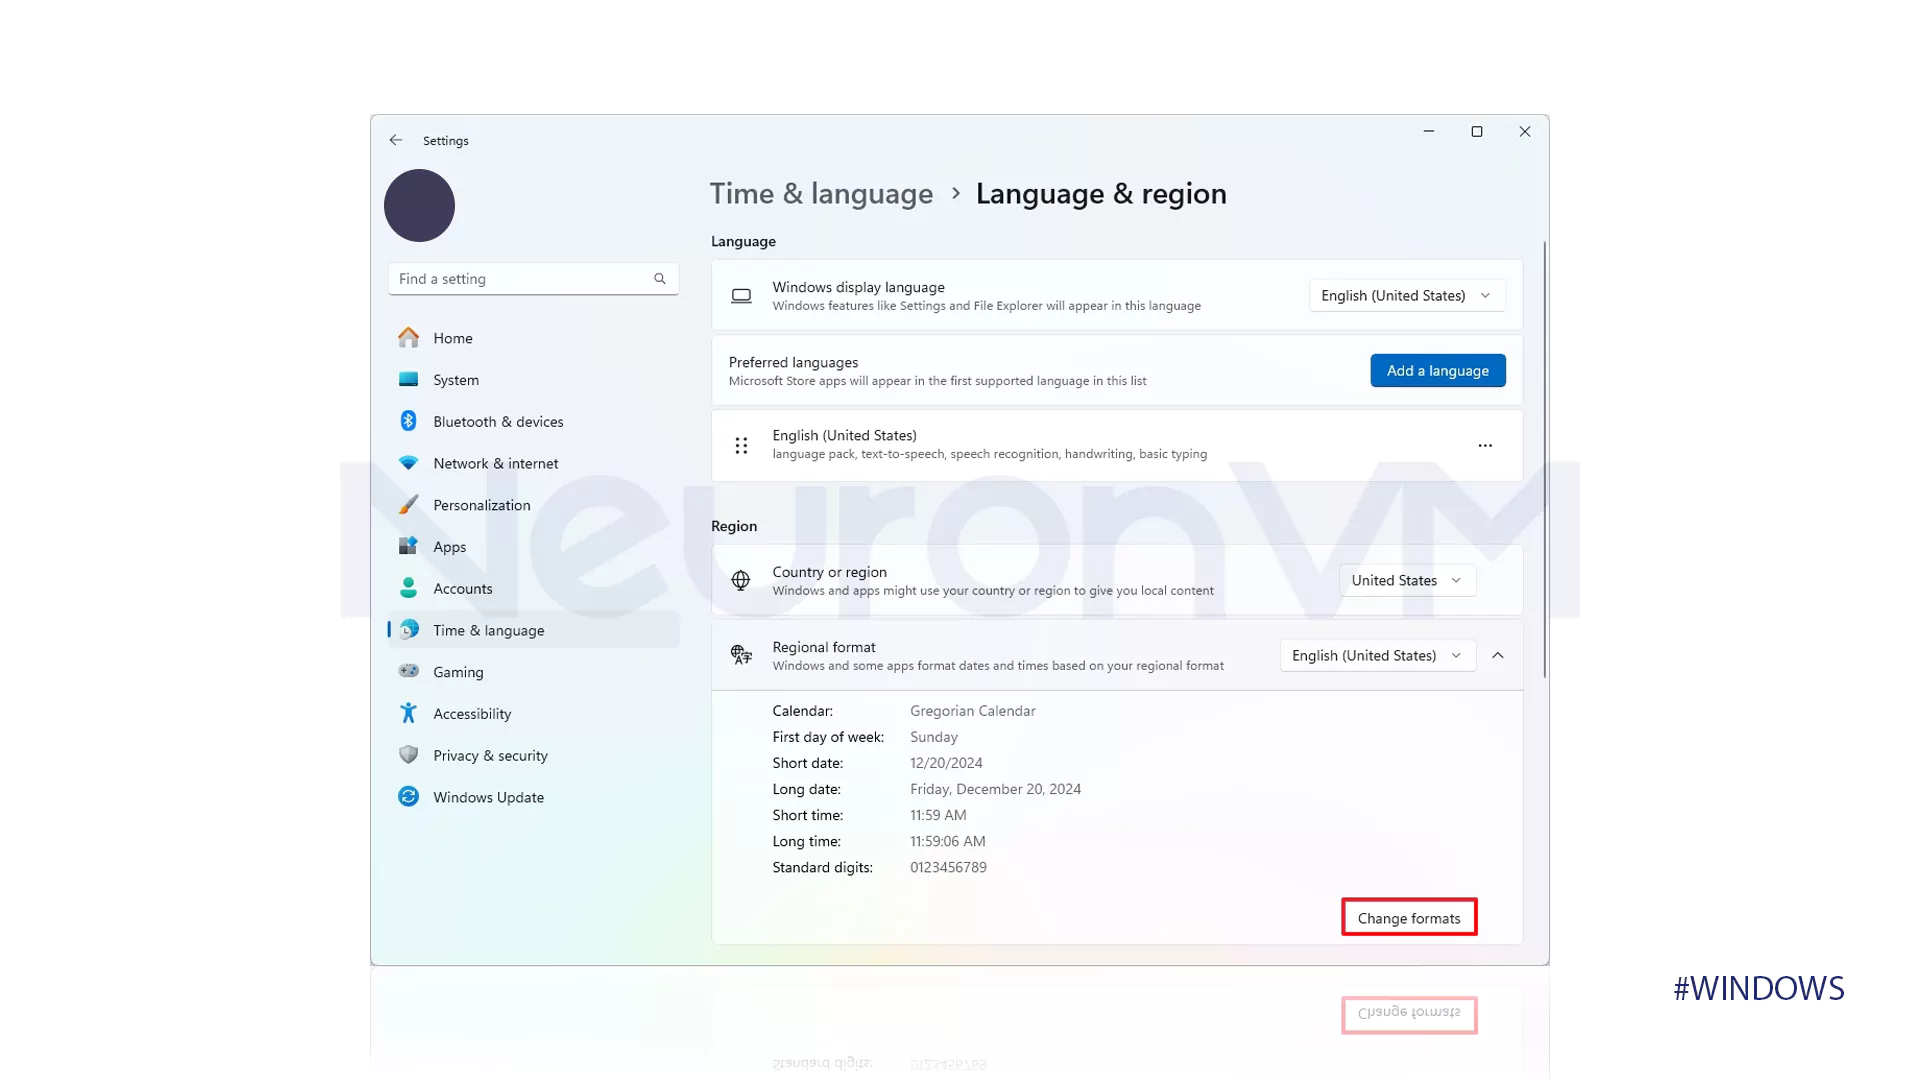
- In the “First day of week” section, choose the day when your week starts.
- In the first “short date” section, enter the day, month, and date in numbers.
- In the first “Long date” section, enter the day, month, and date in words.
- In the second “short date” section, enter the time on the clock.
- In the second “Long date” section, enter the time on the clock, including seconds.
Step 3: Change advanced region format settings
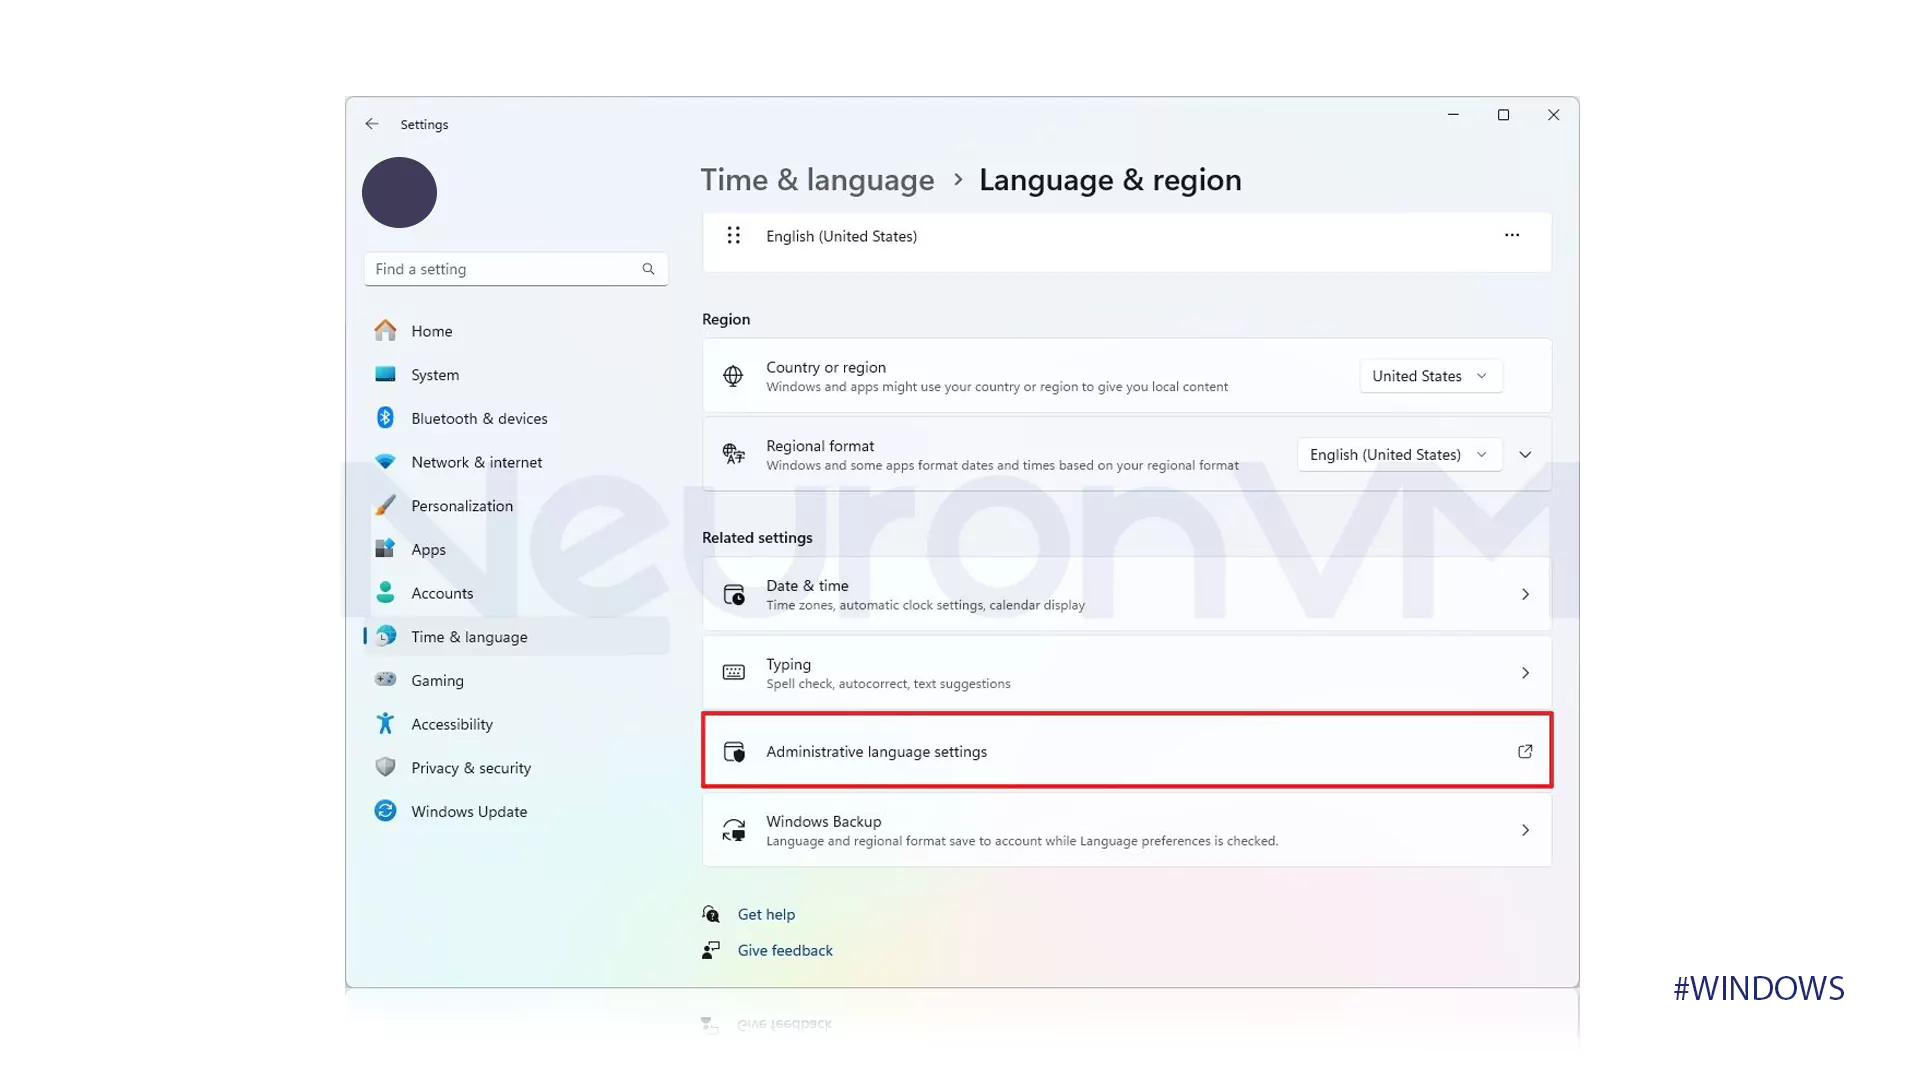
- Find the Language & region option and click on it.
- Go to the #Related Settings section.
- Click on the option that is shown in the picture below.
- In the “Formats”, click on the shown button in the picture below.
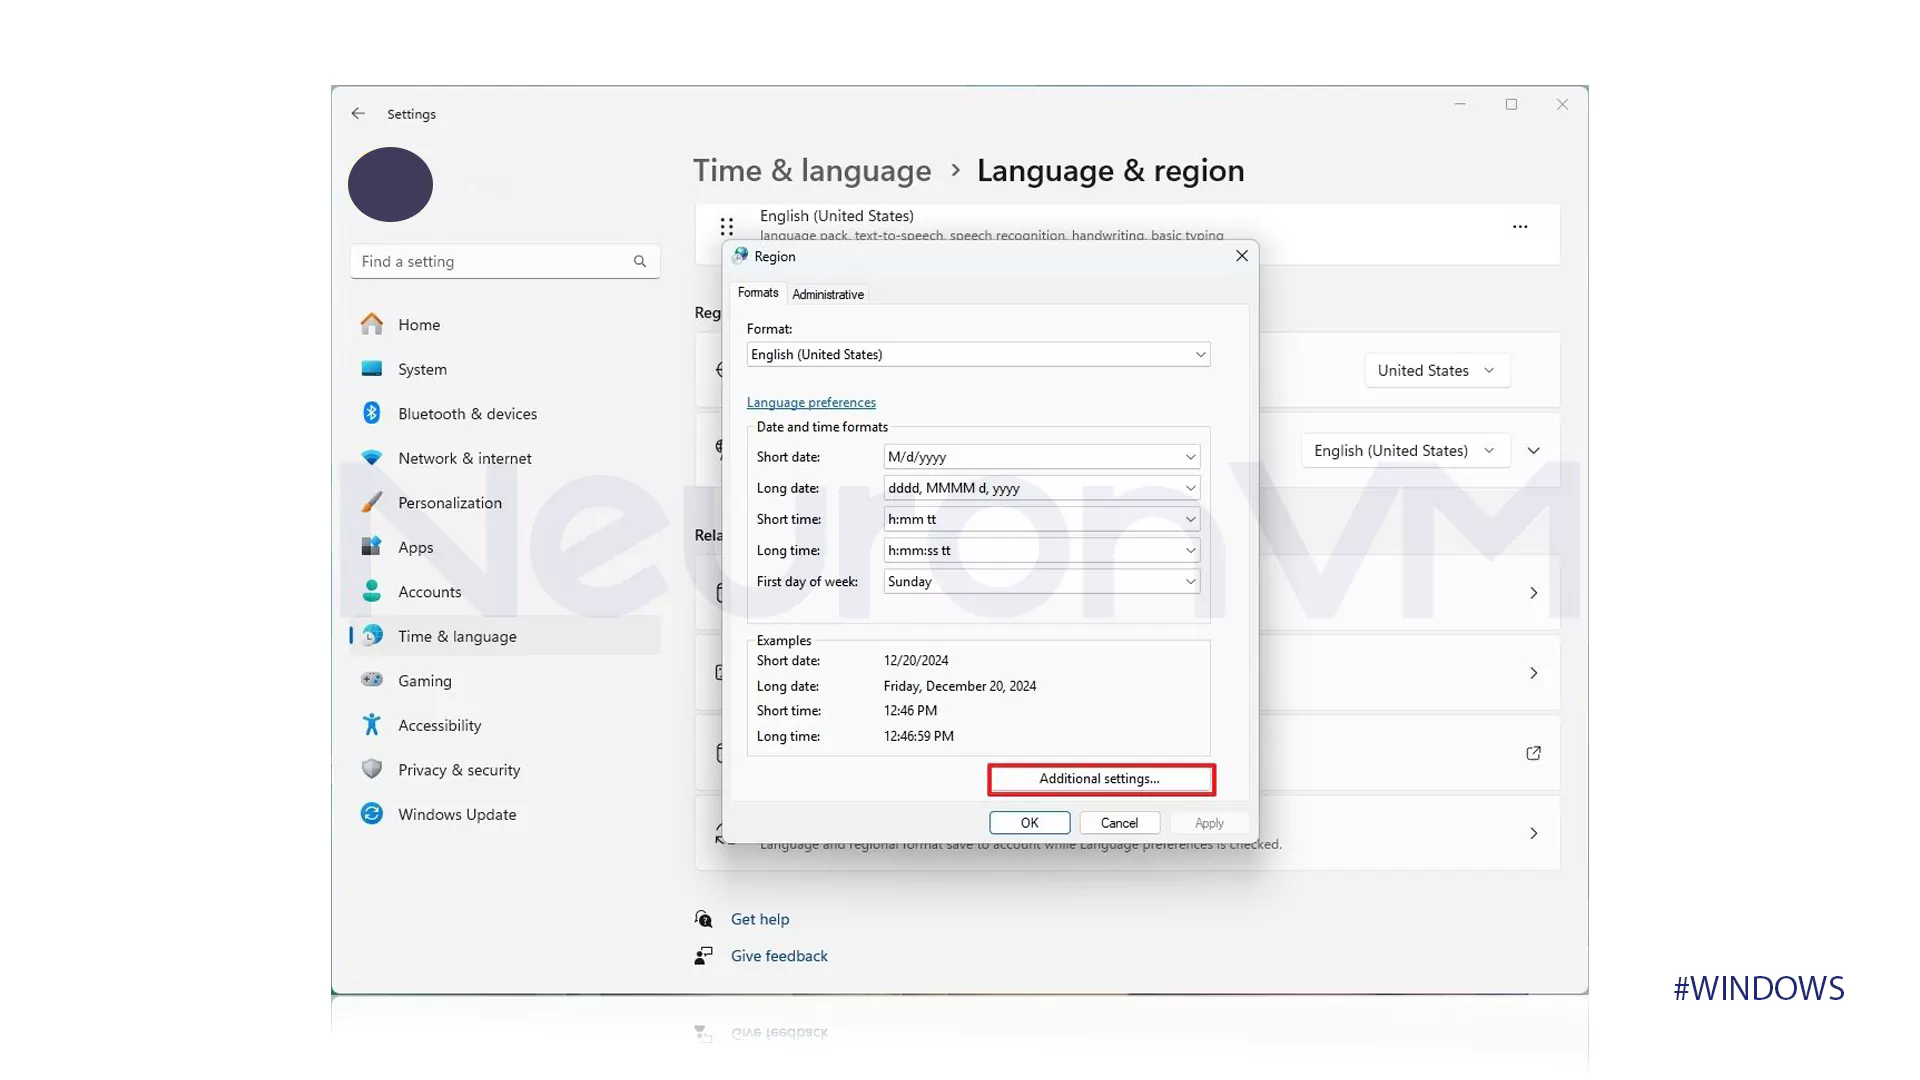
- In the opened window, go to the tab which is shown in the picture below.
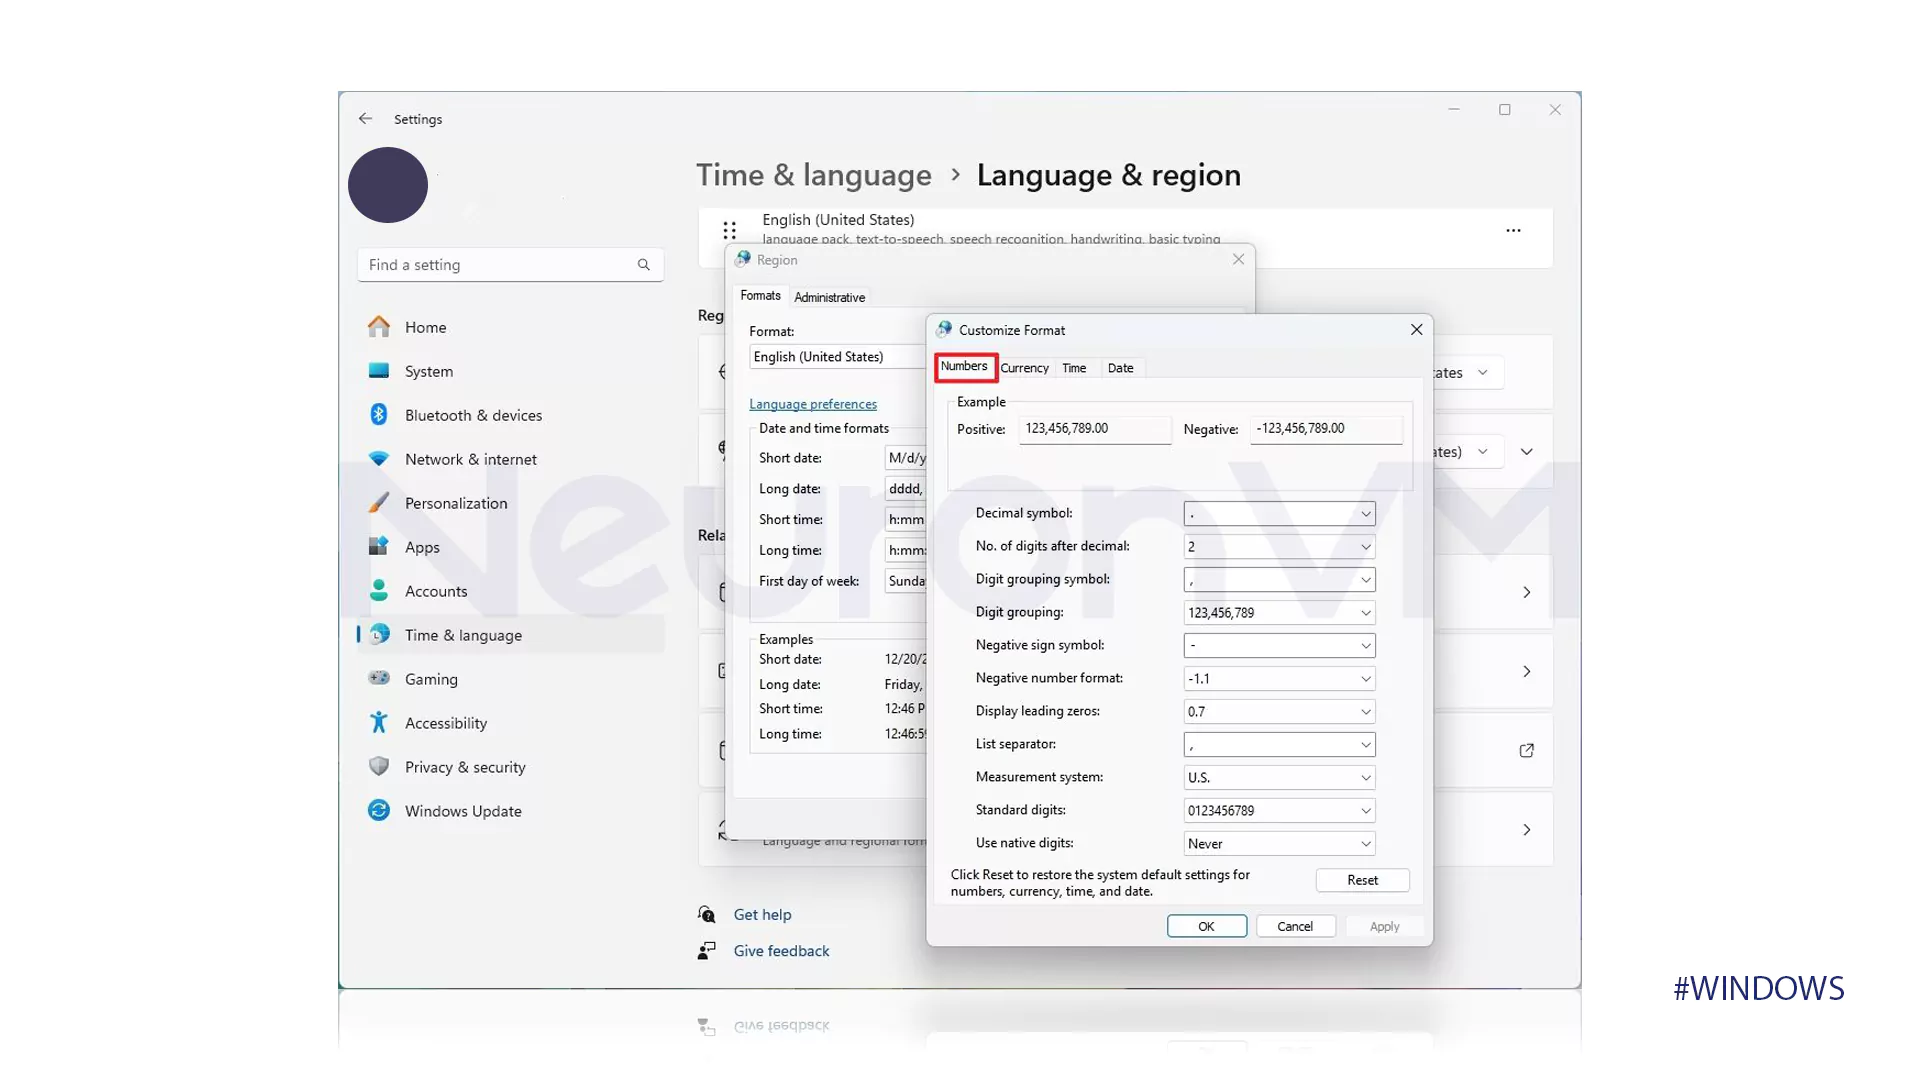
- Change the formats for numbers and symbols according to your taste.
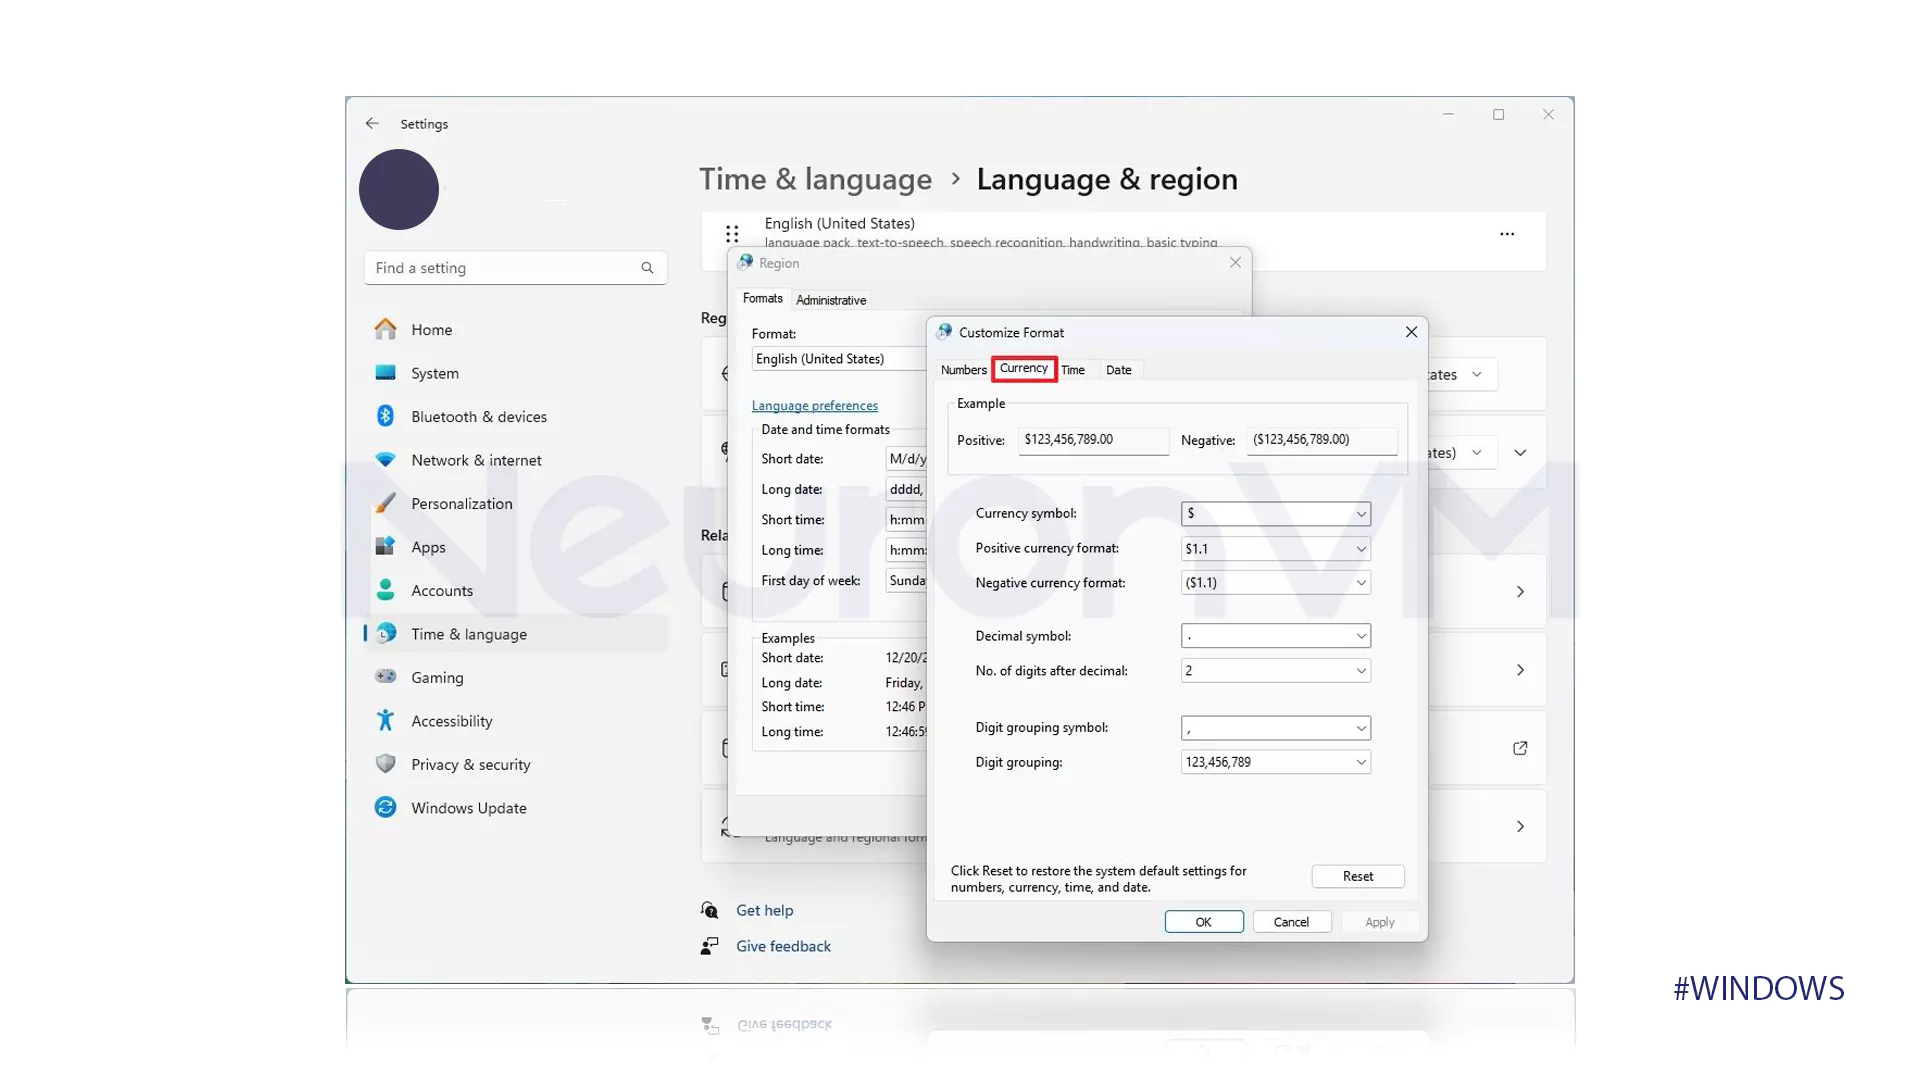
- Then, click on the “Currency” tab.
- Change the formats for numbers and symbols in this tab too.
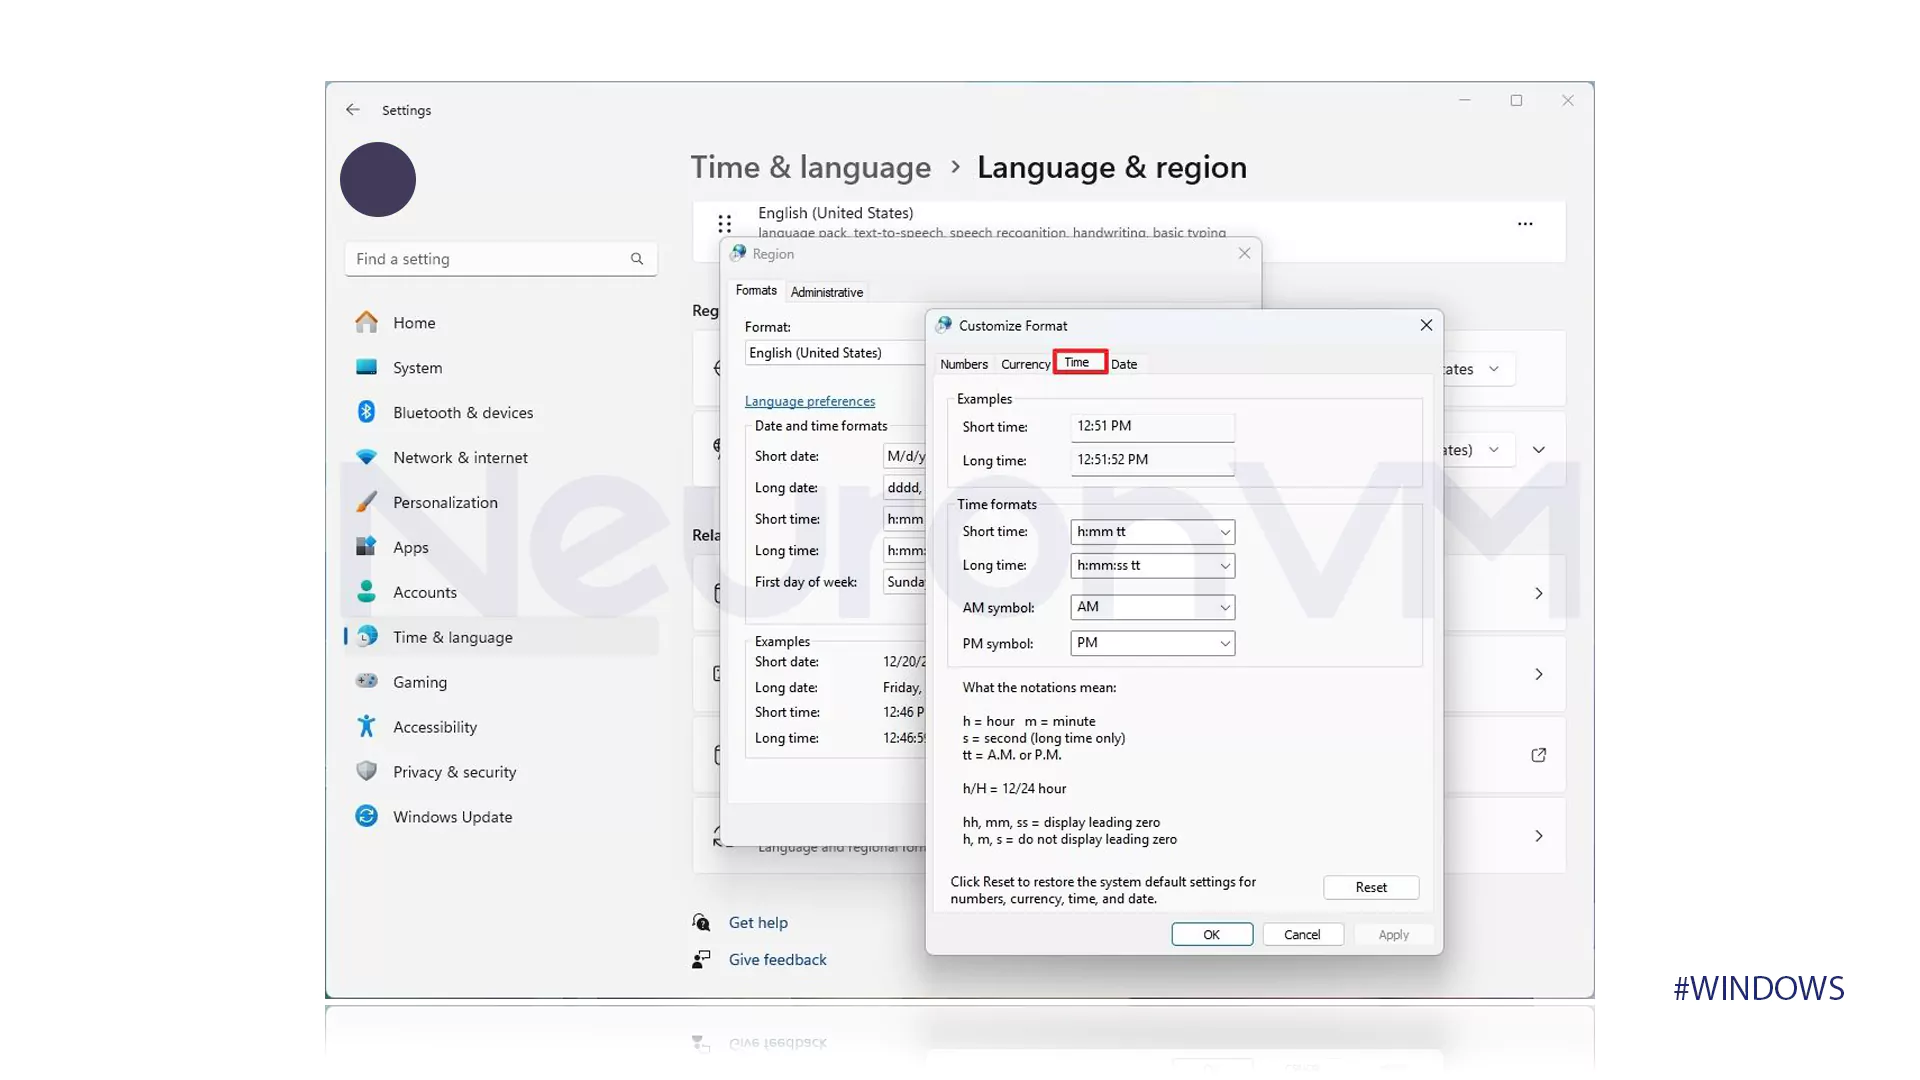
- Go to the “Time” tab.
- Change the formats for numbers and symbols with more details.
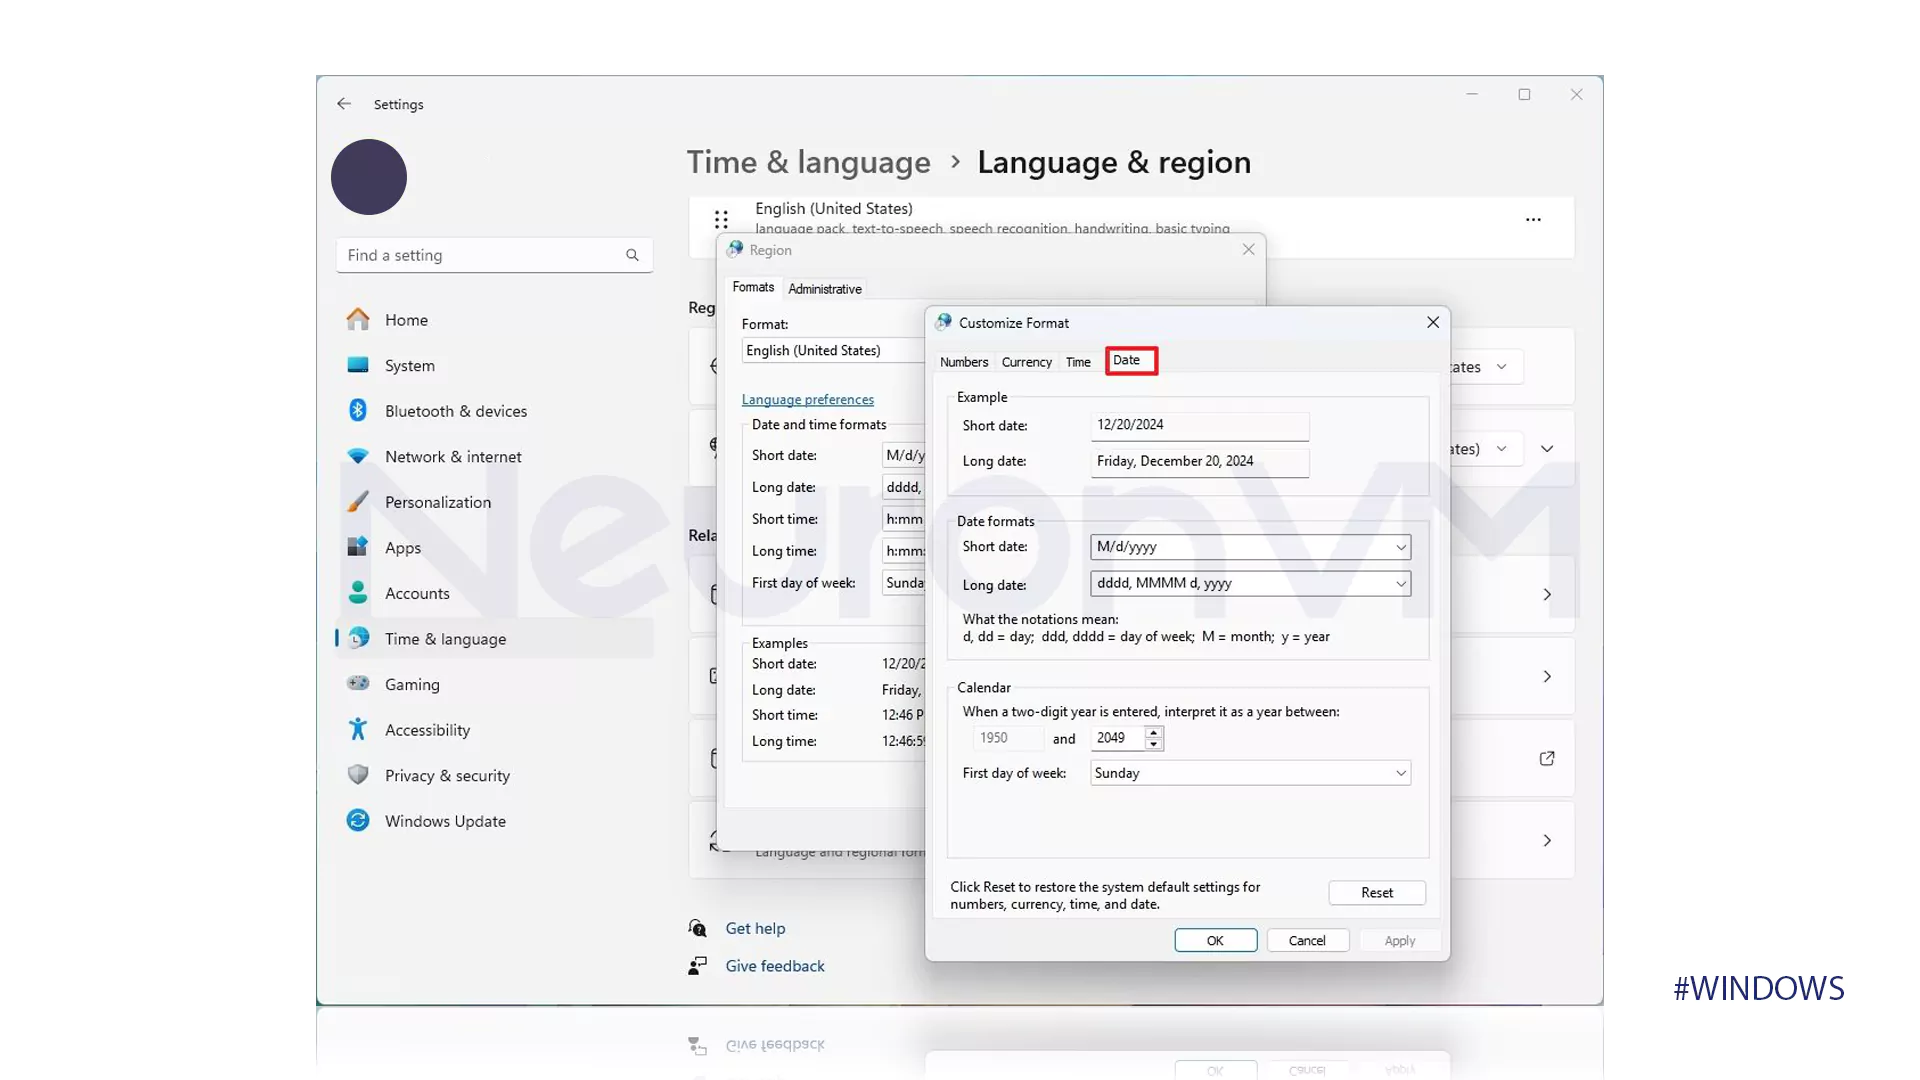
- Go to the “Date” tab.
- Change the formats for numbers and symbols with more details.
Conclusion
Changing the region in Windows 11, besides helping to improve the user experience, also helps users in doing their daily tasks and professions. Considering the universality of using Windows and the need to interact with different cultures and languages, getting to know this feature and using it correctly can help users to easily adapt to different environments. We recommend that you Windows users, according to your needs, regularly check your regional settings and change them if necessary to help improve the performance of your system and experience a better user experience. So, start today, and by reading this guide, learn how to change region on Windows 11!

