How to Setup VPN on Windows VPS
In this tutorial, we will provide a step-by-step guide on how to set up VPN on Windows VPS while explaining the concepts of VPN and VPS.
Windows VPS
This is the tutorial that will guide you on How to setup VPN on Windows VPS! Installing a VPN on a Windows VPS can improve both its security and functionality. We understand how important it is to keep your information safe, especially when it’s moving between your devices and the internet. That’s why we need to understand how to install a VPN on our devices. We will provide you with a clear and straightforward guide to accomplish this.
What is a VPN?
A Virtual Private Network is designed to provide a private and secure online experience by hiding your IP address.
It allows you to connect to servers in other countries, making it appear as though you are browsing from that location. These limitations allow unrestricted internet access. Essentially, a VPN connection allows users to access the internet as if they were located in a different country.
What is a Windows VPS?
A VPS is a virtual computer. Virtualization is a significant trend in modern technology due to its multiple benefits, including the ability to work remotely. Windows VPS is commonly used for web hosting, gaming servers, and database management. If you are considering purchasing a web hosting plan, please visit our website, our site for more information.
Here is a straightforward tutorial on “How to Setup a VPN on Windows VPS,” but before that, let’s see our requirements.
Requirements
- Windows Server 2019
- SoftEther VPN server
- Public IP address
How to Install a VPN Service on Windows VPS?
Step 1) To begin, visit Microsoft’s website to download SoftEther VPN; when you first see its icon, click on “Get it now” and then continue.

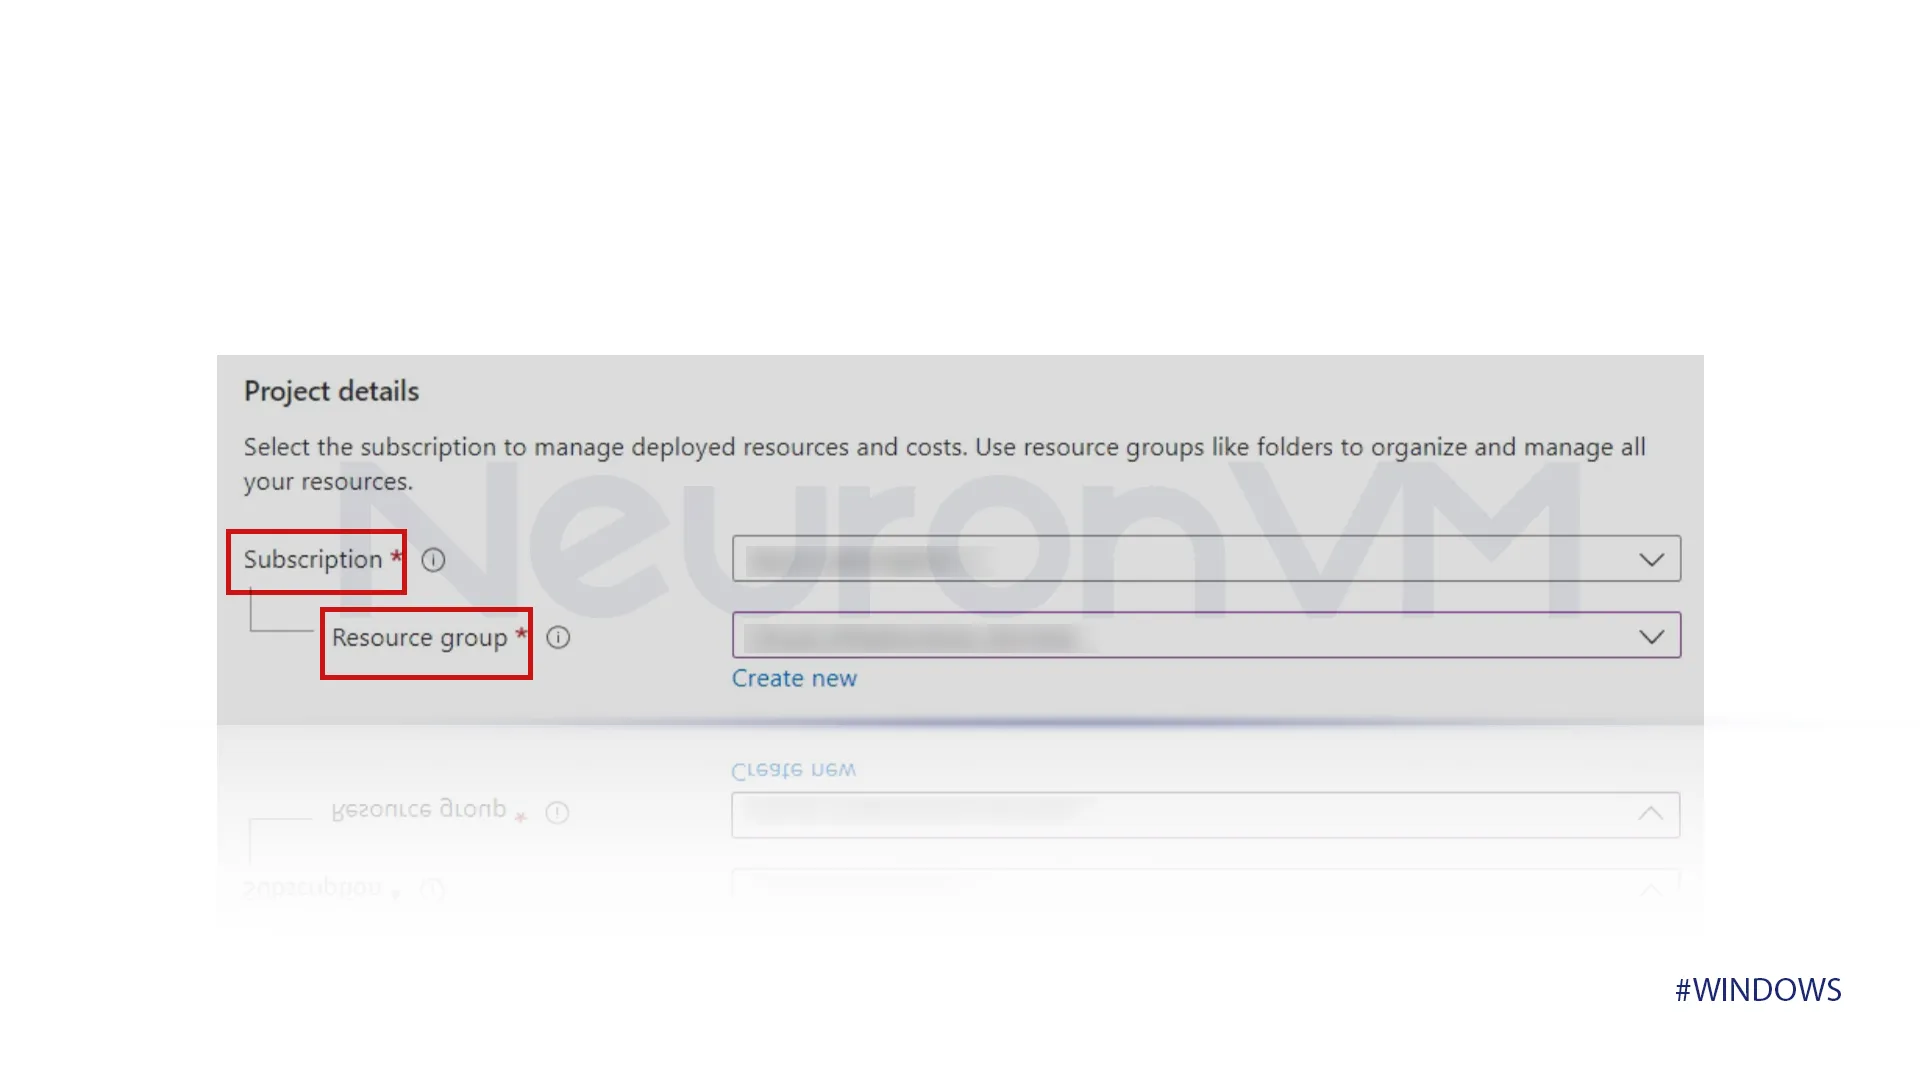
Step 2) To launch your virtual machine, click on “Create.” Then, select your subscription and resource group.
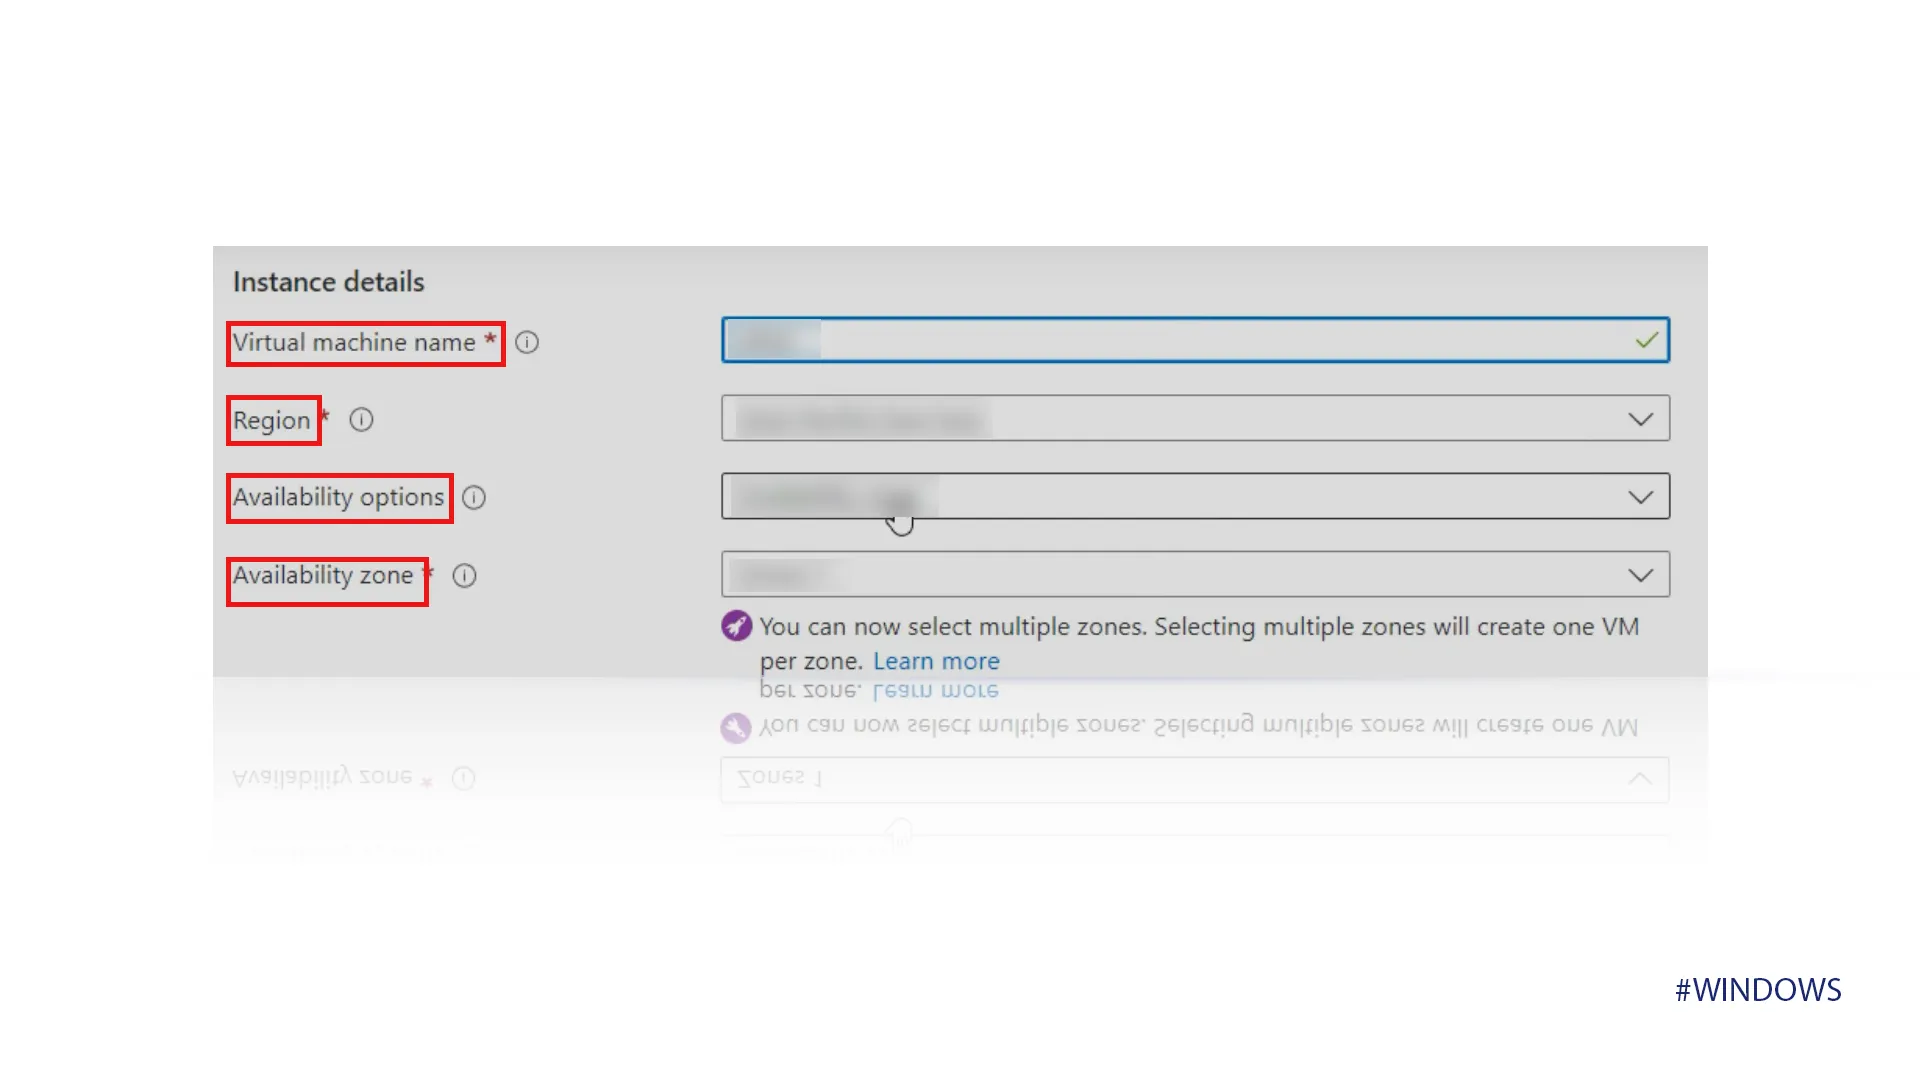
Step 3) Next, you need to name your virtual machine in the specified area and fill in the other required fields; you can complete the fields as you prefer.
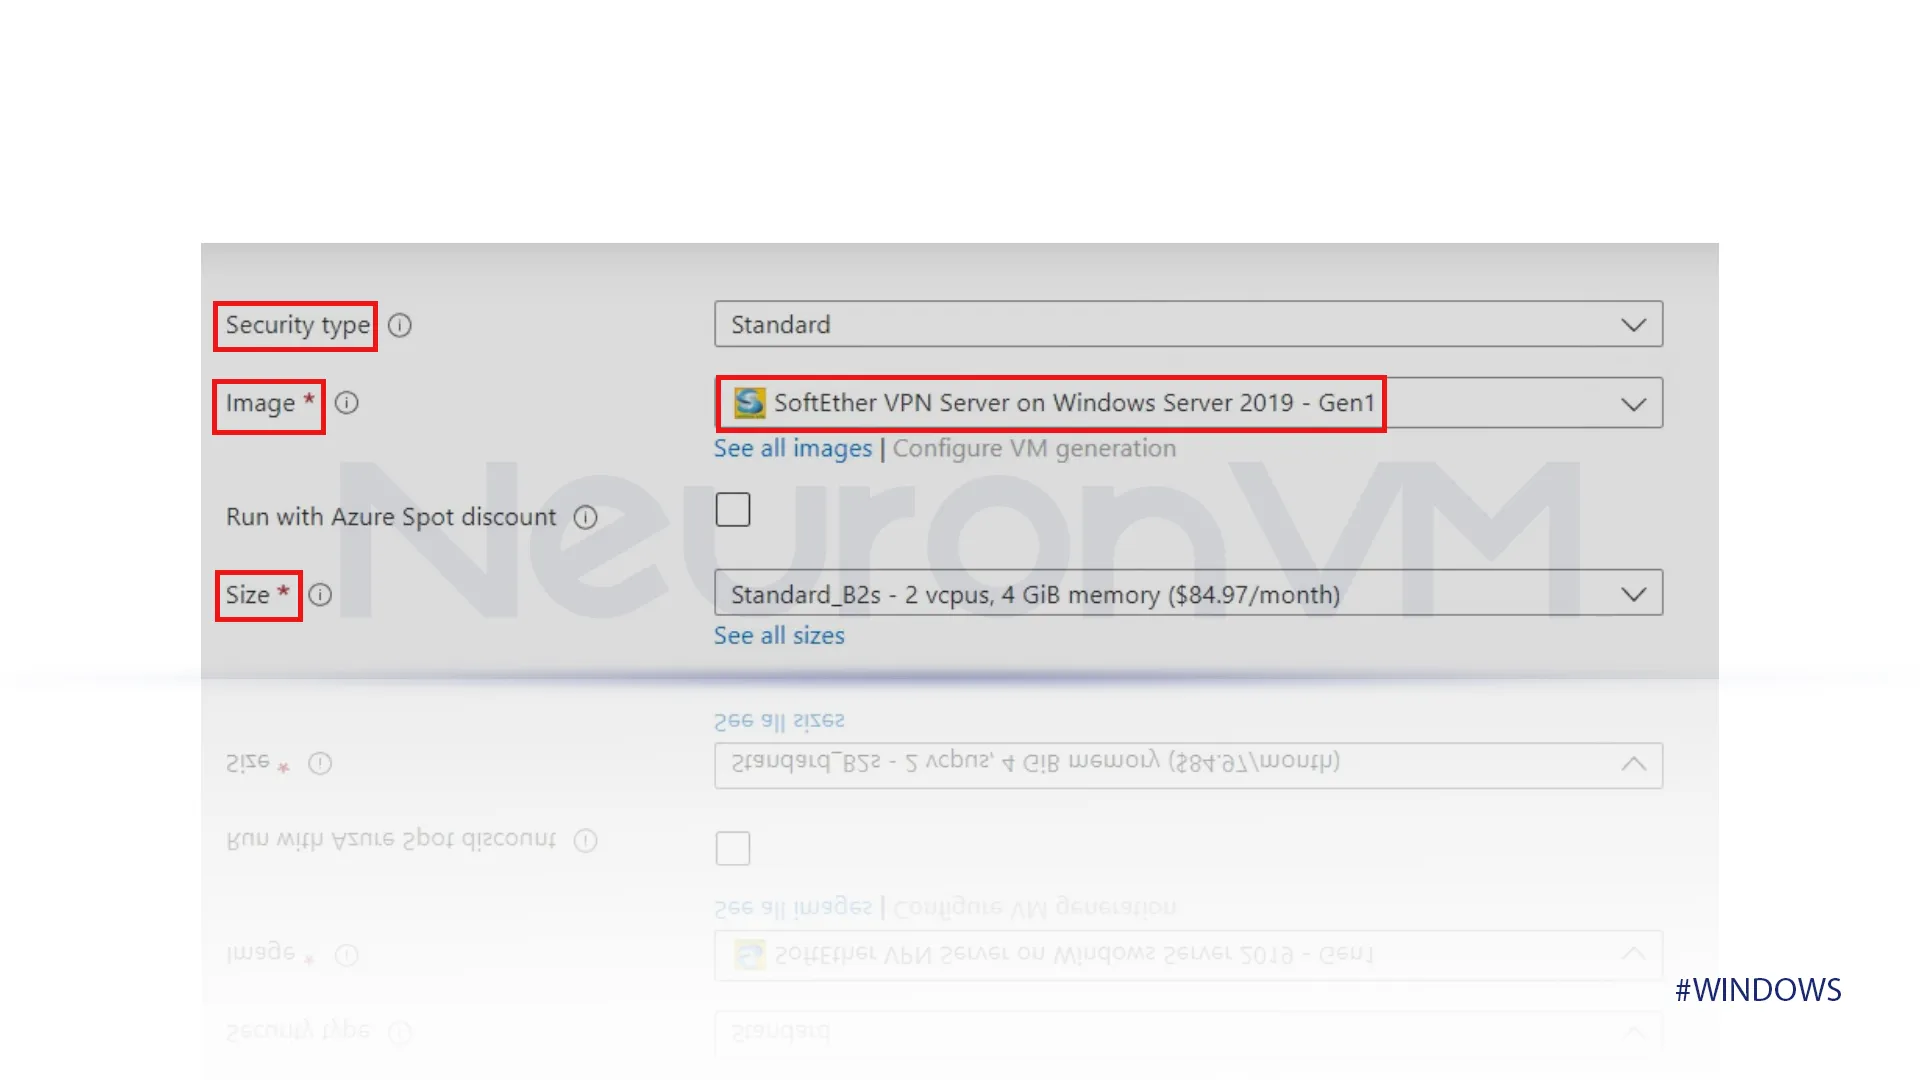
Step 4) Set the security type to “Standard” and confirm that you selected the correct image; you can then choose the size that suits you.
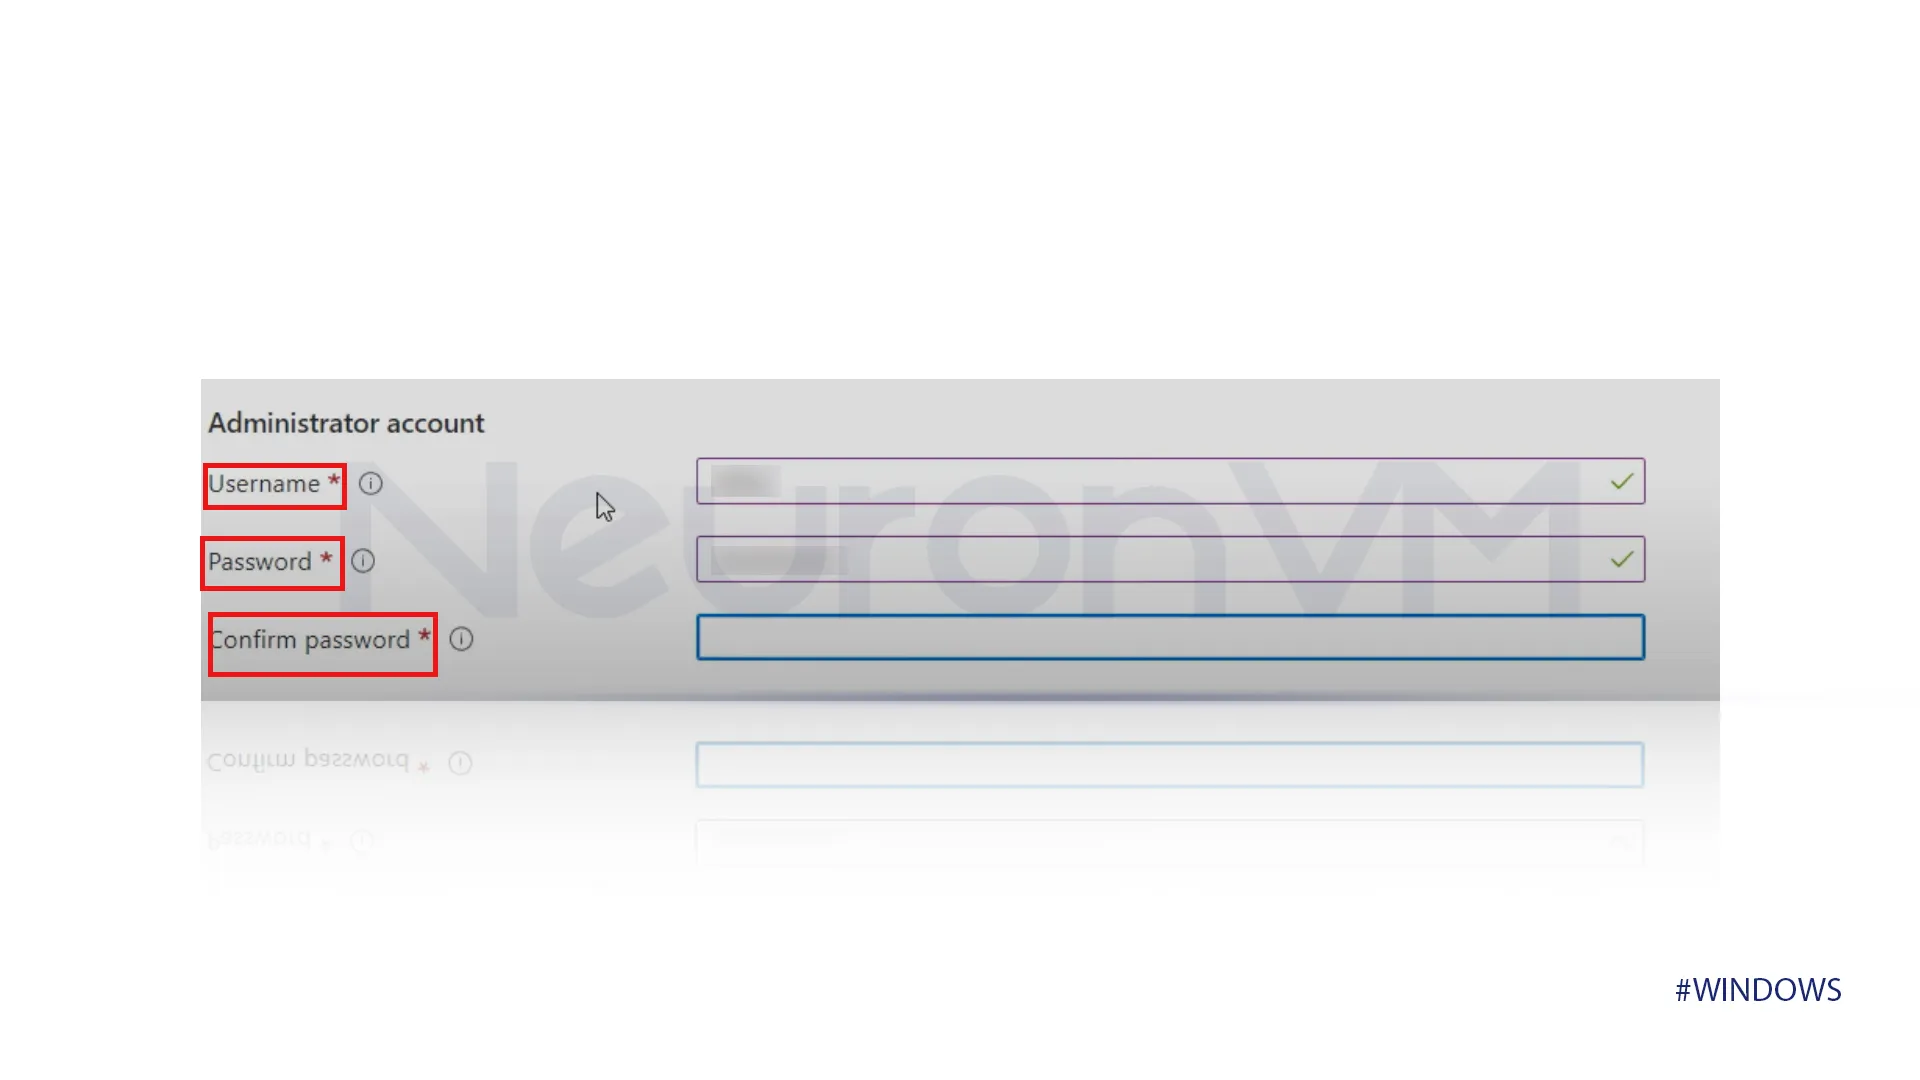
Step 5) In the “Administrator account,” enter your username and password, and make sure to remember them. We will need this information to connect to our remote desktop.
Step 6) After that, click on “Review + Create.” The system will verify that everything is correct. If all checks are successful, it will launch our virtual machine, which will take a few seconds. Once this process is complete, you can proceed by clicking on “Create.”
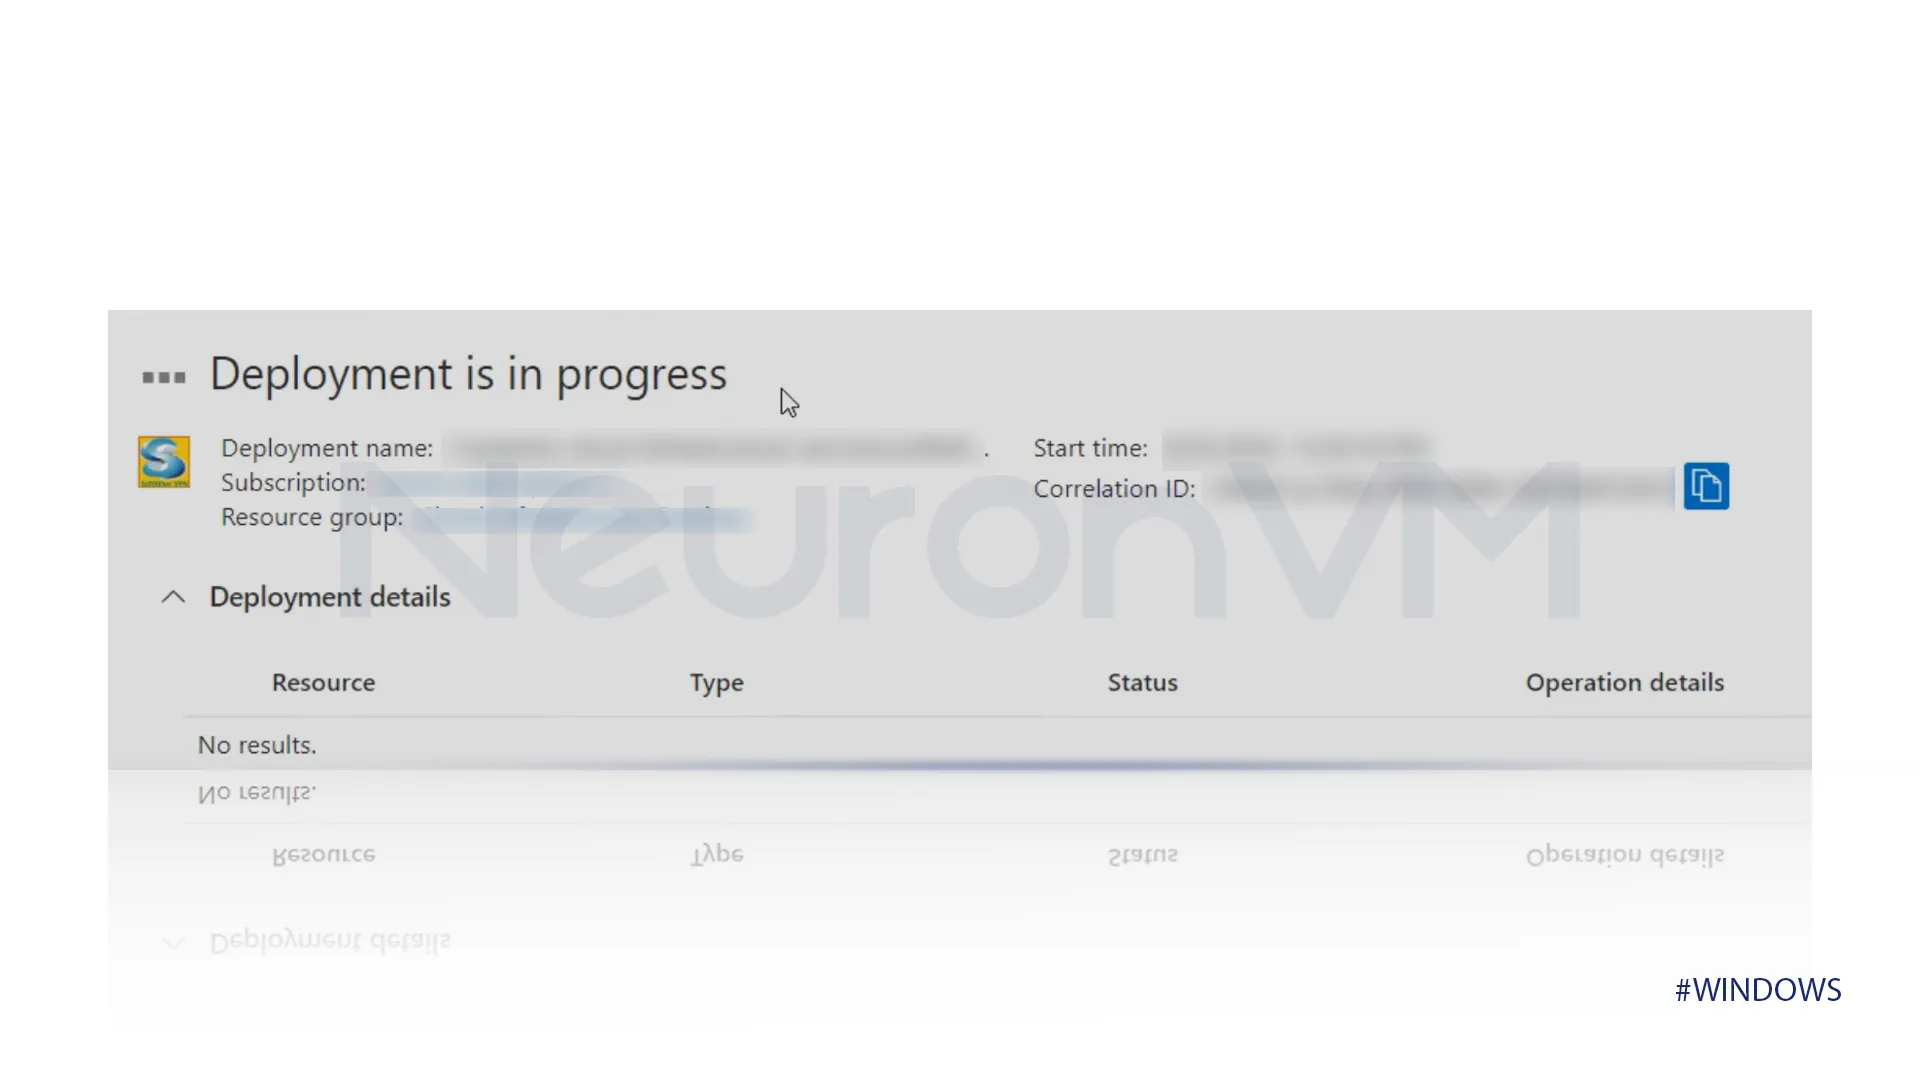
Step 7) Once we finish the validation, we will click on “Create” again, which will begin the deployment process. We will see a notification that says, “Initializing deployment.” During this time, the deployment will be in progress. This is the final step, and after this, we will be able to use our virtual machine.
Step 8) Now click on “Resource,” and we are ready to connect to our remote desktop.
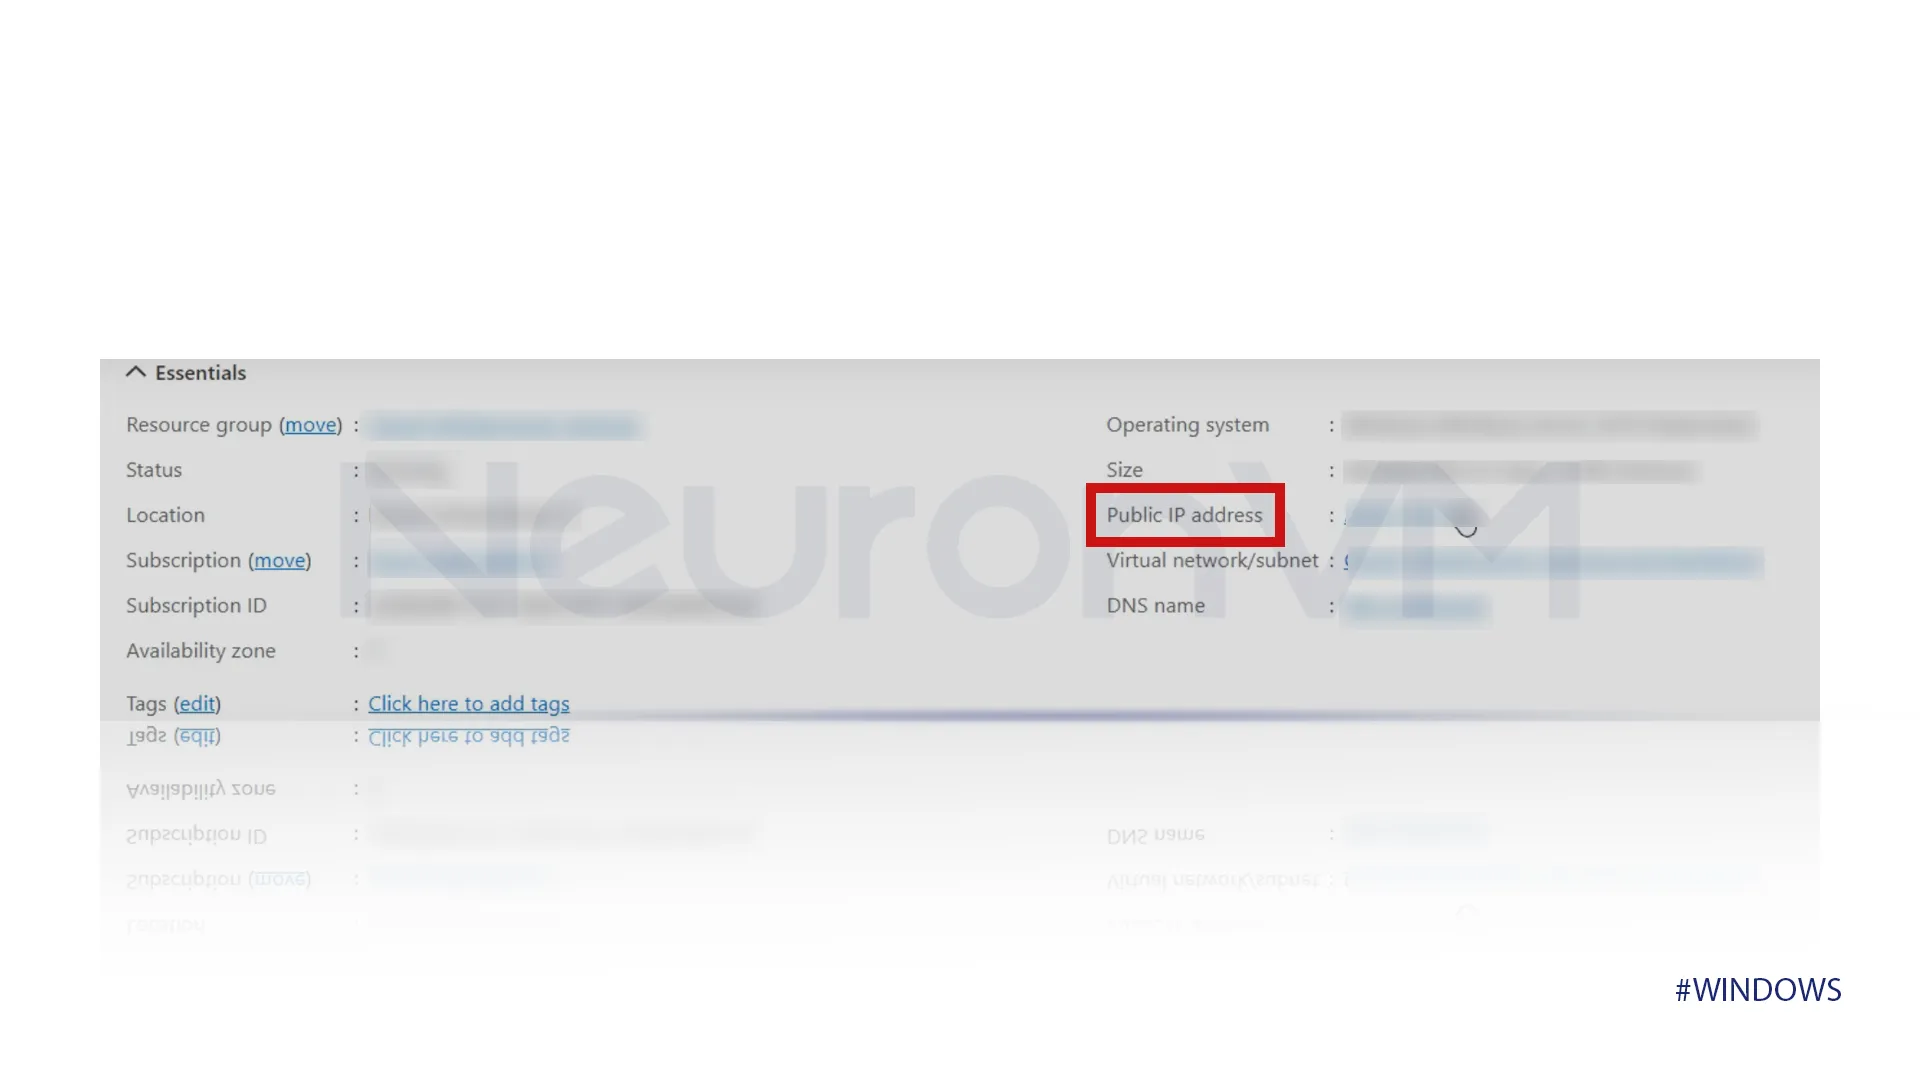
Step 9) Copy the public IP address and open the Remote Desktop application on your Windows device. When started, enter the username and password that you previously set up. Once you do this, you will be connected to your remote desktop.
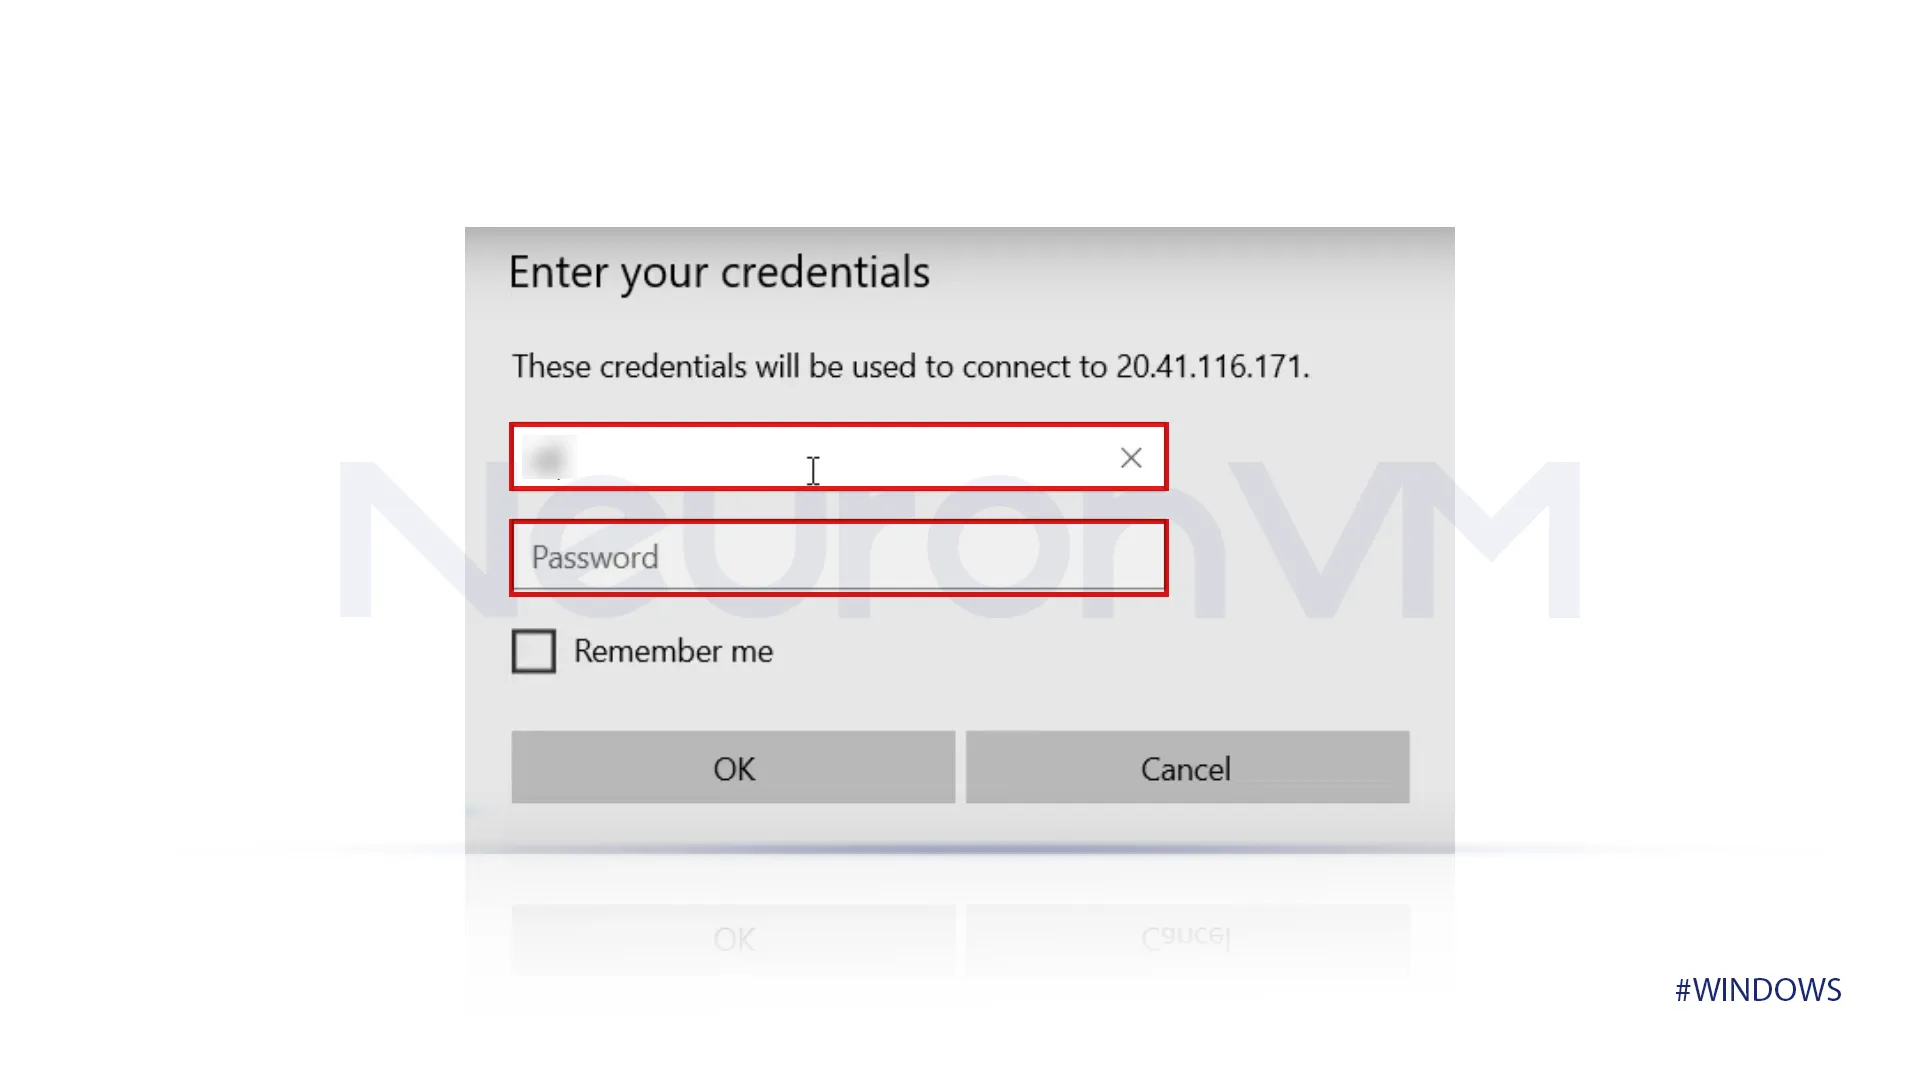
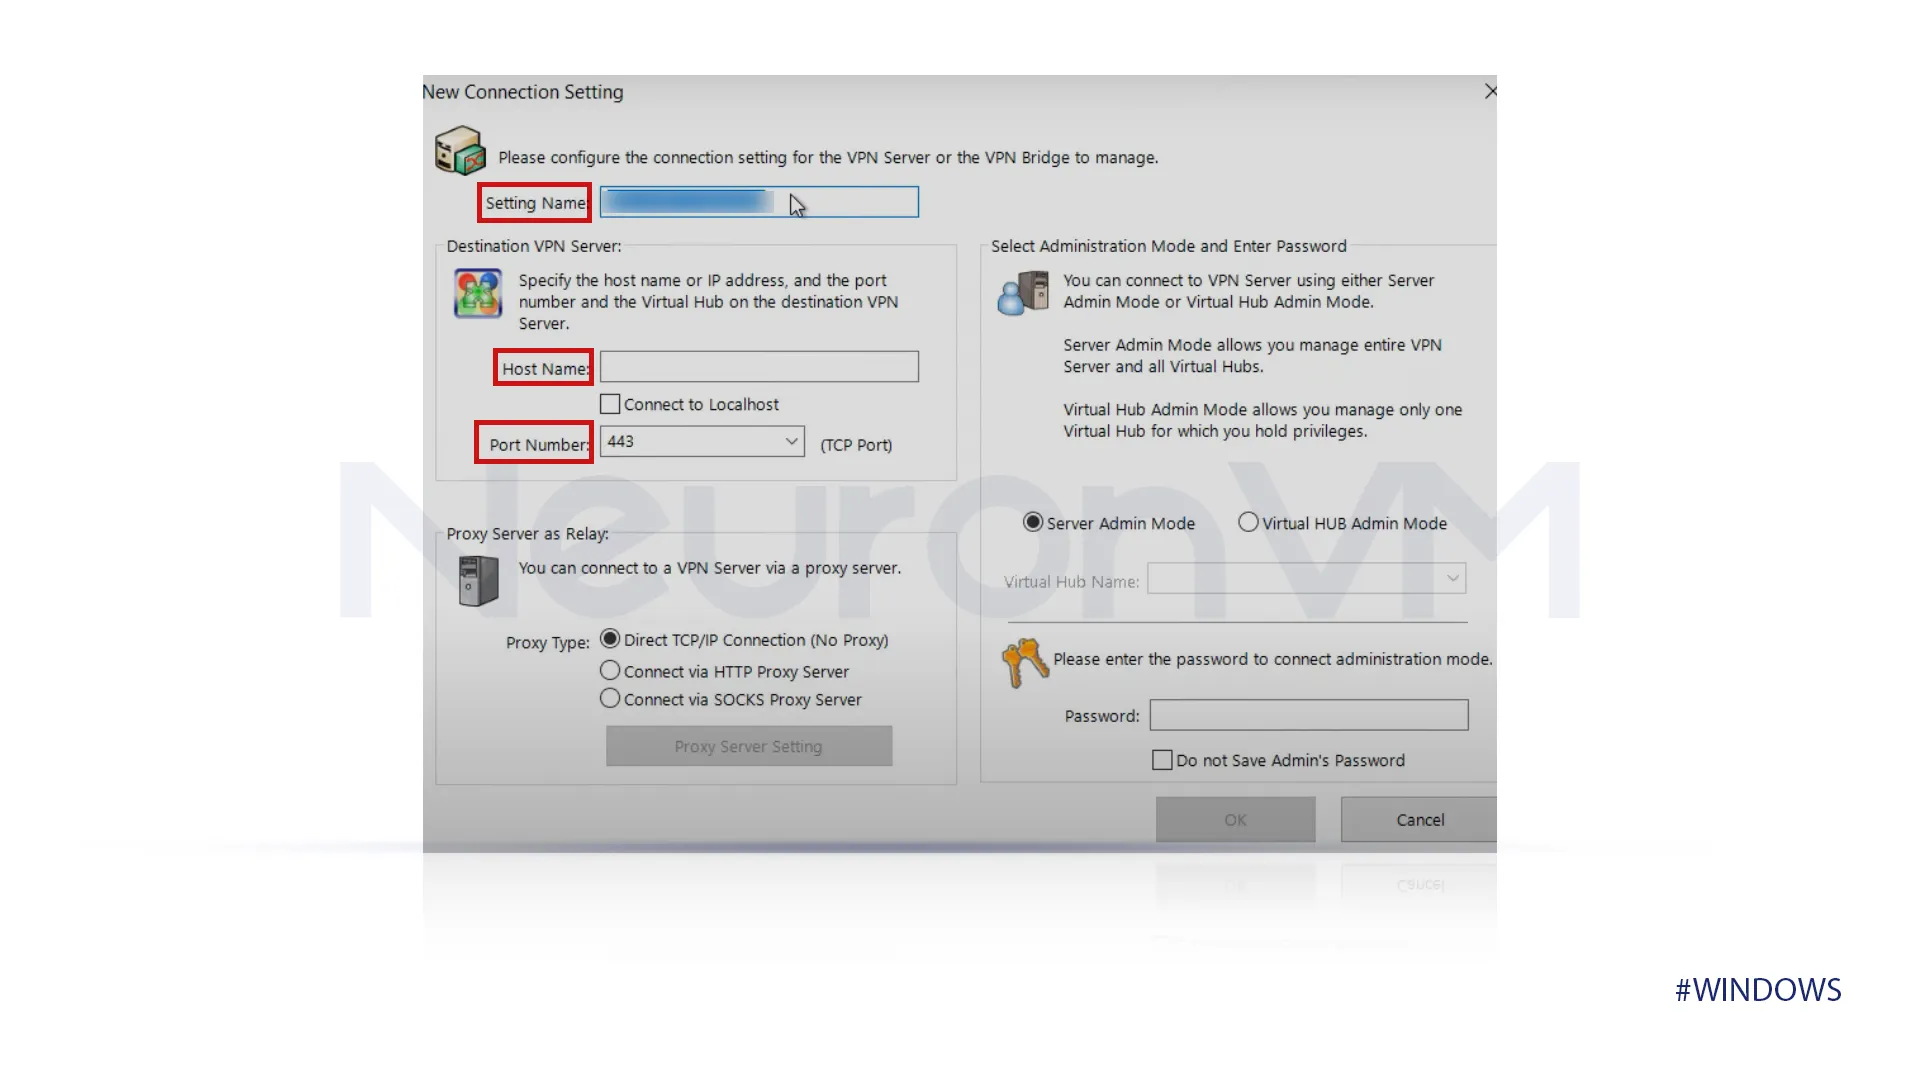
Step 10) After connecting to the remote desktop, you will see the SoftEther icon, click on it to open the application. Once it’s open, click on “Settings” to name your connection; you can choose any name you like. Next, paste the IP address into the “Hostname” field, set the port number to 433, and then click “OK.”
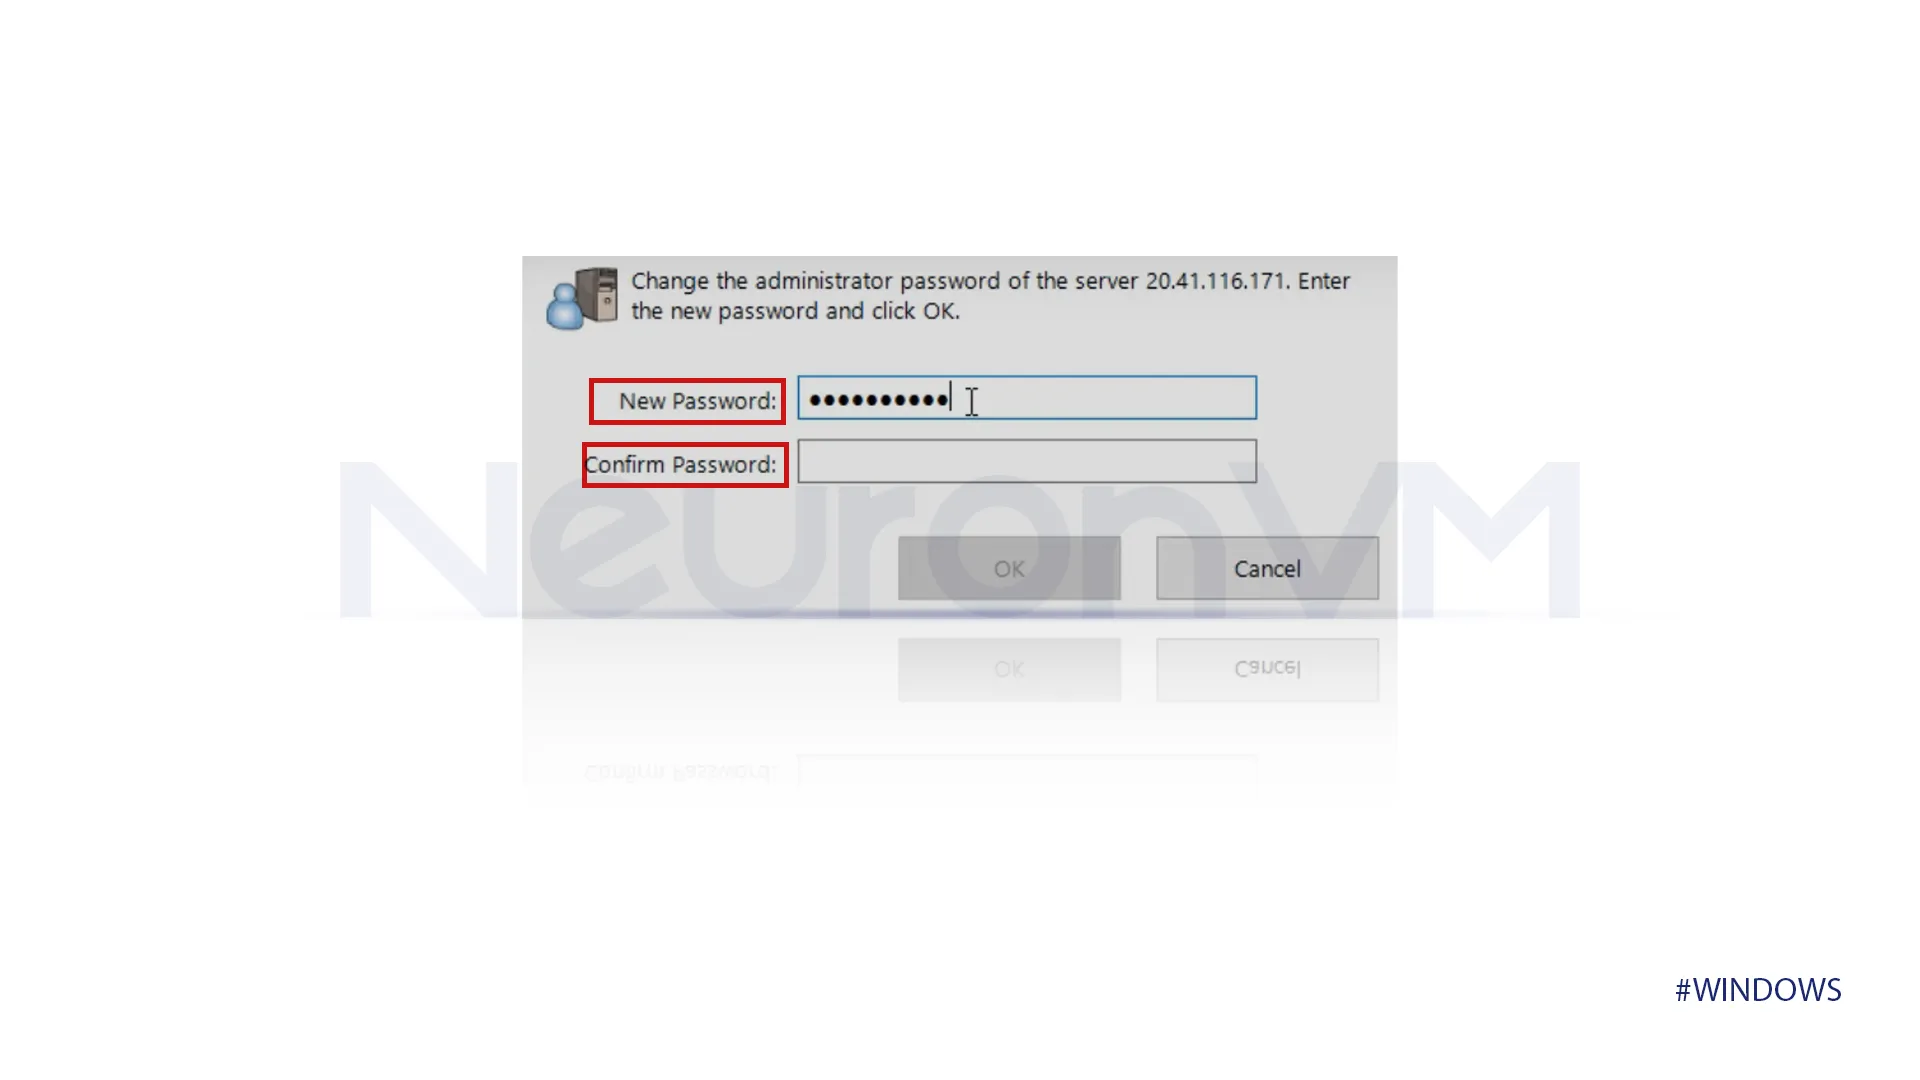
Step 11) Next, set a new password and confirm that password once again. After that, a notification will appear showing that your password has been changed.
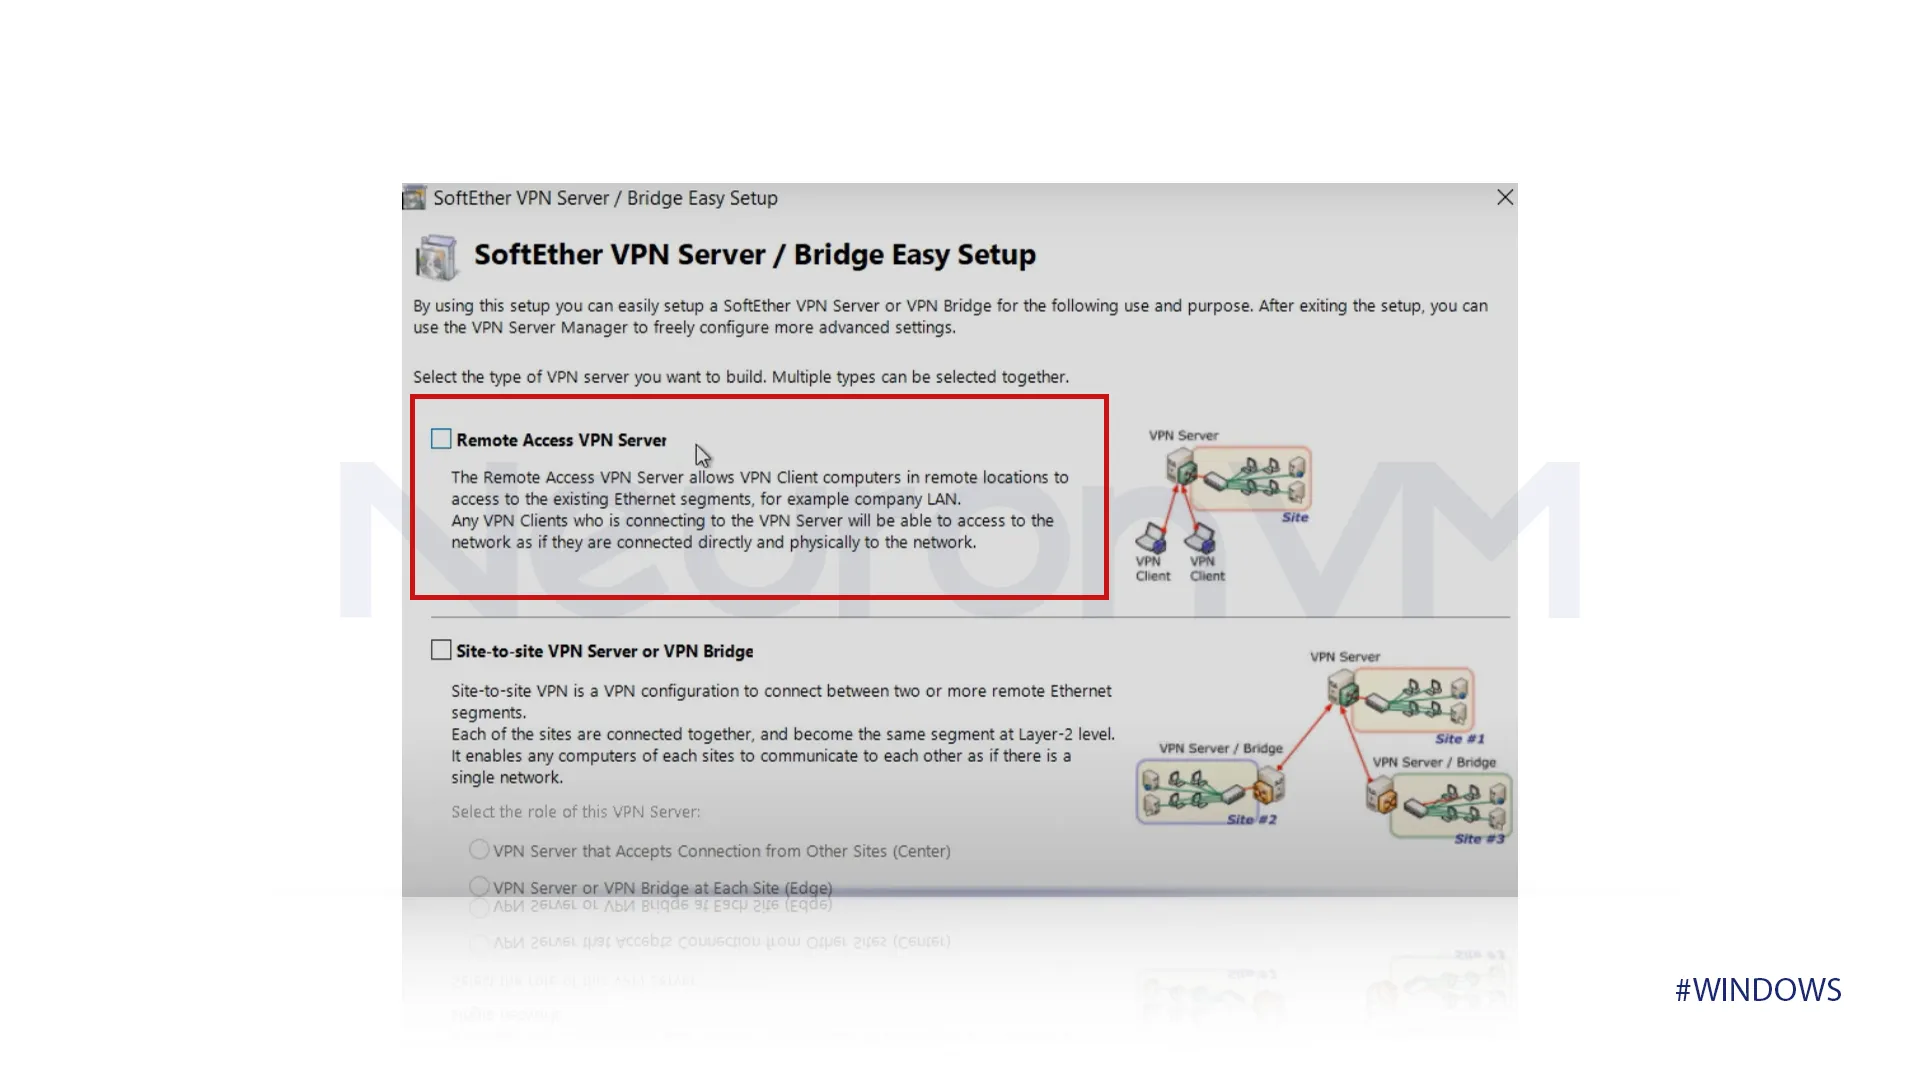
Step 12) Another tab will open, showing you two options: “Remote access VPN server” or “Site-to-site VPN server.” You should choose the first option. Click “Yes” and then “OK.”
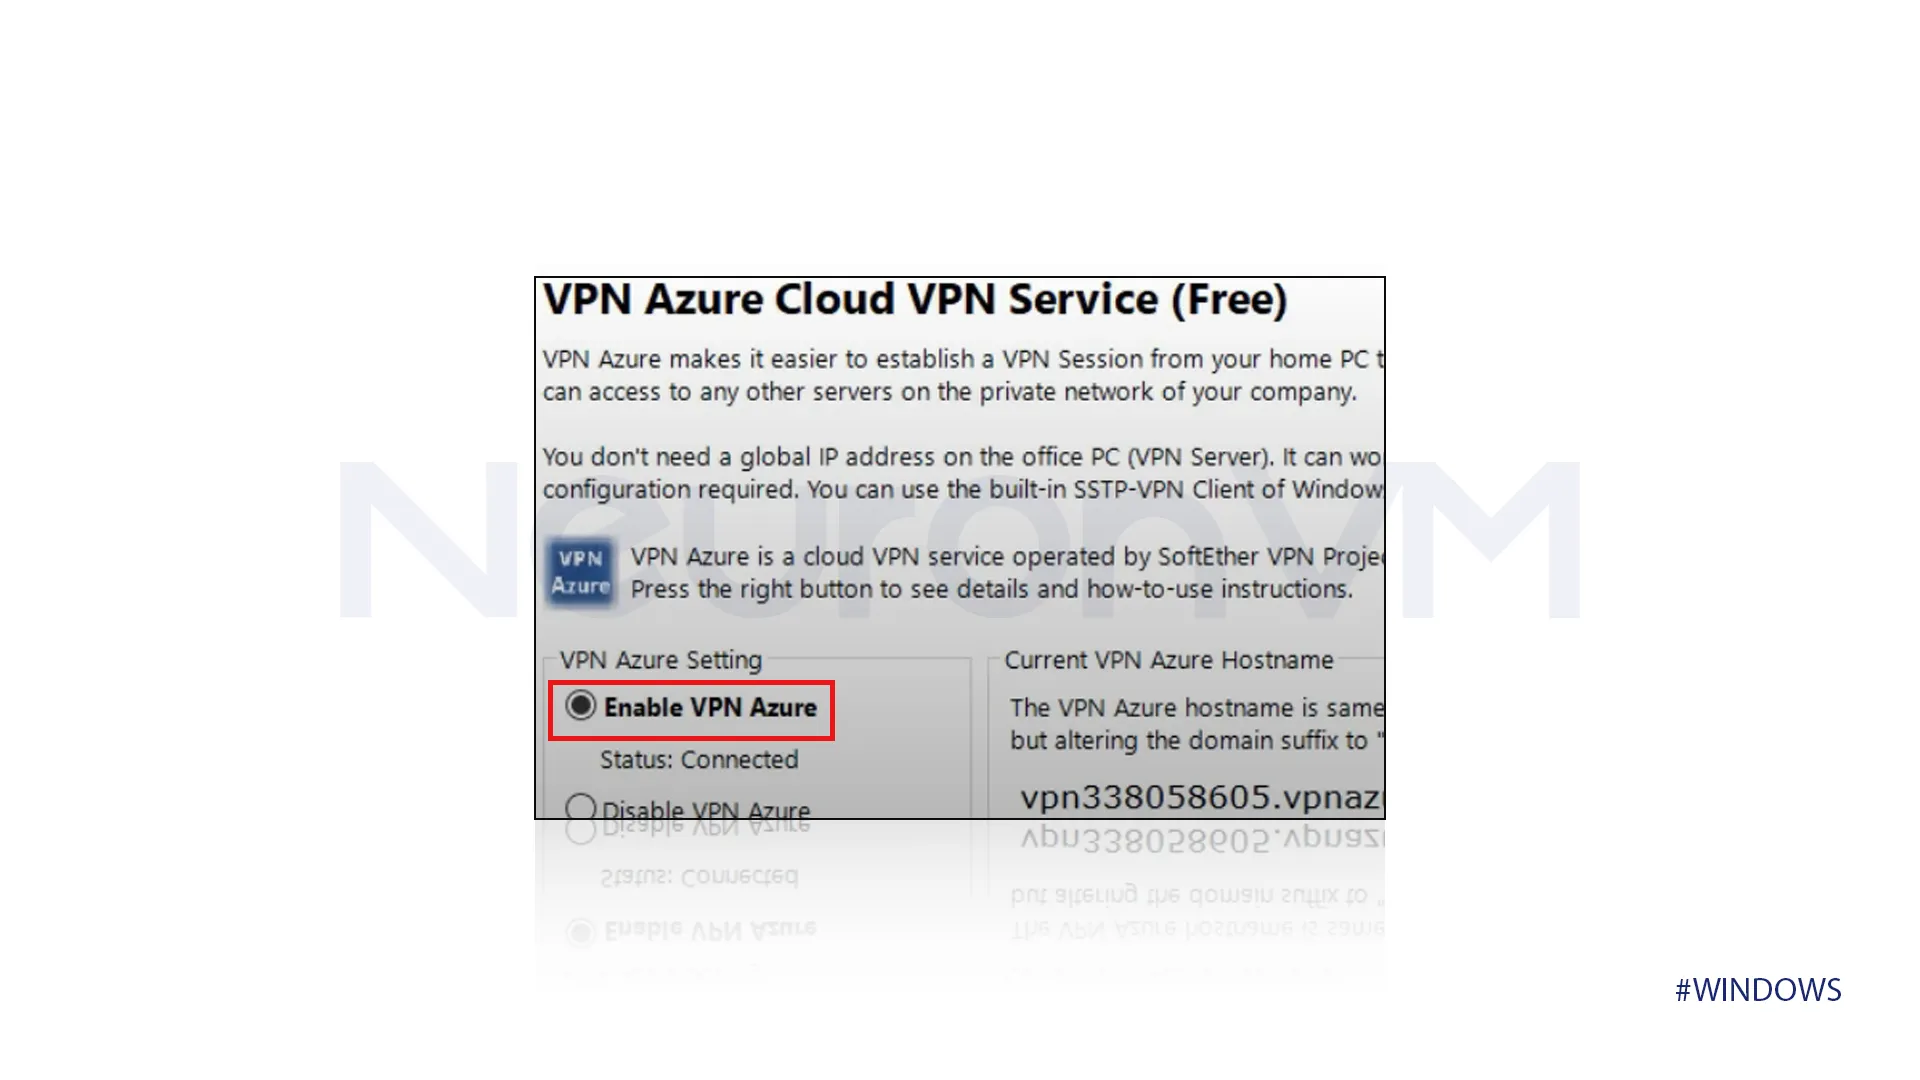
Step 13) After that, you will have your virtual hub name. If you want to, you can continue with the default name. Initially, the status will show as “not connected.” Click on “Enable VPN Azure,” and the status should change to “connected.” This indicates that the VPN is working properly, and we are ready to proceed.
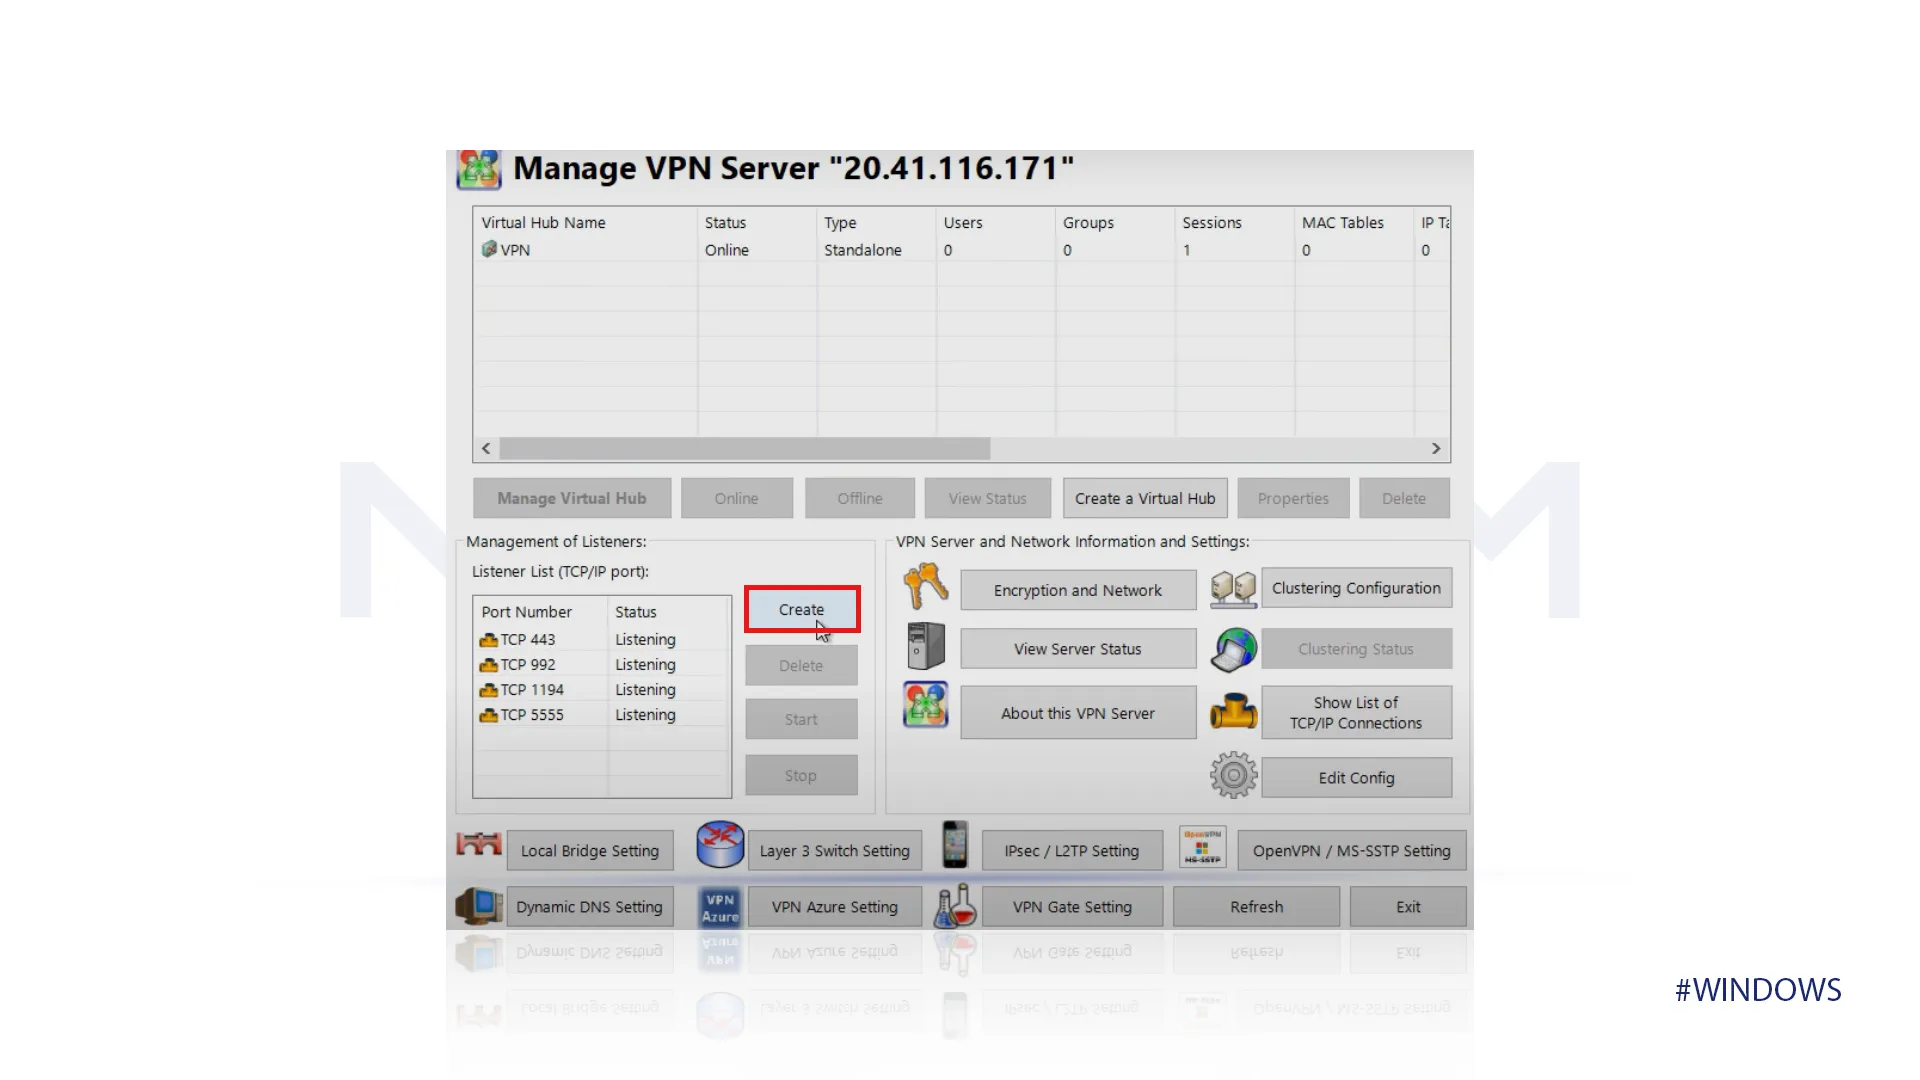
Step 14) After that, we need to set up a local bridge. Scroll down and click on Ether2. After that, click on “Close,” and we will be good to go. Now you can create different users in that section, which concludes our steps in this guide.
Conclusion
In this tutorial, we explained the concept of VPNs and Windows VPS, along with a simple step-by-step guide on how to install a VPN on your Windows VPS. Here’s a fun fact about VPNs: using one can actually save you money! When shopping online, prices may vary by state, so you can save some money by using a VPN. If you have any questions about the tutorial, or any problem installing it, let us know in the comments below.
