How To Setup TightVNC on Windows 7/8/10


 11m
11m
 0 comments
 Print
Print
This tutorial is going to explain How to setup TightVNC on Windows 7/8/10. A software server/client is using as a remote desktop and helps you to connect to other graphical desktops. Therefore, you can control and monitor them easily. If you want to buy a Windows VPS server and install TightVNC on it, we suggest you use the plans provided on our website.
Installing TightVNC Server on Windows
I think now you are ready for TightVNC installation, So let’s start. To install this capable server you should follow the instructions below:
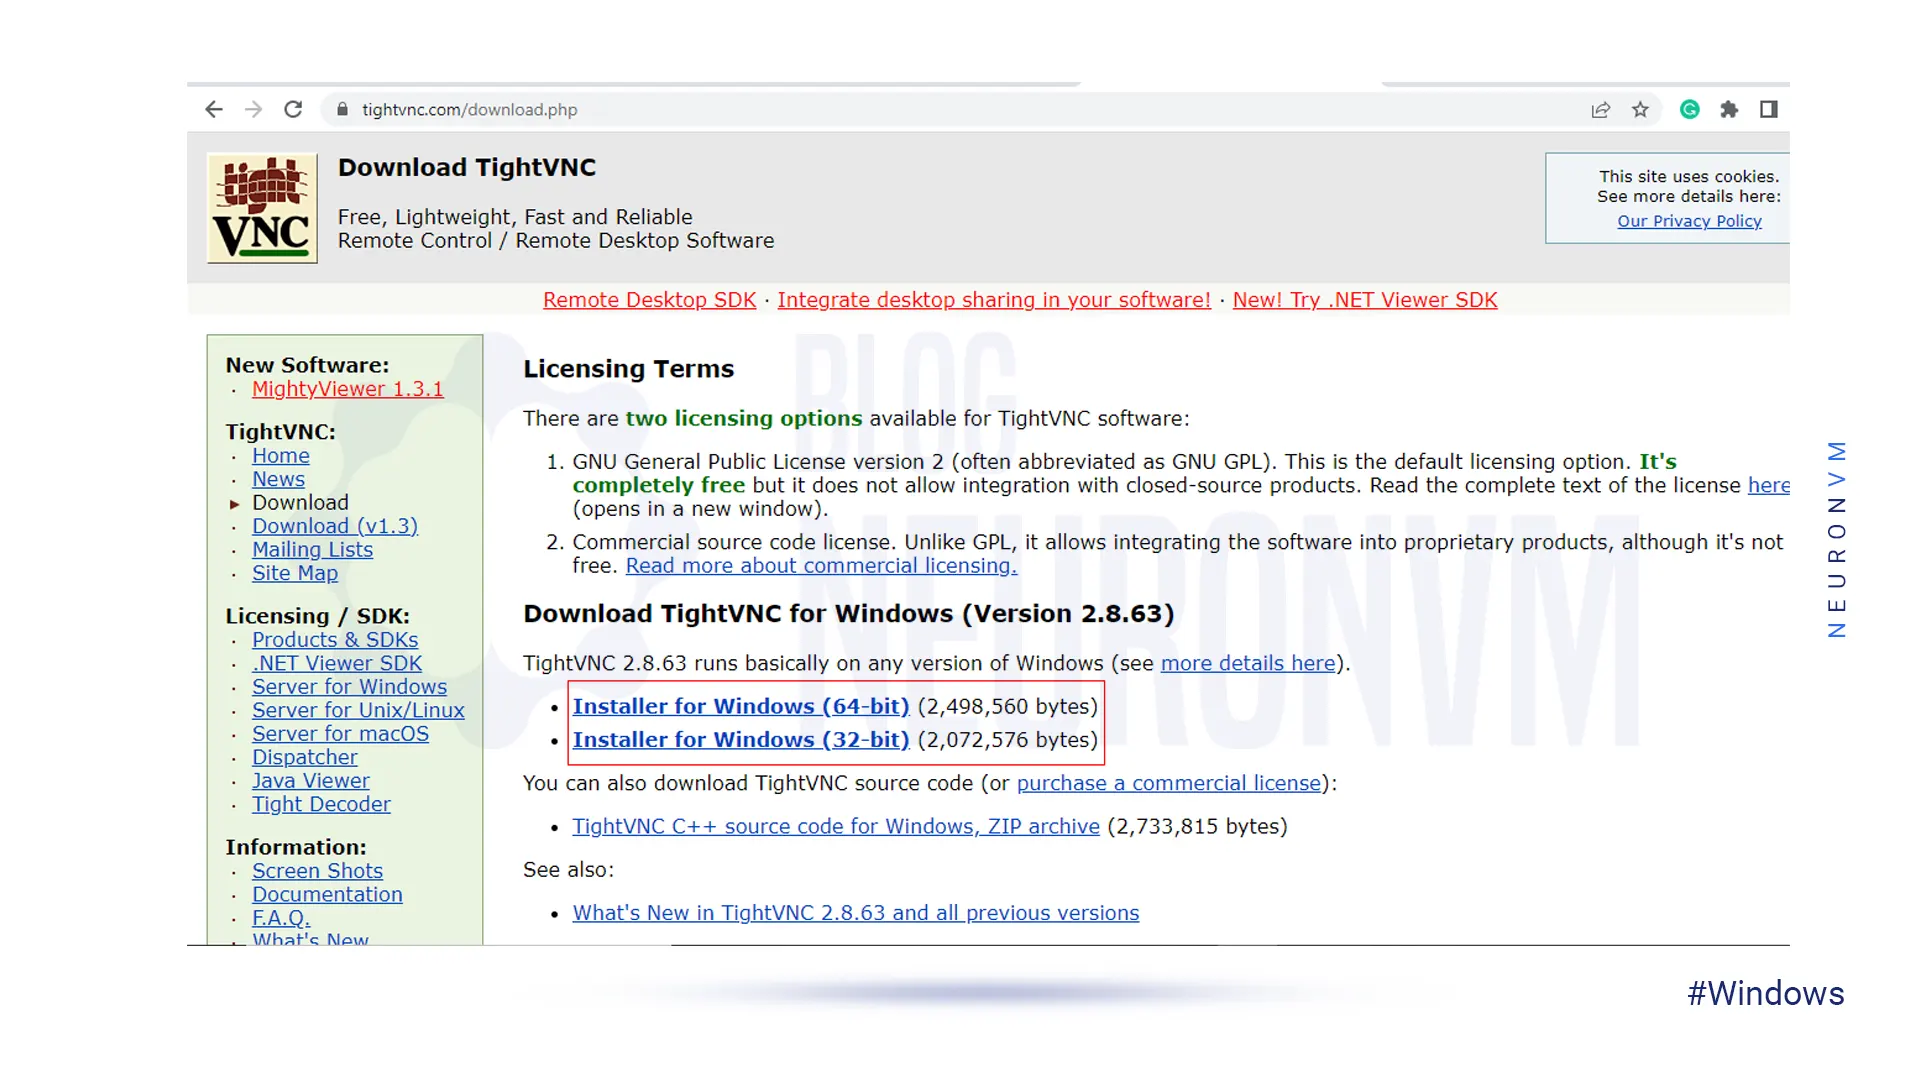
First of all, you should visit the TightVNC Download Page.
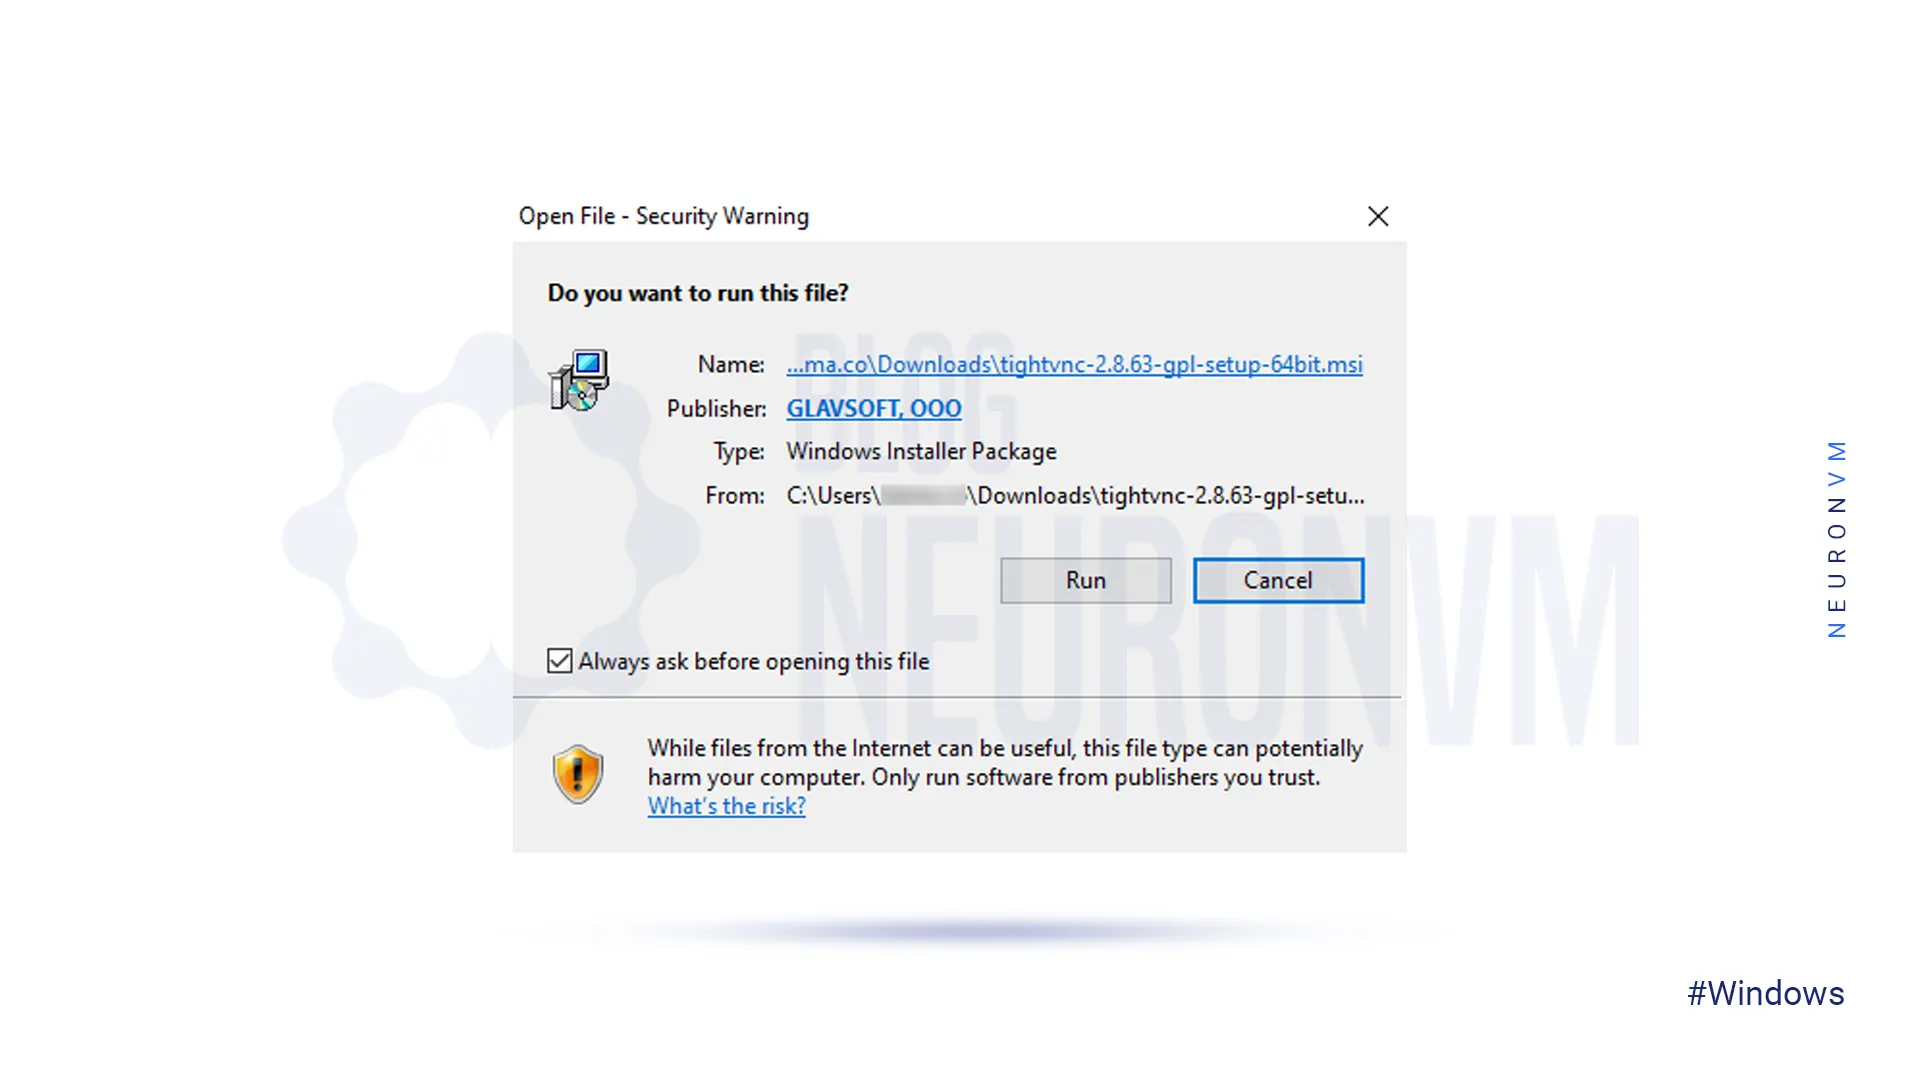
Next download and run the version that is suitable for your Windows system:
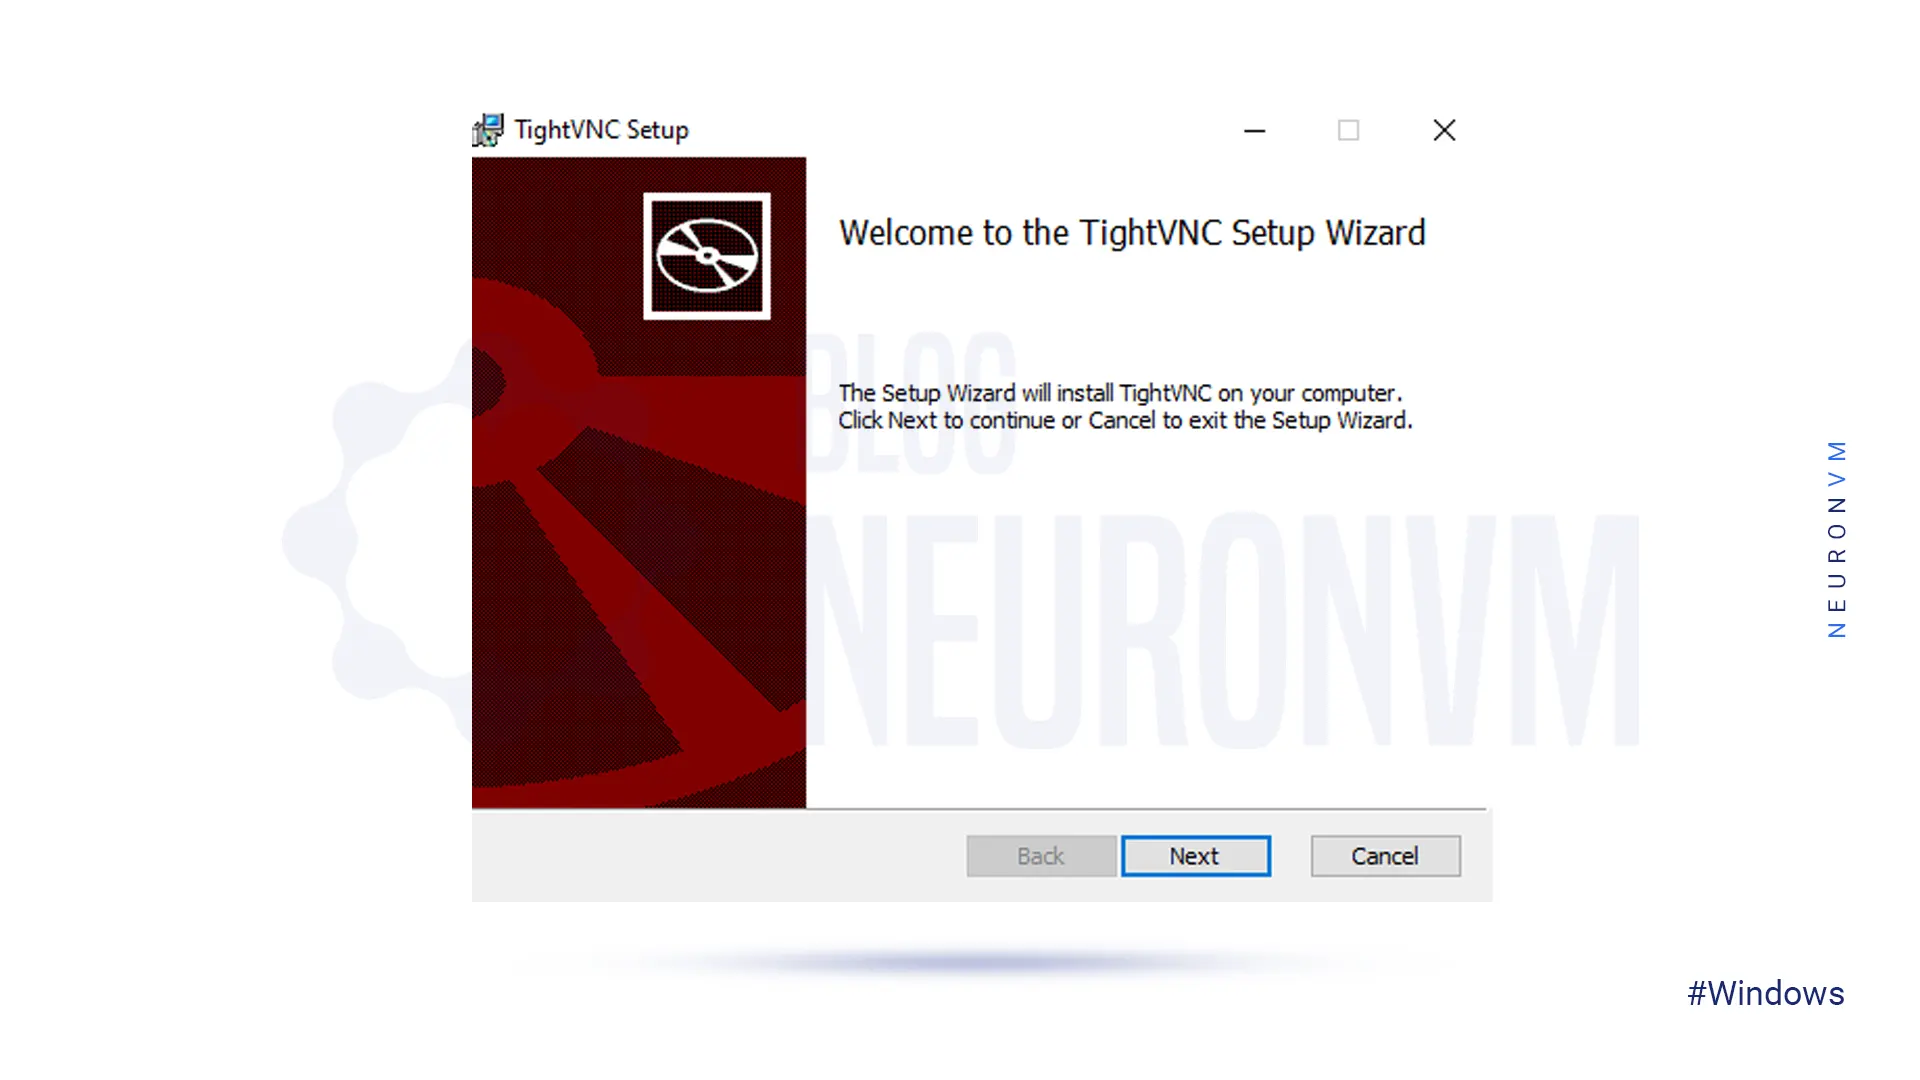
Now you will enter the Installation Wizard:
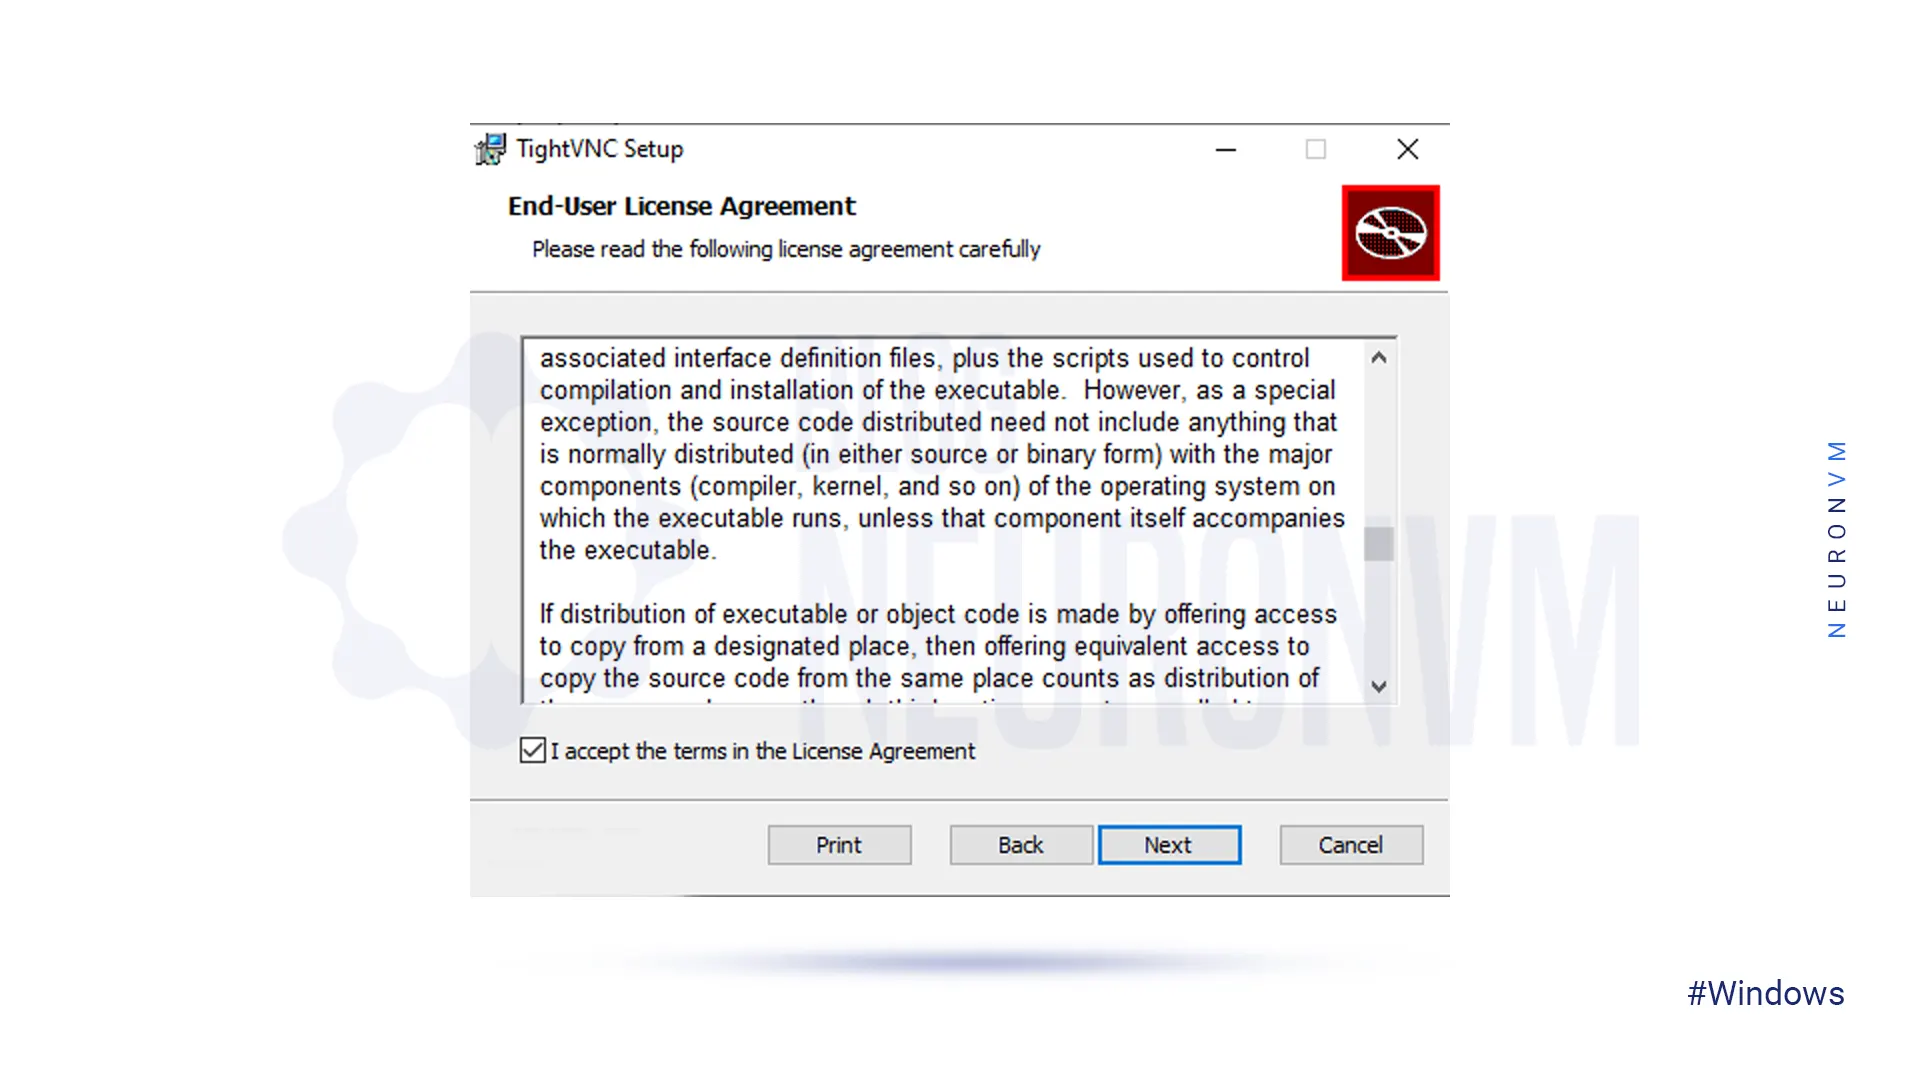
You should accept the terms in the license agreement and then continue:
*
Then you should select “Typical” for setup type:

Be sure to enable “Register TightVNC server as a system service (recommended)”:
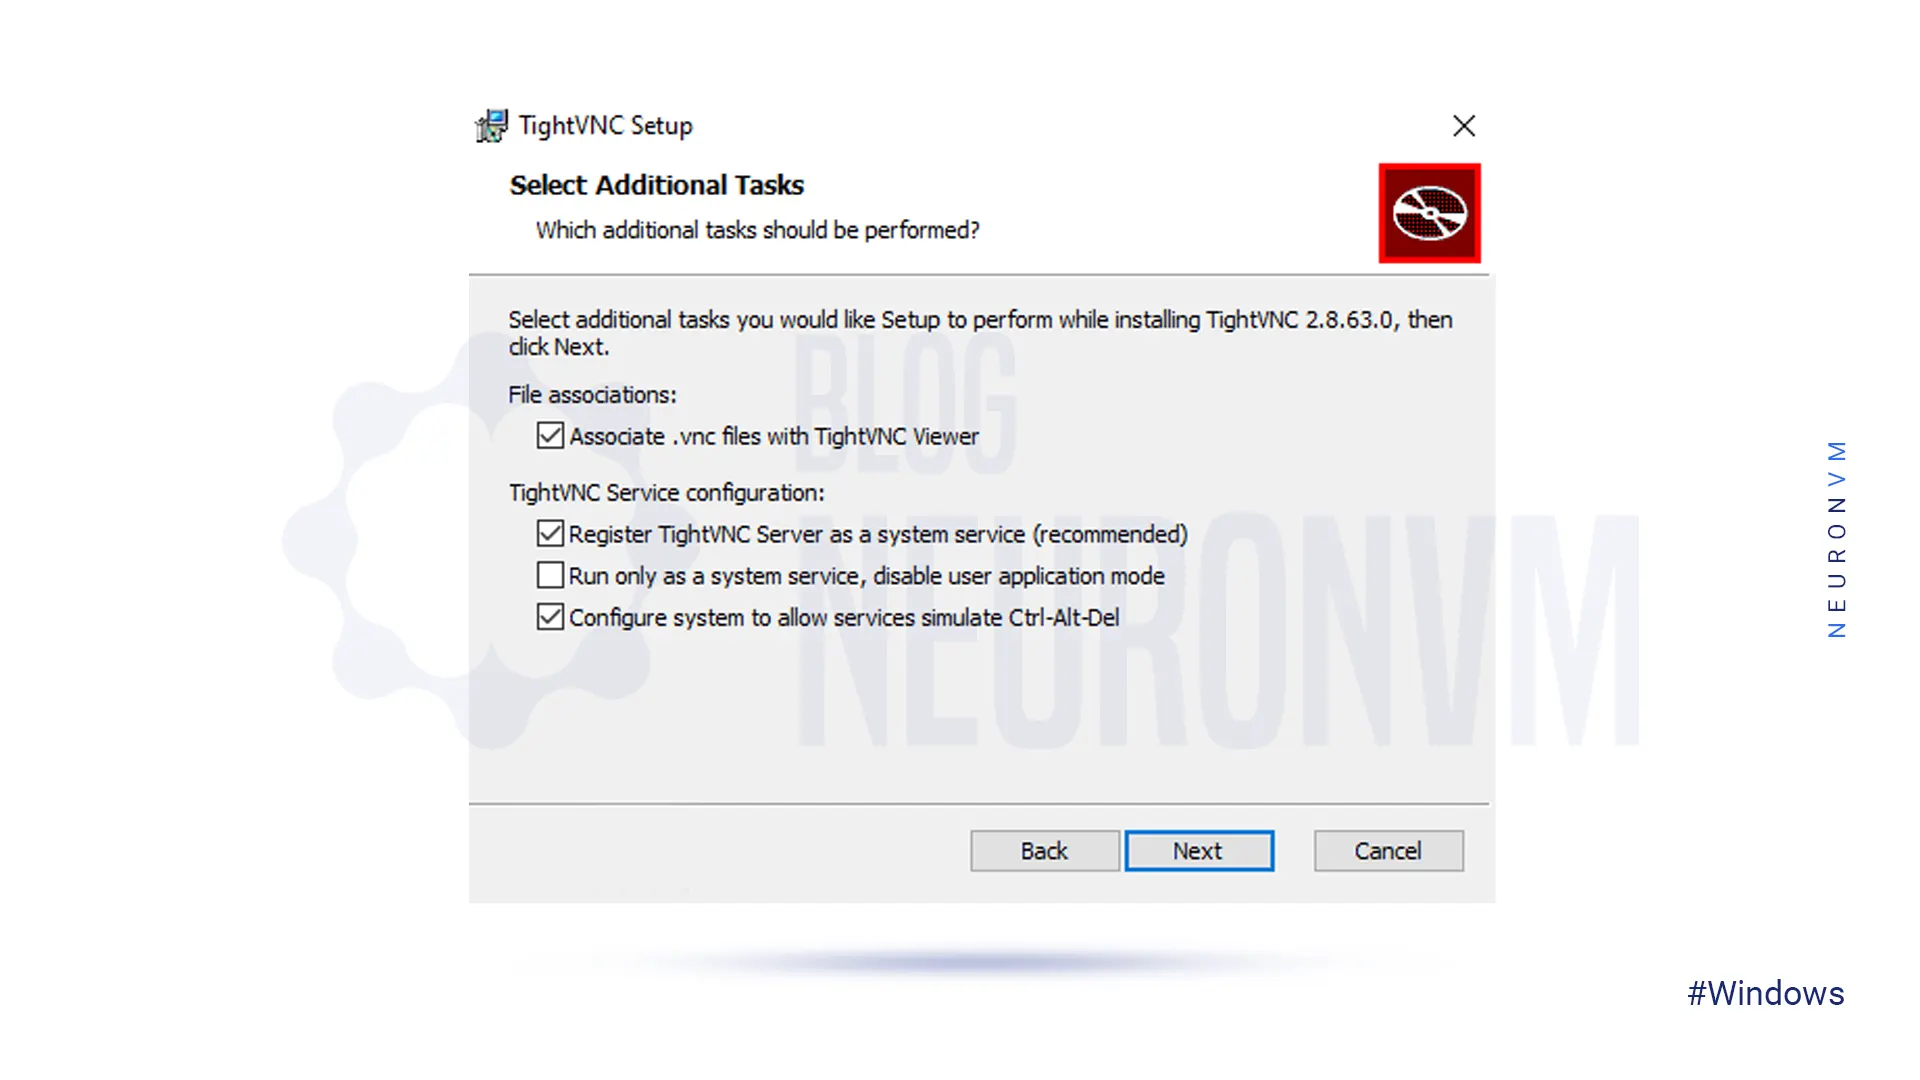
Then press the Install button and finish your task:
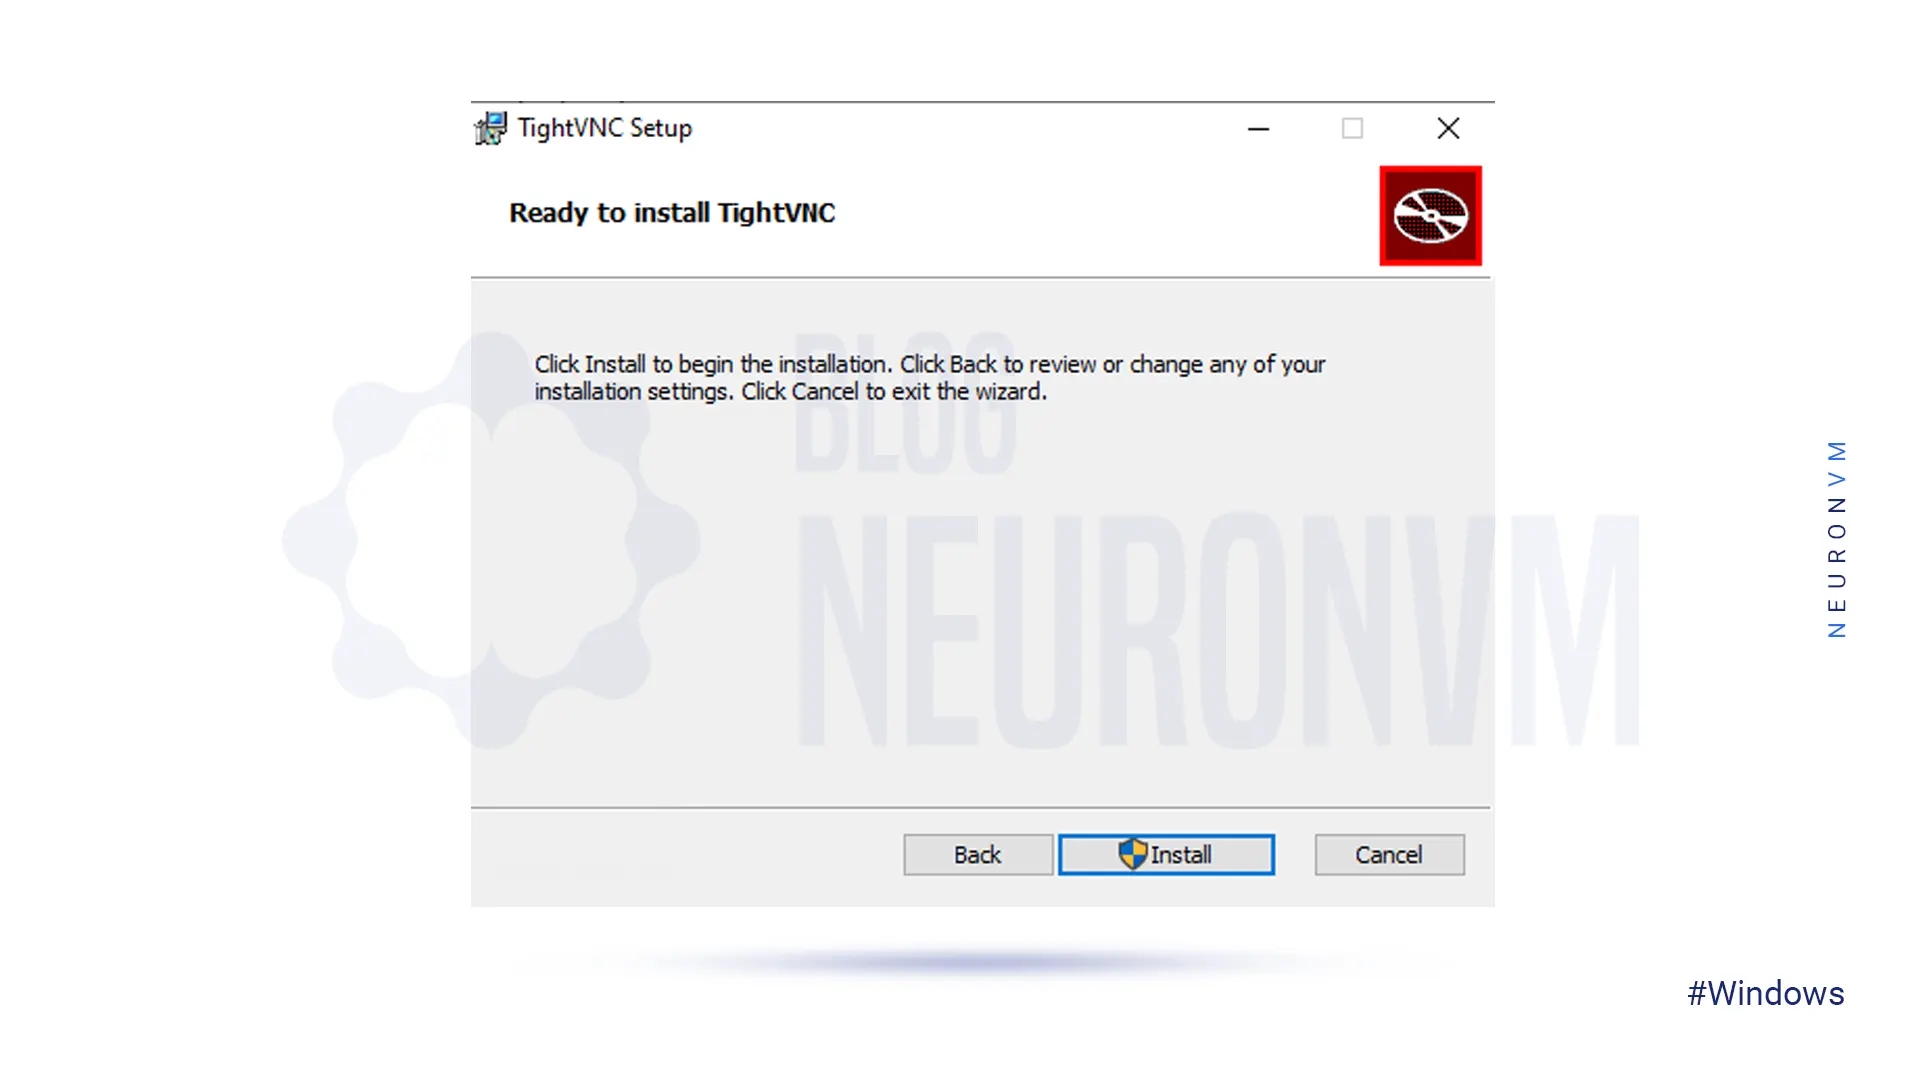
Now you can register the TightVNC server as a system service.
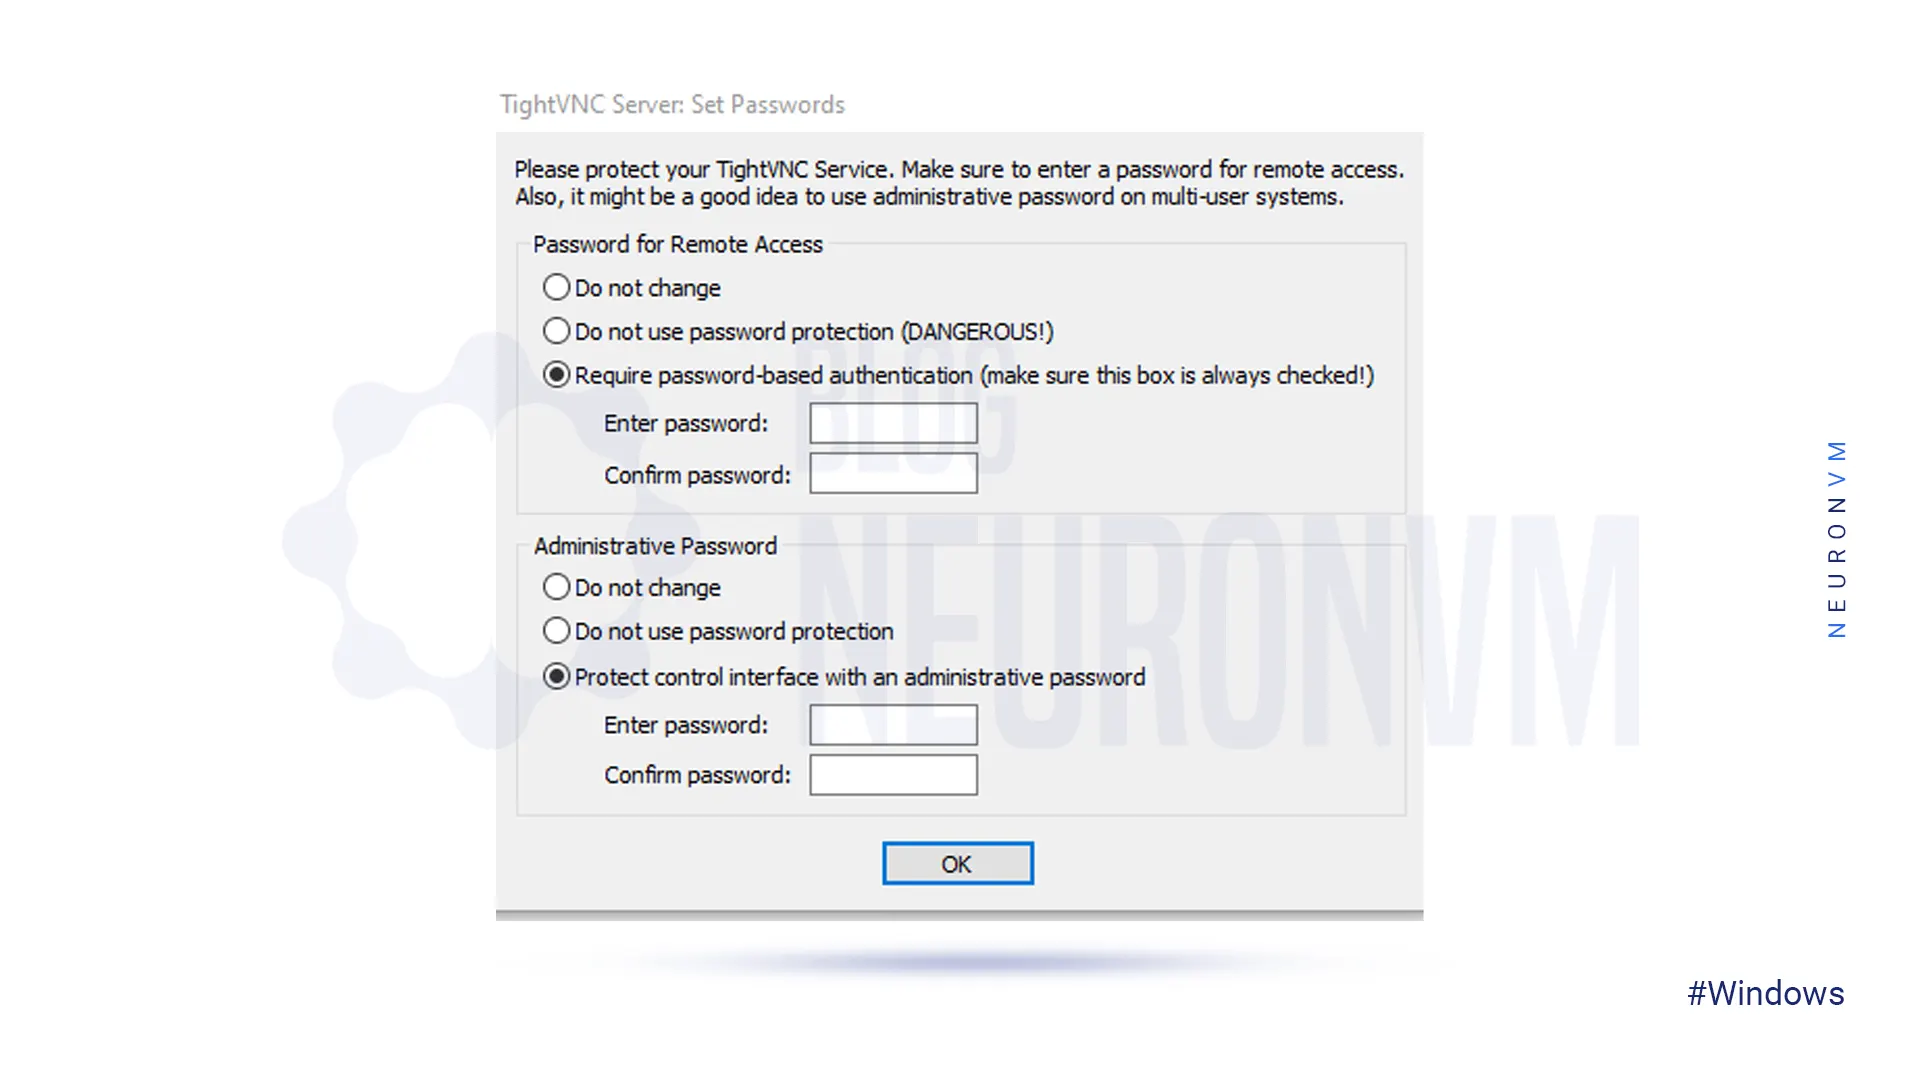
You should set and record a password for authentication (This one is strongly recommended for security).
Additionally, you have the option to set an administrative password that will prevent the end user from changing the VNC server settings.
Done! Setup is now complete.
Note: on operating systems like Windows 7 or older, it is recommended to install the DFmirage driver which is available from the main download page.
Configure TightVNC Server (optional)
After installing this efficient software, follow the below steps to configure the TightVNC server:
First, Make sure to set TightVNC as a system service. When installing the TightVNC system, a service option can be selected.
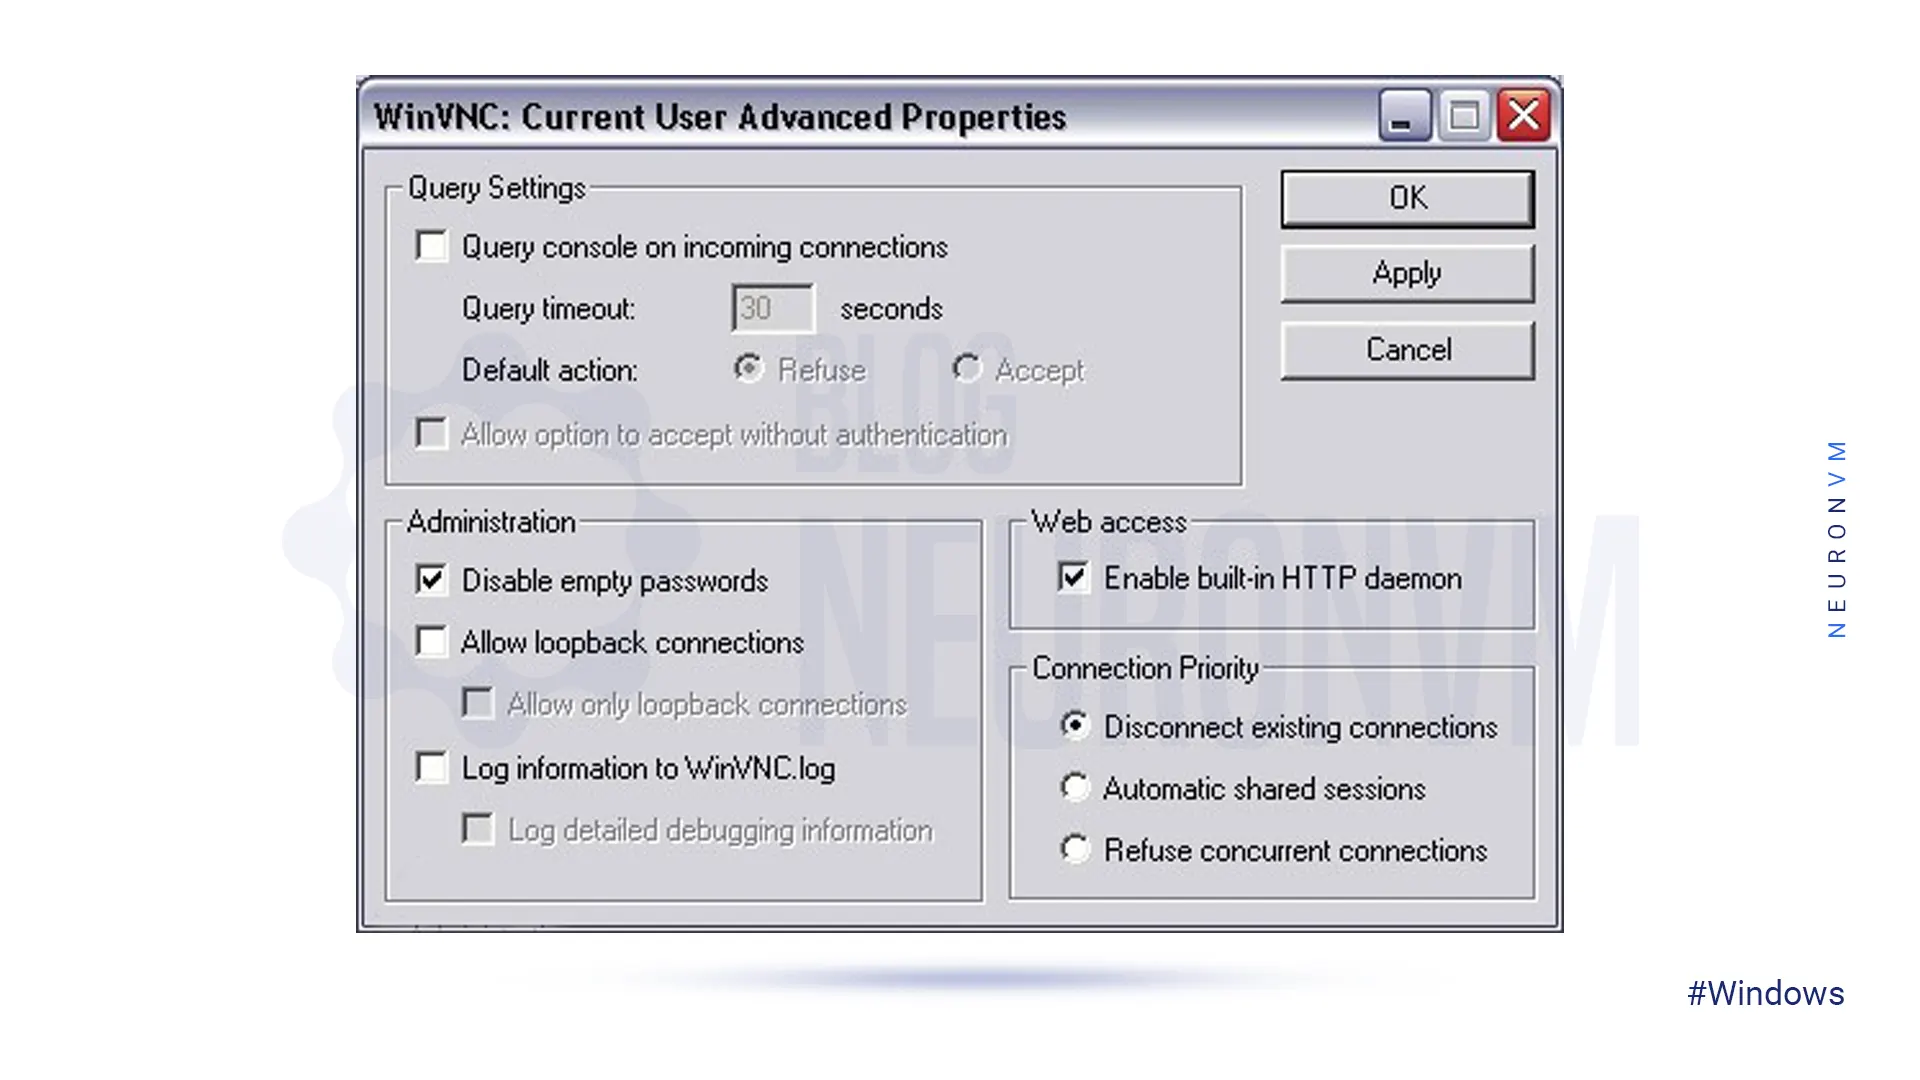
Second, configure a password for TightVNC sessions. Enter the password by double-clicking on the VNC icon within the Windows system tray and choosing the password in the Incoming Connection Section of the current dialog box which is shown in the picture:
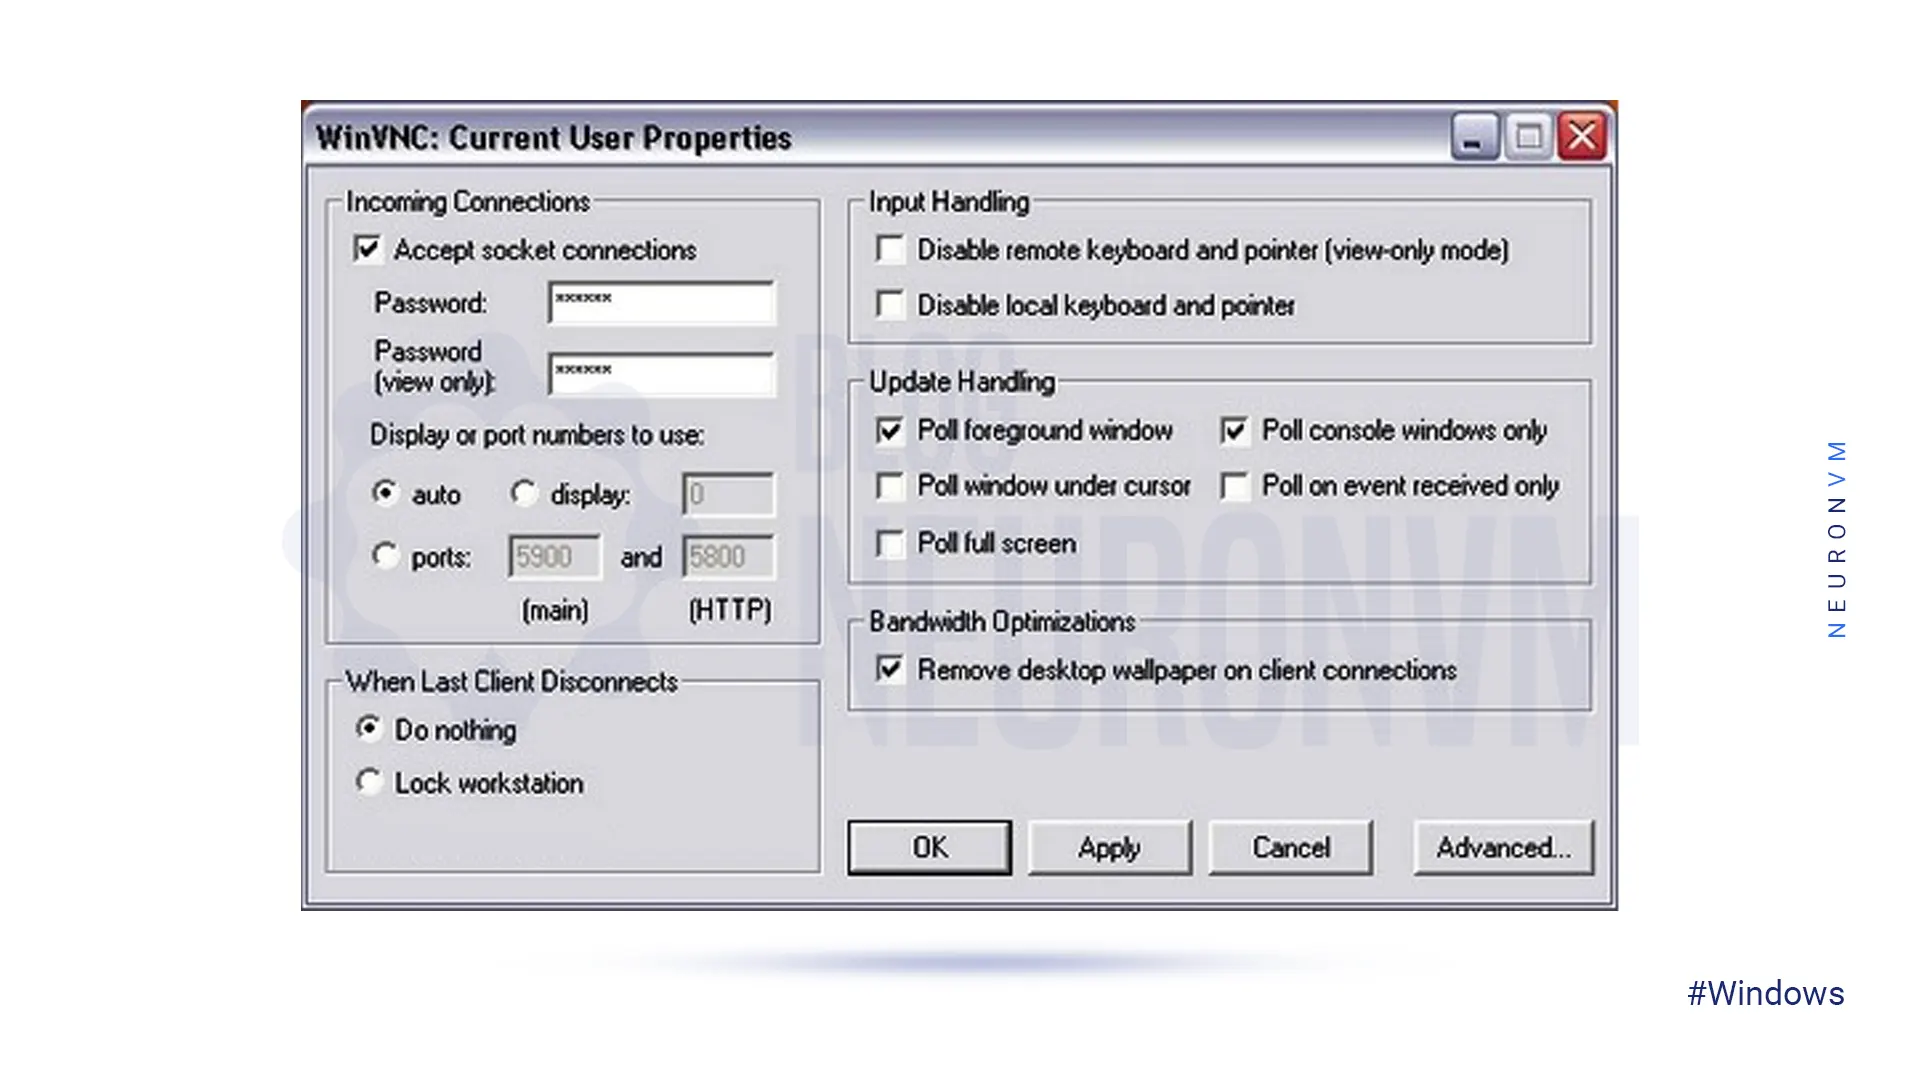
Then, make clear the additional settings, such as: disabling the use of empty passwords, activating loopback connections, and other options as shown in the picture below.
When you configure settings as you wish, click apply and then OK to close all windows:
In the last step, confirm the Windows firewall configuration to allow the TightVNC traffic by using the route below:
Start >> Control Panel >> Windows Firewall
Then select the exceptions tab and confirm that the VNC options are checked. If you do not confirm the operation, then the firewall will block your connection attempt.
Connect To TightVNC Server from another computer
We can run the TightVNC server in two ways which are as follows:
1- Run as an application: It is for the current user
2- Run as a window service: It is for system-wide operation
As we mentioned here, the On application mode server can just run during the current user session and if you log out, it will close immediately. To start running in the application mode use the directions below:
Start >> Programs >>TightVNC >Launch TightVNC Server
If you need to access the system even without a user logging and if you want the system to start automatically, the TightVNC server must be running as a system service.
To do this, choose Start -> Programs -> TightVNC -> Administration -> Install VNC Service.
When you reboot the system it will start automatically.
Note: If you want to start it manually, you should run it from below directory:
Start -> Programs -> TightVNC -> Administration -> Run Service Helper to see the VNC tray icon.
Now, you will face the properties window on the first startup. So enter passwords you use in the viewer to access the machine. As a result, TightVNC accepts incoming network connections. Each user has a specific password. Also, there is a special default password when no user password is available.
To set a user password, you can go to the properties dialog from the menu and follow the instructions below:
setting the default password:
Start -> Programs -> TightVNC -> Administration -> Show Default Settings
With a successful startup, there will appear a small icon in the system taskbar and if there is no viewer’s connection the background of that icon will be white, and with a connection colors will inverted. With the movement of the mouse over this icon, the IP address of the machine will shown:
Pay attention to the icon:
The figure shows the normal mode, but when you point to the icon with your mouse it will show the connection mode:
![]()
– When you see the red border, indicates that new client connections are disabled.
– At the end by Right-clicking on the tray icon, you will see the menu.
– When viewers are connected, the icon will shown in inverted colors.
By right-clicking on the tray icon you will see the menu:

How to Run TightVNC Client on Windows
OK! After setup TightVNC on Windows, it’s time to connect and work with the TightVNC remote desktop server. You should follow these steps:
First, you should run the TightVNC viewer on your system.
Go to Start -> Programs -> TightVNC -> TightVNC viewer.
Now you will see the connection window to choose your desired server:
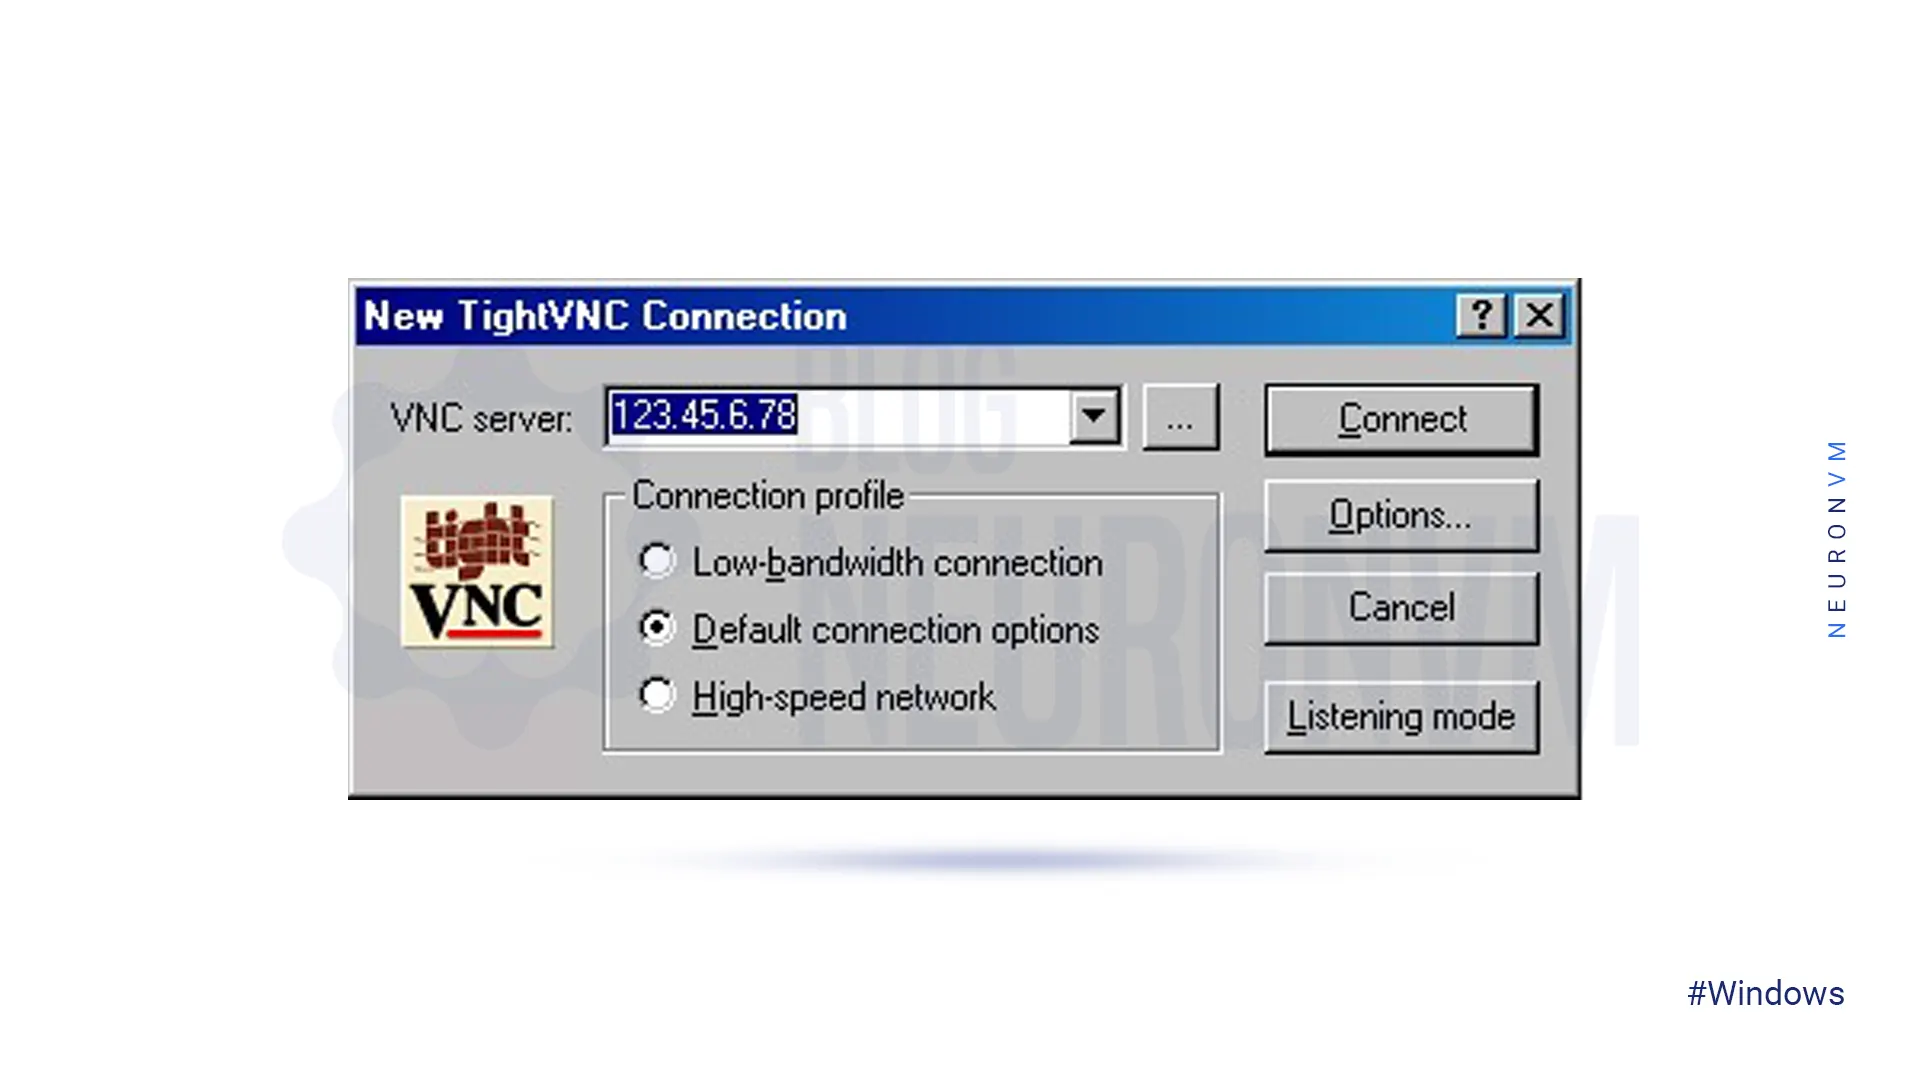
Then you can enter the Host Name or its IP address and press “Connect“. If the connection is successful and the password is correct you will be able to see the remote desktop.
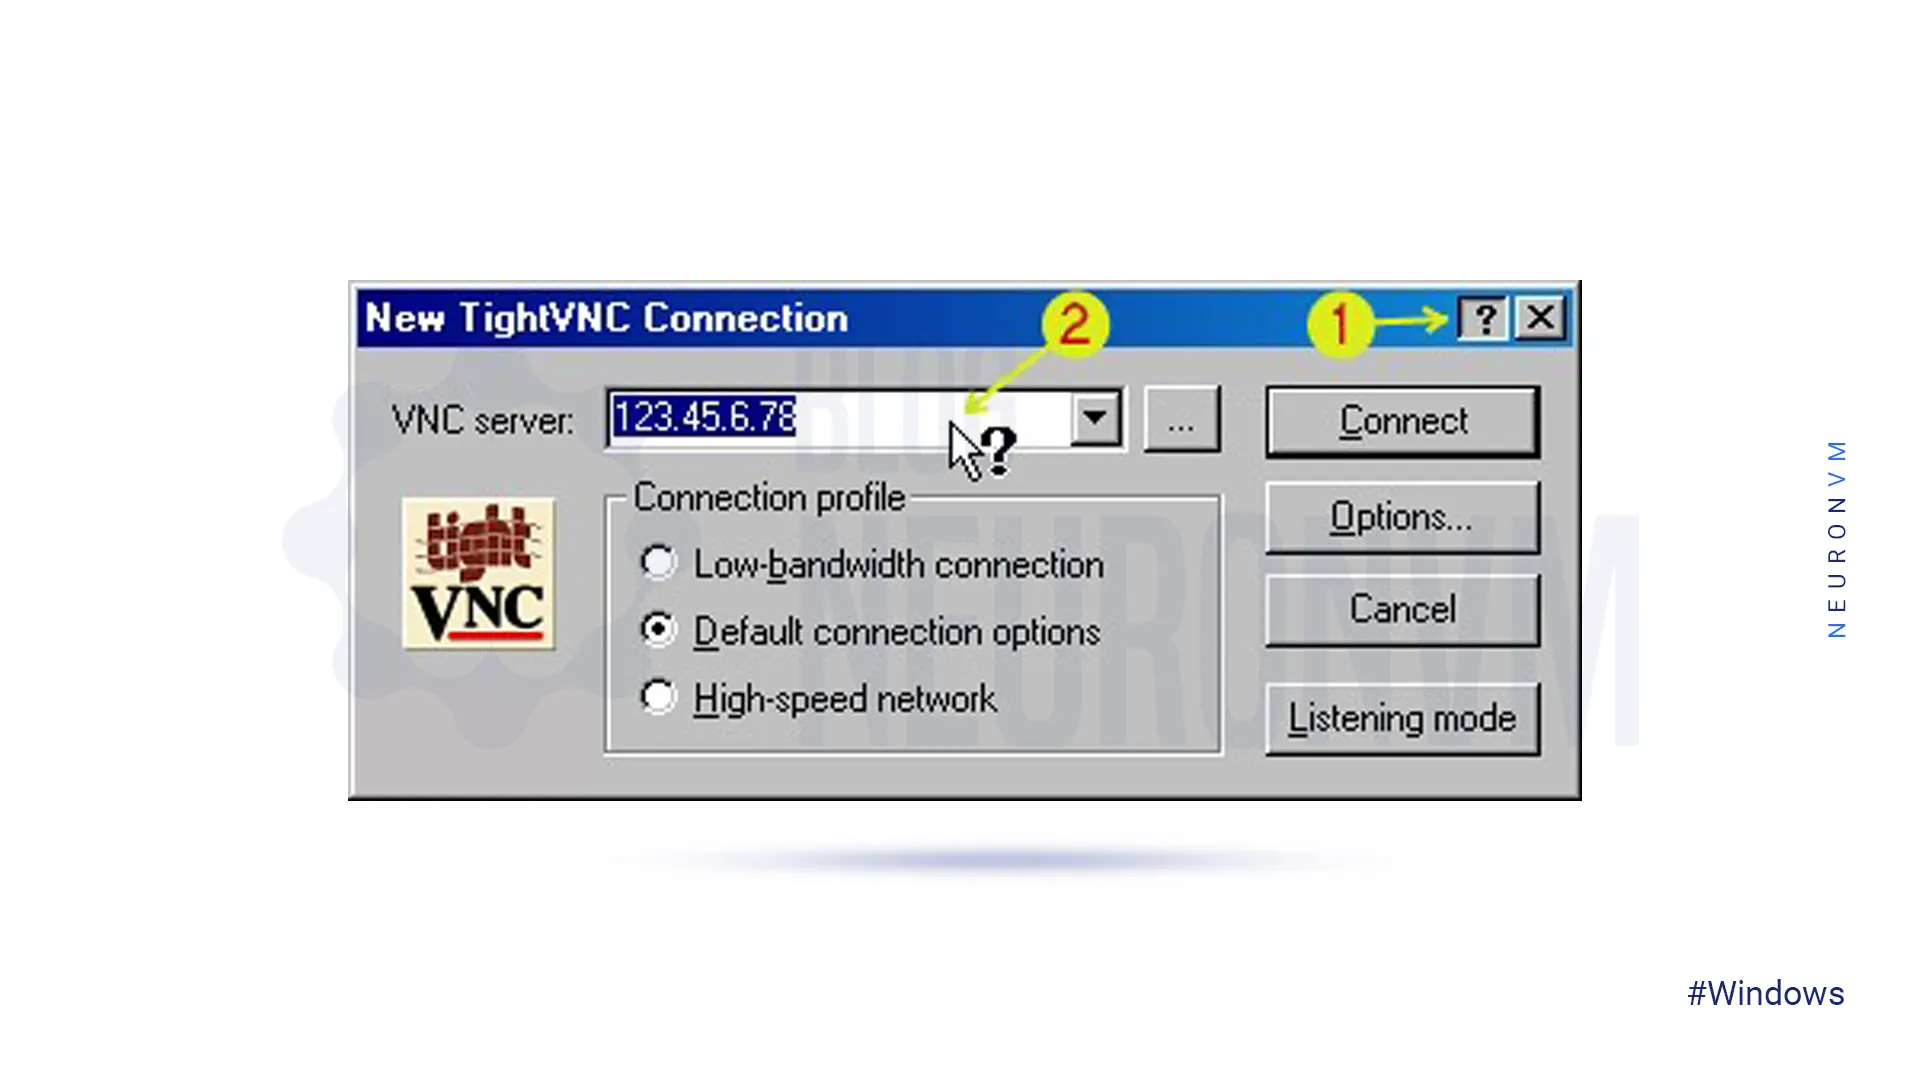
On the screen of New Connection, you can use built-in context help. If you need to get help with using a special control, Click the smart question button in the title bar and then click on the specified control.
Another way is to press the F1 key while the keyboard points to the corresponding control:
Conclusion
The end! In this article, we tried to discuss how to setup TightVNC on Windows. Setting up TightVNC on Windows 7/8/10 can provide you with remote access to your computer from anywhere in the world. By following the steps outlined in this guide, you can easily configure TightVNC Server and Viewer to establish a secure remote desktop connection. We suggest you read the interesting article Differences Between IPMI and VNC.