

How to Install and Configure Virtualizor on Ubuntu 20.04


 8m
8m
 0 comments
 Print
Print
Virtualizor is a powerful VPS web control that allows a user to deploy and manage a VPS on a server with one click. It supports KVM, Xen, OpenVZ, Proxmox, Virtuozzo, LXC, etc. Systems using the hourly billing system. It should be noted that virtualizor is a script written in PHP. But unlike other PHP scripts, you do not need to have anything pre-installed on your server. Note that Virtualizor is just a control panel. That is, it uses virtualization technologies to build a virtual machine or VPS and automates the transfer process. This article will show the way to Install and Configure Virtualizor on Ubuntu 20.04 step by step.
Top Way to Install and Configure Virtualizor on Ubuntu 20.04
A short description will present in the introduction part to give a brief understanding of Virtualizor. Next, we want to discuss how to install and configure this application platform on the Ubuntu distribution.
Requirements
To install Virtualizor on Ubuntu 20.04, you need to meet the following requirements:
– A Linux VPS server running Ubuntu 20.04 (64-bit) or its derivatives.
– 2 GHz or faster processor (dual or quad-core recommended)
– 4 GB RAM or more (8 GB recommended)
– 40 GB of available hard disk space (SSD recommended)
– Virtualization support (Intel VT-x or AMD-V) enabled in BIOS/UEFI
– A valid license for Virtualizor. You can obtain the license from the Virtualizor website.
– Root access or sudo privileges on the server.
Install Virtualizor on Ubuntu 20.04
First, you need to open Shell Terminal and SSH on your server and enter the following commands. you must be careful to enter the correct email address:
wget -N http://files.virtualizor.com/install.sh
chmod 0755 install.sh
./install.sh [email protected] kernel=kvm
Installation parameters include the following:
– email: In this field, you must enter the admin’s email address.
– kernel: In the kernel part it’s KVM.
– noos: In order not to load the DomU operating system for the DomU, you must add noos=true as a parameter.
– beta: To test the new version of Virtualizor, you must add true=beta as a parameter.
– nested_virt: To enable Nested Virtualization, you must add nested_virt = 1 as a parameter. After activation, a new kernel will be installed to enable nested virtualization.
– lvg (optional): For VPS storage using LVM, from Volume Group for DomU (VPS) storage e.g. defaults to VG will use. It should have some OR ALL unallocated space to create LVMs for the VPS.
– interface: In this section, you can specify the default interface, and if it is not providing it will consider as eth0.
– license: If you install Virtualizor on an internal network, you must provide a valid license key by opening a support ticket.
After starting the installation process, you will see the following page:
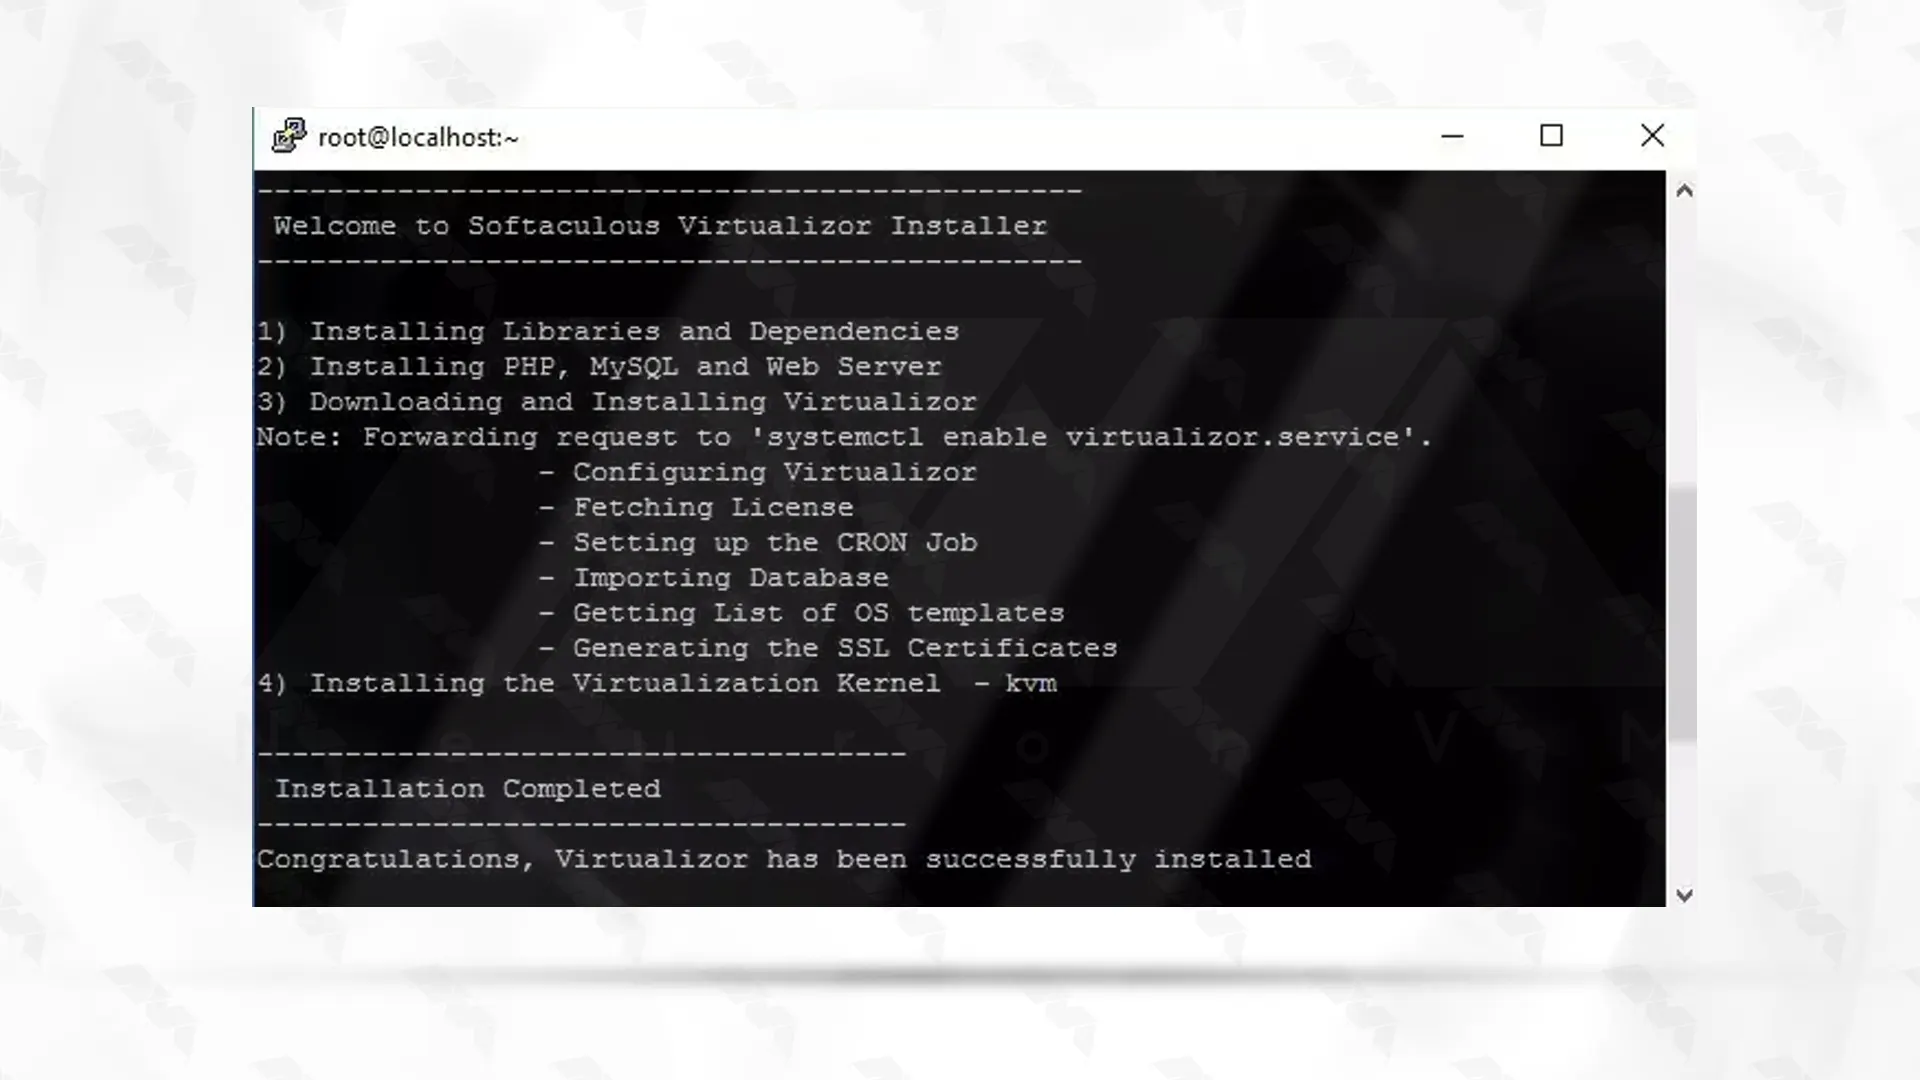
At this stage, after completing the installation process, you will be asked to reboot:

Finally, by referring to the admin panel you can create storage space and virtual servers and also manage your server.
How to Configure Virtualizor on Ubuntu 20.04
To enter the Virtualizor Softaculous software management panel, you must refer to the following URL. Of course, note that you must log in to the root details of the servers:
https://Your-Server-IP:4085/
http://Your-Server-IP:4084/
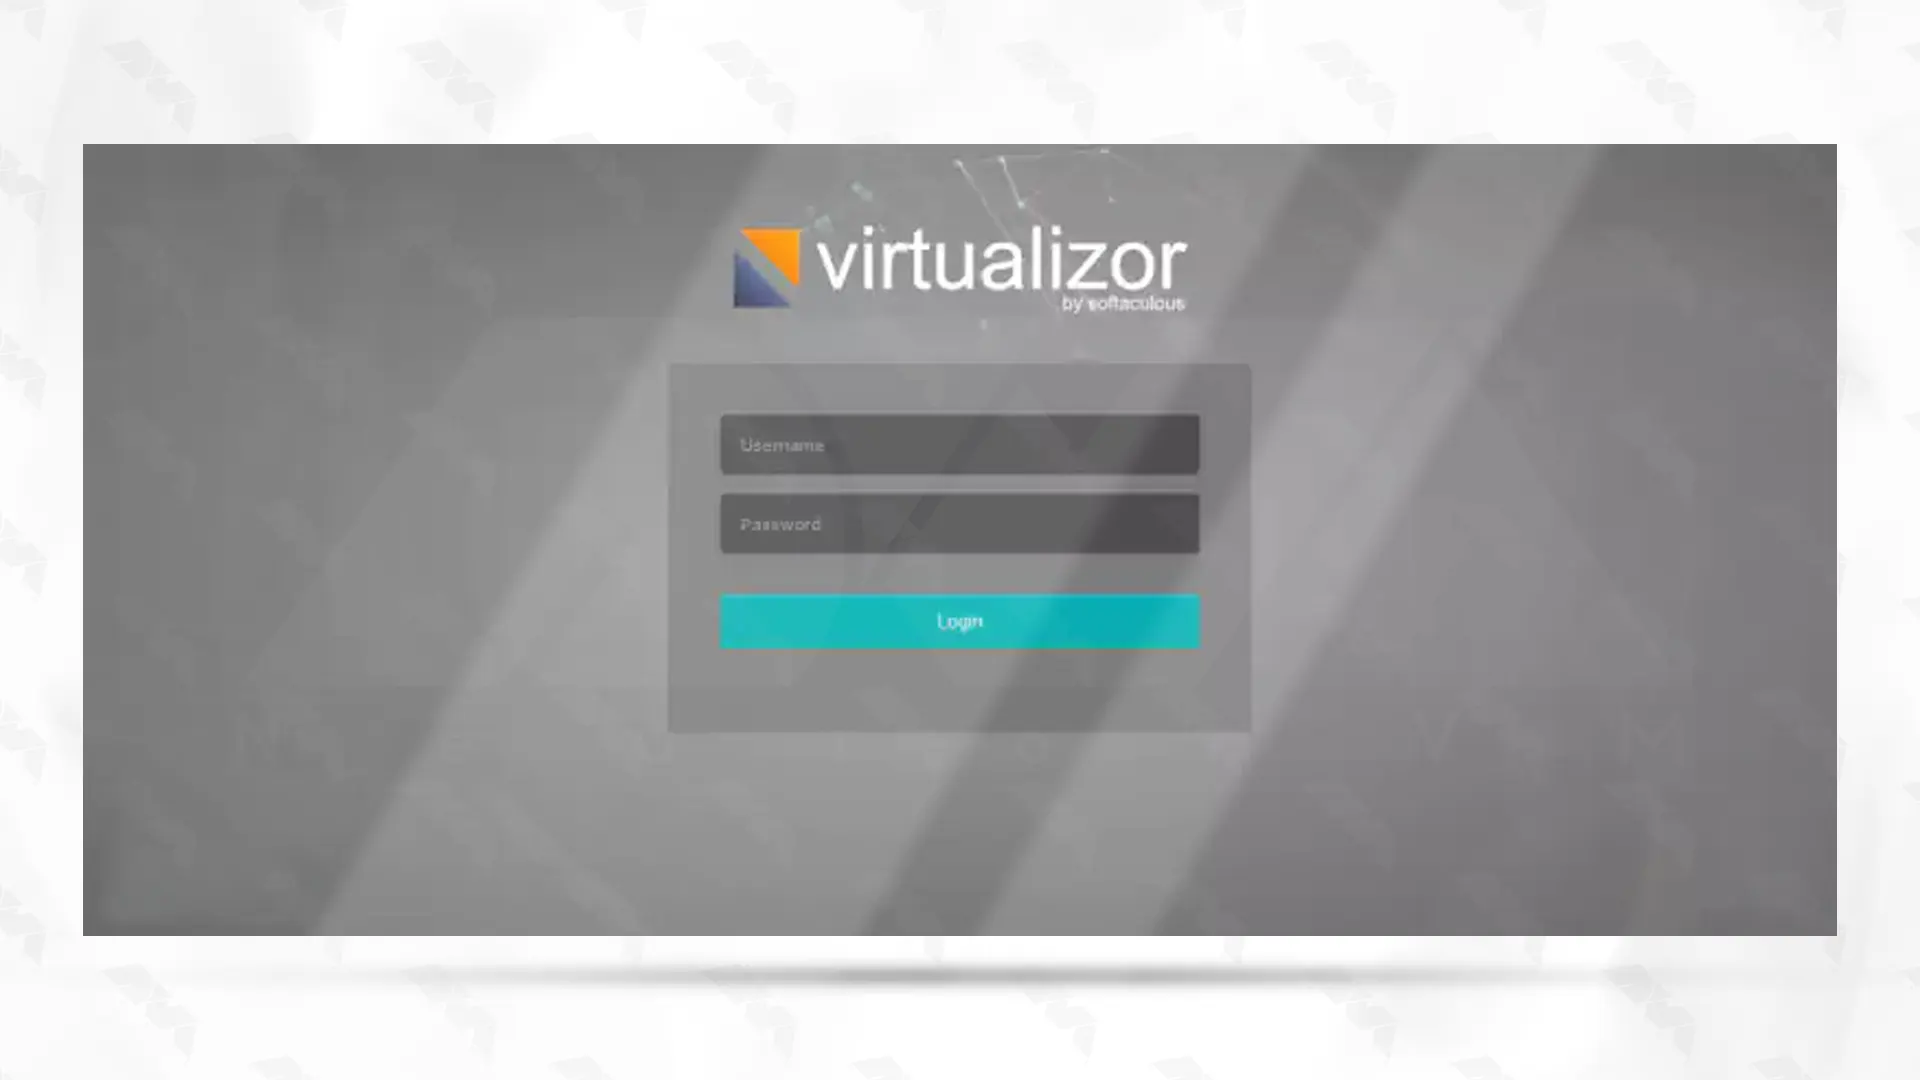
After logging in, you will see the following page:
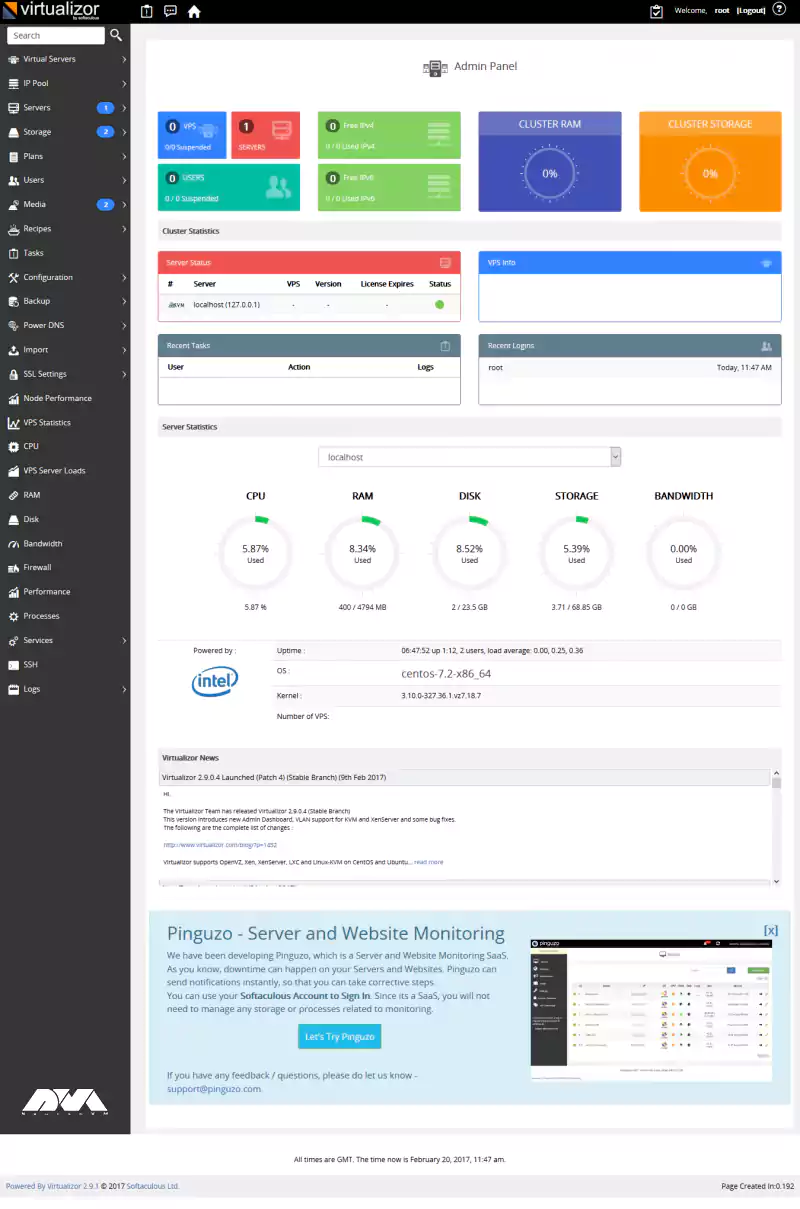
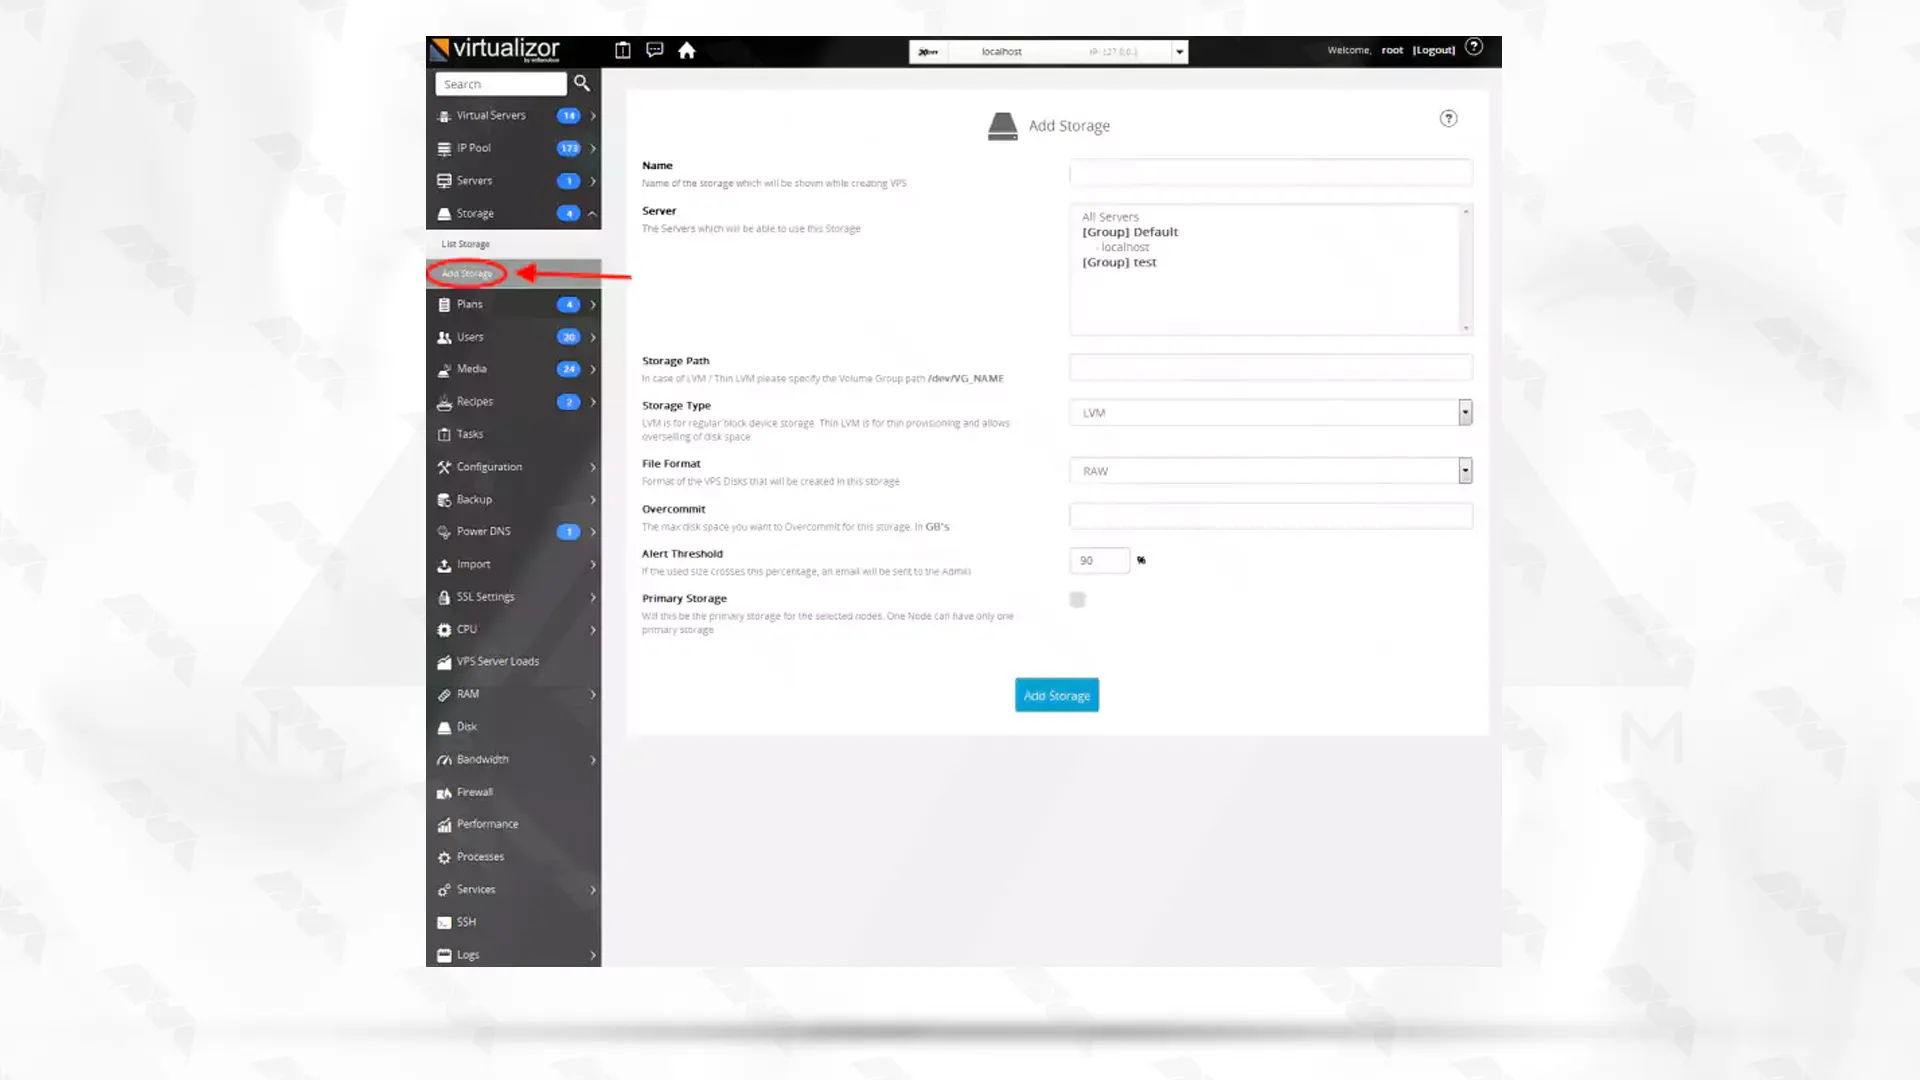
You need to create storage space before creating any VMs. To do this, first, go to Virtualizor Admin Panel, and then from the Storage section, click Add Storage. After viewing the page below, fill in the details:
Virtualizor Network in KVM
To configure Virtualizor to use any network interface, you must first go to Virtualizor Admin Panel and select Slave Settings from the configuration section:

Virtualizor should create a viifbr0 bridge that viifbr0 detects IP, Netmask, and Gateway from the following method:
/etc/sysconfig/network-scripts/ifcfg-INTERFACE_NAME
Now you need to restart the Virtualizor network. Restart the server by entering the following command:
root> service virtnetwork restart
Start Command as follows:
root> service virtnetwork start
Stop Command as follows:
root> service virtnetwork stop
Note that for VPS hostname issues, and disk resize issues on Ubuntu with sfdisk version 2.27.1, you need to do the following steps to downgrade sfdisk on the server:
mv /sbin/sfdisk /sbin/sfdisk_new
wget -O /sbin/sfdisk http://files.virtualizor.com/utility/sfdisk
chmod 755 /sbin/sfdisk
Conclusion
In this comprehensive guide, we covered the installation and configuration process of Virtualizor on Ubuntu 20.04. By following each step carefully, you should now have a fully functional virtualization platform ready for use. Remember to secure your Virtualizor setup by regularly updating the software and following best security practices. Enjoy the benefits of efficient virtual machine management with Virtualizor! And finally, if you encounter any questions, just leave a message.
You might like it

Ubuntu Tutorials
Tutorial Switch Users in Ubuntu 20.04

Linux Tutorials
How to Uninstall Steam Games on Ubuntu


MikroTik Tutorials
How to Configure VPN on Mikrotik Router

