How to Take Screenshot on Windows (7 to 11)

 8m
8m
 1 comments
 Print
Print
Take screenshot on Windows is something I do all the time whether I’m saving a quick message, grabbing a weird error popup, or just keeping a cool image from a video. It’s honestly one of the simplest tools Windows gives us, and once you know the shortcuts or where to find the Snipping Tool, it becomes second nature. In this guide, I’ll show you a few easy ways to take screenshots on Windows VPS Server or desktop (7 through 11), no fancy software needed just built-in tricks that actually work.
First Method: Taking Screenshots with the Snipping Tool
The steps for using the Snipping Tool can vary slightly depending on which version of Windows you’re using. So, follow the instructions below based on your system to get the best results.
1. Opening Snipping Tool on Windows 7, 10, or 11
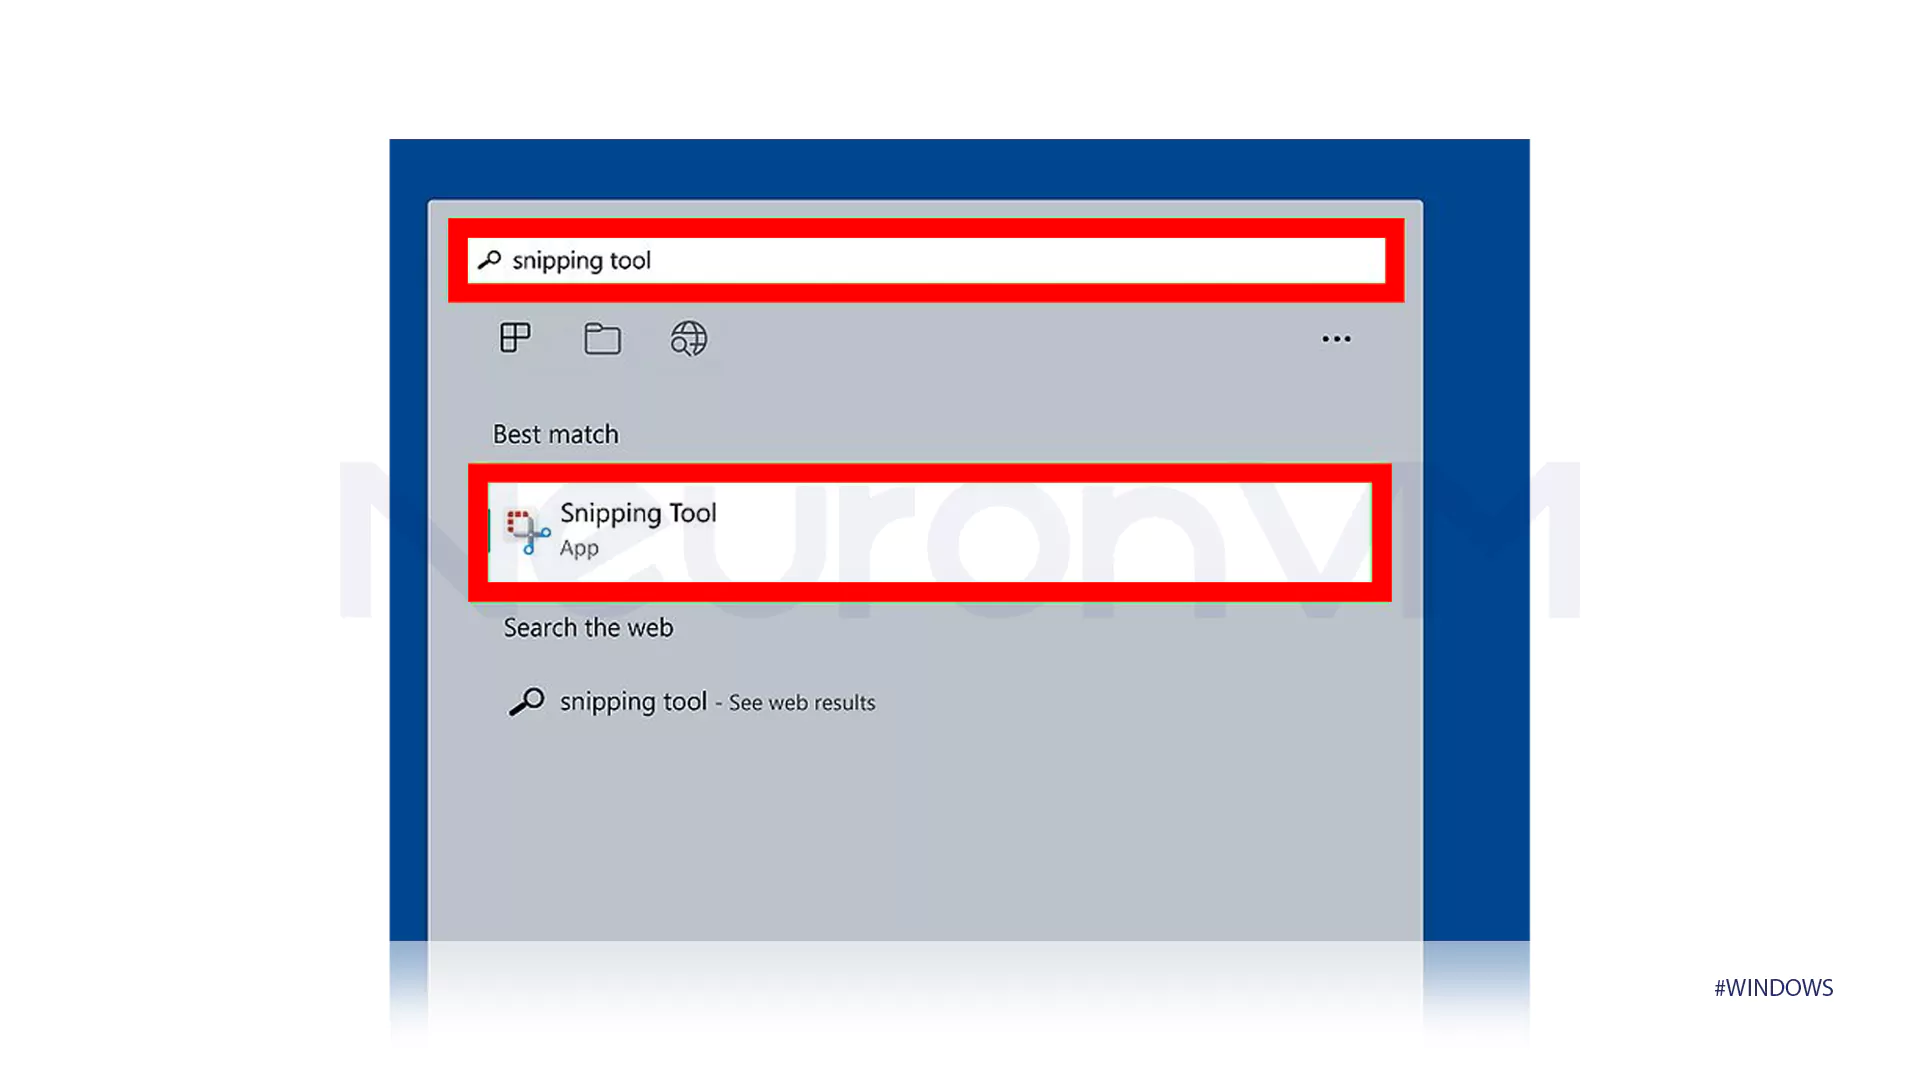
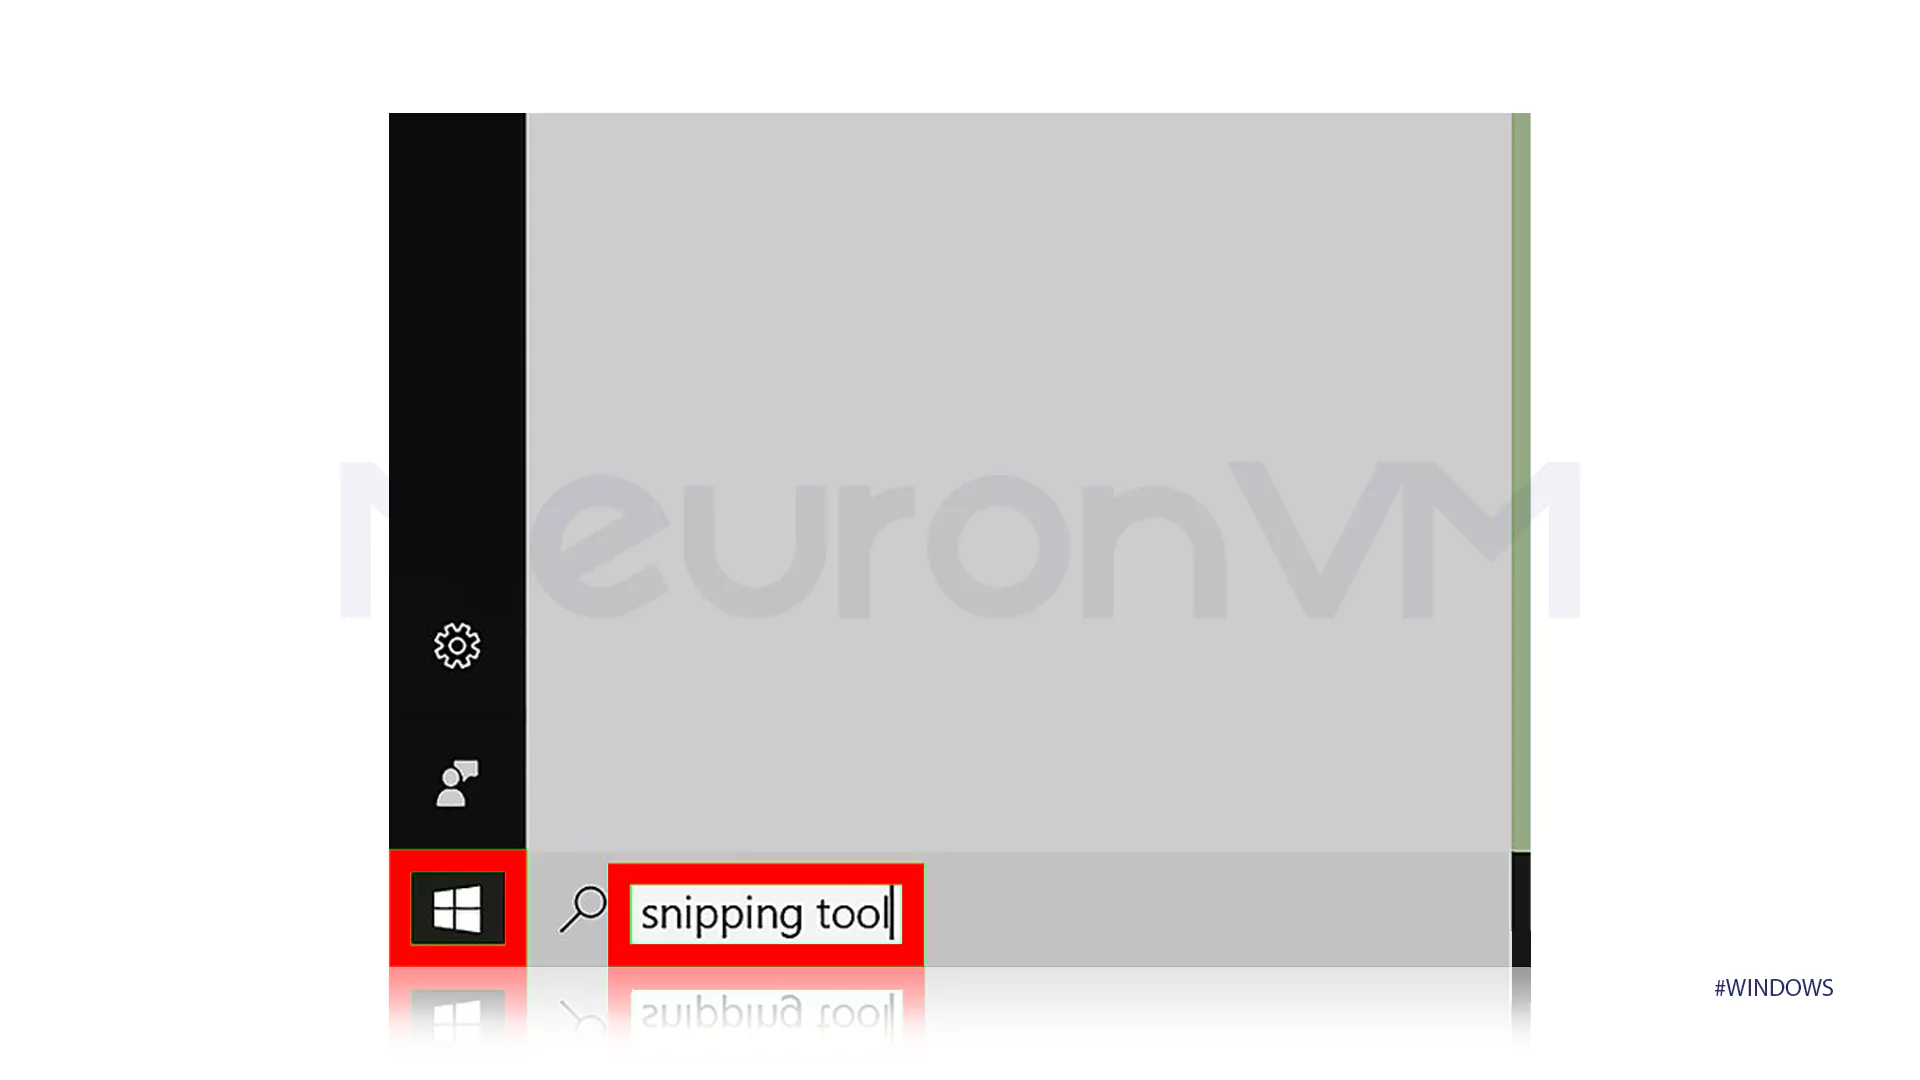
Just hit the Start button and type “Snipping Tool” you’ll see it pop up in the list. Click it and you’re in.
2. If You’re on Windows 8.1 (yeah, that one)
I usually just slide my mouse to the bottom-right corner, and that hidden menu pops up right away. Hit Search, type in “Snipping Tool,” and it should show up right away. Click to open.
3. For Windows 11 Users
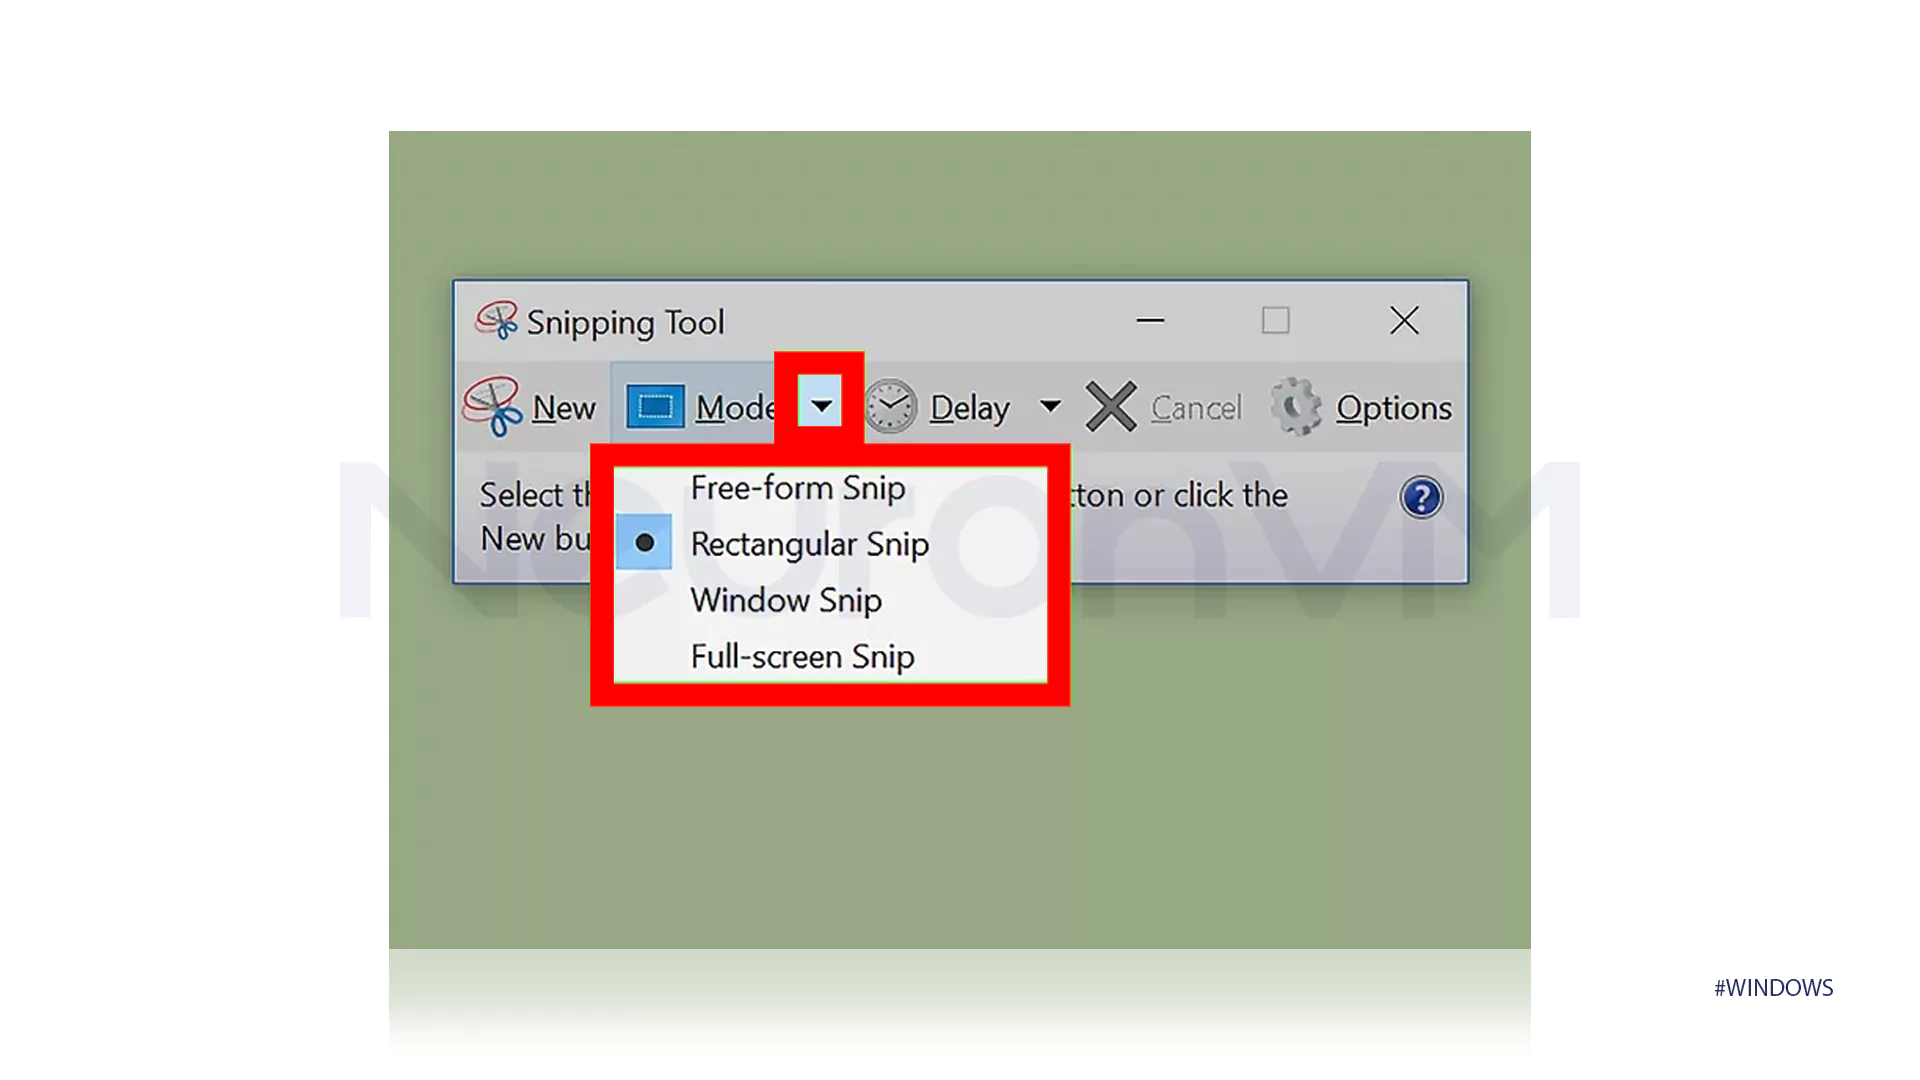
Just tap the Windows key, type “snip” in the search bar, and you’ll see the Snipping Tool show up click to open it. Once it’s open, you’ll see options like Rectangular, Freeform, or Full Screen pick what works best for what you’re trying to capture.
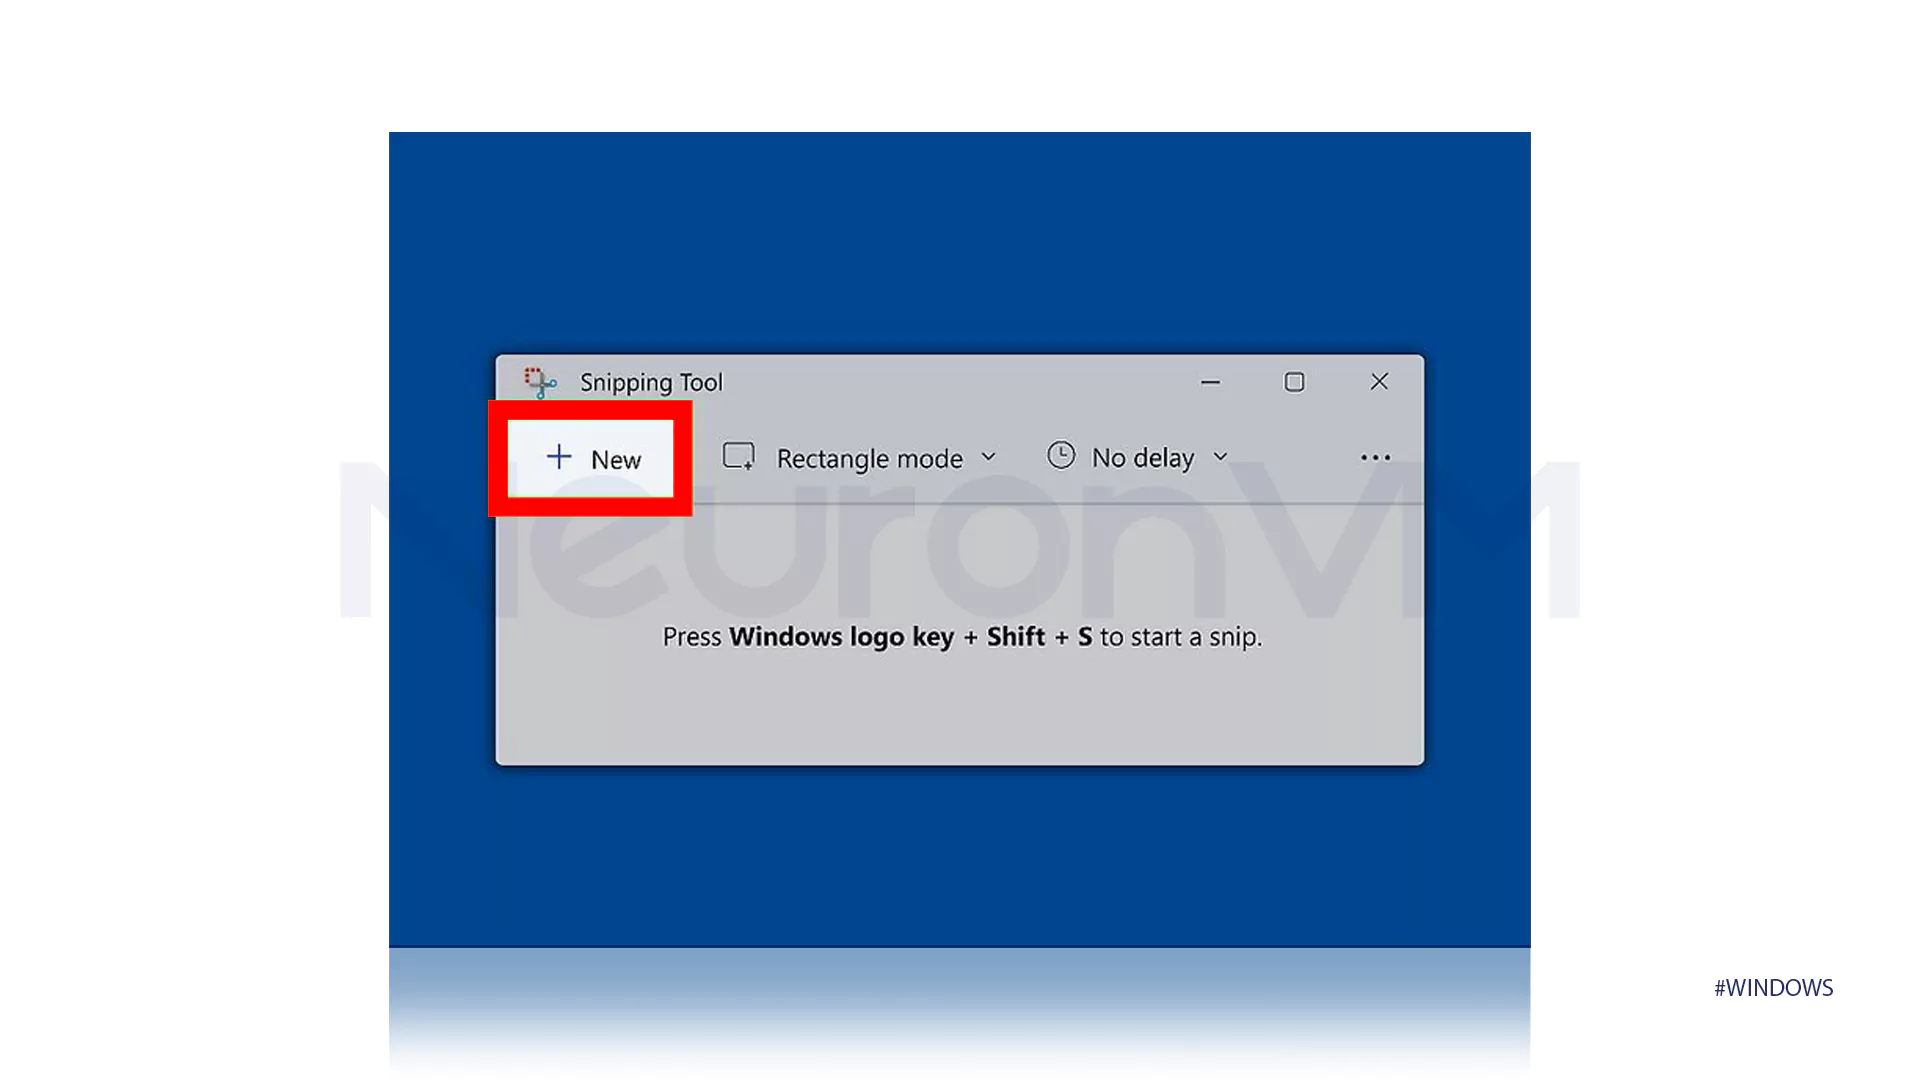
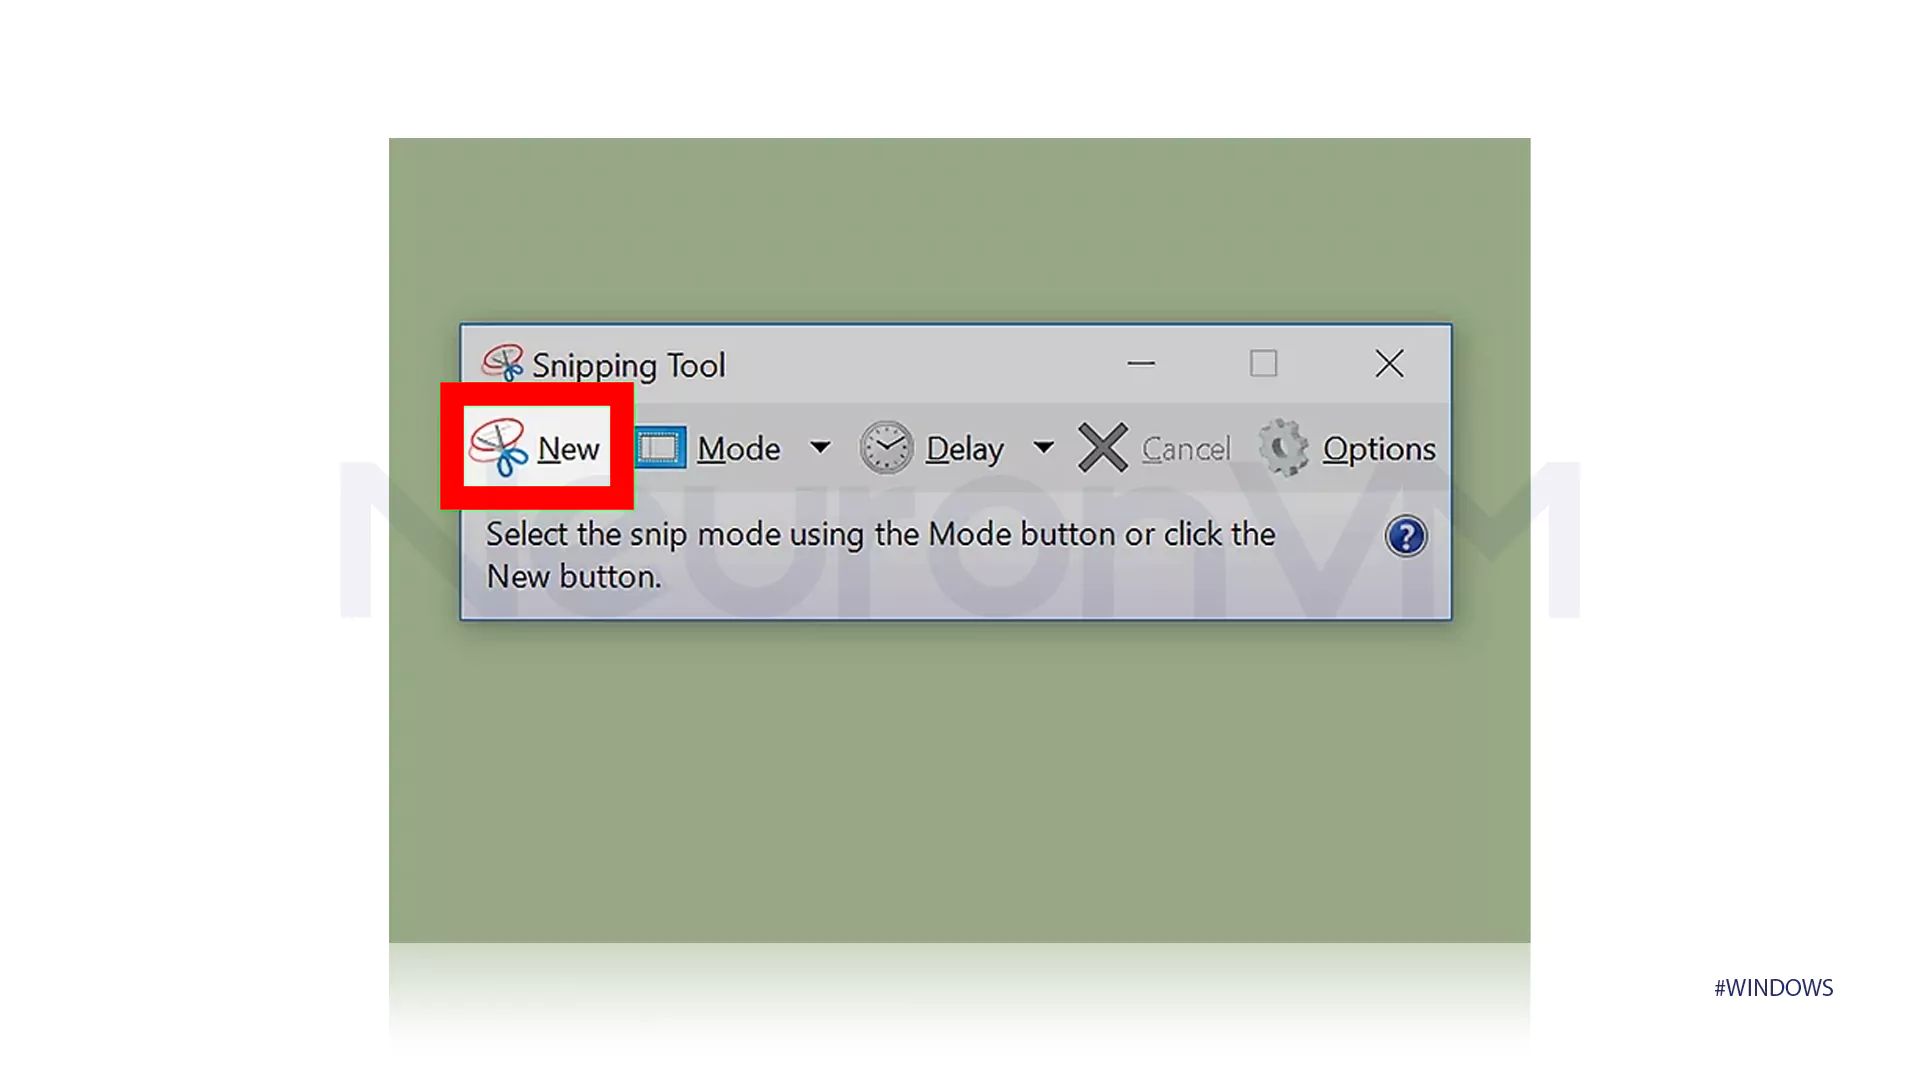
Once you open the tool, you can choose Rectangle, Window, or Full Screen to capture exactly what you need. You can also select a window without anything else in the screenshot to take a screenshot of a separate window. Finally, Freeform can draw any shape around a portion of the screen and take Screenshots On Windows.
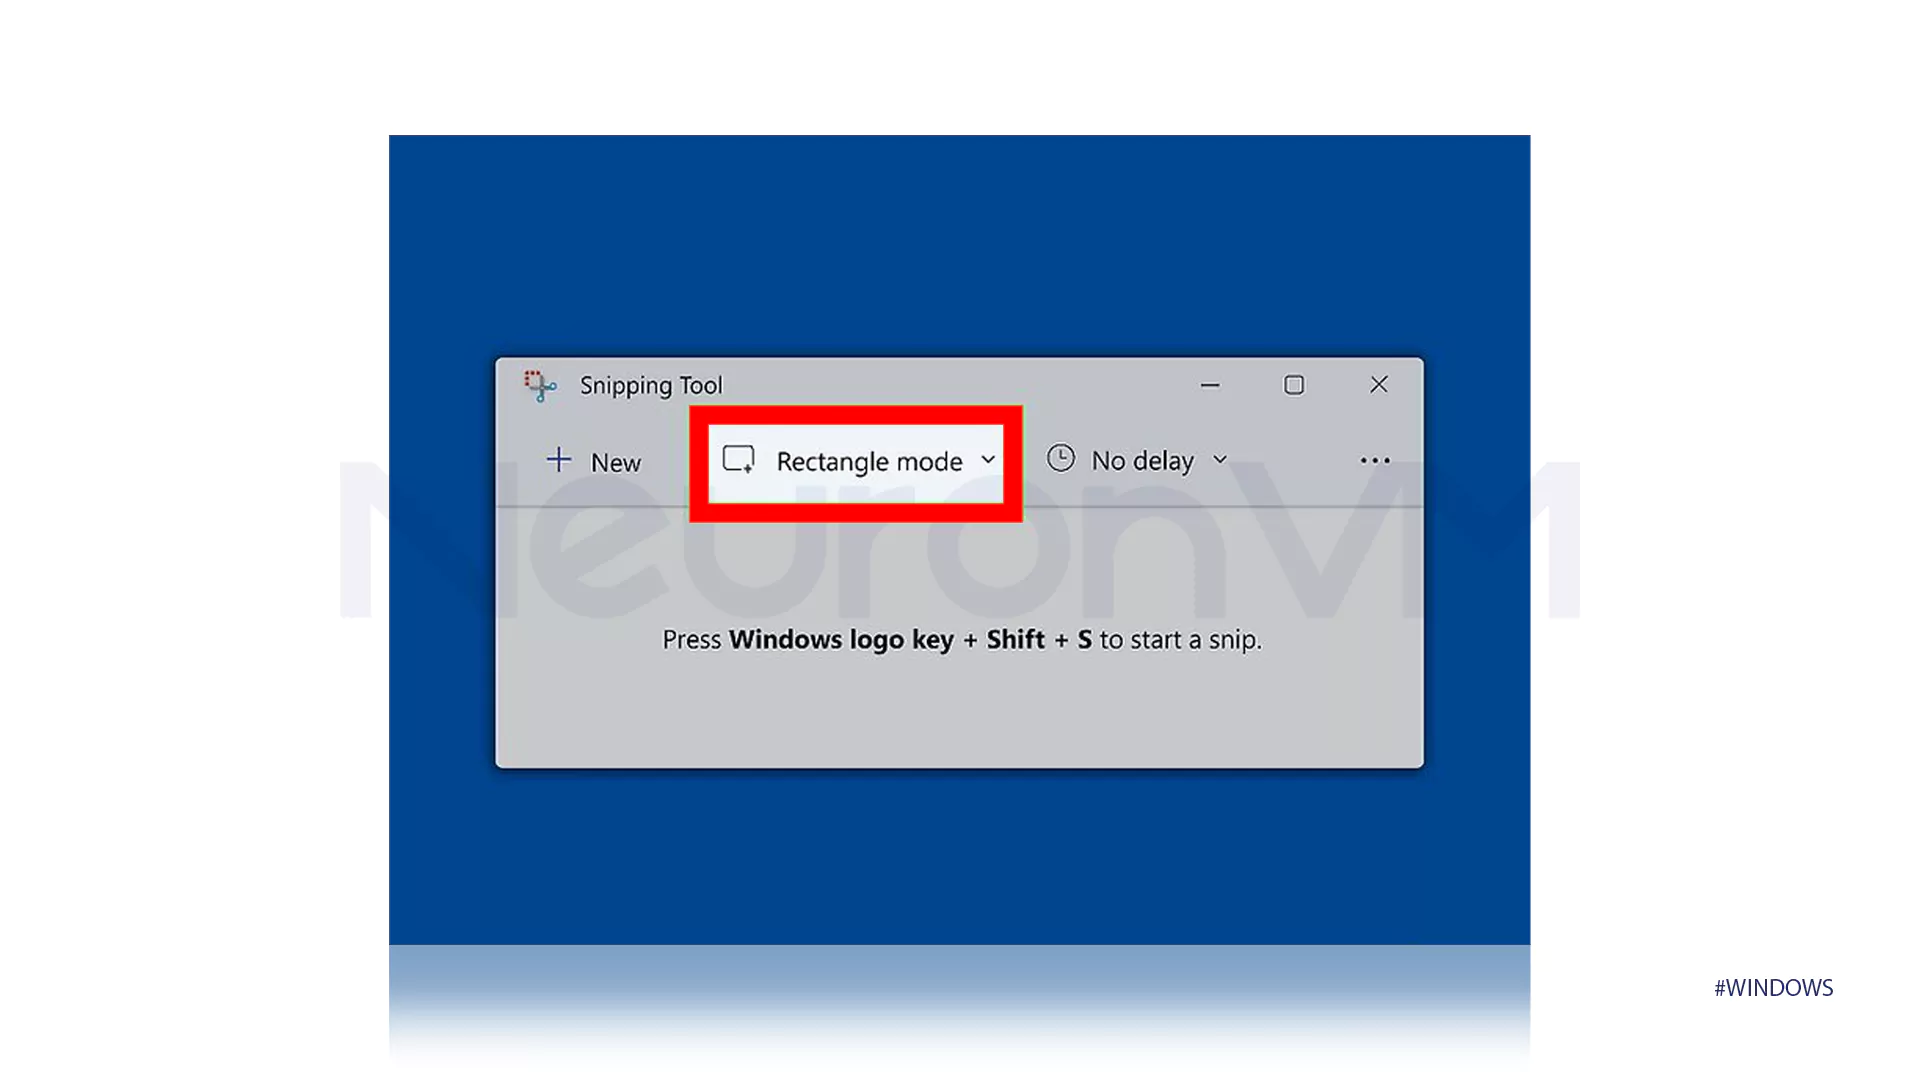
If you need a delay of a few seconds, the options next to the timer at the top of the Snipping Tool can help.

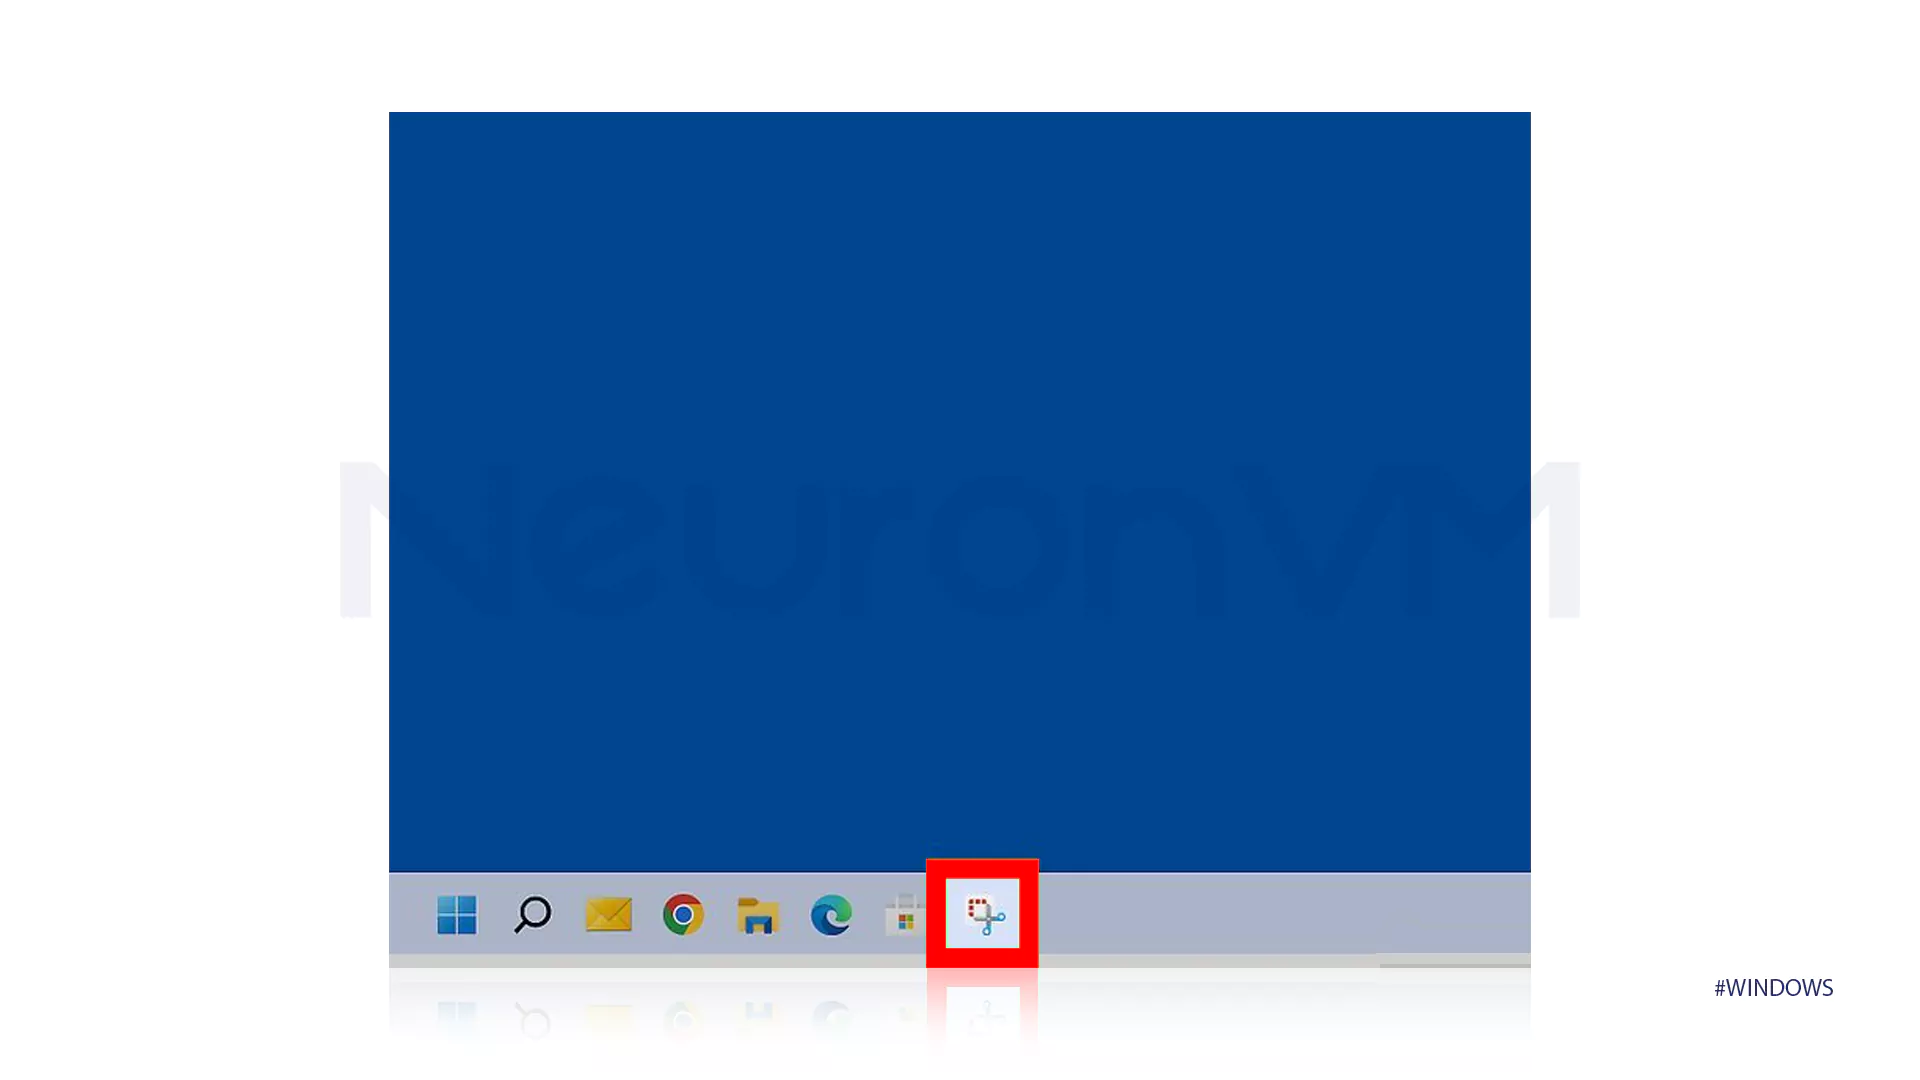
I usually find the screenshot still open in the Snipping Tool window on the taskbar just a quick click and it’s right there, ready to edit or save.
If you want, you can edit your screenshot and make it more attractive by adding text or graphic elements. These tools are very simply indicated in the sidebars, and you can add your desired changes by selecting them.
Second Way: Just Use the Print Screen Key (It’s Faster Than You Think)
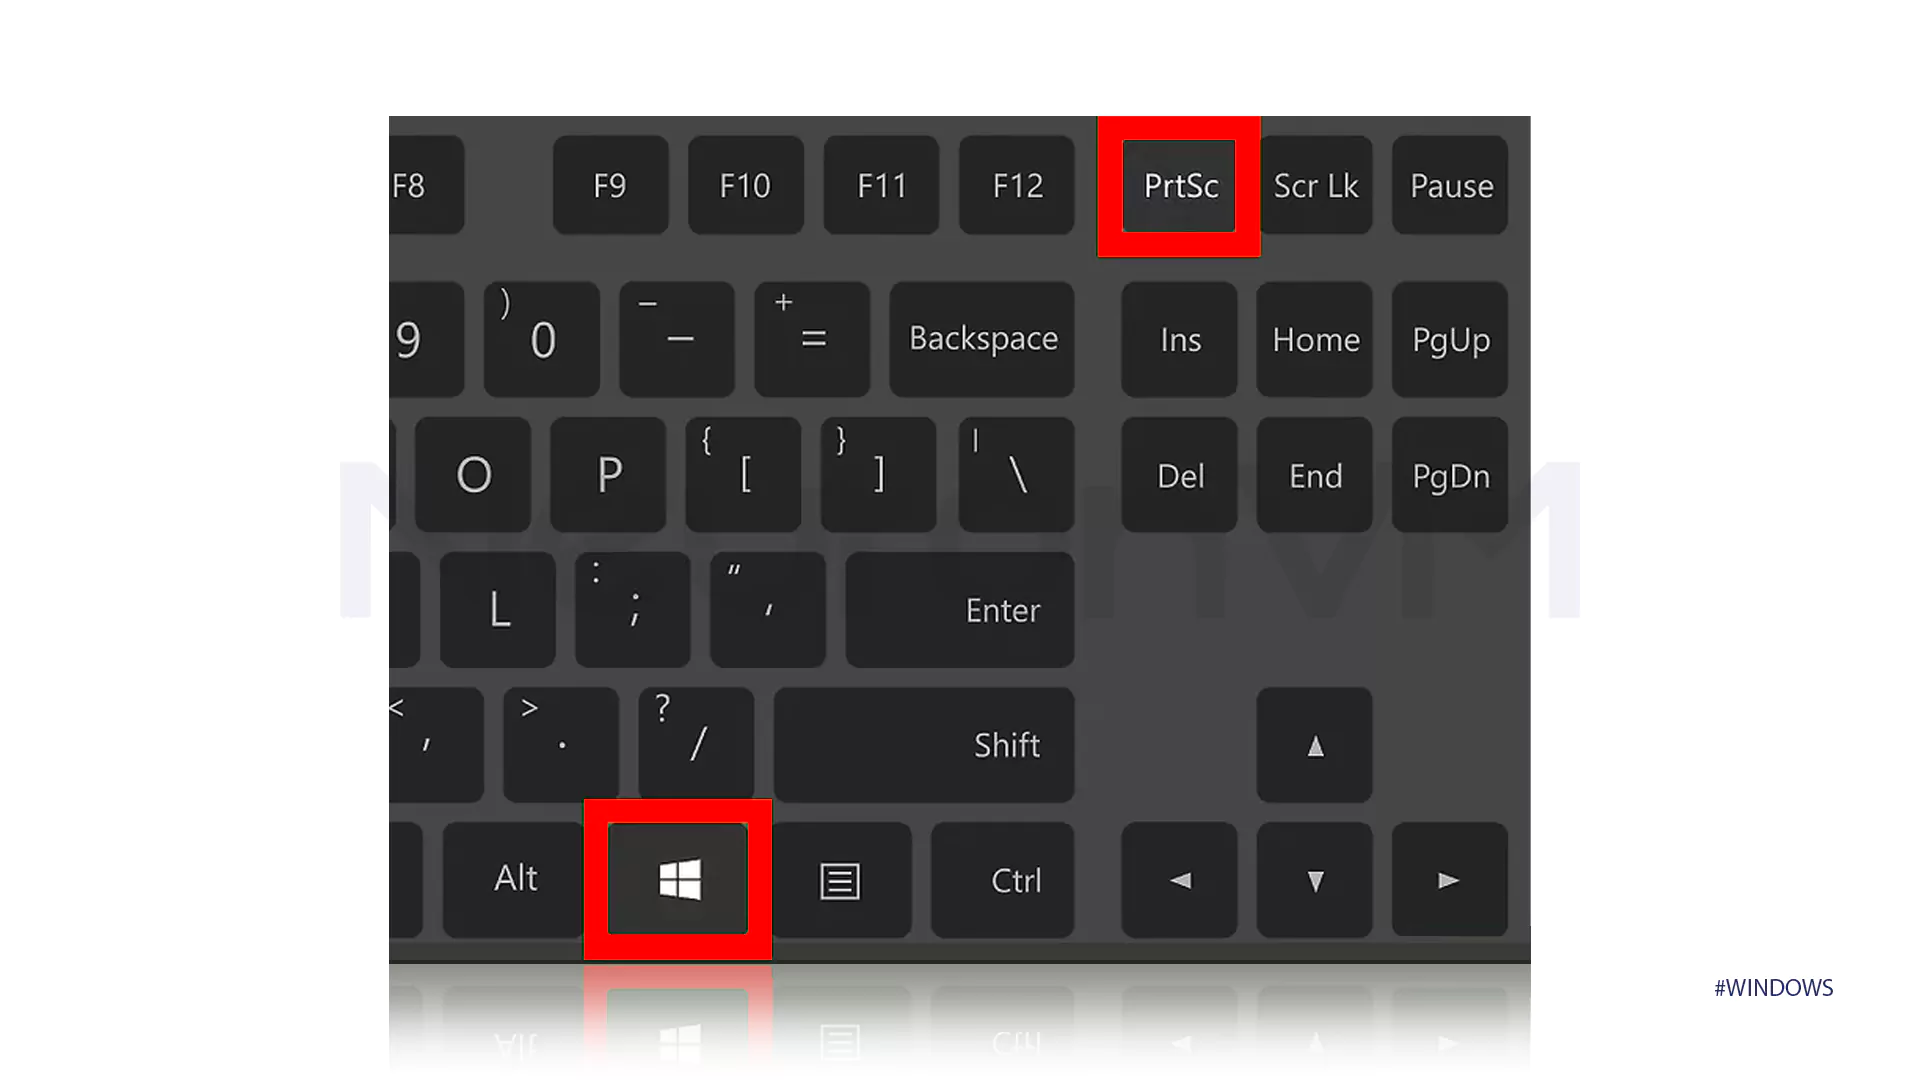
Alright, if you don’t feel like opening any tools, just hit Fn + PrtSc on your keyboard. That’s it your screen’s captured. If you’ve got OneDrive running, it usually saves it straight into that Screenshots folder under Pictures.
Don’t want it saved? Just press PrtSc, then open Word, Paint, or wherever you like, and hit Ctrl + V boom, it’s there.
Some newer laptops need Windows + Fn + PrtSc to do the same trick. It really depends on the keyboard layout, but once you get the combo right, it’s super quick.
Where Do Screenshots Go? (Hint: Probably OneDrive)
If your screenshots are vanishing into thin air, they’re probably being saved automatically to your OneDrive. When you hit Windows + Fn + PrtSc, the full-screen snapshot usually ends up in:
C:\Users\YourName\OneDrive\Pictures\Screenshots
You might even see a tiny notification saying it’s saved. This only works if OneDrive is set up and running otherwise, nothing happens, and you’ll need to paste manually.
NeuronVM Insight: Honestly, I never thought I’d care this much about screenshots, but here we are. I’ve been jumping between Windows 7, 10, and now 11 for years, and I swear I’ve tried every possible way to grab stuff off my screen sometimes because something broke, sometimes just to save a meme before it disappears. Everything in this guide is stuff I’ve actually used, not copy-pasted advice. No fancy tools, no fluff just what actually works.
Conclusion
You don’t always think about it, but being able to take a screenshot on Windows is actually super useful. I mean, sometimes you just need to save what’s on your screen maybe it’s a weird error, a chat, or something you’ll forget later. Luckily, Windows gives you a bunch of ways to do it some built-in tools, some quick shortcuts. Now that you’ve seen the different methods, you basically have all you need. Just grab the shot, save it, and move on. No drama.
To Take Screenshots On Windows quickly and with high quality, it is recommended to use the Windows + Print Screen shortcut keys. This method automatically saves the entire screen image. If you need to take a screenshot of a specific part, the Snipping Tool or Snip & Sketch are professional and flexible options for you.
Screenshots taken with shortcut keys are usually saved in the Pictures > Screenshots path in Windows. Also, if you use the Snipping Tool, after taking the image, you need to save it manually and you can choose the desired storage location.
Yes, Windows offers tools like Snip & Sketch and Snipping Tool that let you edit screenshots, add text, markup, and draw various shapes. These features help you edit your screenshots professionally and quickly, ready to share.
You might like it