
How to take a screenshot on windows 10 and 11

 6m
6m
 0 comments
 Print
Print
In this article, we will learn how to take a screenshot in Windows 10 and 11. In the digital world, taking screenshots or images of the screen is one of the basic needs of computer system users. These needs include sharing information, documenting work processes, or storing content. With the features provided by Windows 10 and 11, you can easily take screenshots of your screen.
Steps to take a screenshot in Windows 10 and 11
A screenshot in windows 10 and 11 can be taken in several ways. Here are the most common methods:
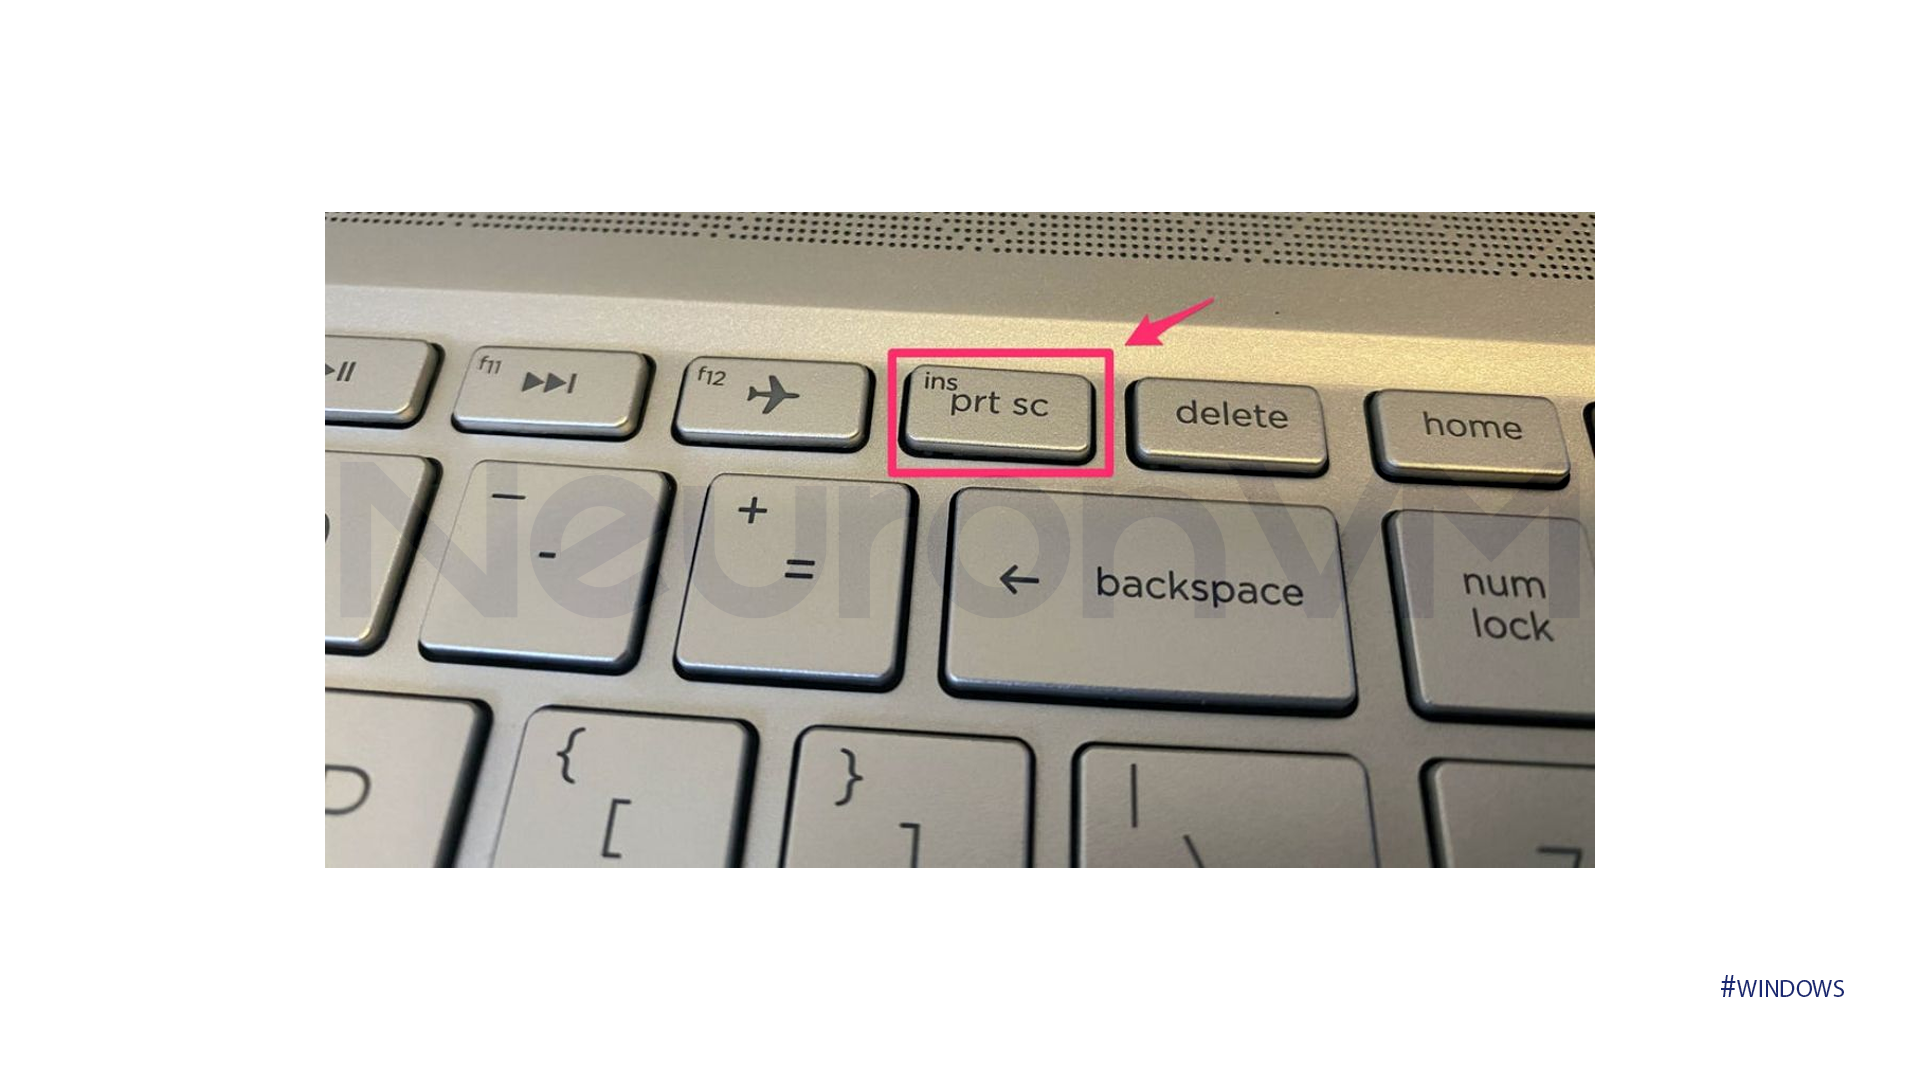
Method 1: Using the Print Screen Key
1- In Windows 10
Print Screen is a common way to take a screenshot in Windows 10 and 11. In this method, users can take a screenshot of their system using keyboard shortcuts.
Press the “Alt + PrtSc“ keys.
It will capture the entire screen and save it in the Screenshots section. You can find this section in your system files.
Open an image editing program like Paint. Paste the screenshot.
2- In Windows 11
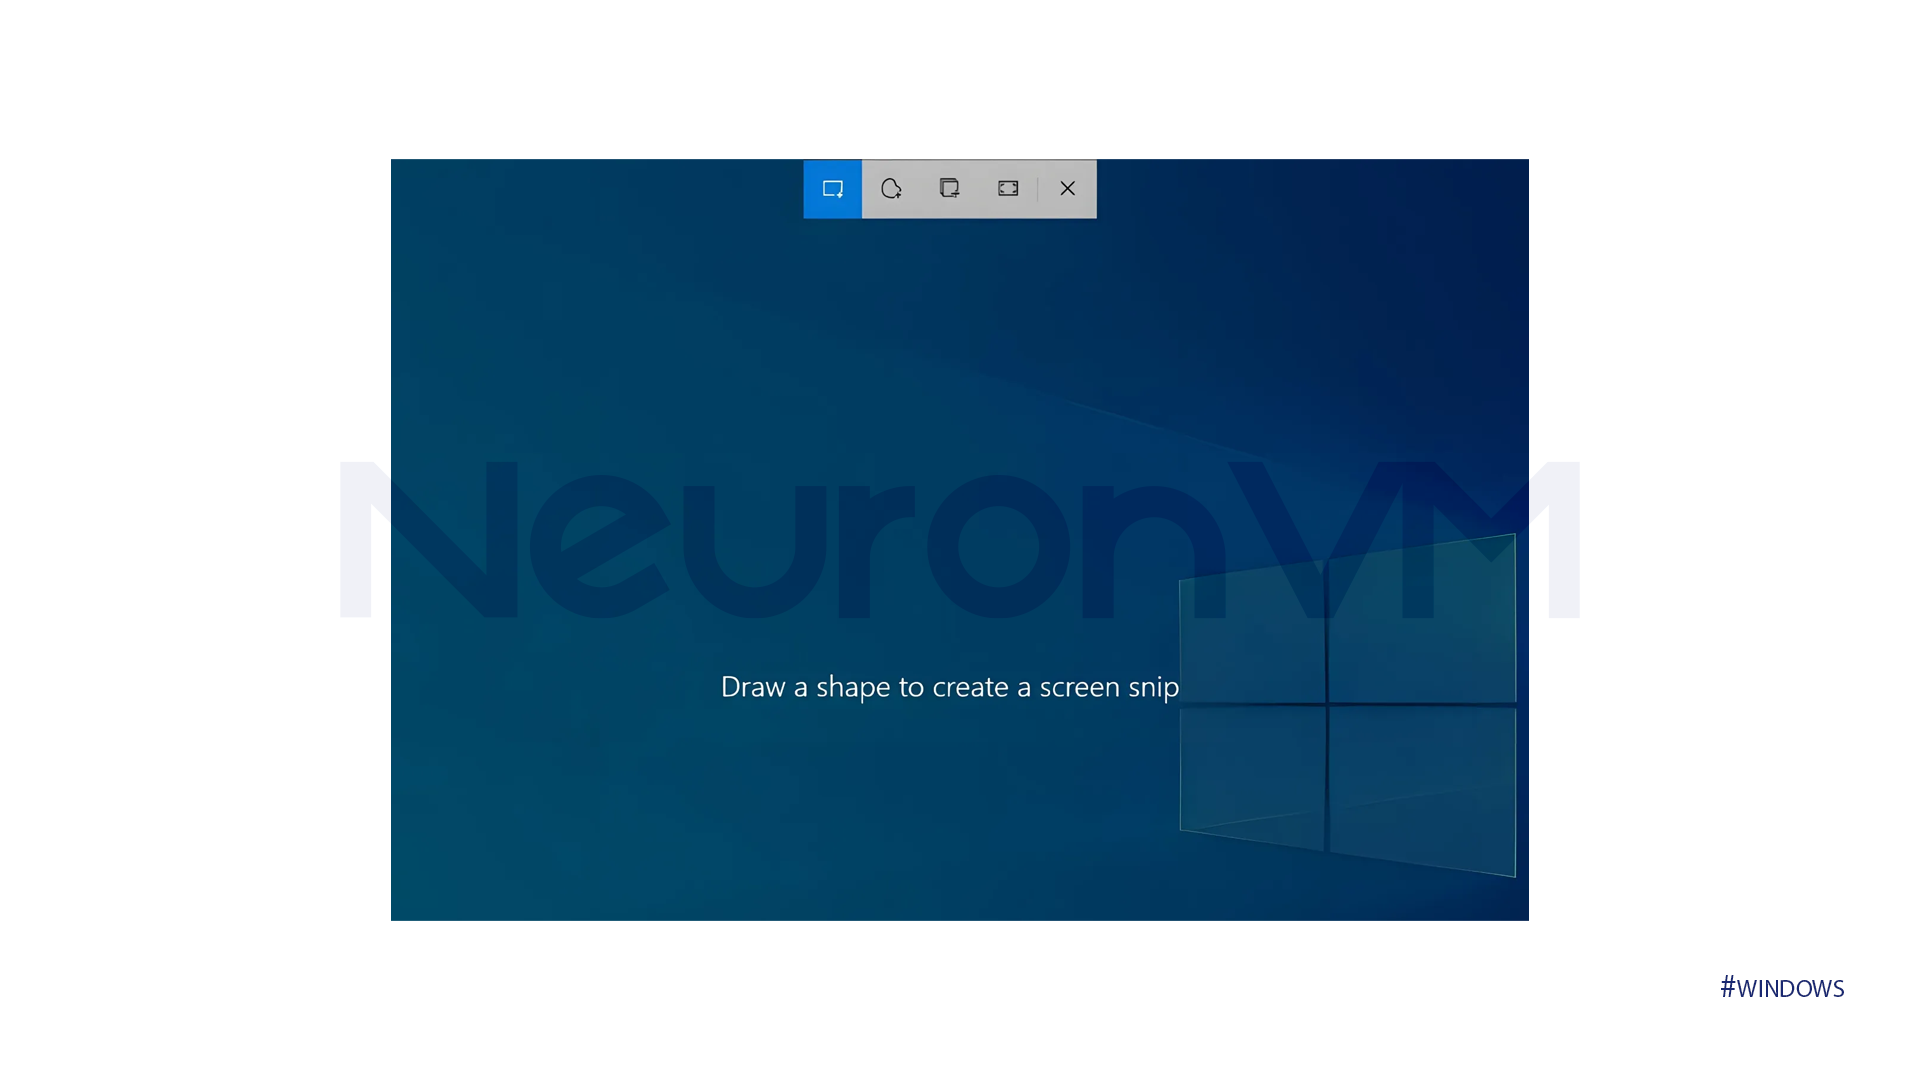
In Windows 11, pressing the “PrtSc“ key will display several icons at the top of the screen. These include:
A: windows mood
B: Rectangle mood
C: freeform mood
D:fullscreen mood

You can choose one of the options from the list below according to your needs. By doing this, the type of screen you want will be saved in the system.
Method 2: Directly Saving a Full-Screen Screenshot
In this section you need to press the “Windows + PrtScn” keys from the click screen.
💡Note: This method will work in Windows 10 and 11.
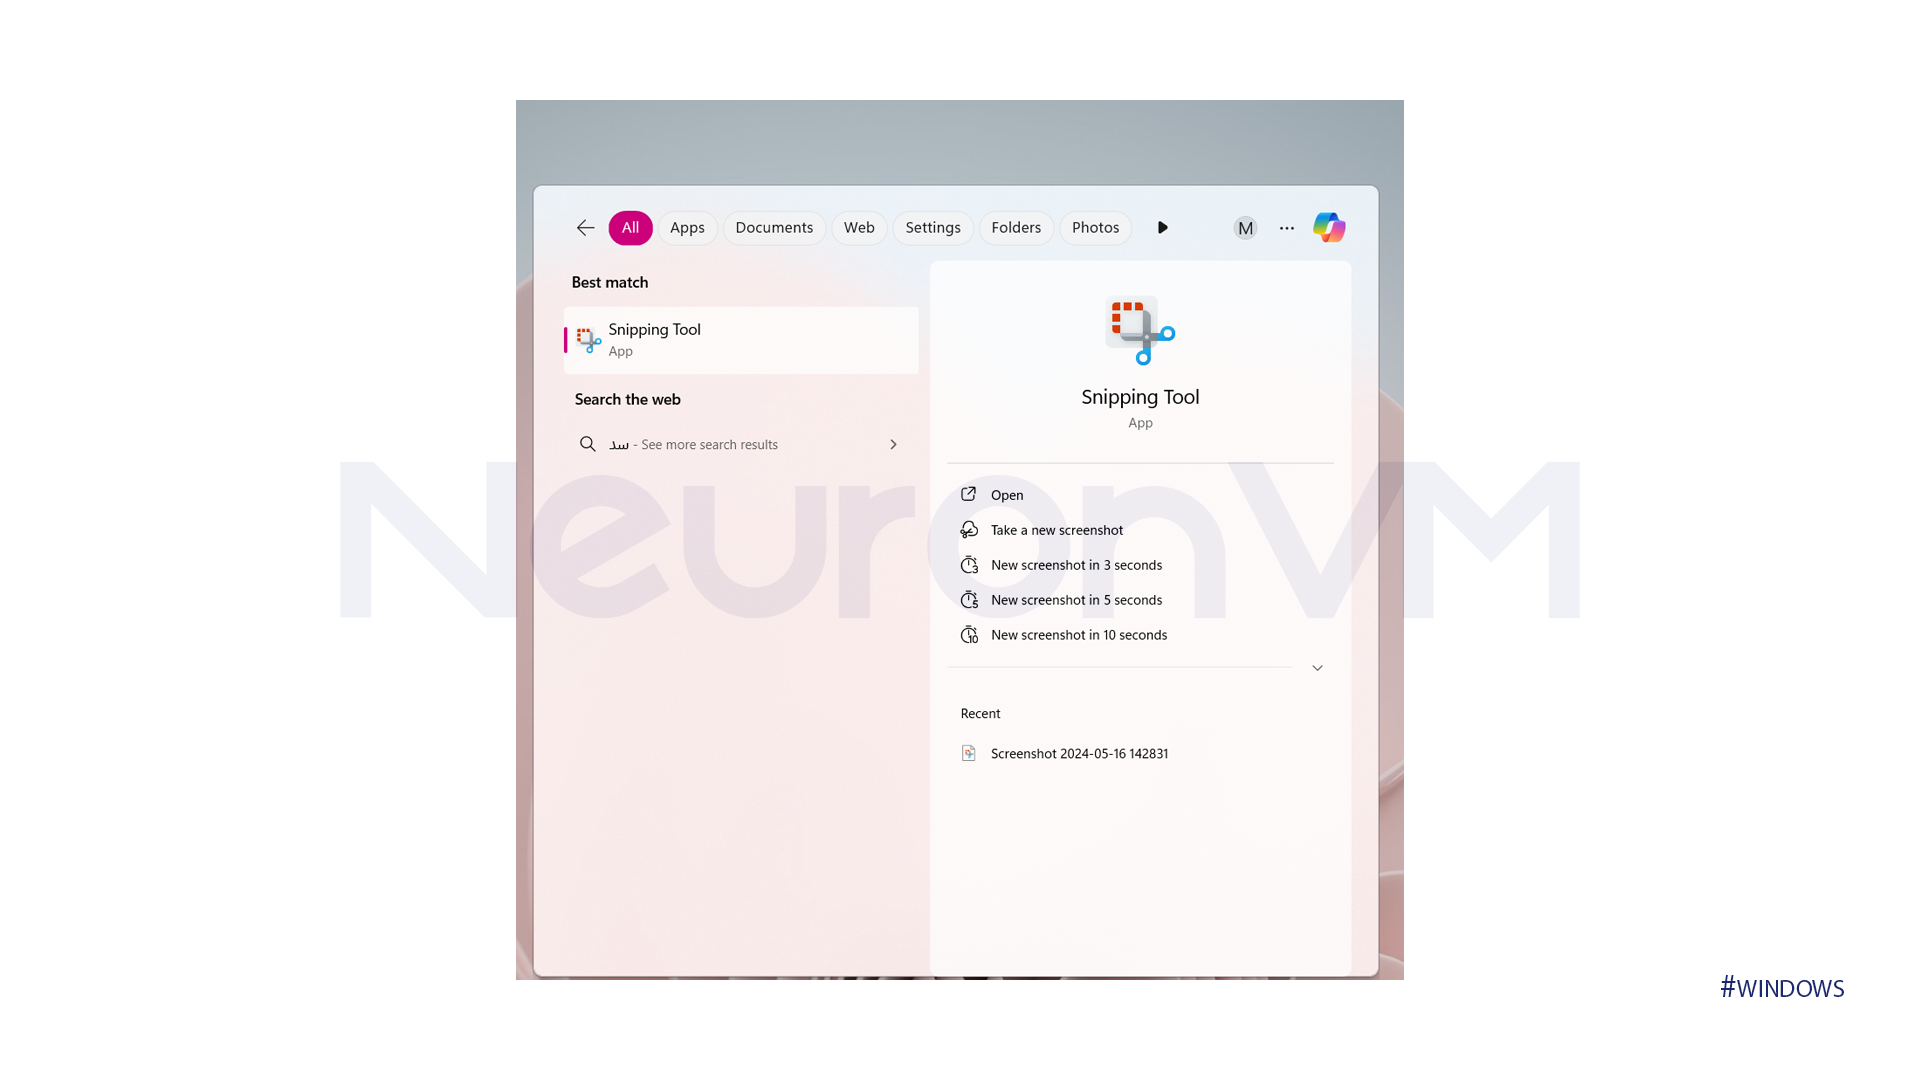
Method 3: Using Snipping Tool
In this method, you can take a screenshot in two ways.
1- Open Snipping Tool
Now select the Snipping Tool icon
2- Take a Screenshot
Click on the “New” icon.
Of course, in this section, the same thing can be done by clicking on the “Windows + Shift + S” keys.
Determine your desired range.
💡Note: This method will work in Windows 10 and 11.
A: windows mood
B: Rectangle mood
C: freeform mood
D:fullscreen mood
If your keyboard doesn’t have a PrtScn key, don’t worry about it. On laptops, this key is usually integrated with the F12 key if it doesn’t say PrtScrn on it, and you can take a screenshot by combining the Fn or Function Key with Win + F12. If that doesn’t work, you can also try the “Fn + Windows + Space“ key combination.
Method 4: Using Game Bar in Windows 11
Whether you’re playing a game or not, you can always use the Game bar to take screenshots in Windows 10 and 11. To do this, use the Windows + G keys. In this section, you can use the Game Bar screenshot button or “Windows + Alt + PrtScn”.
To set up a screenshot shortcut in the Game bar, go to the Game Settings section.
Conclusion
There are several ways to take screenshots in Windows 10 and 11, which we have thoroughly covered in this article. With the help of these methods, you can easily take screenshots of your Windows screen. Also, by mastering these screenshot techniques, you can improve your workflow and simplify your digital interactions Thank you for being with us.