How to Share from Windows 10 to Windows 11 Files

 9m
9m
 0 comments
 Print
Print
Have you recently upgraded your system and looking for a way to share from Windows 10 to Windows 11 files? Follow us along! Upgrading to Windows 11 usually often sets in on how sharing from Windows 10 is going to be done to Windows 11. Many users have to share files seamlessly between a machine running Windows 10 and one that has just been upgraded to Windows 11. It shouldn’t be a daunting task since sharing files between these operating systems is pretty easy and uses some familiar features of Windows networking. Read this guide through to learn How to Share from Windows 10 to Windows 11 Files.

File Sharing: A Step-by-Step Guide from Windows 10 to Windows 11
To share from Windows 10 to Windows 11 files easily, You can you each one of the following 3 methods:
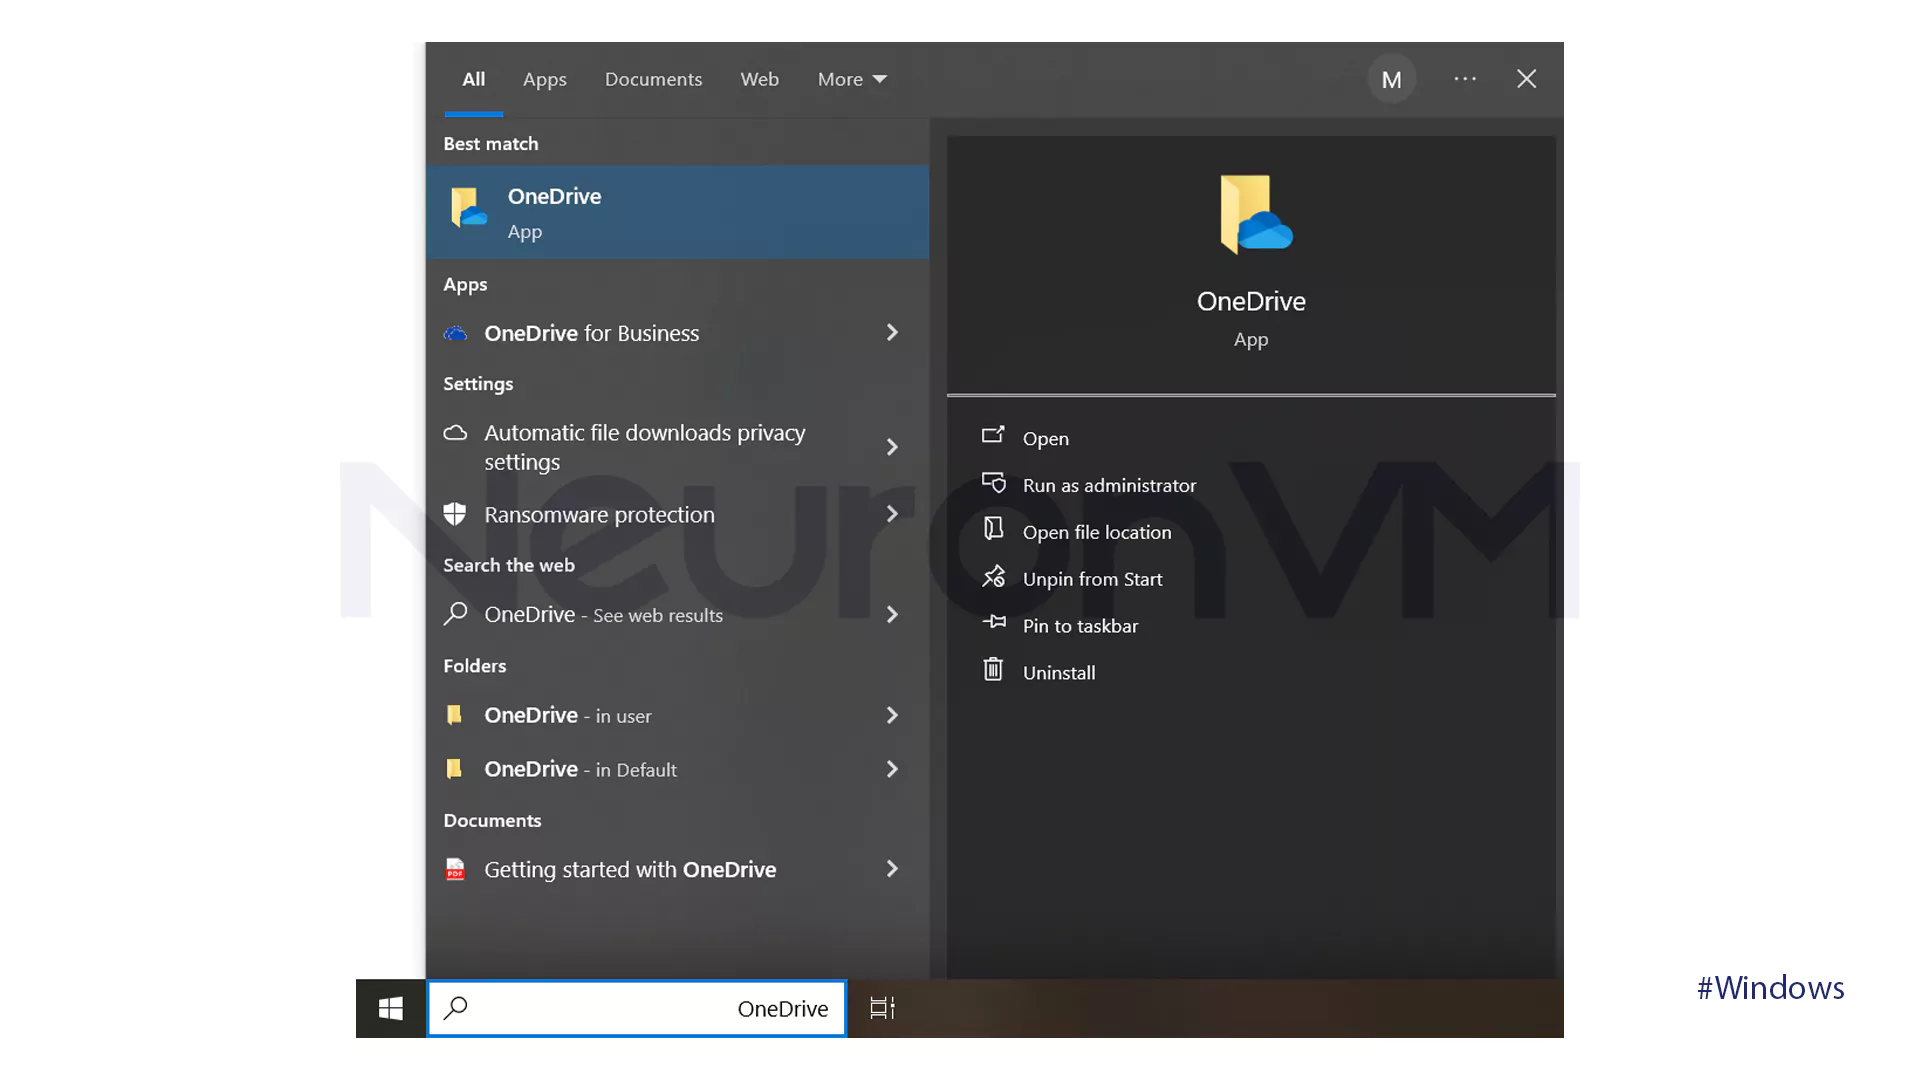
Method 1: Share via OneDrive
OneDrive is built into Windows 10/11 and syncs files across PCs. The core folders, desktop, Documents, and Pictures, are backed up to the cloud and can be accessed on any device where you are signed in with the same account and it offers 5GB free of storage. Here is how to share from Windows 10 to Windows 11 files by using OneDrive:
- Search for OnDrive in the search bar of Windows 11 and sign in.
- OneDrive will automatically backup your Desktop, Documents, and Pictures folders to your account. Any additional files to backup will require being dragged into the OneDrive folder.
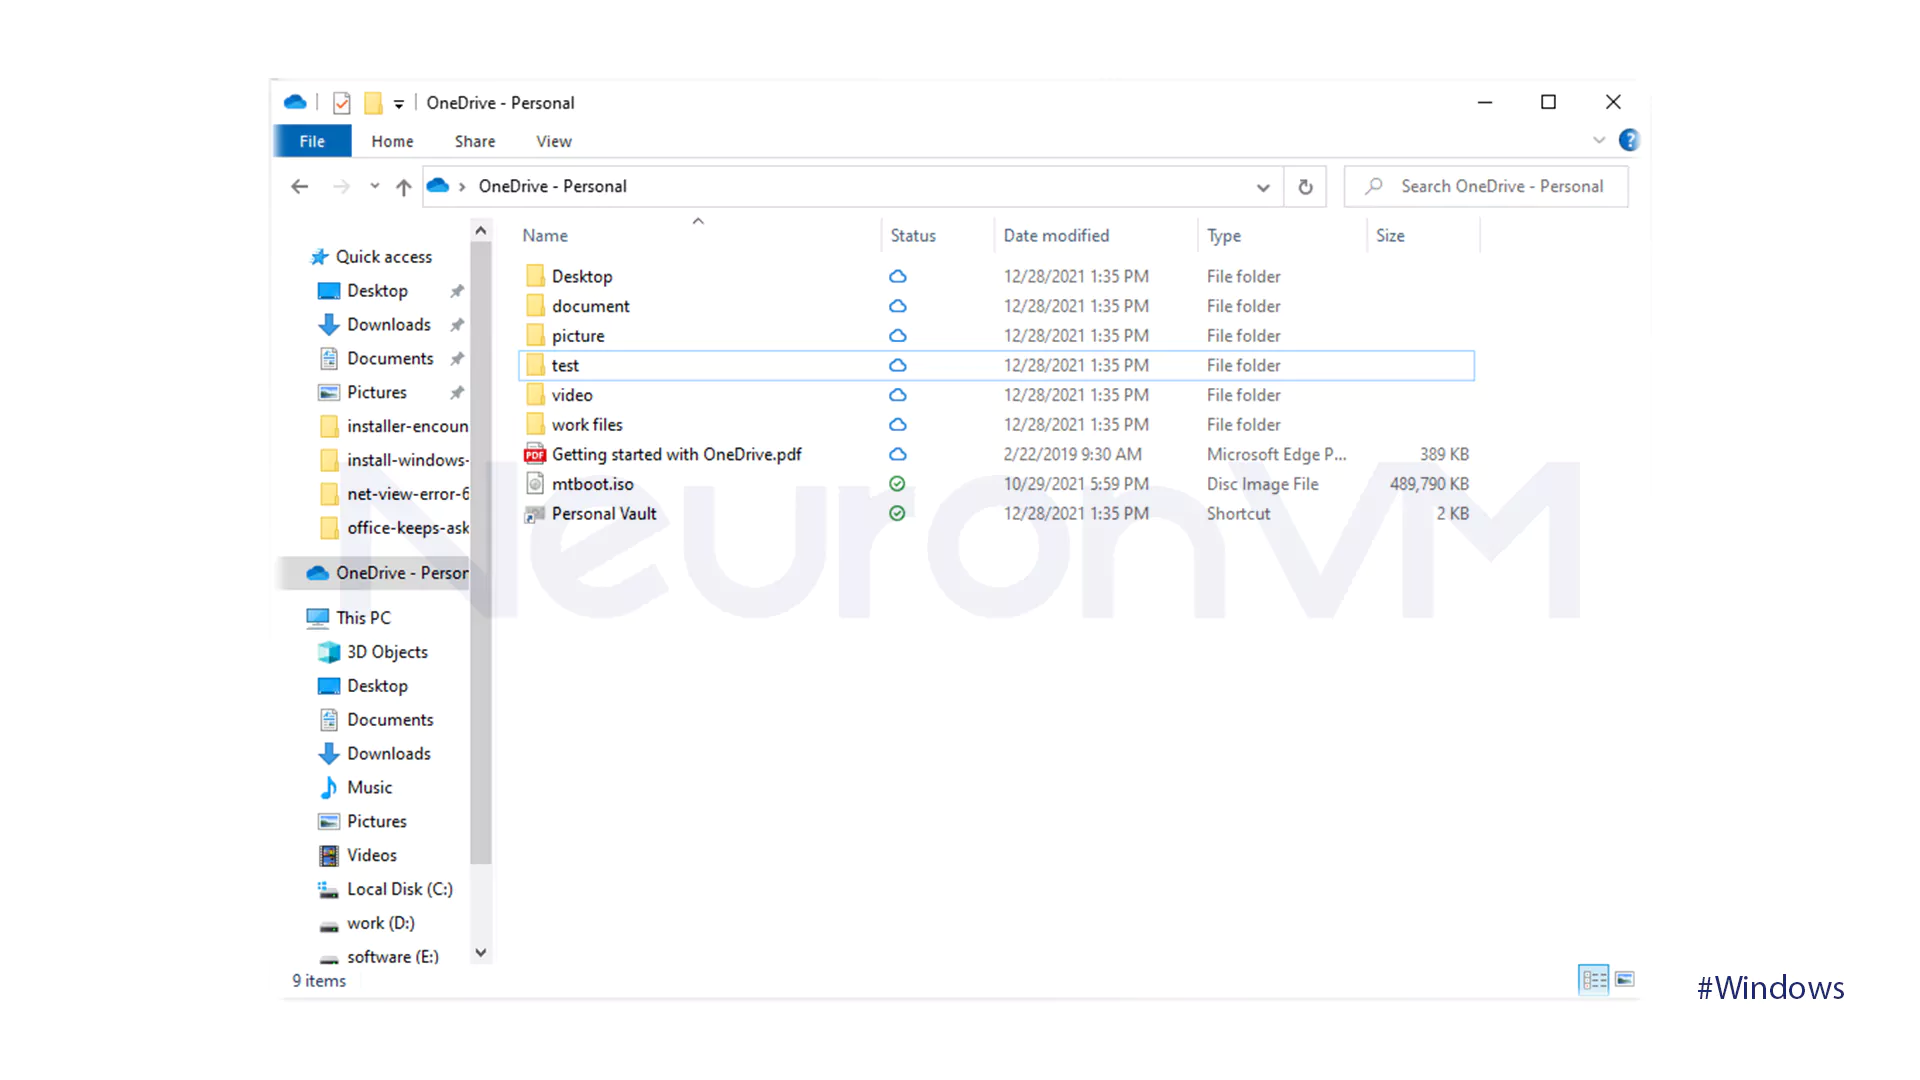
- Then, turn on your Windows 11 system set up OneDrive, and sign in. There you can access all the files you want from your previous system.
Method 2: Share via External Hard Drive/USB Drive
While oneDrive relies on an internet connection to transfer files, you can still move your files across computers without it. If you have an external hard drive or a big USB flash drive, you can use the traditional copy-and-paste method to transfer your data. To share from Windows 10 to Windows 11 files by using USB Drive, follow the steps below:
- Insert the Hard Drive.
- Format your external Hard drive if you need extra space. To be compatible with both Windows and Mac, choose exFAT. Note that all the files stored on the drive will be deleted after formatting.
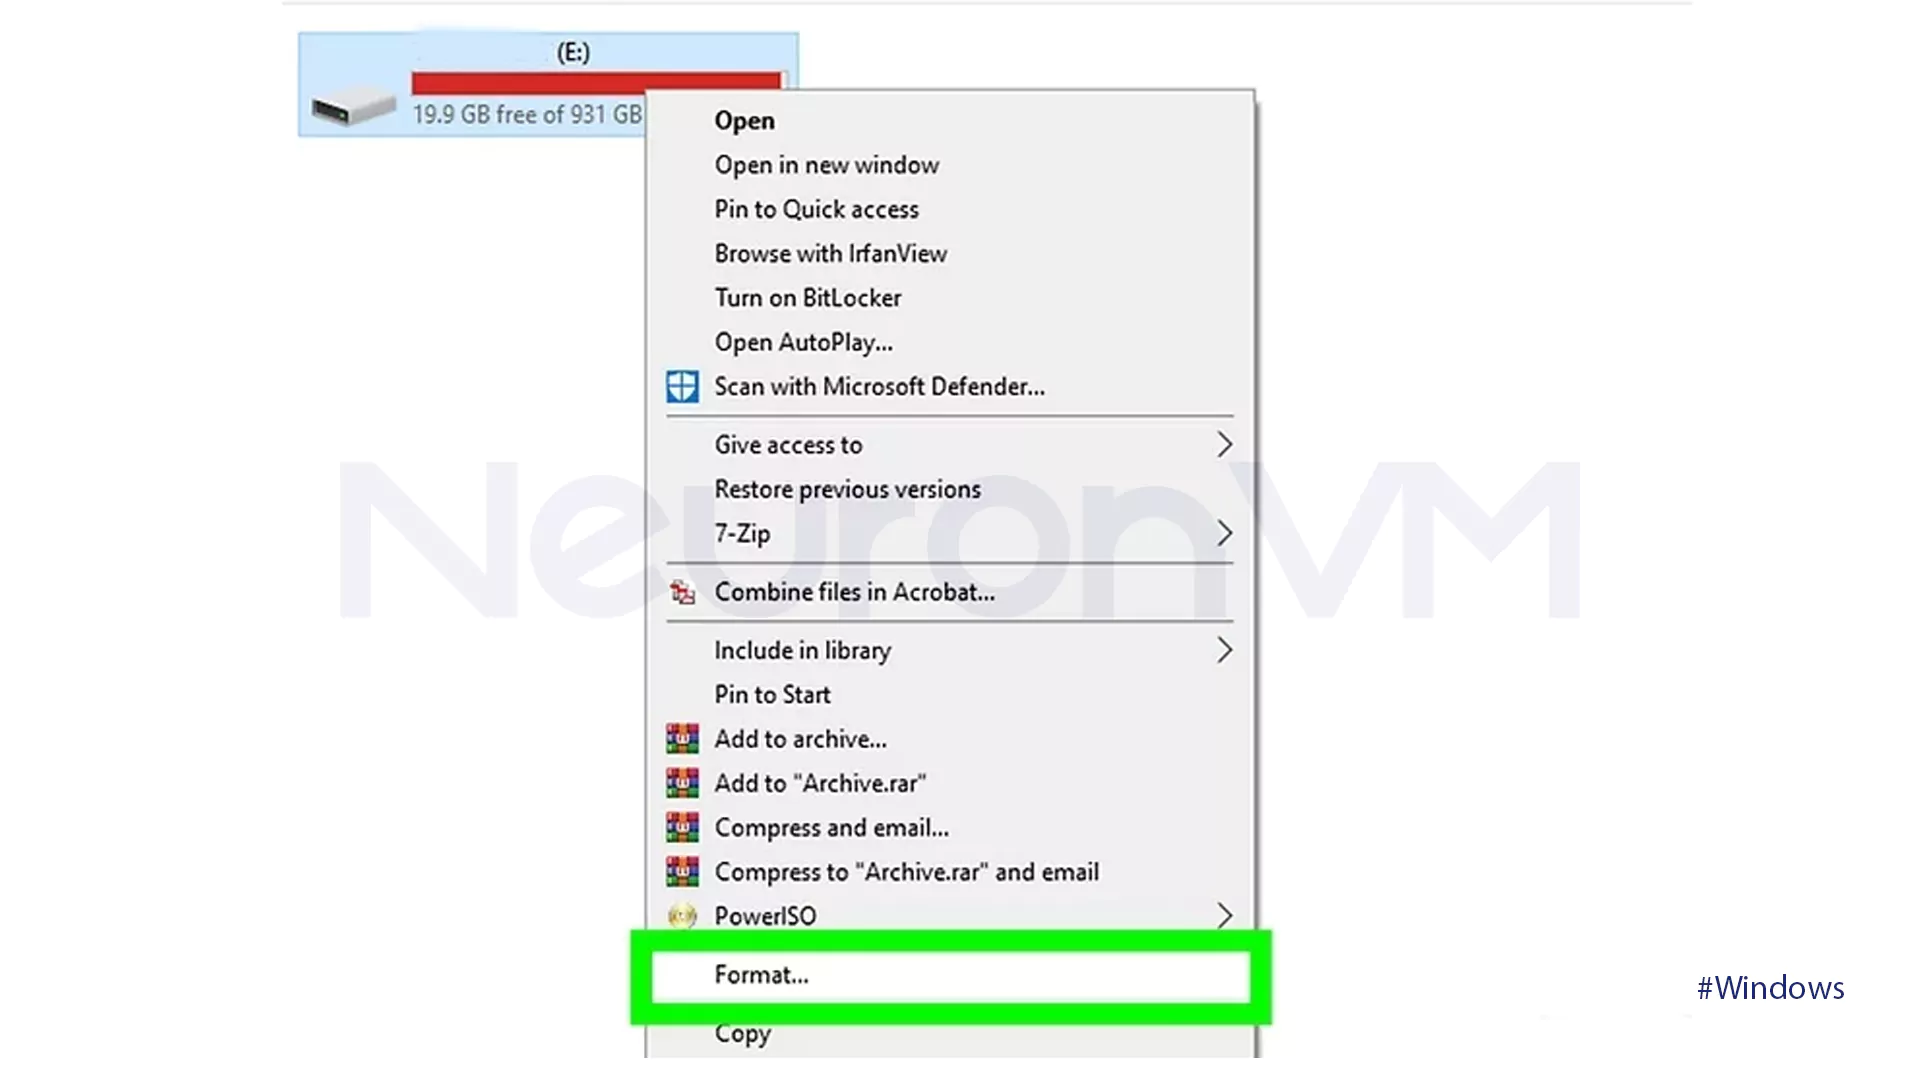
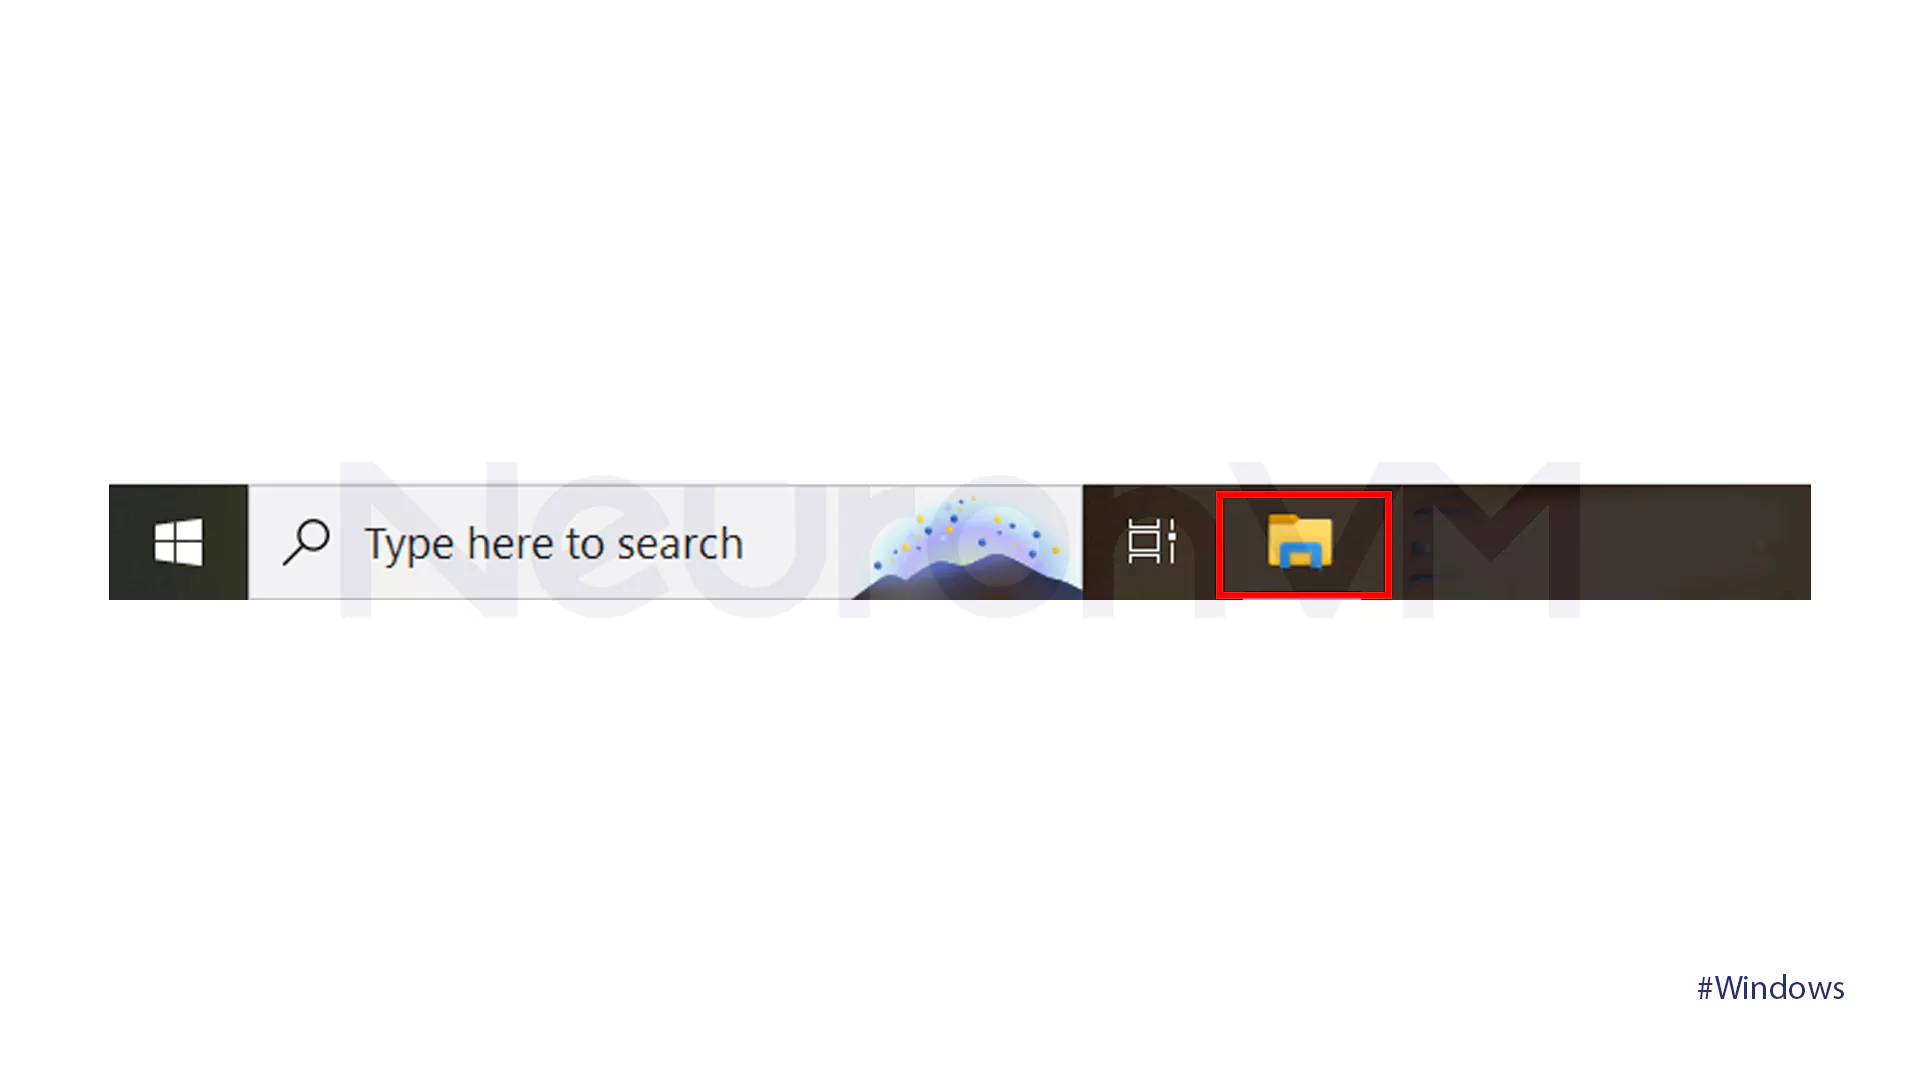
- Press the Win + E keys or just click on the yellow folder to open the File Explorer. By copying the files onto an external drive, one can create a backup and free up disk space.
- Select the file you want to copy and press the Ctrl + C keys or perform a right-click and tap on Copy.
- Navigate to your Hard Drive and by pressing the Ctrl + V keys, paste the files into.
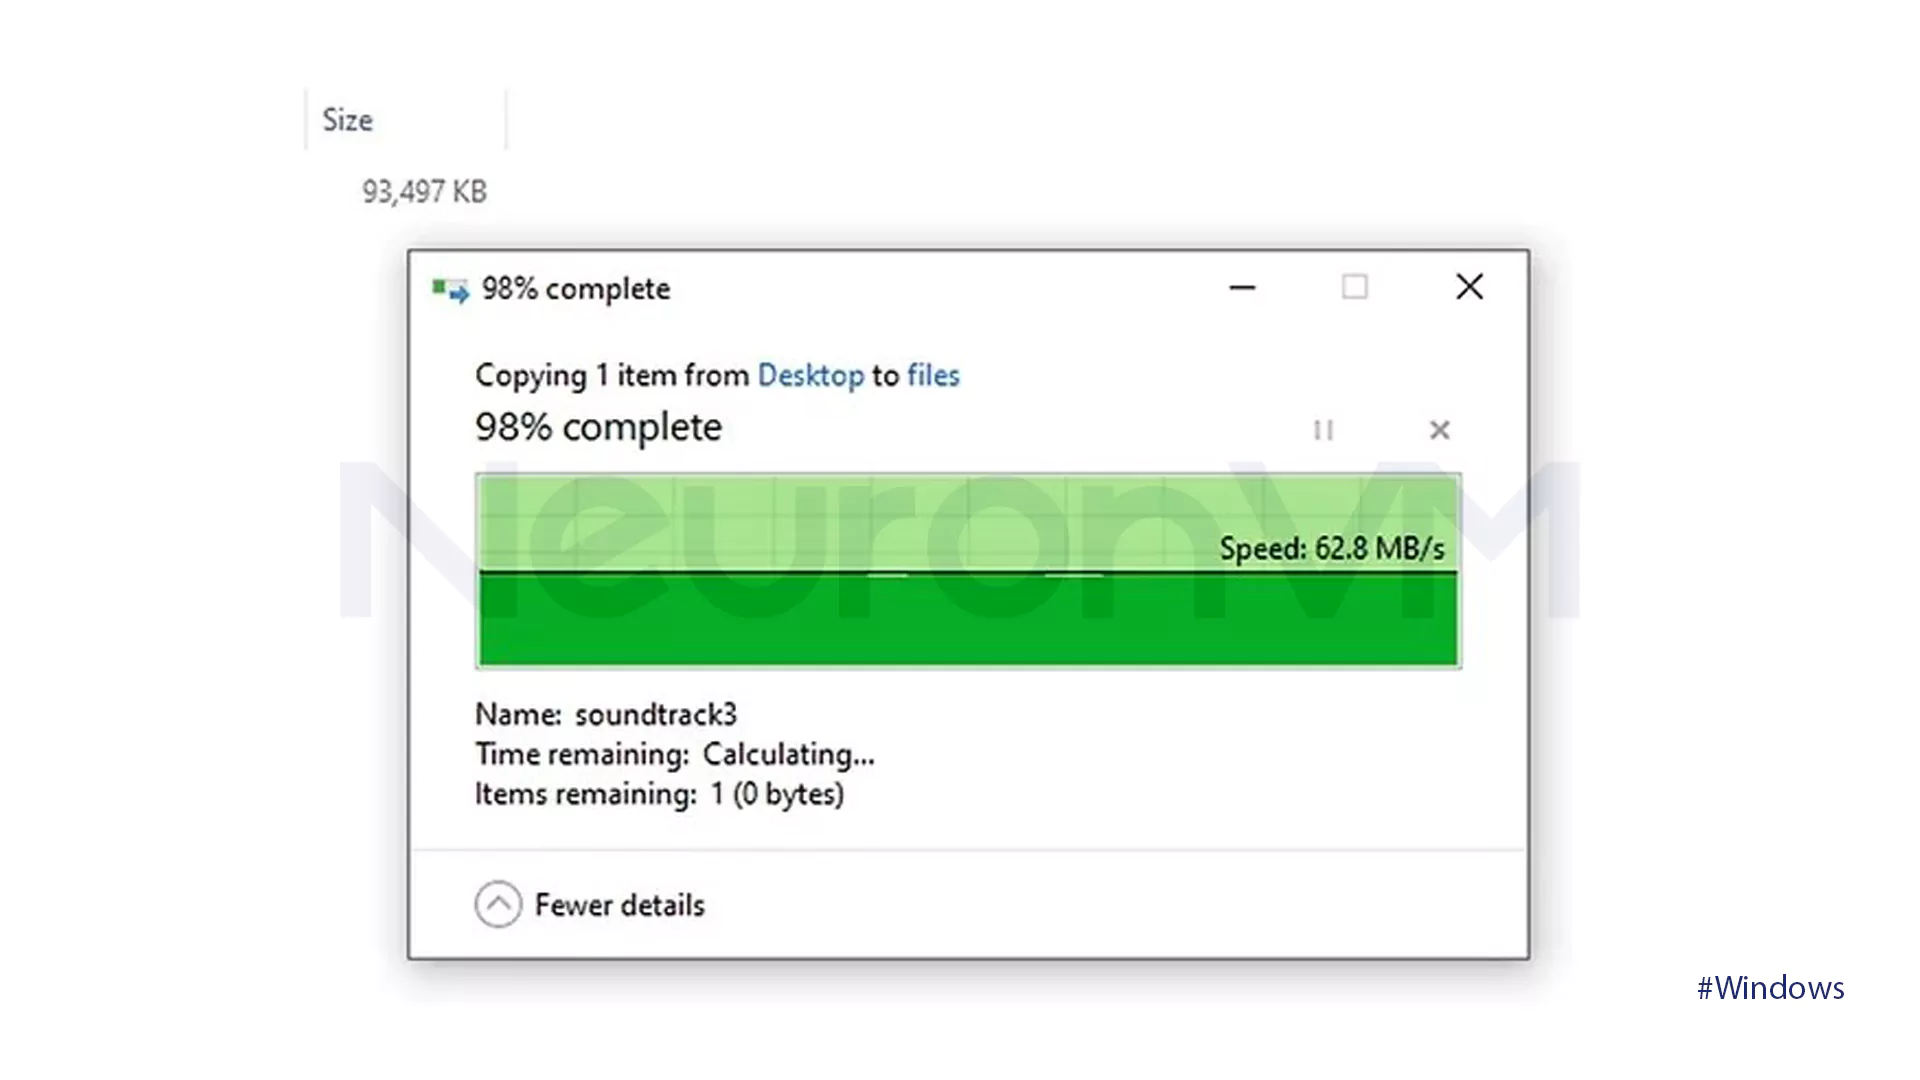
- When the process is completed, remove the hard drive and insert it on your Windows 11 system.
- Copy the files and paste them into your new system.
Method 3: Share via Network (LAN)
You can transform files between Windows 10 and 11 using a LAN cable and a shared folder for PCs on the same network. This method involves a few steps to be followed to execute it:
- Connect PCs with a LAN cable.
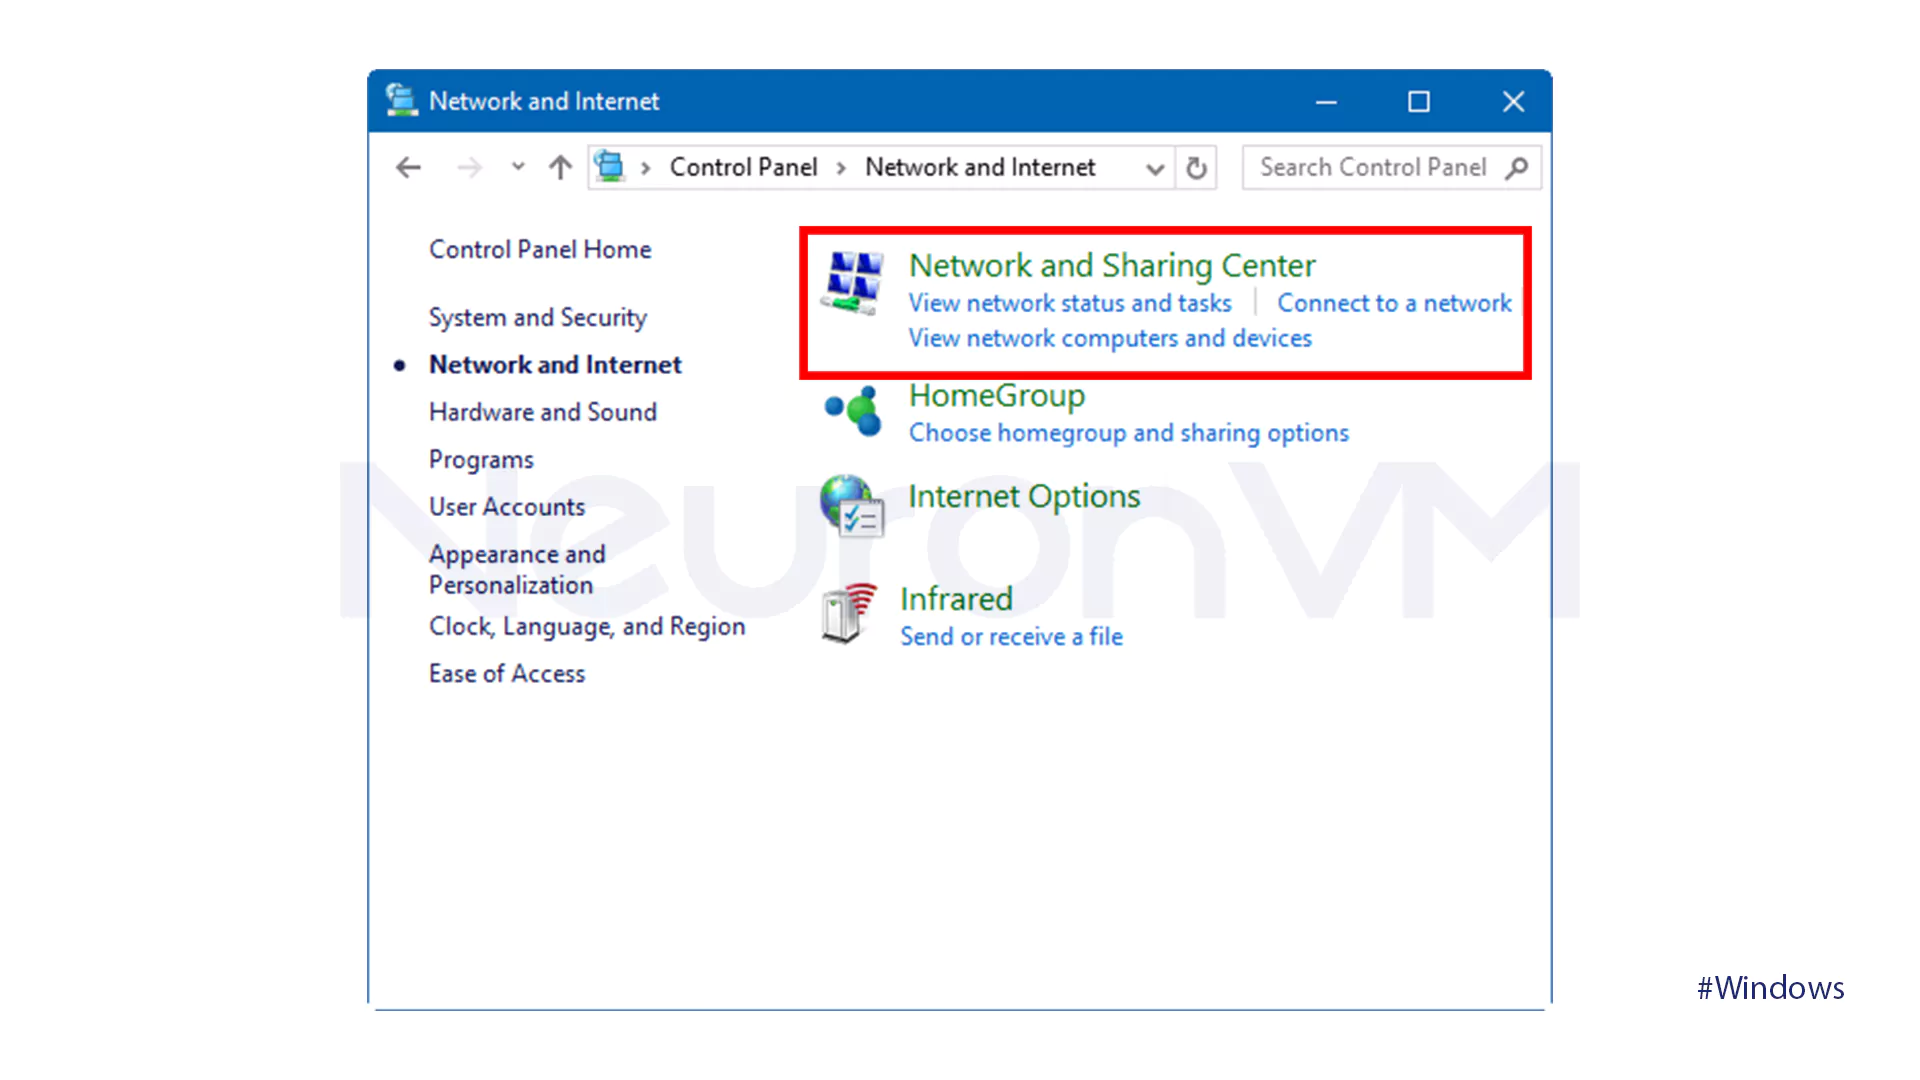
- To enable network sharing on both systems, go to the Control Panel, click on the Network and Internet, and tap on the Network and Sharing Center.
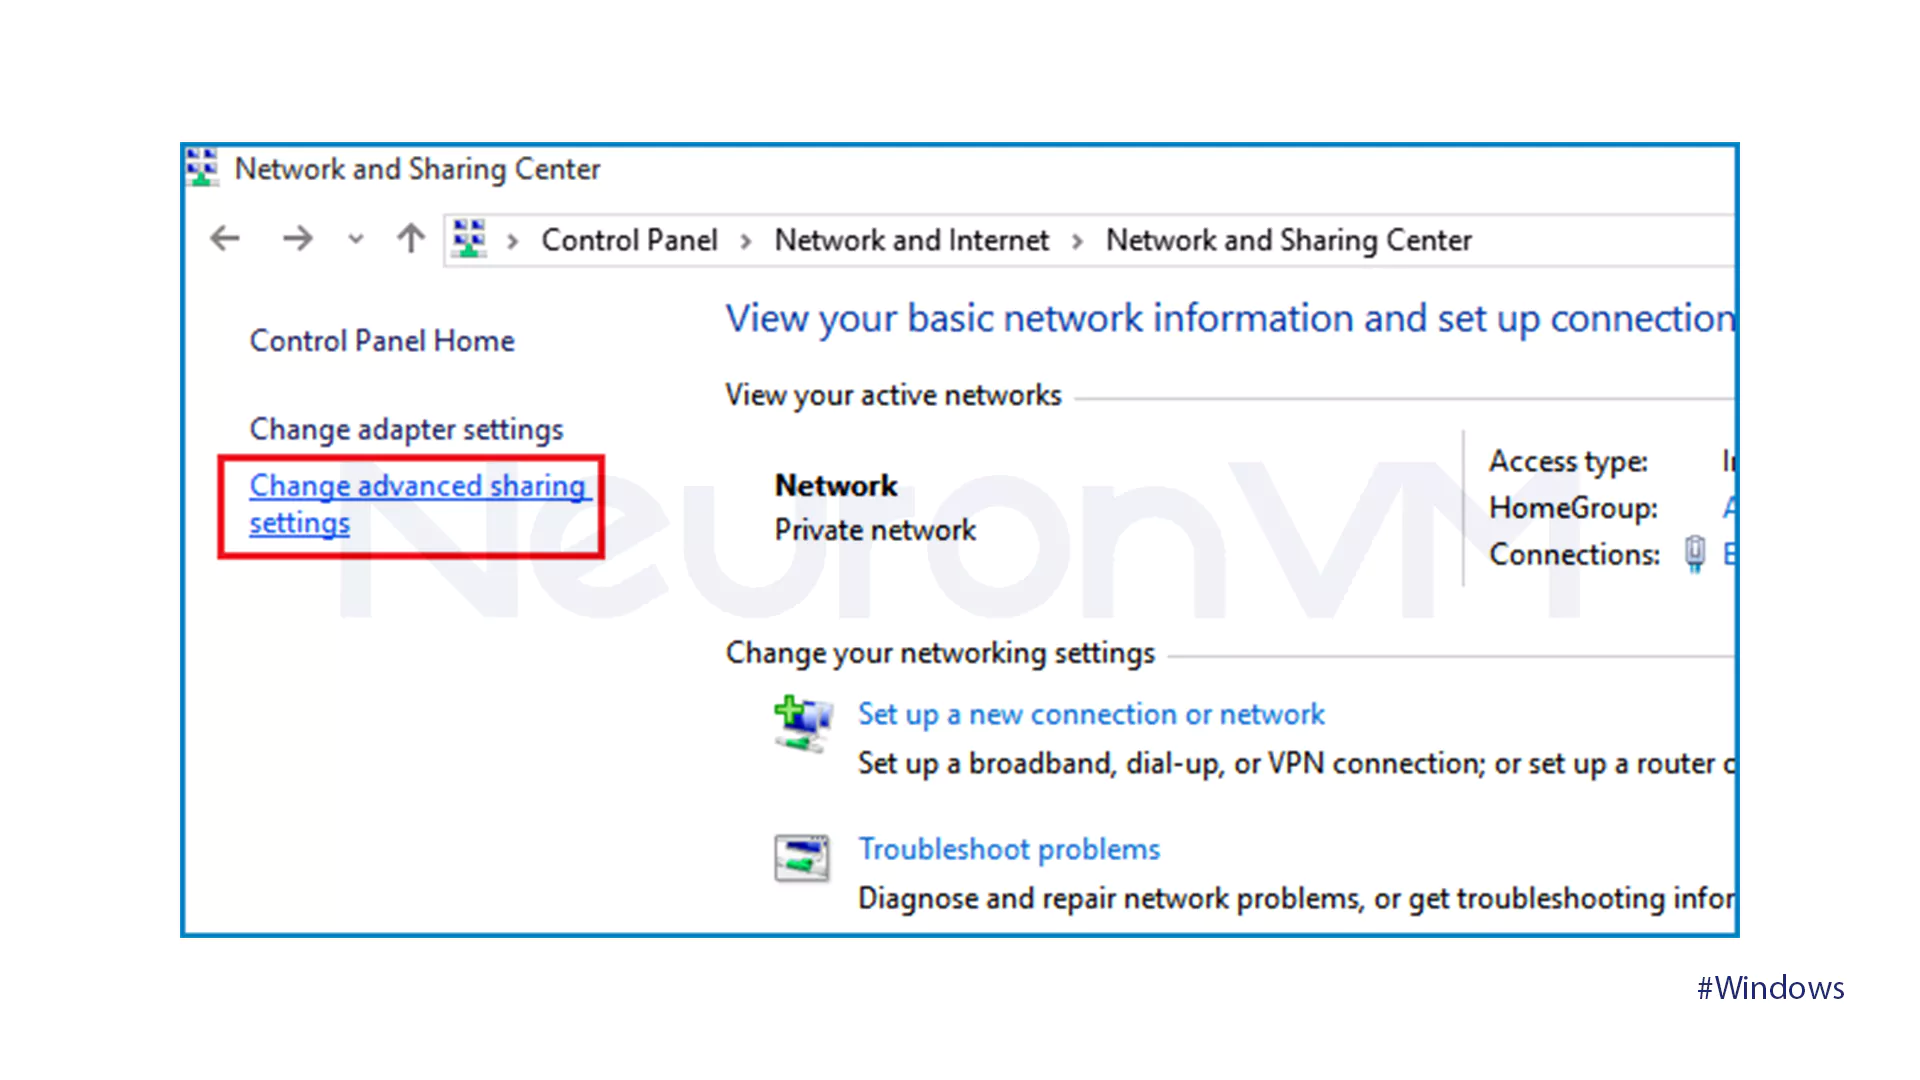
- In Change Advanced Sharing Settings, expand the All Networks section.
- Enable the Public Folder sharing and disable the Password-protected Sharing.
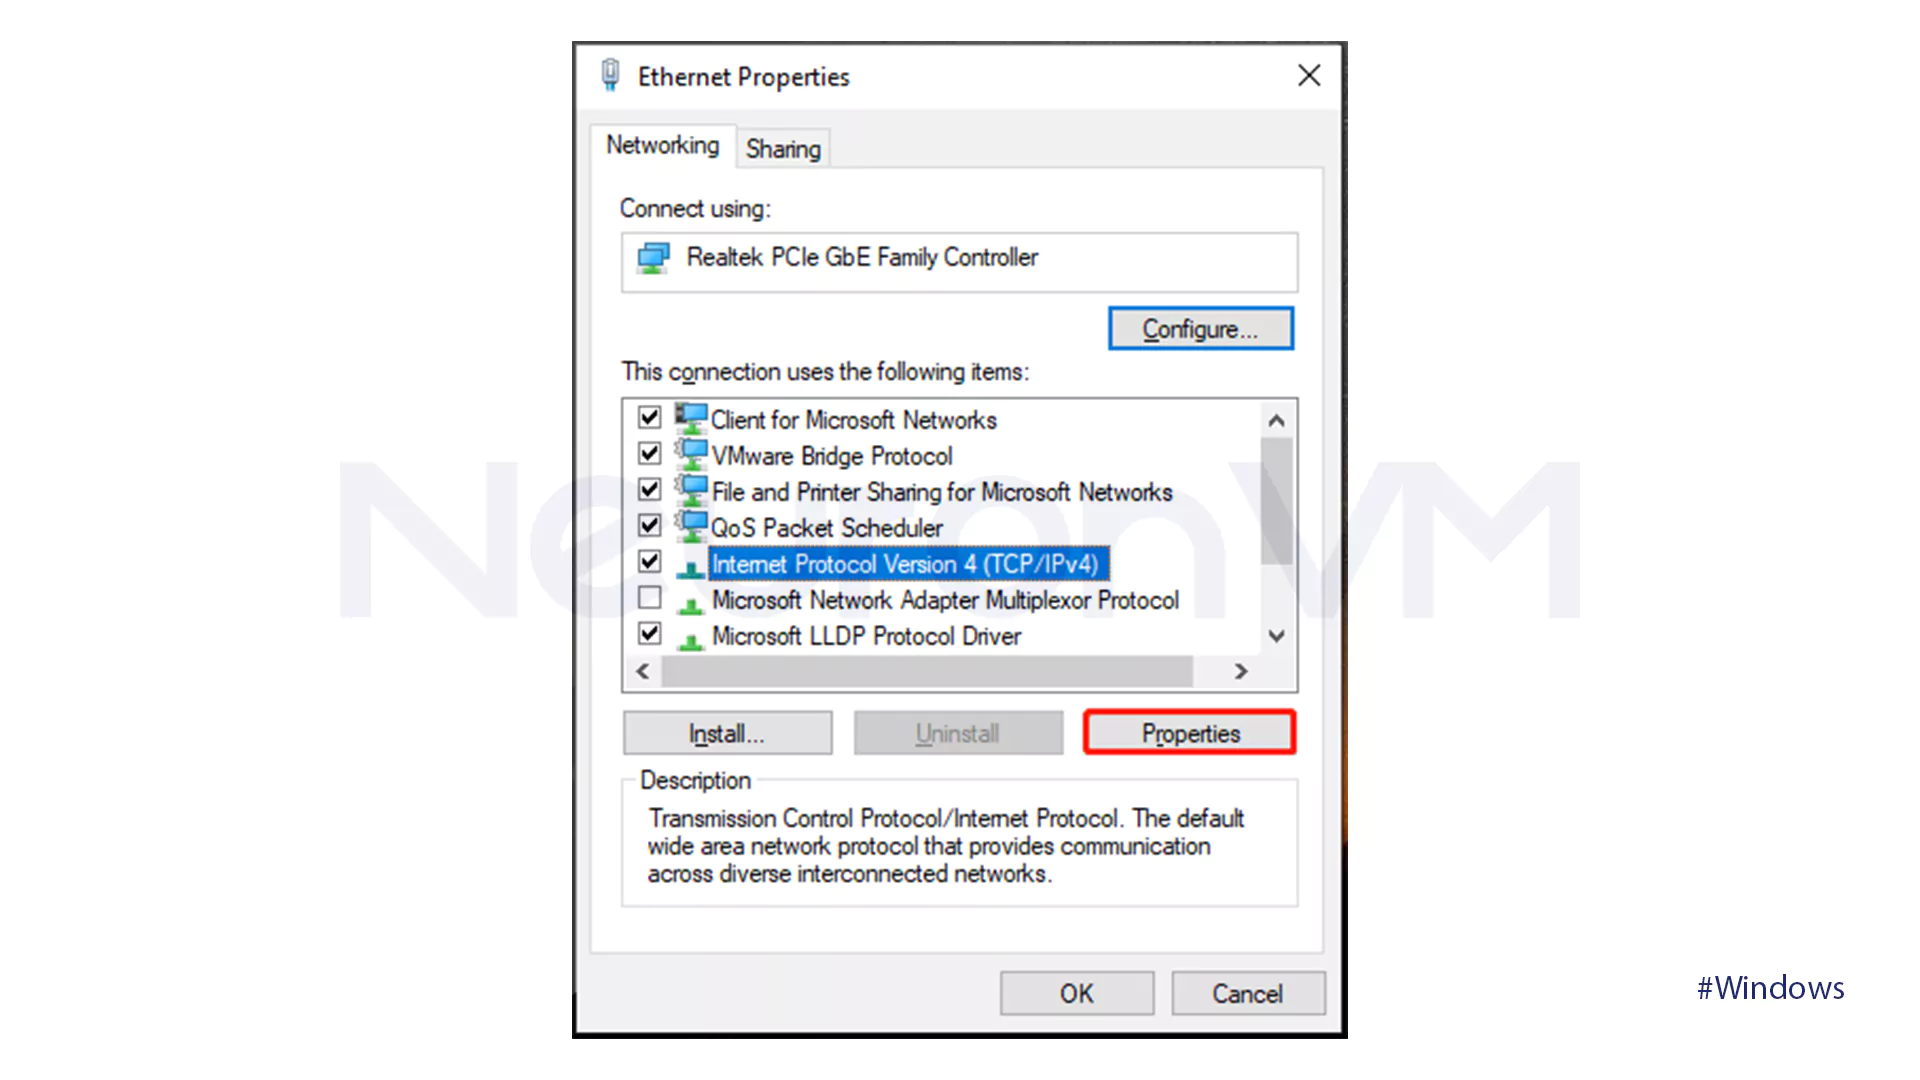
- To set the static IP address: Network and Sharing Center > Ethernet > Properties > Internet Protocol Version 4 > Properties.
- On the first system set the values below:
IP Address: 192.168.1.1
Subnet mask: 255.255.255.0
Default gateway: 192.168.1.2
- On the second system set the values below:
IP Address: 192.168.1.2
Subnet mask: 255.255.255.0
Default gateway: 192.168.1.1
- On the Windows 10 system, Create a folder and move the files.
- Then, right-click on the folder and select Share it with Everyone.
- From the Windows 11 system, get access to the shared folder from the Network section.
Conclusion
Sharing files between Windows 10 and 11 is pretty easy. For fast, simple. local transfers, it’s best to share over a network. Larger files or more complex scenarios call for cloud storage such as Microsoft’s OneDrive or Google Drive. If network conditions are not good, external drives or USB sticks are a godsend. Choose the method most fitting your needs and comfort with technology.
With the right knowledge of these methods, the following tips are going to empower you to share data seamlessly between Windows 10 and 11. You can choose which one will work best for your level of comfort with technology. It doesn’t matter whether you upgrade to Windows 11 or just want to share some files between devices; these tips will help bridge the divide of connectivity seamlessly for continuity of data flow.
![How to Install Atom on Fedora 34 [Step-by-Step]](https://neuronvm.com/wp-content/uploads/2025/07/Introduction-and-Install-Atom-on-Fedora-34.webp)