How to Setup OpenSSL on RDP 2016

 10m
10m
 0 comments
 Print
Print
In today’s world, information security is one of the most important topics for system administrators and developers, HTTPS protocol and SSL/TLS certificates are the main reasons for this security, and OpenSSL is one of the key tools for managing them, without using SSL, browsers like Chrome and Firefox will detect your website as insecure and lose user trust. If you’re using Windows Server 2016 over RDP, installing and configuring OpenSSL is an essential step for you to secure network communications and manage certificates, in this guide, you’ll learn step-by-step how to setup OpenSSL on RDP 2016, configure it, and even create a test certificate to make sure everything works properly.
Key features of OpenSSL
OpenSSL is not just a simple command-line tool, but a set of key capabilities for managing network security:
1- Open Source Library:
The OpenSSL source code is available on GitHub, so you can check it out or even customize it for your specific needs.
2- OpenSSL Tools
A set of ready-made scripts and commands that make it easier to use OpenSSL for complex tasks like generating CSRs or managing keys.
3- SSL Checker
A useful tool for troubleshooting OpenSSL installations; just enter your domain to display the certificate status and possible issues.
4- CRS Generator
With the built-in CSR tool, you can easily create a Certificate Signing Request (CSR) and send it to a Certificate Authority (CA) to issue a valid SSL.
5- Win32/Win64 Distrubiution
Ready-to-install versions for Windows that eliminate the need for manual compilation and install OpenSSL with just a few clicks.
You can always find more about its features on the OpenSSL official website.
Step-by-step Setup OpenSSL on RDP 2016
Prerequisites
– An Admin RDP with Windows Server 2016 with administrative access.
– Ensure that the Visual C++ Redistributable for Visual Studio 2015 is installed on the server.
– Download the latest version of OpenSSL for Windows from the official website.
Step 1: Download OpenSSL
You must first go to the OpenSSL download page and download OpenSSL, which is compatible with your device’s CPU architecture:

You can also download OpenSSL by running the following command:
curl.exe -L -o Win64OpenSSL.exe https://slproweb.com/download/Win64OpenSSL-1_1_0j.exe
Step 2: Run the Installation
Now that you have successfully downloaded OpenSSL, we need to install it. To do this, you must run the installer through PowerShell:
.\Win64OpenSSL.exe
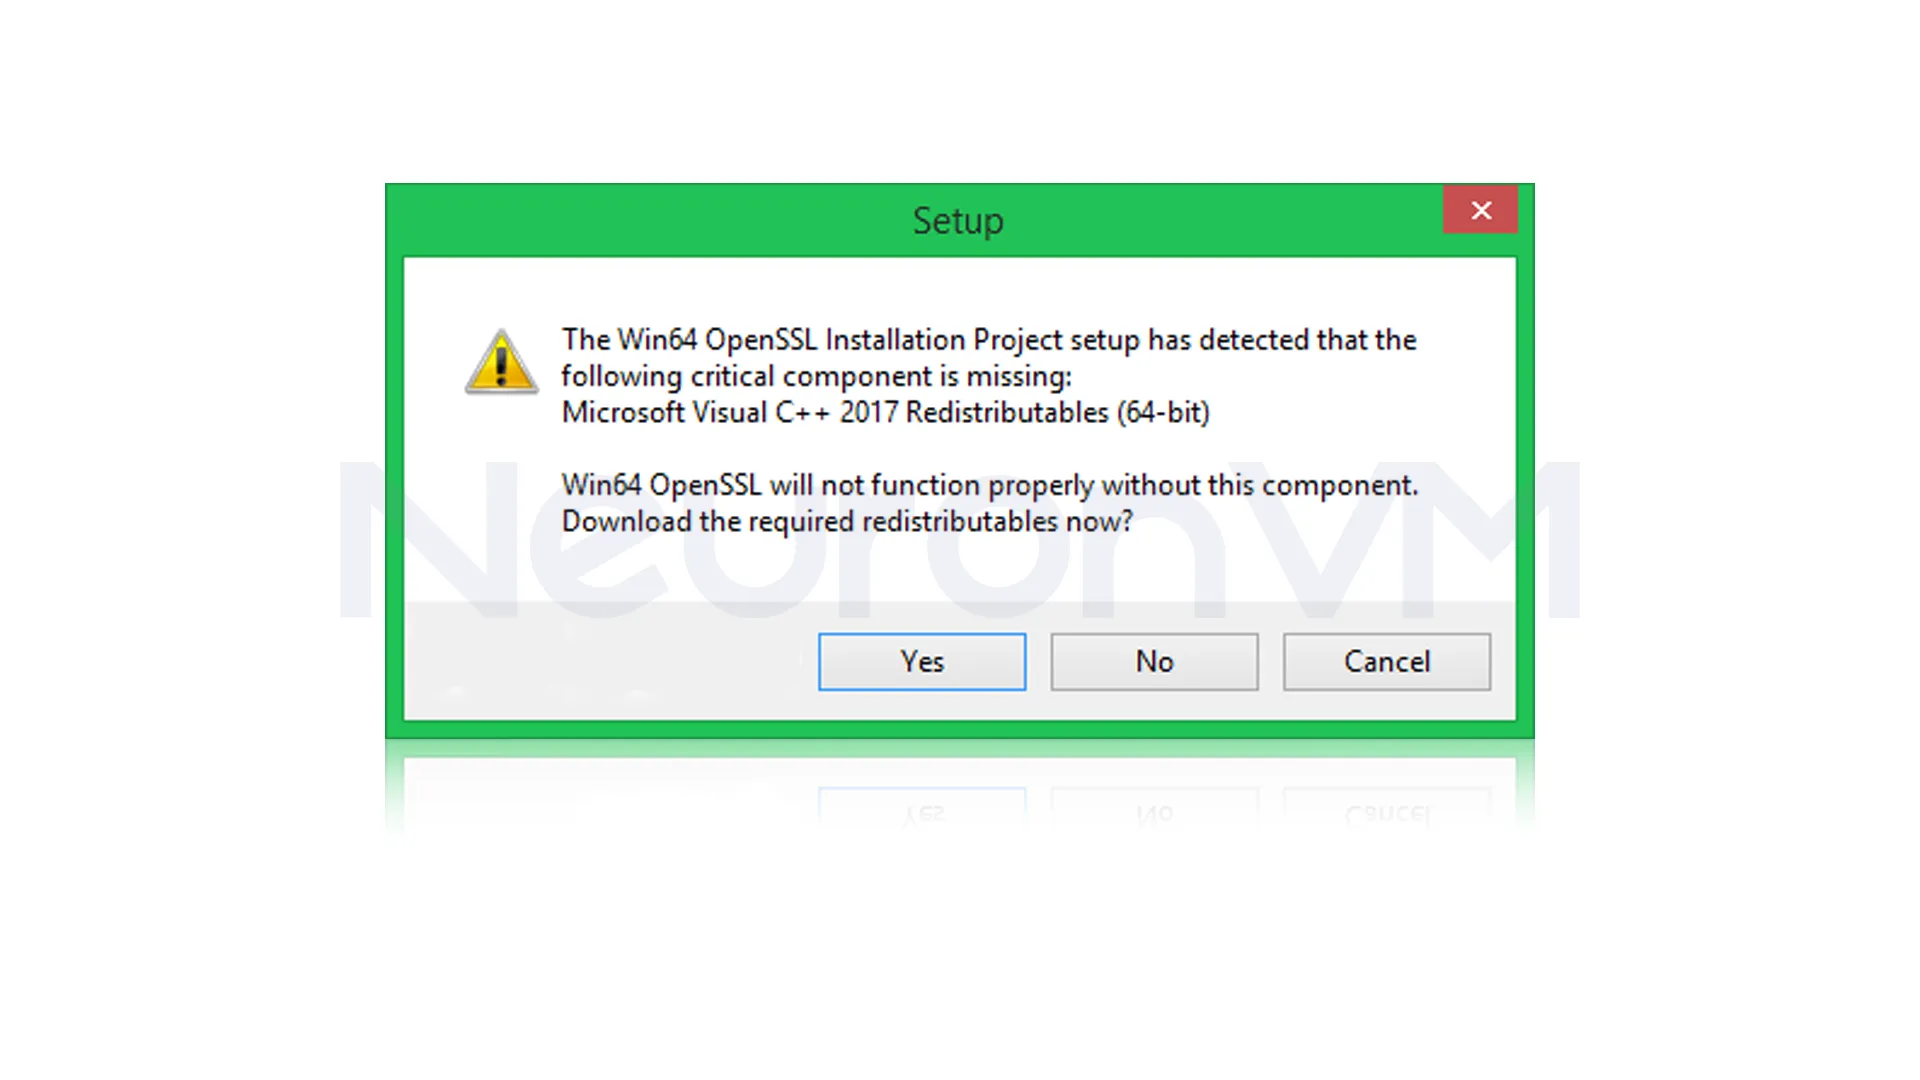
Note: If your system does not have Microsoft Visual++, the installer will display the following message: OpenSSL requires Microsoft Visual C++ to be installed on your system.
You should click ”Yes” to download and install the required Microsoft Visual C++ package on your system:
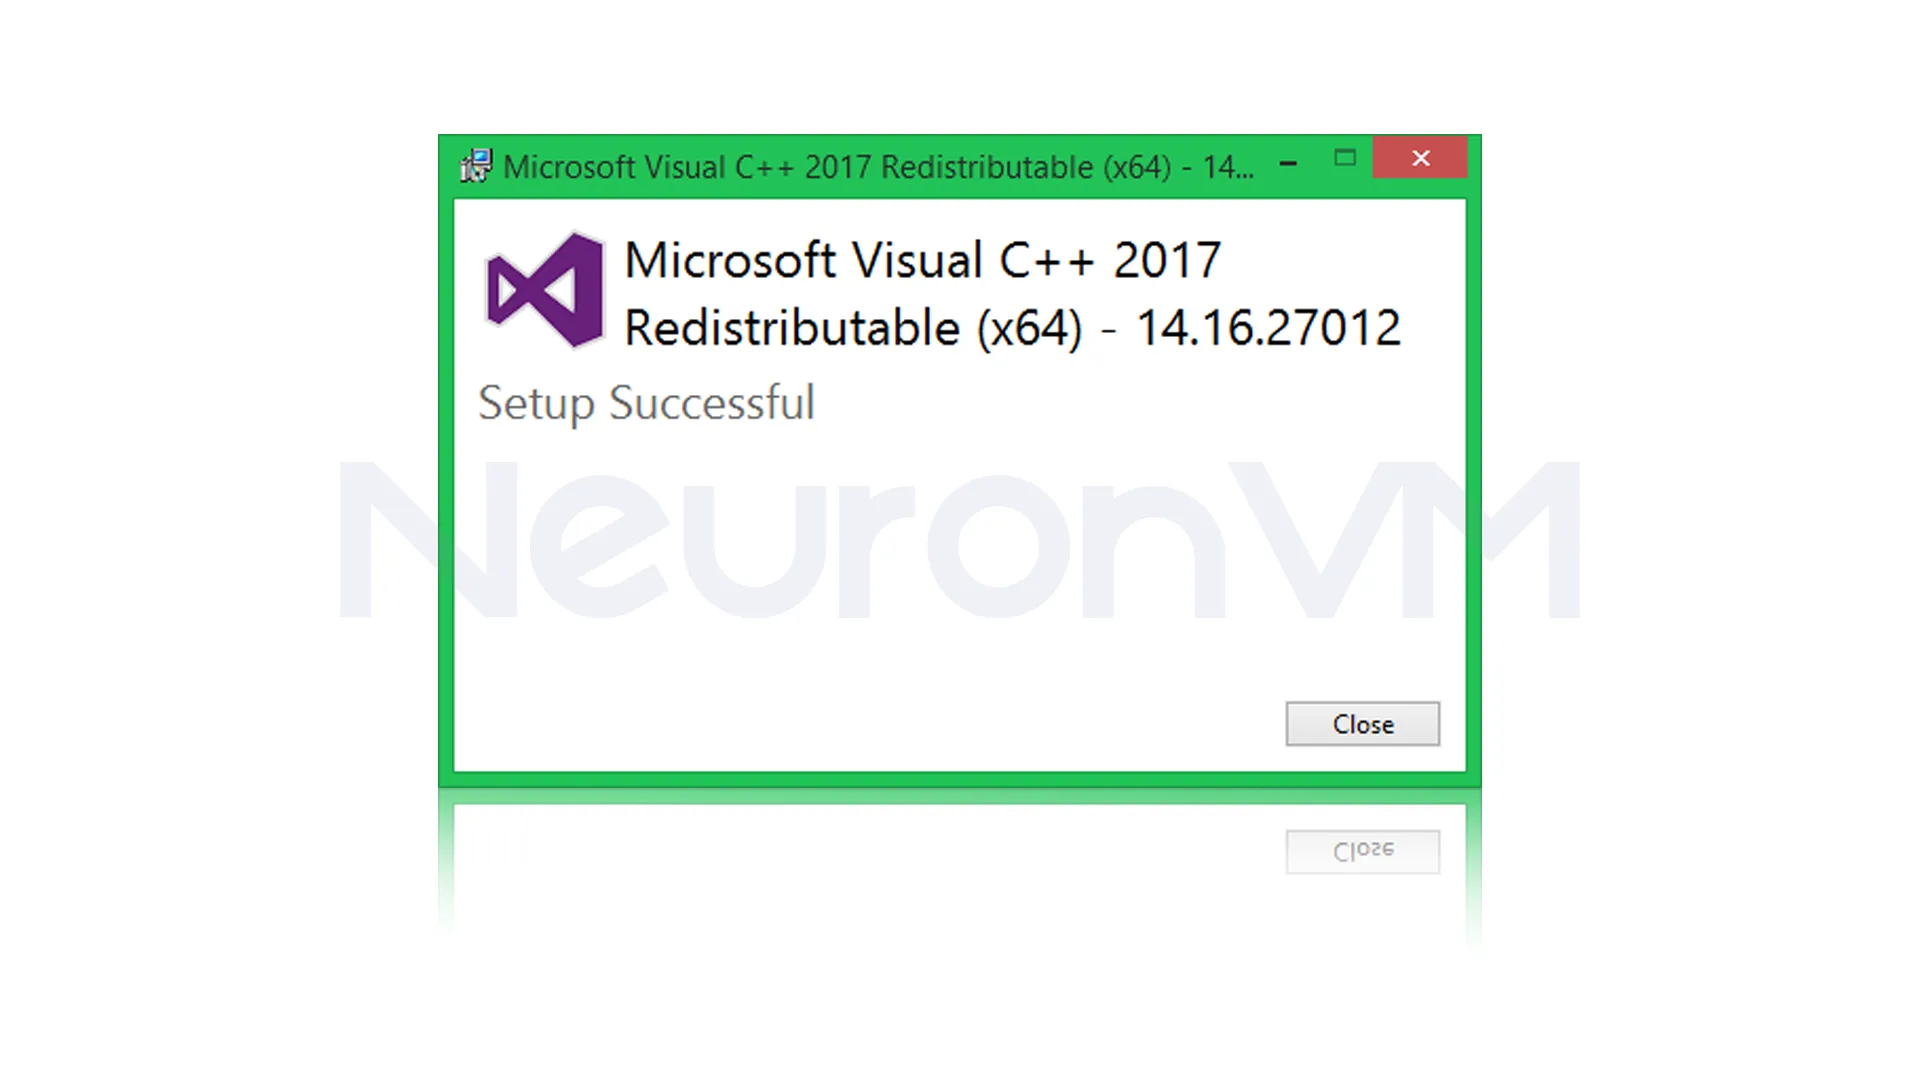
You will see that Microsoft Visual++ installs successfully:
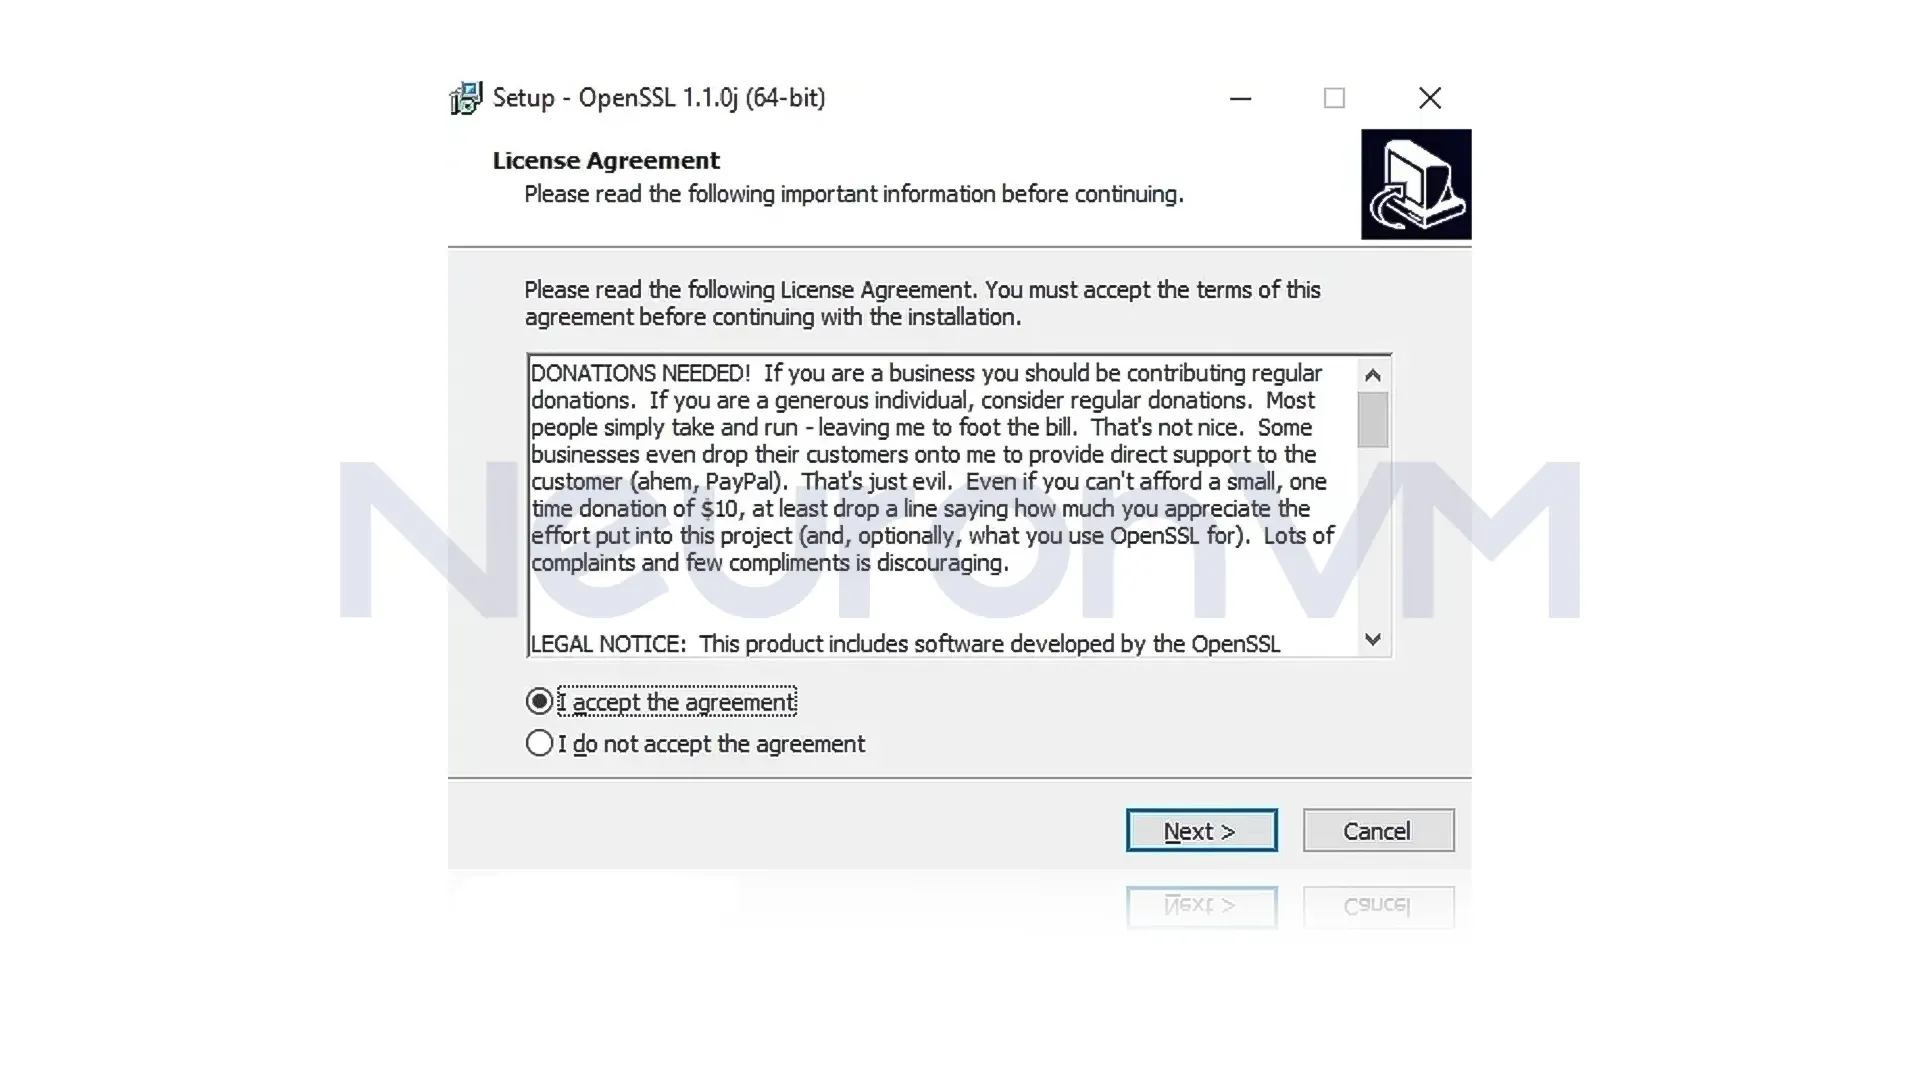
Now you should accept the Software License Agreement and click ”Next”:
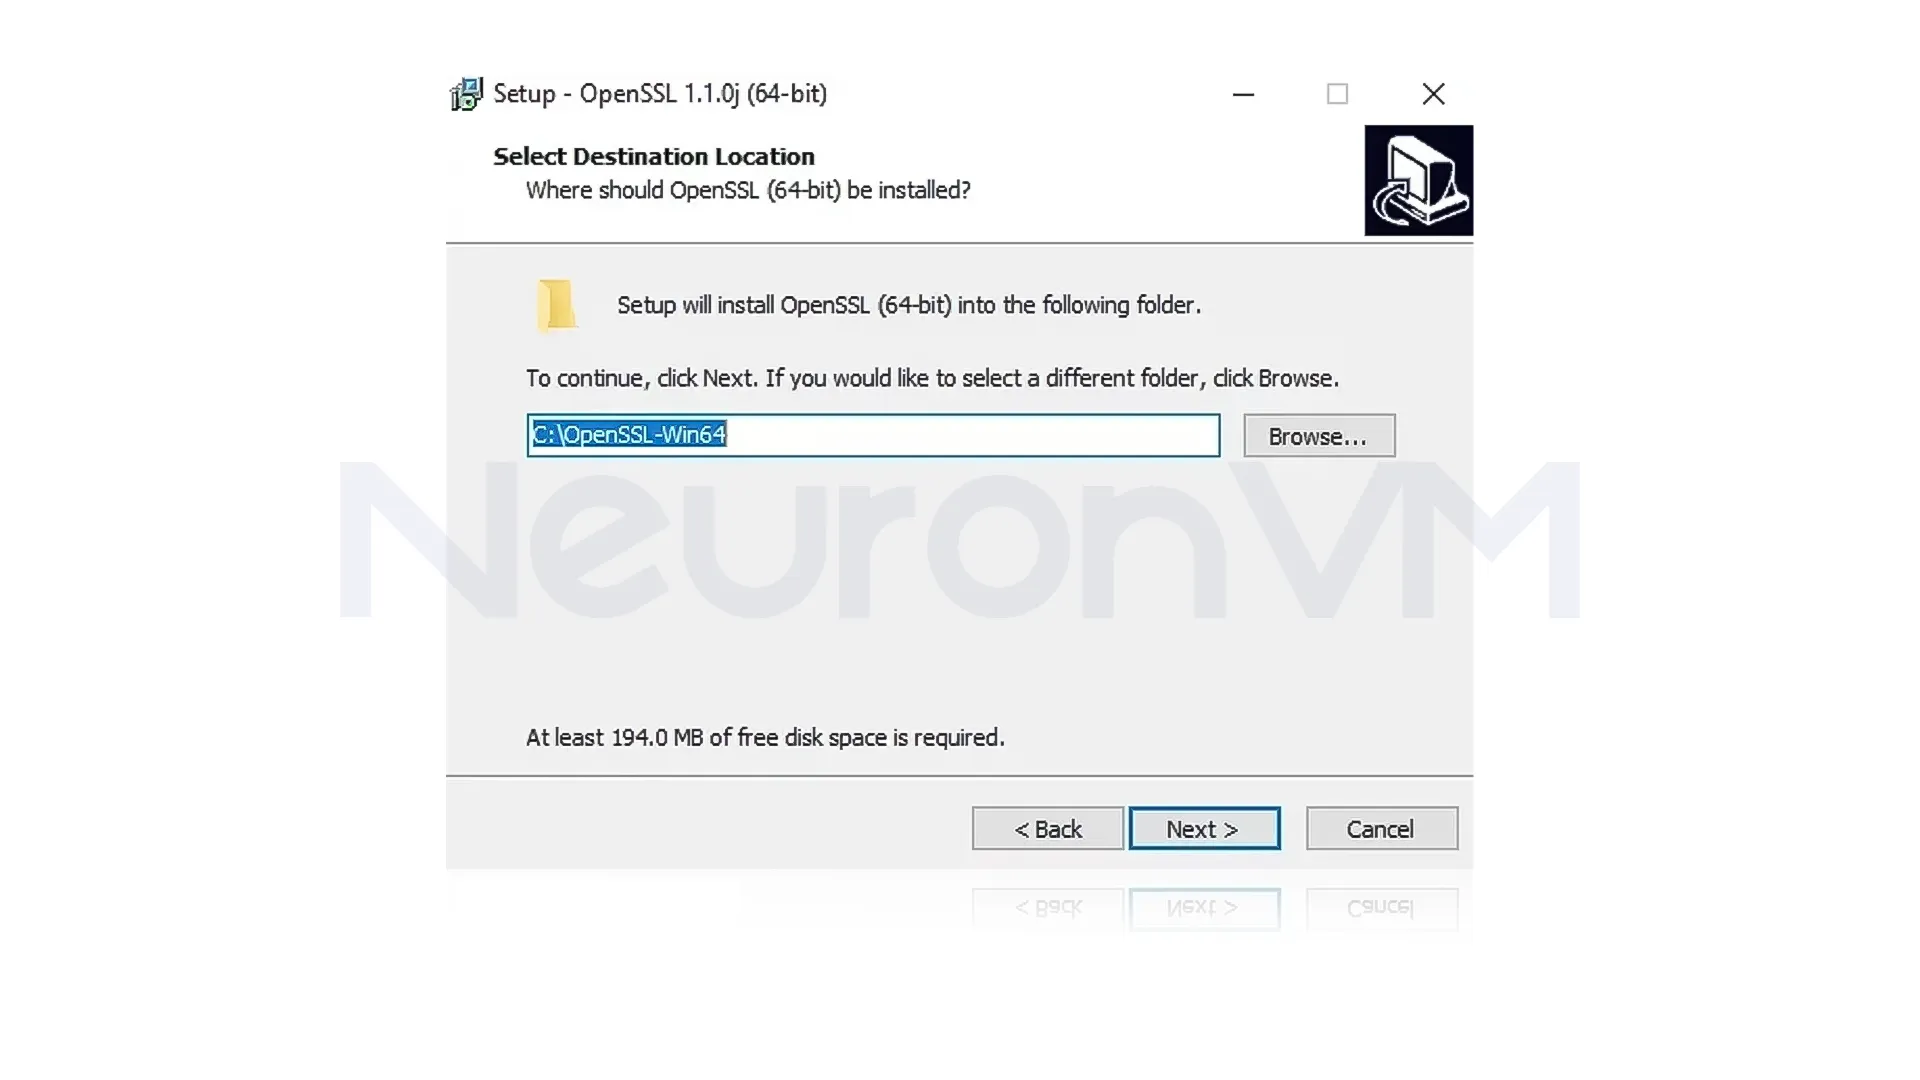
Next, you should select the Destination Folder, where OpenSSL will install:
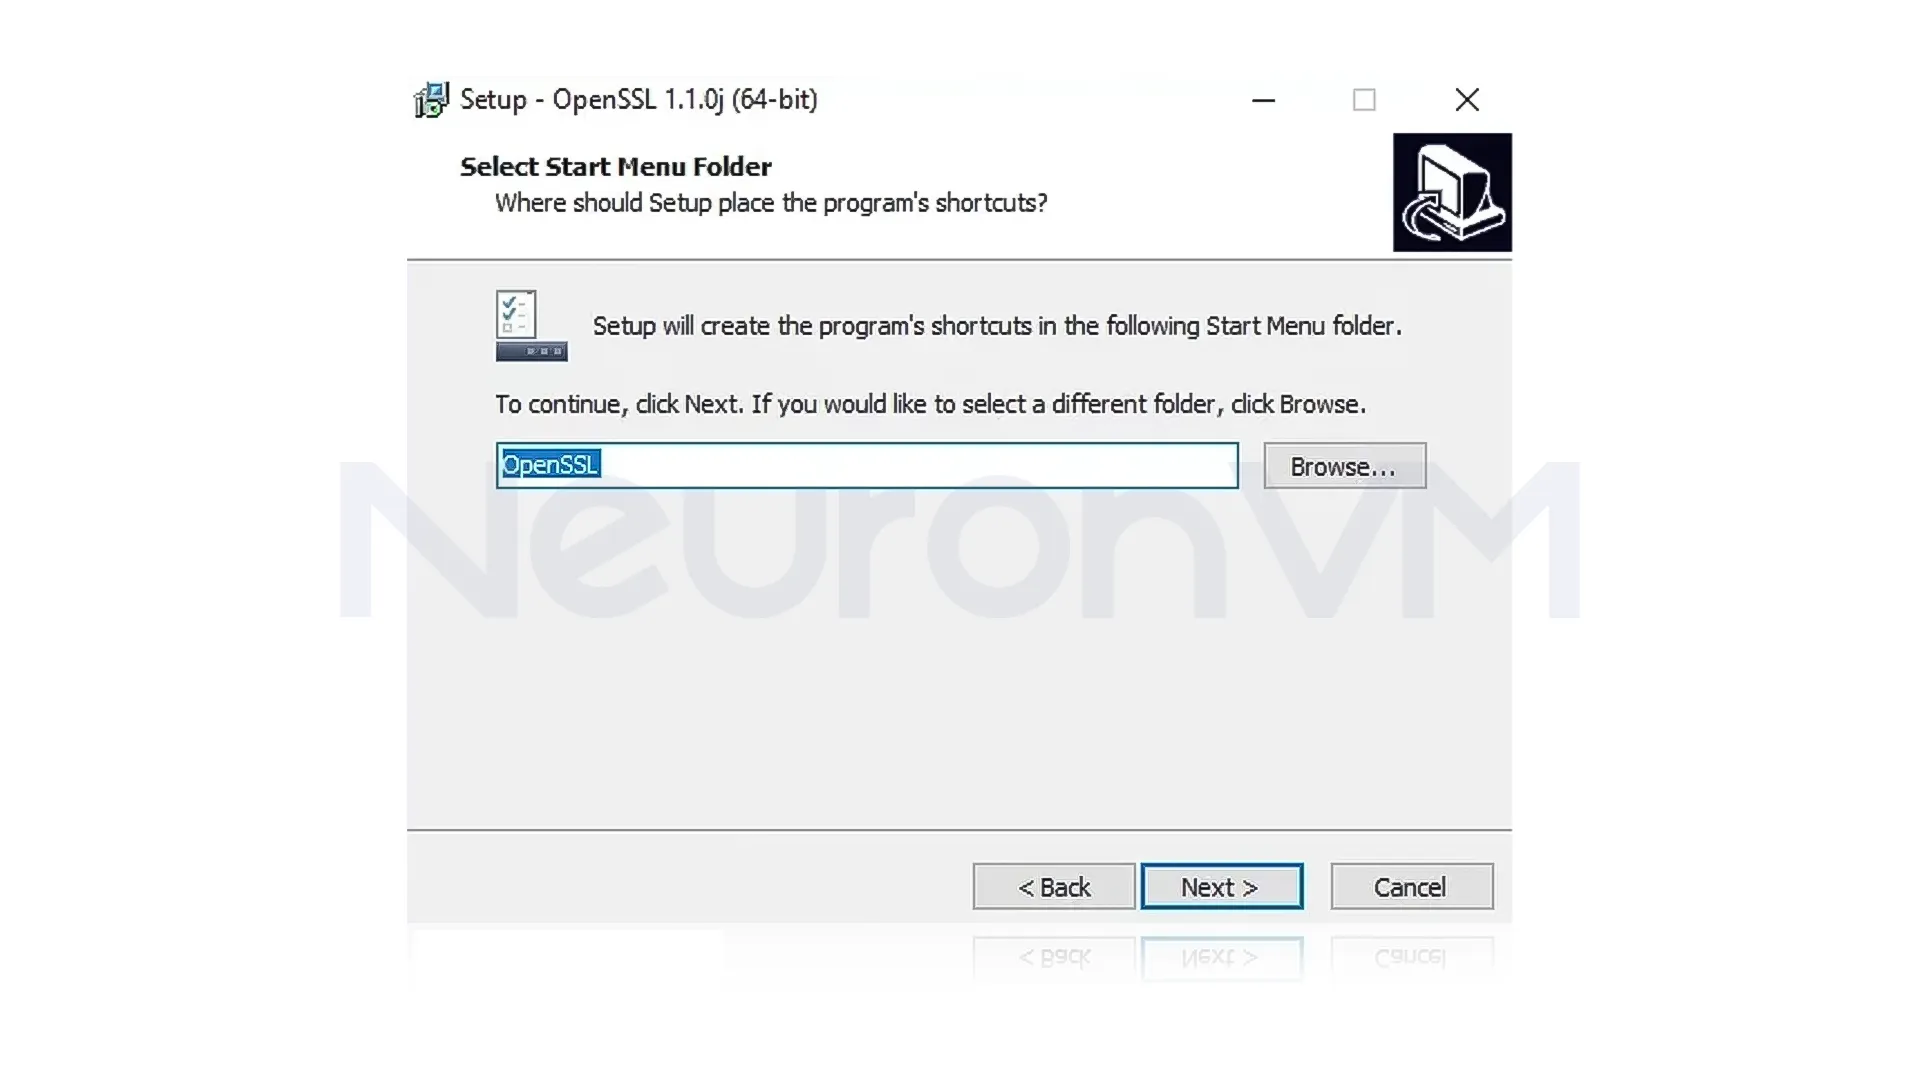
Also, you can select the directory for the Application shortcut:
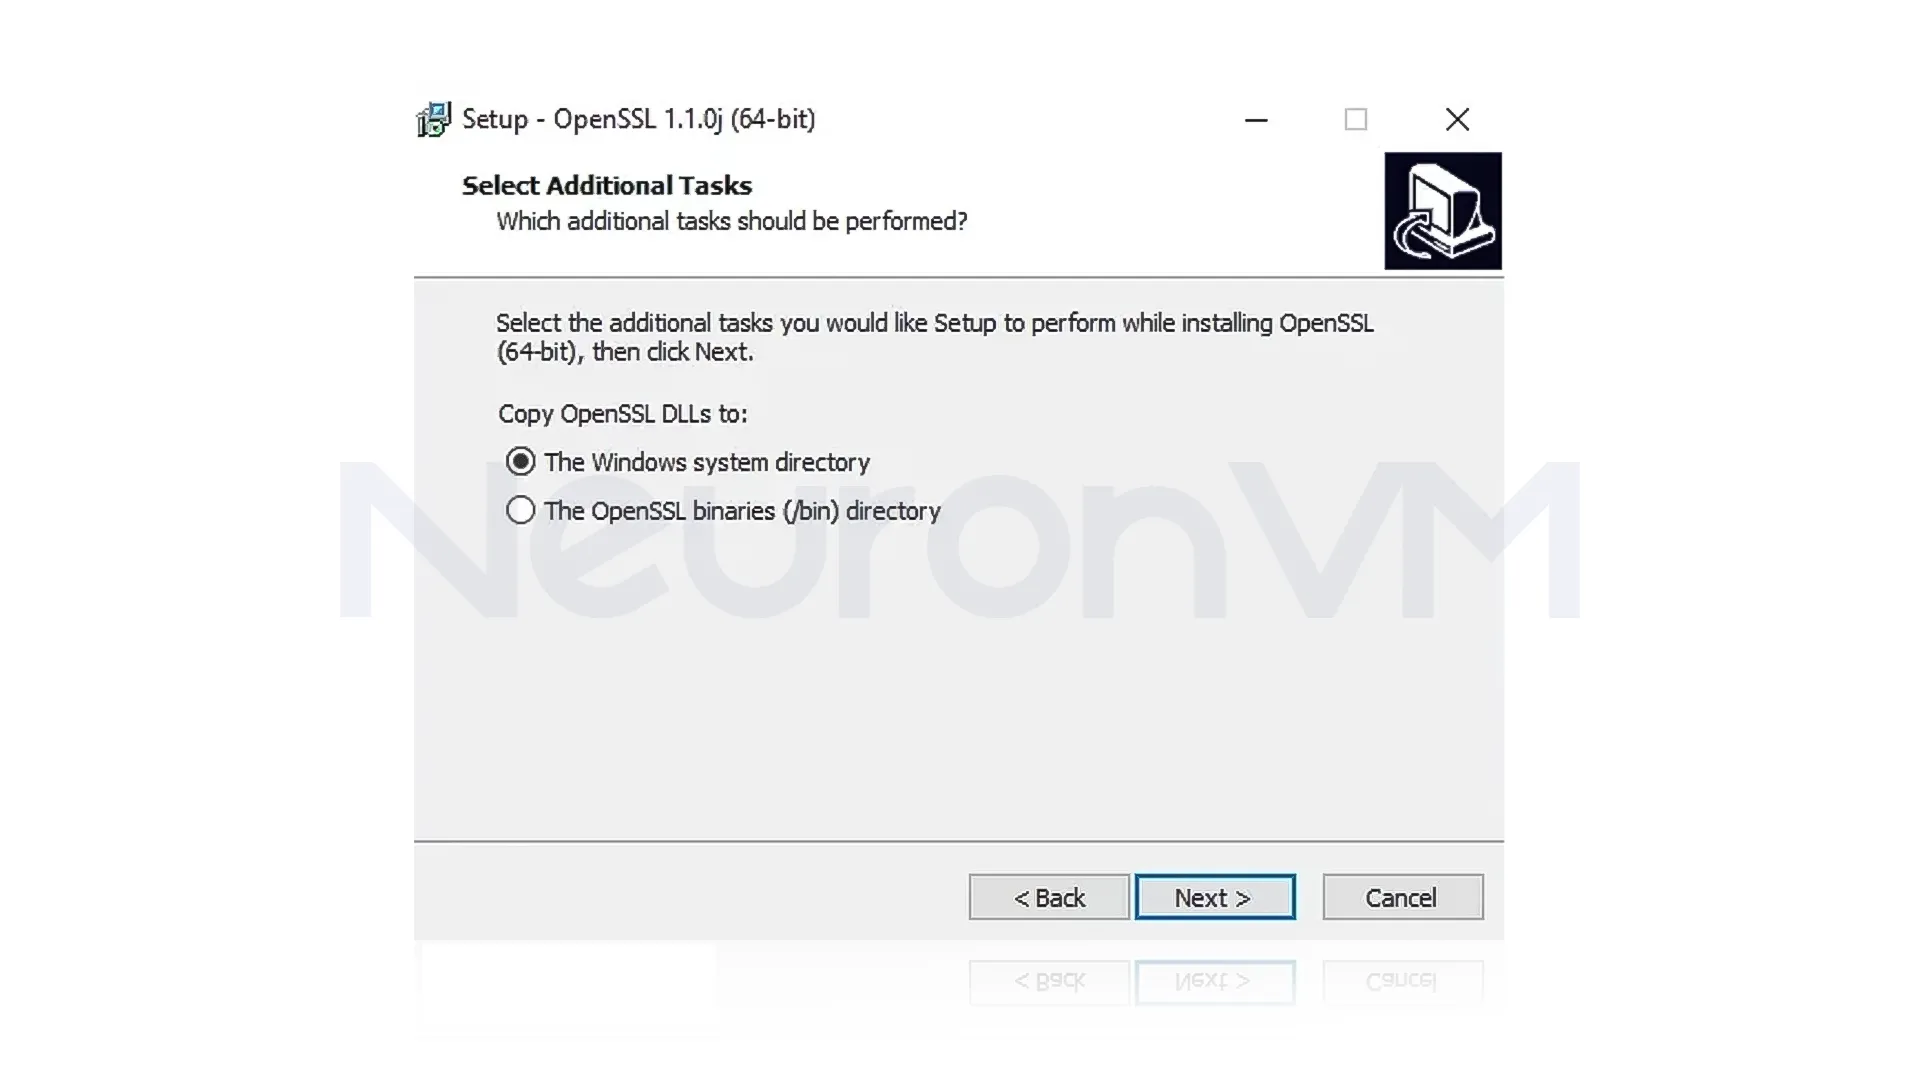
In the next step, you should select Additional Tasks to perform:
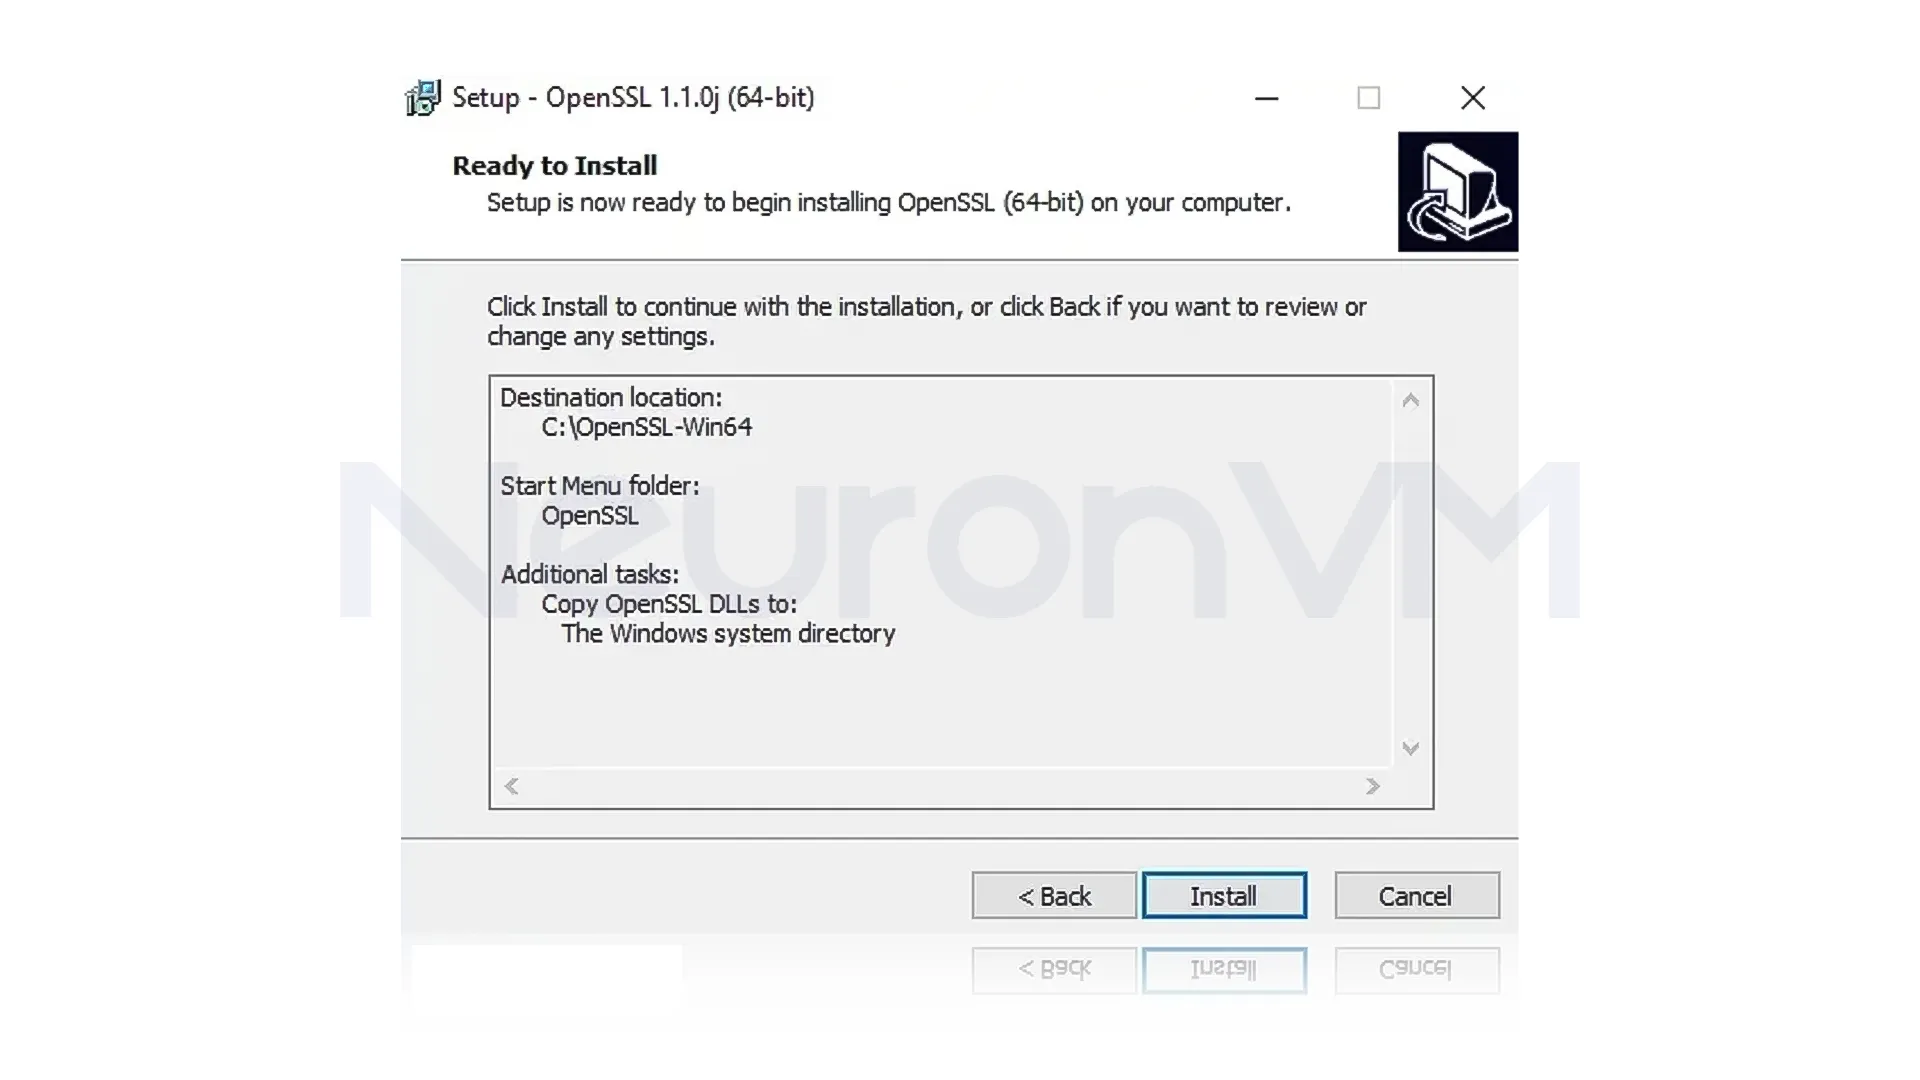
You must click ”Install” to start the installation of OpenSSL on Windows Server 2016:
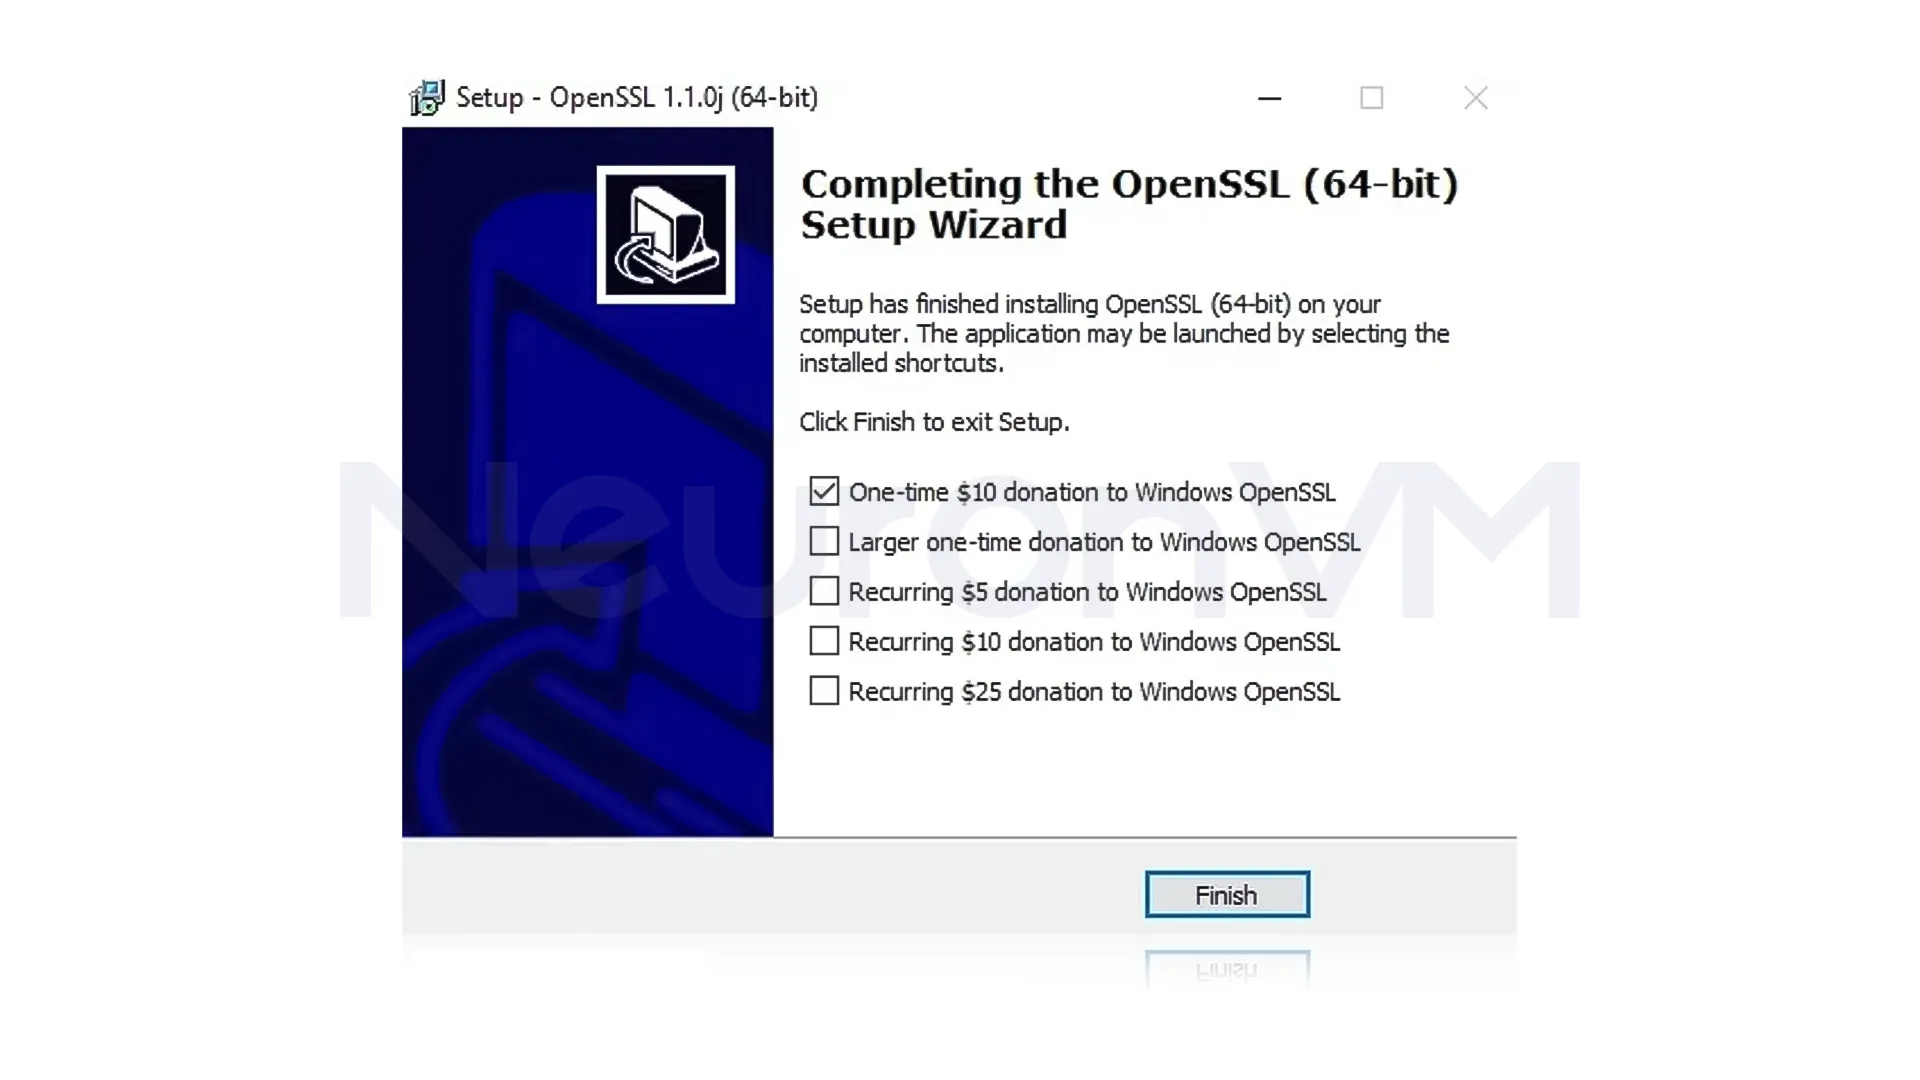
After the installation is complete, click ”Finish”:
Step 3: Setting the Environment Variable
For OpenSSL to work properly, you need to introduce the configuration file:
set OPENSSL_CONF=C:\OpenSSL-Win64\bin\openssl.cfg
If your system is 32-bit, set the path to Win32 instead of Win64.
Step 4: Creating a test certificate
Finally, you can create a test SSL certificate to verify your installation. To do this, you can use the following command:
openssl.exe req -new -nodes -keyout server.key -out server.csr -newkey rsa:2048
Now you can use OpenSSL on RDP 2016 to generate certificates.
Real-world Experience and Practical Tips
When I first installed OpenSSL on Windows Server, I thought it would be a one-click solution. But I realized that without setting the Environment Variables correctly, no commands would run. Also, many admins store private key files (server.key) unprotected, which is a big risk, and in my experience, if you set up the folder structure, file permissions, and environment variables correctly from the start, managing certificates later will be much easier and more secure.
Security Tips After Installing OpenSSL
Installing OpenSSL is the first step, but for real security, you need to take more steps:
Update regularly: Always update OpenSSL and your certificates, because older versions often have vulnerabilities.
Protect your private key: You can easily protect your private key by making the “server.key” accessible to the admins.
Use SSL Checker: We recommend that you always check the status of your certificate and also your configuration.
Comparing OpenSSL with Alternatives
You might ask why we should choose OpenSSL?
Versus proprietary tools: OpenSSL is free and open source, while many similar tools are paid.
High compatibility: Almost all hosting services and servers in today’s market support OpenSSL.
Flexibility: It easily covers everything possible, from creating CSRs to managing proprietary CAs.
Conclusion
Installing and configuring OpenSSL on Windows Server 2016 via RDP is not just a simple technical process, but a key step in protecting data and building trust in an online environment, while this guide covered the basic steps of installing and running OpenSSL, you need to go beyond the initial installation to become a real professional server administrator. What many similar guides forget is the importance of managing the certificate lifecycle, continuously updating OpenSSL against vulnerabilities, and intelligently comparing OpenSSL with alternative tools. For example, commercial SSL tools may offer a simpler user interface, but OpenSSL is the primary choice of most system administrators on large projects due to its open source nature and high flexibility, Although this article focused on installation and configuration, the true value of OpenSSL becomes apparent when you use it in real-world scenarios:
- Creating an internal PKI infrastructure for your organization
- Securing connections between services in DevOps environments
- Monitoring the status of certificates to prevent service interruptions
Finally, installing OpenSSL is the starting point; What takes you from a novice user to a network security and management expert is a deep understanding of security applications, applying best practices, and having a long-term strategy for maintaining and upgrading your SSL/TLS infrastructure.
Used to create and manage SSL/TLS certificates and secure network communications.
No, the Visual C++ package must be installed first to run OpenSSL.
You might like it