How to Record Screen on Windows 10 and 11
 7m
7m
 0 comments
Want to capture your screen activity but don’t know how? This article will provide a guide on How to record screen on Windows 10 and 11. It is easier than it seems like, whether you are a gamer and you want to record your screen while gaming or you do tutorials on YouTube or anywhere, Windows 10 and 11 offer a range of tools and options to help you achieve your goals.
Usage of screen recording in Windows 10 and 11
It is important to know the usage of screen recording and where to use it, screen recording has multiple usage we will explore some of them.
It is very functional for gamers who are doing streams or who want to share their personal enjoyment, it is really essential for teachers or YouTubers who are making content because humans are visual creatures we understand easily with videos and pictures so if you are someone who is trying to teach people it is essential to understand how to do that.
Coming across a problem with your software might be overwhelming but you can record your problems and easily get help from professionals.
How Can I record screen in Windows 10 or 11?
There are several methods for recording your screen in VPS Server Windows 10 & 11, we are going to provide two of them, we recommend using the first method which is the Xbox Game Bar, however, if you get in trouble you can reach out to our experts on NeuronVm or you can try the other method.
First method: Using Xbox Game bar for recording screen
Xbox Game Bar is a feature in Windows that simplifies screen recording. This feature allows users to easily record their tutorials, play games, etc.
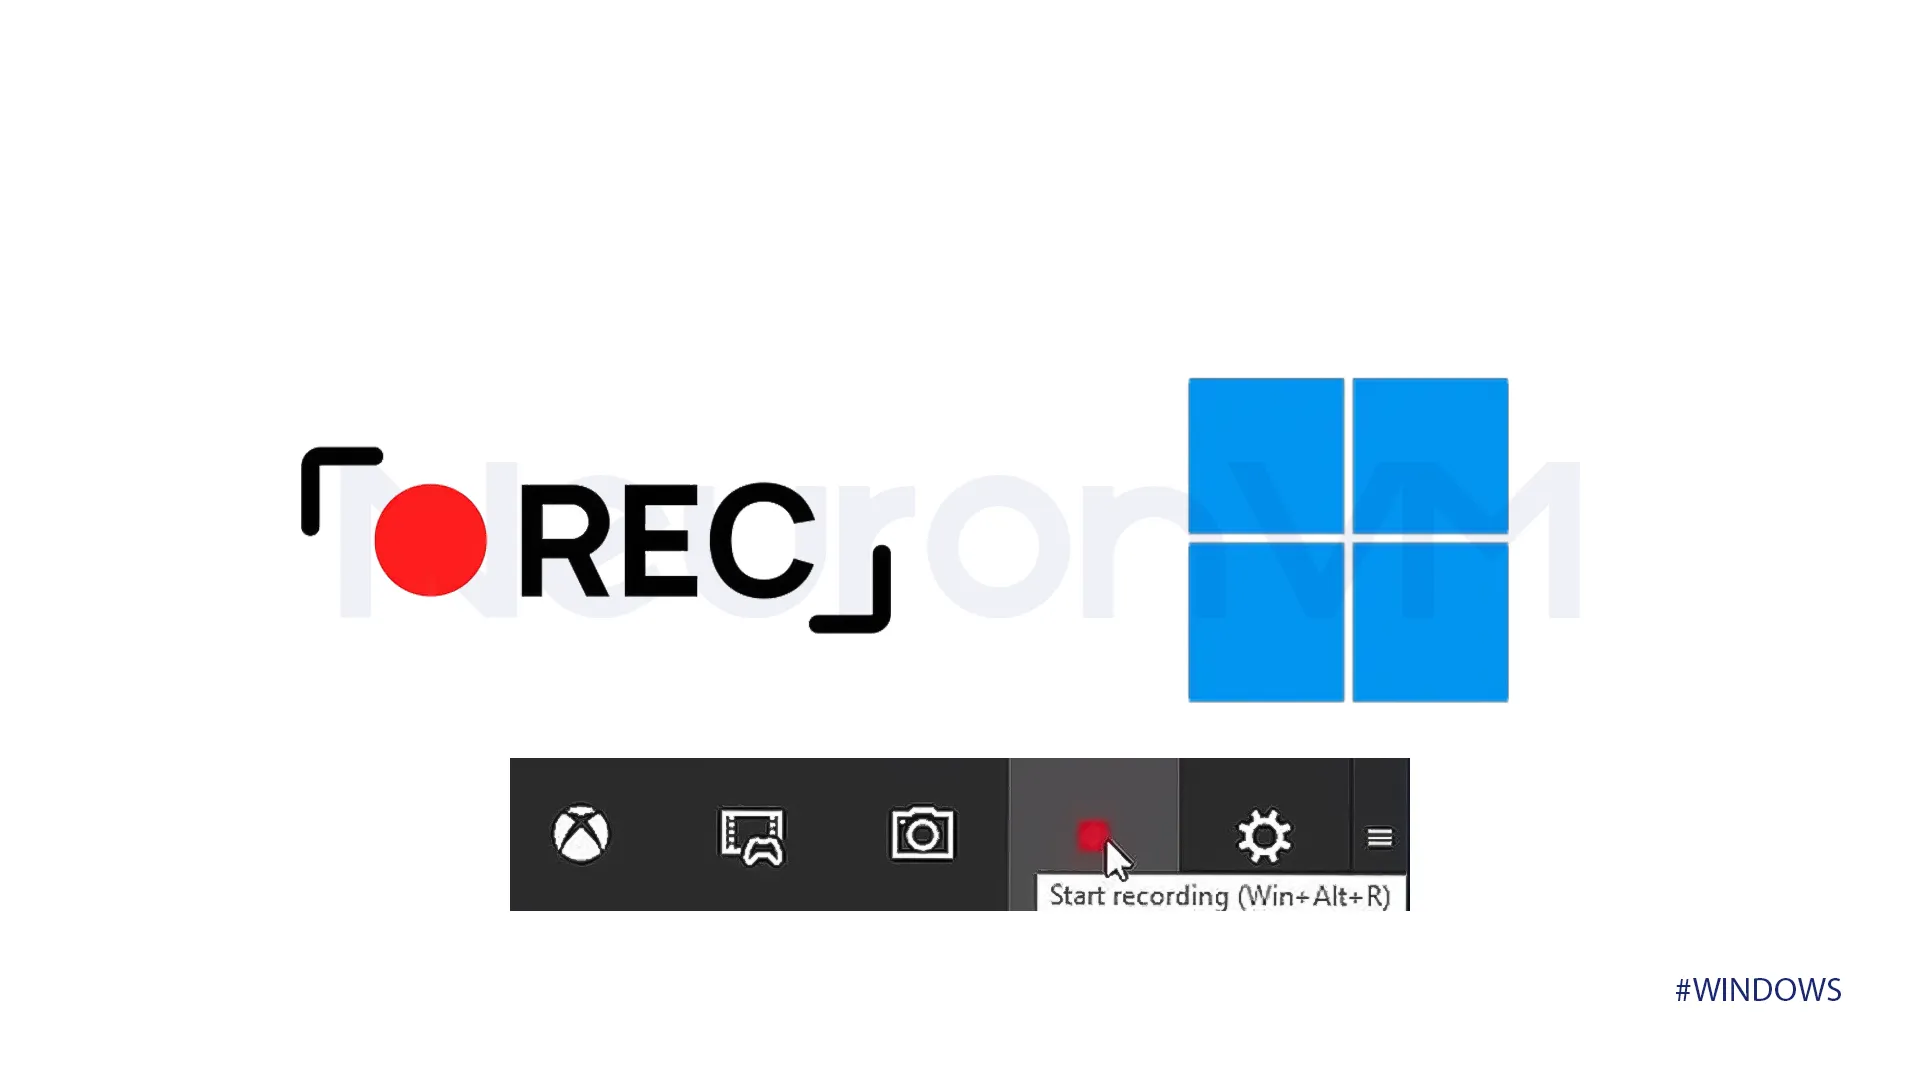
Step 1) For the first step launch the application you want to capture. then hit Windows key + Alt + R after hitting those keys together a widget will show up, you can also launch the Xbox Game Bar by pressing Windows key + G the same widget will appear again.
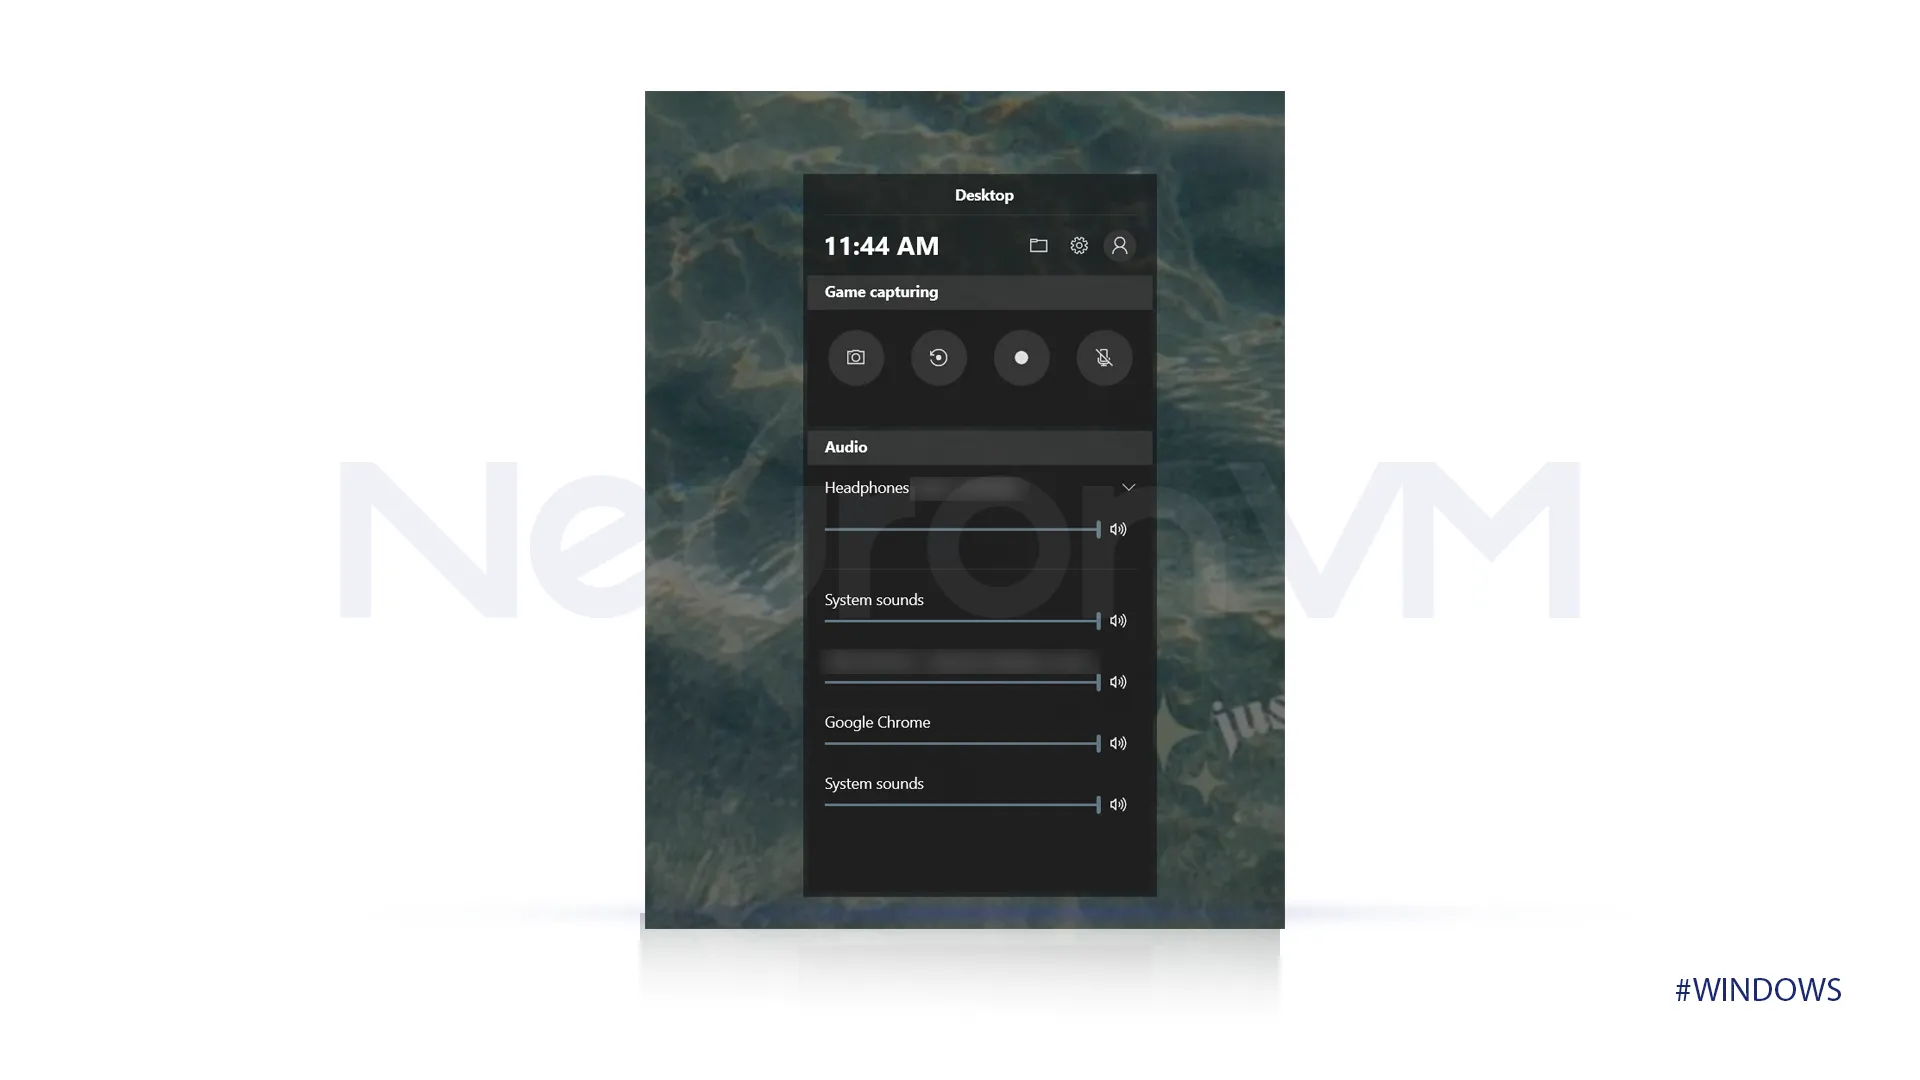
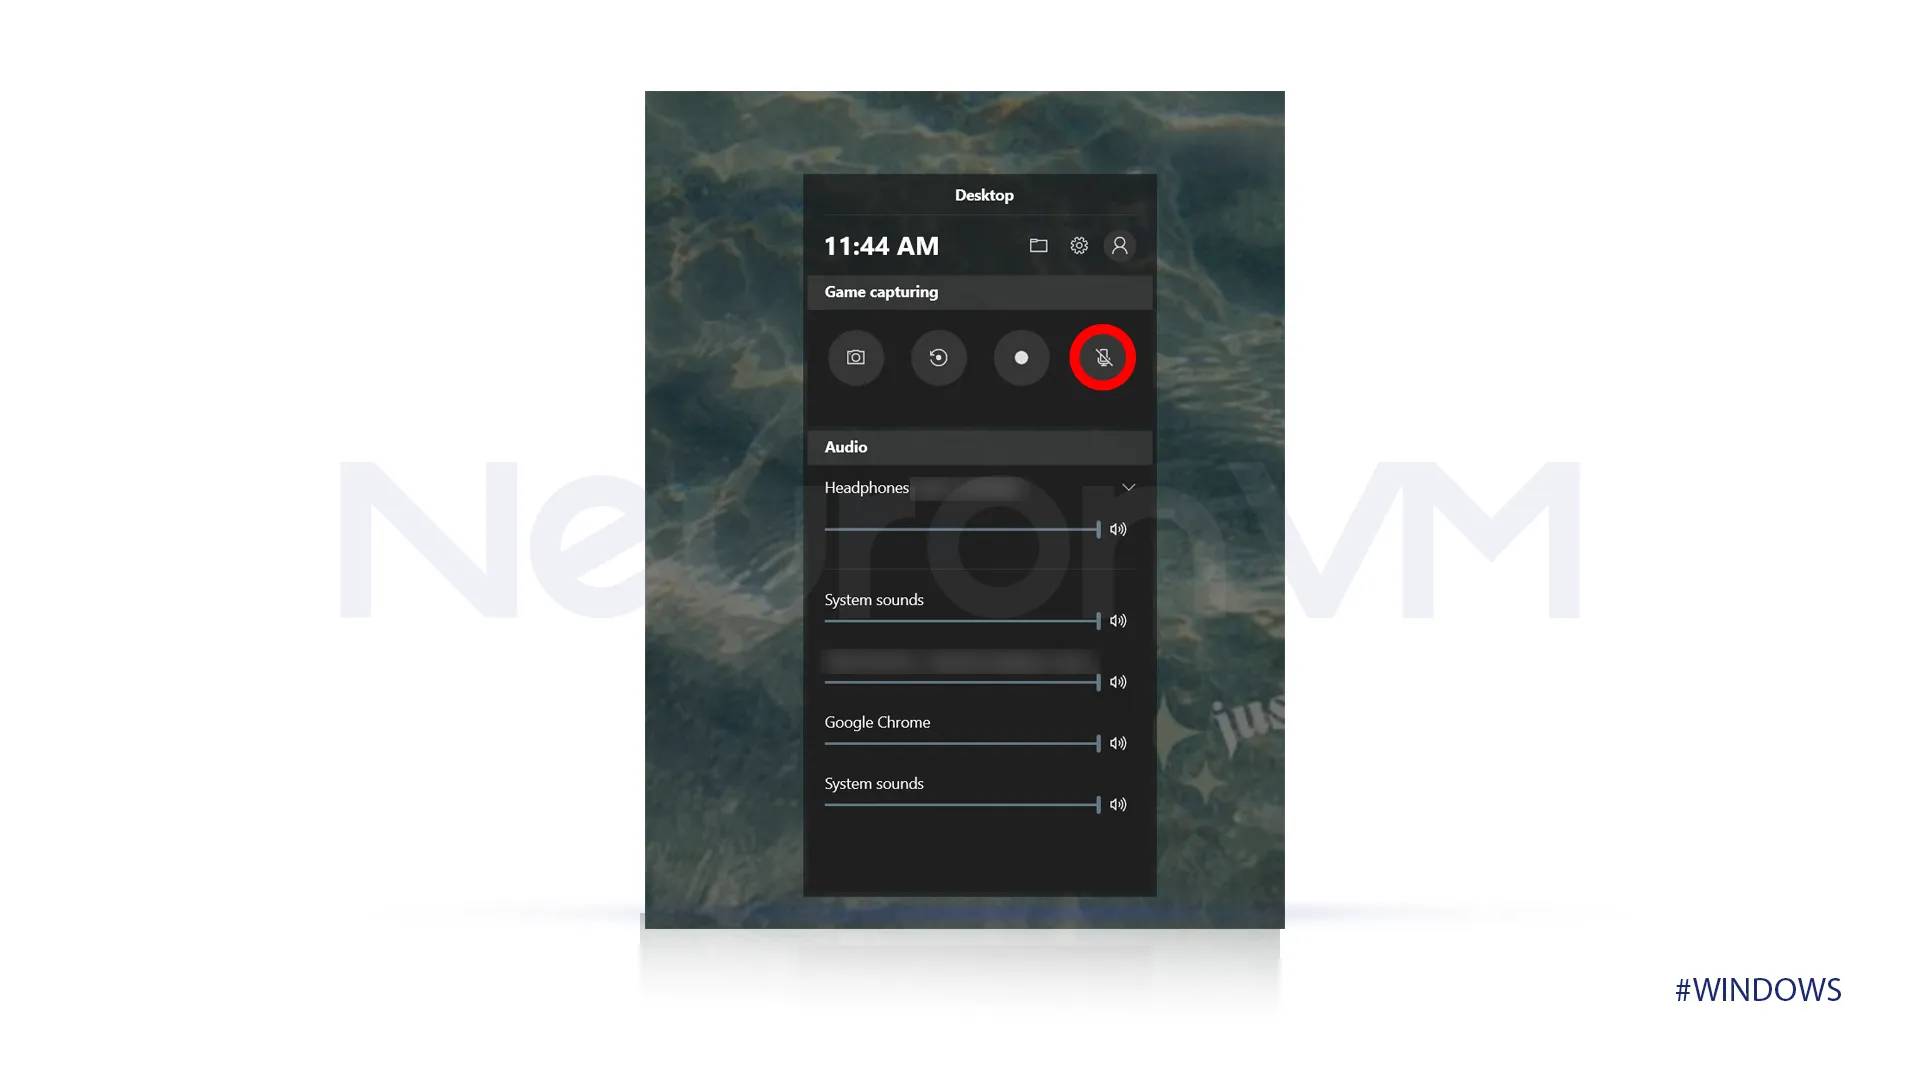
Step 2) If you want your recording to include voice recording to turn on the microphone, you can always change the setting to mute by just clicking on the microphone icon.
 Step 3) After you are done with the recording you can click on the stop button on the widget or press Windows key + Alt + R again to stop the screen recording.
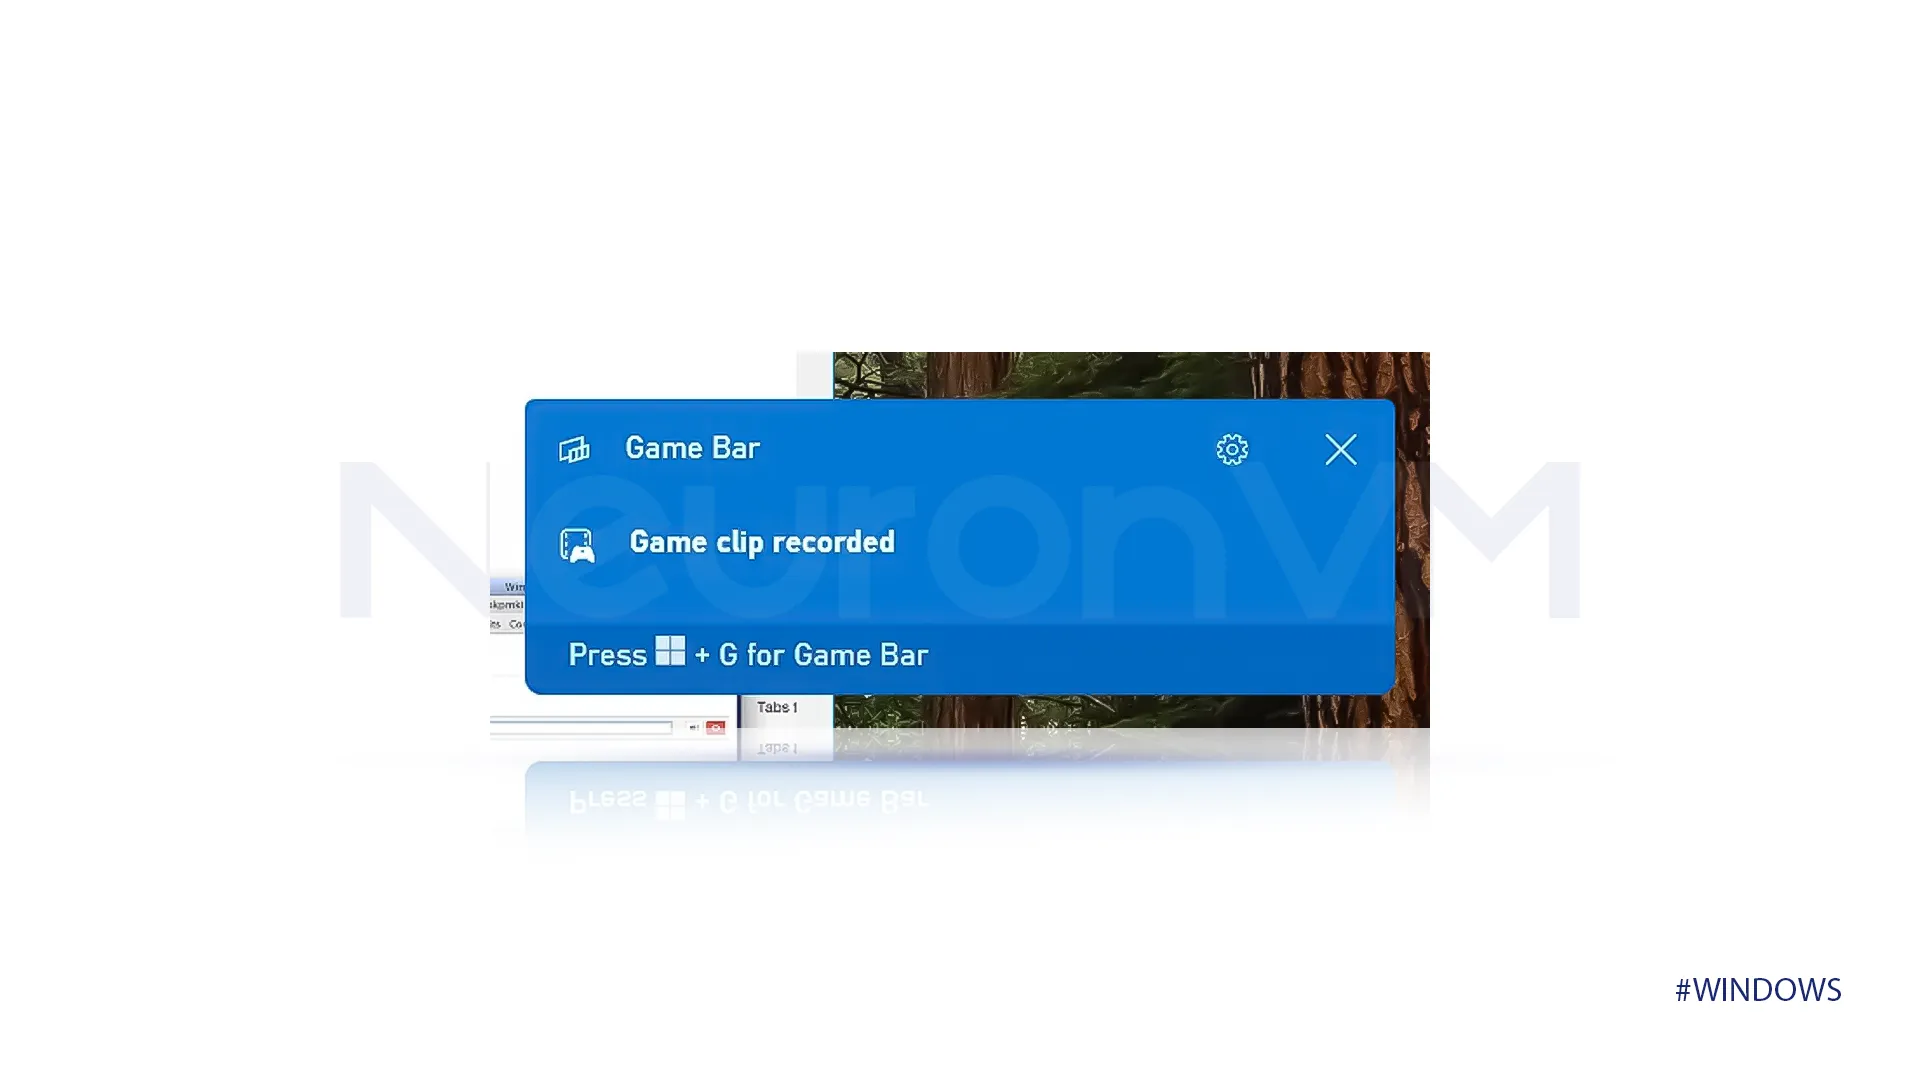
Step 4) You will receive a notification that says “Game clip recorded” Click on it to review the video you have just recorded.
Second method: Using Snipping for recording screen
In case you didn’t know snipping tool can record videos too, with the snipping tool you can select the area you want to record and start recording it. It is also flexible and you can record the entire screen.
Step 1) Run the Snipping tool application by searching it in the start menu or pressing Windows key + Shift + S.
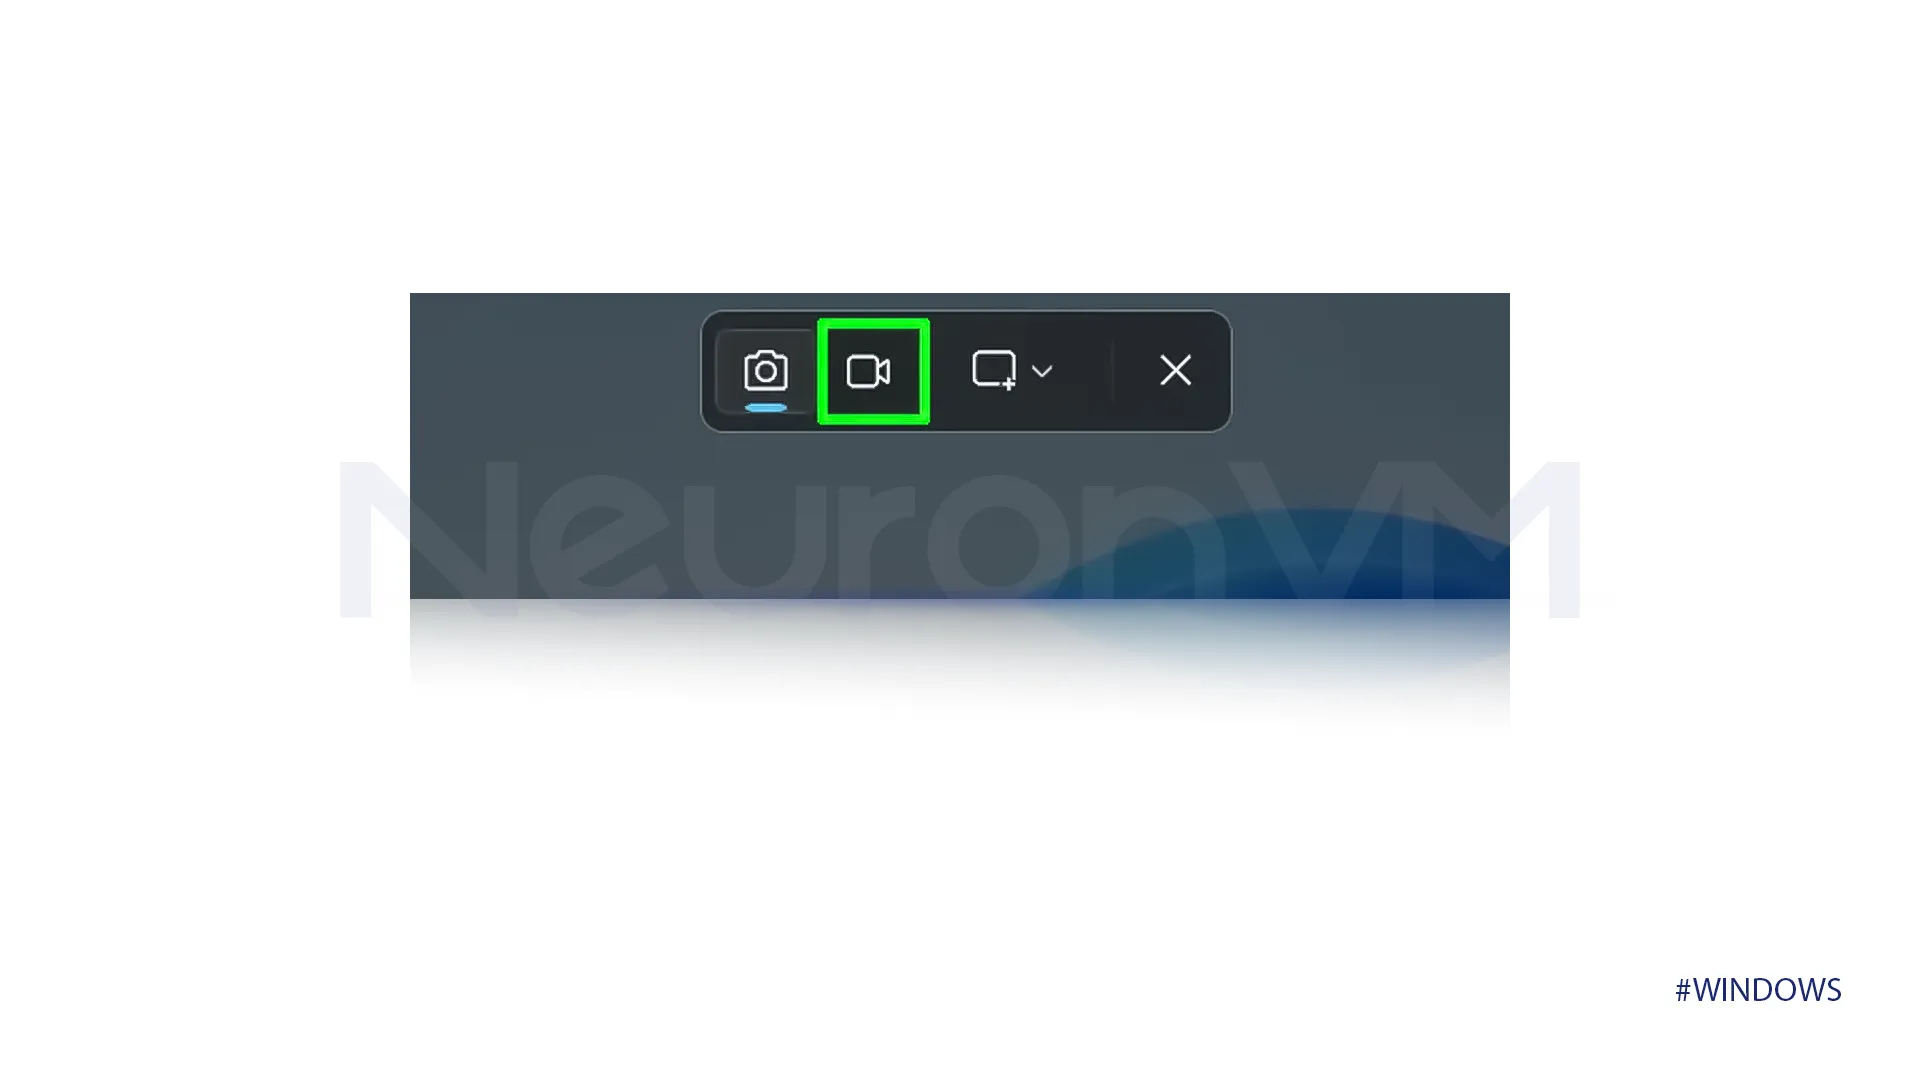
Step 2) After doing the previous step a widget will show up, you have to tap on the video icon to start the recording.
Step 3) If you want to record a frame on the desktop select the frame and start recording but if it is the full screen select the “Full Screen” option or draw a box all over the screen.
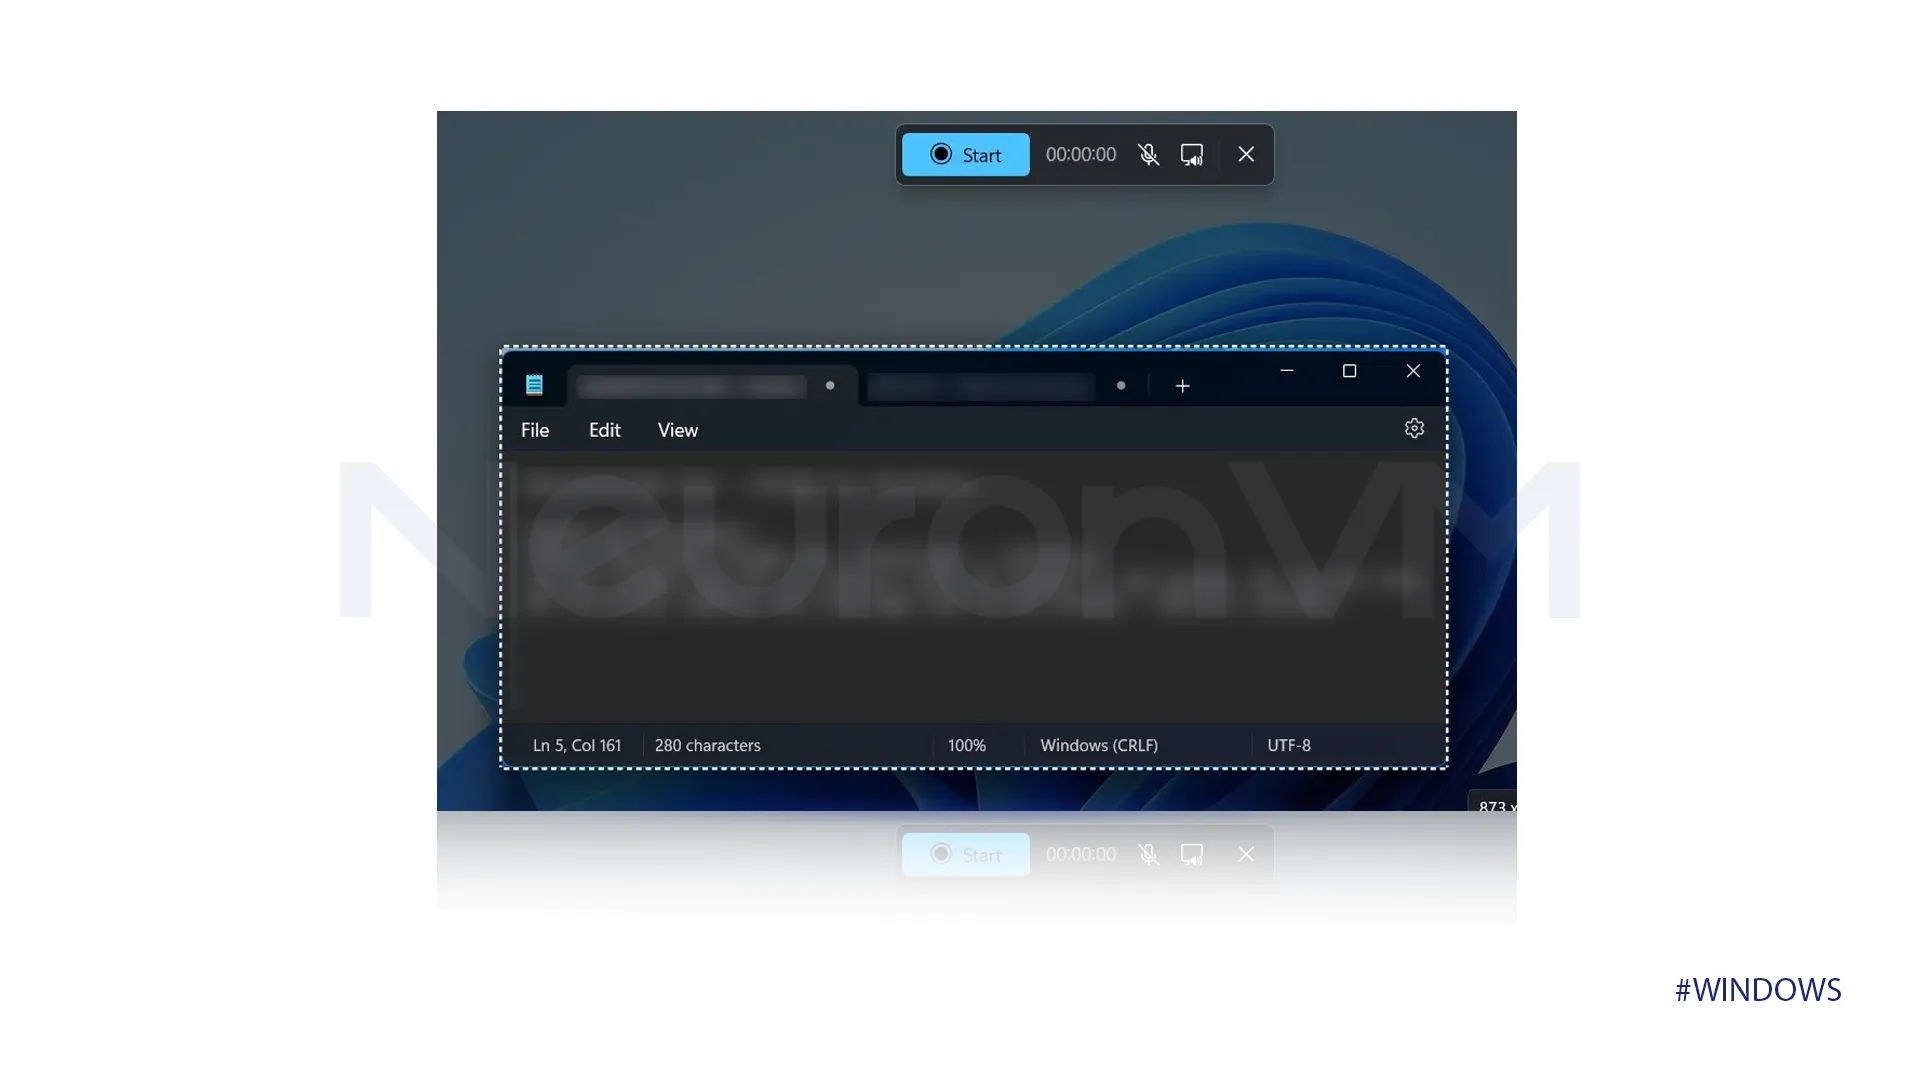
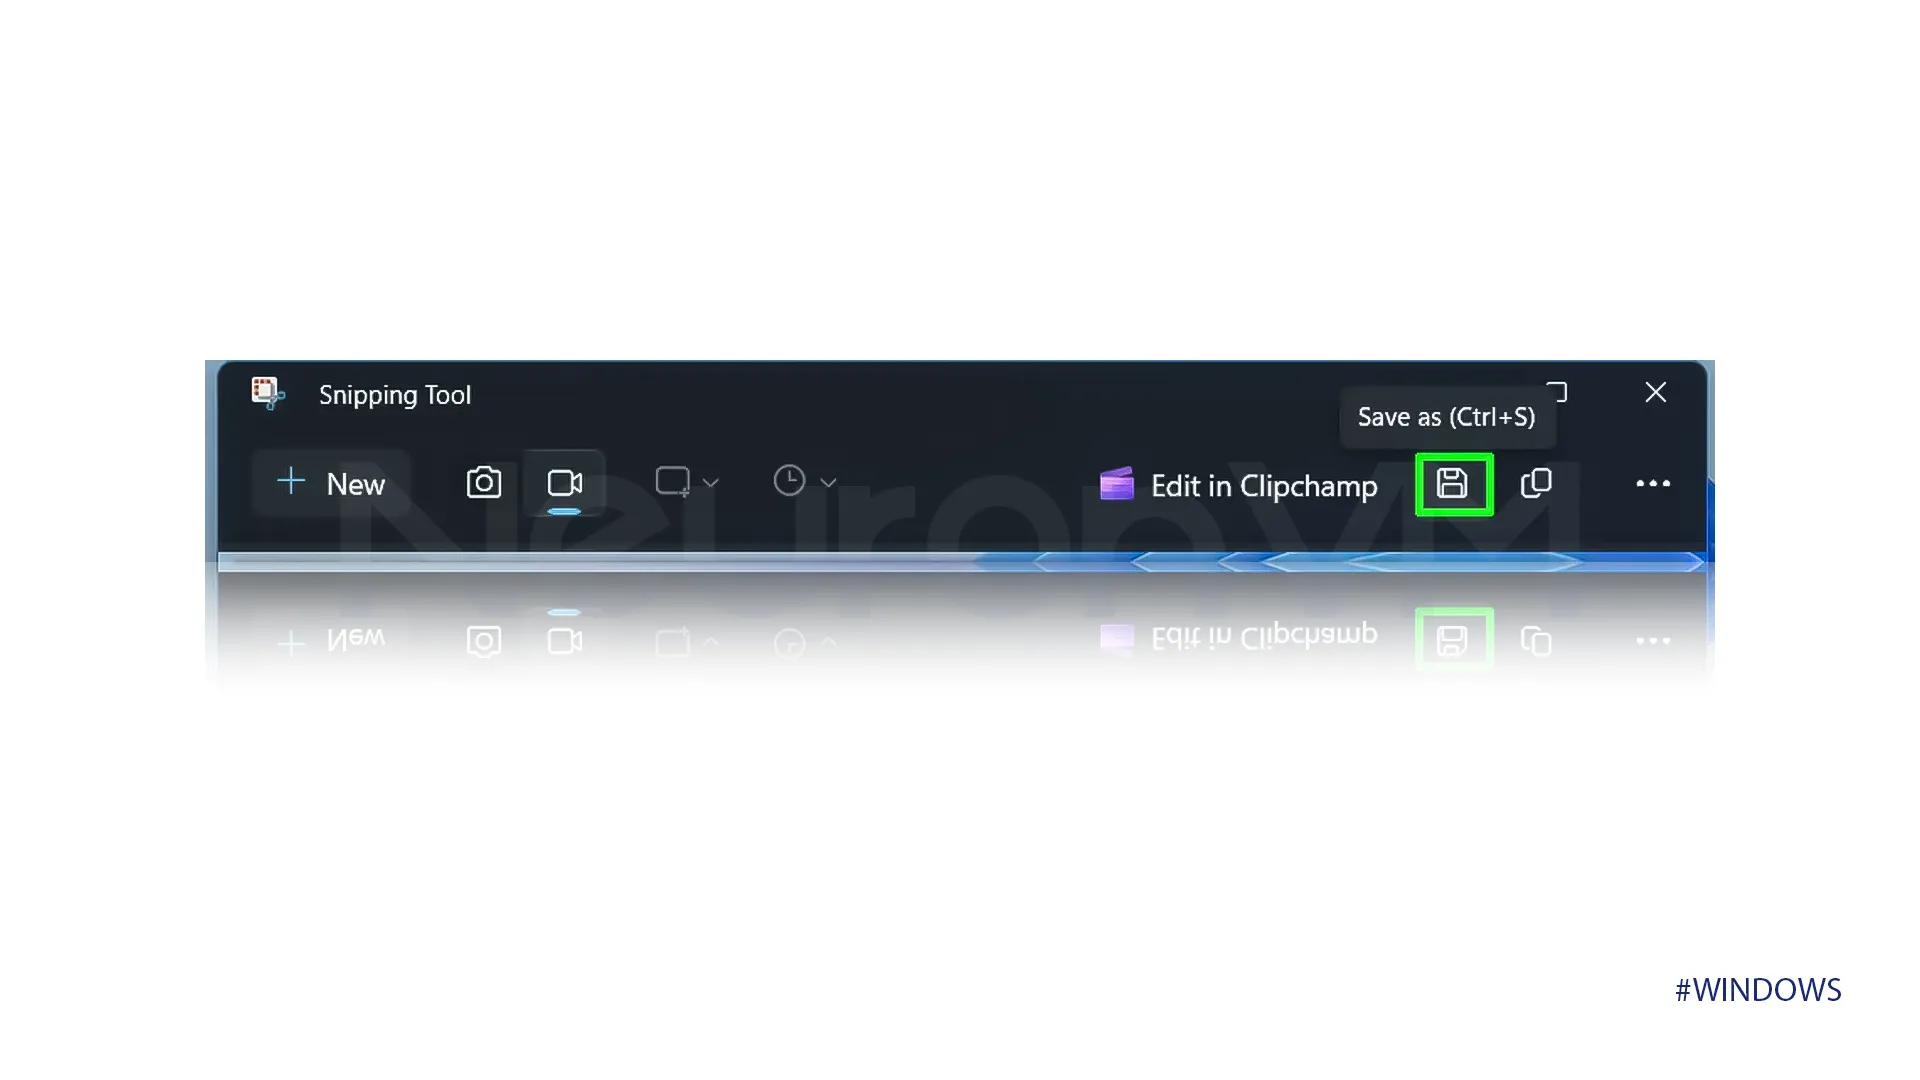
Step) The next steps are pretty much the same as the previous method, you can mute or unmute your microphone, and when you are done with recording press “Ctrl + S” to save your recording.
Conclusion
With built-in features like Xbox Game Bar and Snipping tool recording your screen is not that hard, we provided 2 easy step-by-step guides on how to record screen on Windows 10 and 11.
You need to consider your job and what you want to do with screen recording to choose the best method for yourself if you face any issue trying to record your screen, our experts will help you out on NeuronVM.


