How to Install Python PIP on cPanel

 7m
7m
 0 comments
In this article, we will explain how to install Python PIP on cPanel step-by-step. A popular application for managing web servers. cPanel is a web hosting control panel that operates on a Linux-based system. This application is designed for everyone because of its user friendly interface. This simplicity is a key reason for cPanel’s popularity, as it enables individuals with limited knowledge to manage their hosting servers efficiently. To purchase your first plan, visit the main cPanel company or check out neuronVM website.
What is PIP?
PIP stands for “pip install packages.” It is the essential tool for effortlessly managing and installing packages in Python, making your coding experience smoother.
How to check the PIP version of your server
First, use the command to check if PIP is already installed on your device.
pip -- version
If it is not installed, you can visit the main website to download it.
Note: If you are using Python version 3.4 or newer, it is already installed.
Requirements for Setup Python PIP on cPanel
- root access
- cPanel installed on the server
- update server
If your server is CentOS, enter the following command in the terminal:
sudo yum update
If your server is Ubuntu, you can use the following command in the terminal:
apt-get update && upgrade
If your server is osAlmaLinux, please input the following command in the terminal:
dnf update && upgrade
14 Steps to Set up Python PIP on cPanel
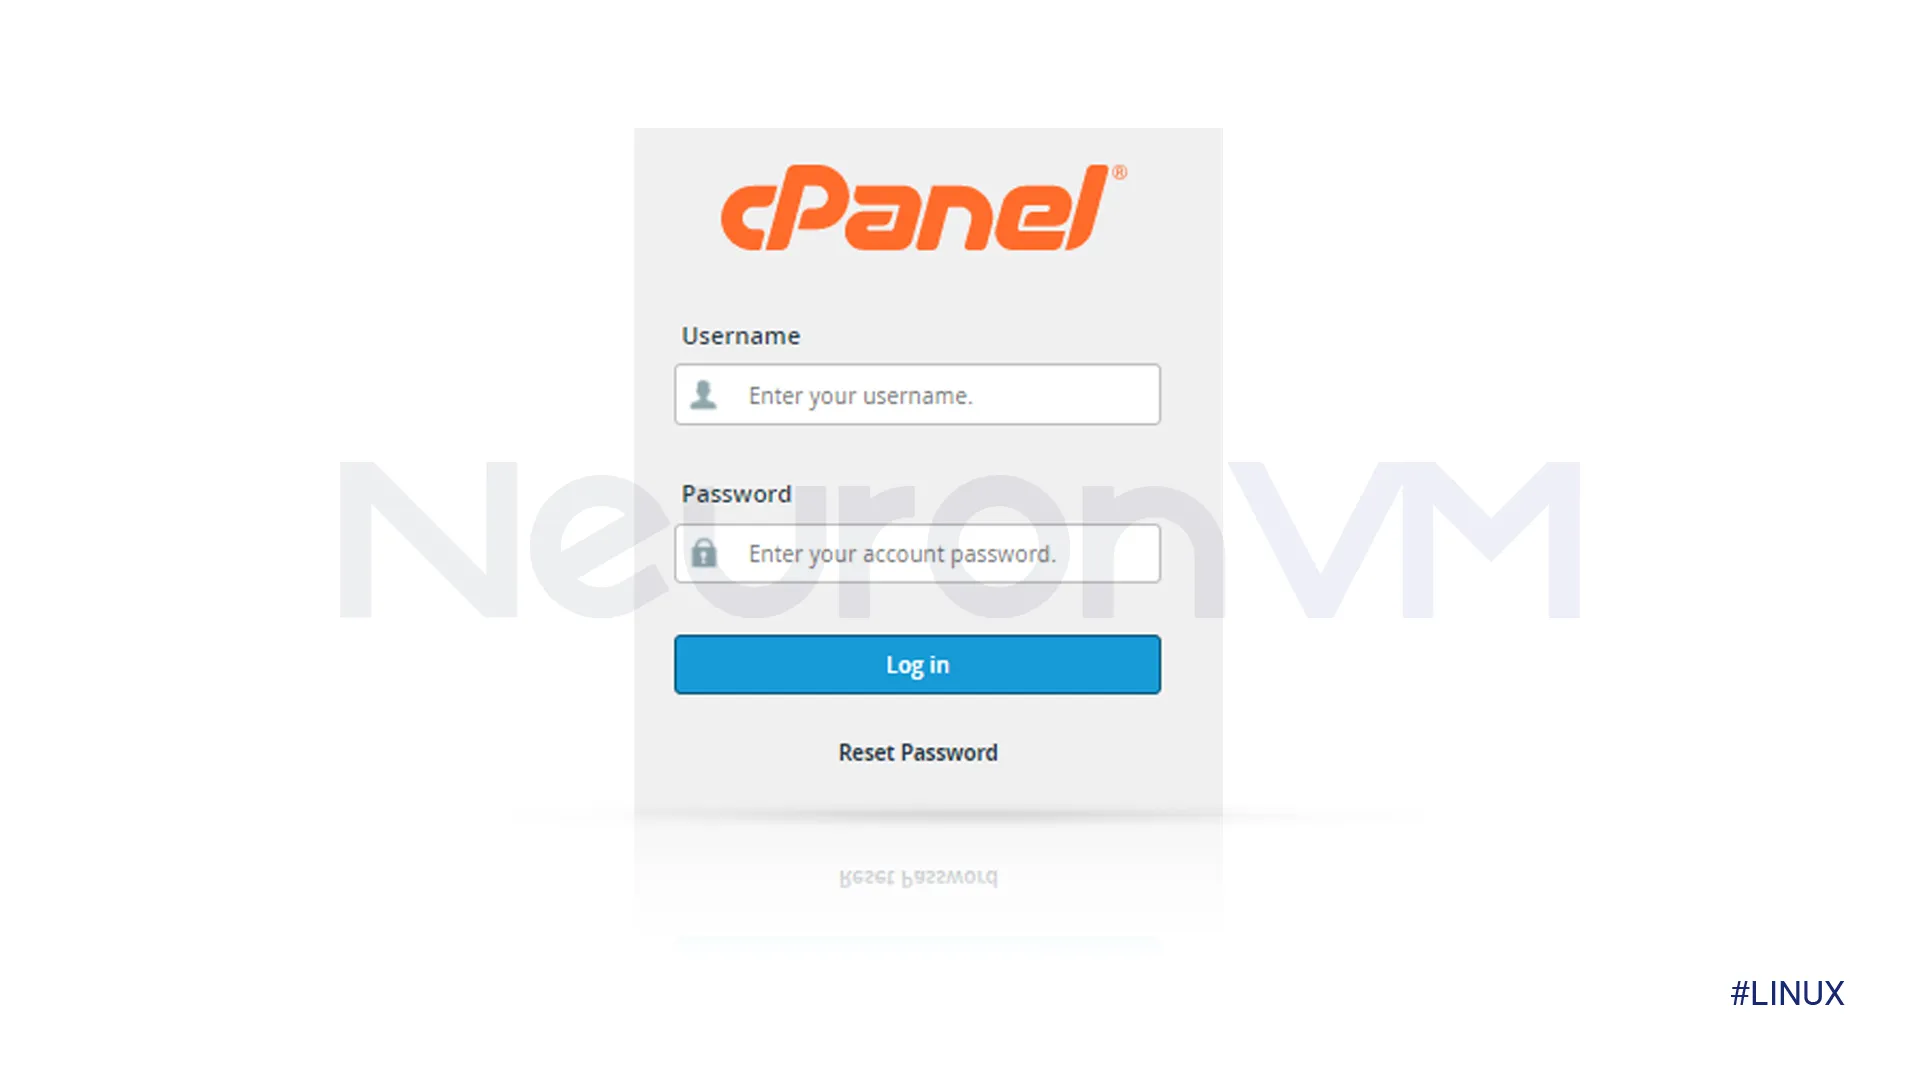
Step 1) The first thing to check is if root access to cPanel is allowed, and then you can log in to your cPanel.
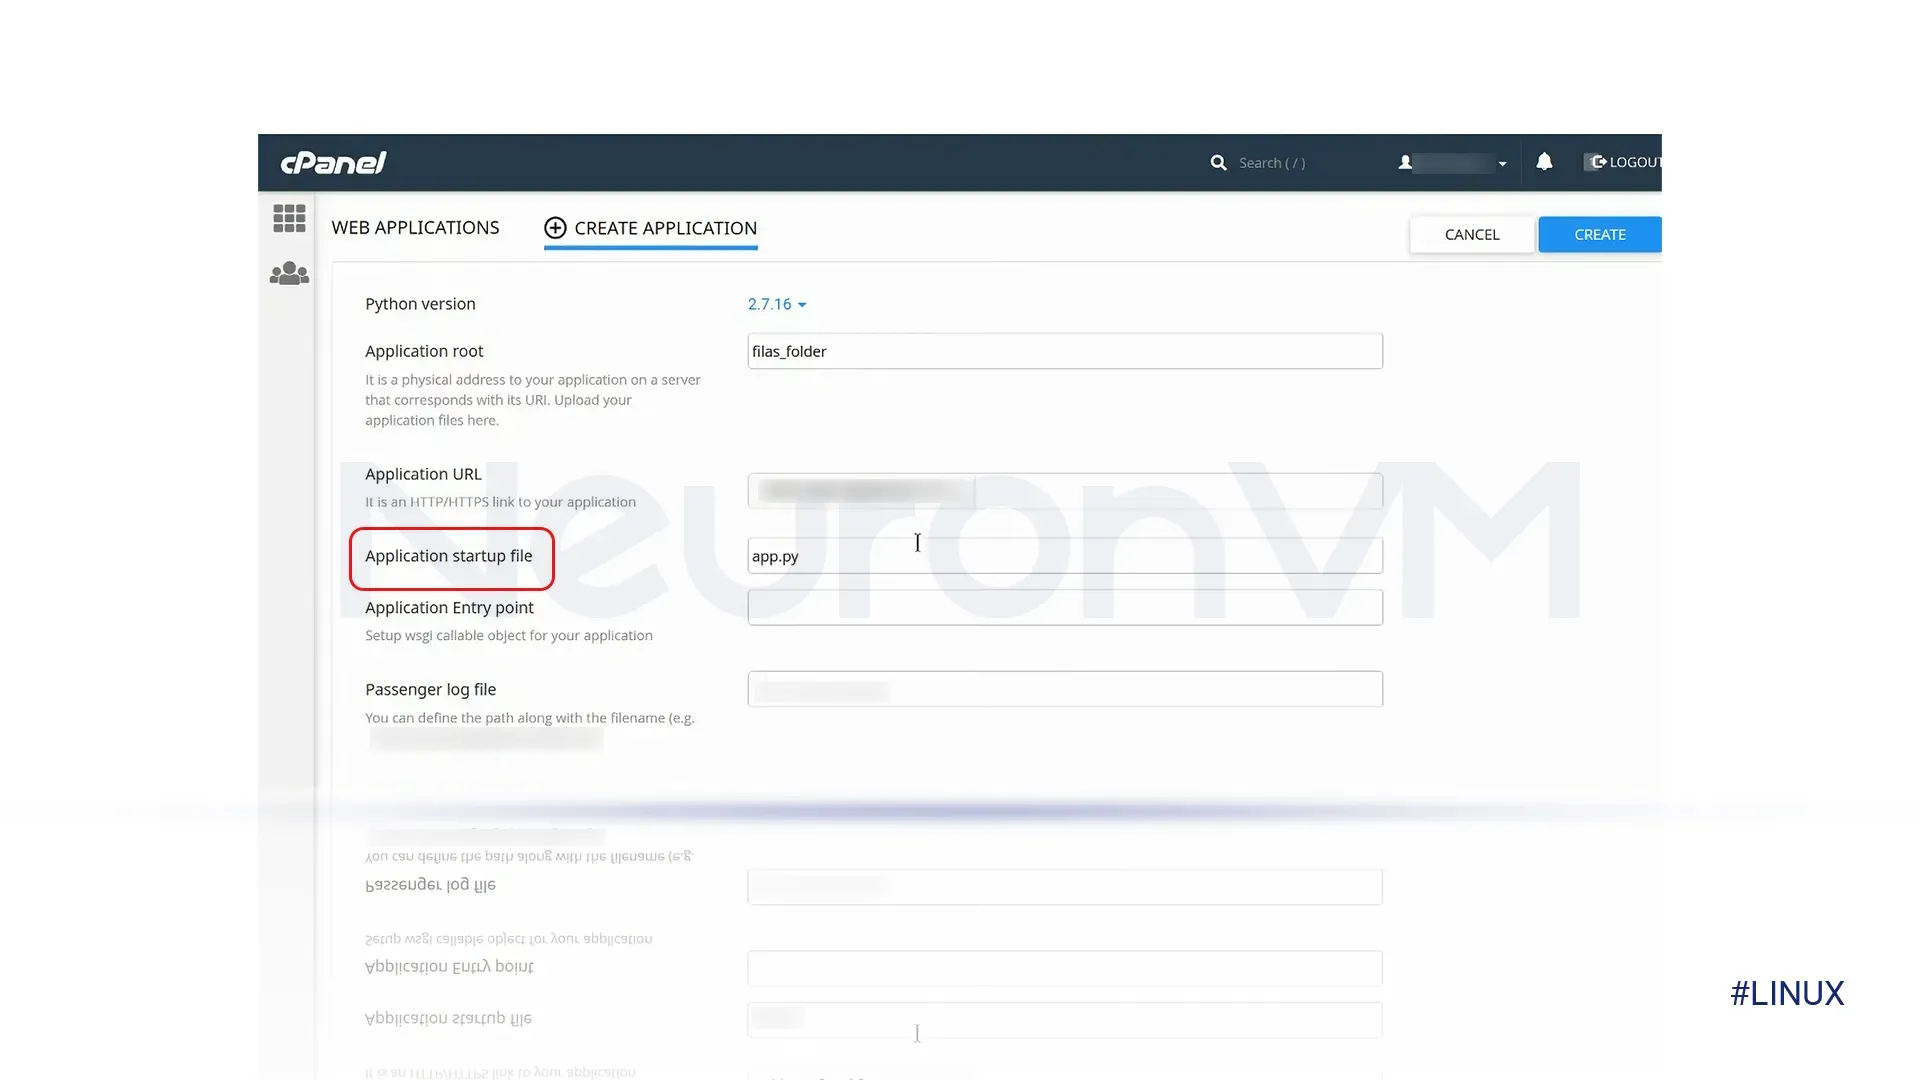
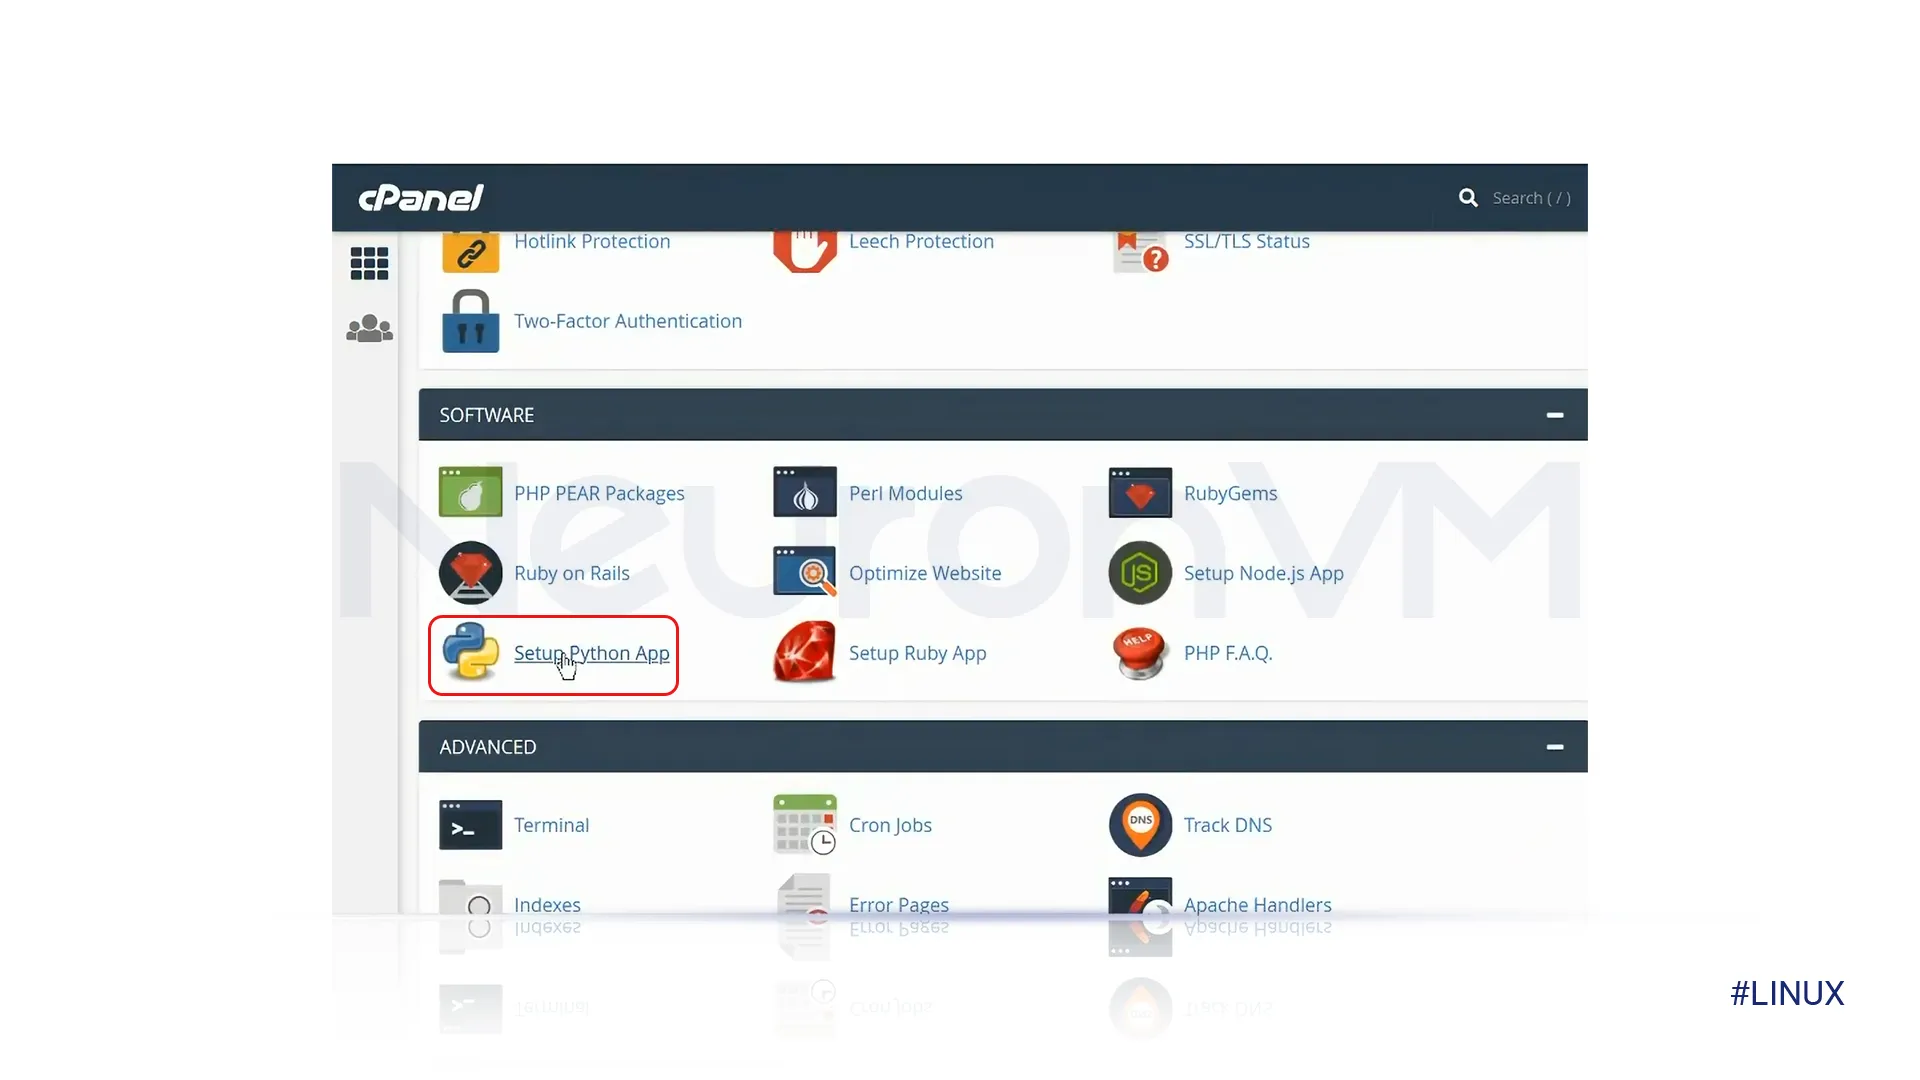
Step 2) Go to the software bar, choose “Setup Python Application,” then click on “Create Application” and complete all required fields.
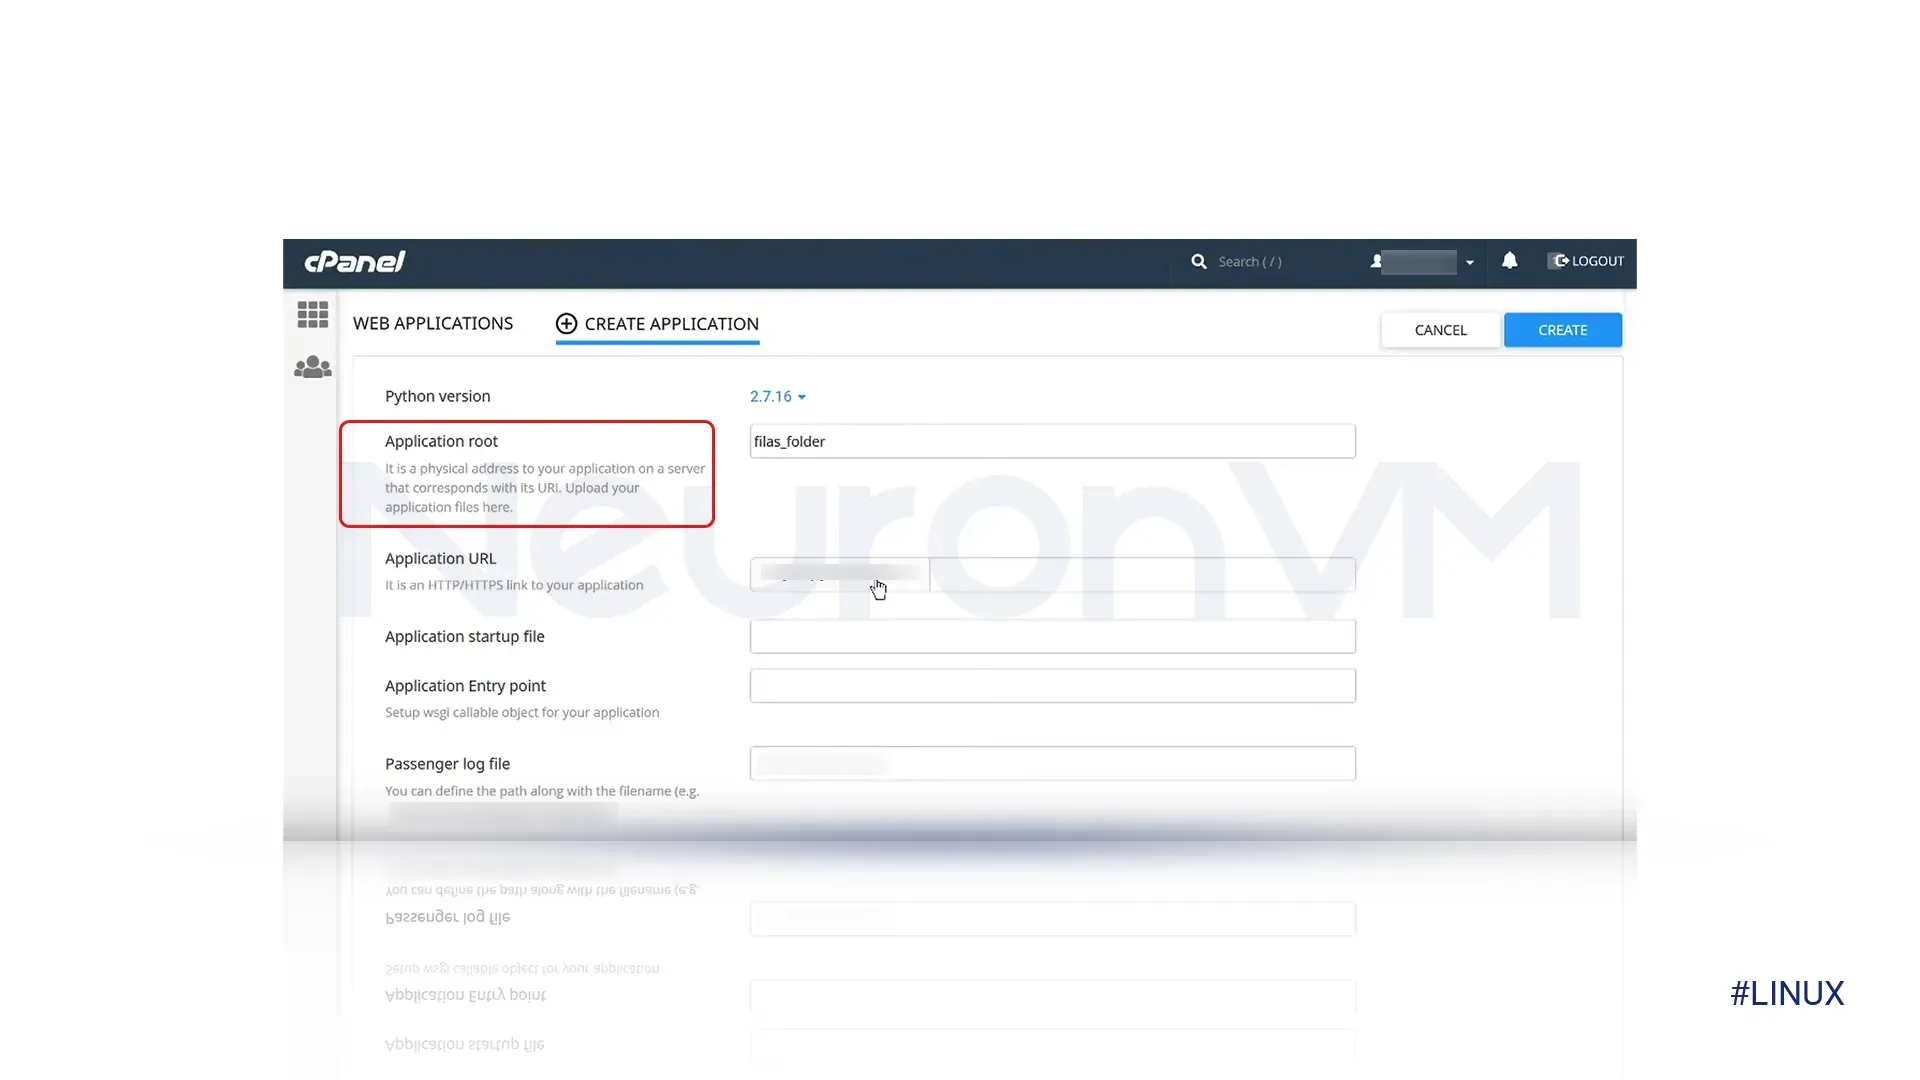
Step 3) In the “Application Root” selection, we will choose the folder where our program files will be located.
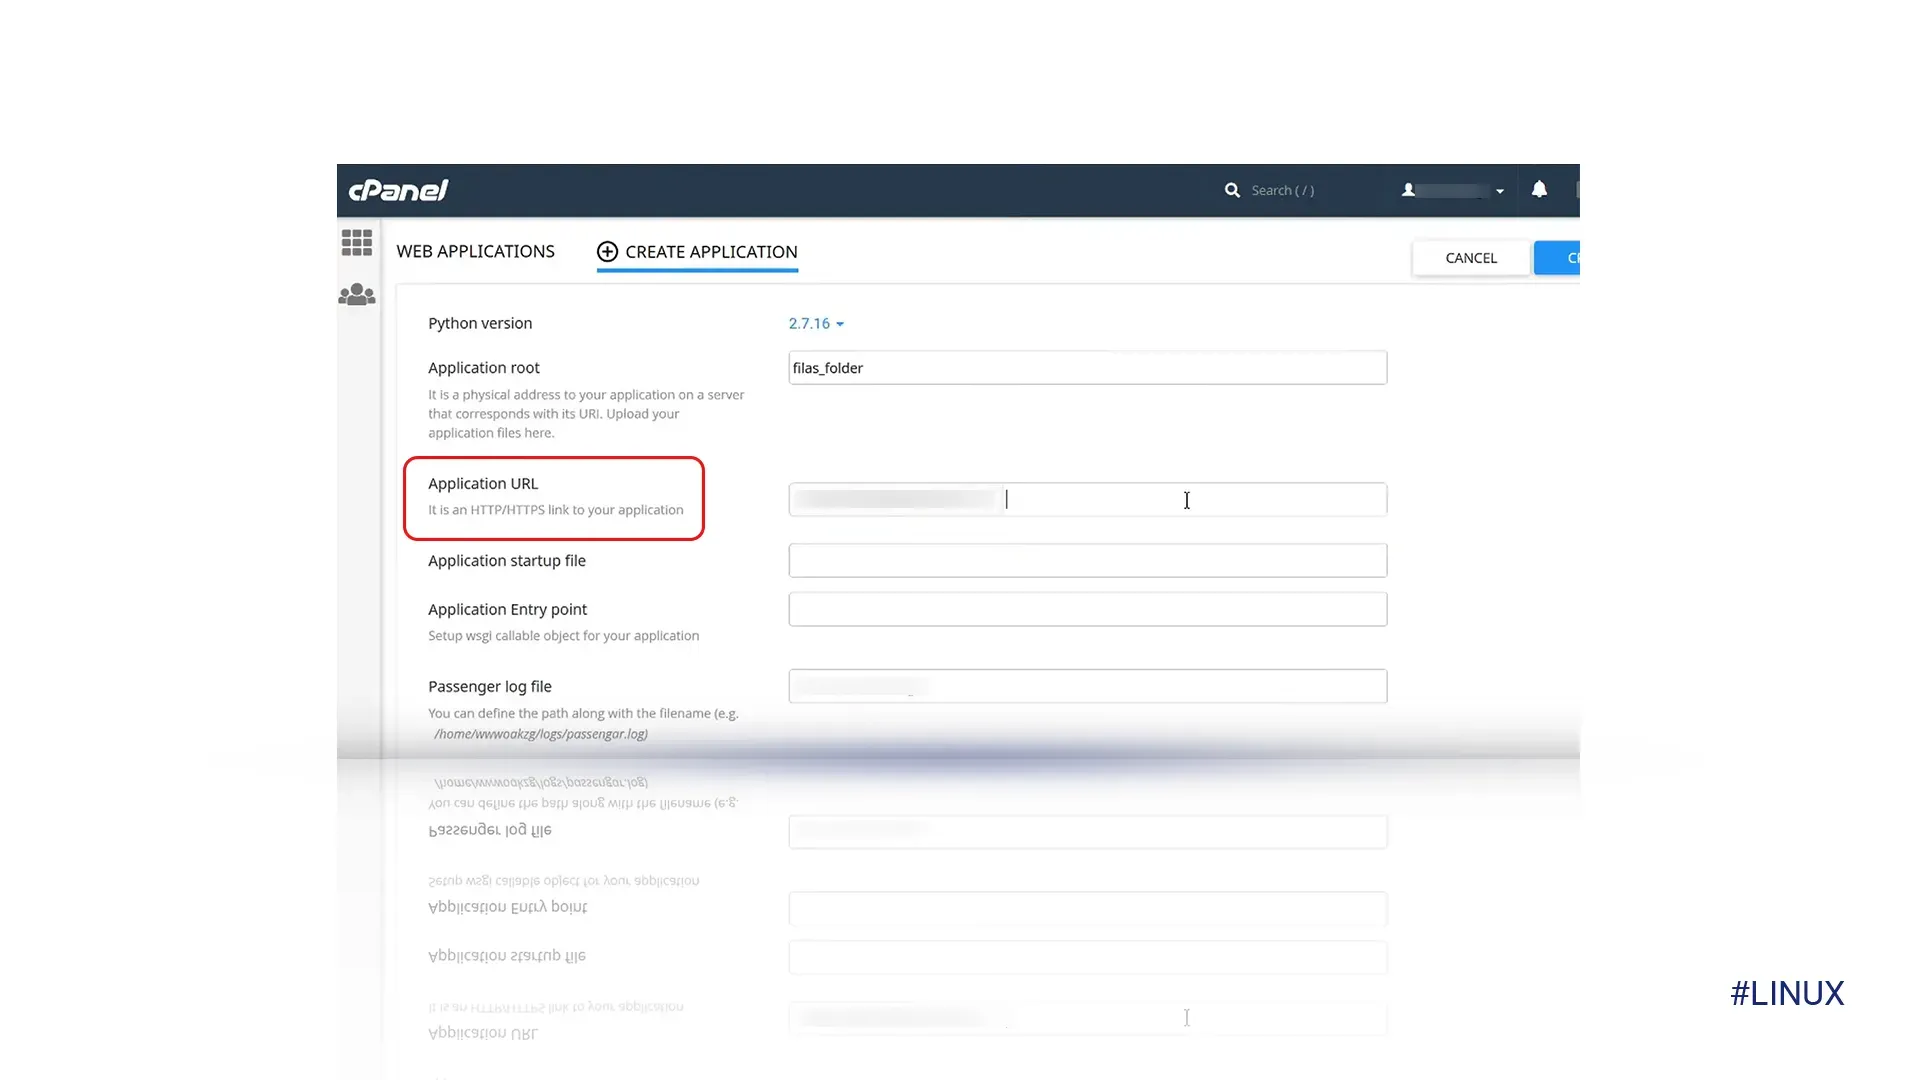
Step 4) Select the Site URL that will open the application online and enter it in the “Application URL” field.
Step 5) In the “Application Startup File ” field, specify the name of your app. For example, you can use “app.py.”
Step 6) You can leave the “Application Entry Point” field blank; cPanel will handle the task for you.
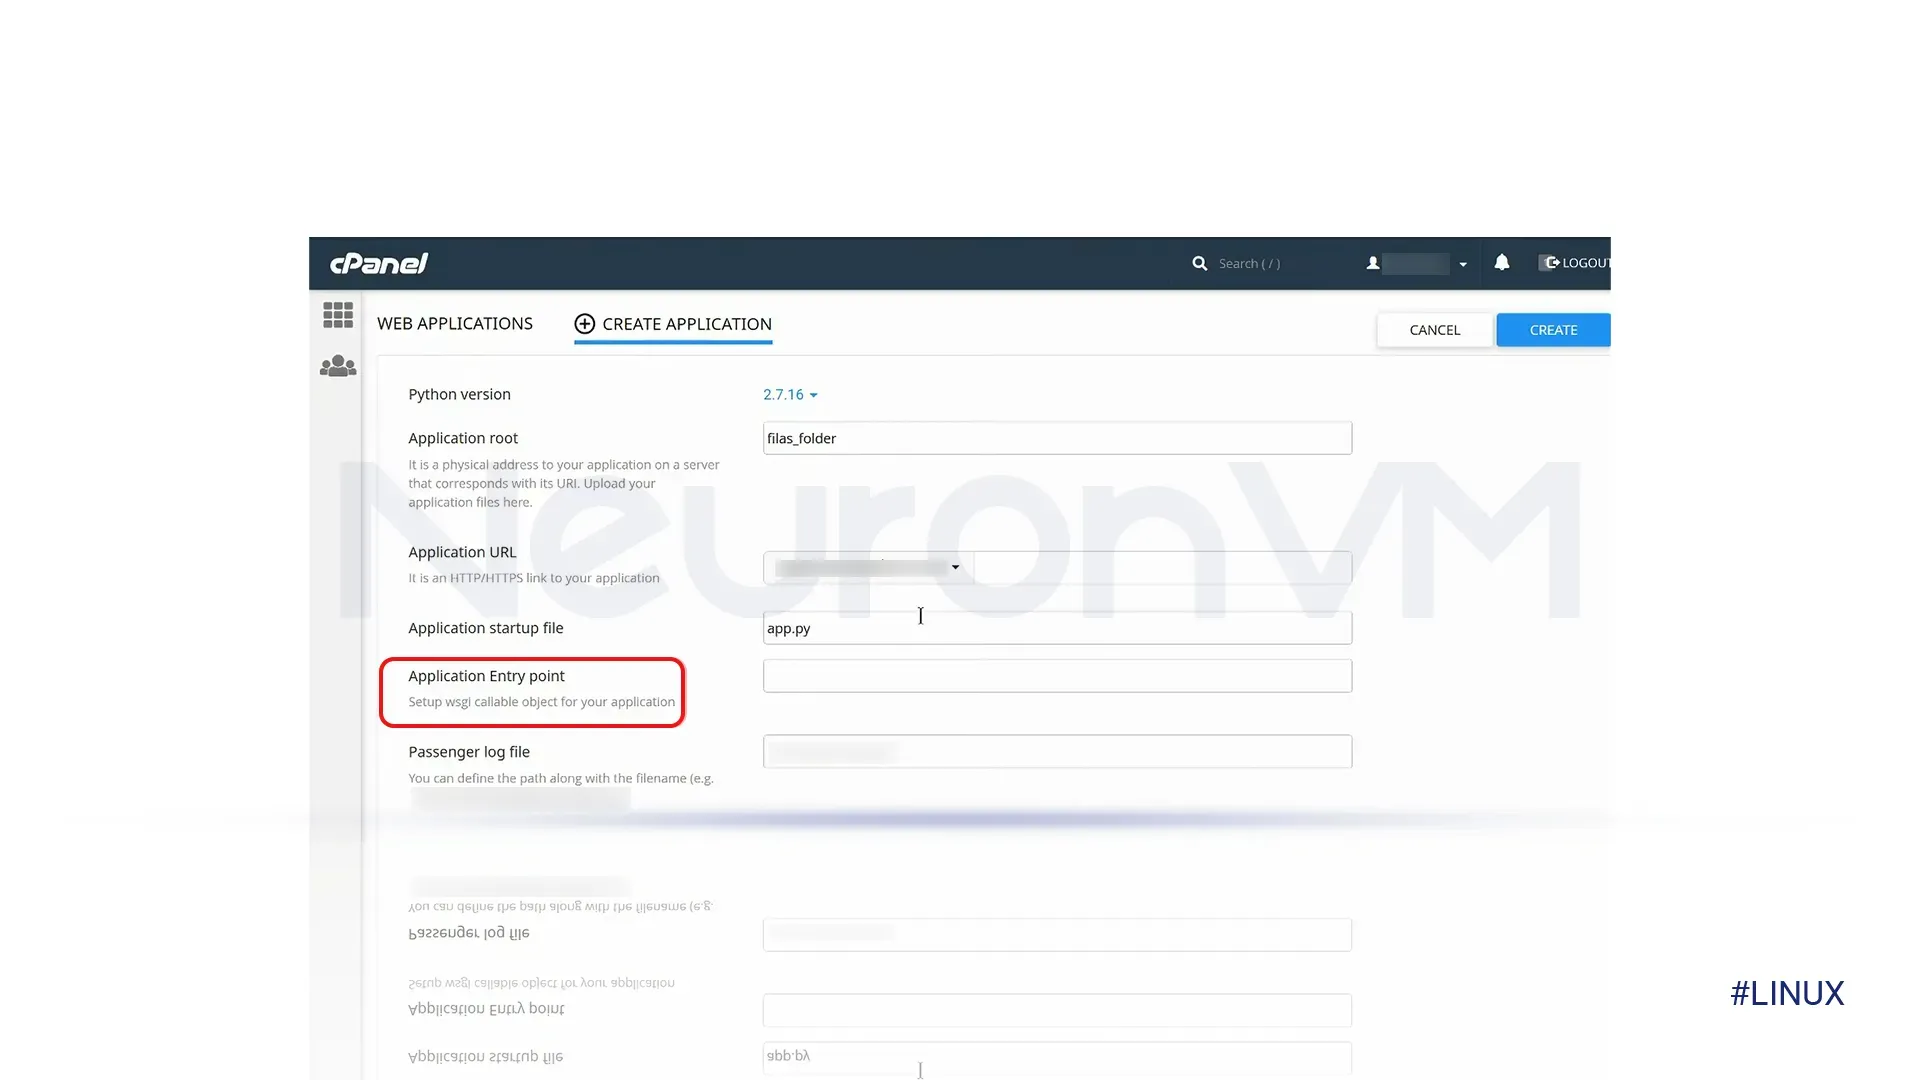
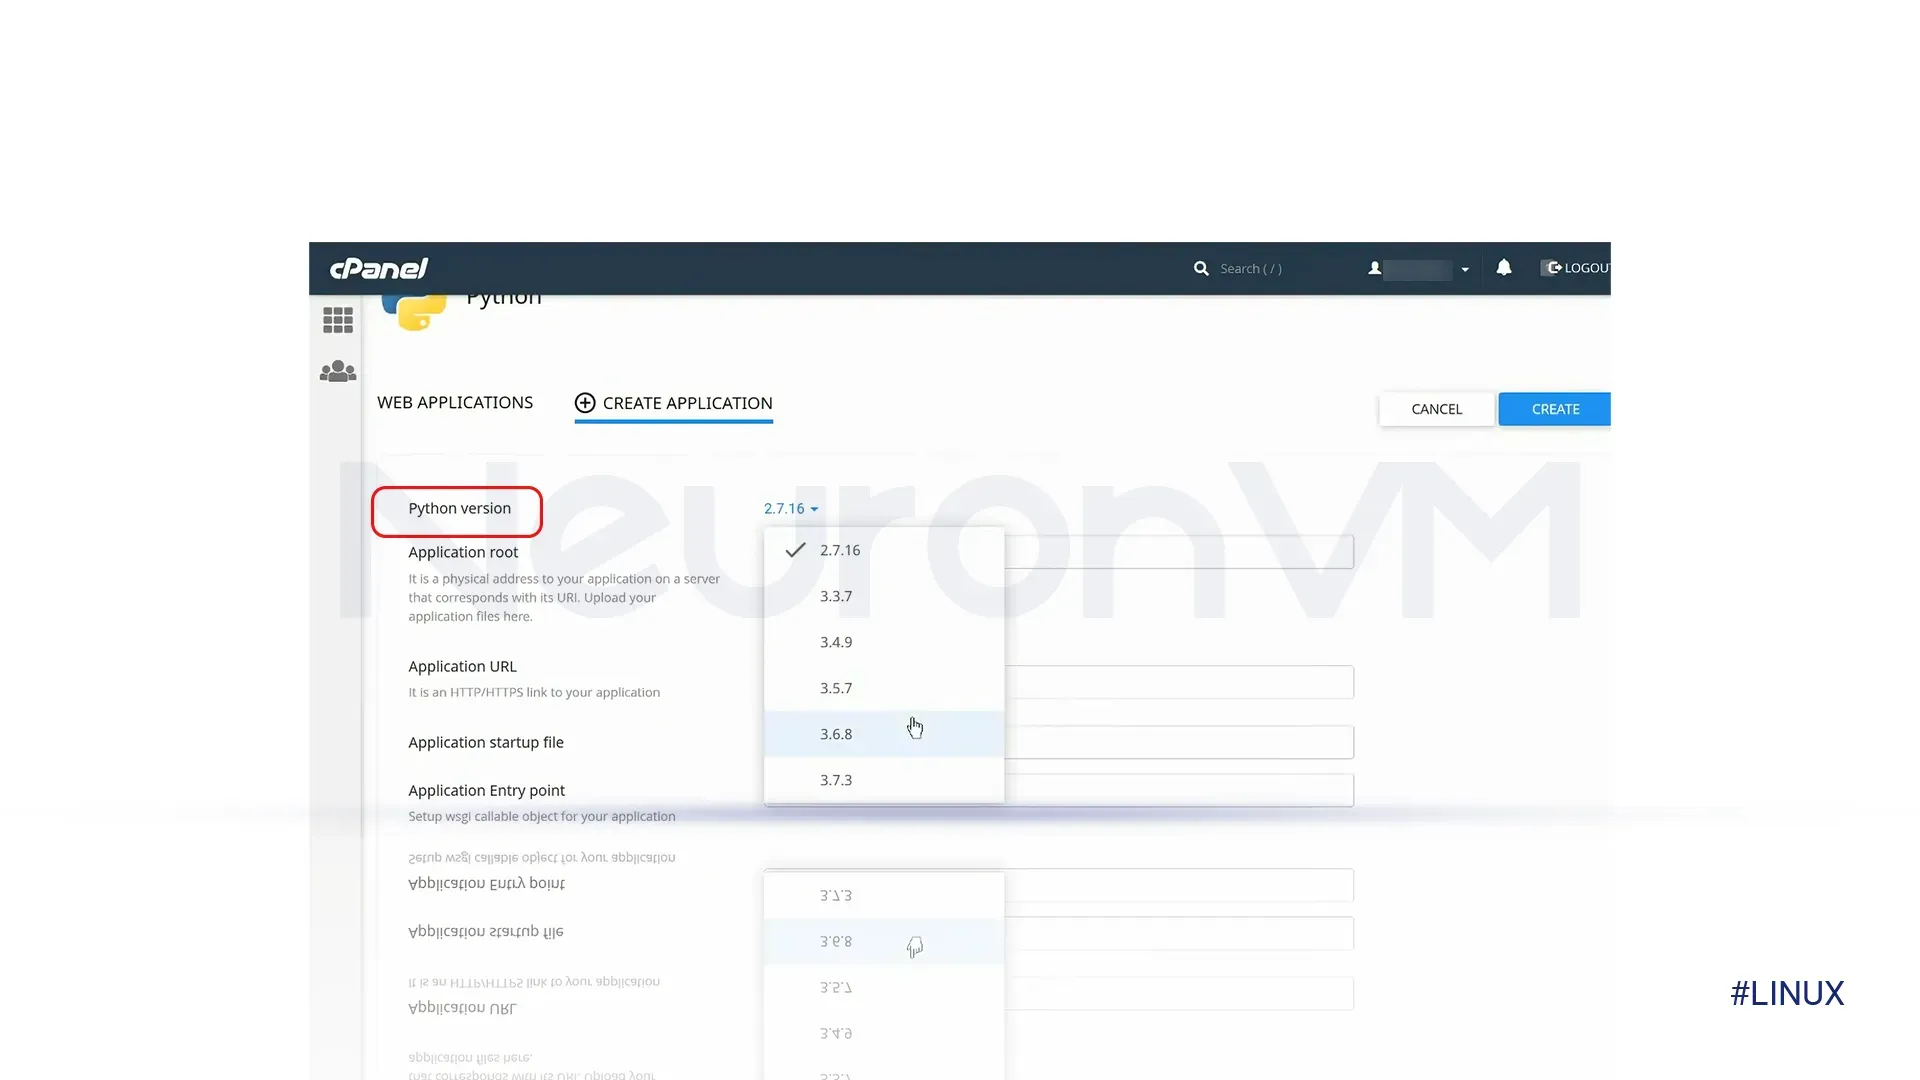
Step 7) Scroll to the top of the page and choose the Python version that you previously installed.
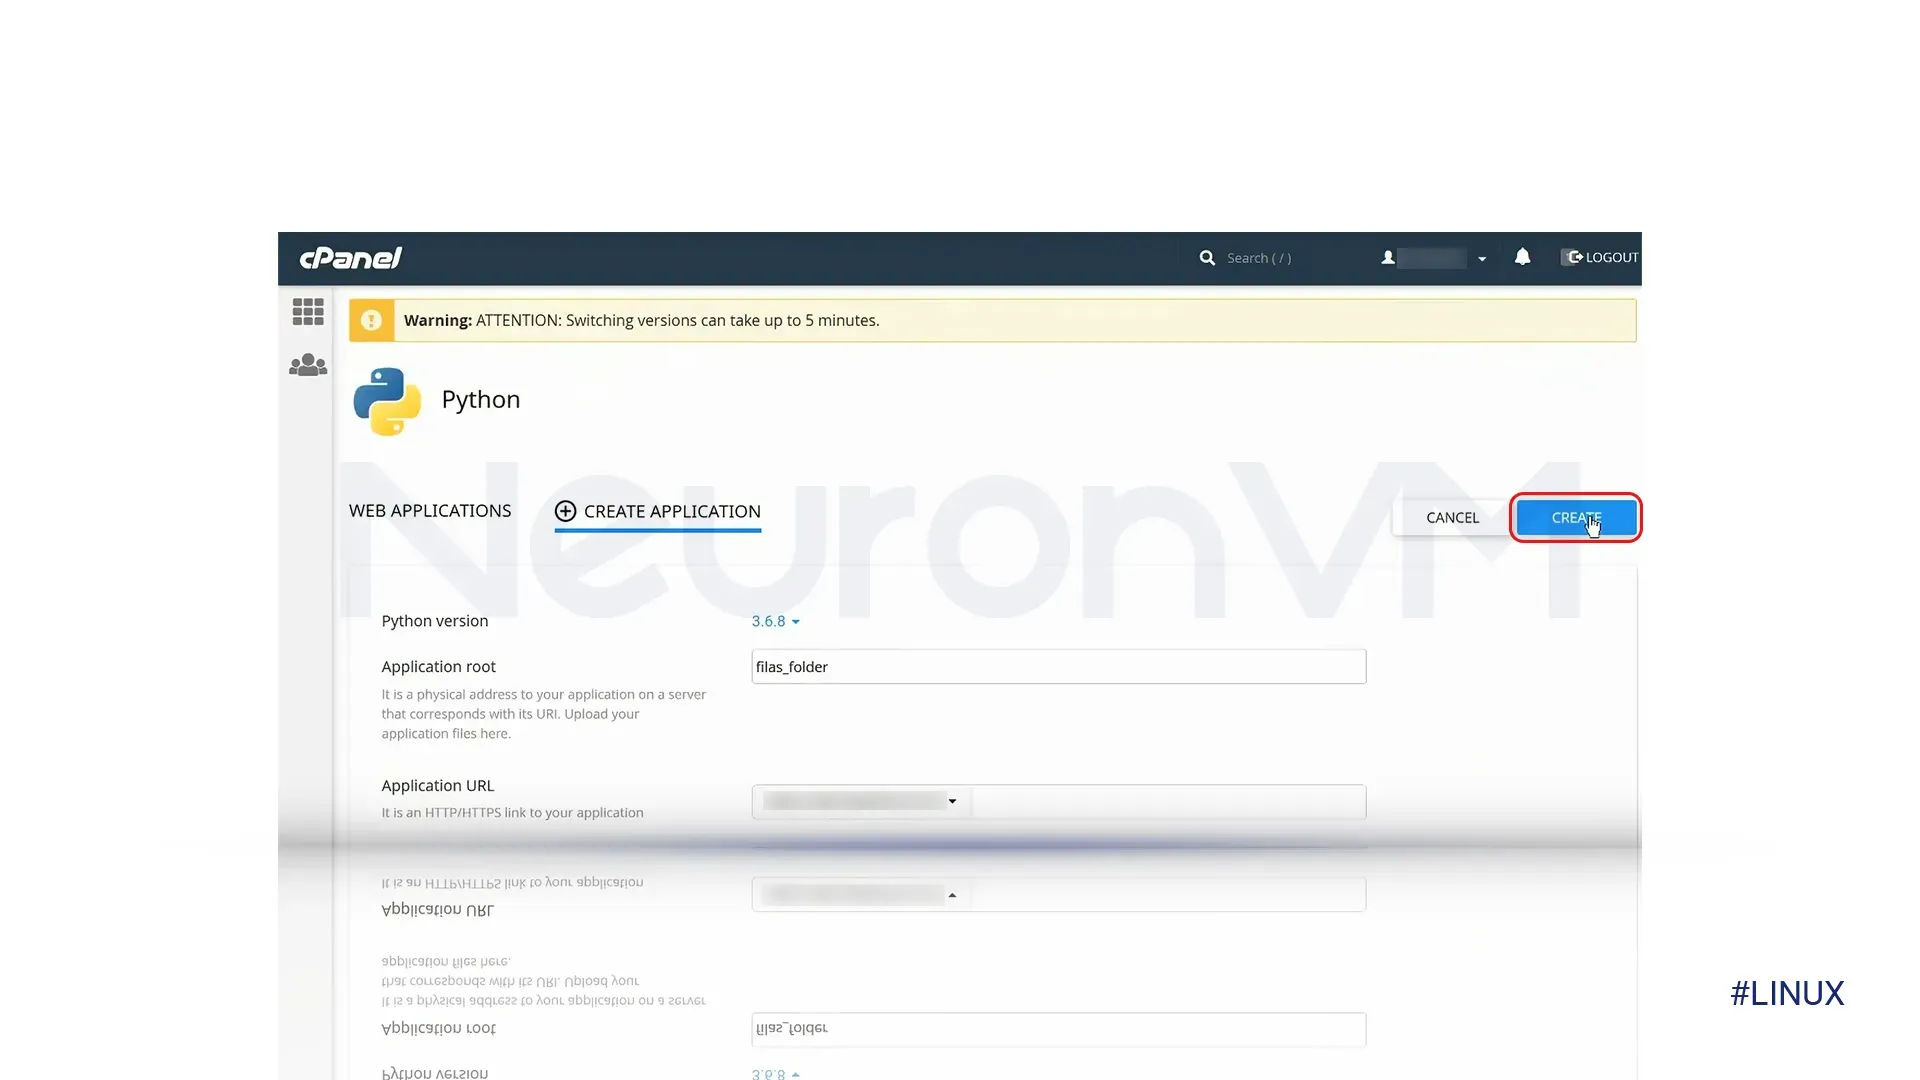
Step 8) Click on the “Create” button. After a few seconds, a message will appear stating, “Python Application Created.” After that, please copy the command displayed on the screen.
Step 9) Open the cPanel website in a new tab. Navigate to the “Advanced” section and select “Terminal.”
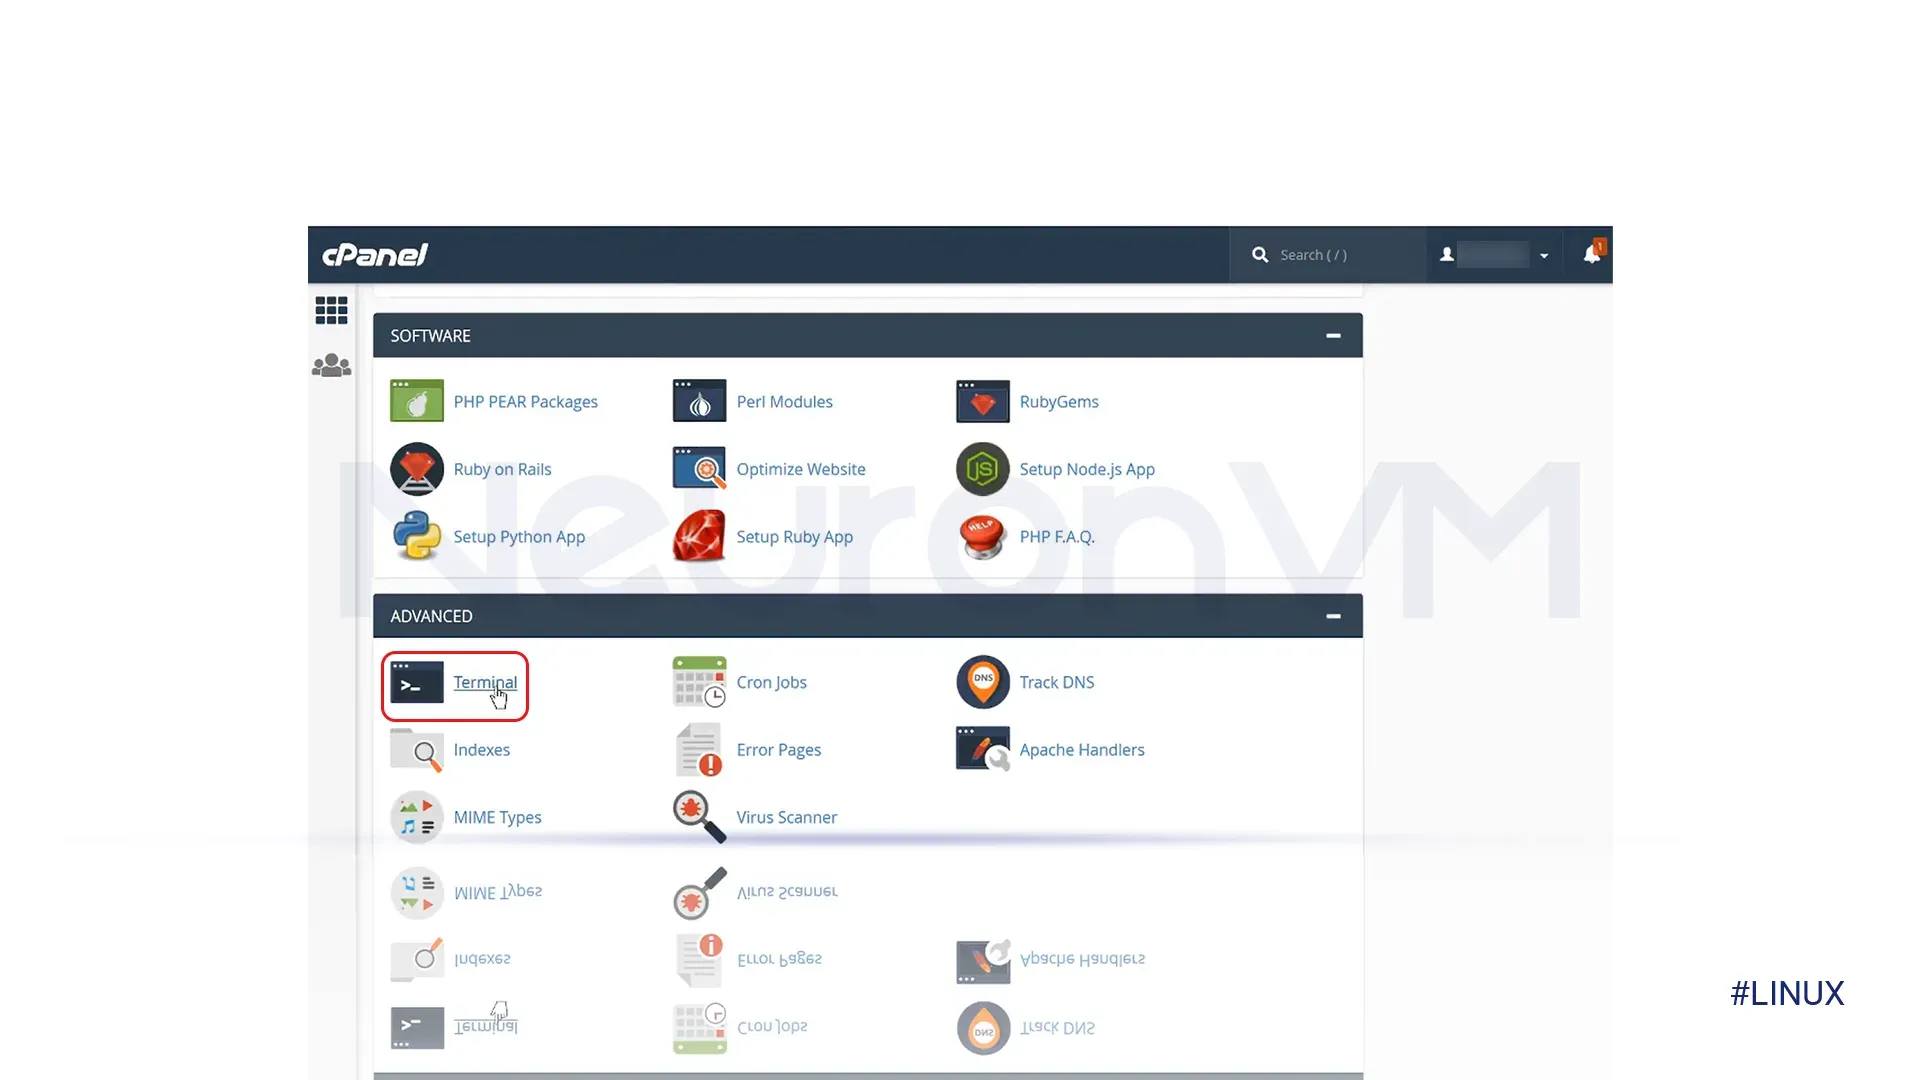
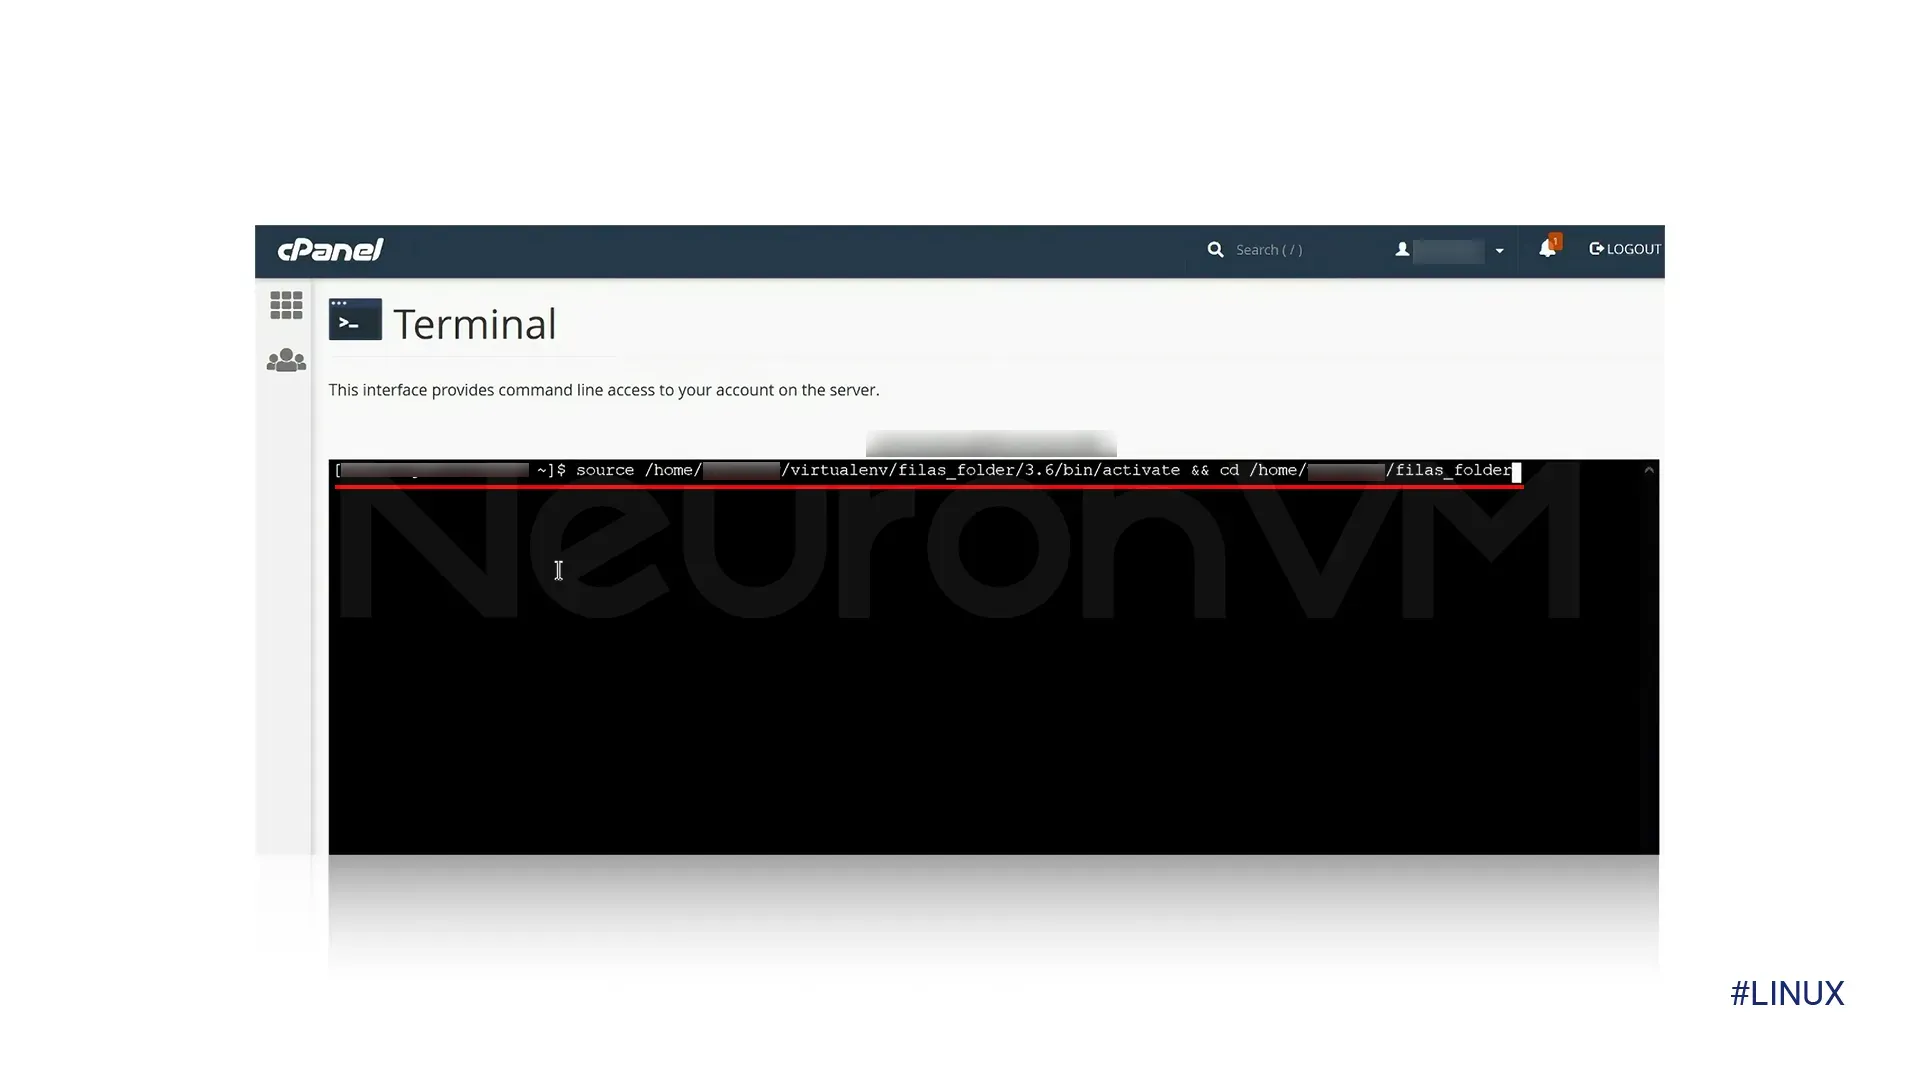
Step 10) Once the “Terminal” is visible, paste the previously copied command. This step is essential for successfully moving forward!
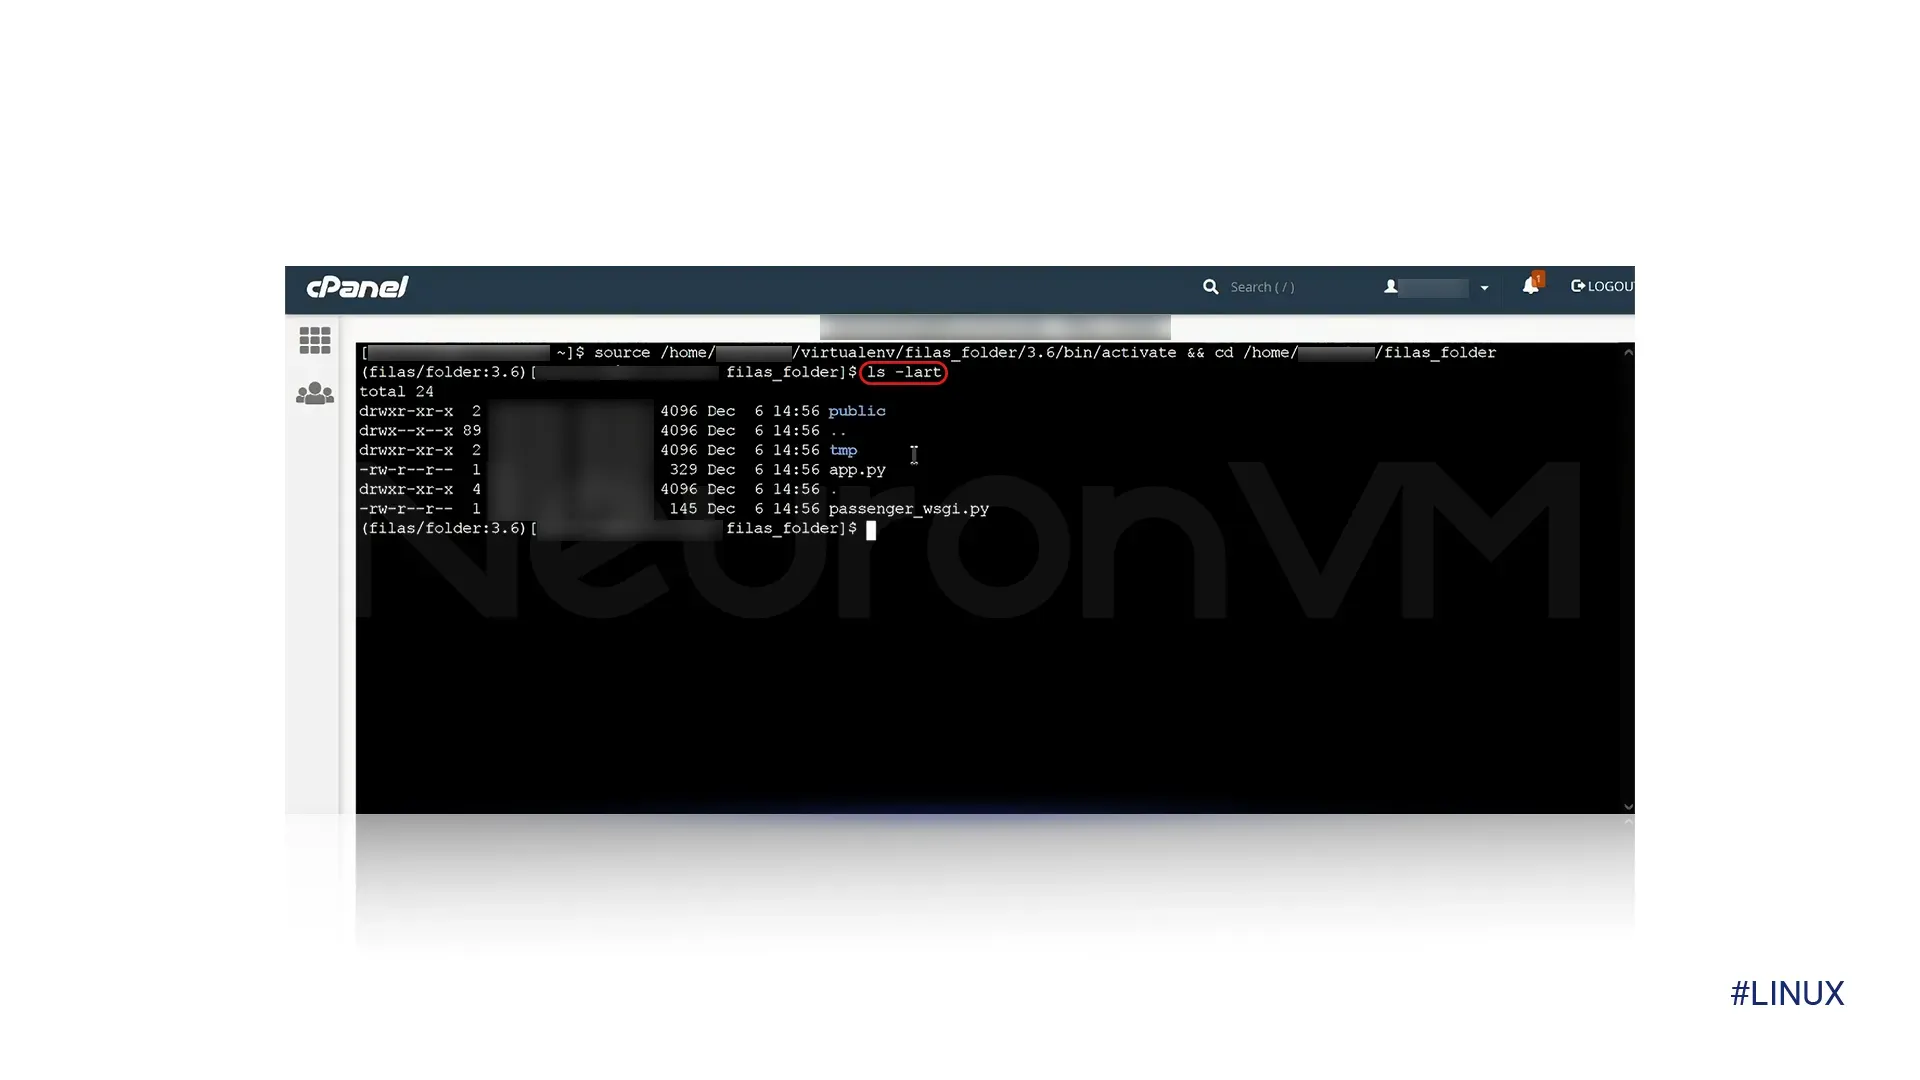
Step 11) Next, type “ls -lart” in the terminal. This command allows us to review all the files.
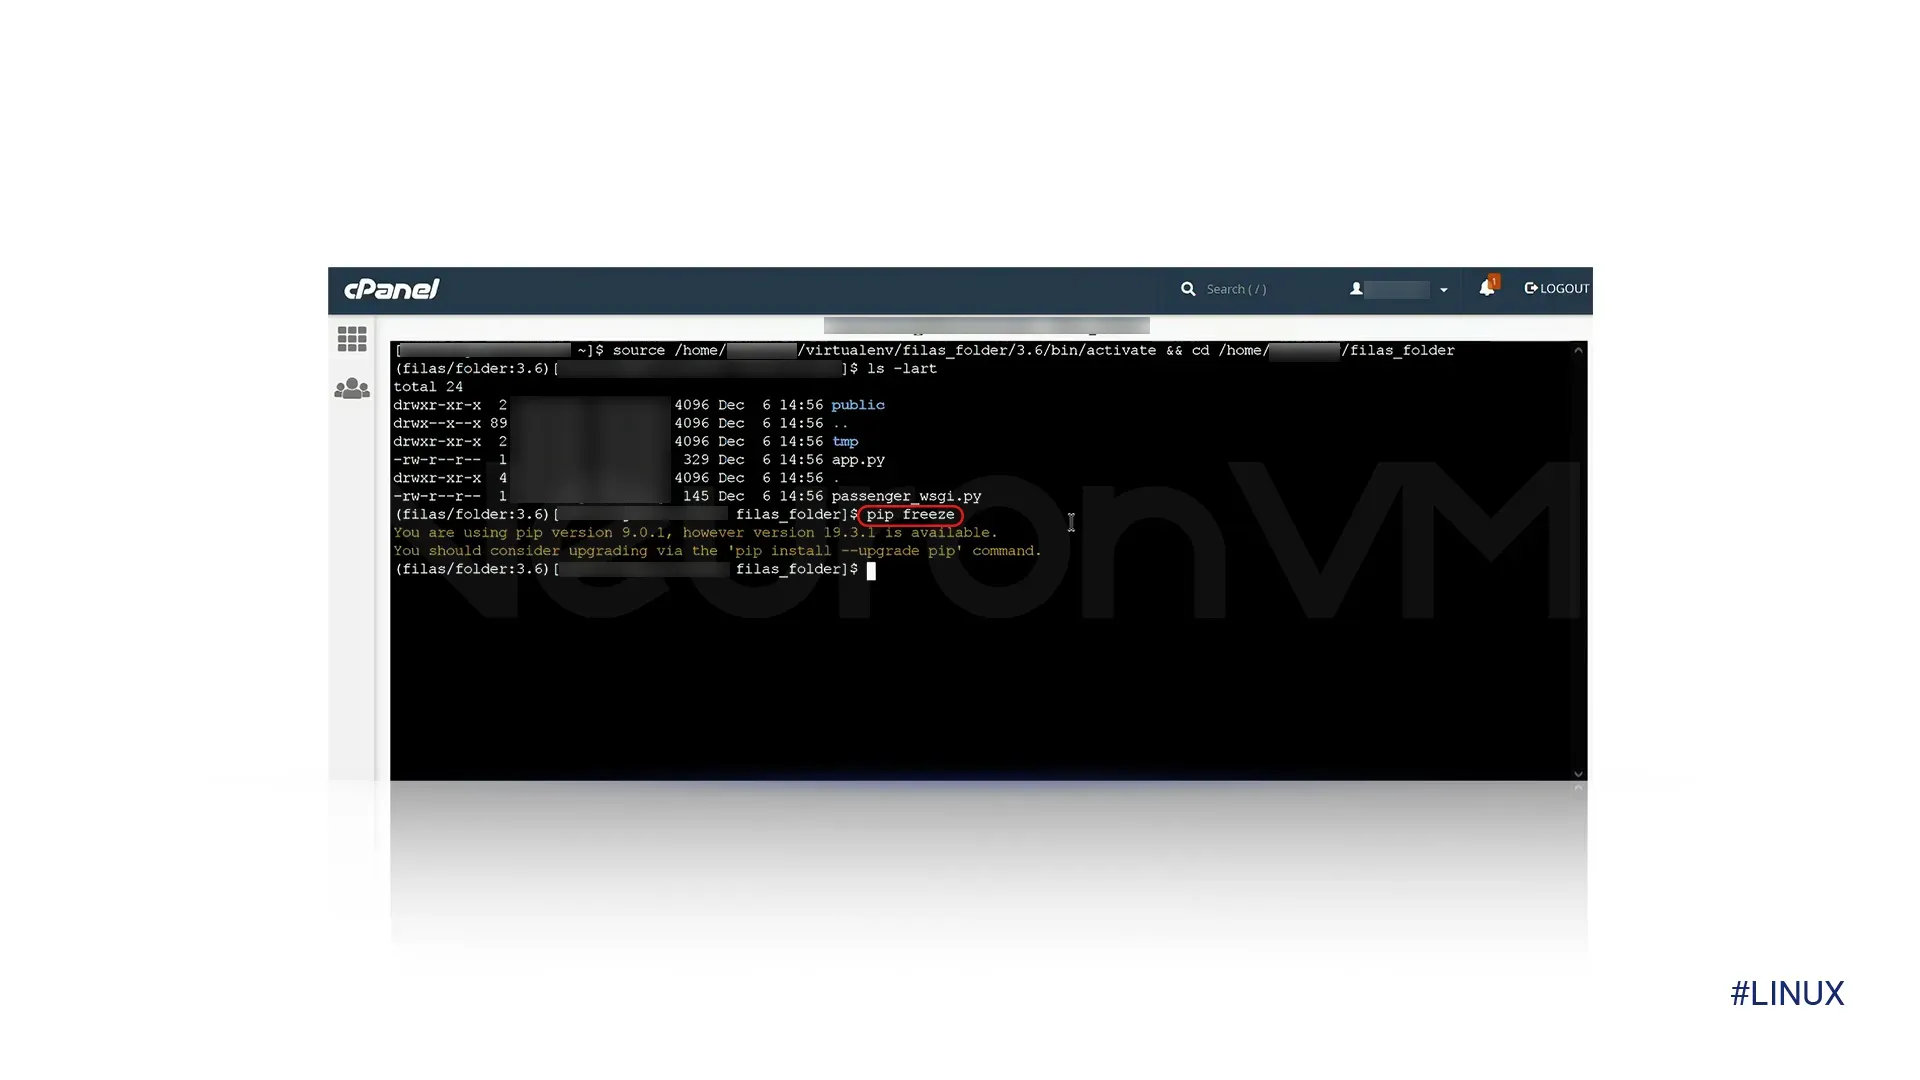
Step 12) You can run the command “pip freeze” to see a list of all installed packages.
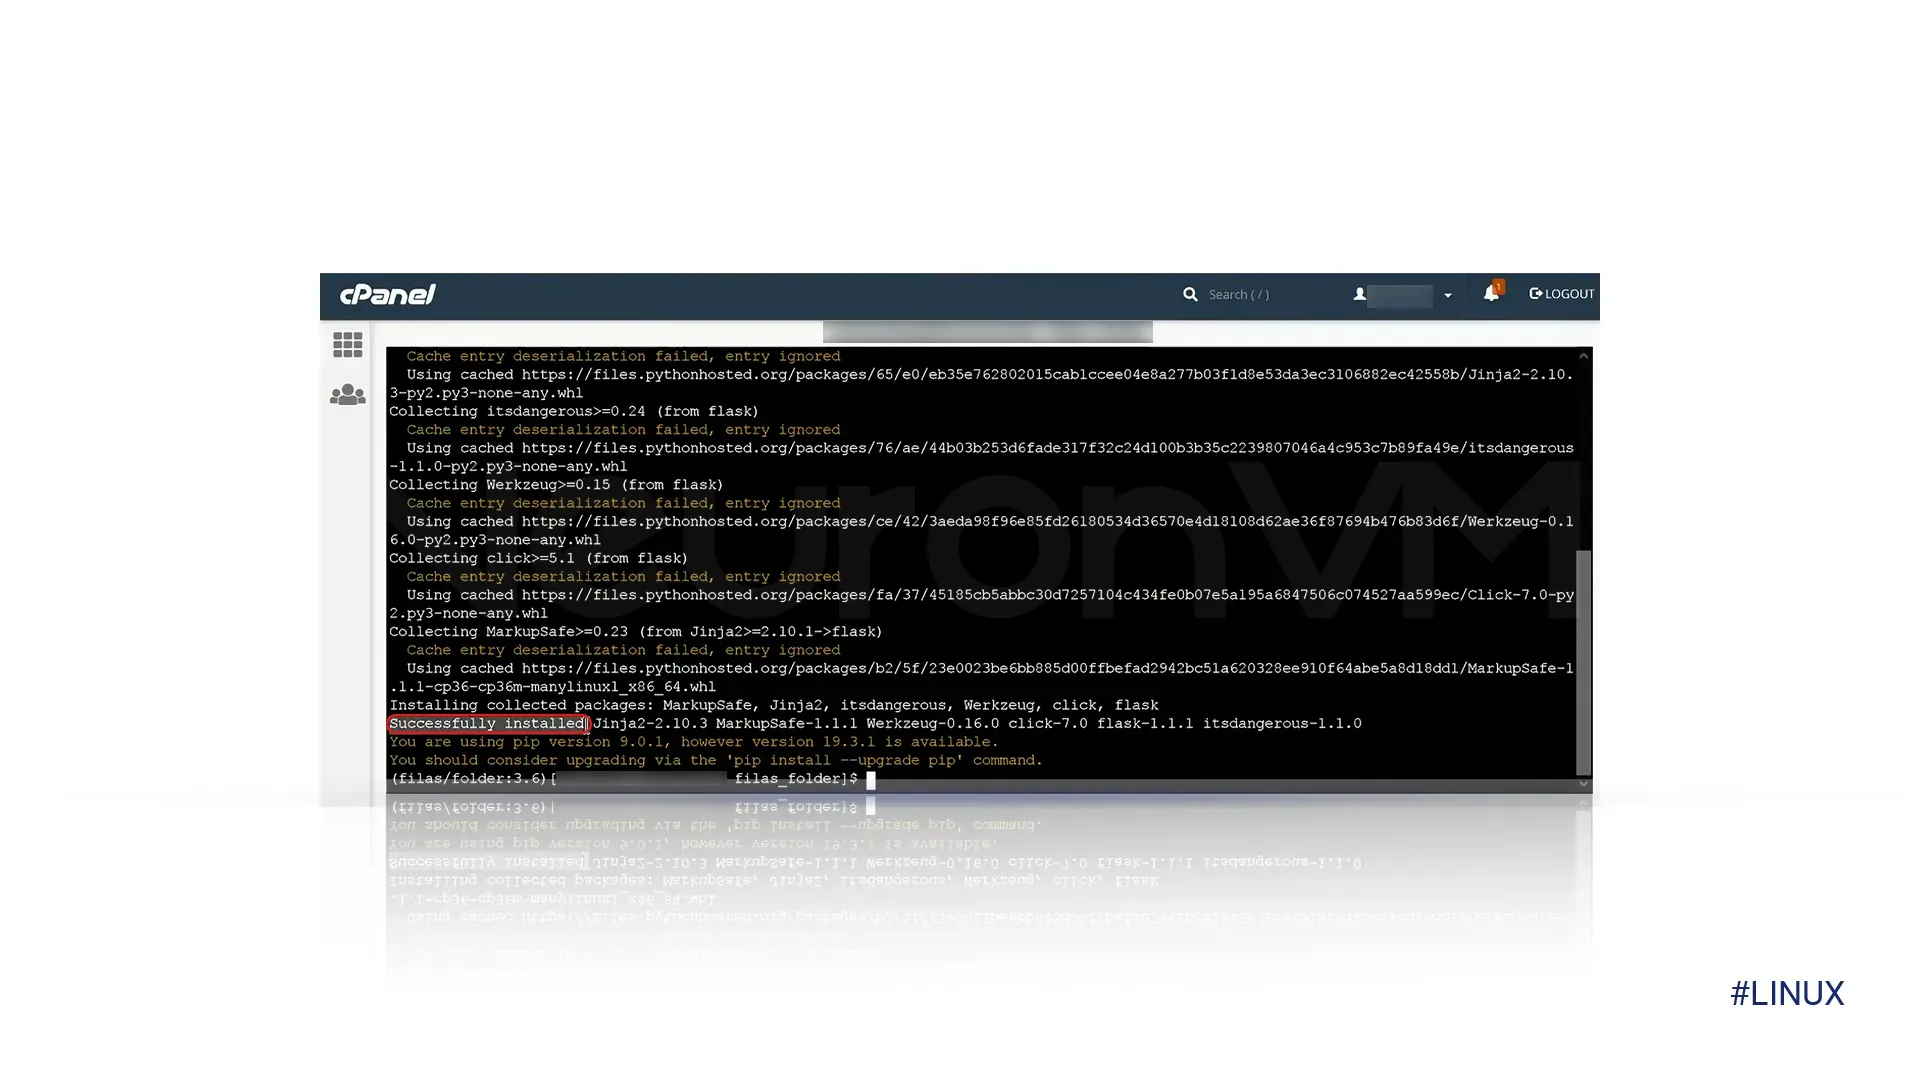
Step 13) If the necessary package is not installed, use the command: “pip install …” and fill in the blank with your package name.
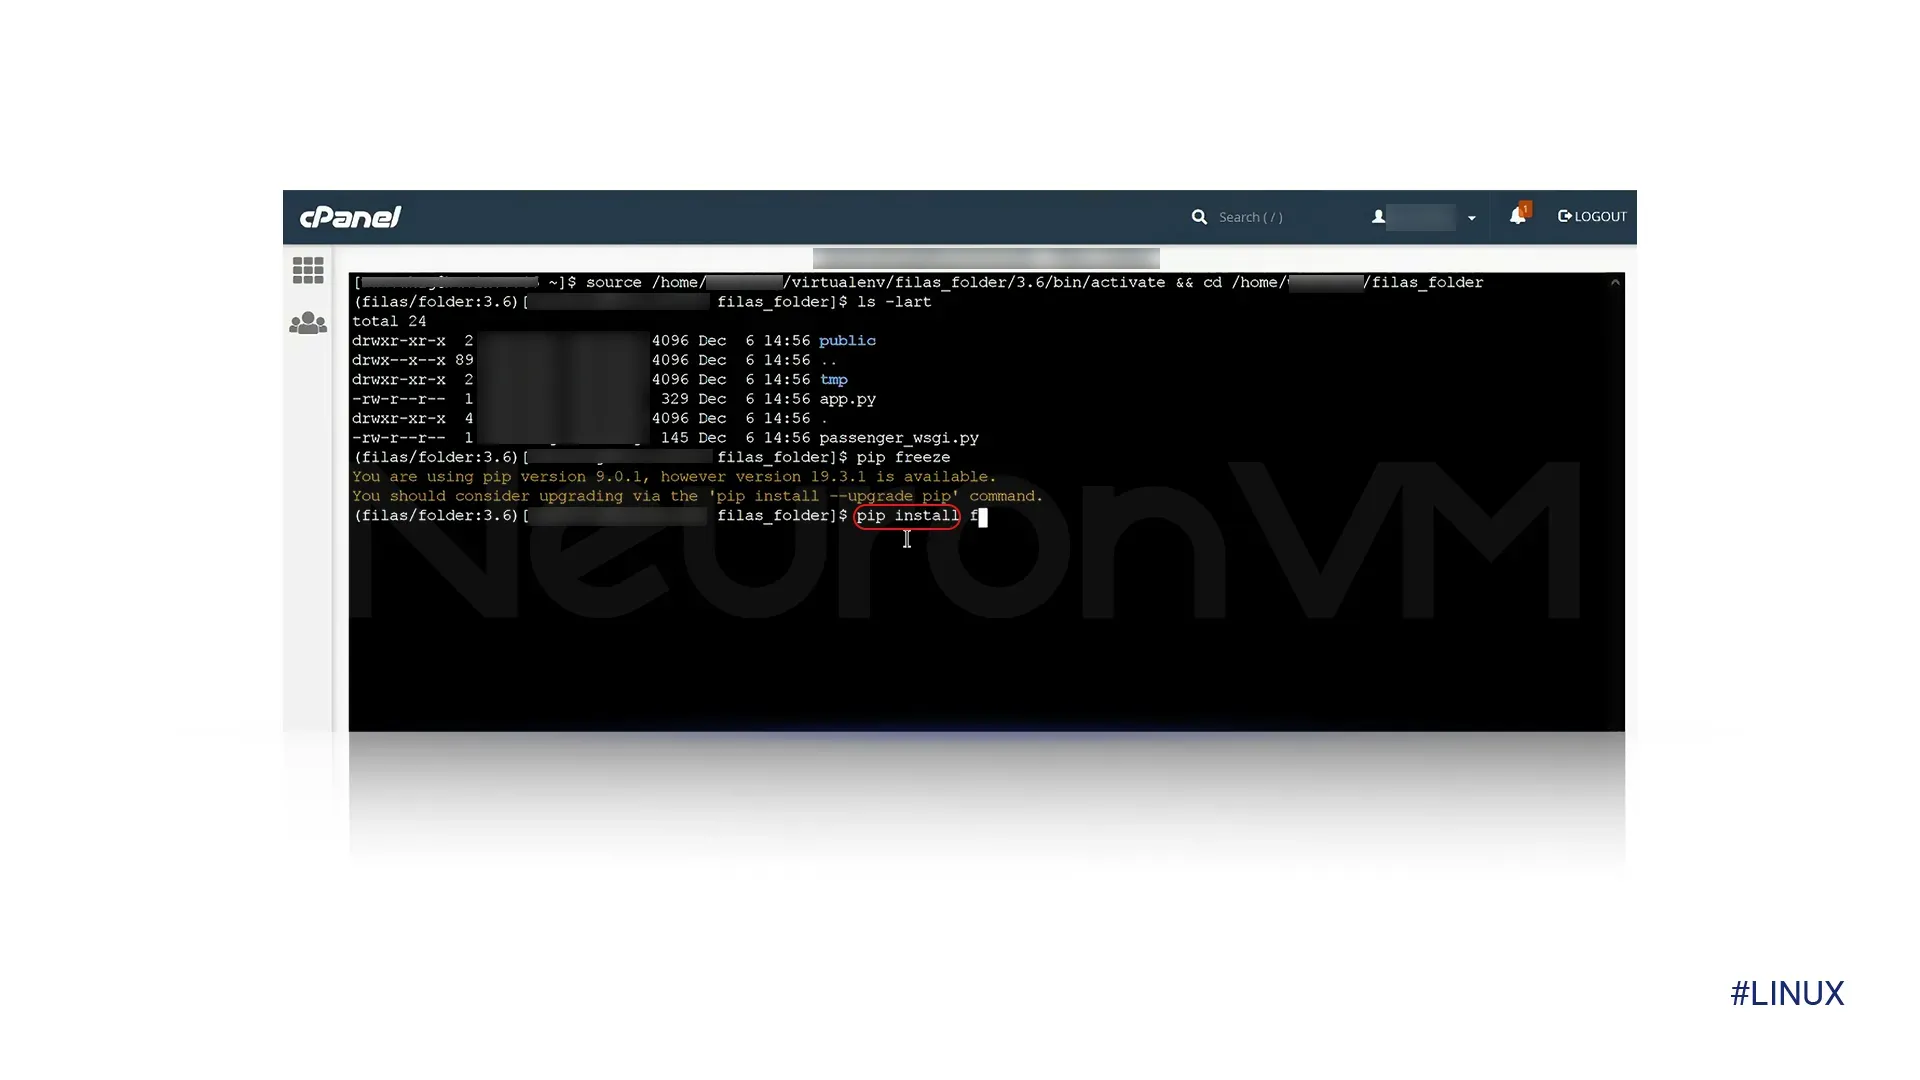
Step 14) A message indicating successful installation will appear. Congratulations! You have successfully installed your package. To use it, please restart your computer.
Conclusion
If you are a Python developer, web hosting manager or Programmer, consider using cPanel as your environment; we’re confident you will enjoy it. We provided a clear explanation of “How to install Python PIP on cPanel” easily. Additionally, we detailed how to purchase a cPanel plan, check your PIP version, and much more. It was a straightforward guide, but if you are still experiencing issues, we would be happy to assist you; just let us know in the comments below.


