How to Install OpenStack in Ubuntu 20.04 (Step-by-Step)

 10m
10m
 0 comments
 Print
Print
OpenStack is a tool that lets you build and manage your own cloud setup, like virtual machines and networks, there are many reasons why OpenStack is popular but the main reasons is its flexibility, it is also open-sourced and easy to scale as your needs grow, so learn How to Install OpenStack in Ubuntu 20.04 and enjoy its benefits.
Why Ubuntu 20.04 is a Good Choice?
Ubuntu 20.04 comes with long-term security updates and bug fixes, which makes it a reliable option, it also has a large community support, and it is known for being user-friendly while ensuring you have the best performance and features.
This guide will help you install OpenStack on Ubuntu 20.04, It covers the prerequisites, installation guide, and much more, read on to get all the information needed.
 Prerequisites
- At least 8 GB of RAM
- 50 GB of free disk space
- Root or Sudo access
- Basic Network Setup: a working network connection with a static IP
- Ubuntu 22.04
Step 1: Update Your Ubuntu System
For the first step, log in to your Ubuntu system, whether it’s a desktop or a cloud VM, and make sure everything is up to date, you can run the following command to update your system.
sudo apt update && sudo apt -y upgrade
After following the previous step and updating your Ubuntu, you have to reboot your system.
[ -e /var/run/reboot-required ] && sudo reboot
Step 2: Create a Non-Root User
You need to run DevStack as a regular user with sudo privileges, but if you are on a cloud instance, the default login user, like Ubuntu or CentOS, is fine, create the user for DevStack:
sudo useradd -s /bin/bash -d /opt/stack -m stack
Allow the new user use sudo without needing to type a password.
echo "stack ALL=(ALL) NOPASSWD: ALL" | sudo tee /etc/sudoers.d/stack
Try switching to the “stack” user to test it.
sudo su - stack
Step 3: Clone the DevStack Repository
Next, we will download the DevStack code from GitHub, remember to install Git if it is not already installed.
sudo apt -y install git
Clone the DevStack repository.
git clone https://git.openstack.org/openstack-dev/devstack
Navigate to the devstack folder.
cd devstack
Create a configuration file “local.conf” with your settings.
nano local.conf
Then add the following information:
[[local | localrc]]

ADMIN_PASSWORD=StrongAdminSecret

DATABASE_PASSWORD=$ADMIN_PASSWORD

RABBIT_PASSWORD=$ADMIN_PASSWORD

SERVICE_PASSWORD=$ADMIN_PASSWORD

HOST_IP=192.168.10.100 #Replace this with your actual IP
Step 4: Begin OpenStack Installation
Now, after following the previous steps, you can start the installation of OpenStack services by running the installation script.
./stack.sh
The previous command will install services like Keystone, Glance, Nova, Neutron, Cinder, and Horizon, The installation will take around 15-20 minutes, depending on your internet speed, once it is done, you will receive a message like this:
 Step 5: Access the OpenStack Dashboard
Now, you can open the OpenStack dashboard in your browser, just go to the Horizon URL that was given to you, this will allow you to access all the features easily.
http://192.168.10.100/dashboard
To sign in, use either the ‘ admin’ or ‘demo’ username, depending on which one you prefer, then enter the password that you created earlier, this will allow you to login and access the system.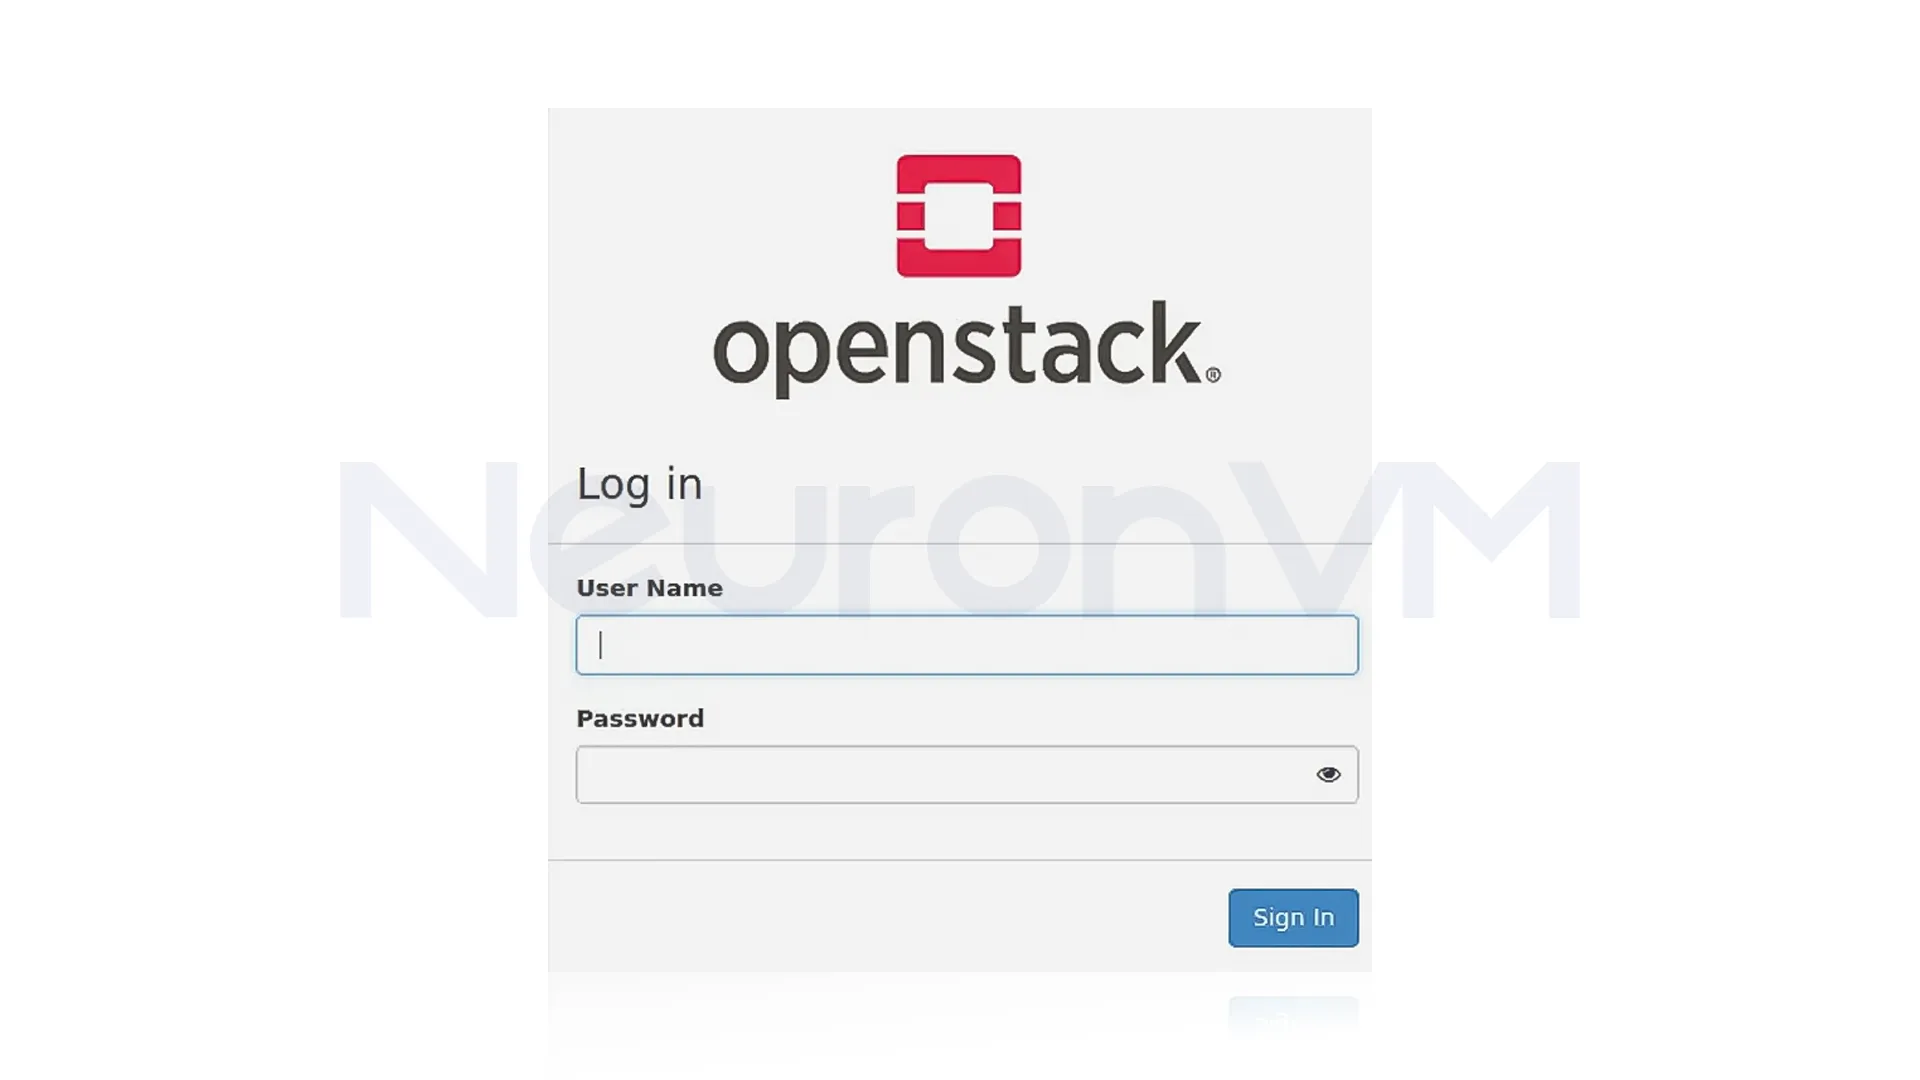
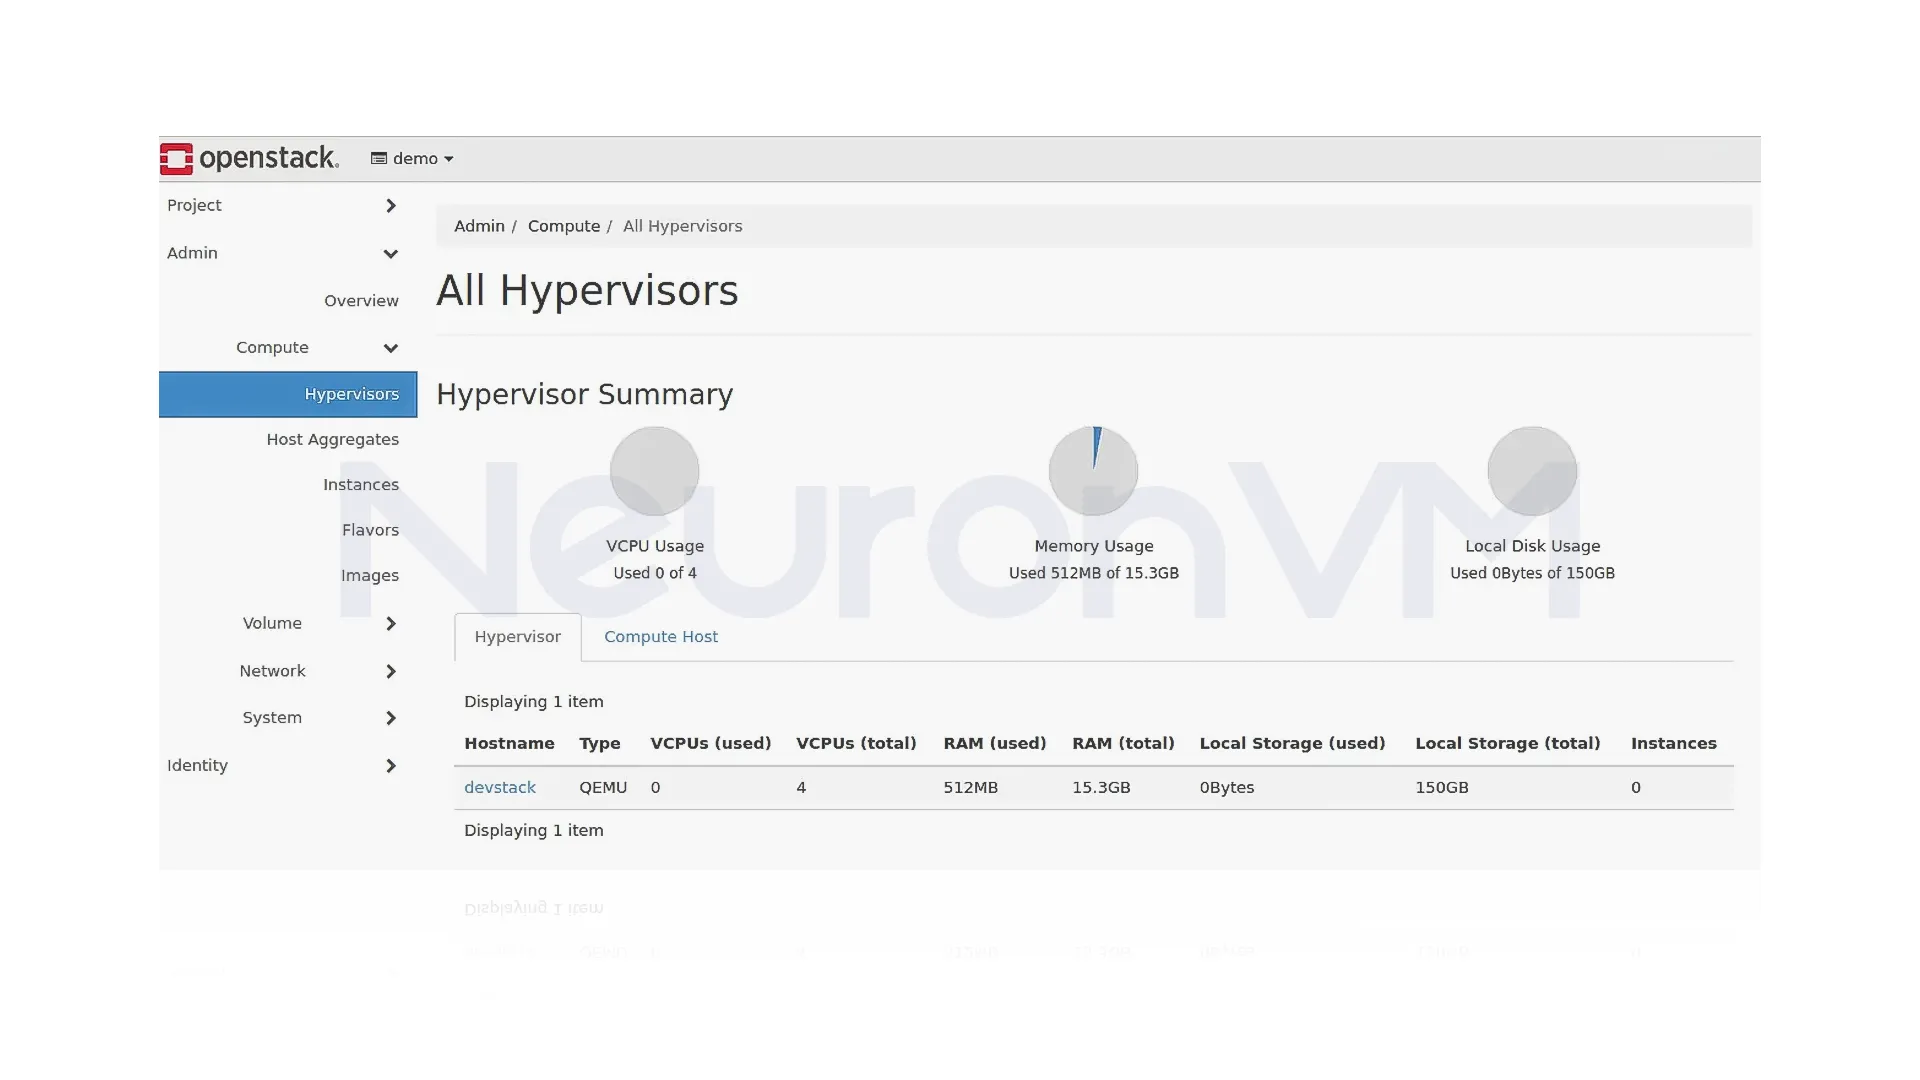
After logging in, you will see the OpenStack web console.
Step 6: Use OpenStack CLI
If you prefer managing OpenStack using the command line, you will need to load the environment variables in your shell.
source openrc
Step 7: Upload a Test Image
You can upload test images to Glance and use them when creating VMs with Nova, make sure to apply the changes in each step. First, download the Cirros image.
VERSION=$(curl -s http://download.cirros-cloud.net/version/released)
wget http://download.cirros-cloud.net/$VERSION/cirros-$VERSION-x86_64-disk.im
Then upload the image to Glance.
openstack image create
--container-format bare \
--disk-format qcow2 \
--file cirros-$VERSION-x86_64-disk.img \
Cirros
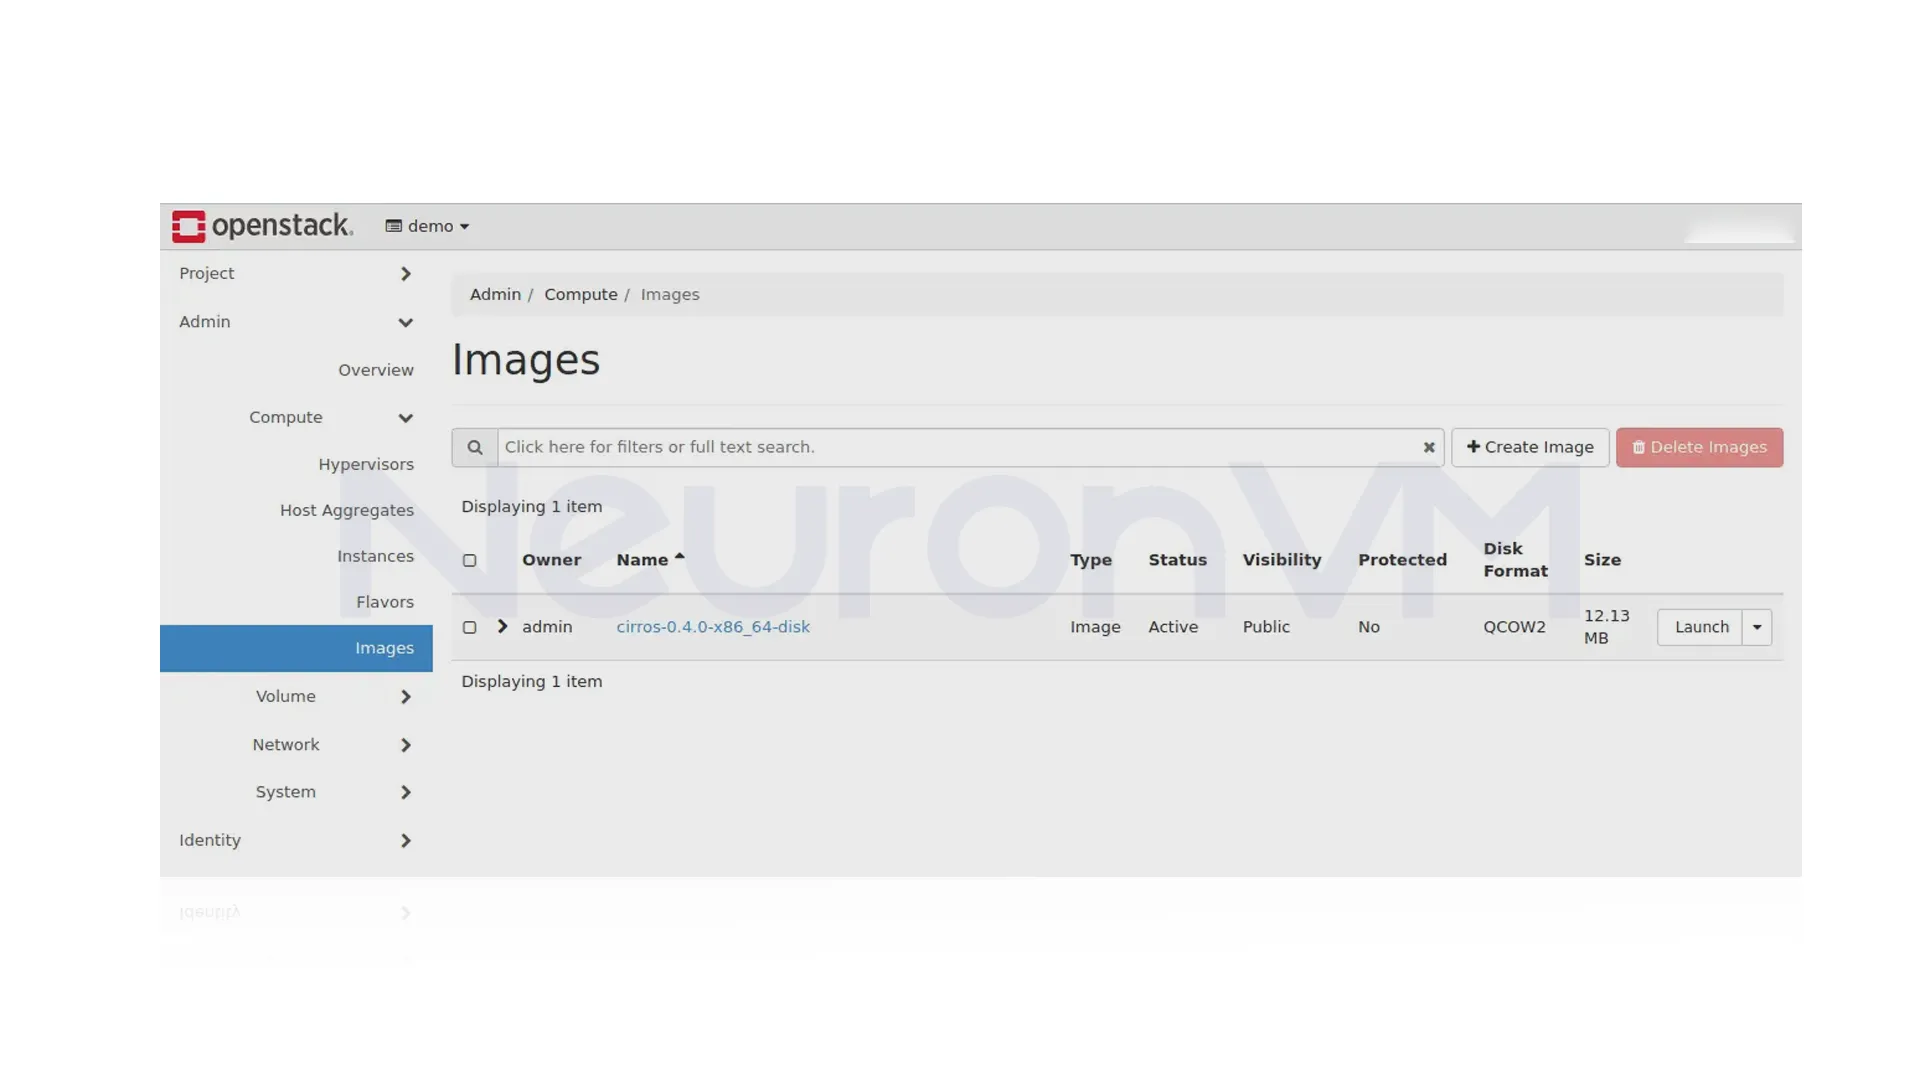
Once the image is uploaded to Glance, double-check to make sure the upload was successful, you can confirm this by looking for the image in the list and ensuring there are no errors.
openstack image list
 You can always check for more information on customizing DevStack or managing OpenStack, check out OpenStack’s main website.
Common Errors & Fixes
Sometimes, even if you follow all the steps in installing OpenStack in Ubuntu 20.04, things might not work as you want, so we collected the most common problems you might face and how to fix them:
Keystone Auth Issues:
You see this error when you try to log in or run a command, The error is something like “Unauthorized” or “Invalid Credentials”.
How to fix it:
Make sure you have loaded the OpenStack settings in your terminal , if it still doesn’t work, restart the keystone service.
sudo systemctl restart apache2
Neutron Config Probkems
This happens when your virtual machines aren’t getting an IP, or the network isn’t working right.
How to fix it:
You can fix this problem and looking at your network bridge and interface settings, if you’re using a cloud server, make sure it is using the right network interface.
Dashboard Not Loading
The issue here is that you can’t open the web dashboard, or it only shows errors when you try.
How to fix it:
Fix this by restarting the web service, and making sure you are using the right IP address, You can also try opening it on another browser.
Conclusion
In this article, we showed you how to install OpenStack in Ubuntu 20.04, We have walked you through updating your system, setting up a user, and much more, you also learned how to access OpenStack, upload test images, and troubleshoot common issues. You can use Packstack or Juju for testing and learning, It is better to set the proper security and use the high availability and backup solution, Read more Ubuntu articles on NeuronVM Tutorials .
You might like it