


How to Install MinGW on Windows 10

 5m
5m
 0 comments
 Print
Print
MinGW (Minimalist GNU for Windows) is a development environment for creating programs on Windows. It provides a collection of essential development tools, including a GNU Compiler Collection (GCC), which allows you to compile and build various software applications. This comprehensive guide will walk you through the steps to install MinGW on Windows 10, enabling you to start developing your own software projects.
Requirements
The hardware requirements for installing MinGW on Windows 10 are relatively low. Here are the minimum recommended specifications:
– Processor: 1 GHz or faster
– RAM: 1 GB or higher
– Hard Drive Space: 16 GB or more
– Display: 800×600 resolution or higher
– Graphics Card: DirectX 9 or later with WDDM 1.0 driver
If you need to use Windows VPS, we suggest you to visit the various Windows VPS plans offered on our website.
Step.1: Download the MinGW Installation Manager
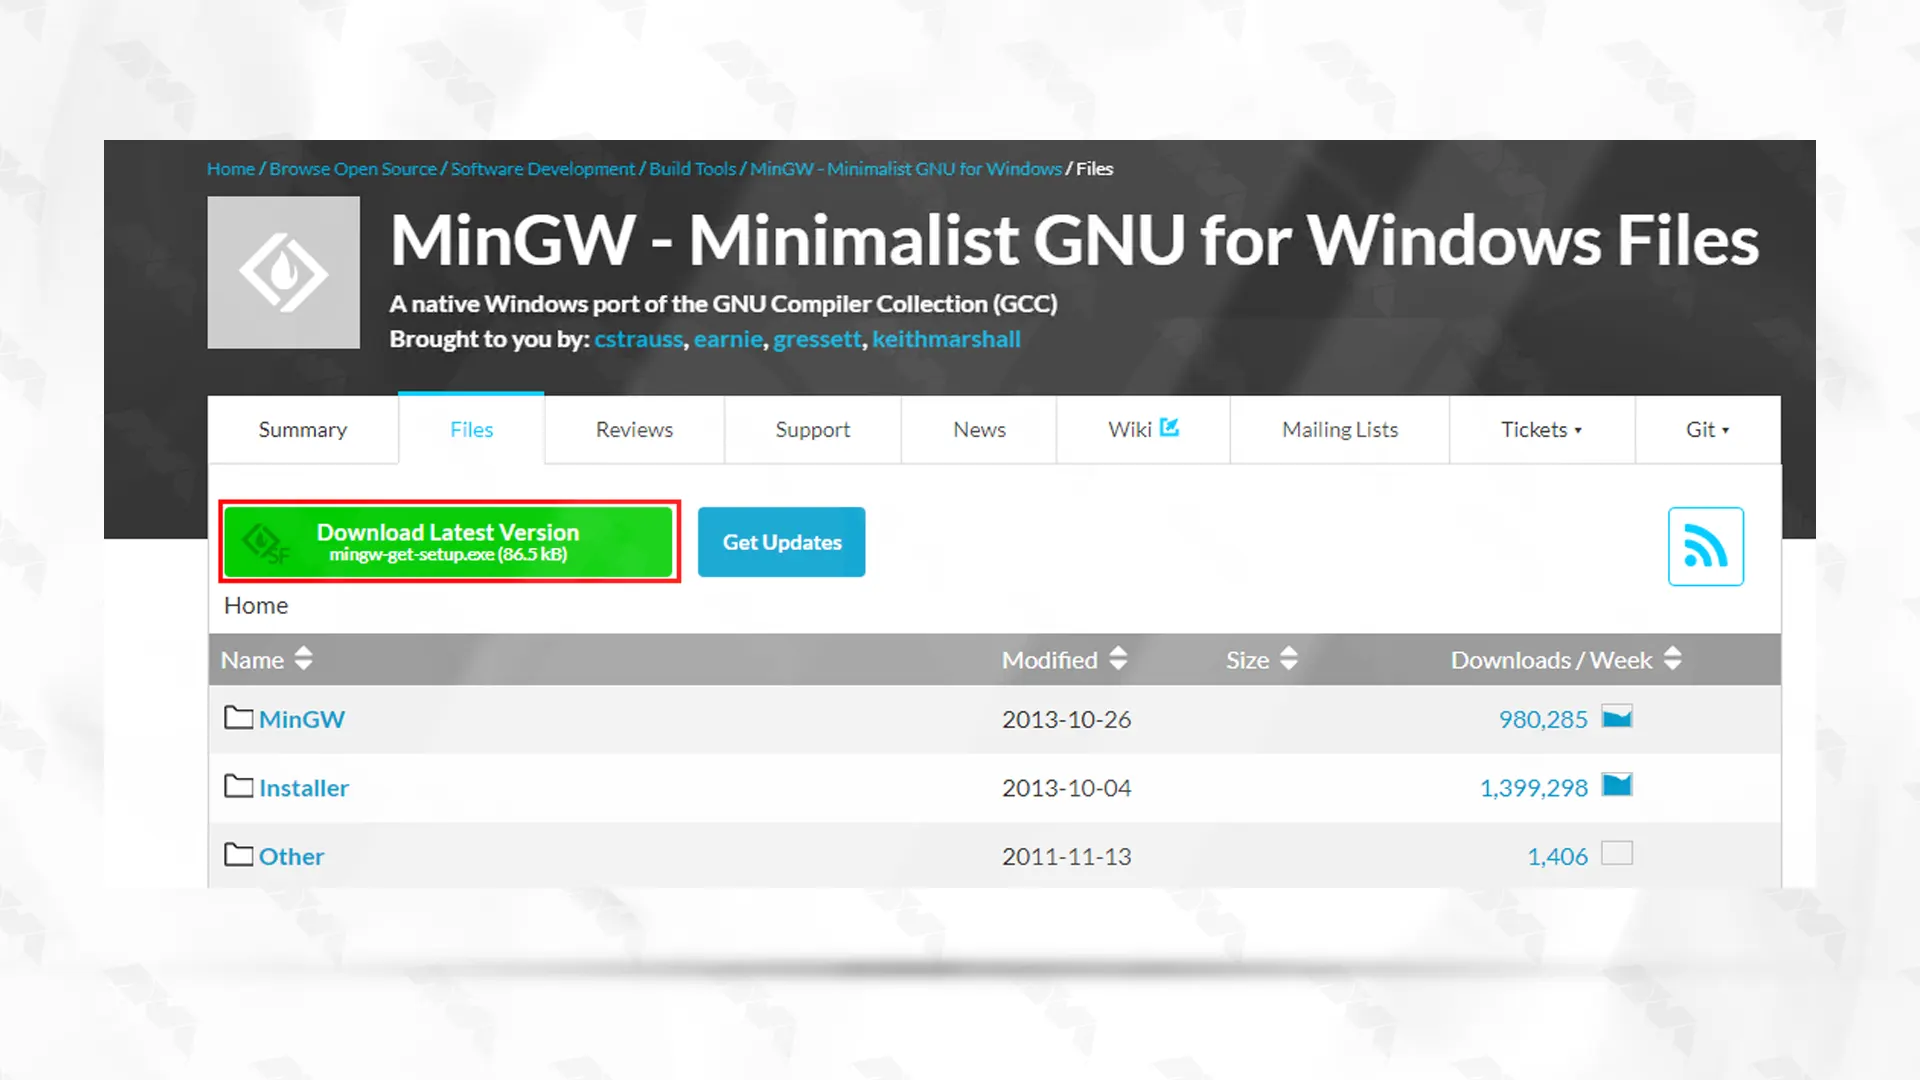
Open your web browser and navigate to the MinGW website.
To download the file like the image, click on Download Latest Version:
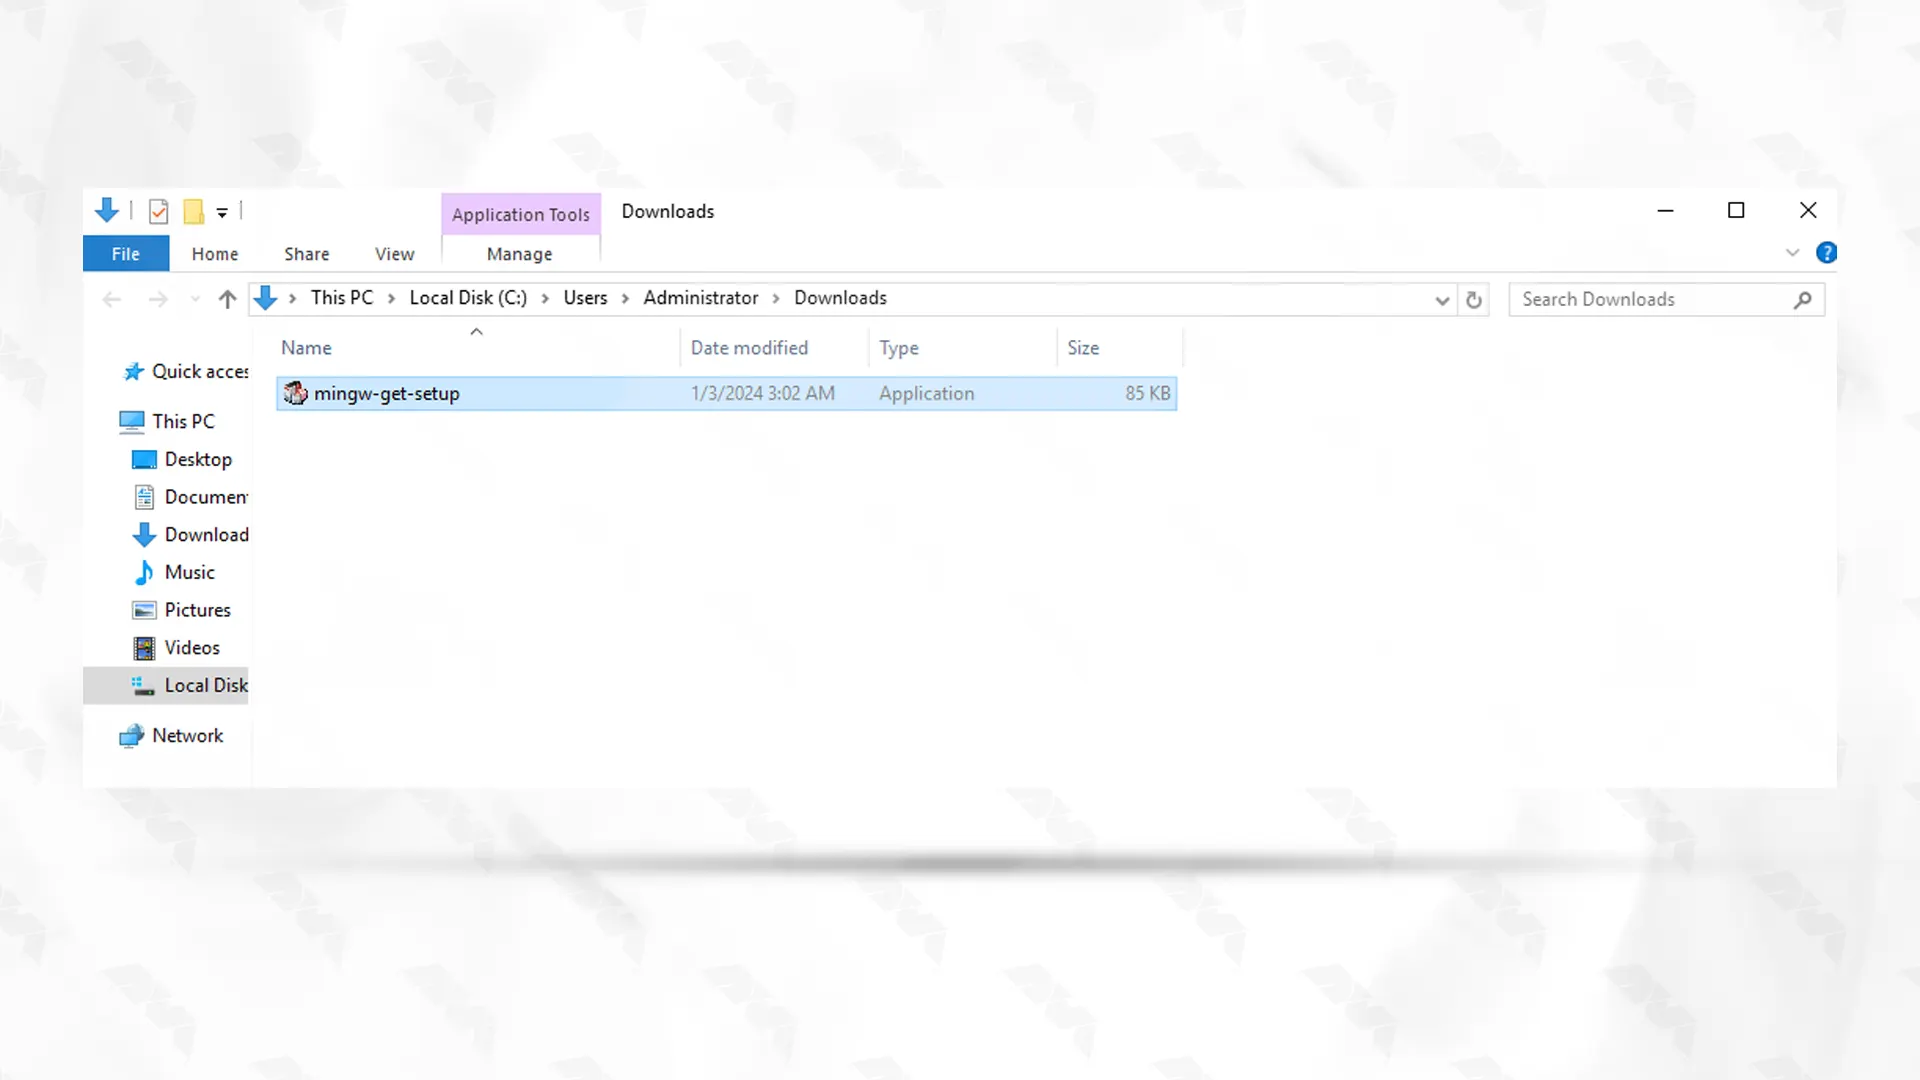
Go to the place where you downloaded the MinGW file:
Step.2: Setting up the MinGW on Windows 10
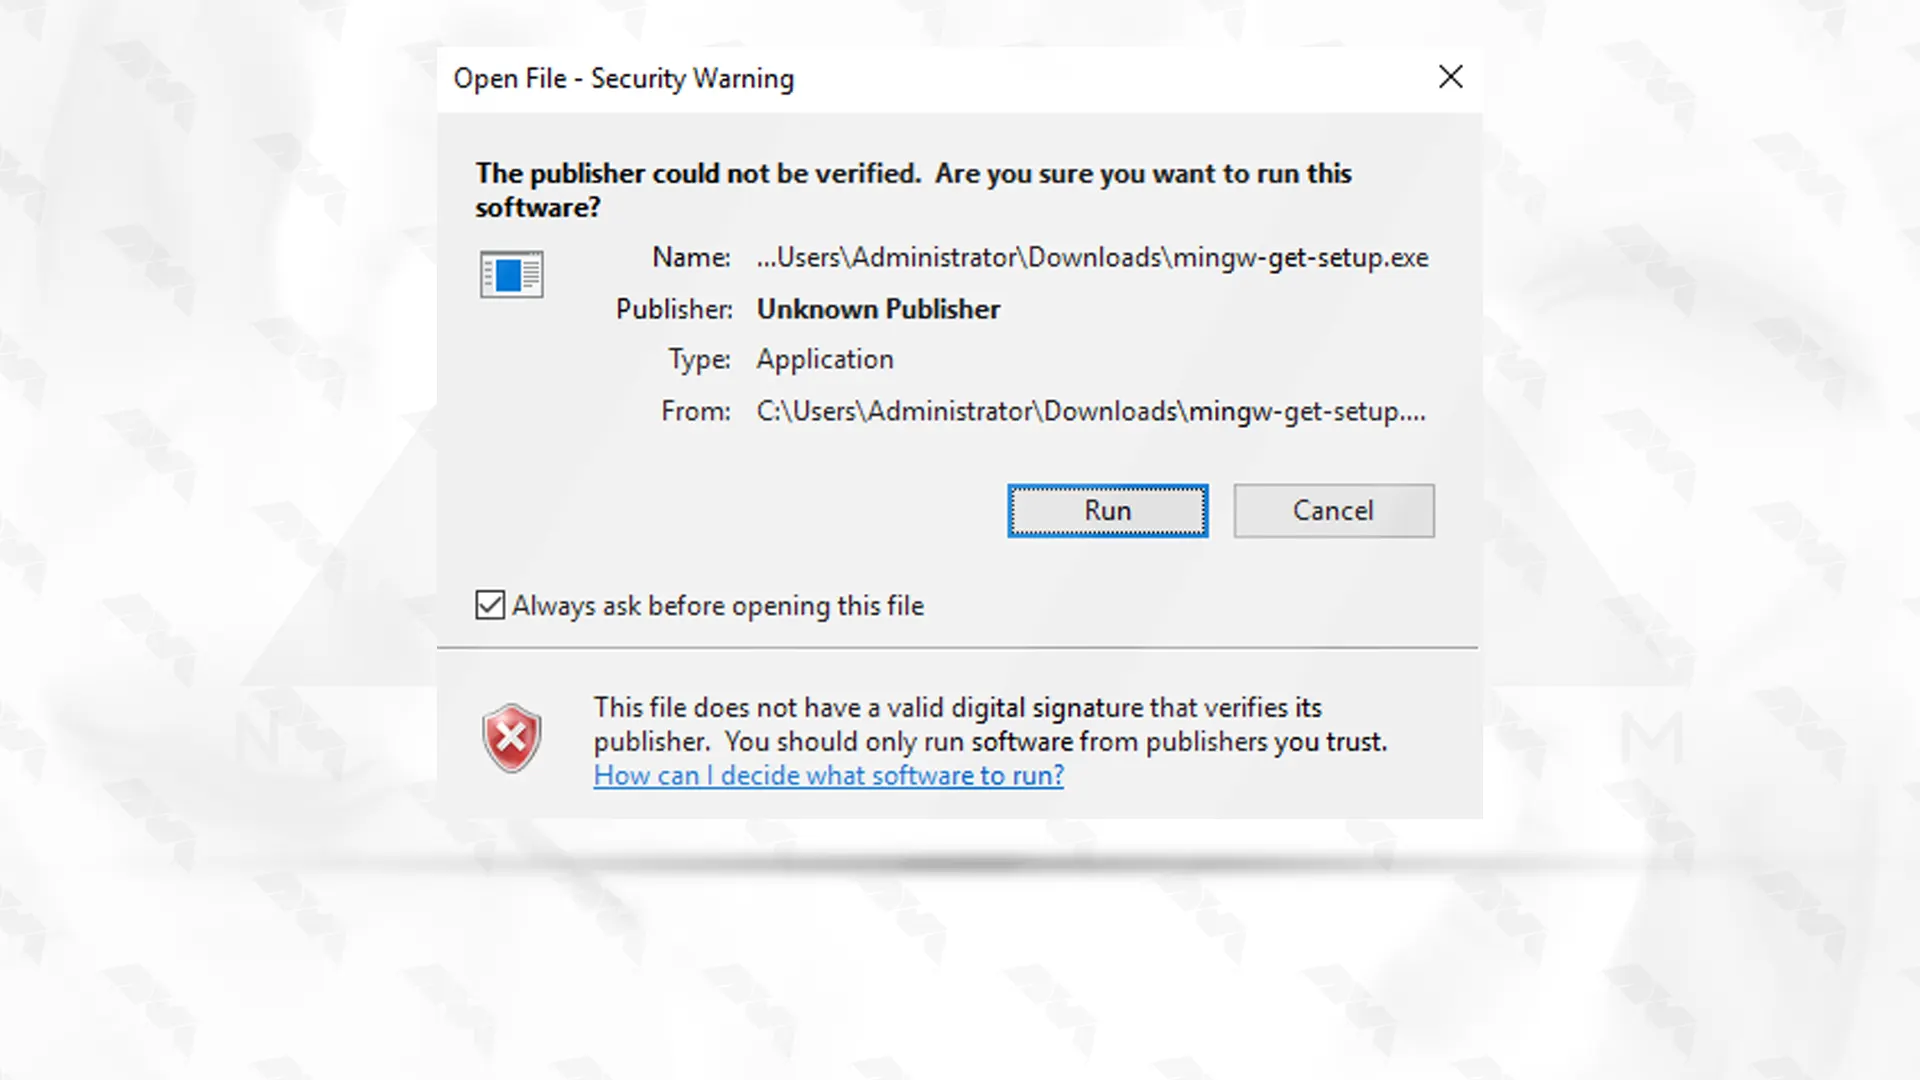
Click to “Run” to install MinGW on Windows 10:
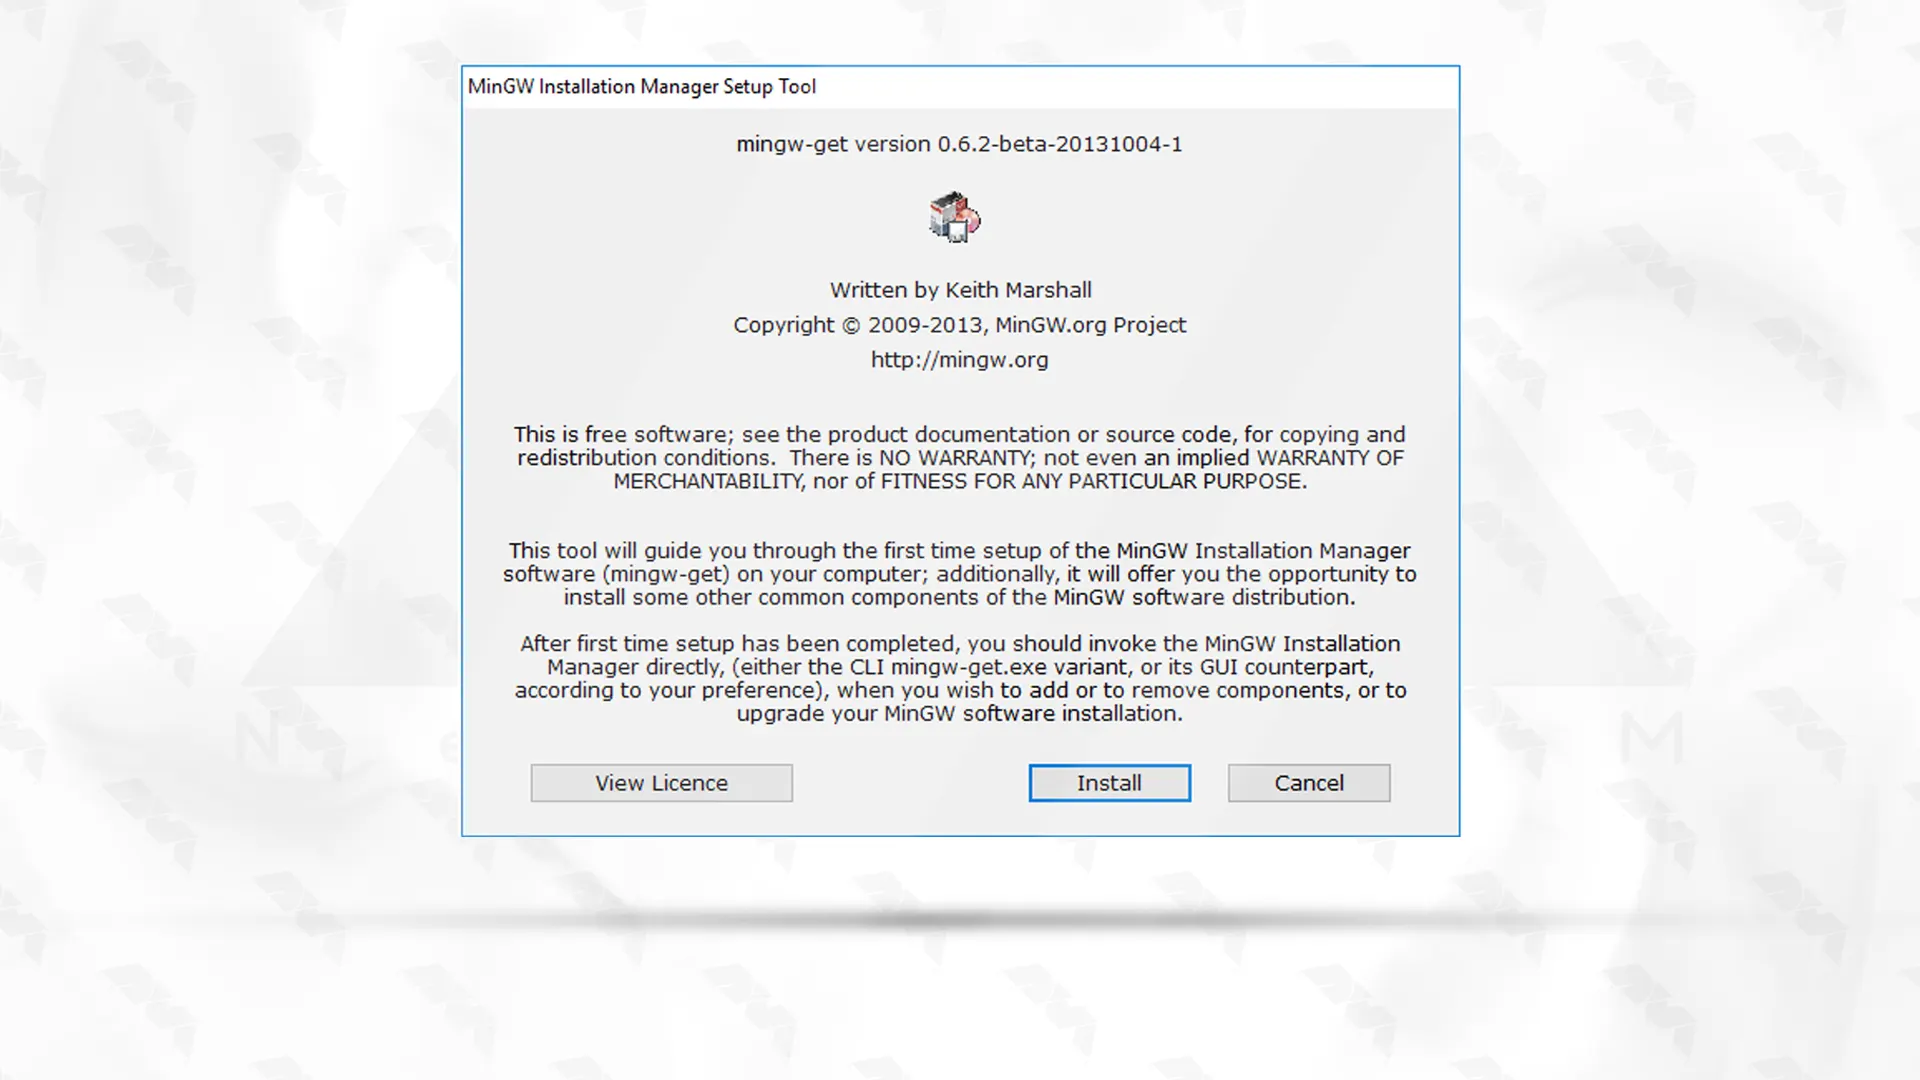
Click on the “Install” button to start the installation process:
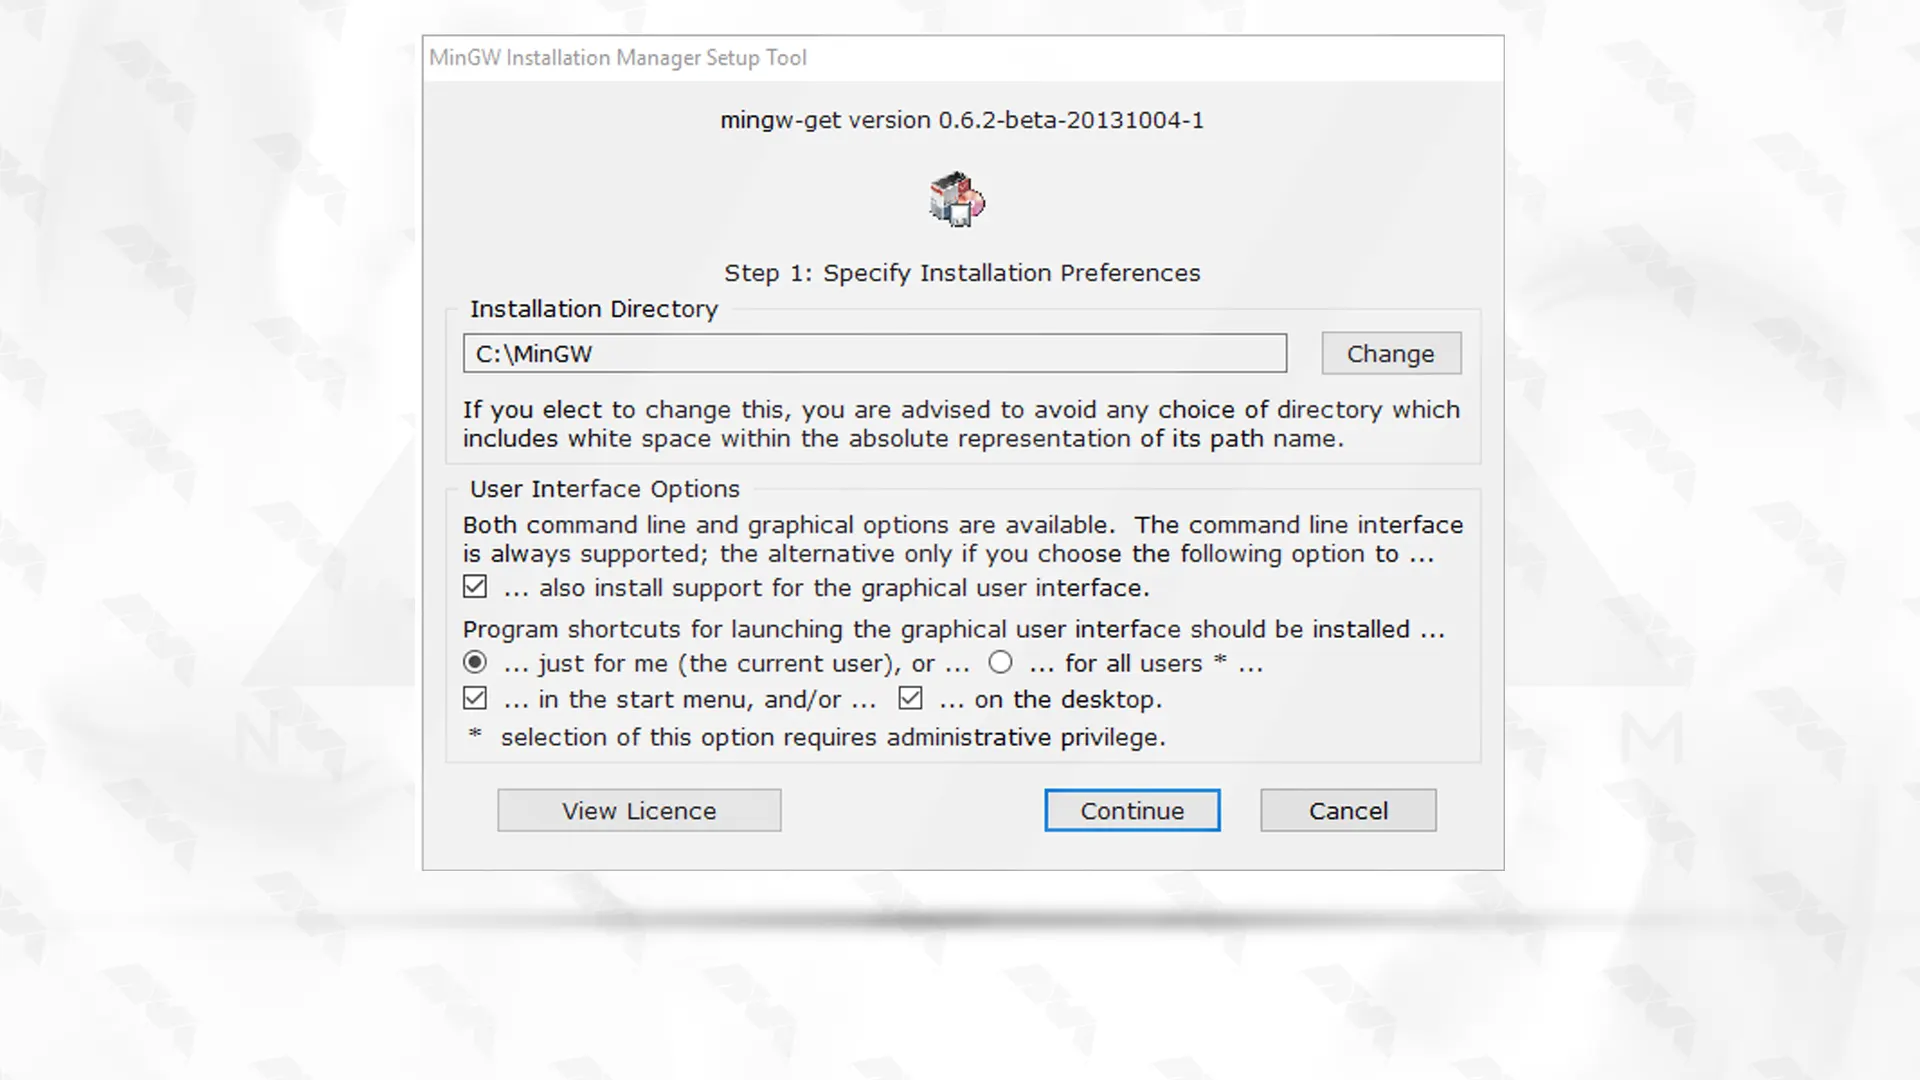
In this section, you can specify the installation directory. After making the desired settings, click on “Continue“:
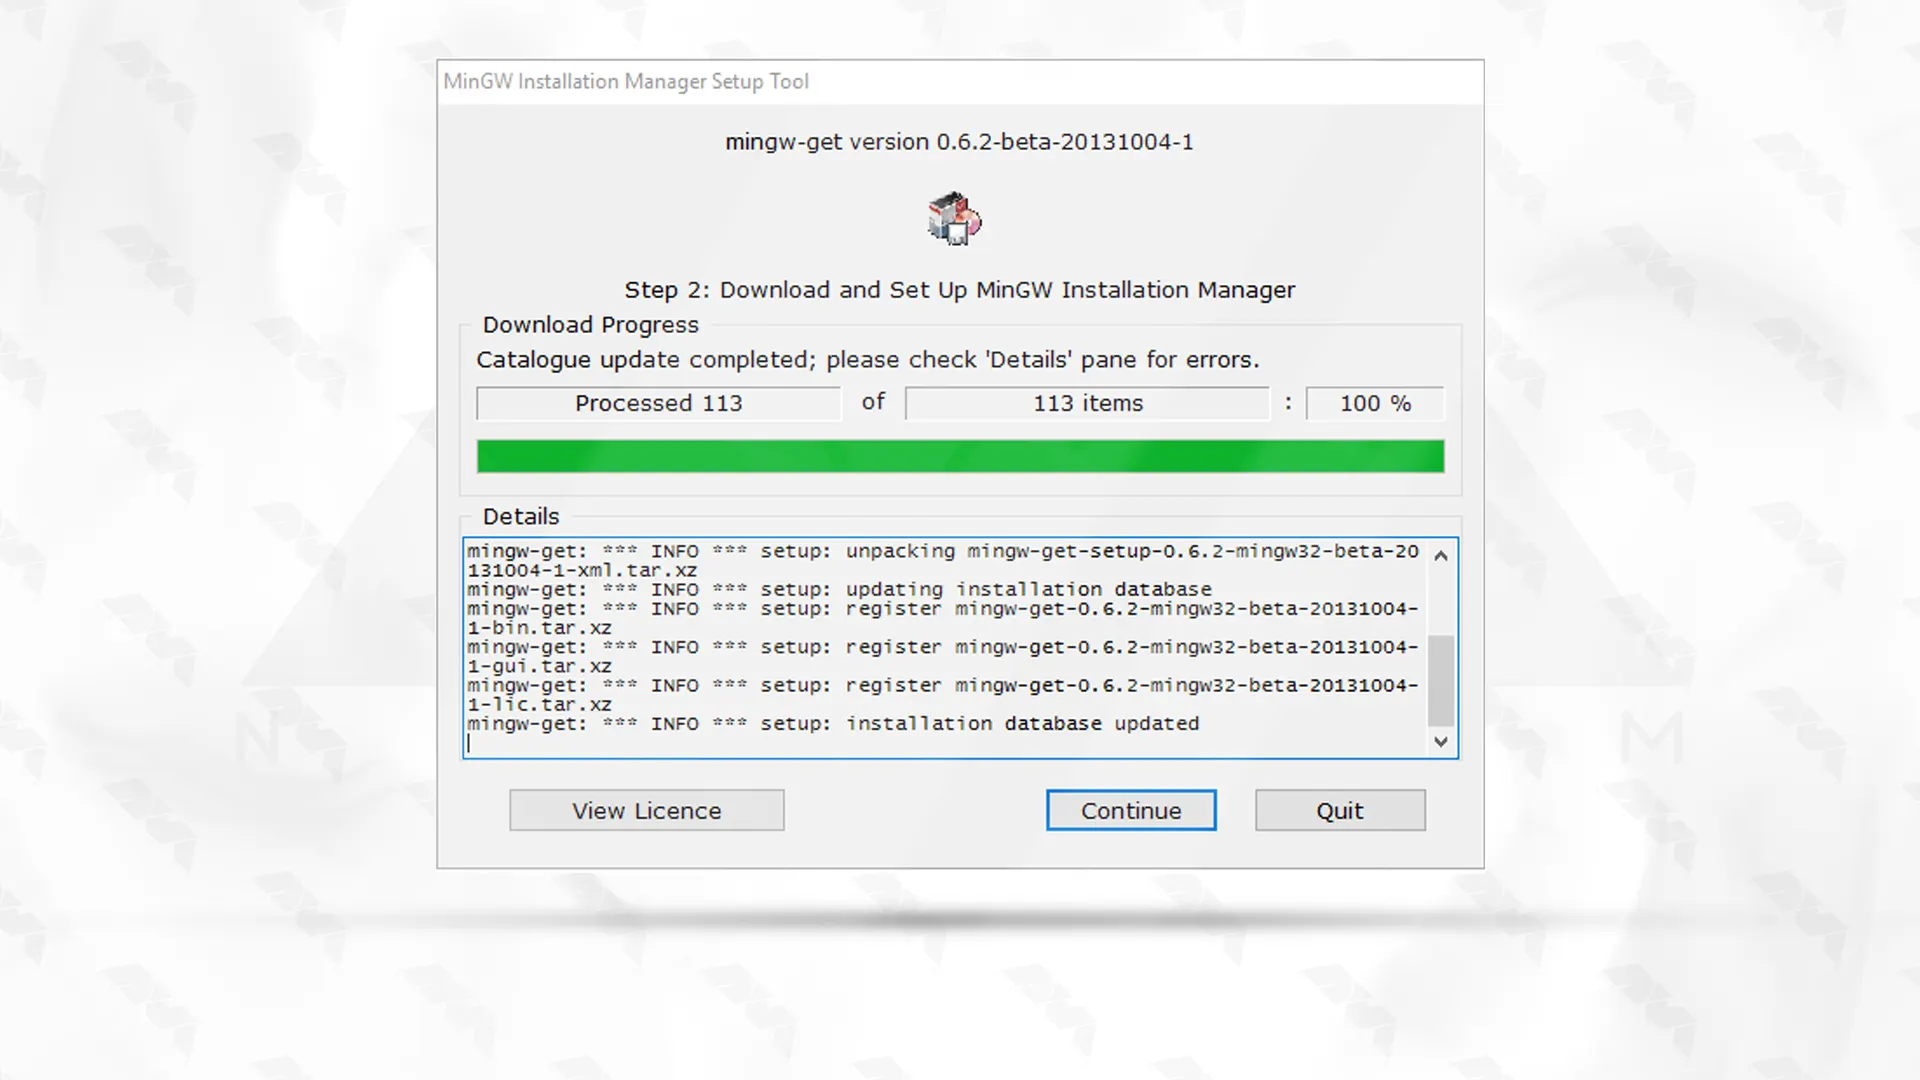
You can see the download progress in the window below. Wait for the download to finish and then click “Continue“:
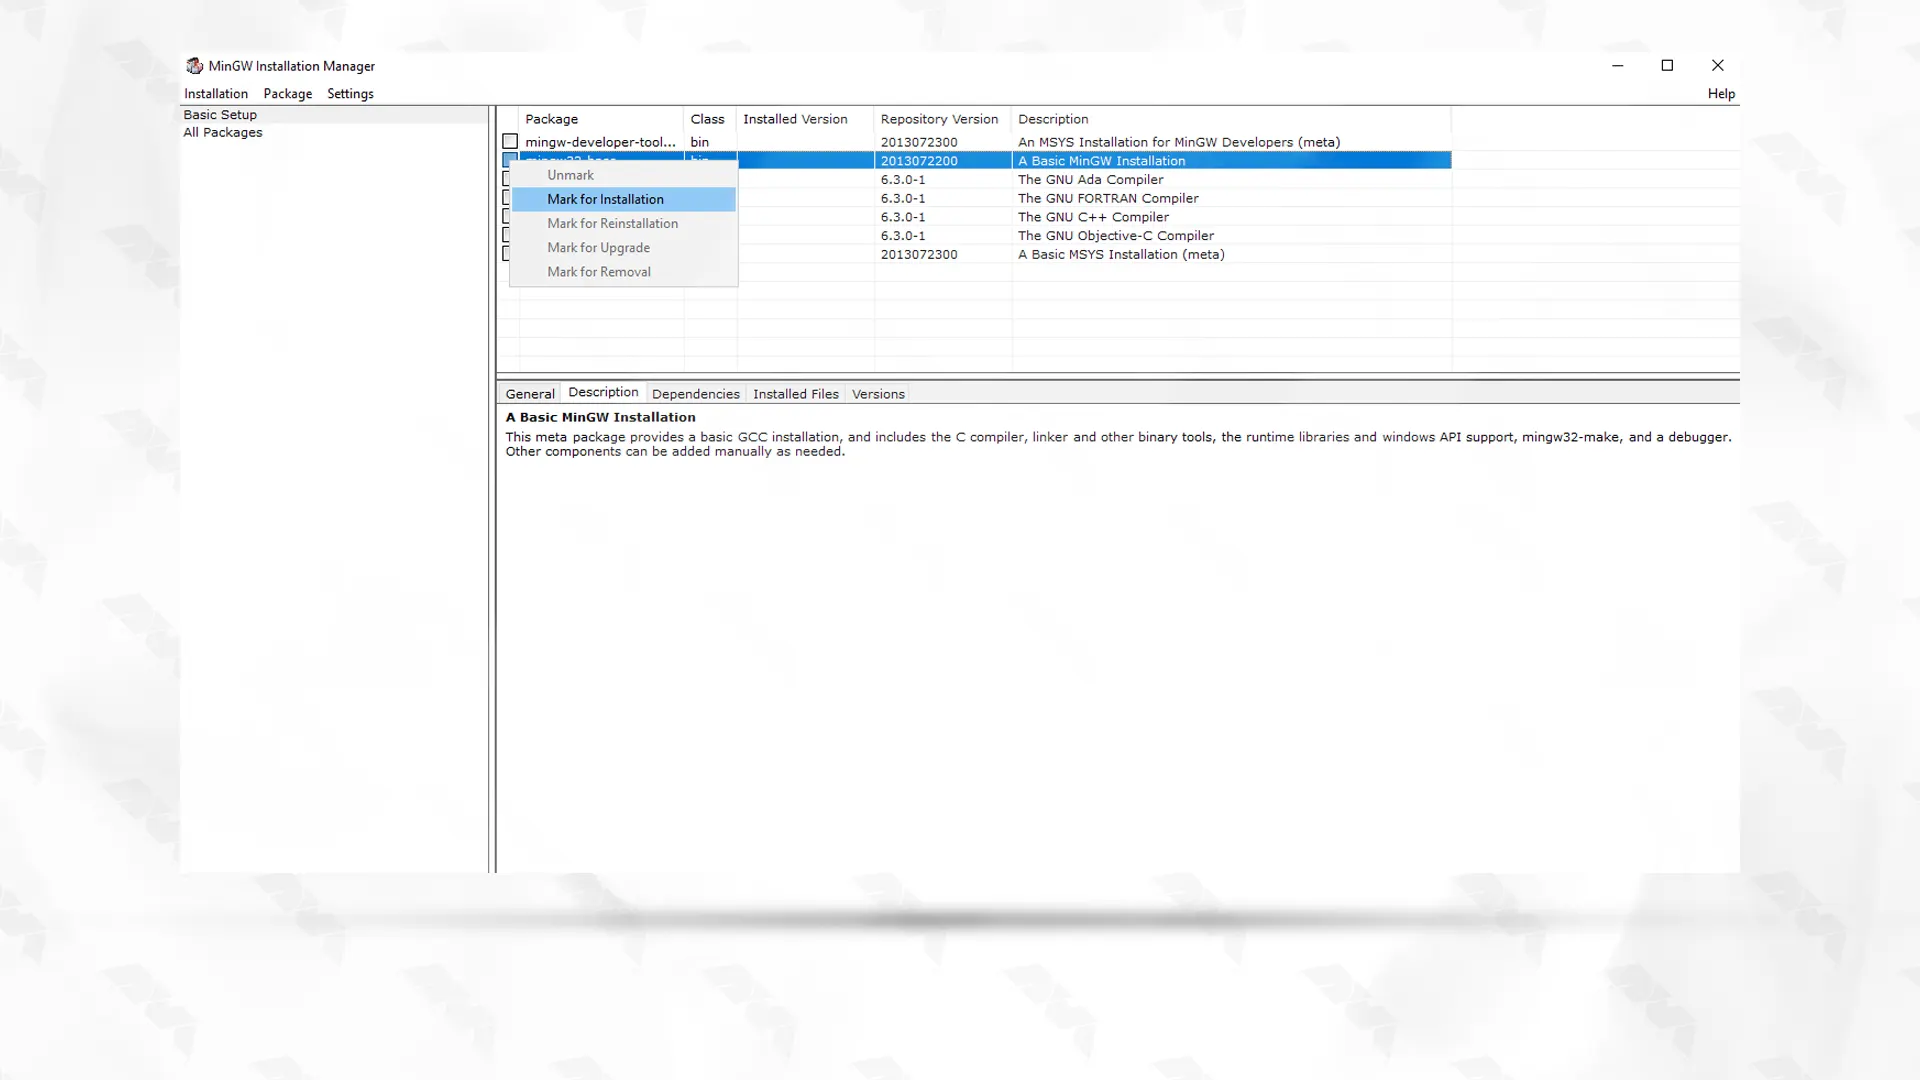
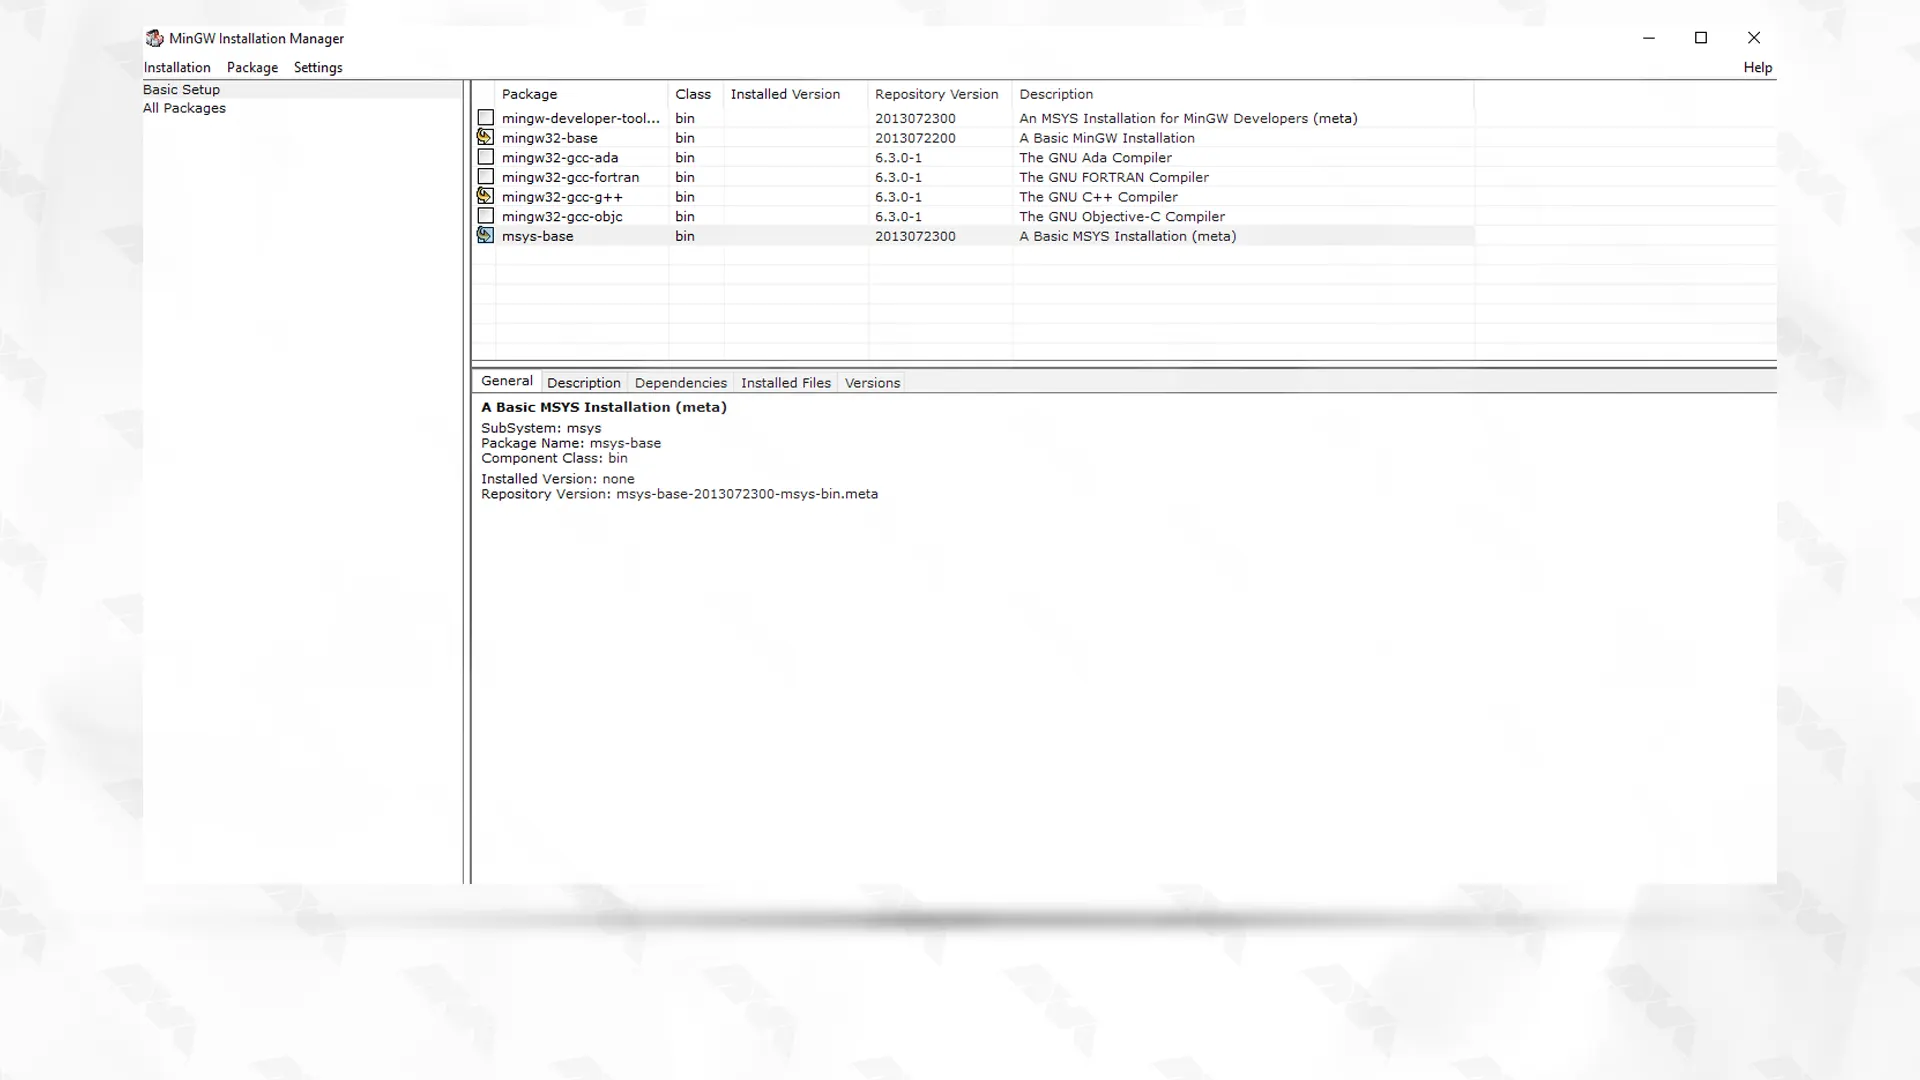
In the Installation Manager window, select the “Basic setup” package from the list of available packages.
Review the list and make sure the following components are selected: mingw32-base, mingw32-gcc-g++, msys-base, and any other components you may require for your specific development needs.
Click on the “Mark for Installation” option to select it:
***
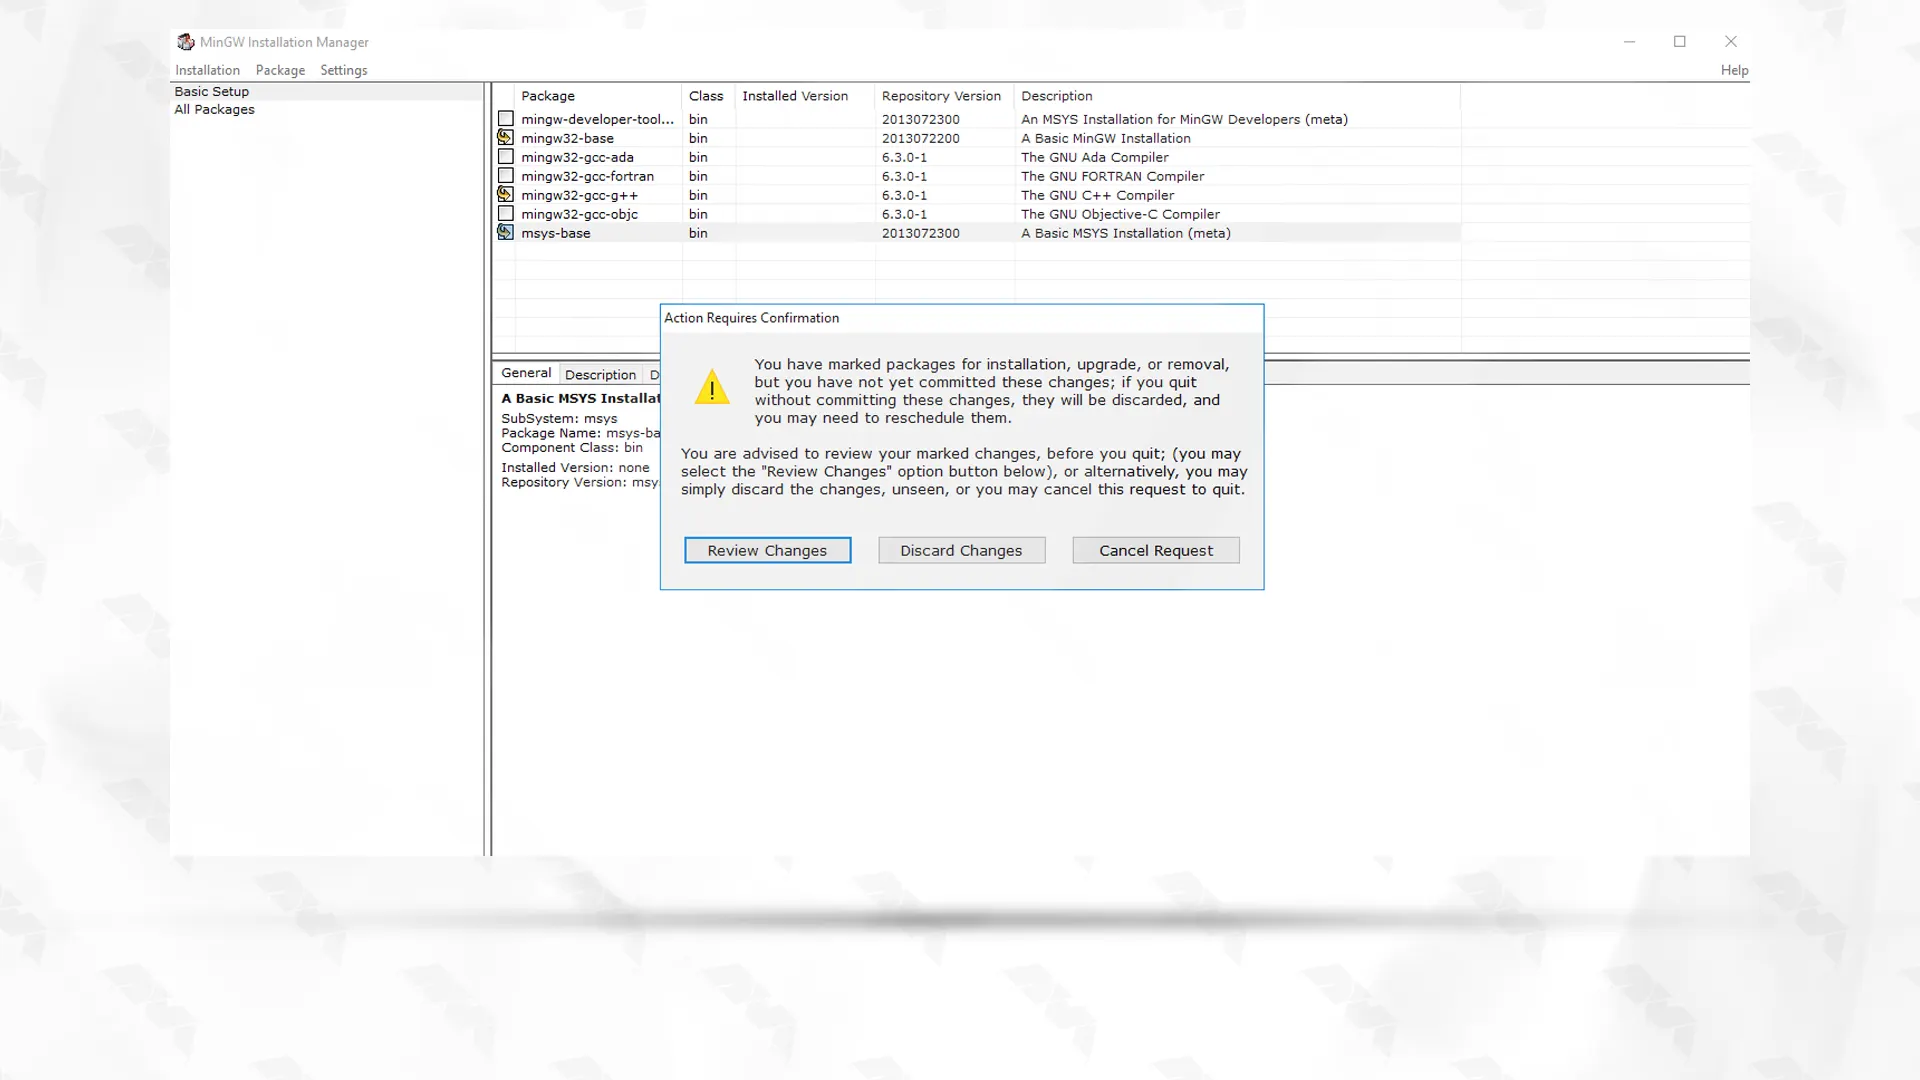
In the following window, click on “Review Changes“:
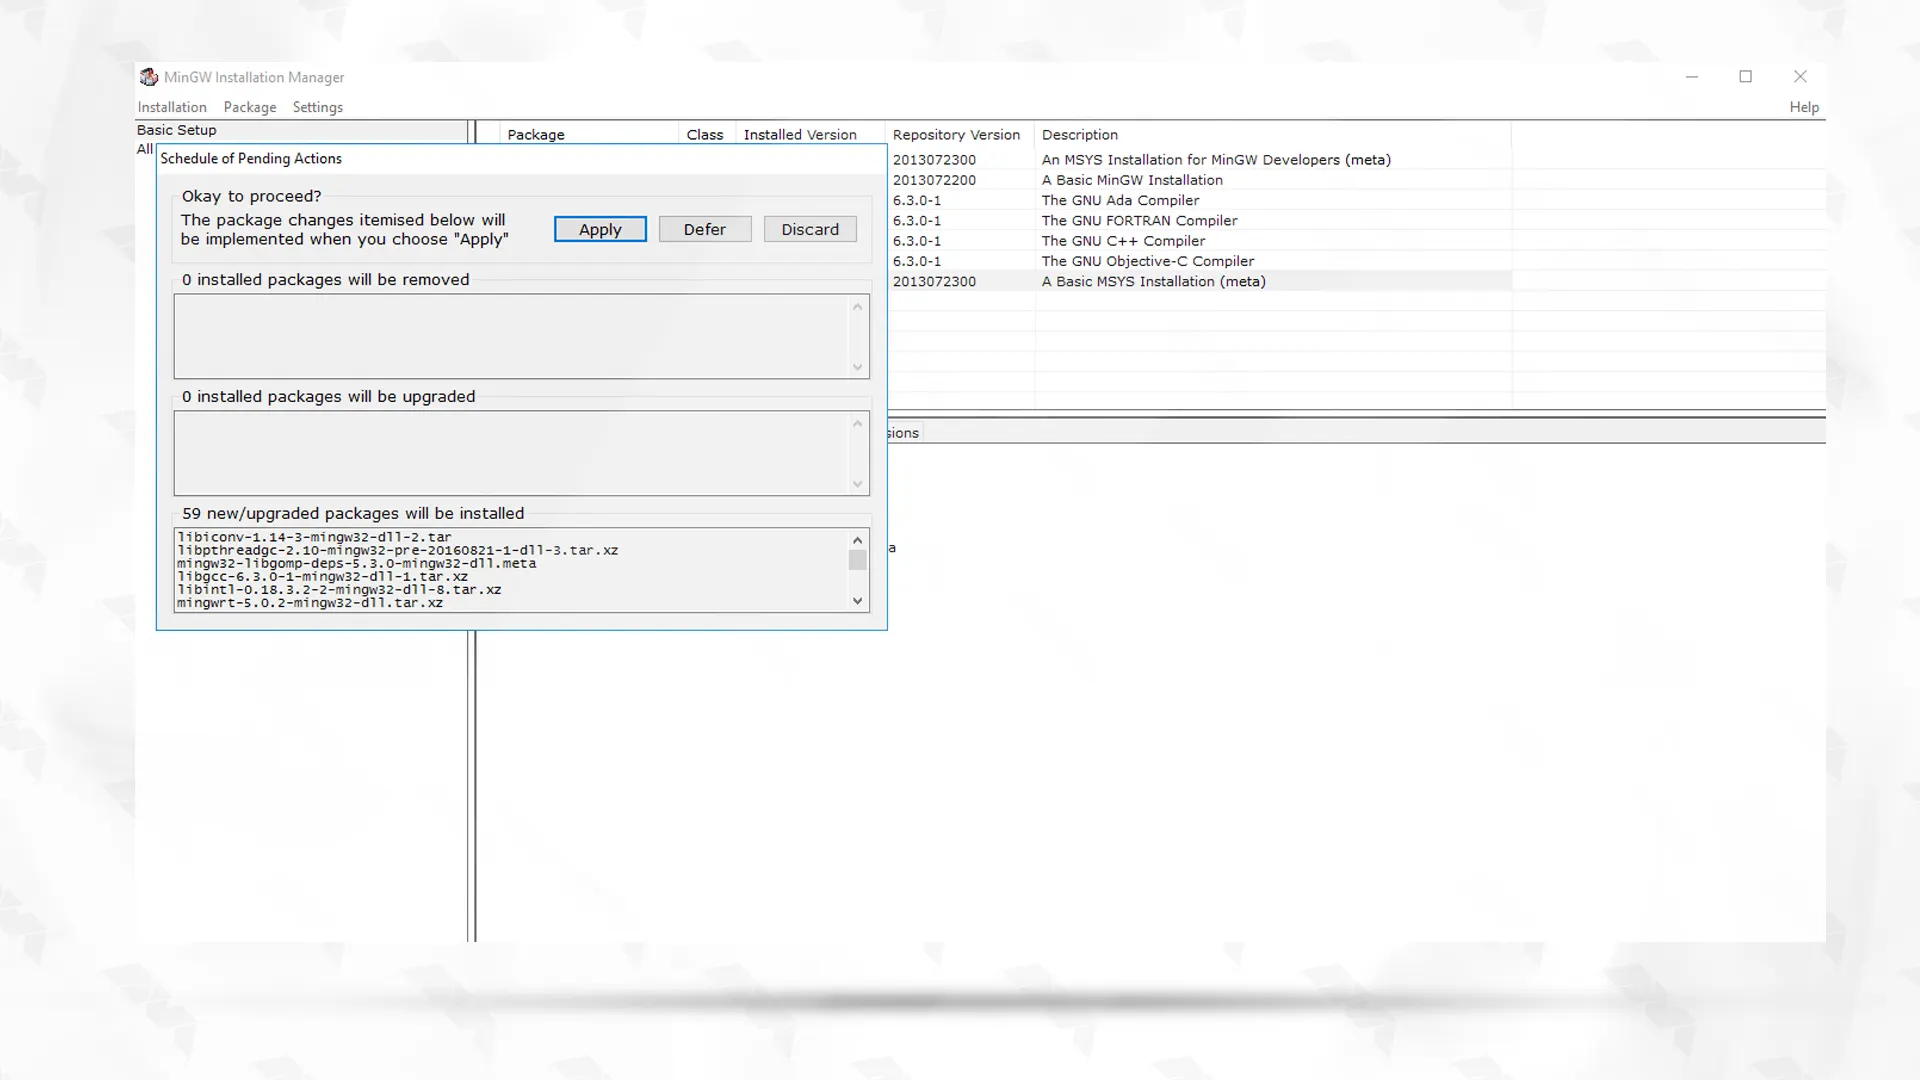
Click on “Apply“:
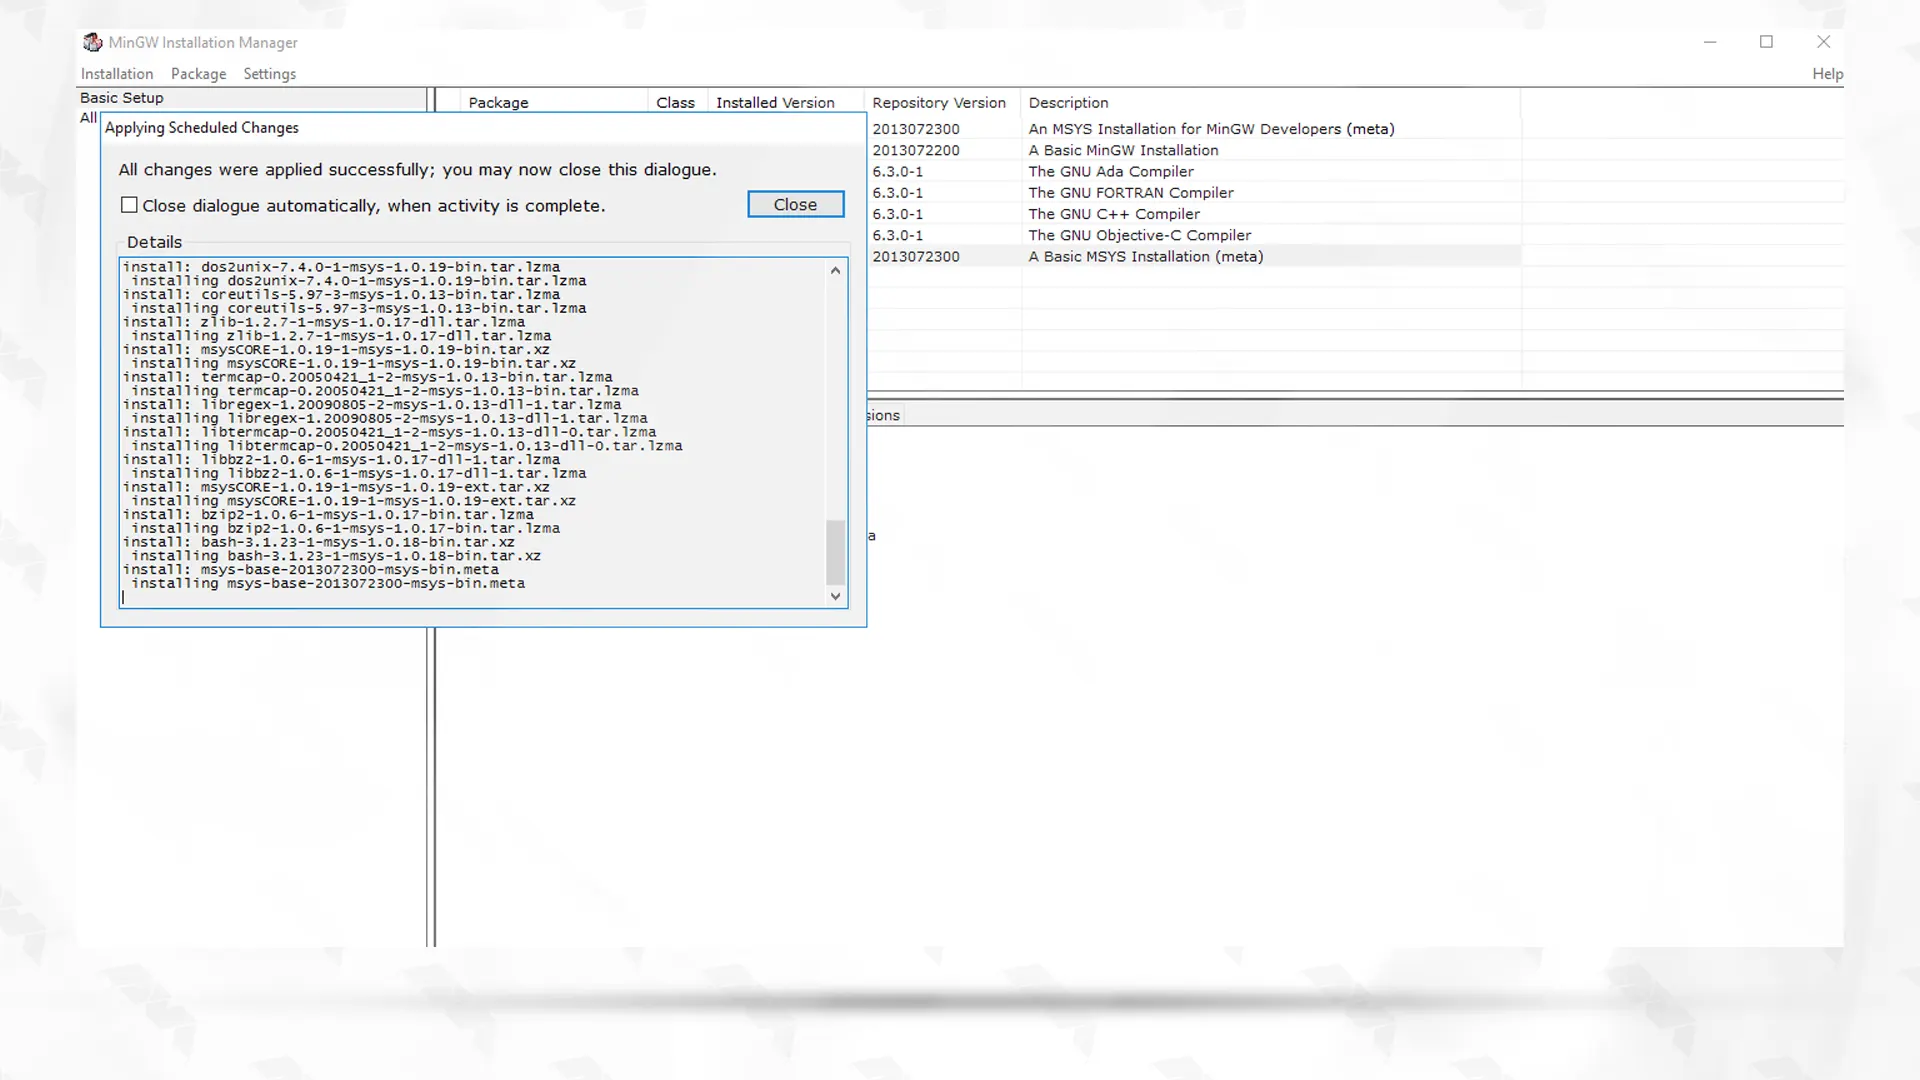
The Installation Manager will now download and install the selected components to your computer. Wait for the installation process to complete. This may take some time depending on your internet connection and the selected components’ size. At the end, click on “Close“:
You have successfully installed MinGW. You are now prepared to proceed with the installation of Eclipse.
Should you come across any queries or difficulties during the installation, feel free to leave them in the comments section for our assistance.
Conclusion
By following this comprehensive guide, you should now have MinGW successfully installed on your Windows 10 system. You can now start utilizing its powerful development environment for building and compiling various software applications. Remember to refer to the MinGW documentation and tutorials to further explore the features and capabilities it offers. Happy coding!
You might like it

Almalinux Tutorials
How to Install and Configure HAProxy on AlmaLinux 8


Linux Tutorials
How to Configure LVM Partitioning on a Dedicated Server


Windows Tutorials
How to Install Nox Player on Windows Server