How to Install Invoice Ninja on cPanel

 6m
6m
 0 comments
 Print
Print
For small businesses, freelancers, and growing businesses, efficient invoicing is at the forefront of their minds. Invoice Ninja offers a robust, open-source solution that simplifies this critical aspect of doing business. Although there are many cloud-based solutions out there, hosting Invoice Ninja yourself on your cPanel server provides greater control, flexibility, and data security.
This tutorial takes you step-by-step through Invoice Ninja’s installation on cPanel, which you can quickly and comfortably carry out on your own, including if you are a relatively new webmaster. These instructions are designed to leave the process crystal clear so you can do an easy and smooth installation.
5 Steps to Install Invoice Ninja on cPanel
Step 1
- Go to your cPanel login.
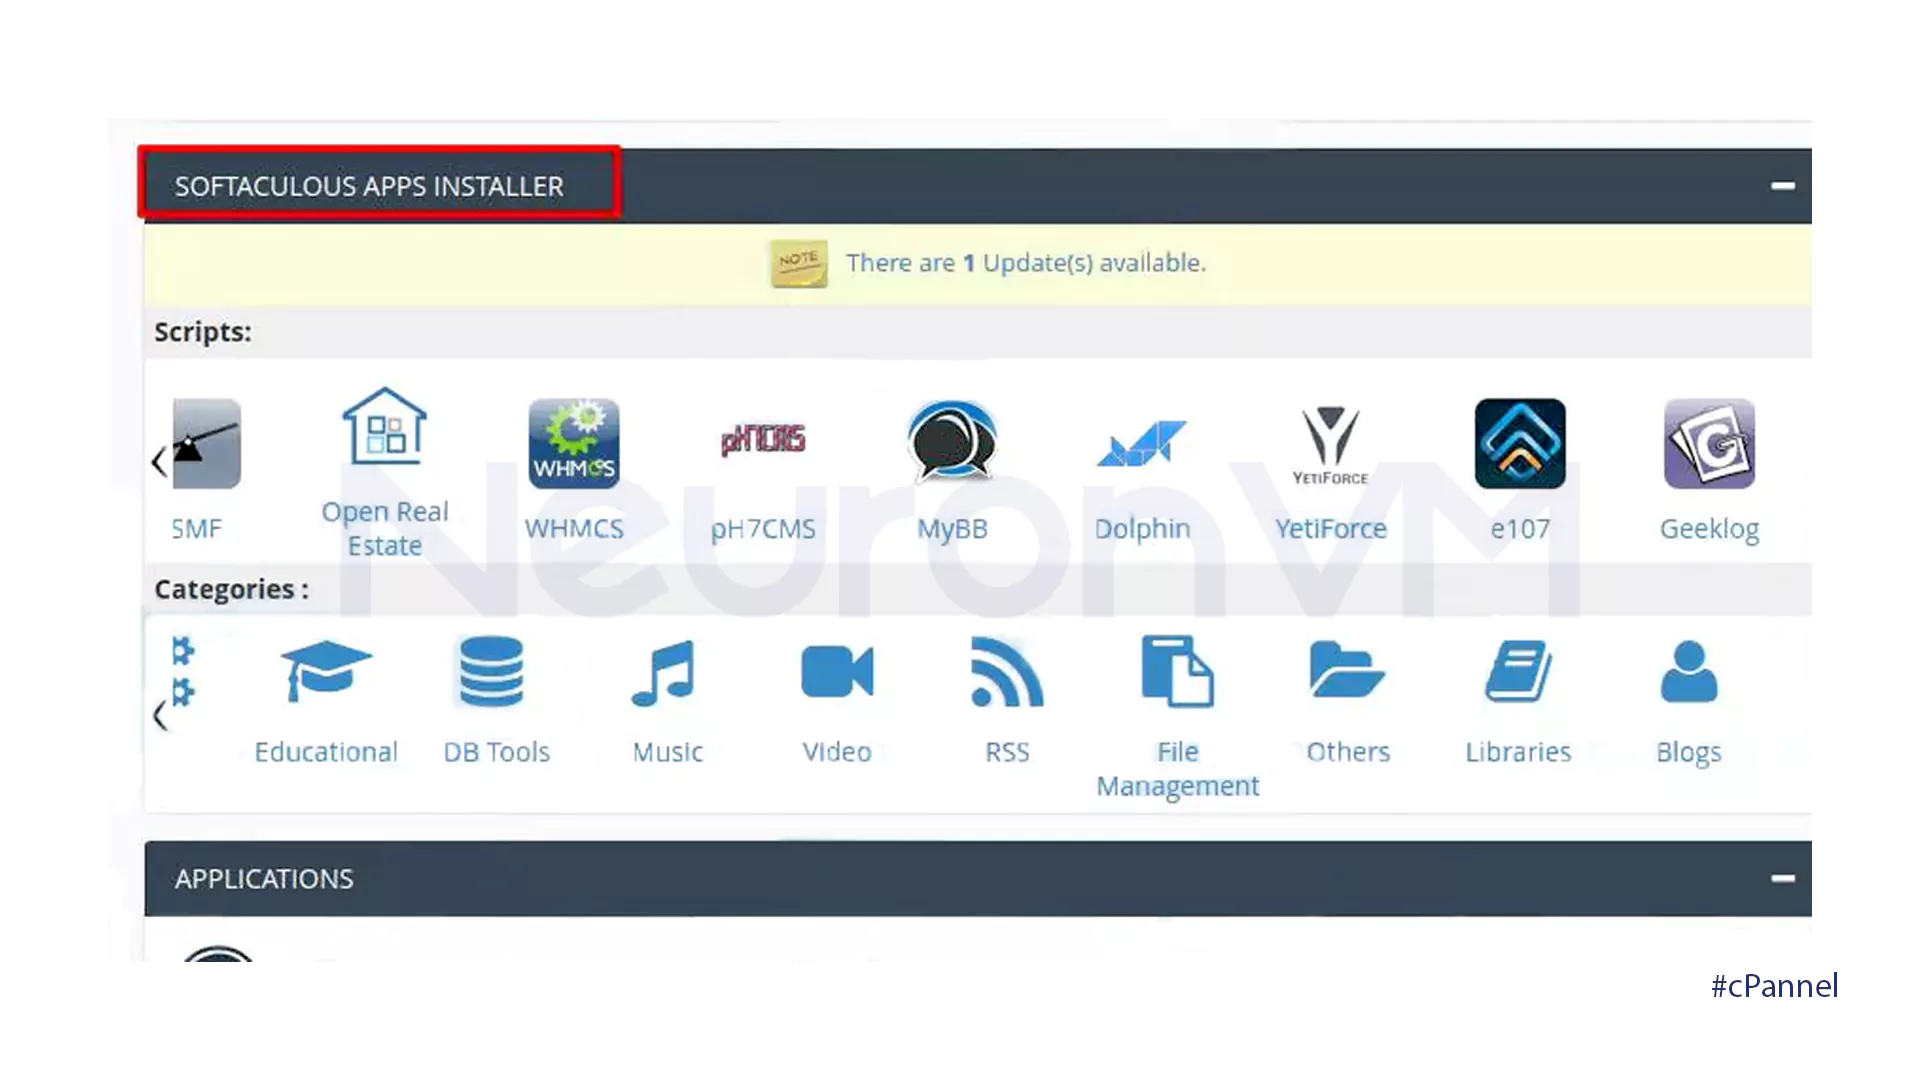
- Find the Softculous Apps Installer in your Control Panel.
- Click the Softculous link and the application installer will be displayed.
Step 2
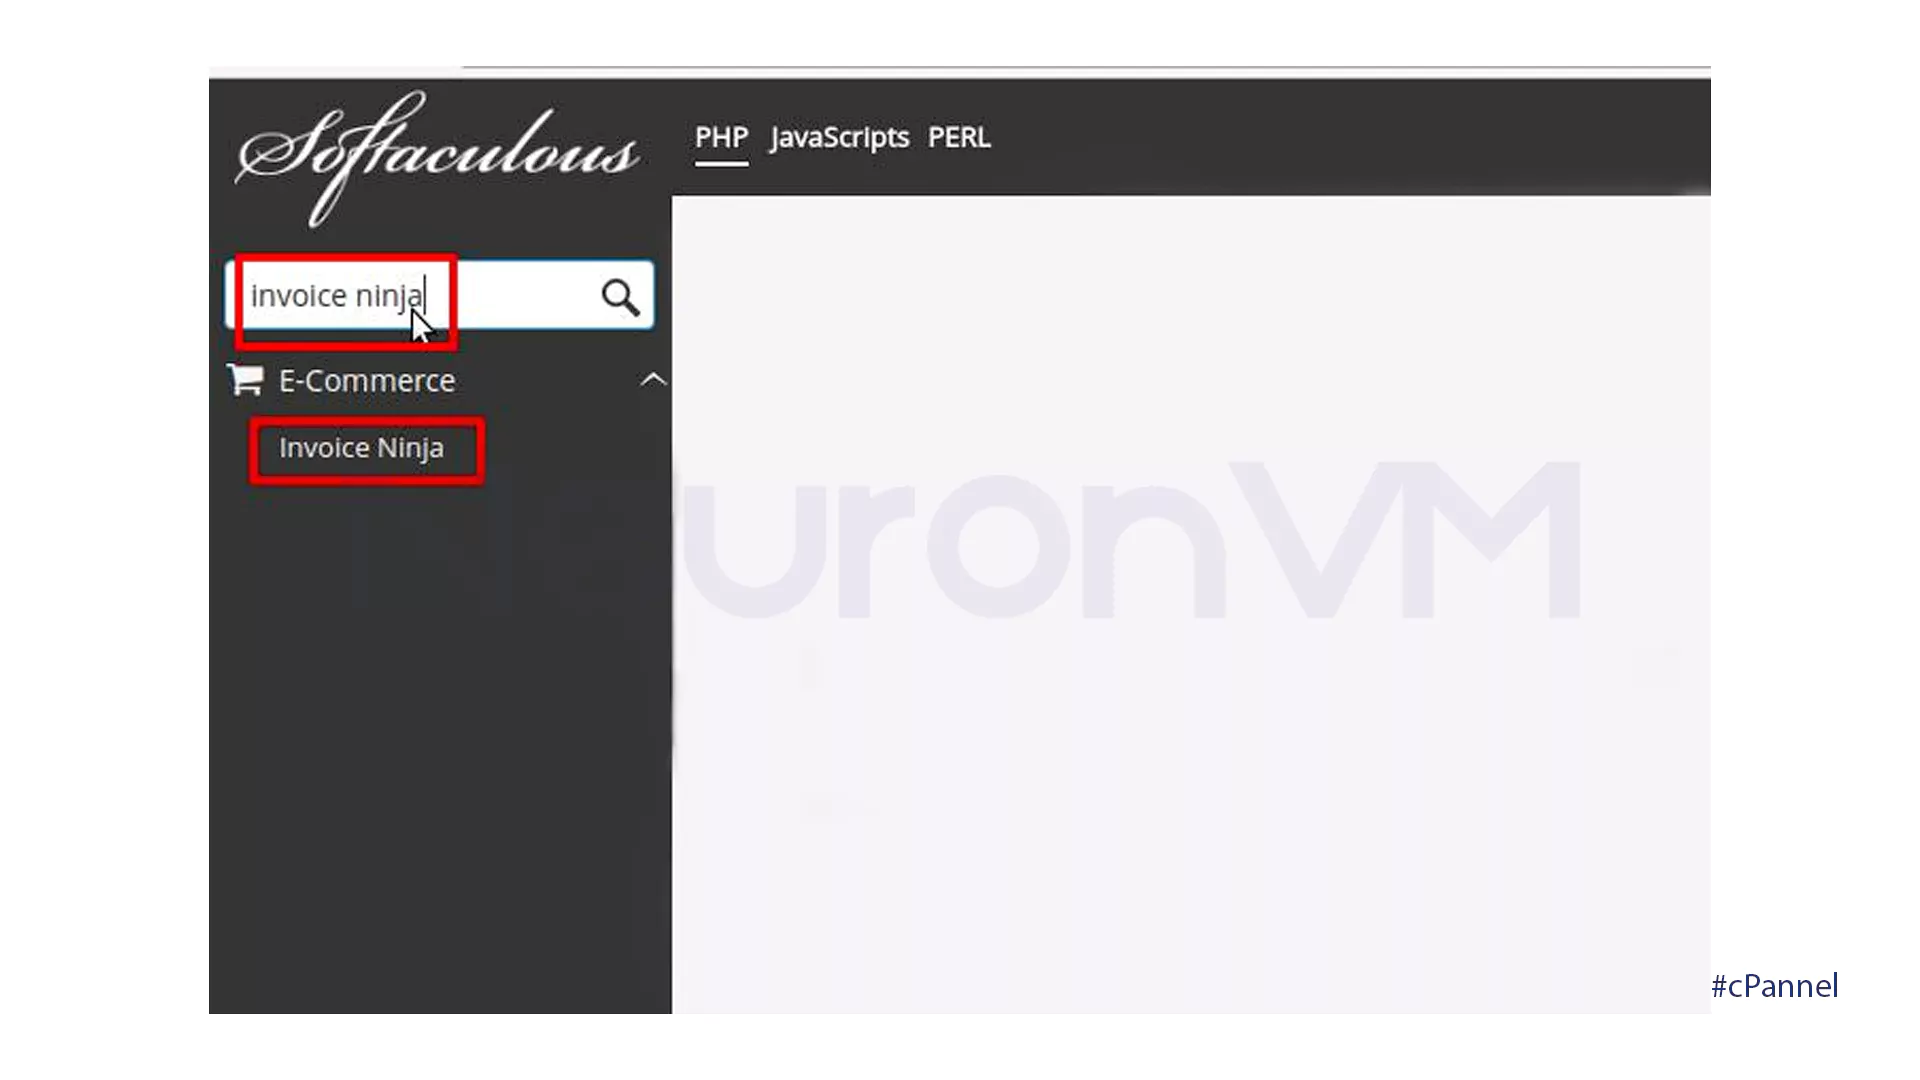
- In the search bar available, input Invoice Ninja, press enter, and then choose the Invoice Ninja application from the search results. You will then be redirected to the installation page.
Step 3
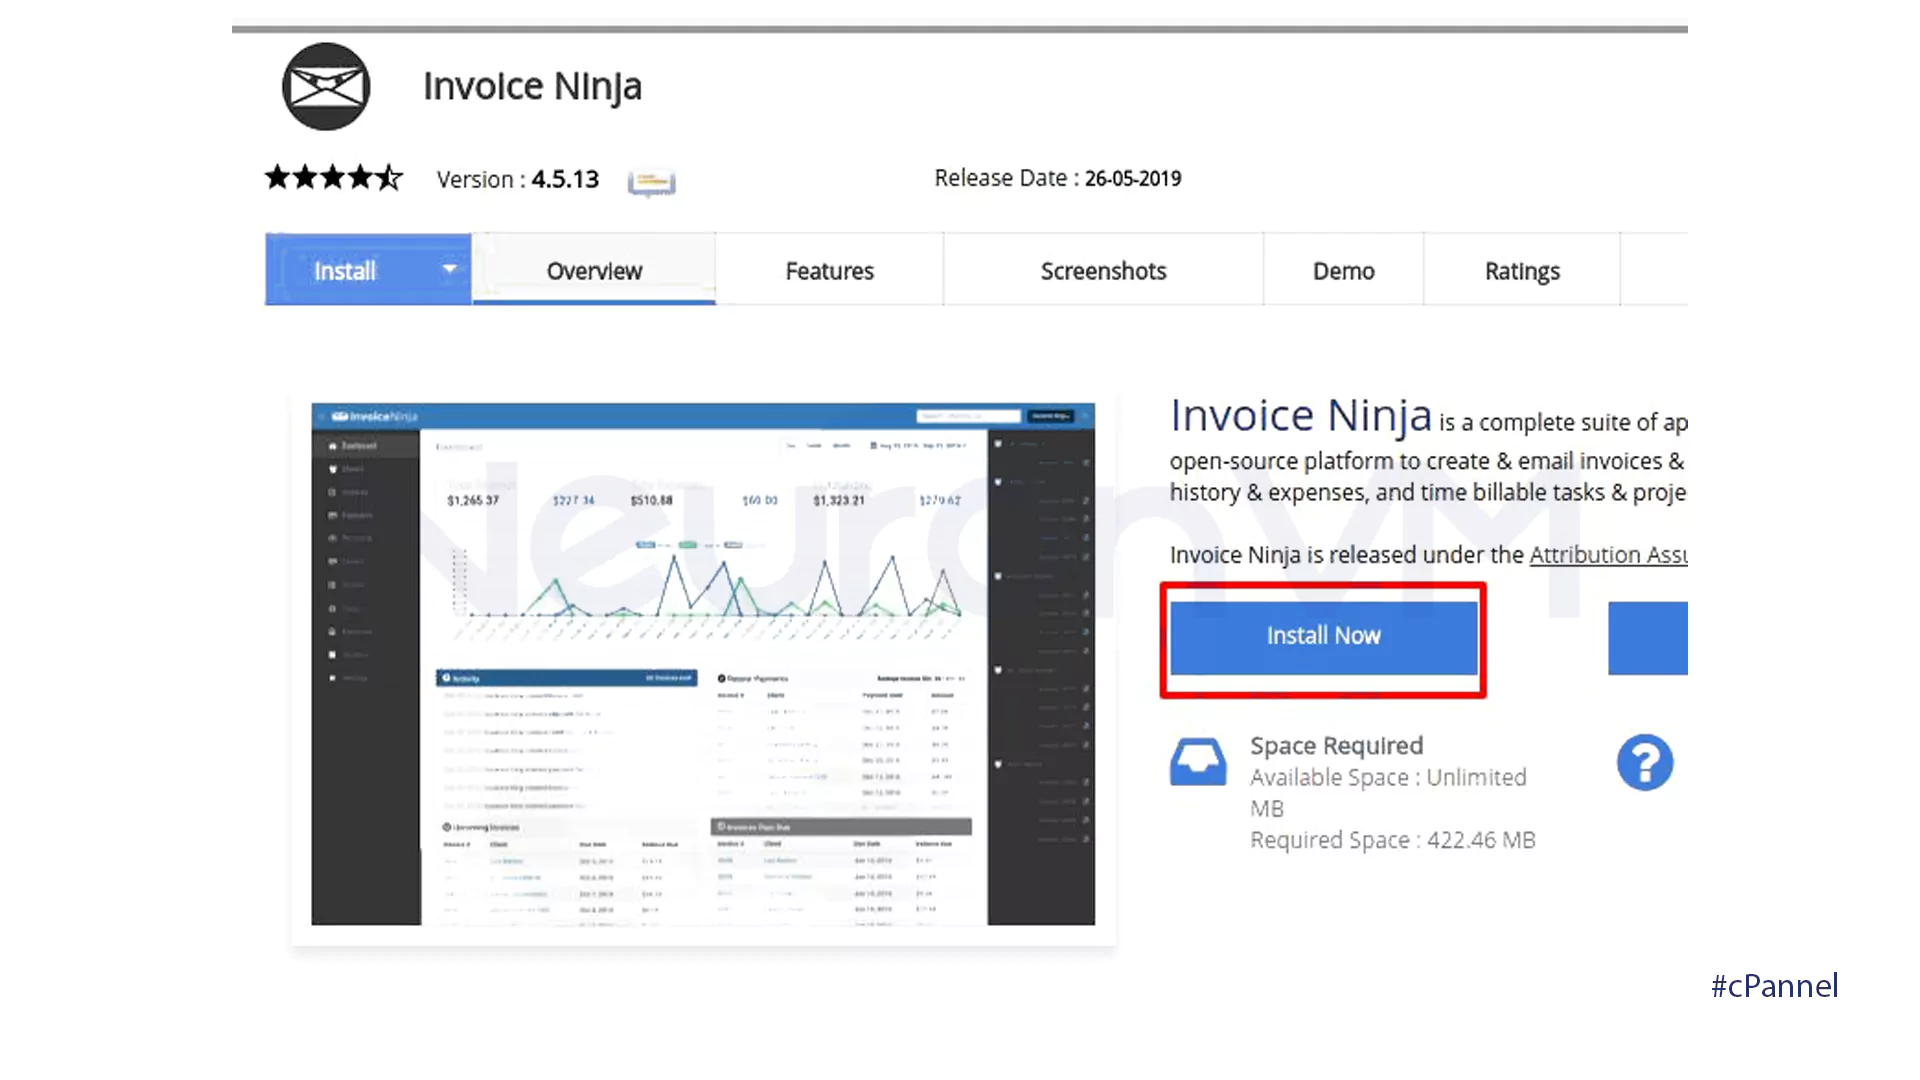
- To install Invoice Ninja, click Install Now. This will open the installer page.
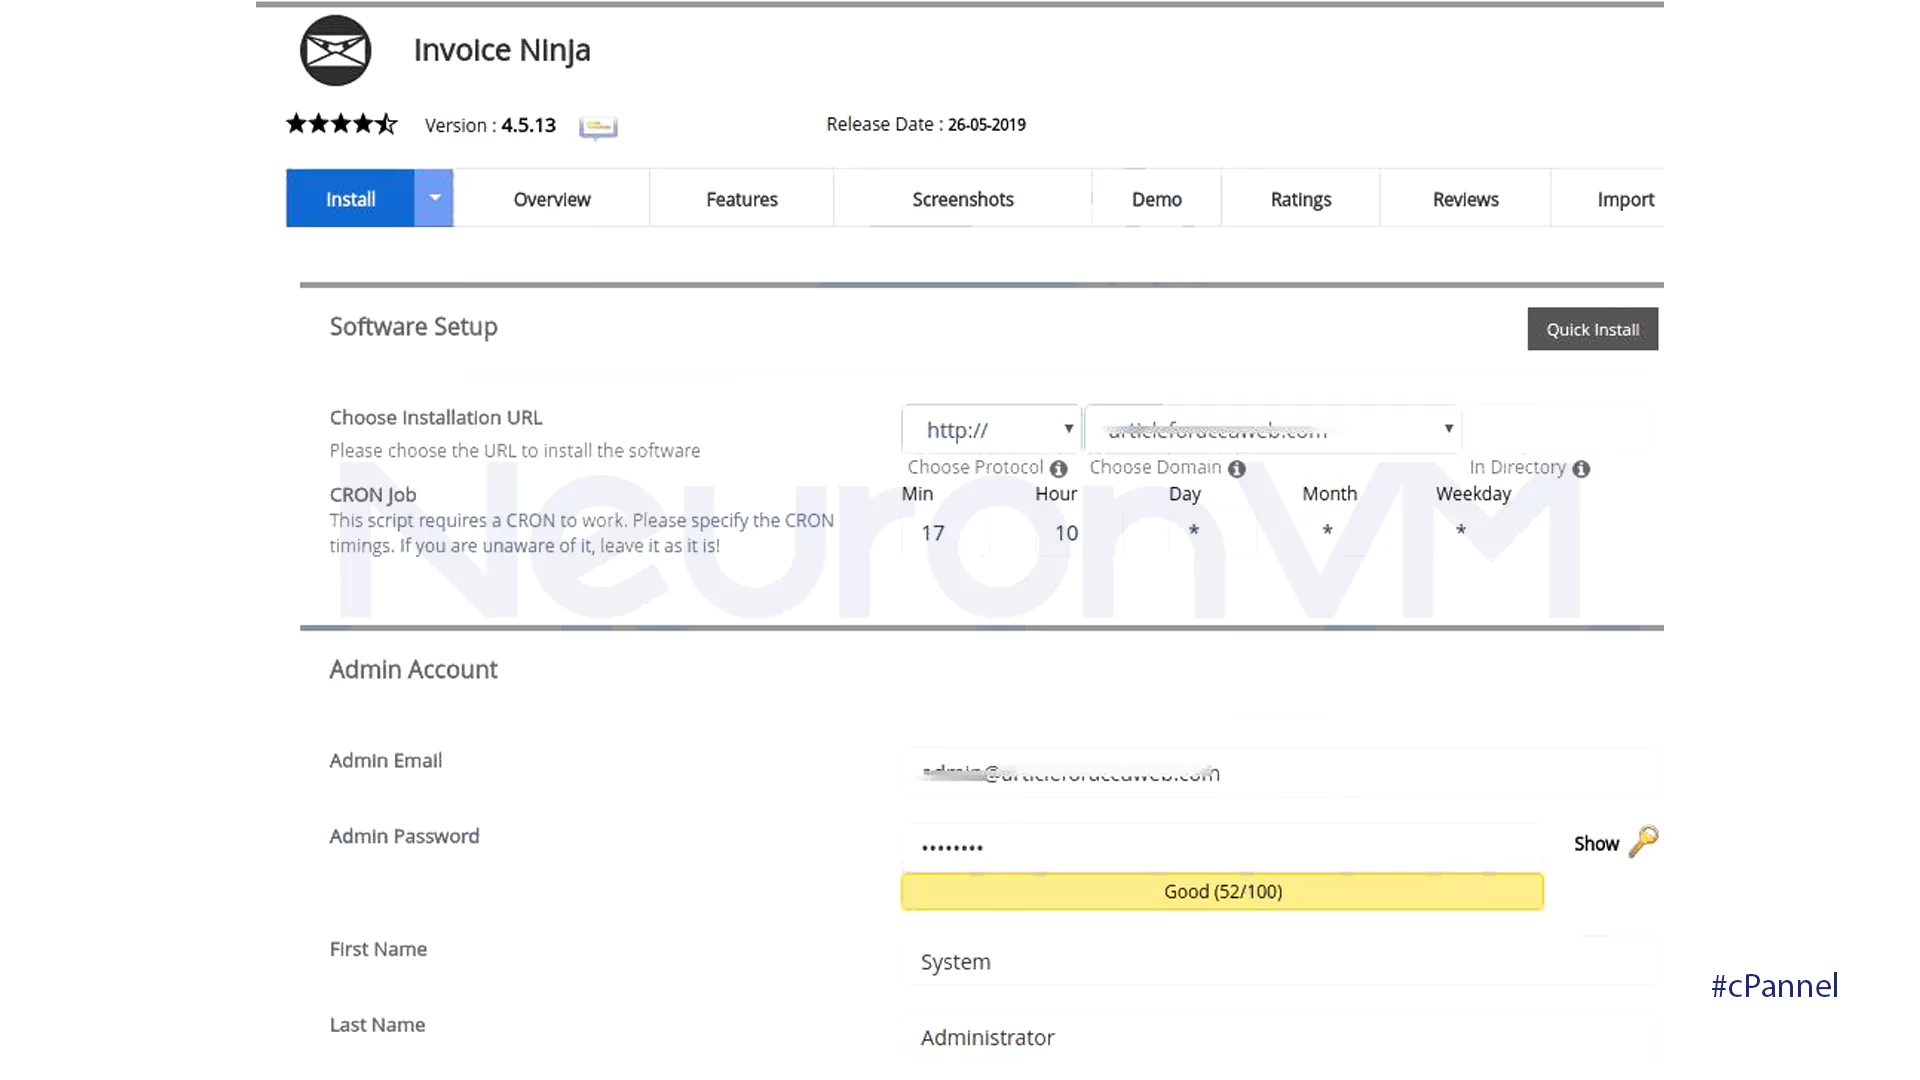
- We’ll now proceed by eating the following information:
Choose Protocol: With an SSL certificate, your site is secured with HTTPS encryption. Otherwise, HTTP is still there, though less secure.
Choose Domain: From the dropdown list, select the domain name of the Invoice Ninja installation.
Directory: Enter the directory where you’d like to install Invoice Ninja. If you’d like it on your main site, leave this blank.
Cron Job: Modify this if you only have a special CRON schedule that you need to apply.
Admin Email: Choose the email account to use to administrator sites with.
Admin Password: Enter your password, making it secure.
First Name: Enter your preferred first name, or do nothing if you do not want to change it.
Last Name: Enter your preferred last name, or do nothing if you do not want to change it.
Step 4
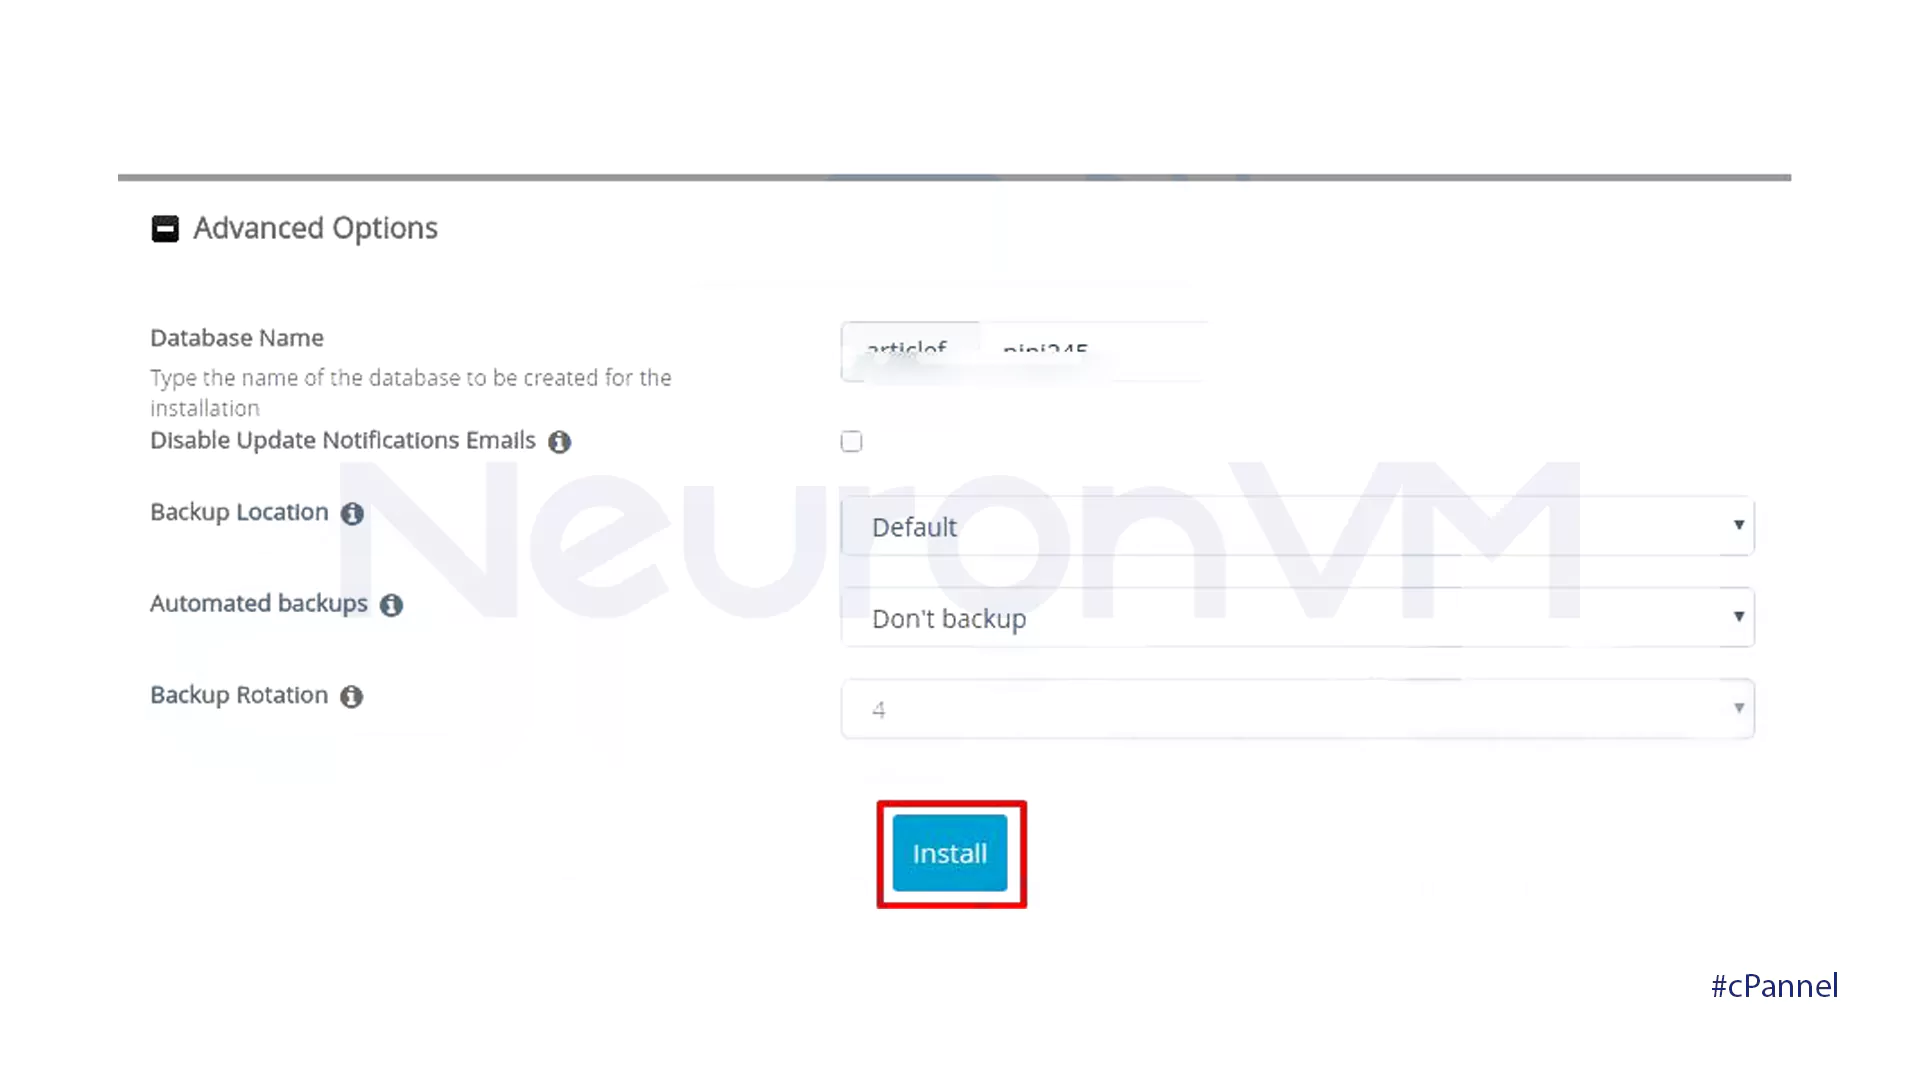
- Choose the Advanced Options to view more options:
Database Name: Enter the Database Name of your choice, or leave the current setting.
Untick: Switch to disable update notification.
- You have the following options when backing up:
Backup Location: Enter the patch for backup storage of websites.
Automate Backups: Select when you want the backup to run.
Backup Rotation: Enter the parameters of backup retention.
- The installation process will be completed by clicking the Install button.
Step 5
- The following screen will be displayed after successful installation.
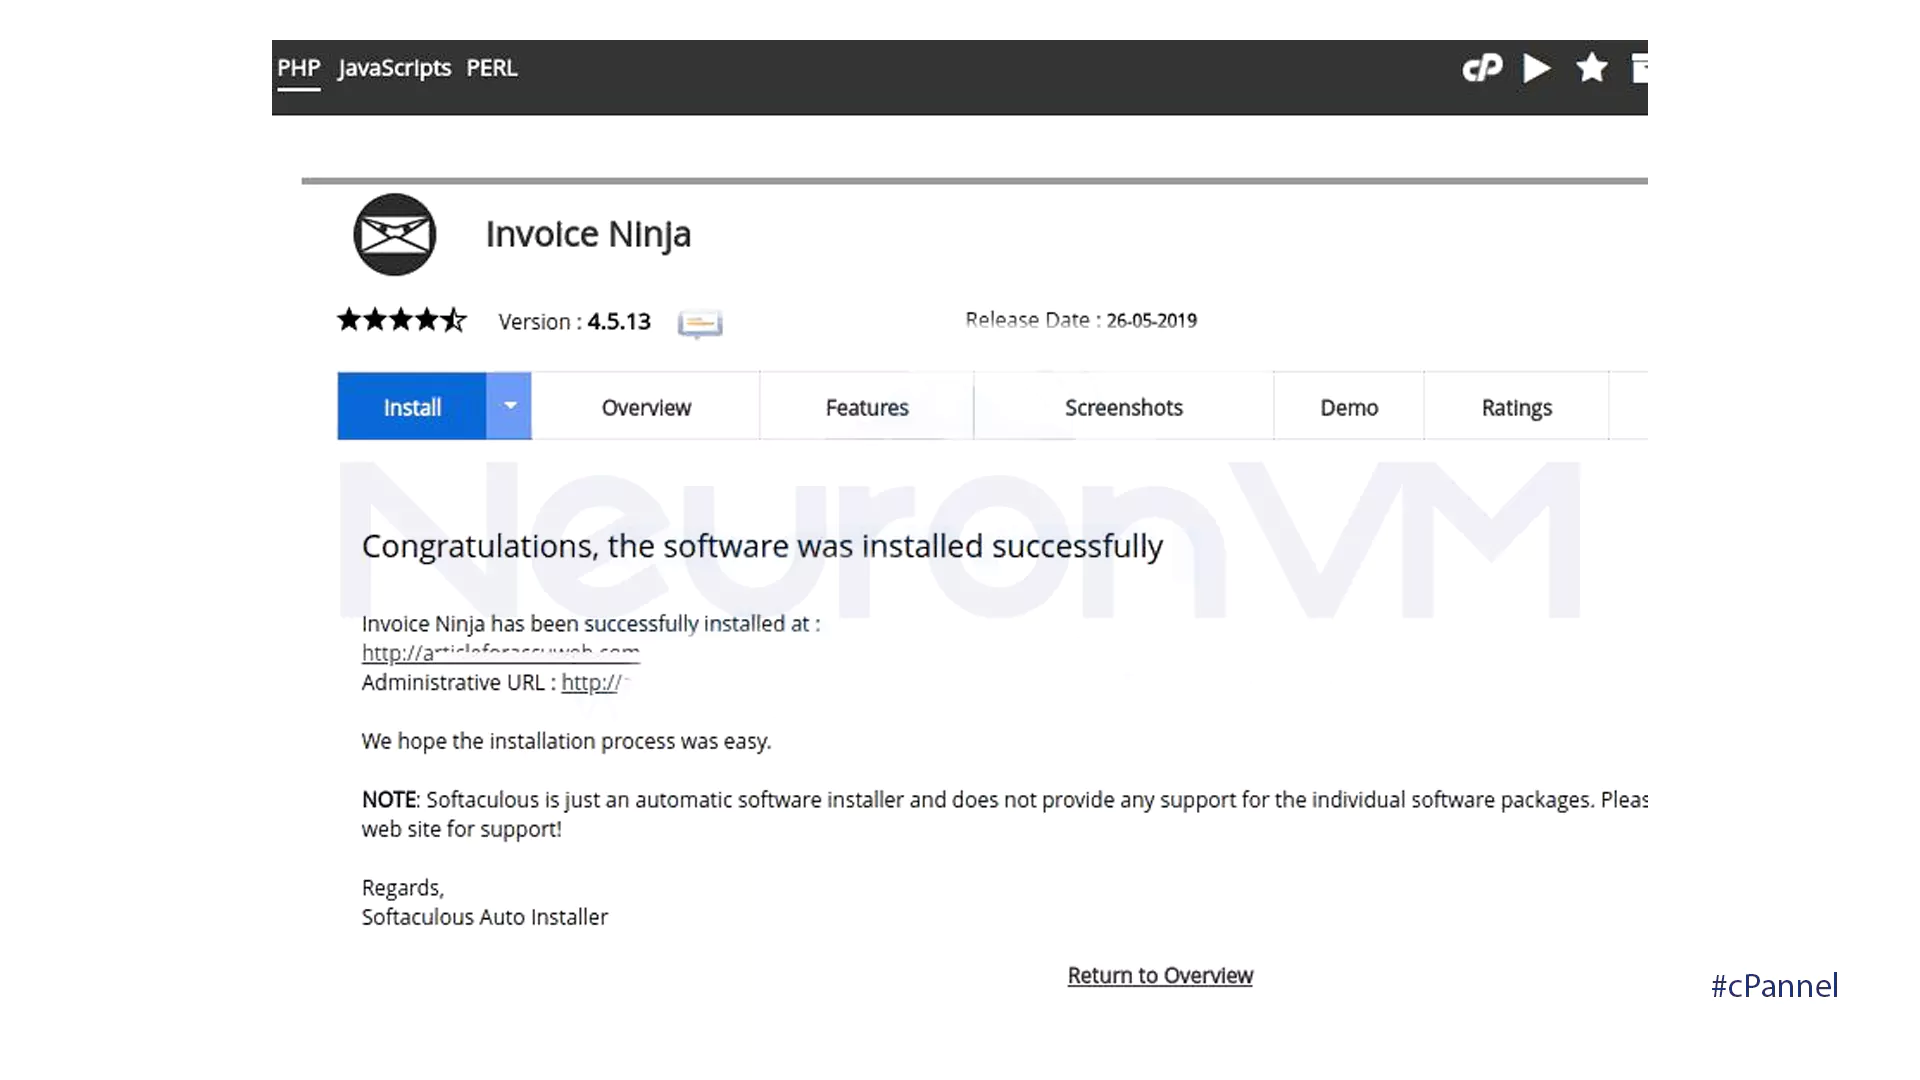
- Click on the Return to view.
Conclusion
You’ve completed these instructions to install Invoice Ninja on cPanel, giving yourself access to an effective means for processing your transactions. With your self-hosted edition, you can now take the benefits of Invoice Ninja’s feature-rich state, tailored to your very own needs. Don’t forget to keep your installation updated for security and performance improvements, and enjoy the enormous potential for tailoring to make it your own. With Invoice Ninja in your pocket, you’re ready to automate your invoices, boost your cash flow, and focus on what matters most: growing your business.
You might like it