7 Steps To Install Hashcat on Kali Linux

 7m
7m
 0 comments
Hashcat is the fastest password-cracking and recovery tool that is really powerful. It supports most hashing algorithms and is suitable for different attack modes. The purpose of this tutorial is to introduce you to this popular cracking tool and show the way to install and use it on the Kali Linux distribution. If you are interested in penetration testing, this is a good opportunity for you to learn something useful. Also, you should know that it is rarely simple. So let’s start and install Hashcat on Kali Linux.
To use this practical tool you can buy Linux VPS. It offers a variety of attack modes like Dictionary attack, Brute-force attack, Hybrid attack, etc.
Steps to Install Hashcat on Kali Linux
Now that you have a vision of Hashcat and its benefits, it’s time to learn how to install and use it on your system. We are going to show you the way to install this tool in 7 steps:

Step.1: Prerequisites
First of all, you should ensure that the proper dependencies are installed. These dependencies are OpenCL, CUDA libraries, as well as the Hashcat binaries. When you install the dependencies, the user can clone Hashcat repositories from GitHub and also compile the source code, and at last install and run Hashcat to begin password cracking and recovery.
Step.2: Downloading Hashcat
The second step to having the Hashcat tool is to make sure that you have the correct version of Kali Linux because this tool is not compatible with all versions of Kali. Then you should download it from the internet and unzip the file to move it to the correct location on your Kali system.
Step.3: Start Installing Hashcat
We have to mention that, generally Hashcat tool comes pre-installed with Kali Linux, but if you prefer to install it yourself, please follow the command below:
sudo apt-get install hashcat
You can use the help command to list all available options:
hashcat --help
We listed some of these options here:
-a: It is a type of hash, 0 for straight attack, 2 for combination, and 3 for brute-force attack
-m: A kind of hash with the default number 0 means => MD5 hash
-o: This option will store cracked passwords in an output file
Wordlist: There is a requirement for a path to the wordlist of passwords to match and crack the hashes
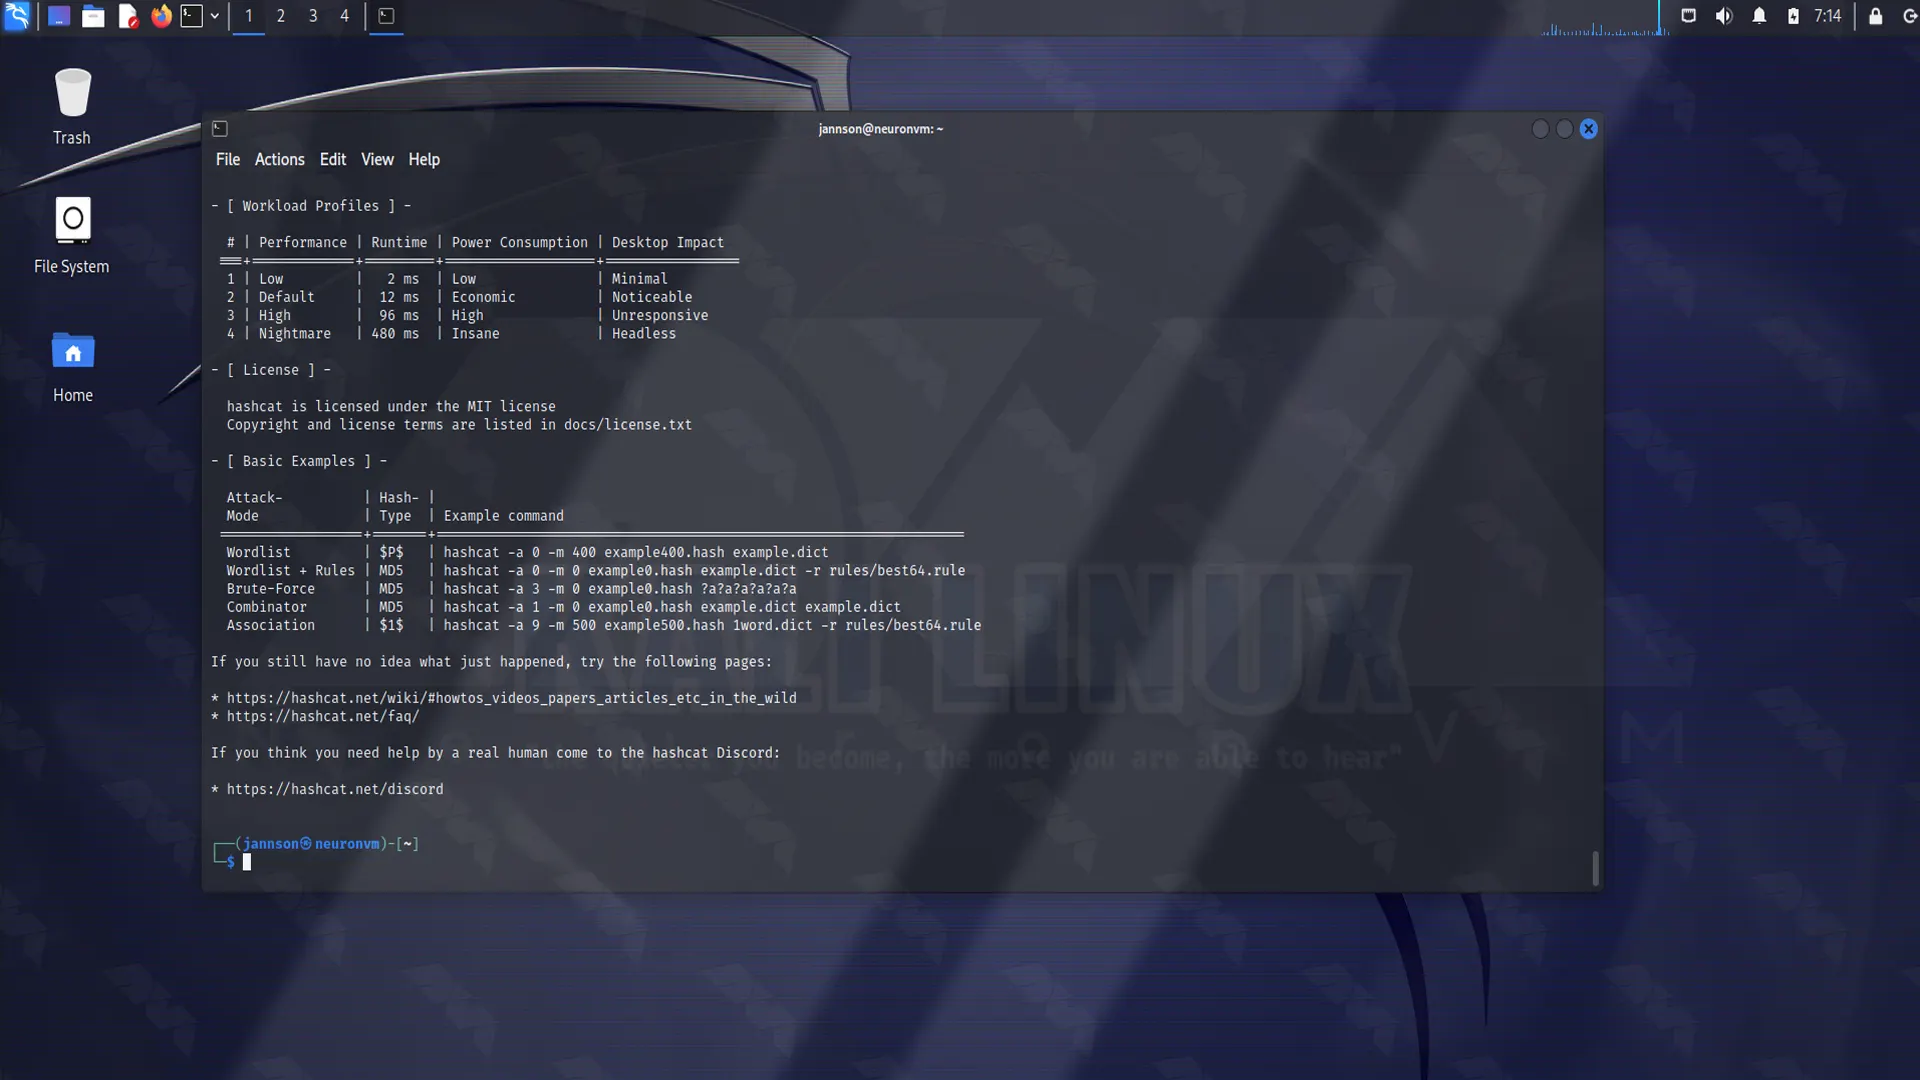
Step.4: Starting Hashcat in Kali Linux
Now you can start Hashcat on the Kali console with the following command line:
hashcat -h
Step.5: Choosing The Wordlist
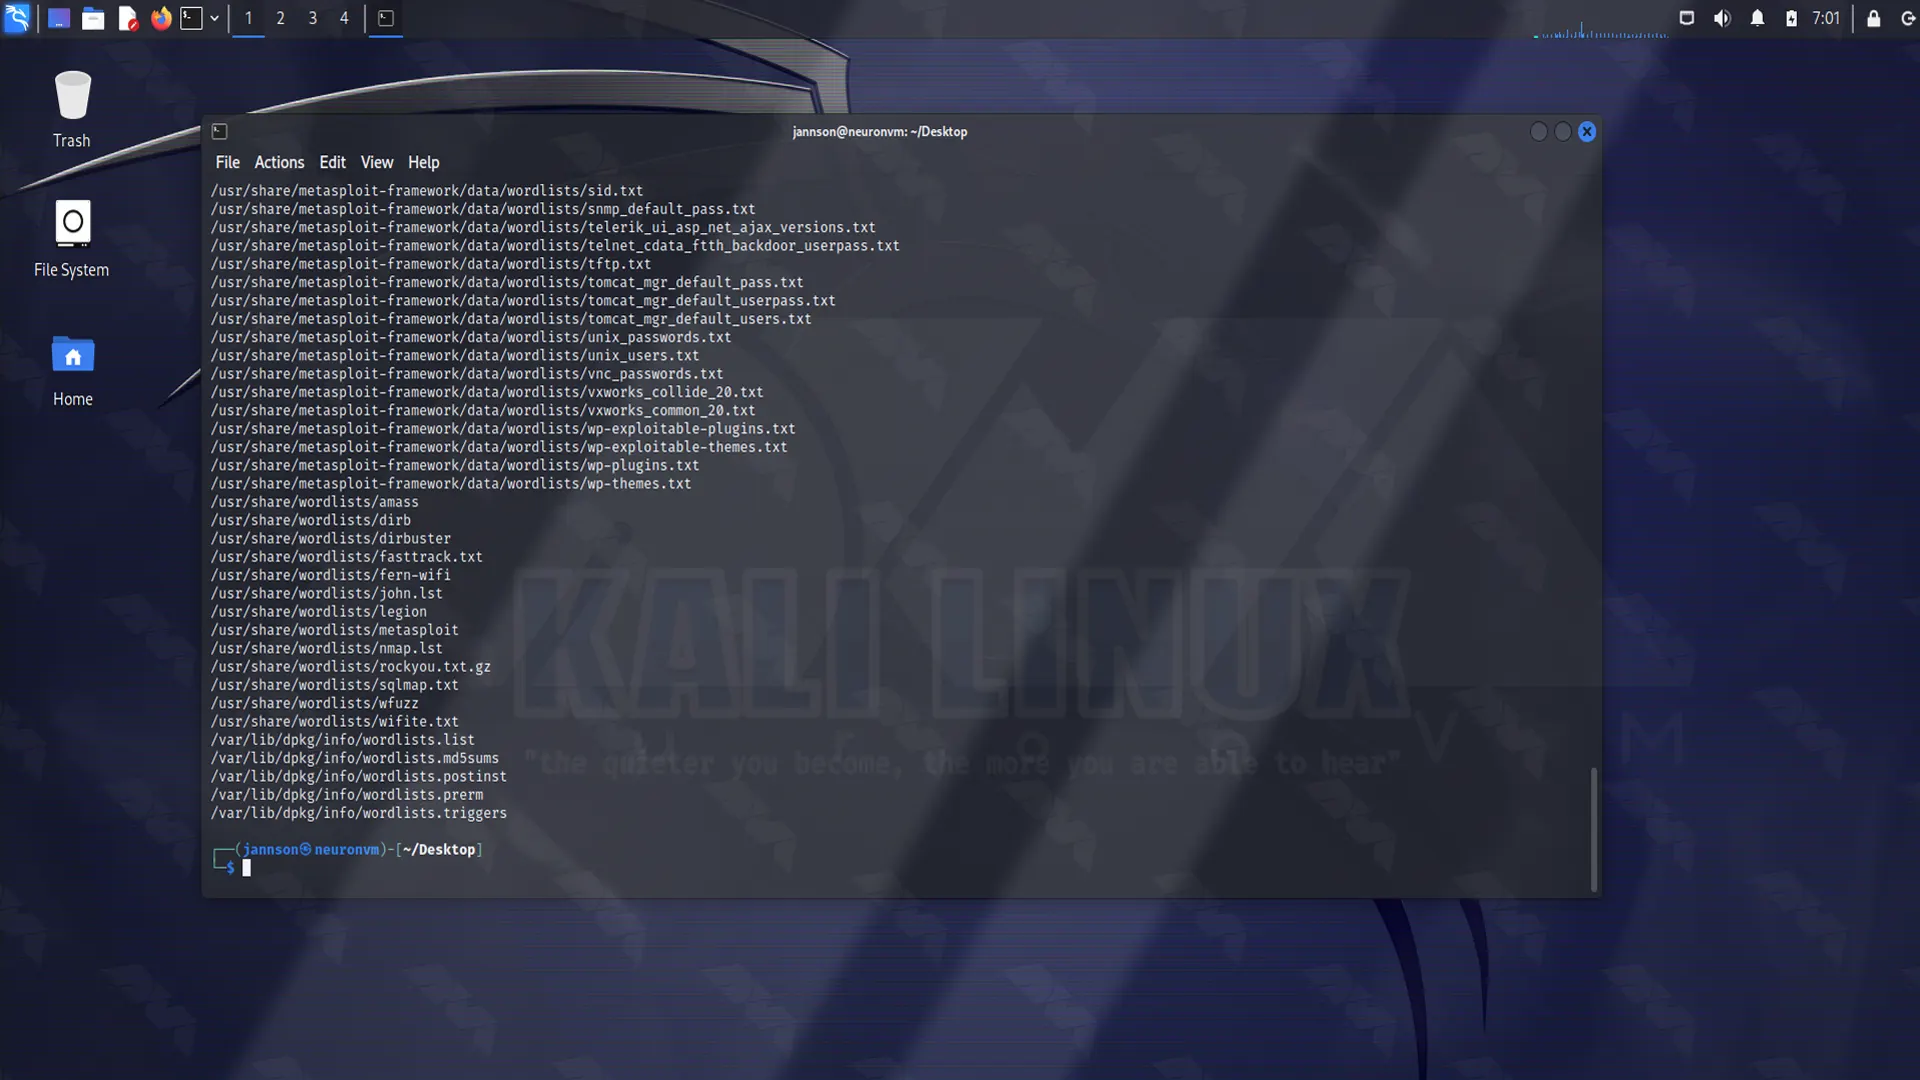
As we explained in the previous section, Kali Linux has numerous wordlists which are built into it. Use the command line below as it is shown on the screenshot and locate the wordlist:
Step.6: Crack the Hashes
Now that you have the Hashcat tool, as the final step you can start cracking the hashes contained in the target_hashes.txt file. For example, we used the following command line as shown below:
root@kali:~/Desktop# hashcat -m 0 -a 0 -o cracked.txt target_hashes.txt /usr/share/wordlists/rockyou.txt
We explained -m, -a and -o before. target_hashes.txt is our input file and /usr/share/wordlists/rockyou.txt is our path to the wordlist file for this Dictionary attack.
Step.7: The last part
At last, we were able to crack 5 of the 7 target hashes that were proposed. you can see it below:
- root@kali:~/Desktop# cat cracked.txt
- dc647eb65e6711e155375218212b3964:Password
- eb61eead90e3b899c6bcbe27ac581660:HELLO
- 75b71aa6842e450f12aca00fdf54c51d:P455w0rd
- 2c9341ca4cf3d87b9e4eb905d6a3ec45:Test1234
- 958152288f2d2303ae045cffc43a02cd:MYSECRET
Tip: These passwords are weak and you don’t need much effort or time to crack them. So, the simpler the password is, the easier it is to detect.
Be careful, make a strong and long password. Also, avoid using personal information and try to change them regularly.
Conclusion
We prepared this article to teach you the Steps of Installing Hashcat on Kali Linux which is the most popular password cracking and recovery tool. If you are into penetration testing, this tool will be very useful for you so install it and enjoy your task and allows you to configure the number of threads and limit execution. Also, if you have any ideas or comments let me know. Good Luck!


