How to Install Darktable on CentOS 7 (Free Alternative)

 8m
8m
 0 comments
 Print
Print
It was a quiet Friday morning when I decided to install Darktable on CentOS 7. I had a cup of coffee in my hand, and my weekend’s RAW photo collection was waiting to be edited. My system on CentOS 7 was fast and secure, but there was a familiar problem Lightroom wouldn’t run on Linux, and paying for a subscription didn’t make sense. That’s where Darktable came in. A free, open-source, and professional software that not only allows for non destructive editing, but also provides complete photo management. Installing this program wasn’t just a technical task for me; it was a real learning experience, with tips, shortcuts, and tricks that made my photo management a pro.
Why is Darktable a good choice for Linux users?
1- Edit without damaging the original file: I apply any changes to the lighting, color, or tones, but the original RAW file remains intact. This means I can be creative and experiment without worrying.
2- Professional photo management: Tagging, rating, and organizing hundreds of photos became possible in minutes, which was crucial for weekend collections.
3- Lightweight and fluid: Even on a small VPS, opening and editing RAW files was smooth and seamless.
4- Free and open source: No licenses or subscriptions were required, and updates were provided regularly by an active community of developers.
5- Experimental tip: If you’ve worked with Lightroom before, Darktable may seem a little different, but after a little experimentation, the workflow is very logical and fluid.
Method 1: Install Darktable with Snap
Snap makes it easy to install and update Darktable. To install on CentOS, follow these steps:
sudo yum check-update
sudo yum install epel-release -y
sudo yum install snapd -y
sudo systemctl start snapd.socket
sudo systemctl enable snapd.socket
sudo ln -sf /var/lib/snapd/snap /snap
sudo snap install darktable
Practical tip: With Snap, Darktable automatically updates to the latest version, eliminating the need to constantly check for new versions.
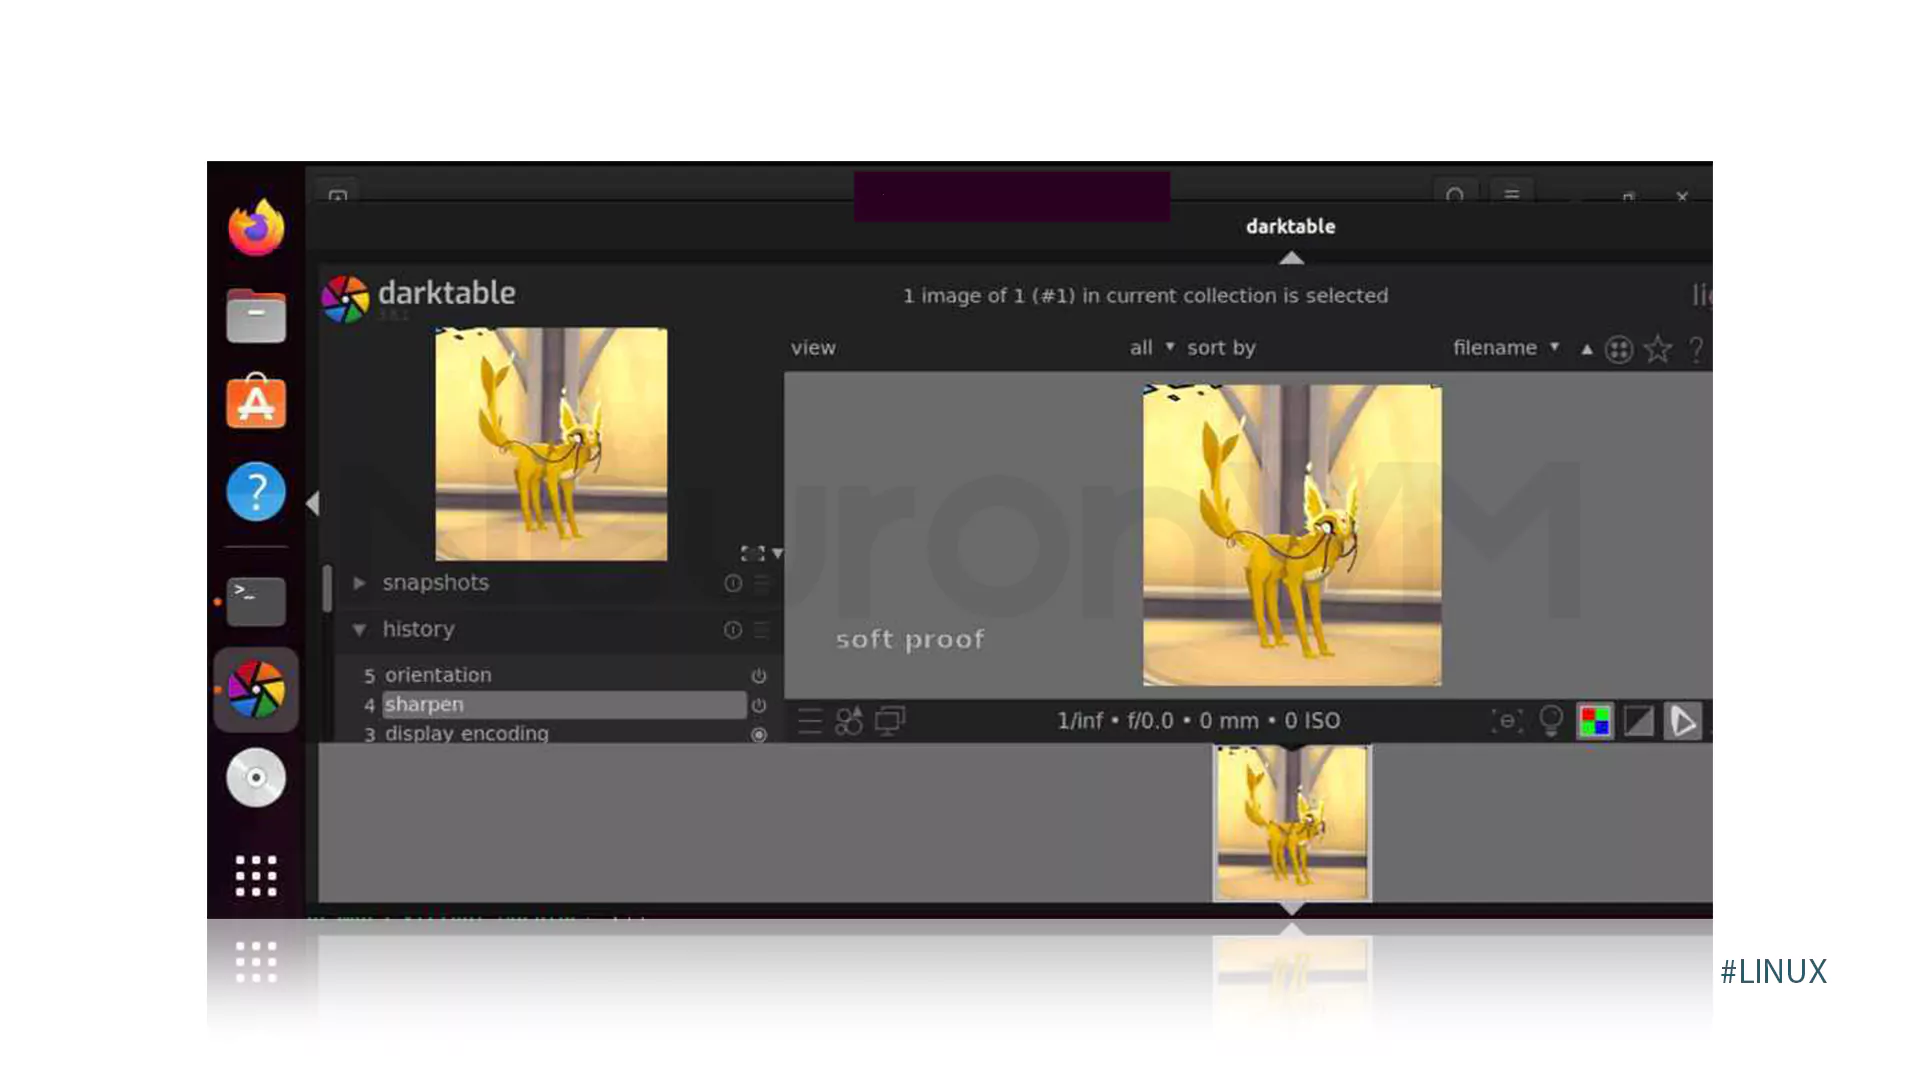
When I first launched Darktable, my images loaded almost instantly, and I had full control over the editing, as if I had a professional studio installed on my laptop.
Second installation method: Installing Darktable on CentOS
Using Universal Package Manager is another smart option to install Darktable.
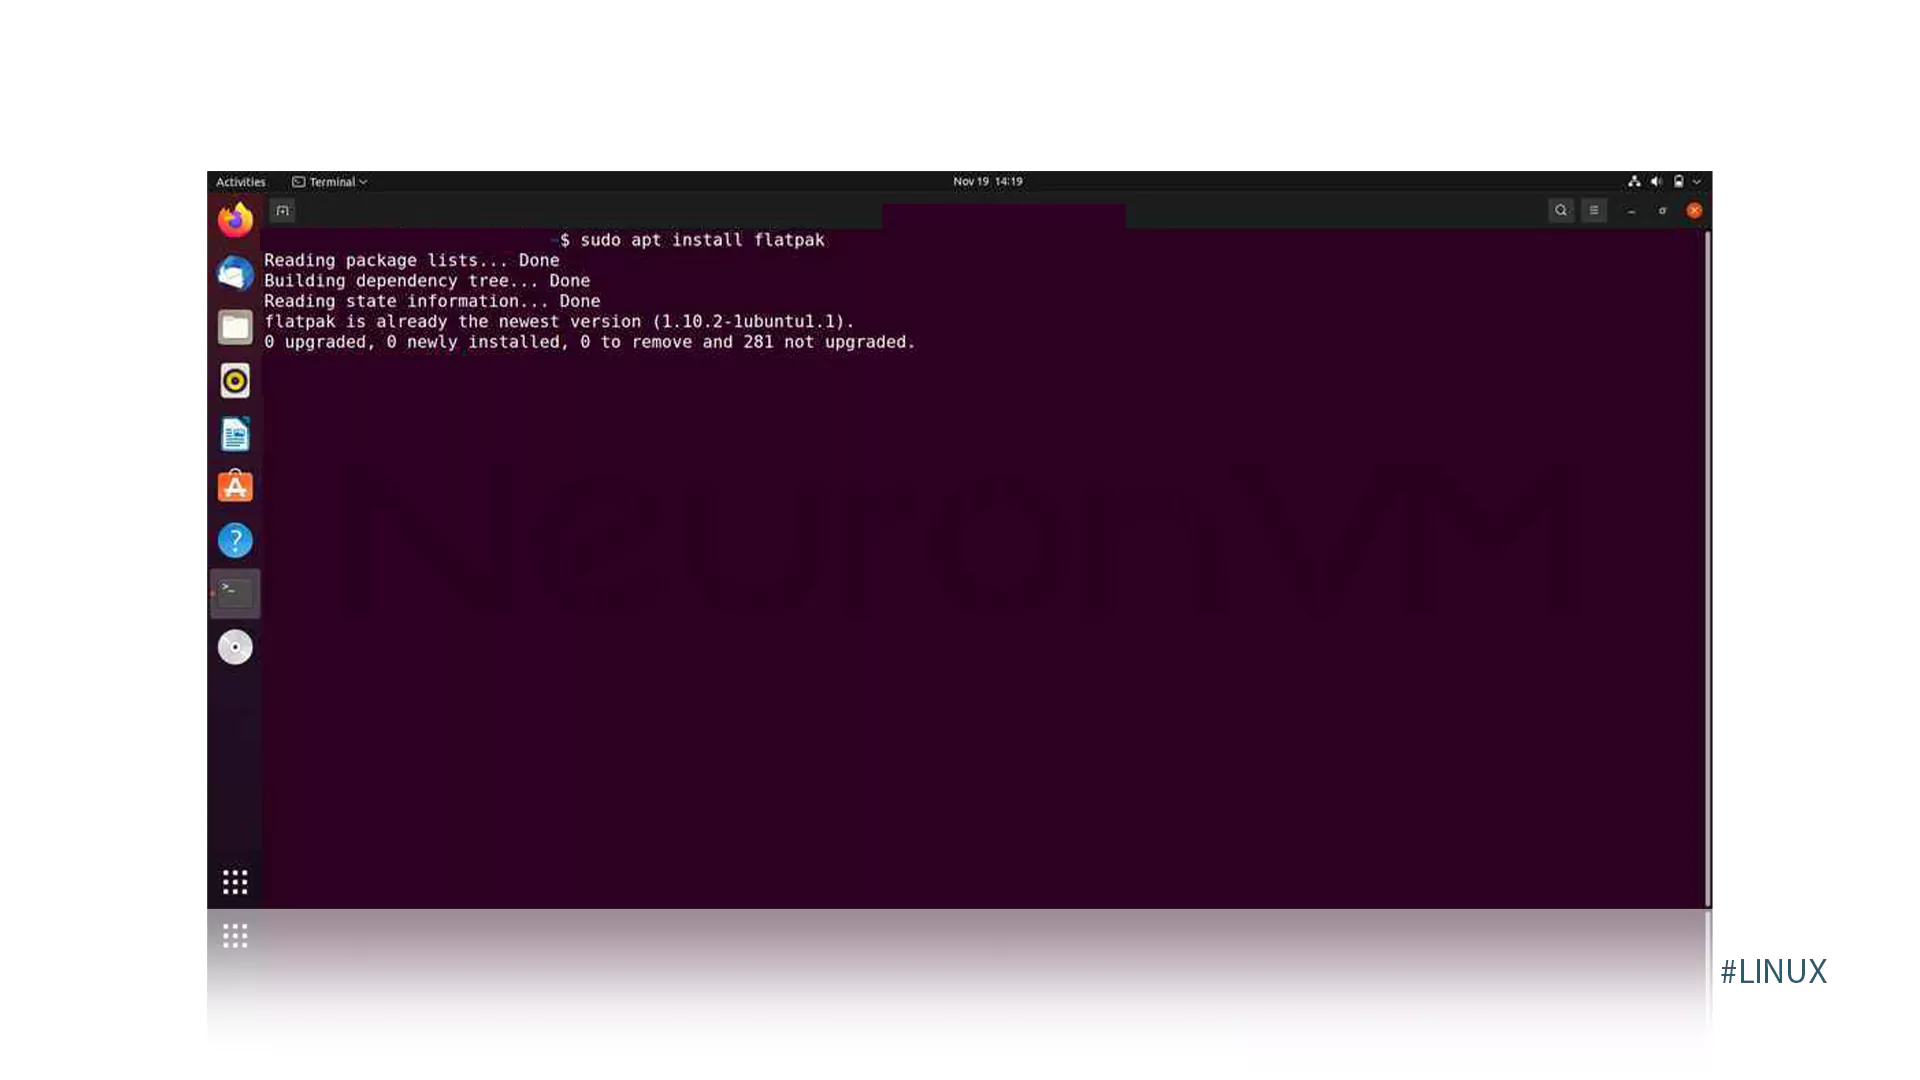
Step 1: Download and install Flatpak
To get started, you need to install the Universal Package Manager Flatpak on your system. This safe and fast method will help you install Darktable easily and without complications:
sudo apt install flatpak
Step 2: Adding the Flathub repository for installation
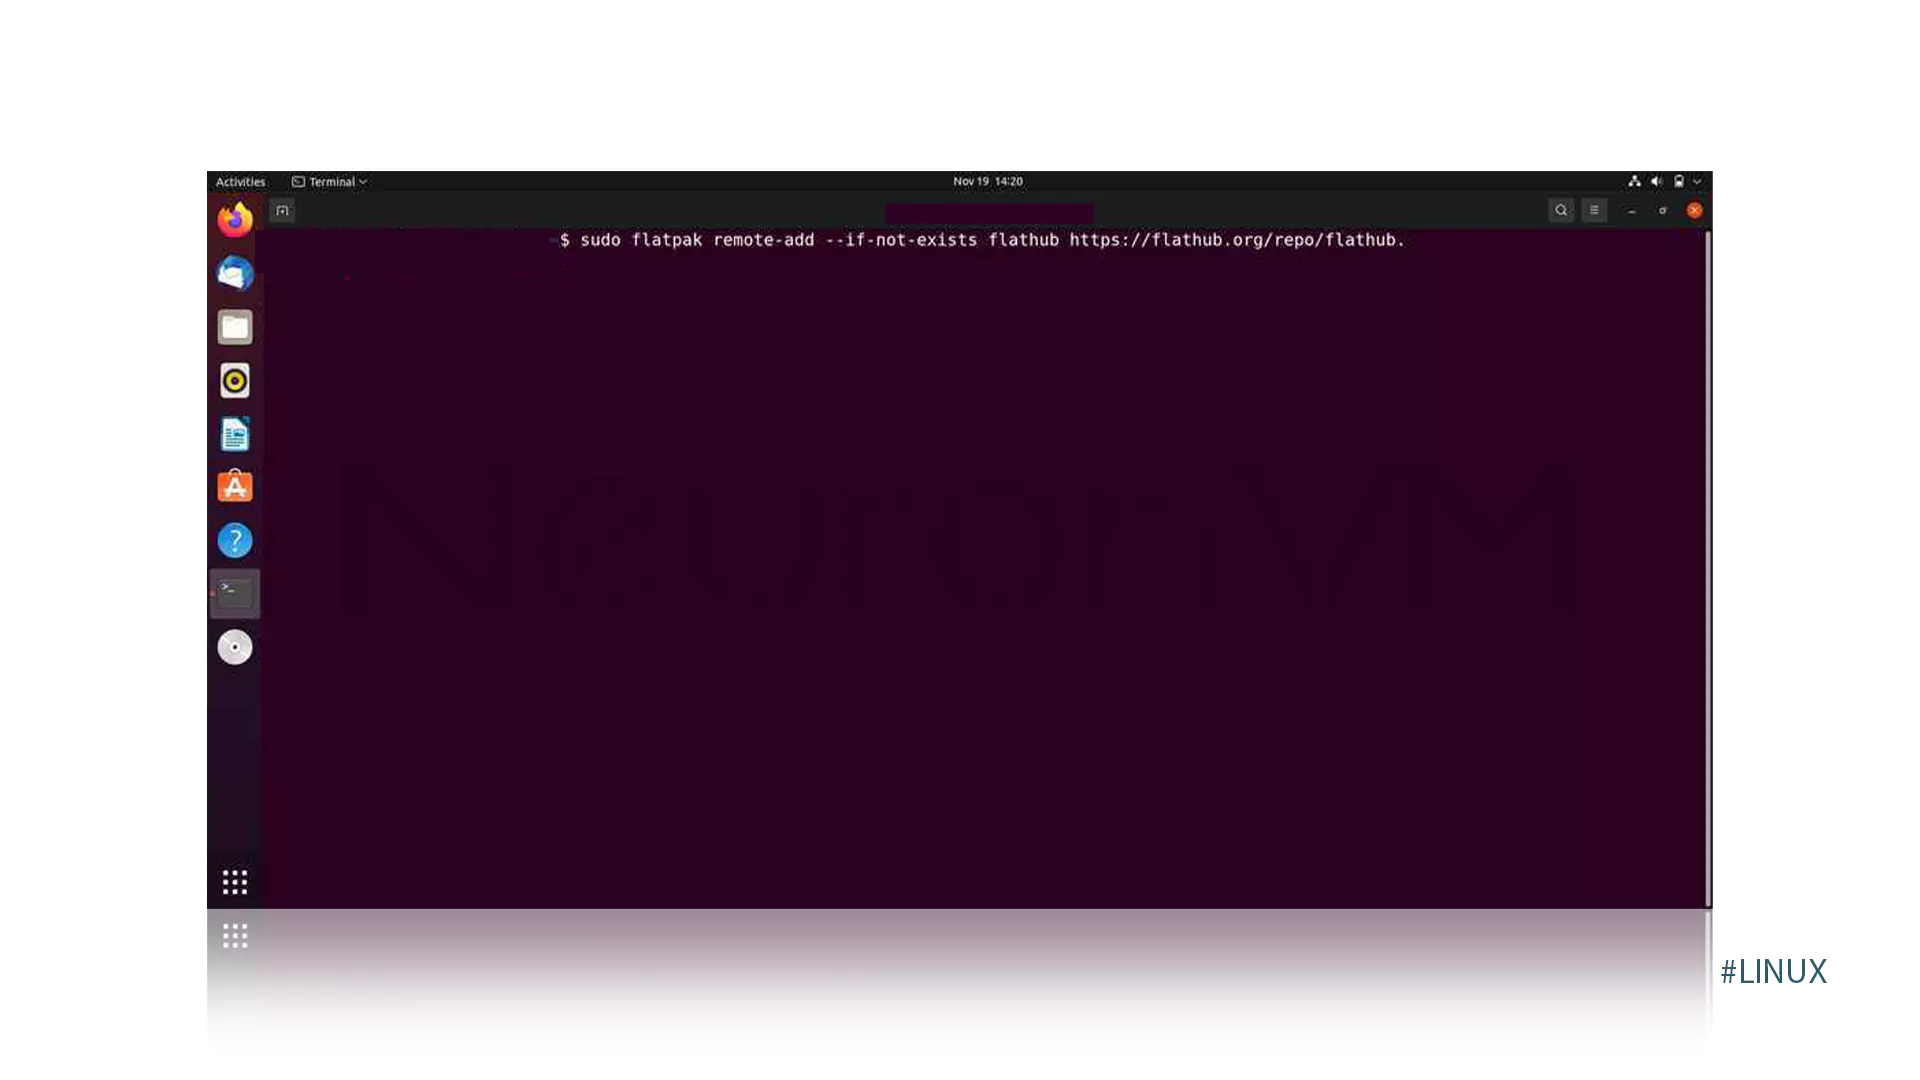
To access Flatpak software packages like Darktable, you need to add the Flathub repository to your system. This is done with the following command. Adding this repository will allow you to install the latest versions of Darktable and other popular applications:
sudo flatpak remote-add --if-not-exists flathub https://flathub.org/repo/flathub.flatpakrepo
Step 3: Installing Darktable with Flatpak
After installing Flatpak and adding the Flathub repository, you can now install Darktable with the following command:
sudo flatpak install flathub org.darktable.Darktable

***
Pro tips for a better experience
1- Always have a raw backup of your photos on your system.
2- Use the color and mask modules for precise and professional editing.
3- Create a specific order for each of your photos; using tags and ratings, you can find the photo you want very quickly.
4- Manage system resources in such a way that everything runs smoothly and without problems, even when you are editing a series of photos.
My Real World Experience
The first time I opened a RAW file with Darktable, what caught my attention was the accuracy and clarity of colors and light. I was able to try out every effect and edit without worrying about losing the original file. The interesting thing was that even on a regular VPS, the image processing speed was fast, which made managing my entire photo archive much easier and more enjoyable.
Conclusion Install Darktable on CentOS 7 for a Better Workflow
After finishing up my weekend with Darktable on CentOS 7, I realized that this wasn’t just a simple software installation; it was like opening the door to a private studio. The smooth speed, high security, and non-destructive editing allowed me to experiment with different styles without fear of losing files.
What started as a cup of coffee on a Friday morning turned into the discovery of a powerful, open-source tool that replaced the high costs of shared software and gave me complete control over my photography workflow. Whether you’re managing your own personal gallery or doing professional work on a VPS, Darktable on CentOS gives you more than just the usual features! Freedom, creativity, and the sweet feeling that your Linux was built for this from the ground up.
No, Darktable is not available in the default CentOS 7 repositories. To install it, you need to enable the EPEL repository first and then follow the installation steps using Snap.
Although there are alternative methods, using Snap is the easiest and most reliable way to install Darktable on CentOS 7, as it installs the latest stable version of the program along with all dependencies.
Yes, if the VPS server has sufficient resources such as RAM and CPU and supports a graphical environment, installing Darktable on it is completely safe and practical. This method is especially suitable for photographers who want to have access to their tools at all times.
You might like it