How to Install Balenaetcher on Kali Linux

 8m
8m
 0 comments
In this title, we want to check the install Balenaetcher on Kali Linux and tell you the complete steps. This makes it easy to flash OS images on storage devices, and contrary to what all users think, it is not complicated at all. You can install Balenaetcher on Kali Linux just by following the steps on the NeuronVM. So let’s try Install Balenaetcher on Kali Linux togheter!
What is the Balenaetcher tool and what are its uses?
Balenaetcher is one of the most popular open-source tools for making USB drives bootable and using image files like ISO and IMG for SD cards. Due to its easy user interface, this tool is the first priority for many users when choosing to flash operating system images on storage devices.

Prerequisites for install balenaetcher on Kali Linux
1- First, you need to make sure that your Linux VPS is accessible with root or sudo privileges for remote installation.
2- Allow at least 500 MB of free space for Etcher and files.
3- Get a USB drive with a capacity of at least 4 GB for
How to Setup balenaetcher on Kali
Now that you are familiar with the use of this tool, if you wish, you can install Balenaetcher on Kali Linux by following the steps below:
1- Download Etcher for Linux. To do this, first go to the official Balena Etcher website and download using the appropriate link.
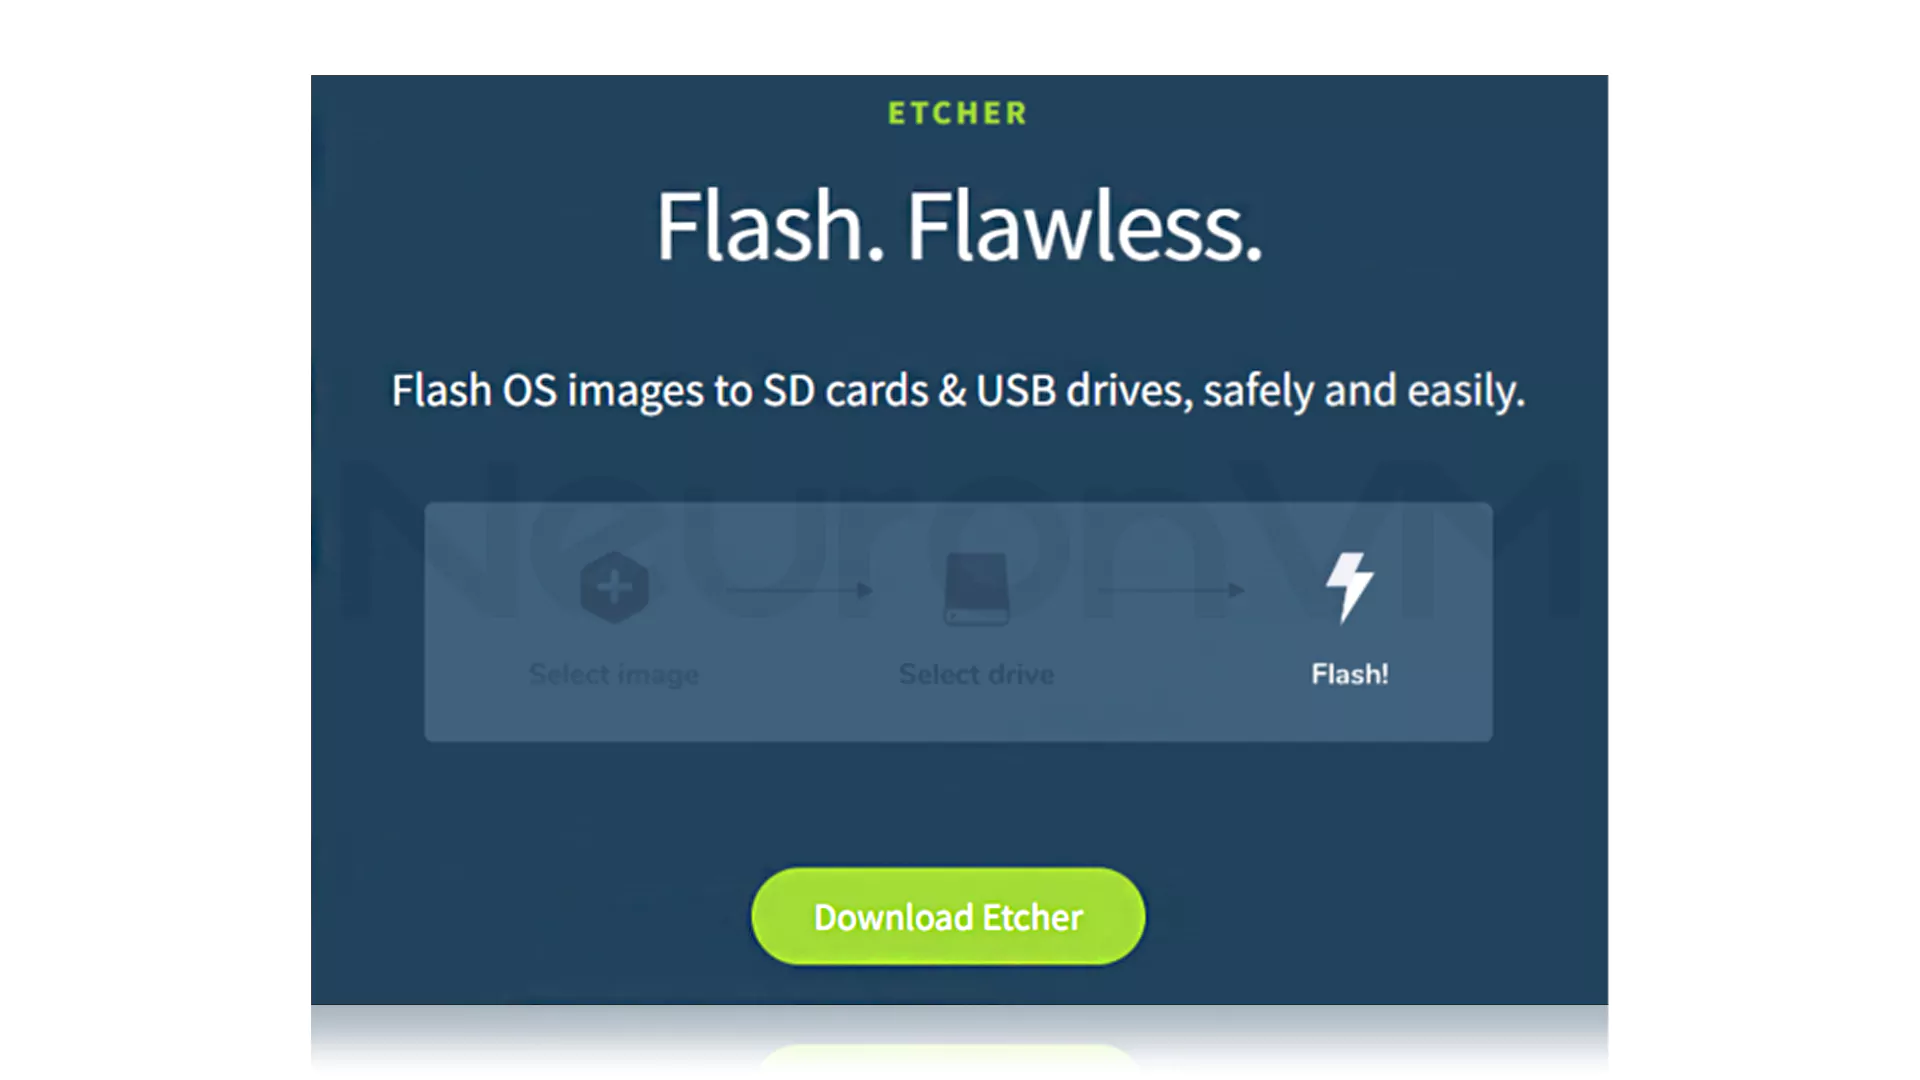
2- You are on the side of a smart website! And for this reason, the website itself suggests you download the Download for Linux x64 version.
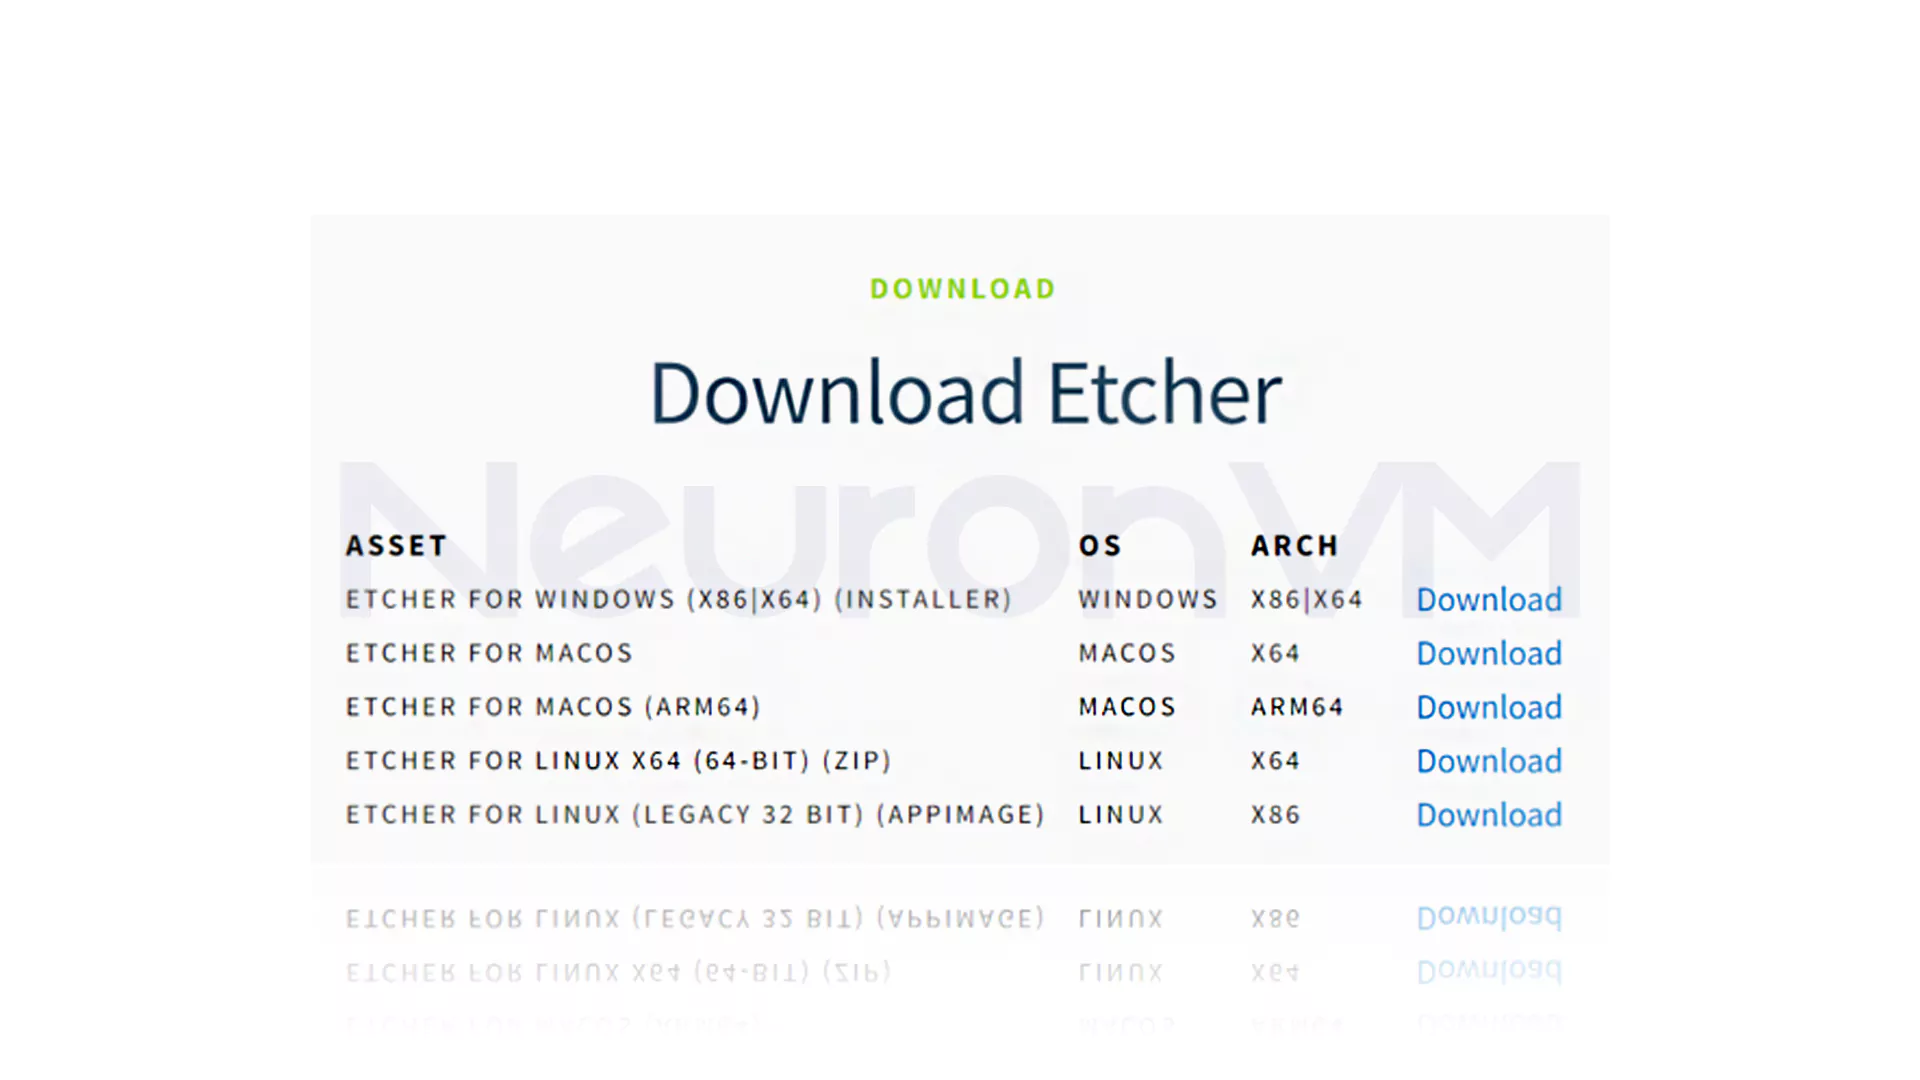
3- After the Etcher .zip file is downloaded, you have actually successfully downloaded the Etcher package. So you need to extract the Etcher AppImage from the ZIP file. Now there are two ways for you to proceed with Balenaetcher installation on Kali Linux:
A) graphical interface (GUI)
B) Command Line Interface (CLI)
When using the GUI, navigate to where you saved the file (this may be the Downloads folder).So click the Etcher ZIP file and press Extract Here. Then a new folder called Etcher AppImage will open for you. On the other hand, in the command line interface (CLI) method, extract the file directly in your terminal and open the file. After this, you need to go to the folder where the ZIP file is located, and the next command will do it for you:
cd ~/Downloads
The following command can help you extract the file:
unzip balena-etcher-electron-1.7.9-linux-x64.zip
4- Now that we have reached the final stages of installing Balenaetcher on Kali Linux, we need to run Balenaetcher on Kali Linux. To do this, you need to make sure that you have the correct permissions, and then enter the following command:
chmod +x balena-etcher-electron-*.AppImage
5- At this stage of installing Balenaetcher on Kali Linux, you have to right click on the Etcher AppImage. Then select Properties and Permissions. Finally, check the box that says Allow executing file as a program.
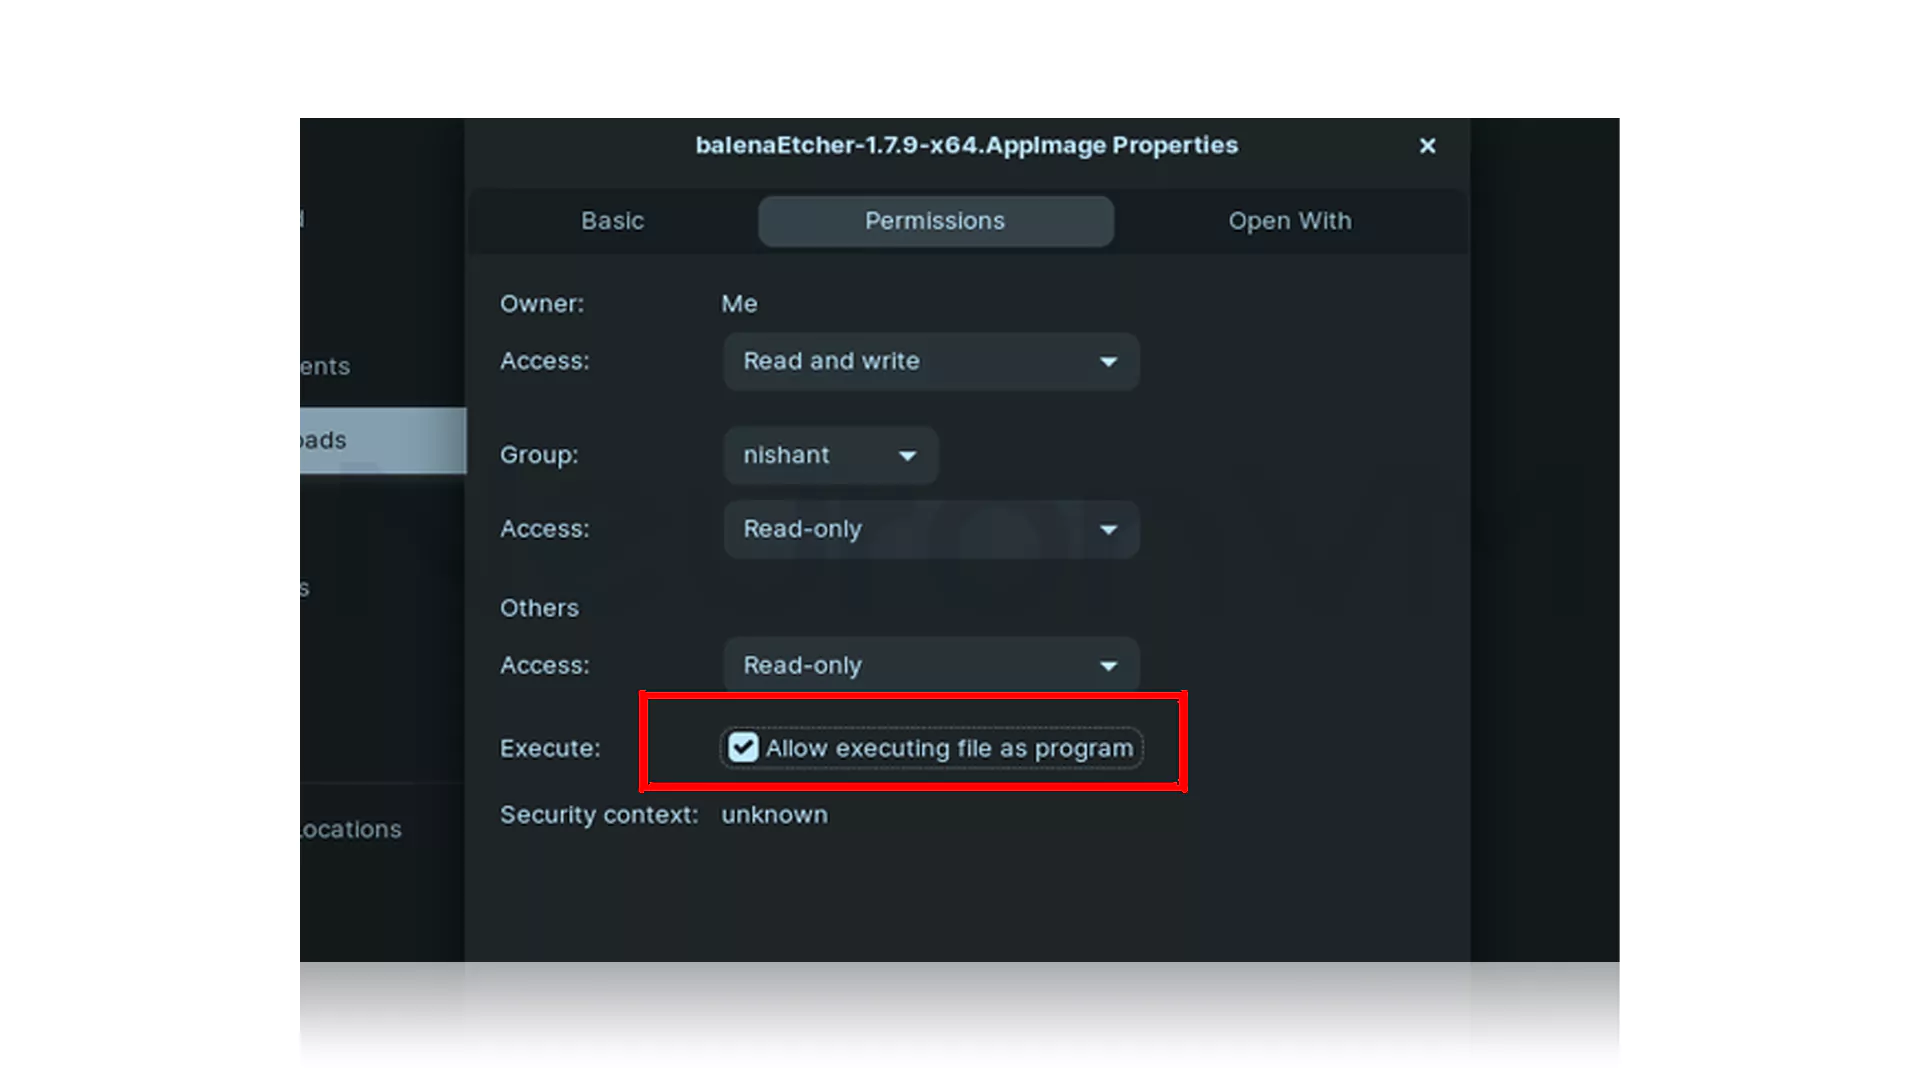
6- You can also create the steps above just by running the following command:
chmod +x balena-etcher-electron-*.AppImage
Now you will see the Etcher interface.
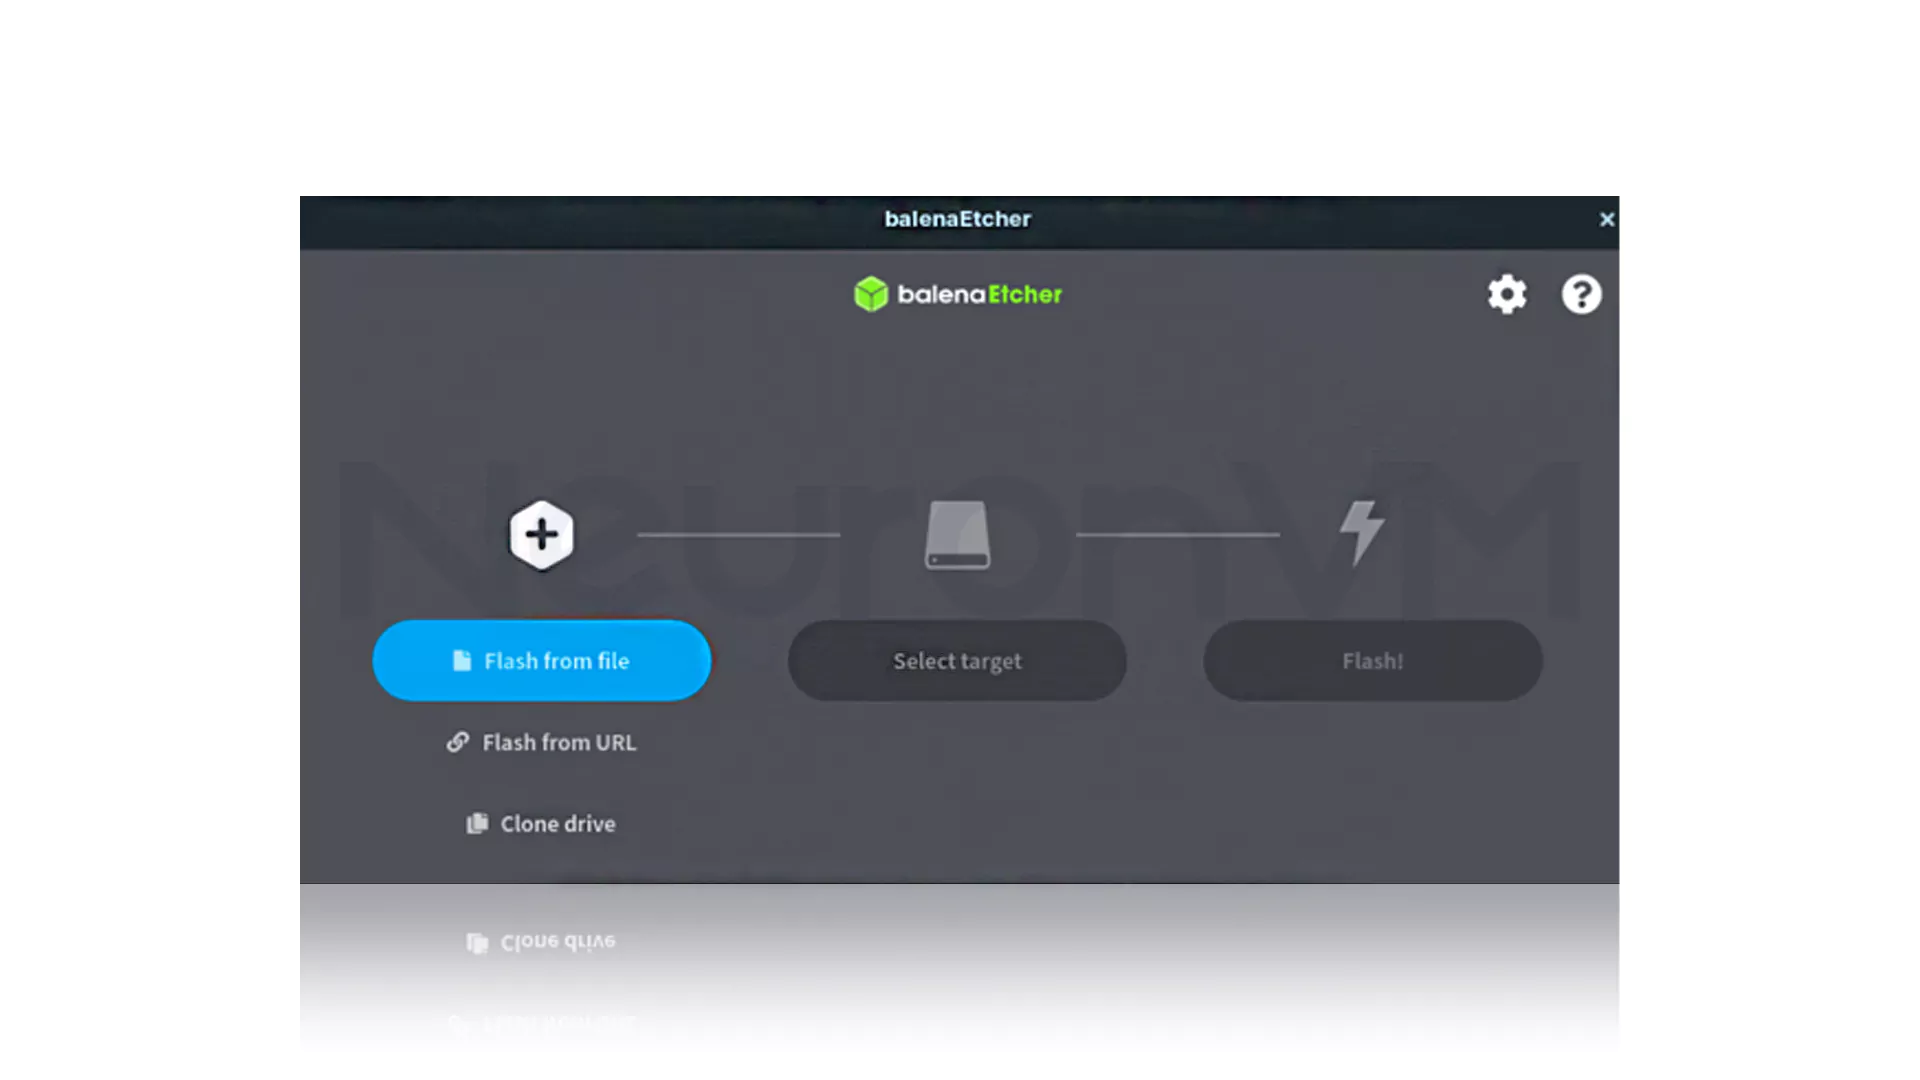
How to create bootable USB after installing Balenaetcher in Kali Linux
1- After installing Balenaetcher on Kali Linux, you can now create a bootable USB, which we will tell you how to create in this step. After completing the mentioned steps, you should select the ISO file and click on the Flash.
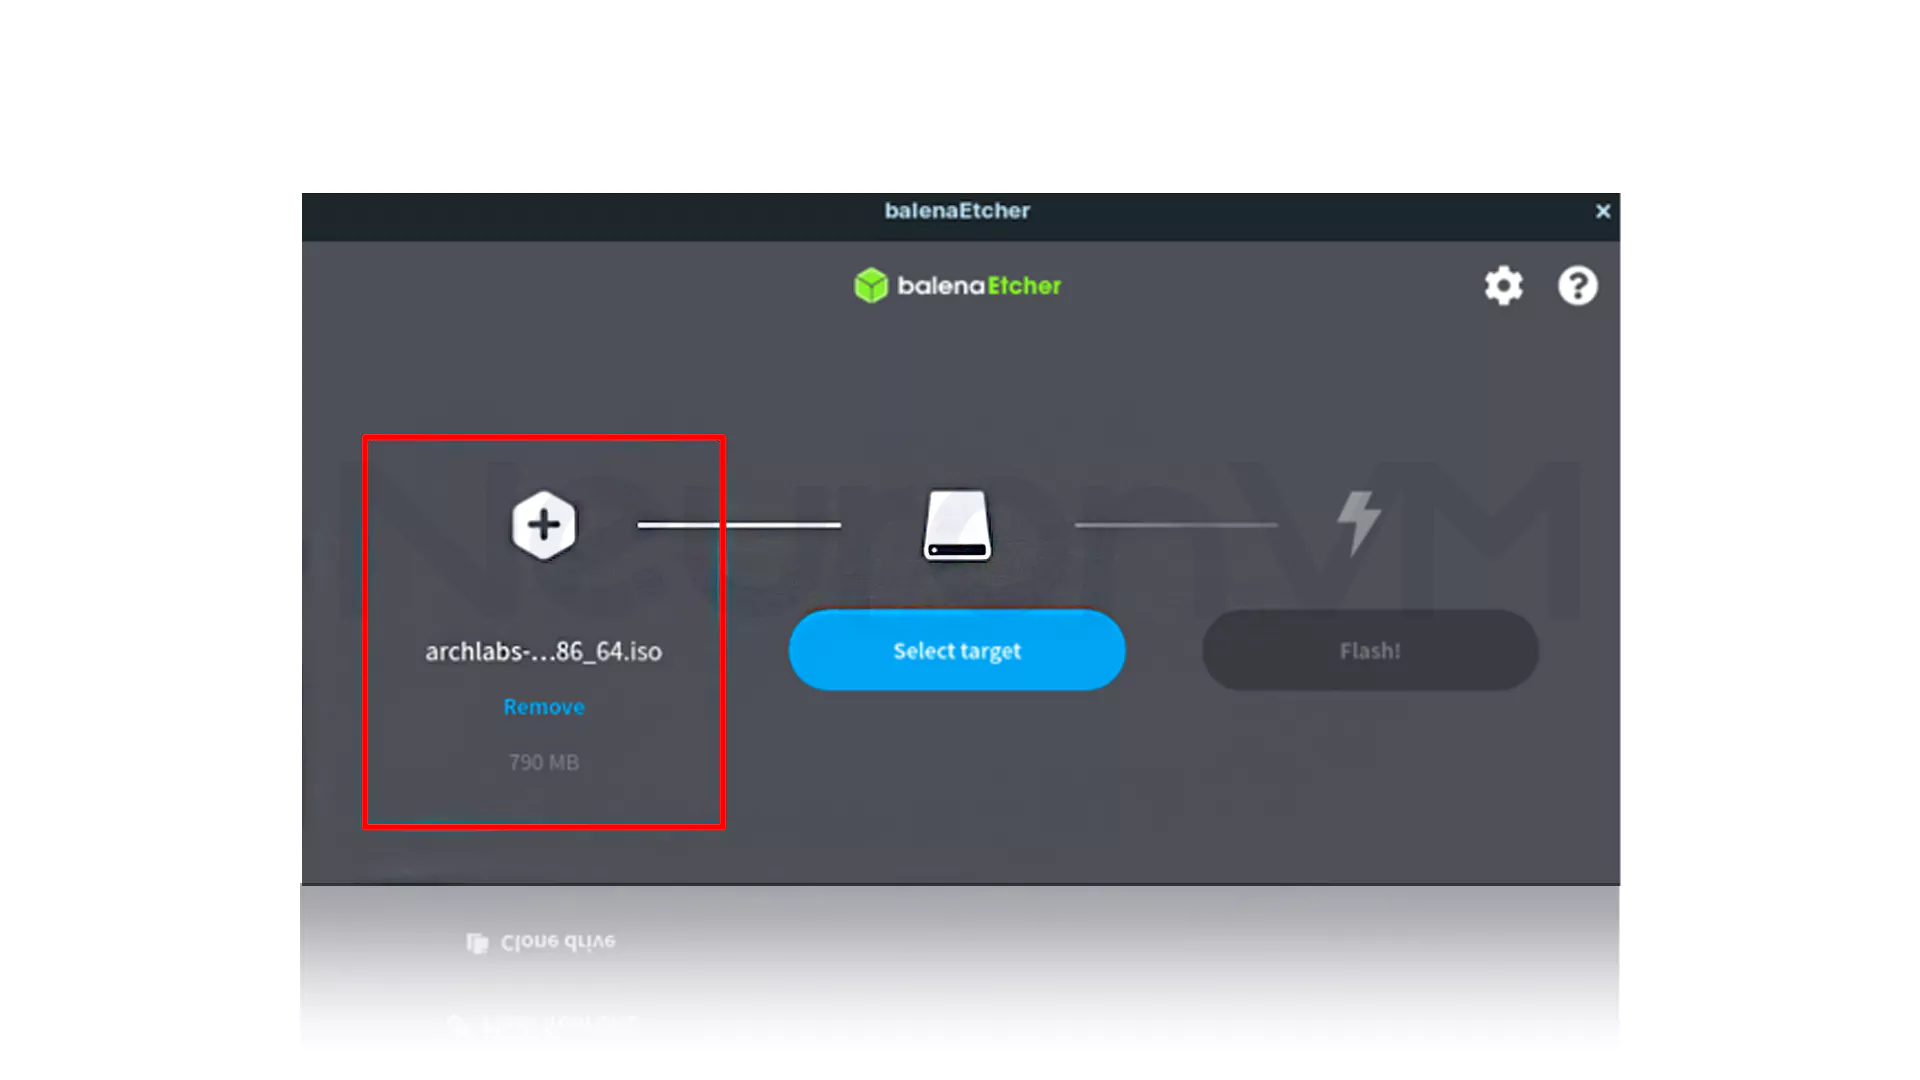
2- Click Select Target and choose your desired USB drive or SD card.
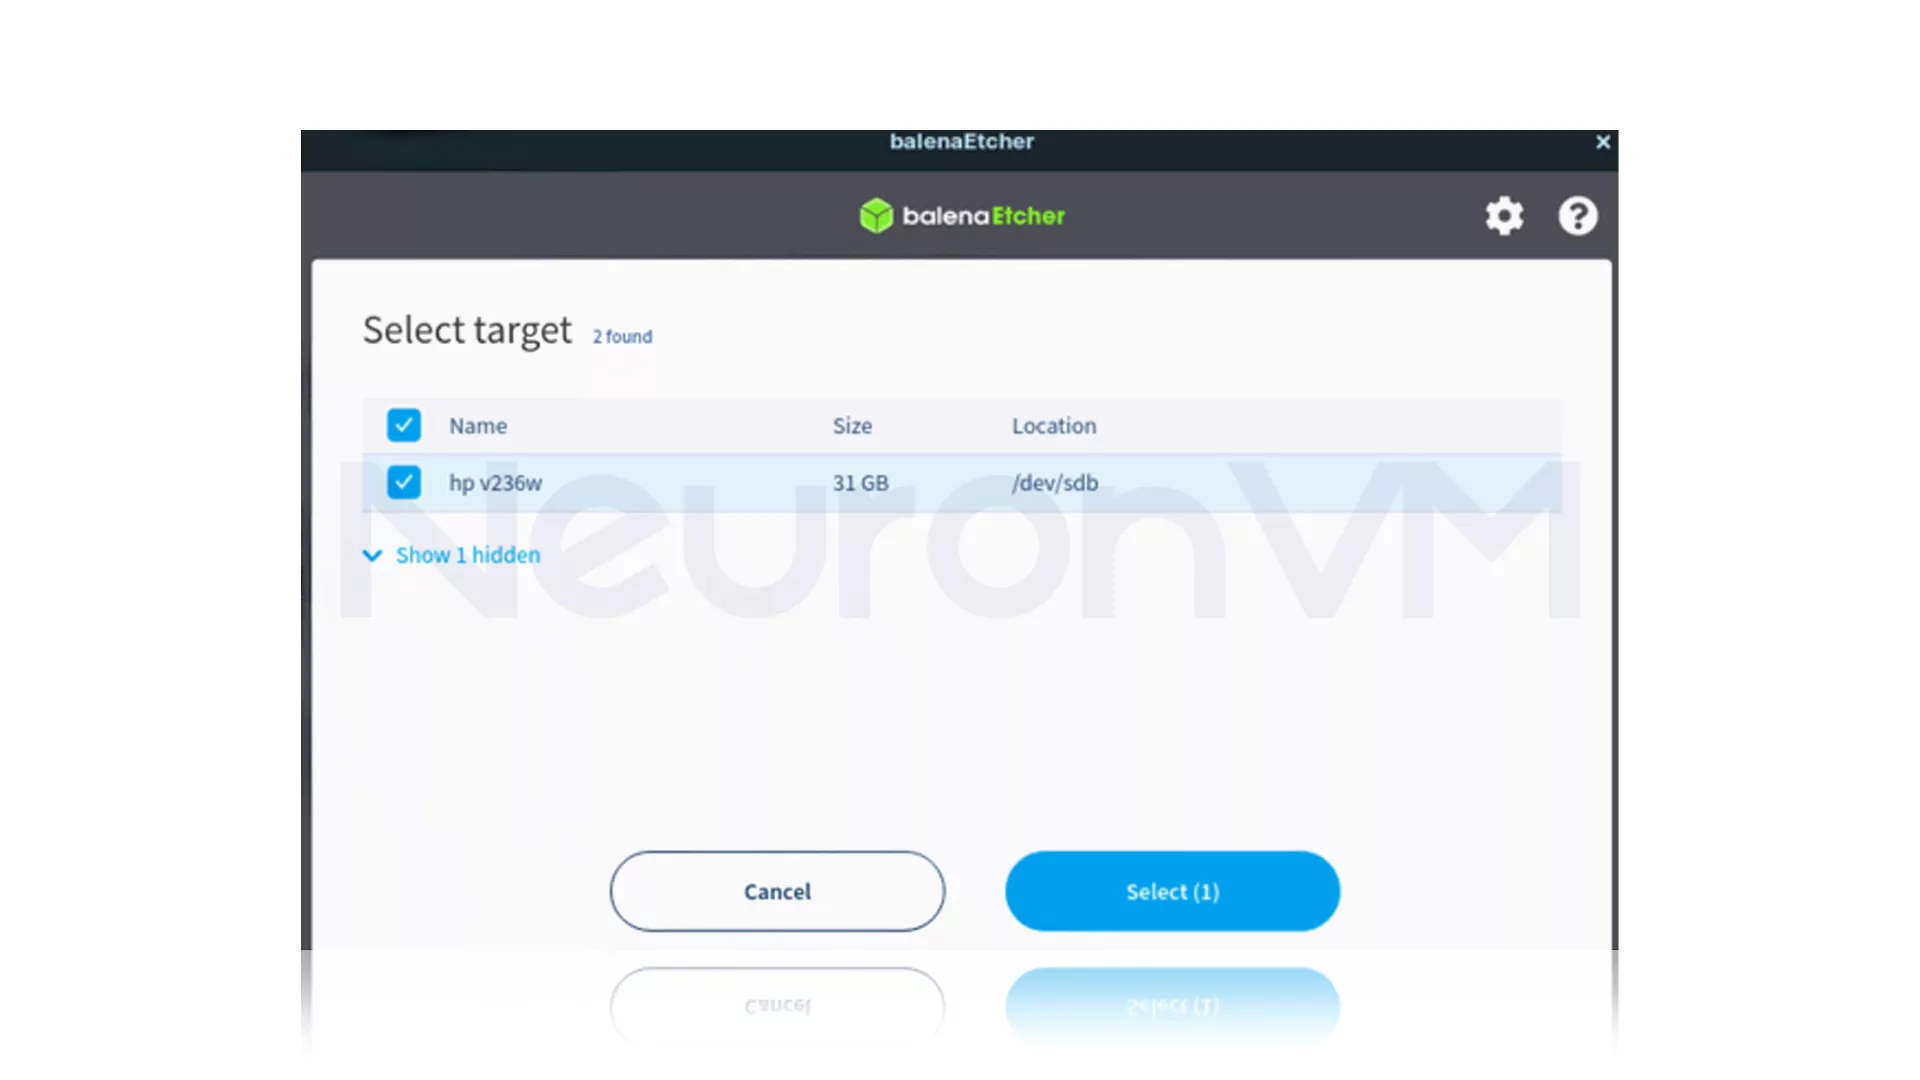
3- You have to remember that your drive will be fully formatted, so you have to click Flash after selecting ISO and target drive.
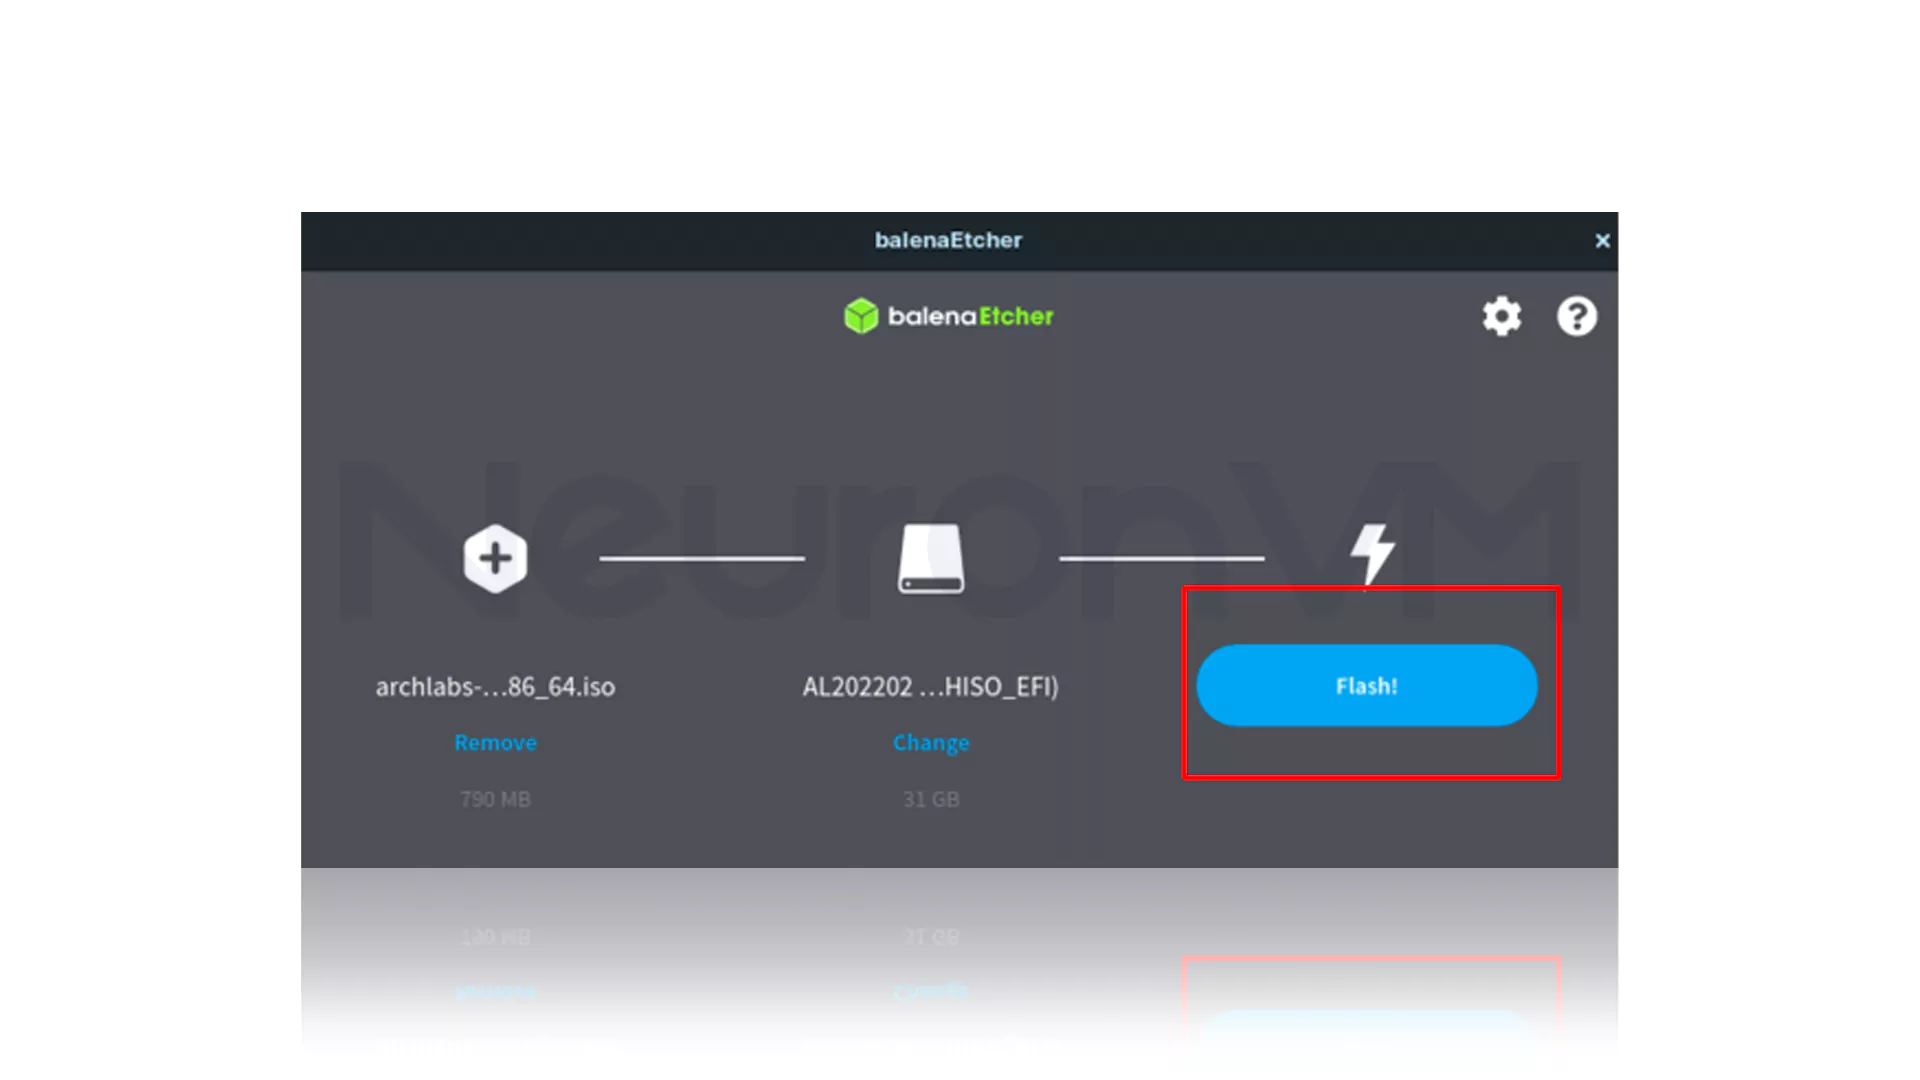
4- Wait a few moments for the flashing process to finish.
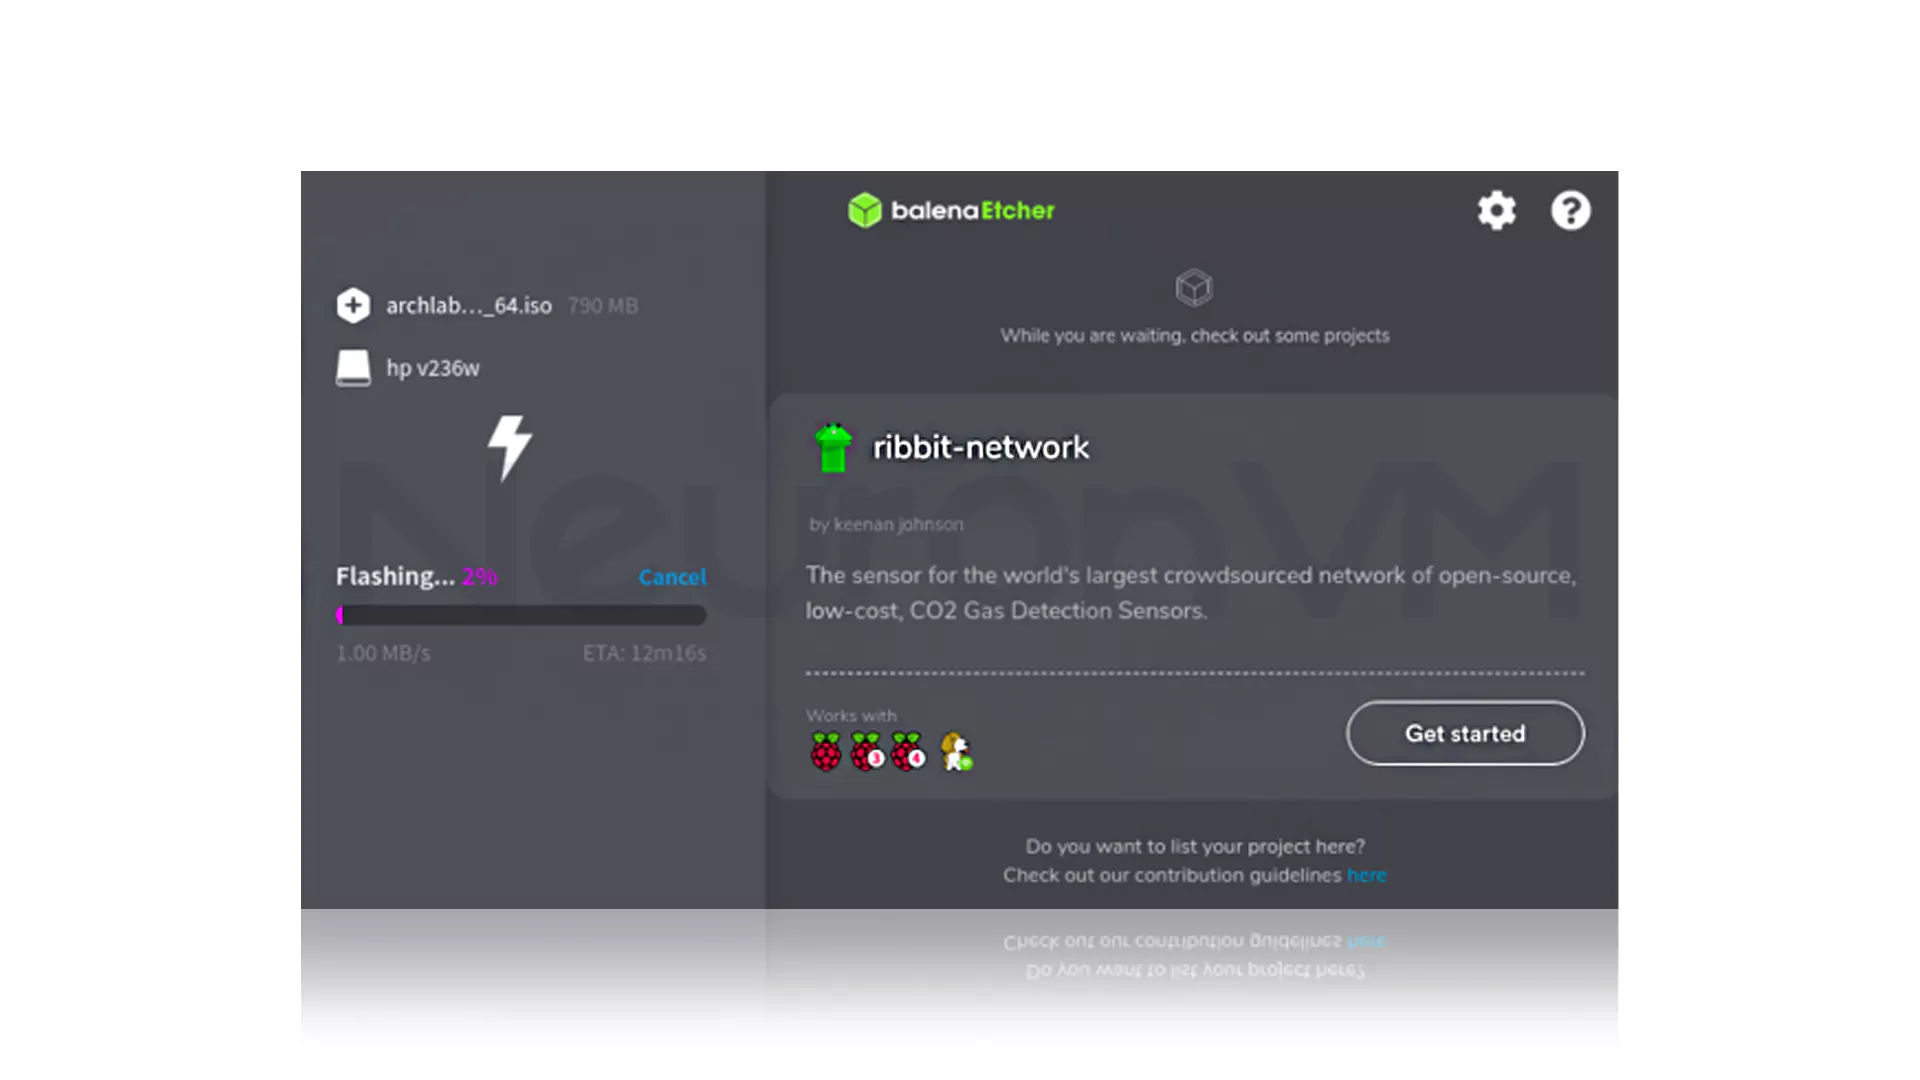
5- Now the installation of Balenaetcher in Kali Linux is done correctly and you can boot from your USB after installing Balenaetcher on Kali Linux. At this stage of installing Balenaetcher on Kali Linux, Etcher will automatically verify the flashed drive.
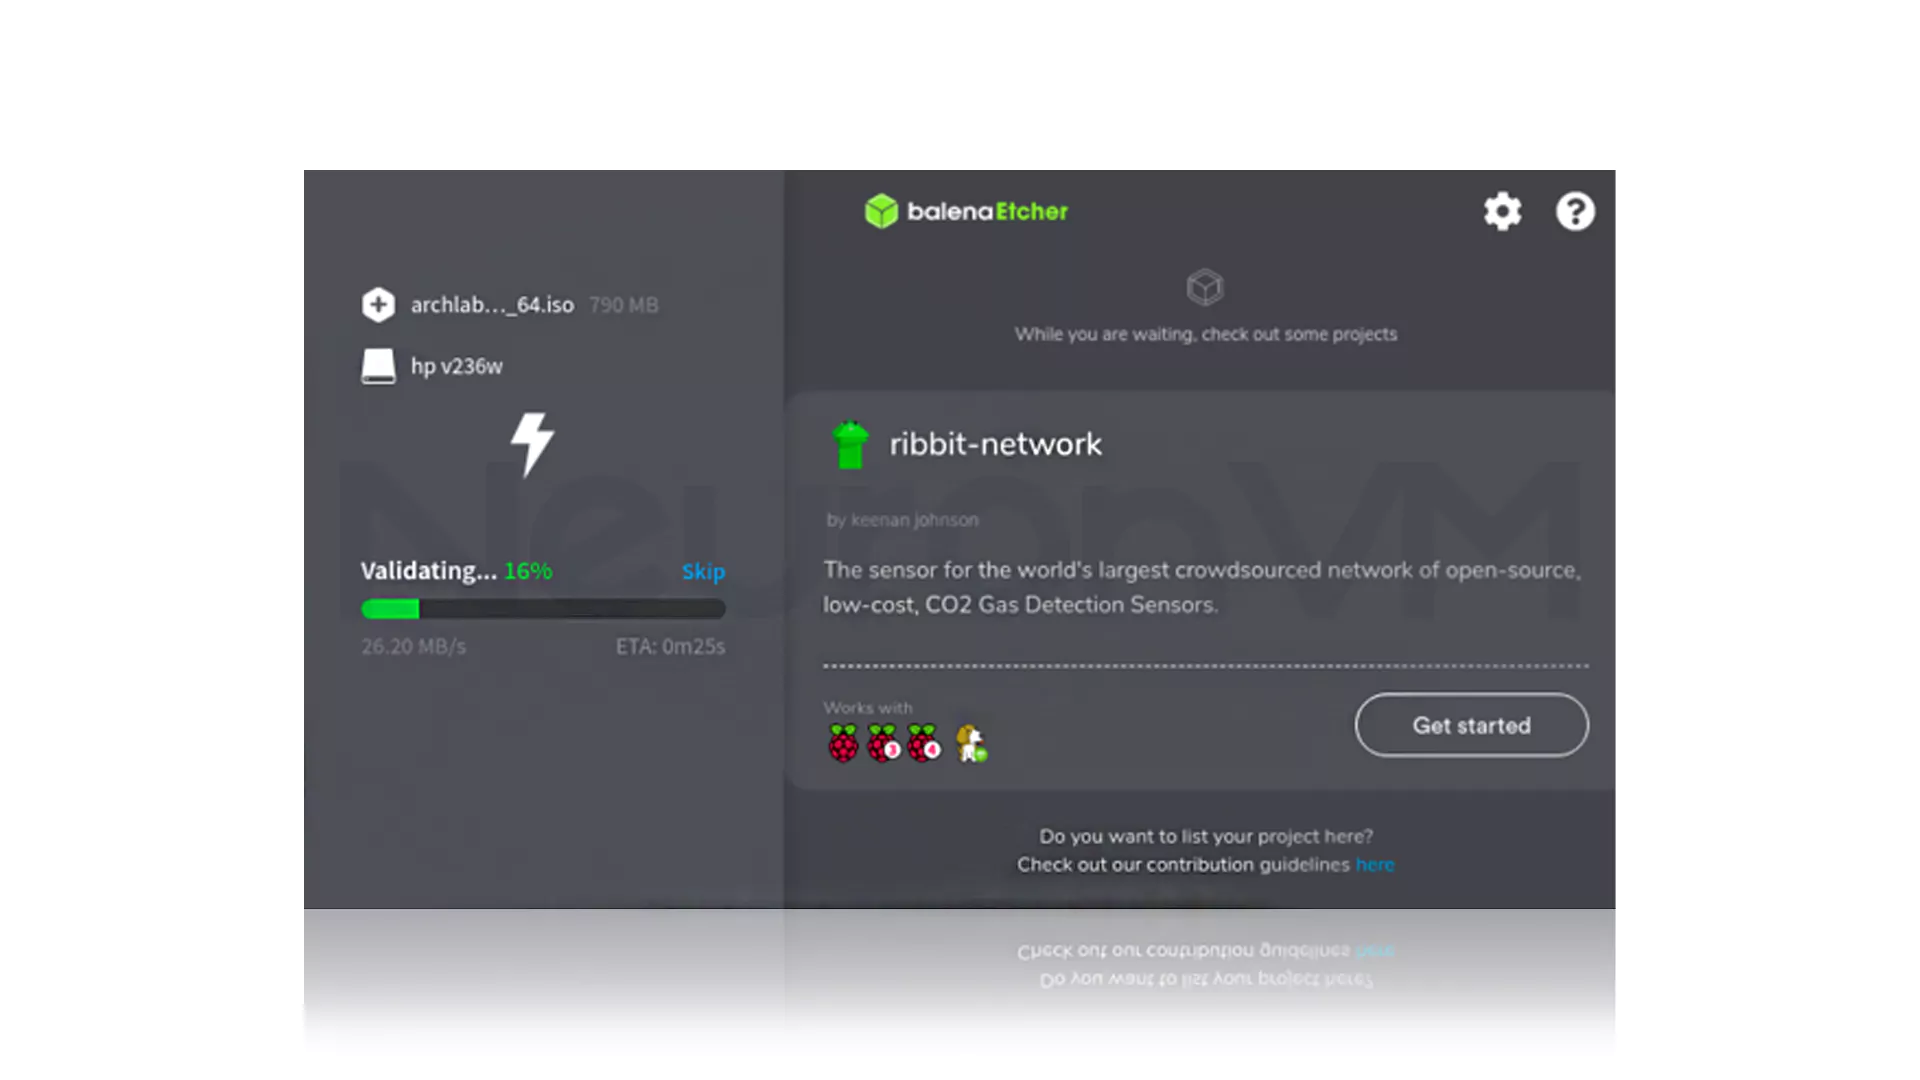
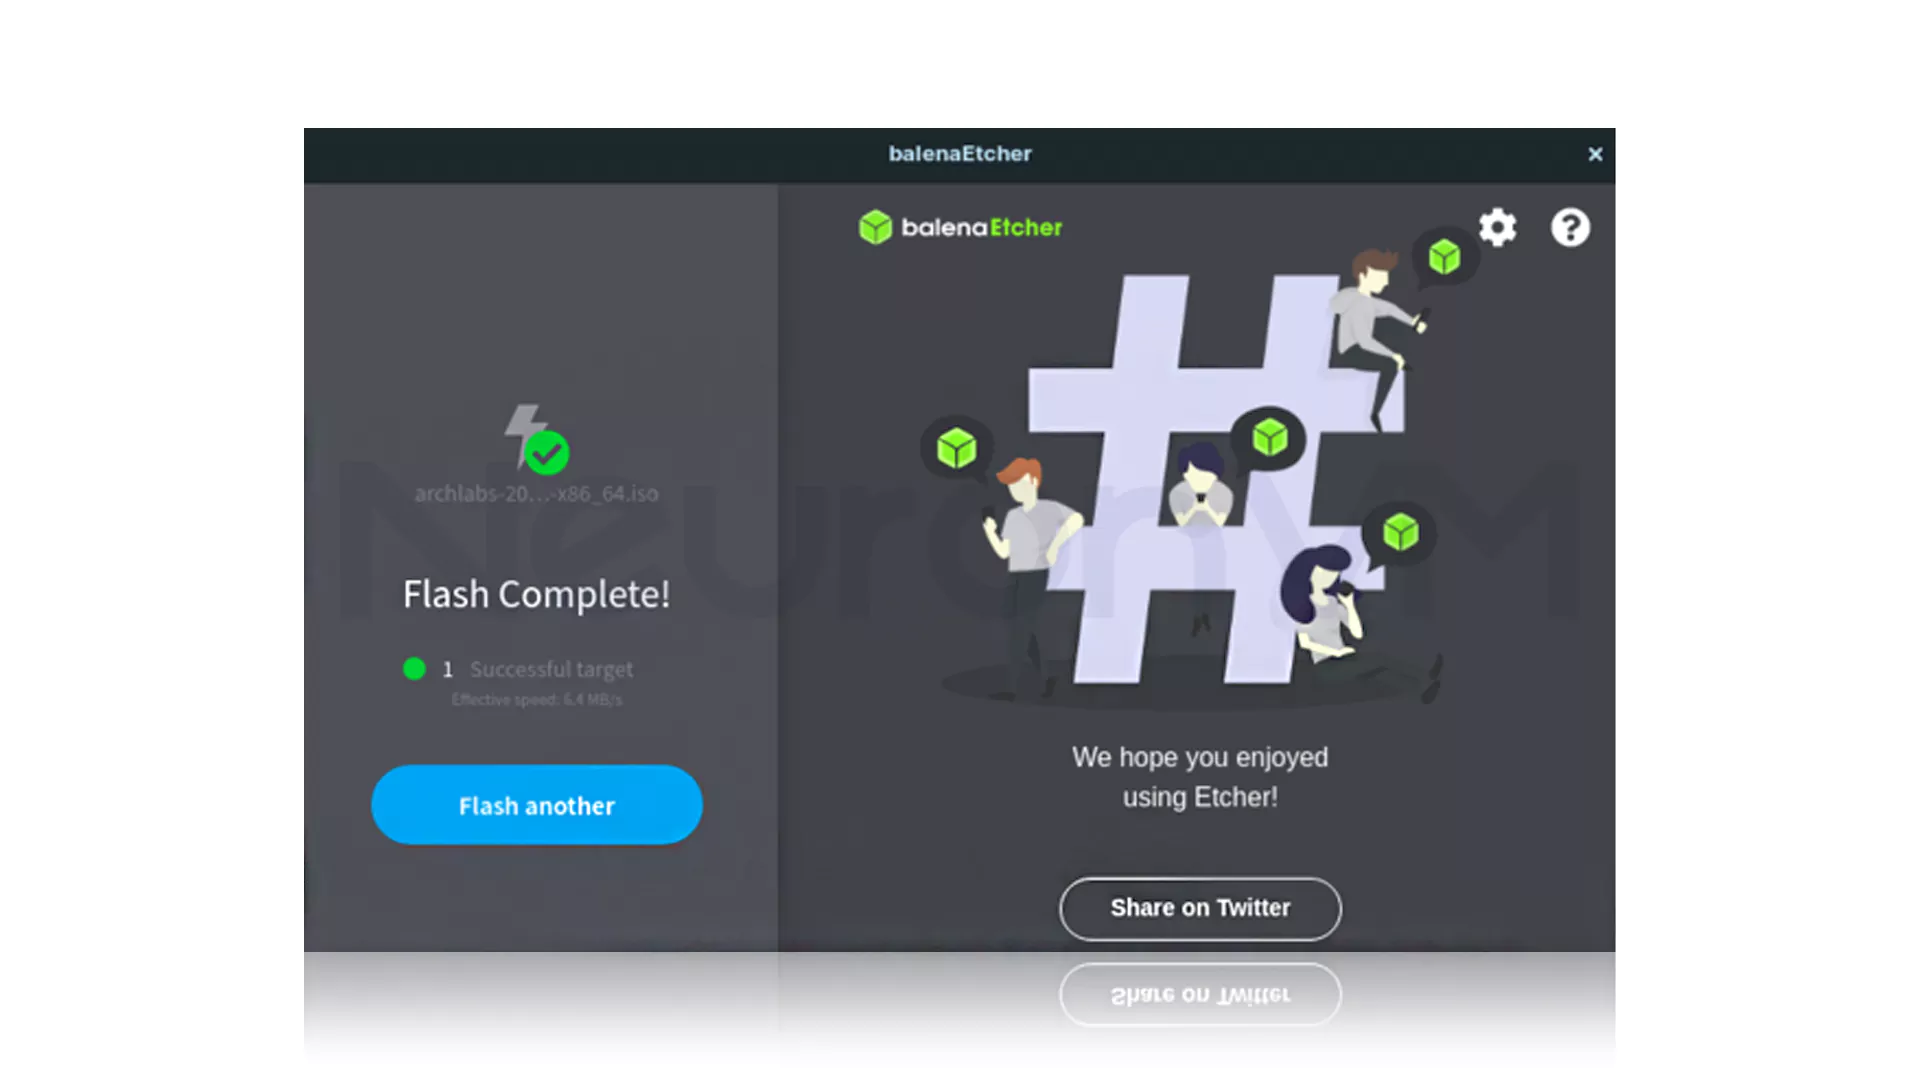
6- After completing the authentication, you will get a notification and this is a kind of confirmation that Balenaetcher is installed correctly in Kali Linux.
Conclusion
The easiest way to install Etcher without dependencies is to use AppImage, which we reviewed in this article and taught you how to install Balenaetcher on Kali Linux. However, if you use other methods install Balenaetcher on Kali Linux, you can share them with us and other users.
You might like it

Linux Tutorials
How to Increase Root Partition Size in AlmaLinux

Ubuntu Tutorials
How to Install and Use nmcli in Ubuntu (Complete Guide)
MikroTik Tutorials
How to Install Netinstall on MikroTik (Step-by-Step Guide)


