How to Enable Secure Boot on Windows 11


 6m
6m
 0 comments
 Print
Print
In this article, we will provide a guide on How to Enable Secure Boot on Windows 11, there are many reasons to enable this feature such as enhancing security. New computers have it enabled on their device by default but if you don’t have it on your computer, don’t worry we will provide a clear guide to achieve that goal if you want to get informed about Secure Boot check Microsoft’s main website.
What is Secure Boot?
This feature helps the computer start with software that is trusted by the manufacturer, when the computer starts up it checks to see if all the programs running are trusted and also checks their digital signature to see if the software is safe.
Once everything is checked it allows the computer to start and it handles control over the operating system.
Even if you need to add a new driver, they also need to be trusted in Secure Boot’s database.
Why to Enable Secure Boot?
You have to make sure that the Secure Boot is enabled because it helps to keep your computer safe. It uses all the methods we explained in the concept of Secure Boot such as checking the software, preventing harmful software, and protecting our computer from threats.
So it’s better to enable it to protect our computers and use its features.
Enabling Secure Boot on Windows 11
Note: The provided steps may differ based on your computer’s brand, because of the BIOS but they are so similar to each other, also the steps in Windows are the same even for different brands, you can check other Windows security-related tutorials on our website.
1-First check to see if your Secure Boot is enabled or not, in order to do that open System information.
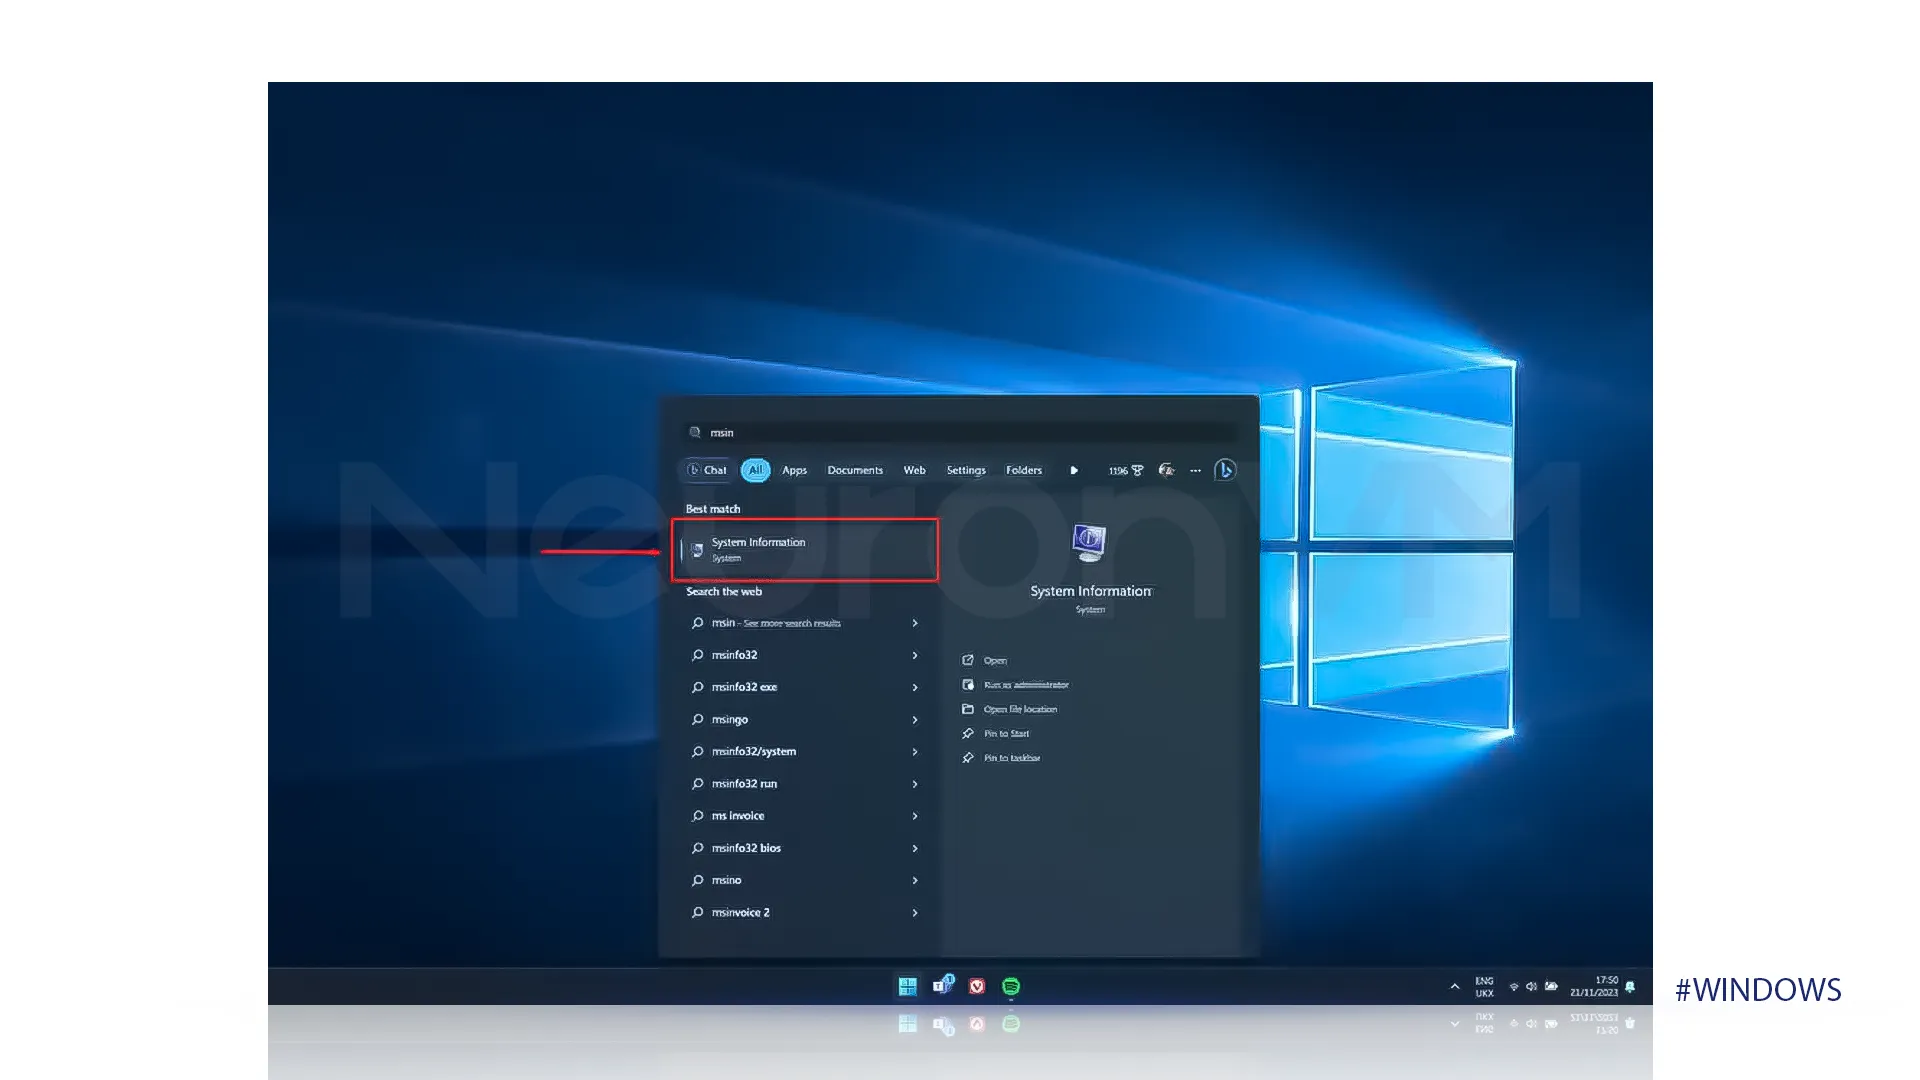
2- Then look for Secure Boot State, if it is on, then you do not need the following steps, but if it is off then follow the clear tutorial we provided.

3-Open the start menu, then select the power icon and click on restart to restart the computer.
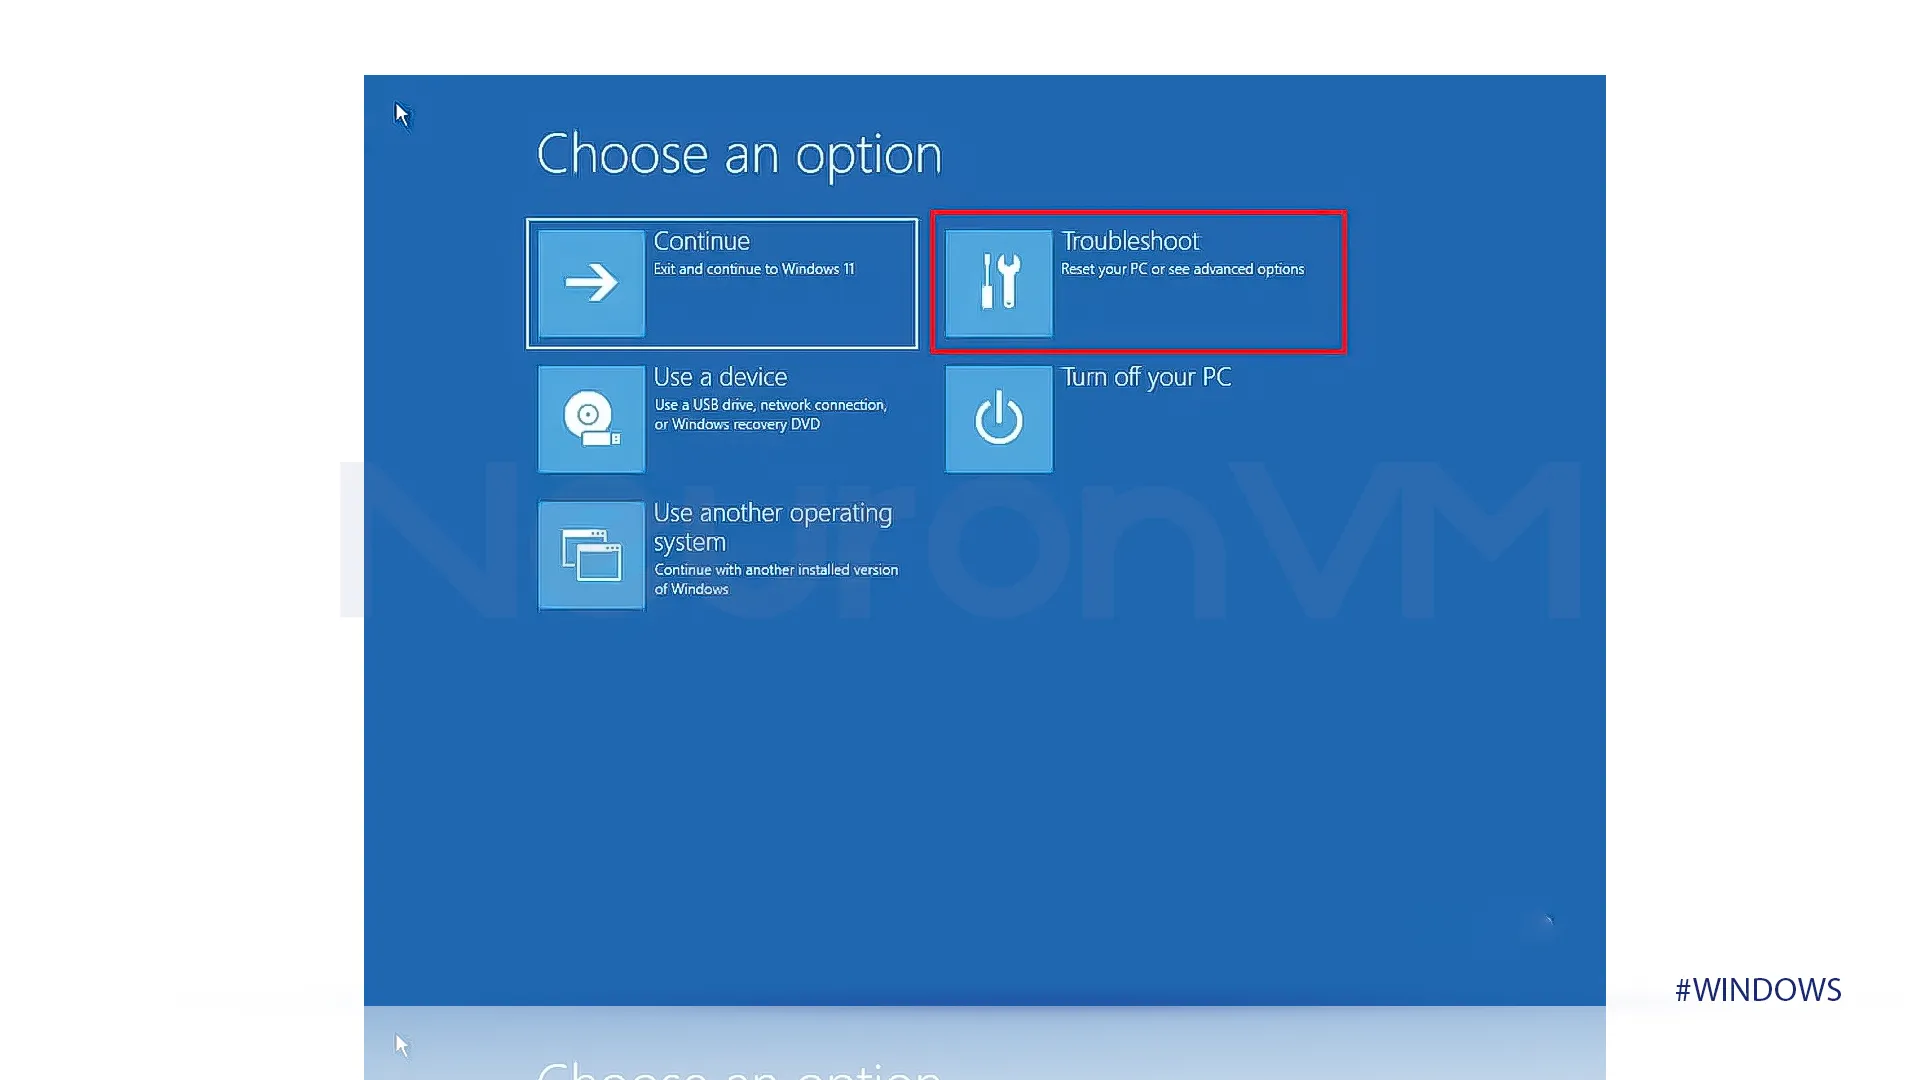
4-When the computer restarts click on the BIOS button to troubleshoot the computer, then choose advanced settings.
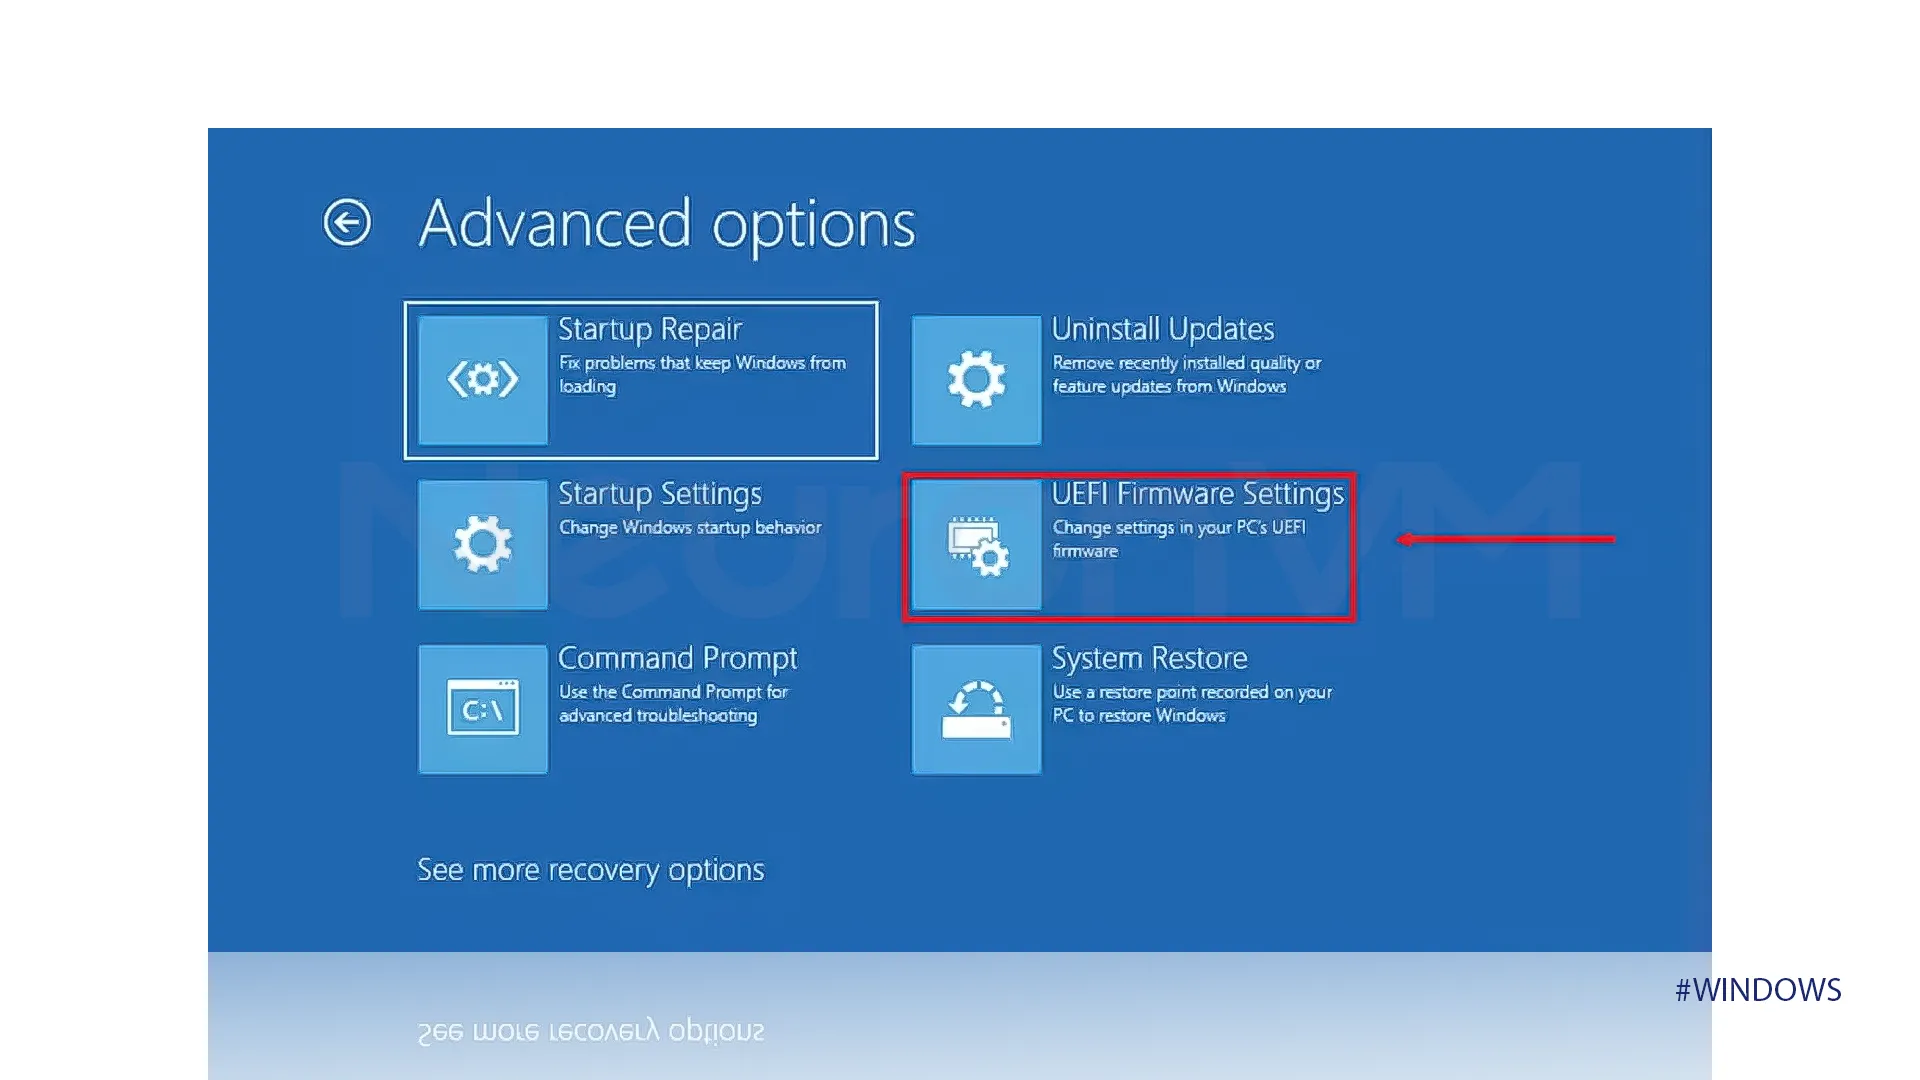
5-You need to select UEFI Firmware Settings, then restart.
6- We need to find the Secure Boot option in order to do that look for a Boot option or Security tab.
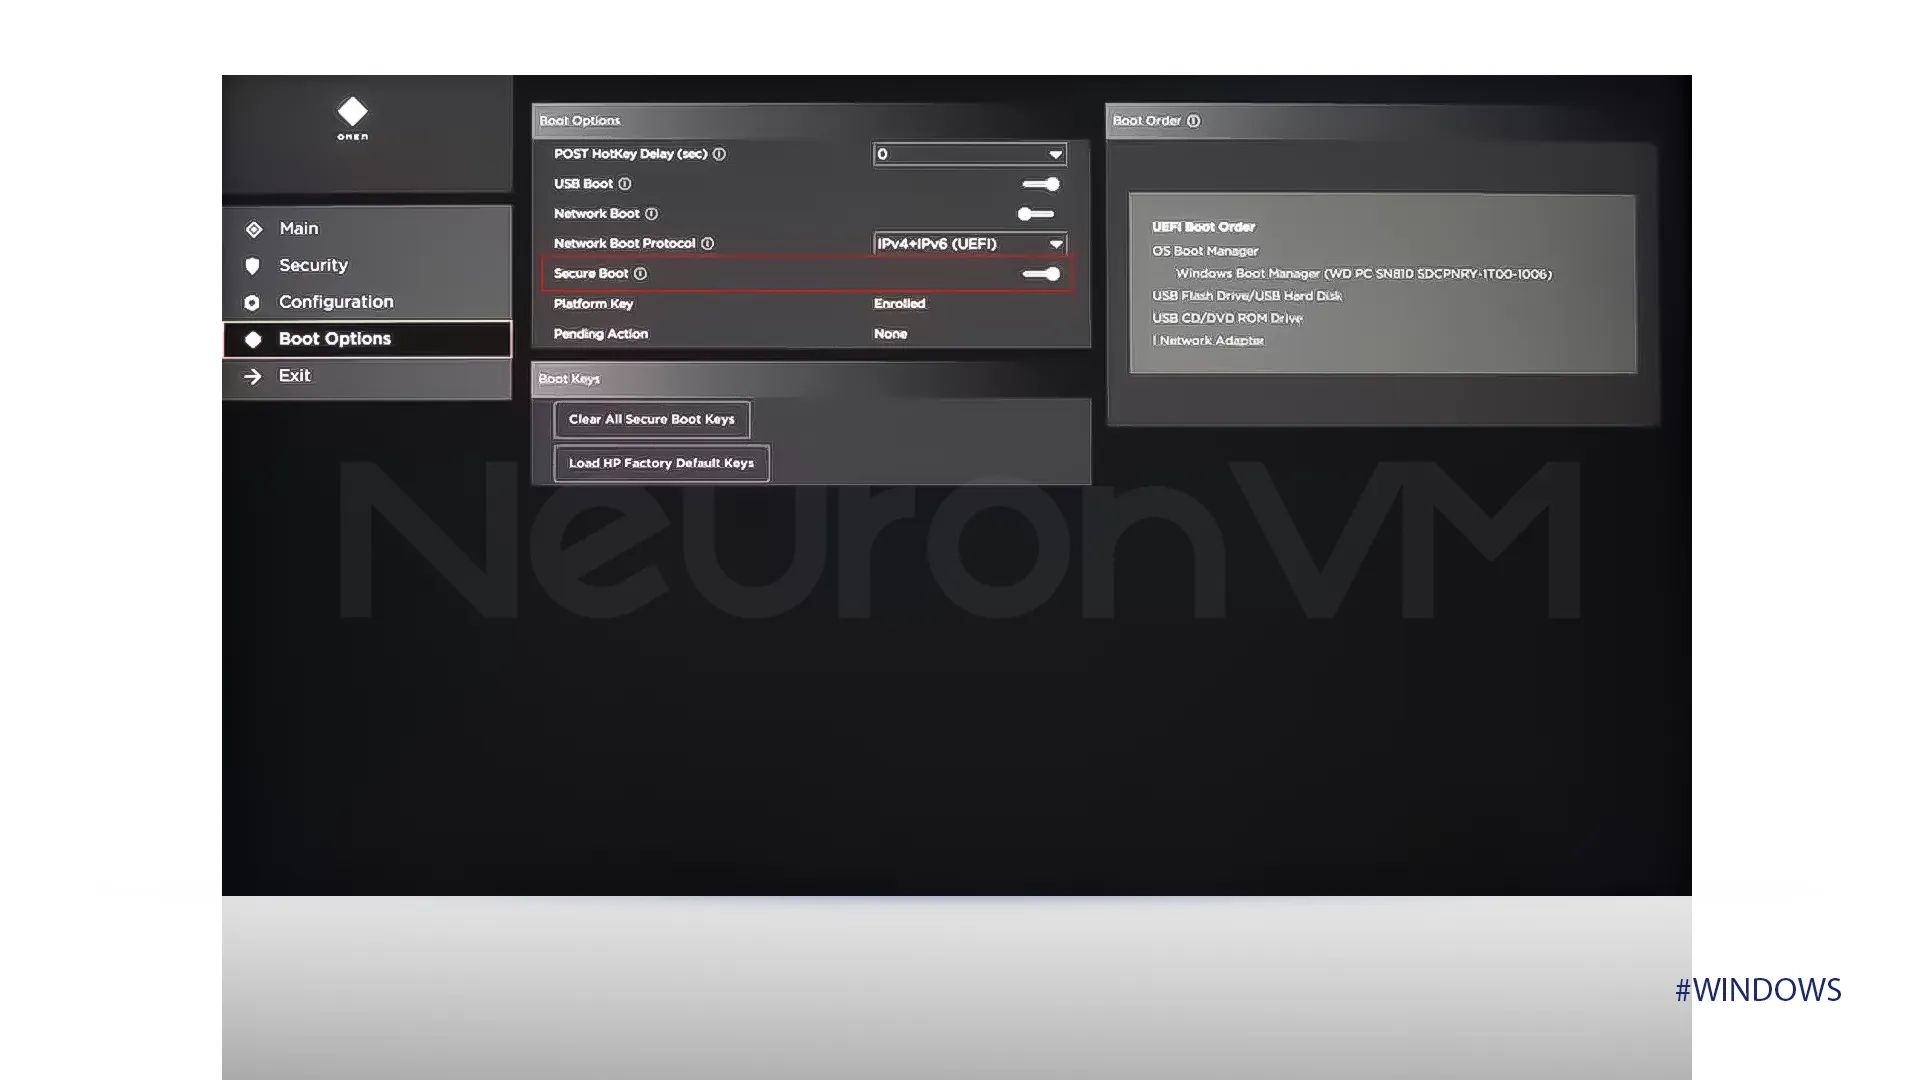
7- We need to set the Secure Boot to Enable or On, if it is not already set to it.
Conclusion
Enabling Security Boot is a crucial step in improving your Windows computer’s security, while the new computers have this feature enabled on their computer you can check to see if yours is on or not, and if not you can also enable your Security Boot by the tutorial that we have provided in this article. But do not forget that steps might slightly differ between different brands but overall you can follow the provided steps by ant brand because they are really similar.
After enabling it you will have a smooth and secure system, if you have questions about enabling Security Boot on Windows 11 feel free to ask our experts in the comments.