How to Create Ruby app in cPanel by Cloudlinux

 6m
6m
 0 comments
Creating Ruby applications in cPanel using Cloud Linux is much easier than you think. To clear up this confusion, this guide will explain some essential steps, valuable insights, and the best way to install Ruby in cPanel. Remember that you can use this tutorial at both beginner and professional levels.

Prerequisites for installing Ruby application in cPanel using Cloud Linux
1- Hosting account with cPanel
2- Hosting account with Cloud Linux
3- Having basic knowledge of Ruby and Ruby on Rails
4- SSH client such as PuTTY or Terminal Access
How to create Ruby app in cPanel by Cloudlinux: Step By Step
Follow the steps below carefully and in order to build your own Ruby application:
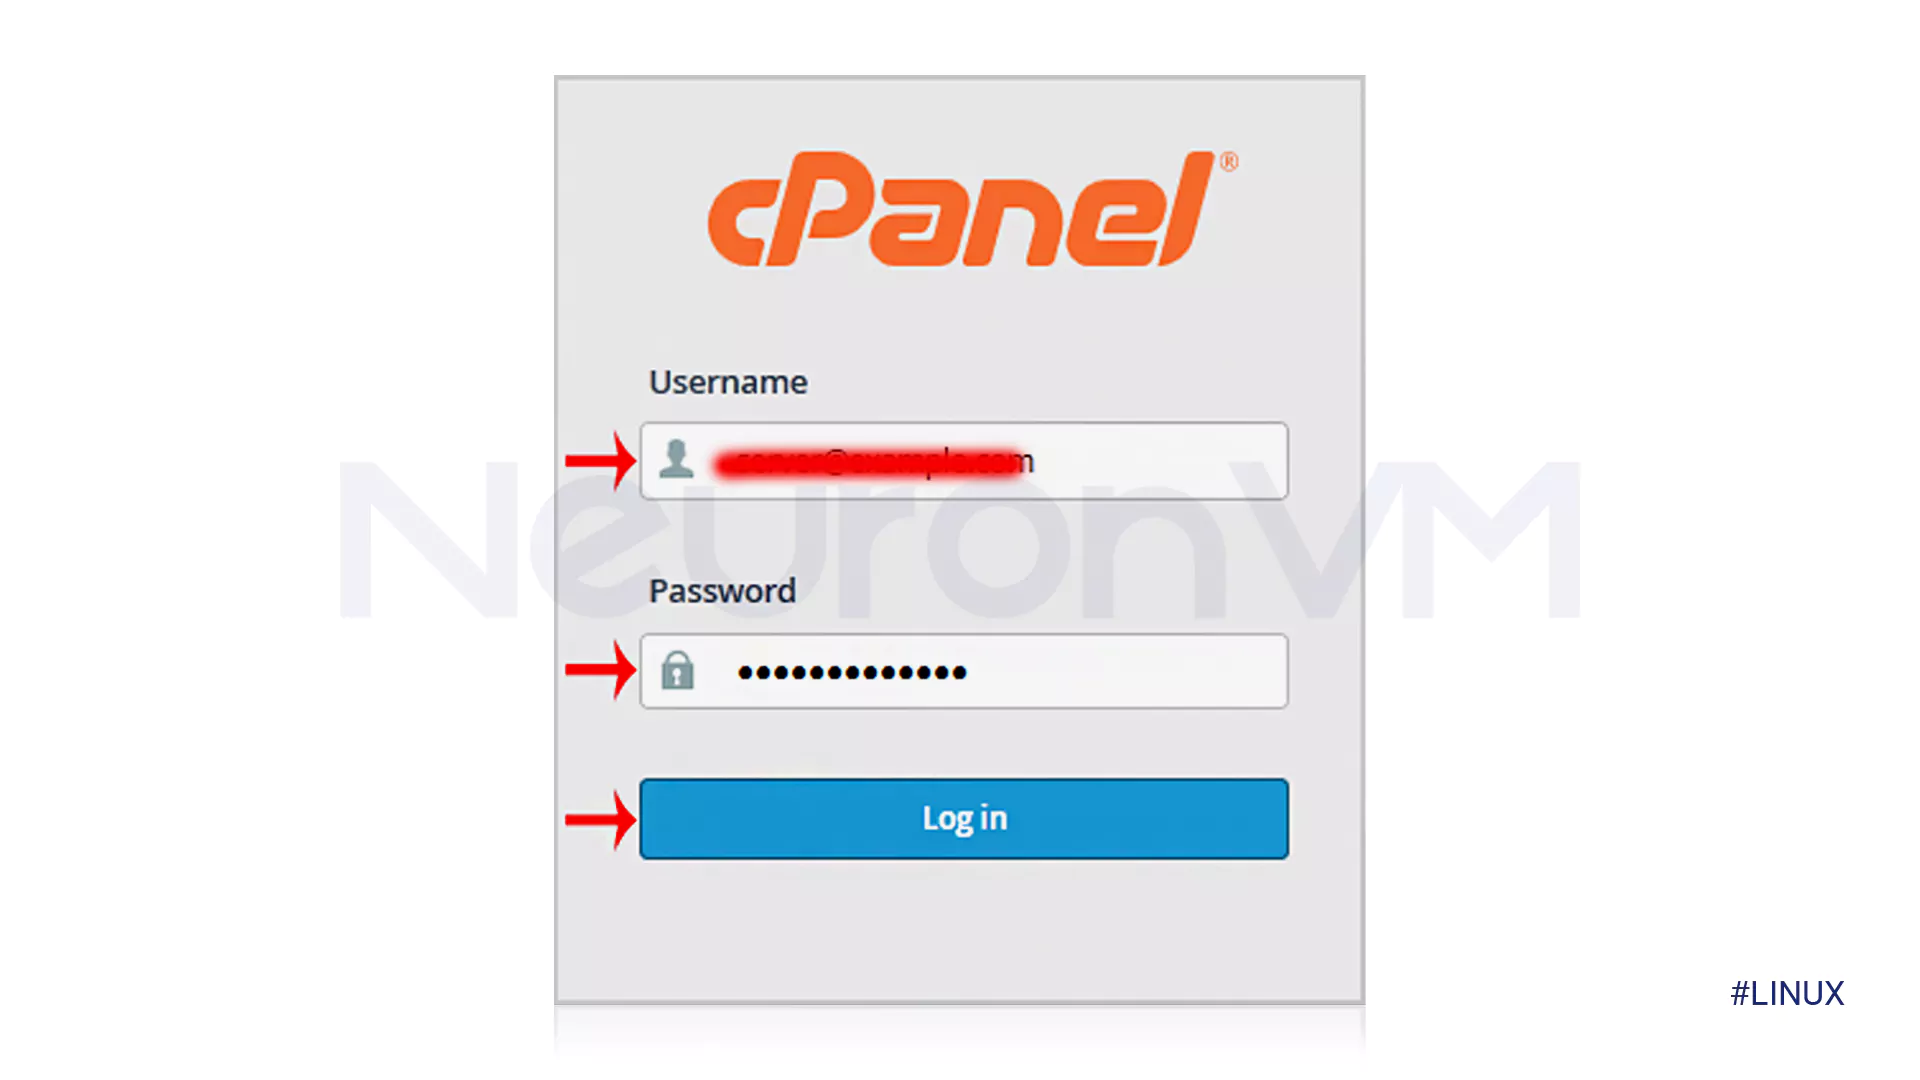
Step 1: Enter cPanel
Open the browser. Then go to cPanel URL. For this, you can use the address: yourdomain.com/cpanel. Then enter your username and password and enter your cPanel.

Step 2: Launch Ruby in cPanel.
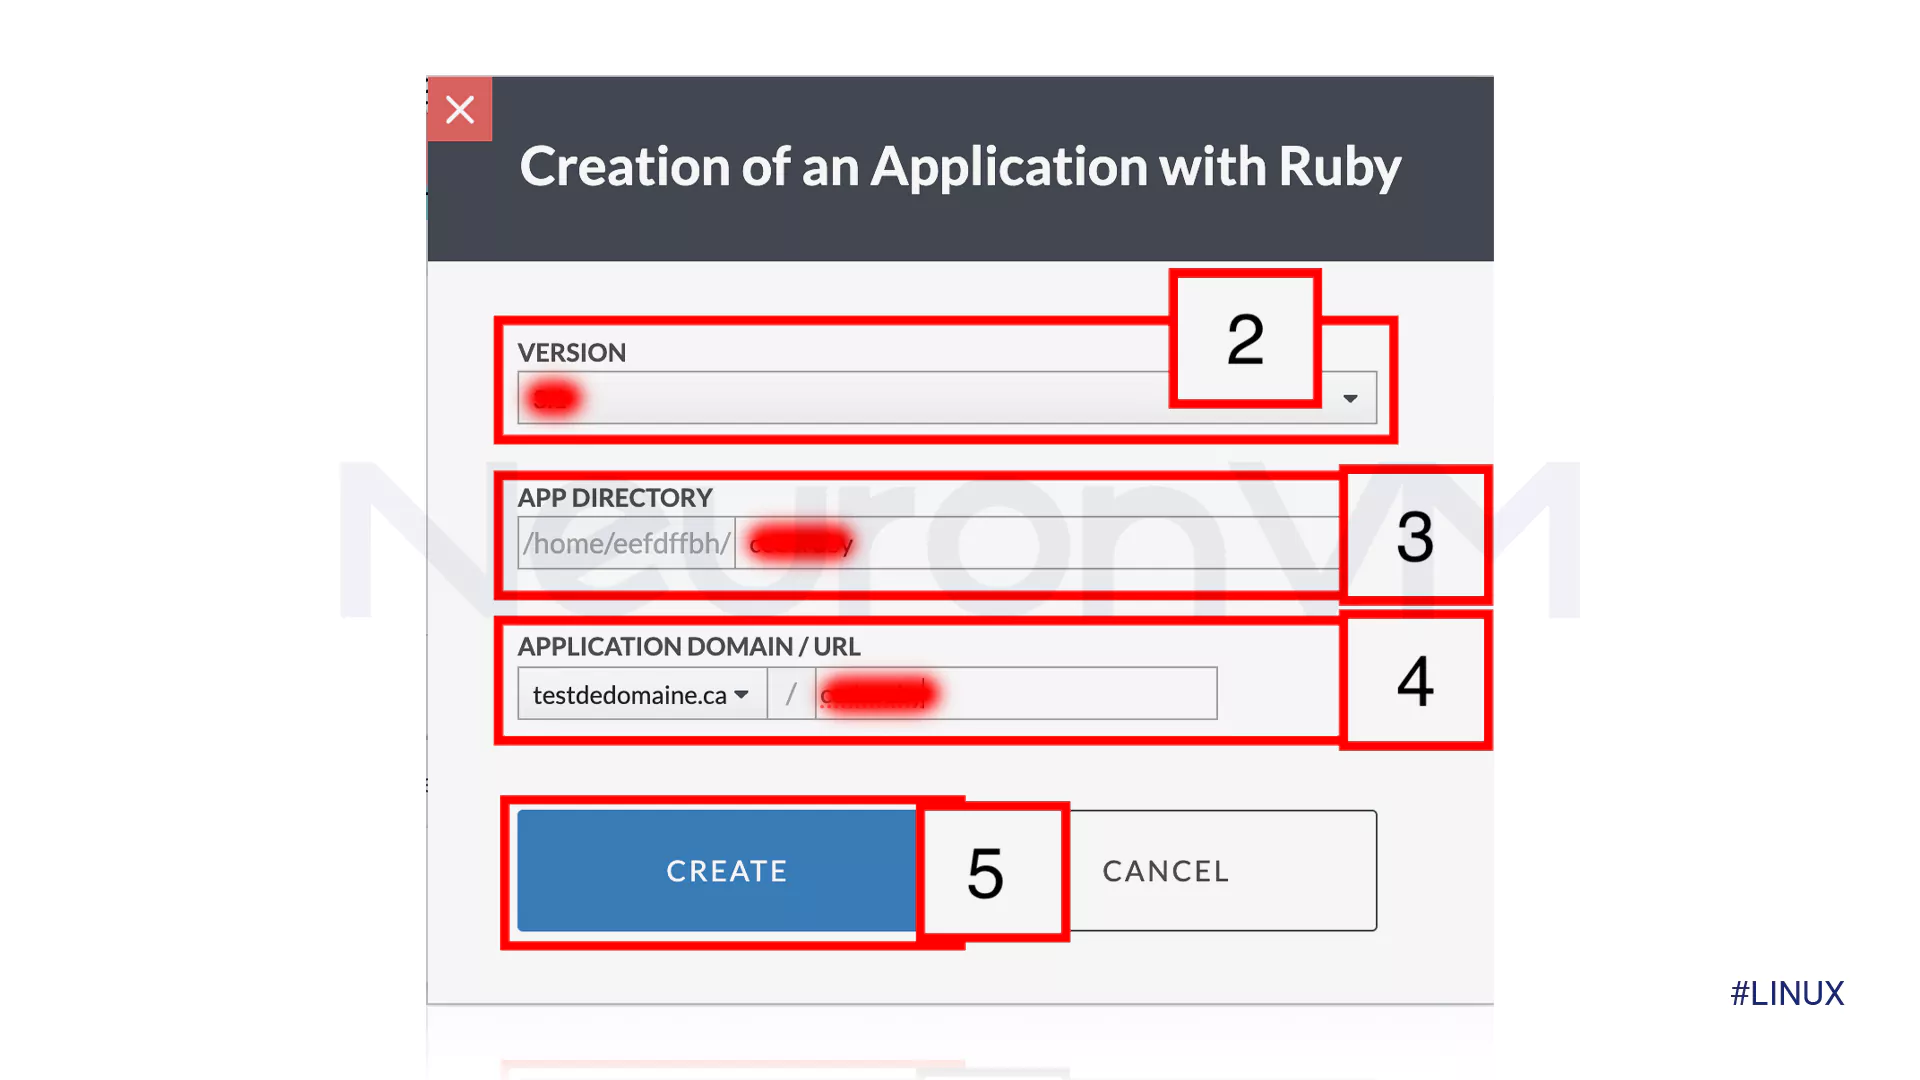
Go to the Software section and click the Ruby Selector option to enable management. In the following steps, in the Ruby Selector interface, click on Add Version and download the desired Ruby version. Don’t forget to click Set as Current to activate the installed version. Now it’s time to create a Ruby application! So, first, return to the cPanel dashboard and click on the Ruby App option in the Software section. Now use the Create option to start a new program.

Now Fill the following details:
1- Application Root: Something like this (/home/username/myapp) specifies which directory your app should be stored in.
2- App URL: An address like (myapp.example.com) where the Ruby application will be available.
3- Environment: Choose one of the Development or Production options.
4- Ruby version: Verify the Ruby version.
Step 3: Deploy the app.
Following the steps of How to create Ruby app in cPanel by Cloudlinux, it’s time to deploy your app. Now the code must be uploaded, for the same reason, after creating the Ruby application, use FTP or cPanel file management to upload your application files to the Application Root directory specified in the previous step. But the important thing is not to forget that your program has a proper directory structure such as Gemfile or configapp. Connect SSH to To do this, you must use the following line to enter the root directory:
cd ~/myapp
Consider the following command to run the necessary jams:
bundle install
Now we have reached the last stage of creating a Ruby application in CPanel with Cloud Linux! In this step, the server must be configured. Since Cloud Linux usually uses LiteSpeed or Apache as the web server, you may need to make a few changes to get the paths in htaccess correct.
Step 4: Test the built program.
Finally, you can access the app by checking the URL like myapp.example.com that you specified in the settings. Otherwise, you have not followed the steps correctly.
Conclusion
As you have read, this guide can show you step-by-step how you can run a Ruby application in cPanel using Cloud Linux. Also, at the end of the steps, we showed you how you can make sure that the Ruby application works in cPanel with just a small test. We are waiting for your comments about this tutorial!
You might like it

Ubuntu Tutorials
How to Install VNC on Ubuntu (18.04, 20.04, 22.04) – Full Se...

Windows Tutorials
Tutorial Setup Wamp on Windows Server 2019

How to Install and Configure a Proxy Server on CentOS


